React Social Logins with Passport JS


The majority of the applications or websites created uses some sort of authentication. This can be done through social login, third-party authentication, such as Auth0, or your own authentication. The process of confirming that someone or something is who or what it claims to be is known as authentication.
By comparing a user’s credentials to those stored in a database of authorized users or on a data authentication server, authentication technology controls access to systems. Authentication ensures secure systems, secure business processes, and secure corporate data.
In this article, we will look at how to do a React Social Login Authentication with Passport.js.
What is Passport.js?
Passport.js is a popular authentication middleware for Node.js that provides a simple and flexible way to authenticate requests made to a web application. It is designed to support multiple authentication mechanisms, known as “strategies,” which can authenticate an application’s requests.
Passport.js is often used in web applications to secure user authentication and protect specific routes or resources from unauthorized access. It can be used with various authentication mechanisms, such as username and password, two-factor authentication, or social media login, to provide a secure and flexible authentication system for your application.
Features of Passport.js Some of the features of Passport.js include:
- Supports over 500 authentication strategies, including popular ones such as OAuth, SAML, and OpenID Connect.
- A simple API for authenticating requests and managing user sessions.
- Pluggable architecture that allows developers to implement and use custom authentication strategies quickly.
- Integration with popular web frameworks such as Express, Connect, and Koa.
- Dynamic Scope and Connection
- Lightweight Codebase
Introducing Our Project (Frontend)
We have built a React application for our project to authenticate with Google, Facebook, and GitHub. Our project is made up of two main folders:
- Client: contains our frontend
- Backend: contains our backend with Passport.js
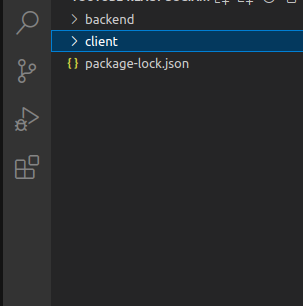
The image above shows what our project structure looks like.
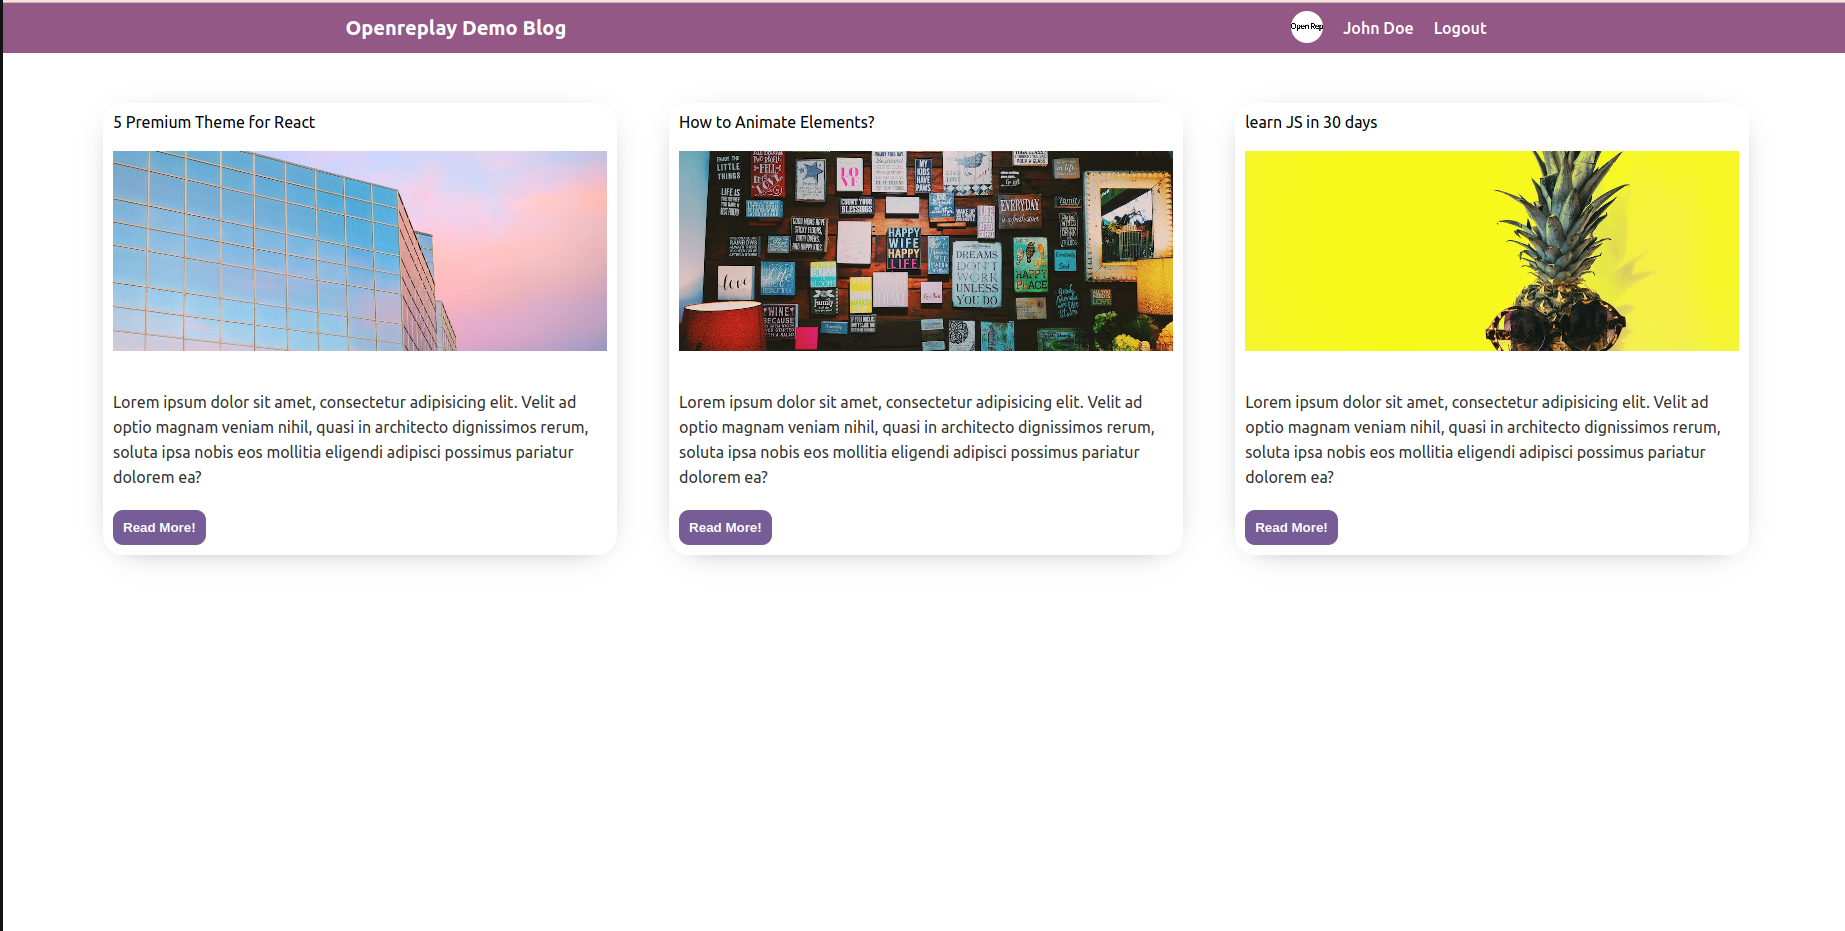
Our project also consists of the home, post, and login pages, as shown in the images below:
Home Page:
Post Page:

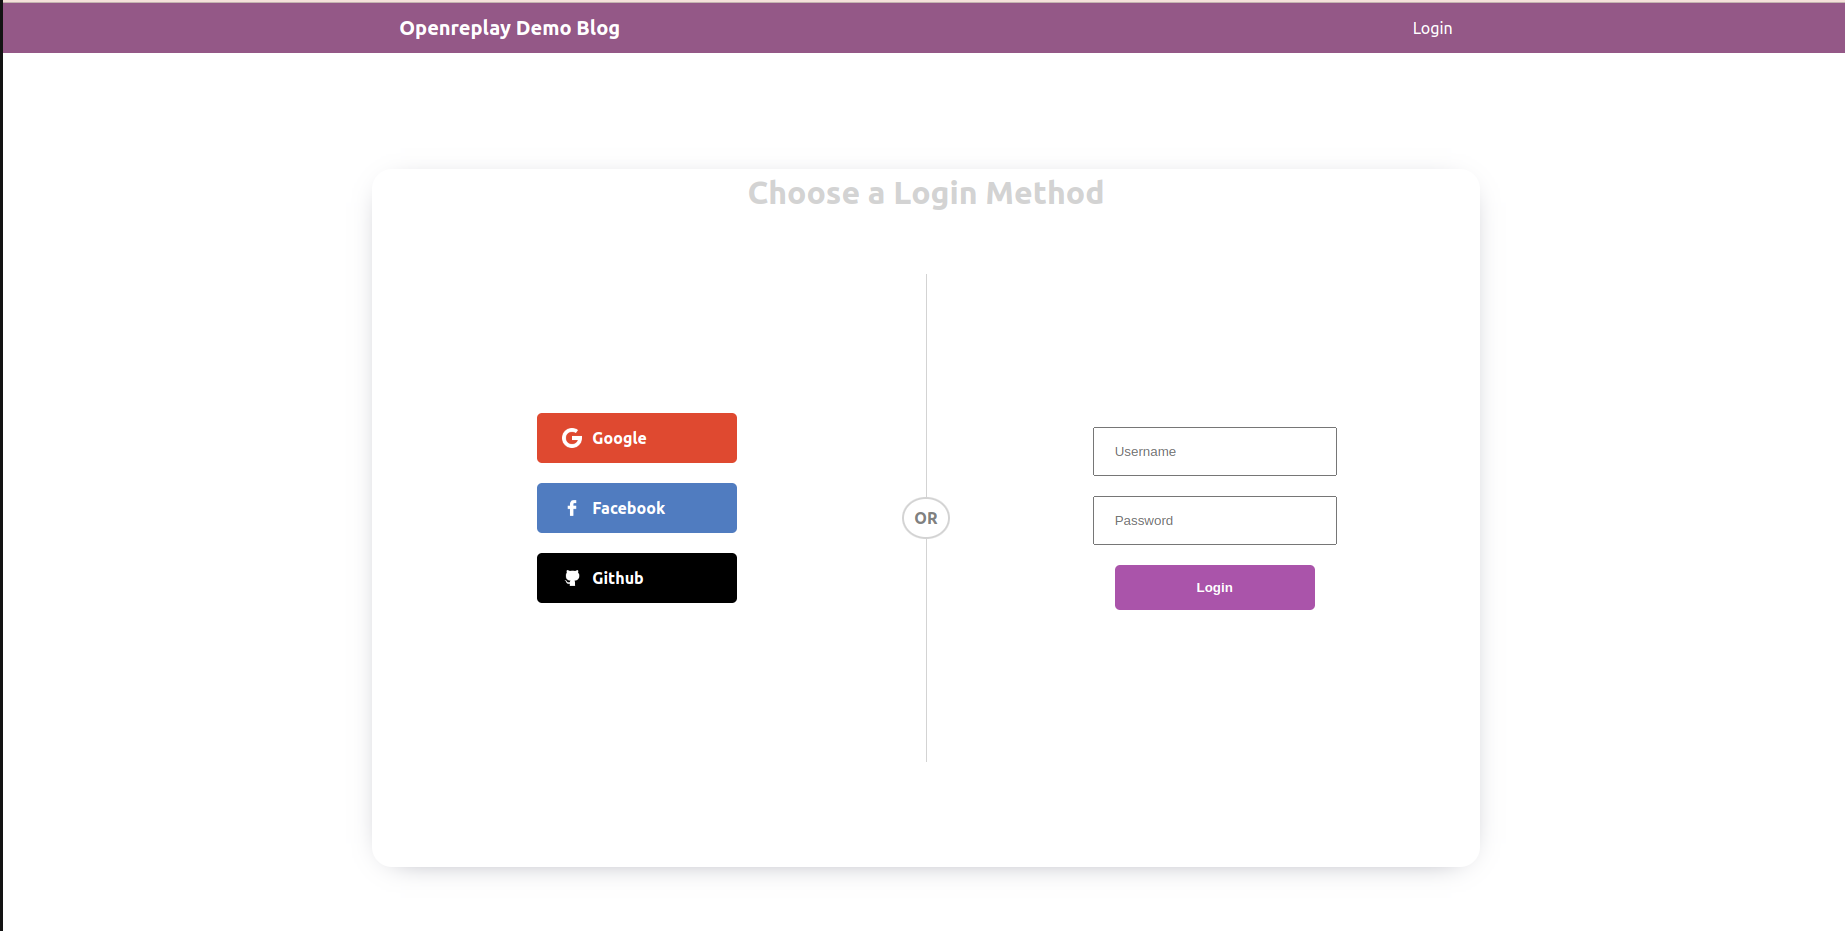
Login Page:

As shown in the image for the login page, we have the Google, Facebook, and GitHub authentication buttons.
Note: The GitHub repo for this entire project is available at the end of this article to help you get a clearer understanding of this article.
Before we get started on the authentication aspect of our tutorial, let’s install react-router. To do this, we will head into our terminal, cd into Client, and run the following command:
npm i react-router-domNext, we edited our App.js file to look like this:
import { BrowserRouter, Routes, Route, Link } from "react-router-dom";

import logo from './logo.svg';
import './App.css';
const App = () => {
  const user = true;
  return (
    <BrowserRouter>
    <div>
      <Navbar user={user}/>
      <Routes>
        <Route path="/" element={<Home />}/>
        <Route path="/login"
        element={user ? <Navigate to="/" /> : <Login/>}
        />
        <Route path="/post/:id" element={user ? <Post/> : <Navigate to="/login" />} />
      </Routes>
    </div>
    </BrowserRouter>
  );

};
export default App;
Here, we imported BrowseRouter from react-router-dom, then imported other components. We then wrapped up our application with these components. Next, we created a user variable that we can change to either true or false. The Navigate component allows users to see posts when logged in.
In our Navbar.js file, we included the following code:
import { Link } from "react-router-dom";
const Navbar = ({user}) => {
    return (
        <div className="navbar">
            <span className="logo">
                <Link className="link" to="/">Openreplay Demo Blog</Link>
            </span>{
                user ? (

            <ul className="list">
                <li className="listItem">
                    <img src="https://bookface-images.s3.amazonaws.com/logos/e46de9ab565d7b10514c61f2f5177850be03635b.png" alt="" className="avatar" />
                </li>
                <li className="listItem">John Doe</li>
                <li className="listItem">Logout</li>
            </ul>
        ) : (<Link className="link" to="login">Login</Link>)
    }
        </div>
    );
};
export default Navbar
We imported Link from react-router-dom and then wrapped our “Openreplay Demo Blog” with it. We also passed user as a prop so that if we don’t have any user logged in, it’s not going to show the data in the top right corner of the app, such as the name and logo, as shown in the image below:
For our Card component, we edited the Card.js file to look like this:
import { Link } from "react-router-dom";
const Card = ({post}) => {
    return (
        <div className="card">
        <Link className="link" to={`/post/${post.id}`}>
          <span className= "title">{post.title}</span>
          <img src={post.img} alt="" className="img" />
          <p className="desc">{post.desc}</p>
          <button className="cardButton">Read More!</button>
        </Link>
        </div>
    )
}
export default Card
We created a Link and className, which links to the post page.
In our Post.js file, we made these changes:
import { useLocation } from "react-router";
import { posts } from "../Data";
const Post = () => {
  const location = useLocation()
  const path = location.pathname.split("/") [2]

  const post = posts.find((p) => p.id.toString() === path);
  console.log(location)
  return (
    <div className="post">
      <img src={post.img} alt="" className="postImg" />
      <h1 className="postTitle">{post.title}</h1>
      <p className="postDesc">{post.desc}</p>
      <p className="postLongDesc">{post.longDesc}</p>
    </div>
  );
};
export default Post;
Here, we used the useLocation hook and created a condition in const post that allows us to reach the actual posts of each card when we click on “read more,” as demonstrated below:

React Passport.js
The next step is to log in to our demo application using social media accounts such as Facebook and Github. But before we do that, let’s use Passport.js. To use Passport, we must create an Express server.
First, we created a new folder called Backend in our main project folder, as shown in the image earlier in this article. Then, we cd into the Backend folder on our terminal and run the command npm init -y'. We will also create an index.js` file to write the main application’s code. But before we do that, let’s install the following libraries on our terminal:
npm i express passport cors nodemon cookie-session- The cors library allows us to make requests from any client server. In our case, it is our React app.
- Nodemon helps us restart our node application automatically if it notices any changes.
- Cookie-session stores users’ session data within a cookie.
In our index.js file, we included the following code:
const cookieSession = require("cookie-session");
const express = require("express");
const passport = require("passport");
const app = express()
app.use(
    cookieSession({name:"session", keys:["openreplay"], maxAge: 24 * 60 * 60 * 100,})
);
app.use(passport.initialize());
app.use(passport.session());
app.use(cors({
    origin: "http://localhost:3000",
    methods: "GET,POST,PUT,DELETE",
    credentials: true,
  })
);
app.listen("5000", ()=>{
    console.log("server is running!")
})
We created our Express app by inputting the const app = express() function, then we edited out package.json file to look like this:
"scripts": {
    "start": "nodemon index.js"
  },
Nodemon will listen to the application and restart it if any changes occur. In our index.js file above, we introduced the cookieSession, then initialized our Passport and used it with the session. We also use Cors to make requests from our React app.
React Google Login Authentication
In this section, we are going to authenticate our application with Google. To get started, click on “strategies” on the Passport site.
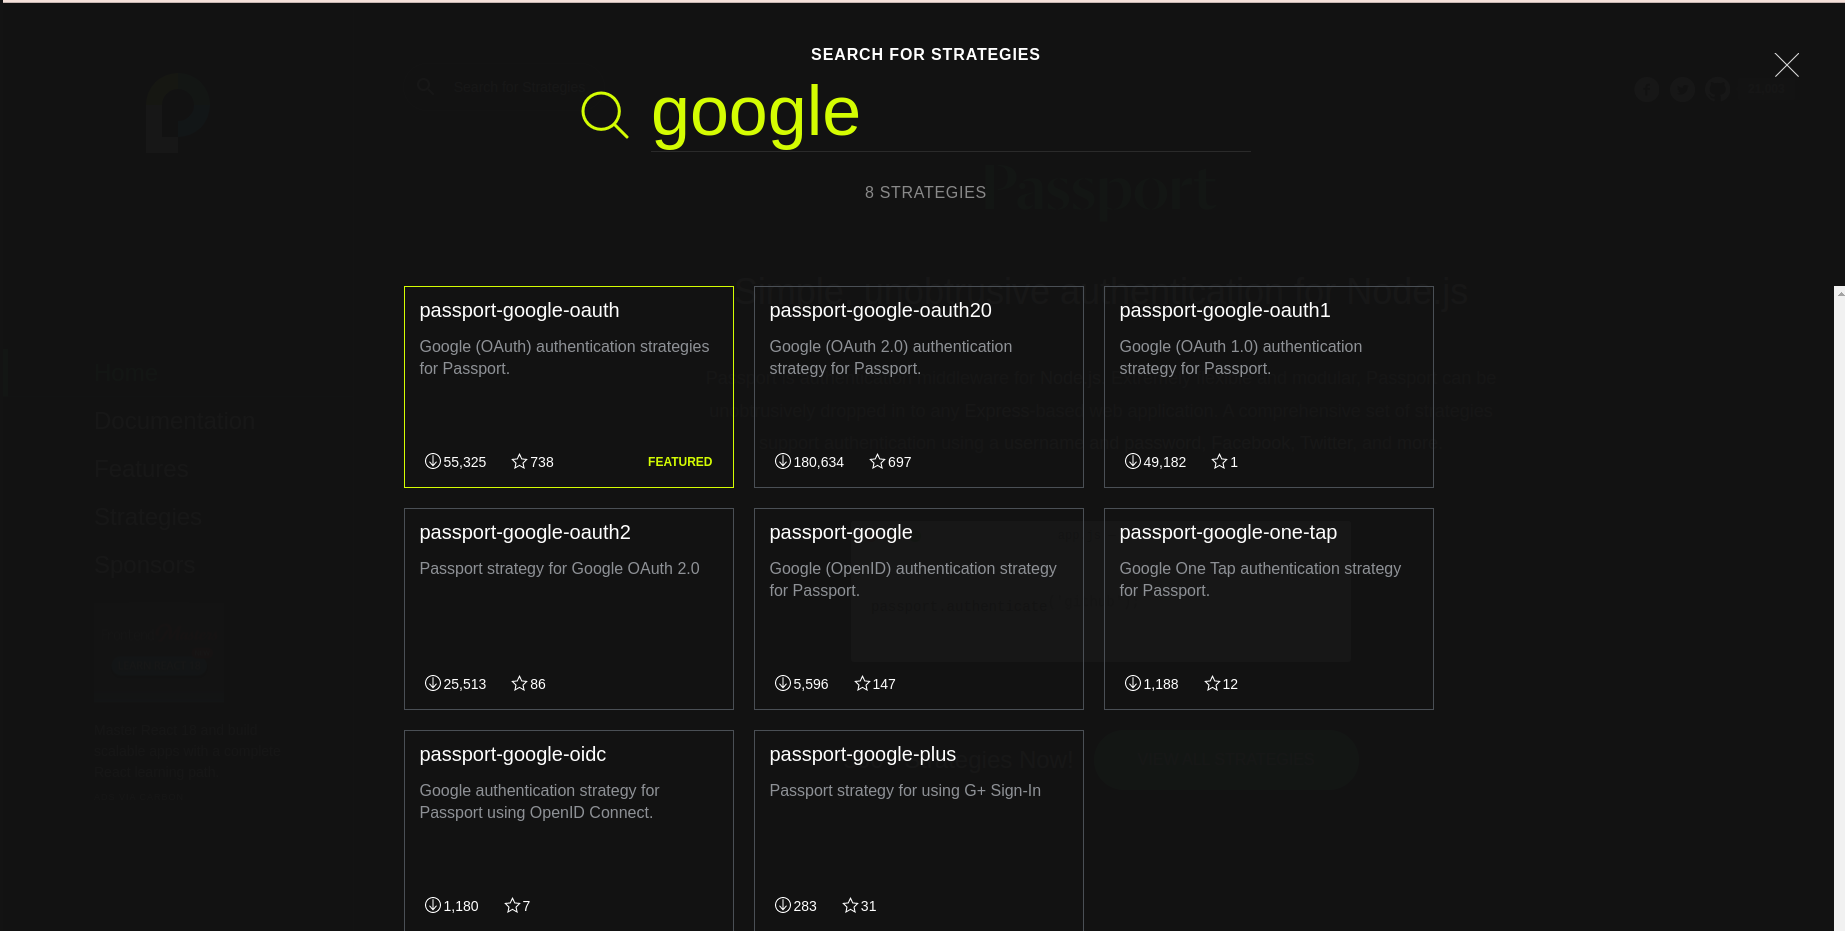
On the next page, search “Google” and select “passport-googlel-oauth20” as shown below:
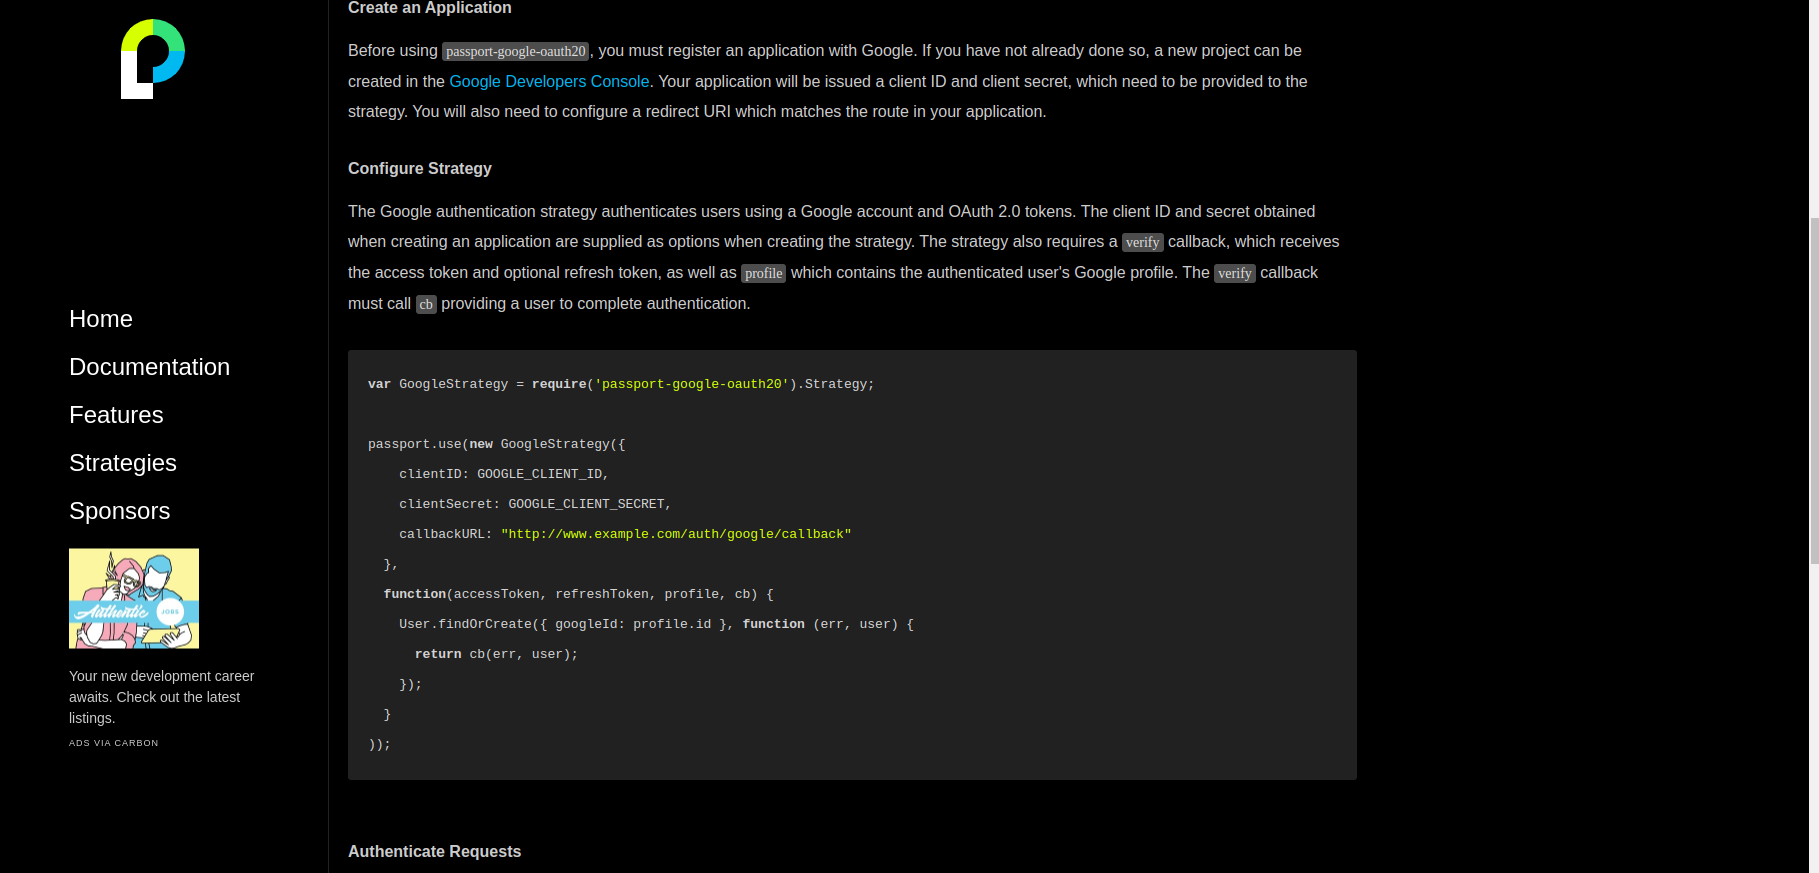
Once you do that, scroll down and copy the installation command, then run it on your terminal like this:
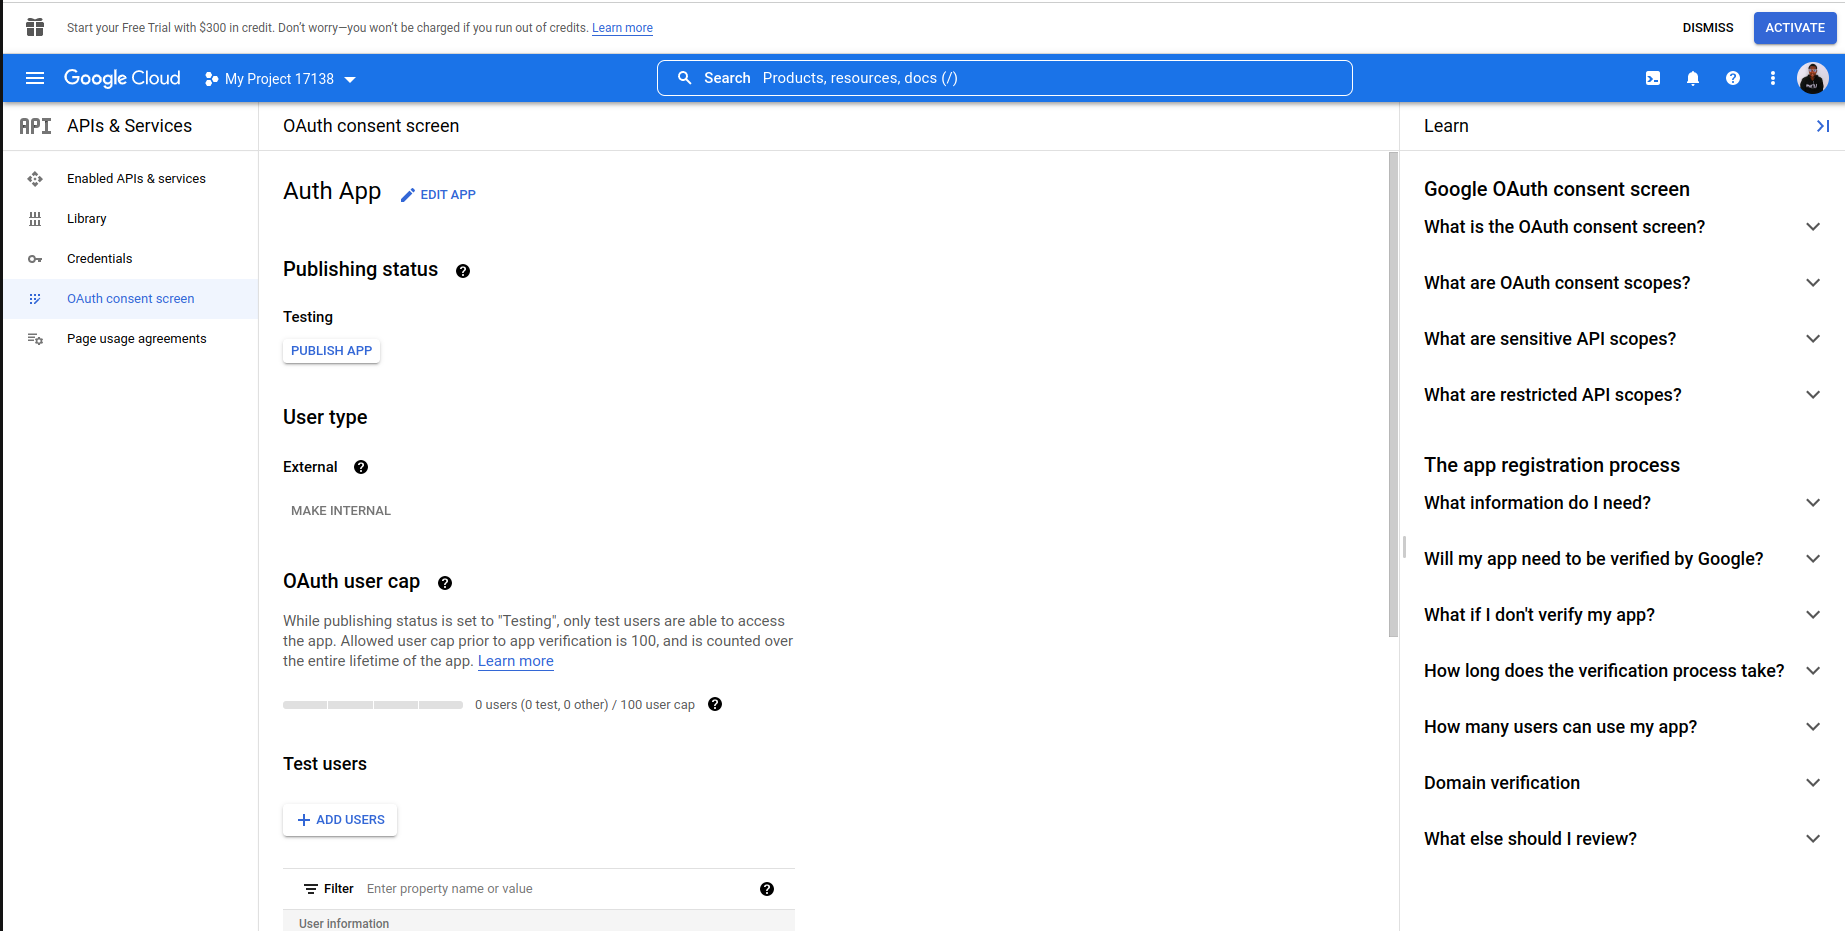
npm install passport-google-oauth20We will need a clientID and clientSecret as specified in the Passport Google Authentication doc. To get that, we will visit the Google Cloud Platform, click on “APIs and Services,” then “Credentials,” and finally, “create credentials.” You should configure the “0Auth consent screen” before any of the previously mentioned steps. It should look like this:
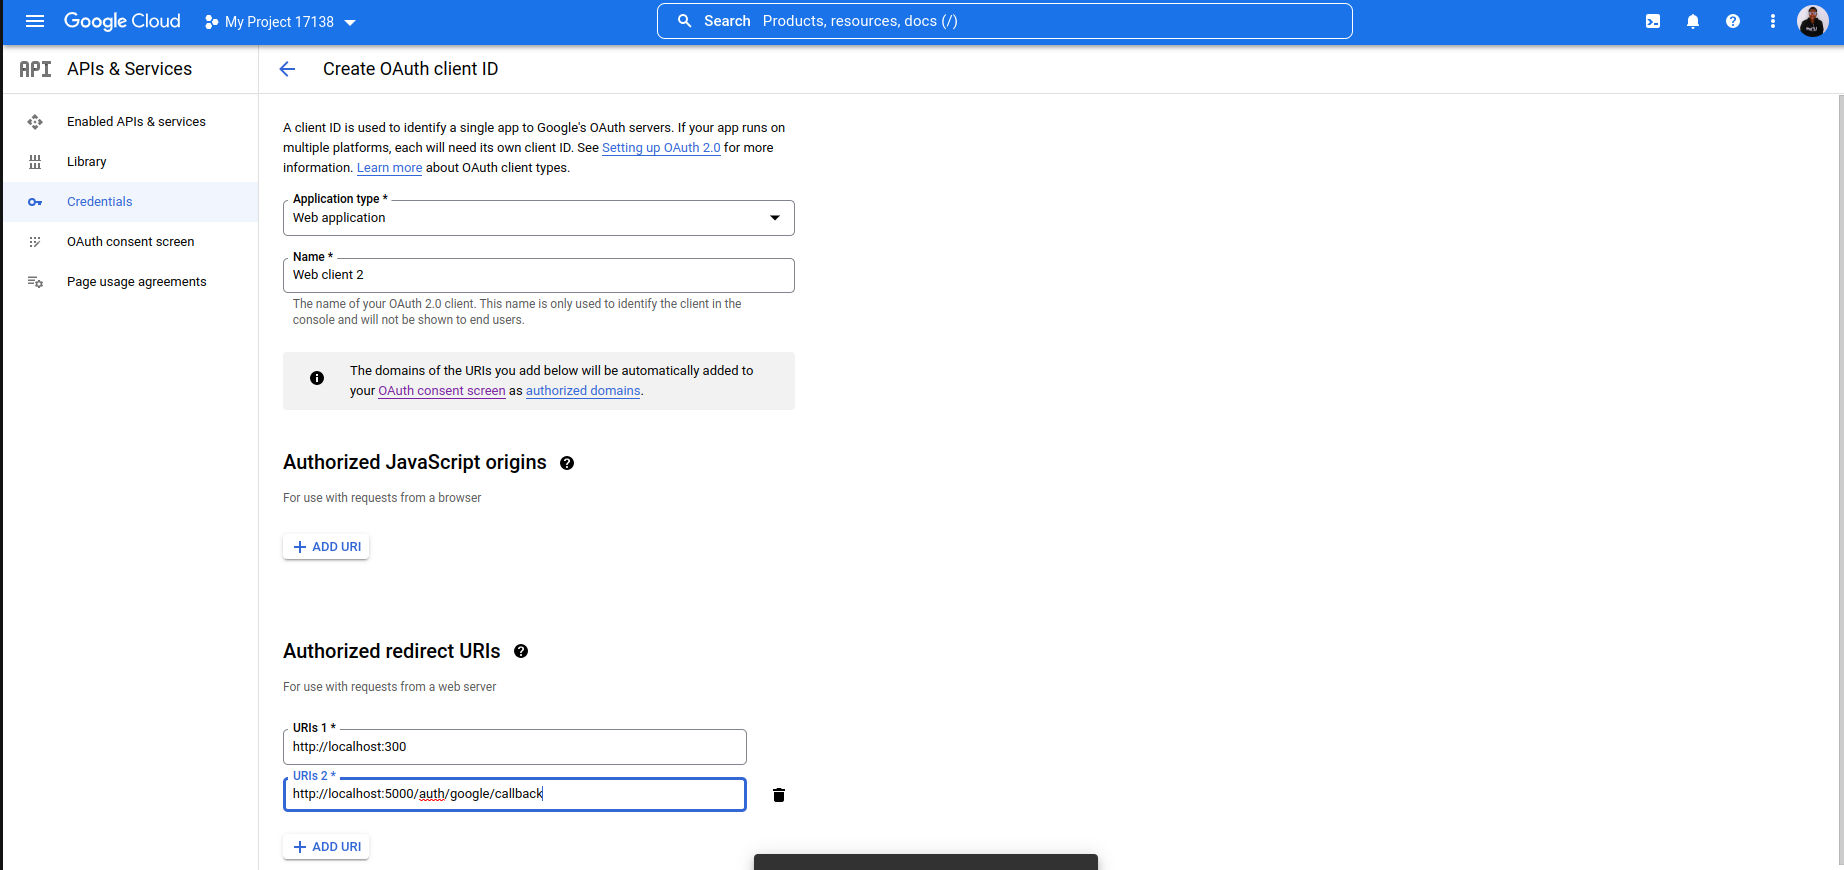
After this, head back to your credentials to create a new credential. Select “OAuth 2.0 Client IDs”, and edit it to look like this:
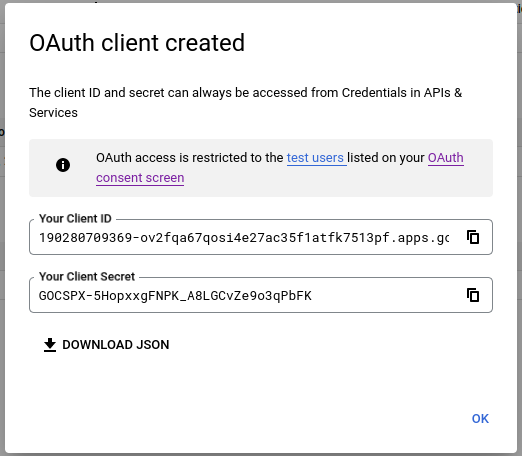
Once you are done, click on save, and you will be directed to where you can get your client ID and client secret, as shown below:
The next step is to head back into your code editor and create a passport.js file inside our backend folder and input the following code:
const GOOGLE_CLIENT_ID = "190280709369-ov2fqa67qosi4e27ac35f1atfk7513pf.apps.googleusercontent.com"
const GOOGLE_CLIENT_SECRET = "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"
We further edited the passport.js app to look like this:
const GoogleStrategy = require('passport-google-oauth20').Strategy;
const passport = require("passport");
const GOOGLE_CLIENT_ID = "190280709369-ov2fqa67qosi4e27ac35f1atfk7513pf.apps.googleusercontent.com"
const GOOGLE_CLIENT_SECRET = "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"
passport.use(
    new GoogleStrategy(
  {
    clientID: GOOGLE_CLIENT_ID,
    clientSecret: GOOGLE_CLIENT_SECRET,
    callbackURL: "/auth/google/callback",
  },
  function (accessToken, refreshToken, profile, done) {
    done(null,profile );
  }
  )
);
passport.serializeUser((user,done)=>{
    done(null,user);
});
passport.deserializeUser((user,done)=>{
    done(null,user);
});
Here, we copied the passport.use function from the passport Google auth page, as shown in the photo example below:

Based on the code above, we have a function that gives us accessToken, refreshToken, and profile after authentication. We also used done so that if the authentication is successfully done, it will return no error, only profile.
Also, since we use sessions, we did serializeUser and deserializeUser to pass our session.
In our index.js file, we edited the code to look like this:
const cookieSession = require("cookie-session");
const express = require("express");
const cors = require("cors")
const passportSetup = require("./passport")
const passport = require("passport");
const authRoute = require("./routes/auth")
const app = express();
app.use(
    cookieSession({name:"session", keys:["openreplay"], maxAge: 24 * 60 * 60 * 100,})
);
app.use(passport.initialize());
app.use(passport.session());
app.use(cors({
    origin: "http://localhost:3000",
    methods: "GET,POST,PUT,DELETE",
    credentials: true,
  })
);
app.use("/auth", authRoute);
app.listen("5000", ()=>{
    console.log("server is running!")
})
We used the passport.js file in the index.js file by doing const passportSetup = require("./passport"). Next, we created a Route folder inside the backend folder; then, we created our auth.js file in the Route folder and edited it to look like this:
const router = require("express").Router();
const passport = require("passport");
const CLIENT_URL = "http://localhost:3000/"
router.get("/login/success", (req,res) => {
      if(req.user) {
    res.status(200).json({
        success:true,
        message: "successful",
        user: req.user,
        //cookies: req.cookies
    });
  }
});
router.get("/login/failed", (req,res) => {
    res.status(401).json({
        success:false,
        message: "failure",
    });
});
router.get("/logout", (req, res) => {
    req.logout();
    res.redirect(CLIENT_URL);
});
router.get("/google", passport.authenticate("google", { scope: ["profile"] }));
router.get(
    "/google/callback",
    passport.authenticate("google",{
    successRedirect: CLIENT_URL,
    failureRedirect: "/login/failed",
  })
);
module.exports = router
Here we imported Passport; then, we got a client request by doing a router.get method. Next, we created a /google/callback function. successRedirect redirects us to the home page after successful authentication. failureRedirect, on the other hand, directs us to another URL if the authentication fails.
See the demonstration of Google login authentication below:

Session Replay for Developers
Uncover frustrations, understand bugs and fix slowdowns like never before with OpenReplay — an open-source session replay tool for developers. Self-host it in minutes, and have complete control over your customer data. Check our GitHub repo and join the thousands of developers in our community.
React Github Login Authentication
We will head over to the passport side for GitHub authentication, as done with the Google authentication.
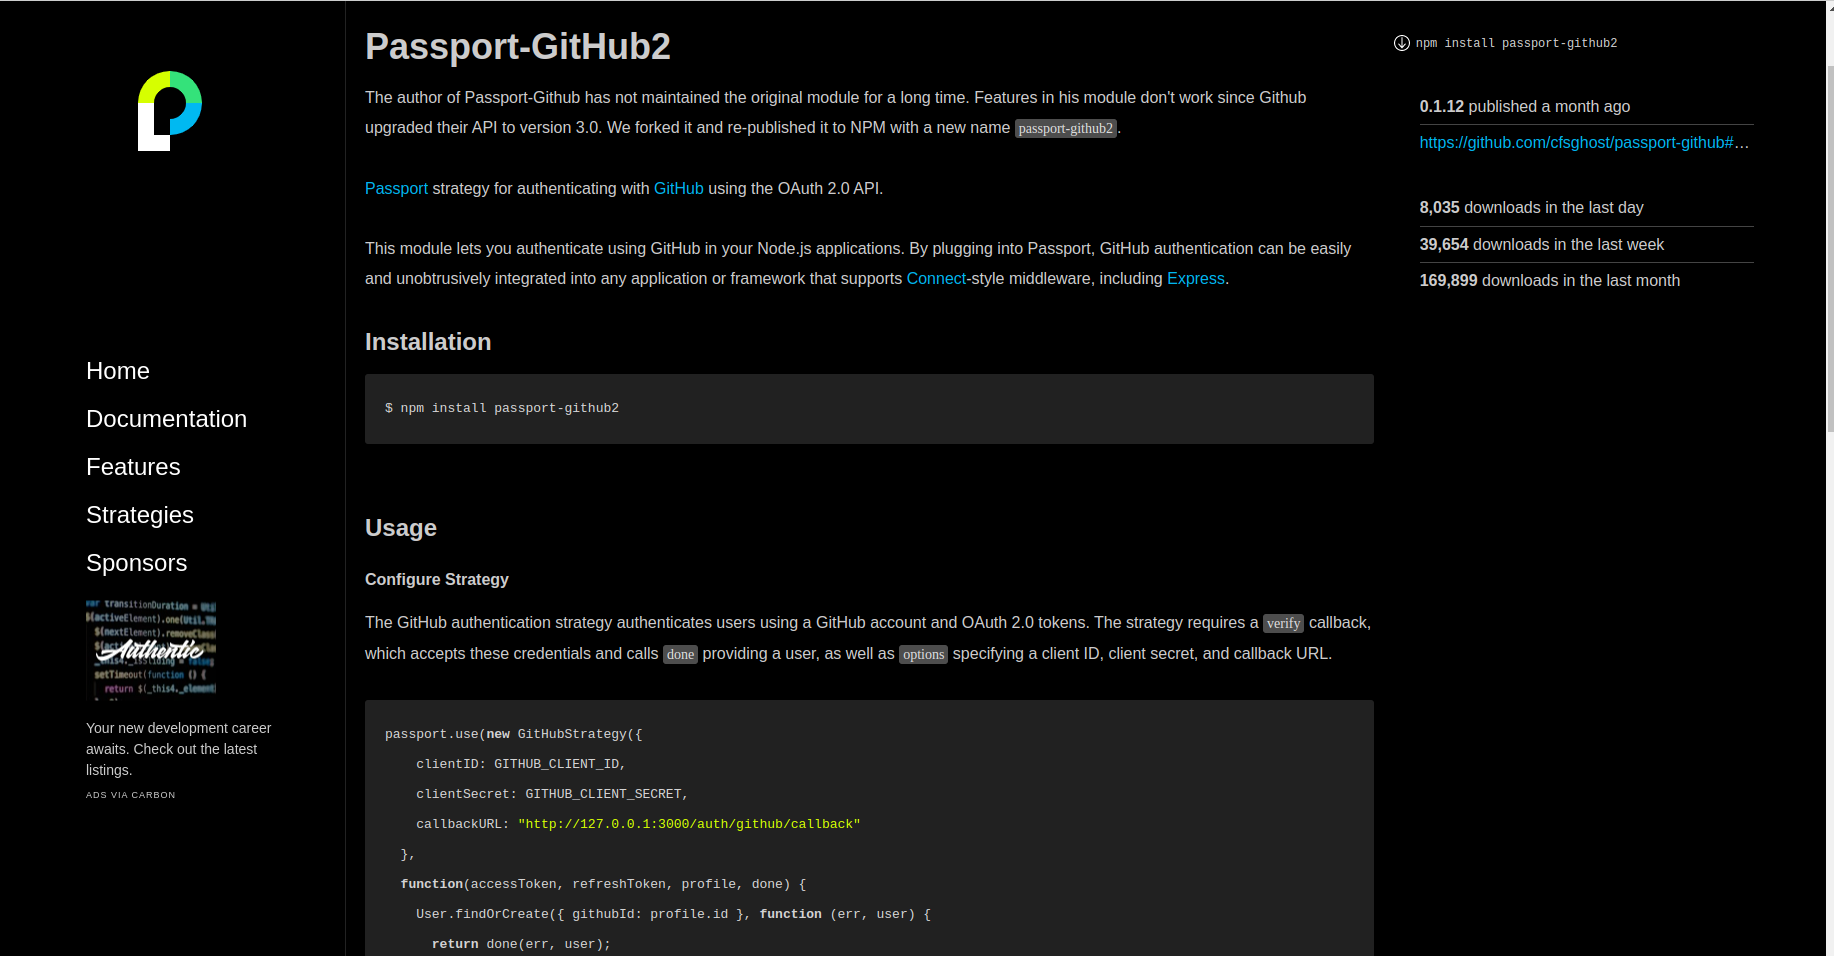
Select “passport-github2”, and you will be directed to this page:
The next step is to install the library using the command below:
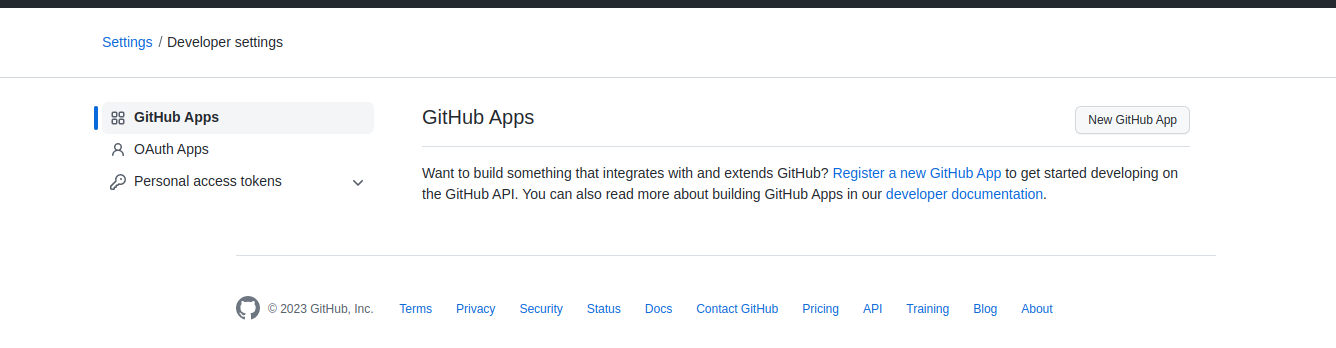
npm install passport-github2The next step is to log in to your GitHub profile, and navigate to settings>Developer settings, as shown below:
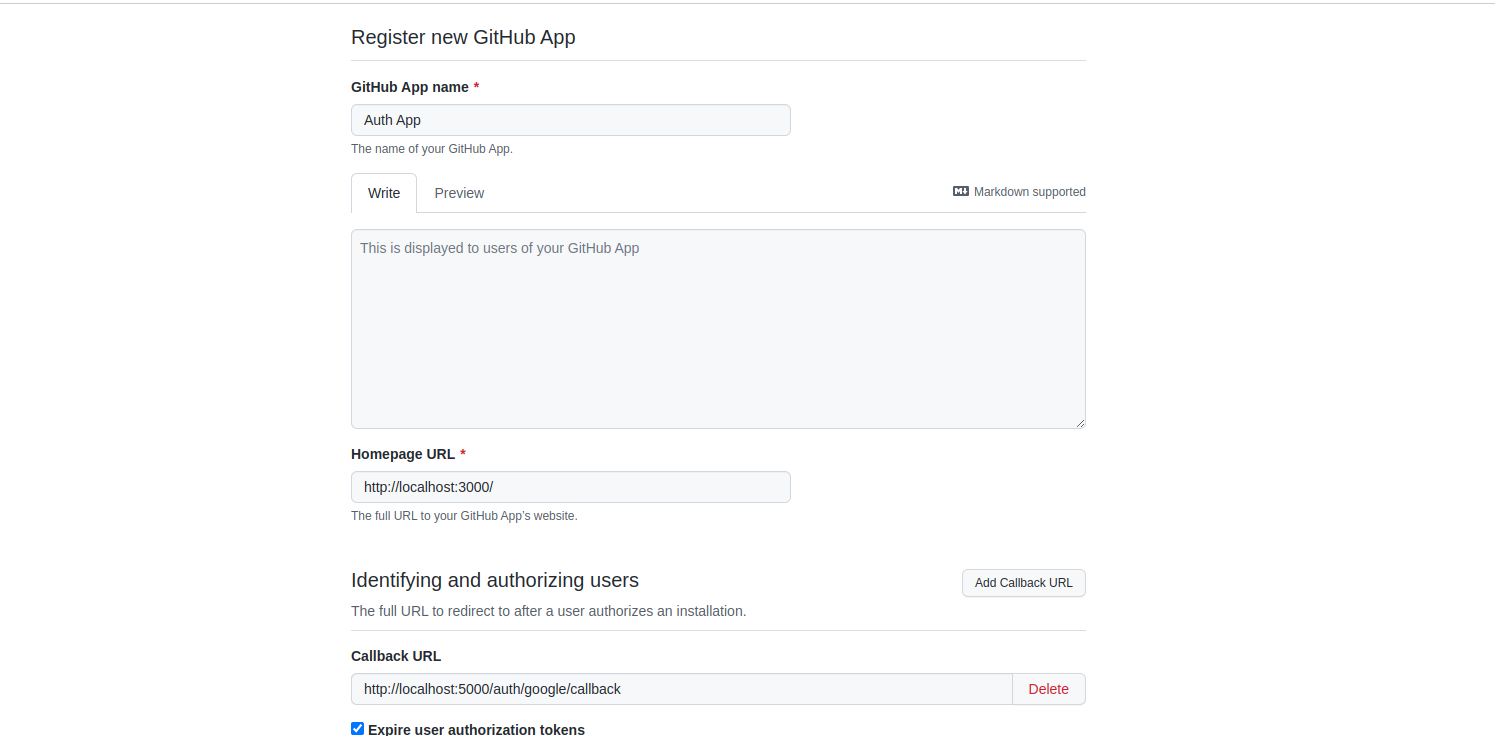
Click on “New GitHub App” and edit the next page to be like this:
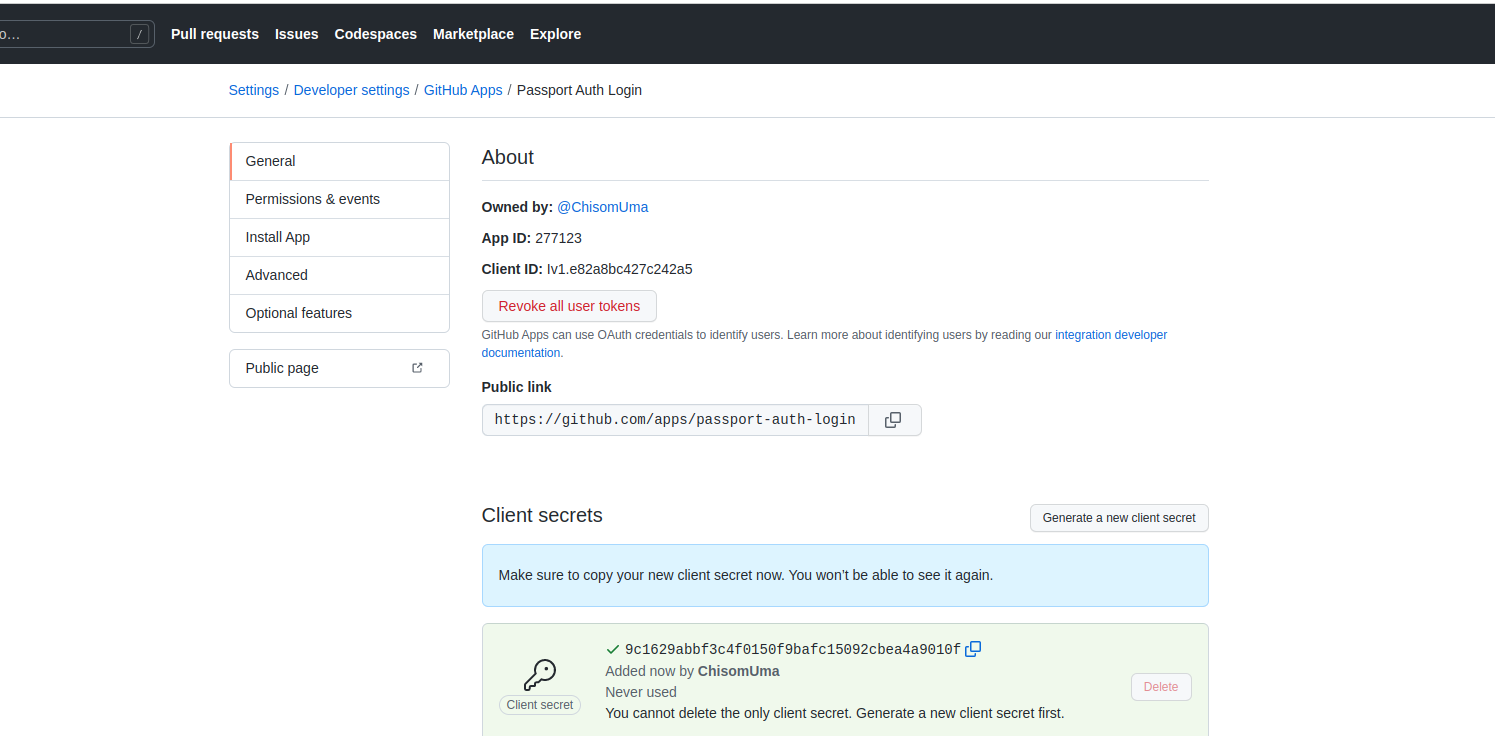
Once you are done creating the new Github app, you should get the client ID and secret, as shown below:

Next, we paste the following code in our Passport.js file.
GITHUB_CLIENT_ID = " Iv1.e82a8bc427c242a5";
GITHUB_CLIENT_SECRET = "9c1629abbf3c4f0150f9bafc15092cbea4a9010f";
We then duplicated the code for the GitHub authentication to get our client ID and secret.
passport.use(
    new GoogleStrategy(
  {
    clientID: GOOGLE_CLIENT_ID,
    clientSecret: GOOGLE_CLIENT_SECRET,
    callbackURL: "/auth/google/callback",
  },
  function (accessToken, refreshToken, profile, done) {
    done(null,profile );
  }
  )
);
passport.use(
  new GithubStrategy(
    {
      clientID: GITHUB_CLIENT_ID,
      clientSecret: GITHUB_CLIENT_SECRET,
      callbackURL: "/auth/github/callback",
    },
    function (accessToken, refreshToken, profile, done) {
      done(null, profile);
    }
  )
);
In our auth.js file, we also made a code duplication for Github using the callback functions:
router.get("/google", passport.authenticate("google", { scope: ["profile"] }));
router.get(
    "/google/callback",
    passport.authenticate("google",{
    successRedirect: CLIENT_URL,
    failureRedirect: "/login/failed",
  })
);
router.get("/github", passport.authenticate("github", { scope: ["profile"] }));
router.get(
  "/github/callback",
  passport.authenticate("github", {
    successRedirect: CLIENT_URL,
    failureRedirect: "/login/failed",
  })
);
We also made minor changes to the Login.js file in the Client folder, including an onClick for the GitHub button.
See the results below:

React Facebook Login Authentication
For Facebook, if we create our functions as we did before, we will get an error because we can not use HTTP URLs on Facebook APIs. It should be on HTTPS, so we cannot use localhost. So you either get a domain or somehow make your localhost HTTPS.
First, we make the usual code duplicates and changes in our auth.js file as we have done previously, then we go into our passport site for “passport-facebook” as shown below:
Next, we run this command:
npm install passport-facebookThen make similar changes to the code shown previously for GitHub and Google. To get your Facebook ID and secret, you can visit Facebook’s developer site.
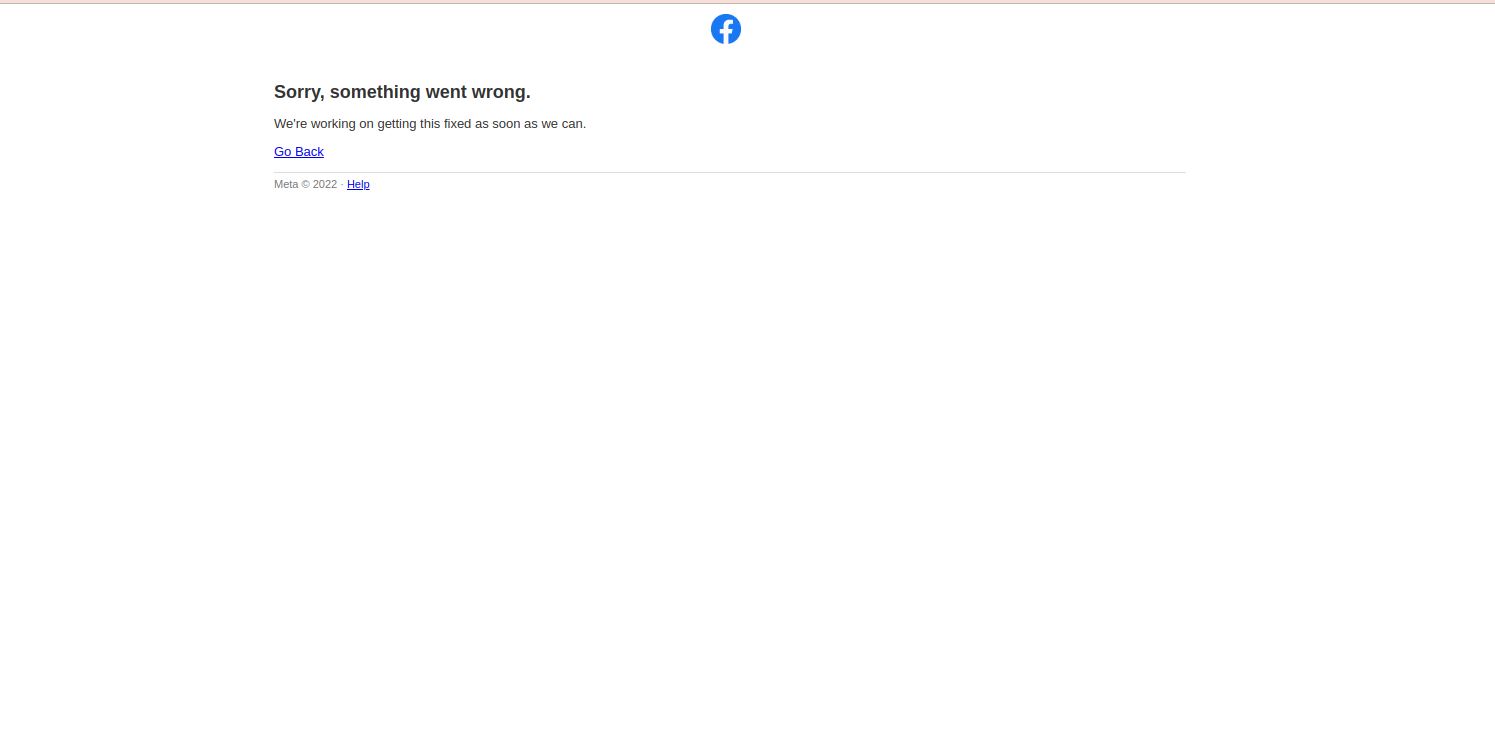
When we try authenticating Facebook, it throws this error:

This is because we are not running on HTTPS. Getting a domain should solve this issue if you are working on a main project.
Other possible social login authentications with Passport.js include:
- JWT
- Azure
- Discord
- Amazon
- Microsoft, and many more.
Conclusion
Nearly every web application today uses some sort of authentication to grant users access to their dashboards. Hence, the importance of authentication.
This article highlights the importance of Passport.js, and how it helps in various social login authentications without much difficulty.
Link to GitHub Repo.
A TIP FROM THE EDITOR: For other related topics, do not miss User Registration And Login With React And Axios.
Gain Debugging Superpowers
Unleash the power of session replay to reproduce bugs and track user frustrations. Get complete visibility into your frontend with OpenReplay, the most advanced open-source session replay tool for developers.