
如何构建MCP服务器:分步指南与代码示例

模型上下文协议(Model Context Protocol, MCP)正在成为连接AI模型与现实世界工具和服务的新标准。构建MCP服务器允许你通过简单、标准化的接口向Claude等LLM暴露数据、操作和资源。
在本指南中,你将逐步学习如何用Python设置基本的MCP服务器,定义资源和工具,并将其连接到MCP客户端。
关键要点
- MCP服务器允许AI模型通过标准化的资源和工具与外部系统交互。
- 你可以使用官方SDK在Python中构建MCP服务器。
- 一个最小可用的服务器可以暴露只读数据(资源)和可执行操作(工具)。
- 安全性和错误处理对生产环境部署至关重要。
什么是MCP服务器
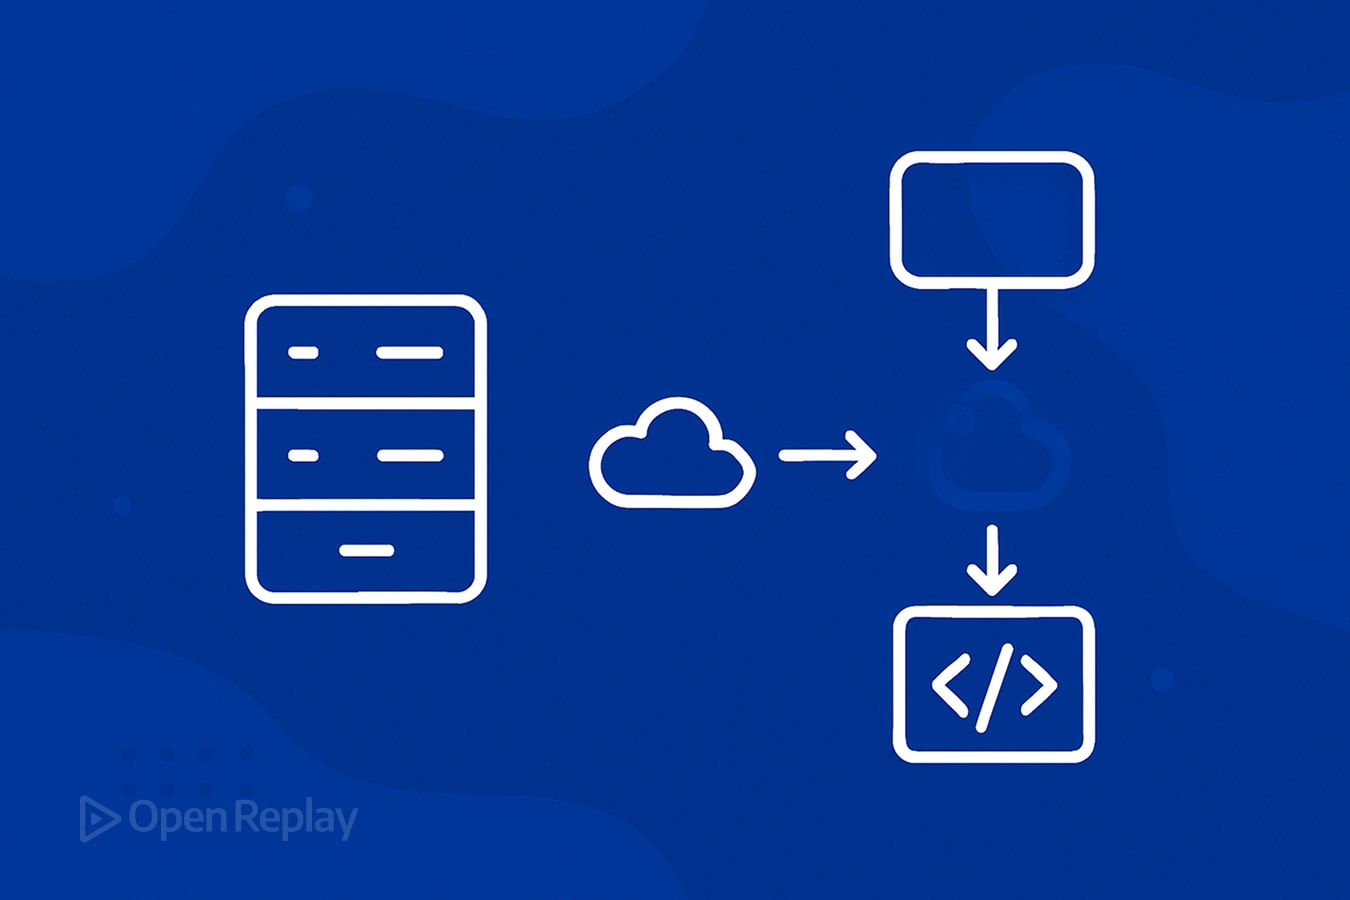
MCP服务器充当LLM与外部系统(如数据库、文件存储或API)之间的桥梁。它以LLM可以在任务中安全使用的方式定义资源(可读数据)、工具(操作)和提示(指令)。
MCP提供了一个通用标准,而不是为每个模型或工具编写自定义集成,该标准适用于协议版本0.1(截至2025年4月的当前版本)。
开始前需要准备什么
- Python 3.8或更高版本
- Python脚本编写的基本经验
- Python版MCP SDK(通过pip获取)
- 兼容MCP的客户端,如Claude Desktop或Cursor(可选,用于测试)
- Git进行版本控制(推荐)
- 文本编辑器或IDE(推荐Visual Studio Code)
理解核心结构
在MCP中:
- 服务器: 向LLM提供资源和工具。
- 客户端: 将LLM连接到你的服务器。
- 协议: 管理客户端和服务器之间的通信。
你将定义两个重要的原语:
- 资源: LLM可以读取的静态或动态信息。
- 工具: LLM可以执行的可调用函数。
通信流程如下:
- LLM(通过客户端)从你的服务器请求数据或操作
- 你的服务器处理这些请求并返回标准化的响应
- LLM然后可以在其推理和响应中使用这些信息
1. 设置你的Python项目
首先创建一个项目目录和Python虚拟环境。
mkdir my_mcp_server
cd my_mcp_server
python -m venv venv
source venv/bin/activate  # Linux/Mac
venvScriptsactivate     # Windows
创建基本项目结构:
mkdir -p src/resources src/tools tests
touch src/__init__.py src/resources/__init__.py src/tools/__init__.py
touch requirements.txt README.md在requirements.txt中添加以下内容:
mcp-server>=0.1.0
pydantic>=2.0.0
pytest>=7.0.0
2. 安装MCP SDK
安装Python版MCP服务器SDK和其他依赖:
pip install -r requirements.txt如果官方SDK尚未发布,你可能需要从GitHub仓库安装:
pip install git+https://github.com/anthropic/mcp-server-python.git3. 创建基本MCP服务器
创建一个名为src/server.py的文件:
from typing import Dict, Any
from mcp_server import MCPServer
import logging

# Configure logging
logging.basicConfig(
    level=logging.INFO,
    format='%(asctime)s - %(name)s - %(levelname)s - %(message)s'
)
logger = logging.getLogger("mcp_server")

def main() -> None:
    """Initialize and start the MCP server."""
    try:
        server = MCPServer(
            name="MyMCPServer",
            version="0.1.0",
            description="A simple MCP server example"
        )

        # Resources and tools will be added here

        logger.info("Starting MCP server...")
        server.start()
    except Exception as e:
        logger.error(f"Failed to start MCP server: {e}")
        raise

if __name__ == "__main__":
    main()
这设置了一个带有适当日志记录的基本MCP服务器。
4. 定义资源
资源暴露模型可以读取的数据。让我们创建一个文件src/resources/user_profiles.py:
from typing import List, Dict, Any
from pydantic import BaseModel
import logging

logger = logging.getLogger("mcp_server.resources")

class UserProfile(BaseModel):
    """Data model for user profiles."""
    name: str
    role: str
    department: str = "General"
    years_experience: int = 0

def fetch_user_profiles() -> List[Dict[str, Any]]:
    """
    Fetch user profiles from the database.

    Returns:
        List[Dict[str, Any]]: A list of user profile dictionaries.
    """
    try:
        # In a real implementation, this would query a database
        # For this example, we'll return mock data
        users = [
            UserProfile(name="Alice", role="Engineer", department="Engineering", years_experience=5),
            UserProfile(name="Bob", role="Product Manager", department="Product", years_experience=3),
            UserProfile(name="Charlie", role="Designer", department="Design", years_experience=7)
        ]

        logger.info(f"Successfully fetched {len(users)} user profiles")
        return [user.model_dump() for user in users]
    except Exception as e:
        logger.error(f"Error fetching user profiles: {e}")
        # In production, you might want to return an empty list or raise
        # a specific exception depending on your error handling strategy
return []现在更新src/server.py以包含这个资源:
from typing import Dict, Any
from mcp_server import MCPServer, Resource
import logging
from src.resources.user_profiles import fetch_user_profiles

# ... existing code ...

def main() -> None:
    """Initialize and start the MCP server."""
    try:
        server = MCPServer(
            name="MyMCPServer",
            version="0.1.0",
            description="A simple MCP server example"
        )

        # Add the user profiles resource
        user_profiles = Resource(
            name="user_profiles",
            description="List of user profiles from the company database.",
            fetch_fn=fetch_user_profiles
        )

        server.add_resource(user_profiles)

        logger.info("Starting MCP server...")
        server.start()
    except Exception as e:
        logger.error(f"Failed to start MCP server: {e}")
        raise

if __name__ == "__main__":
main()LLM现在可以通过MCP客户端查询user_profiles。
5. 定义工具
工具允许LLM执行操作。创建一个文件src/tools/user_management.py:
from typing import Dict, Any, Optional
from pydantic import BaseModel, Field, ValidationError
import logging

logger = logging.getLogger("mcp_server.tools")

class CreateUserRequest(BaseModel):
    """Validation model for user creation requests."""
    name: str = Field(..., min_length=2, description="User's full name")
    role: str = Field(..., min_length=2, description="User's job role")
    department: Optional[str] = Field("General", description="User's department")
    years_experience: Optional[int] = Field(0, ge=0, description="Years of professional experience")

def create_user_profile(request_data: Dict[str, Any]) -> Dict[str, Any]:
    """
    Create a new user profile in the database.

    Args:
        request_data (Dict[str, Any]): User data containing name, role, etc.

    Returns:
        Dict[str, Any]: Response with status and user info
    """
    try:
        # Validate the input data
        user_data = CreateUserRequest(**request_data)

        # In a real implementation, this would insert into a database
        # For this example, we'll just log the action
        logger.info(f"Creating new user: {user_data.name} - {user_data.role} in {user_data.department}")

        # Return success response with created user data
        return {
            "status": "success",
            "message": f"User {user_data.name} created successfully",
            "user": user_data.model_dump()
        }
    except ValidationError as e:
        # Handle validation errors
        logger.error(f"Validation error: {e}")
        return {
            "status": "error",
            "message": "Invalid user data provided",
            "details": str(e)
        }
    except Exception as e:
        # Handle other errors
        logger.error(f"Error creating user: {e}")
        return {
            "status": "error",
            "message": "Failed to create user",
            "details": str(e)
}现在更新src/server.py以包含这个工具:
from typing import Dict, Any
from mcp_server import MCPServer, Resource, Tool
import logging
from src.resources.user_profiles import fetch_user_profiles
from src.tools.user_management import create_user_profile

# ... existing code ...

def main() -> None:
    """Initialize and start the MCP server."""
    try:
        server = MCPServer(
            name="MyMCPServer",
            version="0.1.0",
            description="A simple MCP server example"
        )

        # Add the user profiles resource
        user_profiles = Resource(
            name="user_profiles",
            description="List of user profiles from the company database.",
            fetch_fn=fetch_user_profiles
        )

        # Add the create user tool
        create_user = Tool(
            name="create_user_profile",
            description="Create a new user profile in the database.",
            parameters={
                "name": {"type": "string", "description": "User's full name"},
                "role": {"type": "string", "description": "User's job role"},
                "department": {"type": "string", "description": "User's department (optional)"},
                "years_experience": {"type": "integer", "description": "Years of experience (optional)"}
            },
            execute_fn=create_user_profile
        )

        server.add_resource(user_profiles)
        server.add_tool(create_user)

        logger.info("Starting MCP server...")
        server.start()
    except Exception as e:
        logger.error(f"Failed to start MCP server: {e}")
        raise
6. 错误处理和验证
创建一个文件src/utils/validation.py来集中你的验证逻辑:
from typing import Dict, Any, List, Optional, Type
from pydantic import BaseModel, ValidationError
import logging

logger = logging.getLogger("mcp_server.validation")

def validate_request(
    data: Dict[str, Any],
    model_class: Type[BaseModel]
) -> tuple[Optional[BaseModel], Optional[Dict[str, Any]]]:
    """
    Validate request data against a Pydantic model.

    Args:
        data: The input data to validate
        model_class: The Pydantic model class to use for validation

    Returns:
        tuple: (validated_model, error_dict)
            - If valid: (model instance, None)
            - If invalid: (None, error dictionary)
    """
    try:
        validated_data = model_class(**data)
        return validated_data, None
    except ValidationError as e:
        errors = e.errors()
        error_dict = {
            "status": "error",
            "message": "Validation failed",
            "errors": errors
        }
        logger.error(f"Validation error: {errors}")
        return None, error_dict
这个工具函数可以在所有工具中使用,以一致地验证输入数据。
7. 运行和测试MCP服务器
创建一个简单的测试脚本test_server.py来验证你的服务器是否正常工作:
import requests
import json
import time
import subprocess
import sys
from pathlib import Path

def test_server():
    """Simple test to verify the MCP server is running correctly."""
    # Start the server in a separate process
    server_process = subprocess.Popen([sys.executable, "src/server.py"])

    try:
        # Wait for server to start
        time.sleep(2)

        # Test the server using the MCP client
        # In a real test, you would use the MCP client SDK
        # For this example, we'll simulate a client using HTTP requests

        # Assuming the server is running on localhost:8000
        base_url = "http://localhost:8000"

        # Test fetching resources
        response = requests.get(f"{base_url}/resources/user_profiles")
        assert response.status_code == 200
        data = response.json()
        print("Resource response:", json.dumps(data, indent=2))

        # Test executing a tool
        tool_data = {
            "name": "Test User",
            "role": "Tester",
            "department": "QA"
        }
        response = requests.post(
            f"{base_url}/tools/create_user_profile",
            json=tool_data
        )
        assert response.status_code == 200
        data = response.json()
        print("Tool response:", json.dumps(data, indent=2))

        print("All tests passed!")

    finally:
        # Clean up: terminate the server process
        server_process.terminate()
        server_process.wait()

if __name__ == "__main__":
    test_server()
运行你的服务器:
python src/server.py在另一个终端中,当服务器运行时,你可能会看到类似这样的输出:
2025-04-28 10:15:23 - mcp_server - INFO - Starting MCP server...
2025-04-28 10:15:23 - mcp_server - INFO - Server listening on 0.0.0.0:8000
2025-04-28 10:15:30 - mcp_server.resources - INFO - Successfully fetched 3 user profiles
2025-04-28 10:15:35 - mcp_server.tools - INFO - Creating new user: Test User - Tester in QA
然后配置你的MCP客户端(如Claude Desktop)通过提供服务器URL或启动服务器的命令来连接到你的本地MCP服务器。
安全考虑
部署MCP服务器时,请考虑这些安全最佳实践:
- 身份验证: 实现API密钥或OAuth来验证客户端。
def authenticate_request(request):
    api_key = request.headers.get("X-API-Key")
    if not api_key or api_key != os.environ.get("MCP_API_KEY"):
raise ValueError("Invalid API key")- 输入验证: 始终使用Pydantic模型验证所有输入。
- 速率限制: 实现速率限制以防止滥用。
- HTTPS: 在生产环境中始终使用HTTPS。
- 受限操作: 明确定义工具可以执行的操作边界。
性能优化
- 缓存: 缓存昂贵的资源获取:
from functools import lru_cache

@lru_cache(maxsize=128, ttl=300)  # Cache for 5 minutes
def fetch_user_profiles():
    # Expensive database query
pass- 异步处理: 对I/O绑定操作使用异步:
async def fetch_user_profiles():
    async with aiohttp.ClientSession() as session:
        async with session.get("https://api.example.com/users") as response:
            data = await response.json()
return data- 连接池: 对数据库访问使用连接池。
部署
本地开发
对于本地开发,运行:
python src/server.pyDocker部署
创建一个Dockerfile:
FROM python:3.10-slim

WORKDIR /app

COPY requirements.txt .
RUN pip install --no-cache-dir -r requirements.txt

COPY . .

EXPOSE 8000

CMD ["python", "src/server.py"]
构建并运行:
docker build -t mcp-server .
docker run -p 8000:8000 mcp-server
云部署(AWS)
- 创建EC2实例或使用AWS App Runner
- 部署你的Docker容器
- 设置应用负载均衡器
- 配置安全组以限制访问
测试你的MCP服务器
创建一个测试文件tests/test_resources.py:
import pytest
from src.resources.user_profiles import fetch_user_profiles

def test_fetch_user_profiles():
    """Test that user profiles can be fetched successfully."""
    profiles = fetch_user_profiles()

    # Check structure
    assert isinstance(profiles, list)
    assert len(profiles) > 0

    # Check content
    first_profile = profiles[0]
    assert "name" in first_profile
    assert "role" in first_profile
    assert isinstance(first_profile["name"], str)
使用以下命令运行测试:
pytest常见错误和故障排除
问题 解决方案 示例 无法连接到MCP服务器 检查你的服务器是否正在运行,端口是否正确 netstat -tulpn | grep 8000 LLM找不到资源 验证name和description字段是否正确设置 检查你的Resource初始化 工具执行中的错误 验证输入参数是否与预期类型匹配 使用Pydantic进行验证 客户端无法解析输出 确保你的函数返回可JSON序列化的数据 使用.model_dump()而不是自定义对象 服务器启动时崩溃 检查你的导入和环境变量 设置DEBUG=True获取详细日志 工具超时 为外部API调用添加超时处理 使用带超时的asyncio.wait_for() 身份验证失败 验证API密钥和权限 检查请求头 XML/JSON解析错误 使用正确的内容类型头 设置Content-Type: application/json
下一步
构建基本MCP服务器后,考虑这些高级扩展:
- 数据库集成: 连接到PostgreSQL、MongoDB或其他数据库。
- 文件操作: 添加用于文件读取、写入和转换的工具。
- 外部API: 与GitHub、Slack或Google Drive等流行服务集成。
- Webhooks: 允许LLM在其他系统中触发事件。
- 流式资源: 支持大型数据集的流式传输。
- 上下文感知操作: 添加理解LLM当前上下文的工具。
示例: 添加数据库连接
import psycopg2
from contextlib import contextmanager

@contextmanager
def get_db_connection():
    """Create a database connection context manager."""
    conn = None
    try:
        conn = psycopg2.connect(
            host=os.environ.get("DB_HOST"),
            database=os.environ.get("DB_NAME"),
            user=os.environ.get("DB_USER"),
            password=os.environ.get("DB_PASSWORD")
        )
        yield conn
    finally:
        if conn is not None:
            conn.close()

def fetch_user_profiles_from_db():
    """Fetch user profiles from a PostgreSQL database."""
    with get_db_connection() as conn:
        with conn.cursor() as cur:
            cur.execute("SELECT name, role, department FROM users")
            columns = [desc[0] for desc in cur.description]
            return [dict(zip(columns, row)) for row in cur.fetchall()]
结论
在Python中构建简单的MCP服务器为使LLM更强大打开了大门。通过通过清晰、标准化的协议暴露数据和操作,你使AI系统能够更安全、更有意义地与外部服务交互。
从小处着手,专注于一个资源和一个工具,随着时间的推移,你可以扩展到更高级的用例,如数据库、云存储或内部API。
MCP生态系统正在迅速发展,现在实施这些标准将使你的应用能够从协议和使用它的LLM的改进中获益。
常见问题
需要一些Python经验。MCP服务器是需要为资源和工具正确定义的软件进程。
有。Anthropic和贡献者正在为包括Python和TypeScript在内的多种语言发布SDK。
是的。你可以在云平台上托管你的MCP服务器,在防火墙后面,并安全地提供给你的LLM客户端。