Aurelia: Build Powerful Web Apps with Simple Javascript


Have you been searching for a Javascript framework that gets your work done as efficiently and simply as possible? Do you consider performance, speed, and simplicity while choosing the best framework for your project? If so, hang on for the next ten minutes. In this tutorial, you’ll learn how to build a powerful web application with simple JavaScript using Aurelia.
What is Aurelia?
Aurelia is a set of contemporary JavaScript modules that, when combined, offer a powerful platform for developing browser, desktop, and mobile apps, all of which are open source and based on open web standards. The end goal of Aurelia is to create rich, engaging experiences for your customers, meeting or exceeding what is found in modern native applications.
Why use Aurelia?
Aurelia has many benefits that make it a good tool for your web application. They include:
- It offers an all-in-one solution: Aurelia provides core capabilities like dependency injection, templating, routing, and pub/sub, so you don’t have to piece together a bunch of libraries to build an application. On top of this rich core, Aurelia also provides several additional plugins for internationalization, validation, modal dialogs, and UI virtualization.
- It offers great rendering speed and memory efficiency: Aurelia implements batch rendering and observable object pooling, which allows it to render faster than any other framework. Aurelia also utilizes less memory and causes less GC churn than other frameworks.
- Aurelia ensures that there are no breaking changes in its core API due to upgrades.
- Aurelia allows you to build your app components with plain, vanilla JavaScript or Typescript.
- Because of its simplicity and consistent design structure, Aurelia is much easier to learn than other frameworks.
- Because of the extensible design of Aurelia and its strict adherence to web standards, it’s easy to integrate Aurelia with any 3rd party library or framework, like jQuery, React, Polymer, Bootstrap, MaterializeCSS, etc.
- It is sourced under the MIT license and doesn’t add or remove special clauses or conditions to the license.
And lots more that you can find out from the documentation.
What are we building?
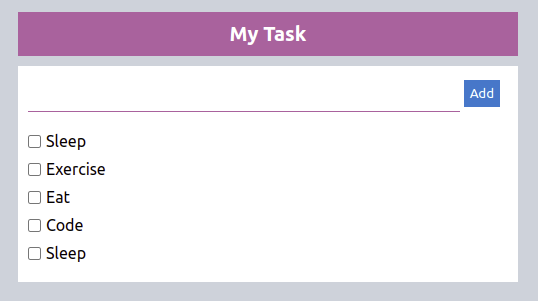
To demonstrate how powerful and simple Aurelia is, we’d build a Todo application, as shown in the screenshot below:
Getting started with Aurelia
Before starting this tutorial, I assume you have Nodejs version 10 or above installed. With Nodejs installed, install the Aurelia CLI with the command below:
npm install -g aurelia-cliGrab a cup of coffee while npm installs the required packages to run your application. Once the installation is completed, it’s time to create a project.
Create an Aurelia Project
With the Aurelia CLI installed on your computer, create a new Aurelia project with the command below:
au newThe above command will prompt you to enter your project name and the default setup for your project. For demonstration sake, we’d name the project “task-todos”, select “Default TypeScript App”, and choose “npm” as the package manager to install all the dependencies to run the application. Once the installation is completed, change the directory to the project folder, and start the application with the commands below:
cd task-todo
au run --open
The application will be open on your browser once it starts running on port 8080. If you have had issues running the application on the default port, you can modify the default port in aurelia_project/aurelia.json.
Creating the App Class
At this point, the application is up and running. Aurelia has a similar folder structure to React.js. All the projects are located in the src folder. There should be an HTML file for every component you create in Aurelia to render the contents. Now update the code in the app.ts a file with the code snippet below:
export class Todo {
  public todos;
  public name = "";

  constructor() {}
}
Then update the app.html file with the code below to render the Todo view.
<template>
  <div class="container">
    <div class="main">
      <div class="todo-header">
        <h4>My Task</h4>
      </div>
      <div class="todo-body">
        <form>
          <input type="text" class="task">
          <button type="submit" class="add">Add</button>
        </form>
        <ul>
          <div class="todo-list">
            <input type="checkbox"/>
            <li>Write some code</li>
            <span>X</span>
          </div>
        </ul>
      </div>
    </div>
  </div>
</template>
In the above code snippet, we created the Todo view. We created an input form to add a new todo, and an unordered list to display the todos. At this point, our app has no styling; let’s go ahead and add some styling to make things look better.
Adding Custom Styles
With the app view created, create a style.css file in the src folder and add the styles below:
* {
  padding: 0px;
  margin: 0px;
  box-sizing: border-box;
  font-family: 'Figtree', -apple-system, BlinkMacSystemFont, "Segoe UI", "Roboto", "Oxygen", "Ubuntu", "Cantarell", "Fira Sans", "Droid Sans", "Helvetica Neue", sans-serif;
}

body {
  background-color: rgb(204, 211, 218);
  width: 100%;
}

.container {
  display: flex;
  justify-content: center;
  flex-direction: column;
  align-items: center;
}

.header {
  display: flex;
  justify-content: space-between;
  width: 500px;
  margin: 10px;
  align-items: center;
}

.header h4 {
  color: rgb(175, 98, 158);
}

.add {
  background-color: rgb(12, 127, 204);
  border: 0px;
  padding: 6px;
  color: white
}

.main {
  width: 500px;
  margin-top: 12px;
}

.main .todo-header {
  background-color: rgb(175, 98, 158);
  color: white;
  text-align: center;
  padding: 10px;
  margin-bottom: 10px;
  font-size: 20px;
}

.main .todo-body {
  background-color: white;
  padding: 10px;
}

.main .todo-body .task {
  padding: 10px;
  border: 0px;
  outline: none;
  border-bottom: 1px solid rgb(175, 98, 158);
  width: 90%;
  margin-bottom: 20px;
}

.main .todo-body ul {
  list-style: none;
}

.main .todo-body ul div {
  display: flex;
  align-items: center;
  margin-bottom: 10px;
  width: 100%;
}

.main .todo-body ul div input {
  margin-right: 5px;
}

.main .todo-body ul div span {
  color: rgb(204, 77, 77);
  position: relative;
  left: 20em;
  display: none;
  cursor: pointer;
}

.main .todo-body ul div:hover span {
  display: flex;
}

.completed {
  text-decoration: line-through;
}
Now let’s import the style.css file in our app view using the require element, which allows you to import resources into your views. Add the code snippet below to the app.html file.
<template>
  <require from="./style.css"></require>
  ...
The application should look more appealing now. Feel free to modify the styles!
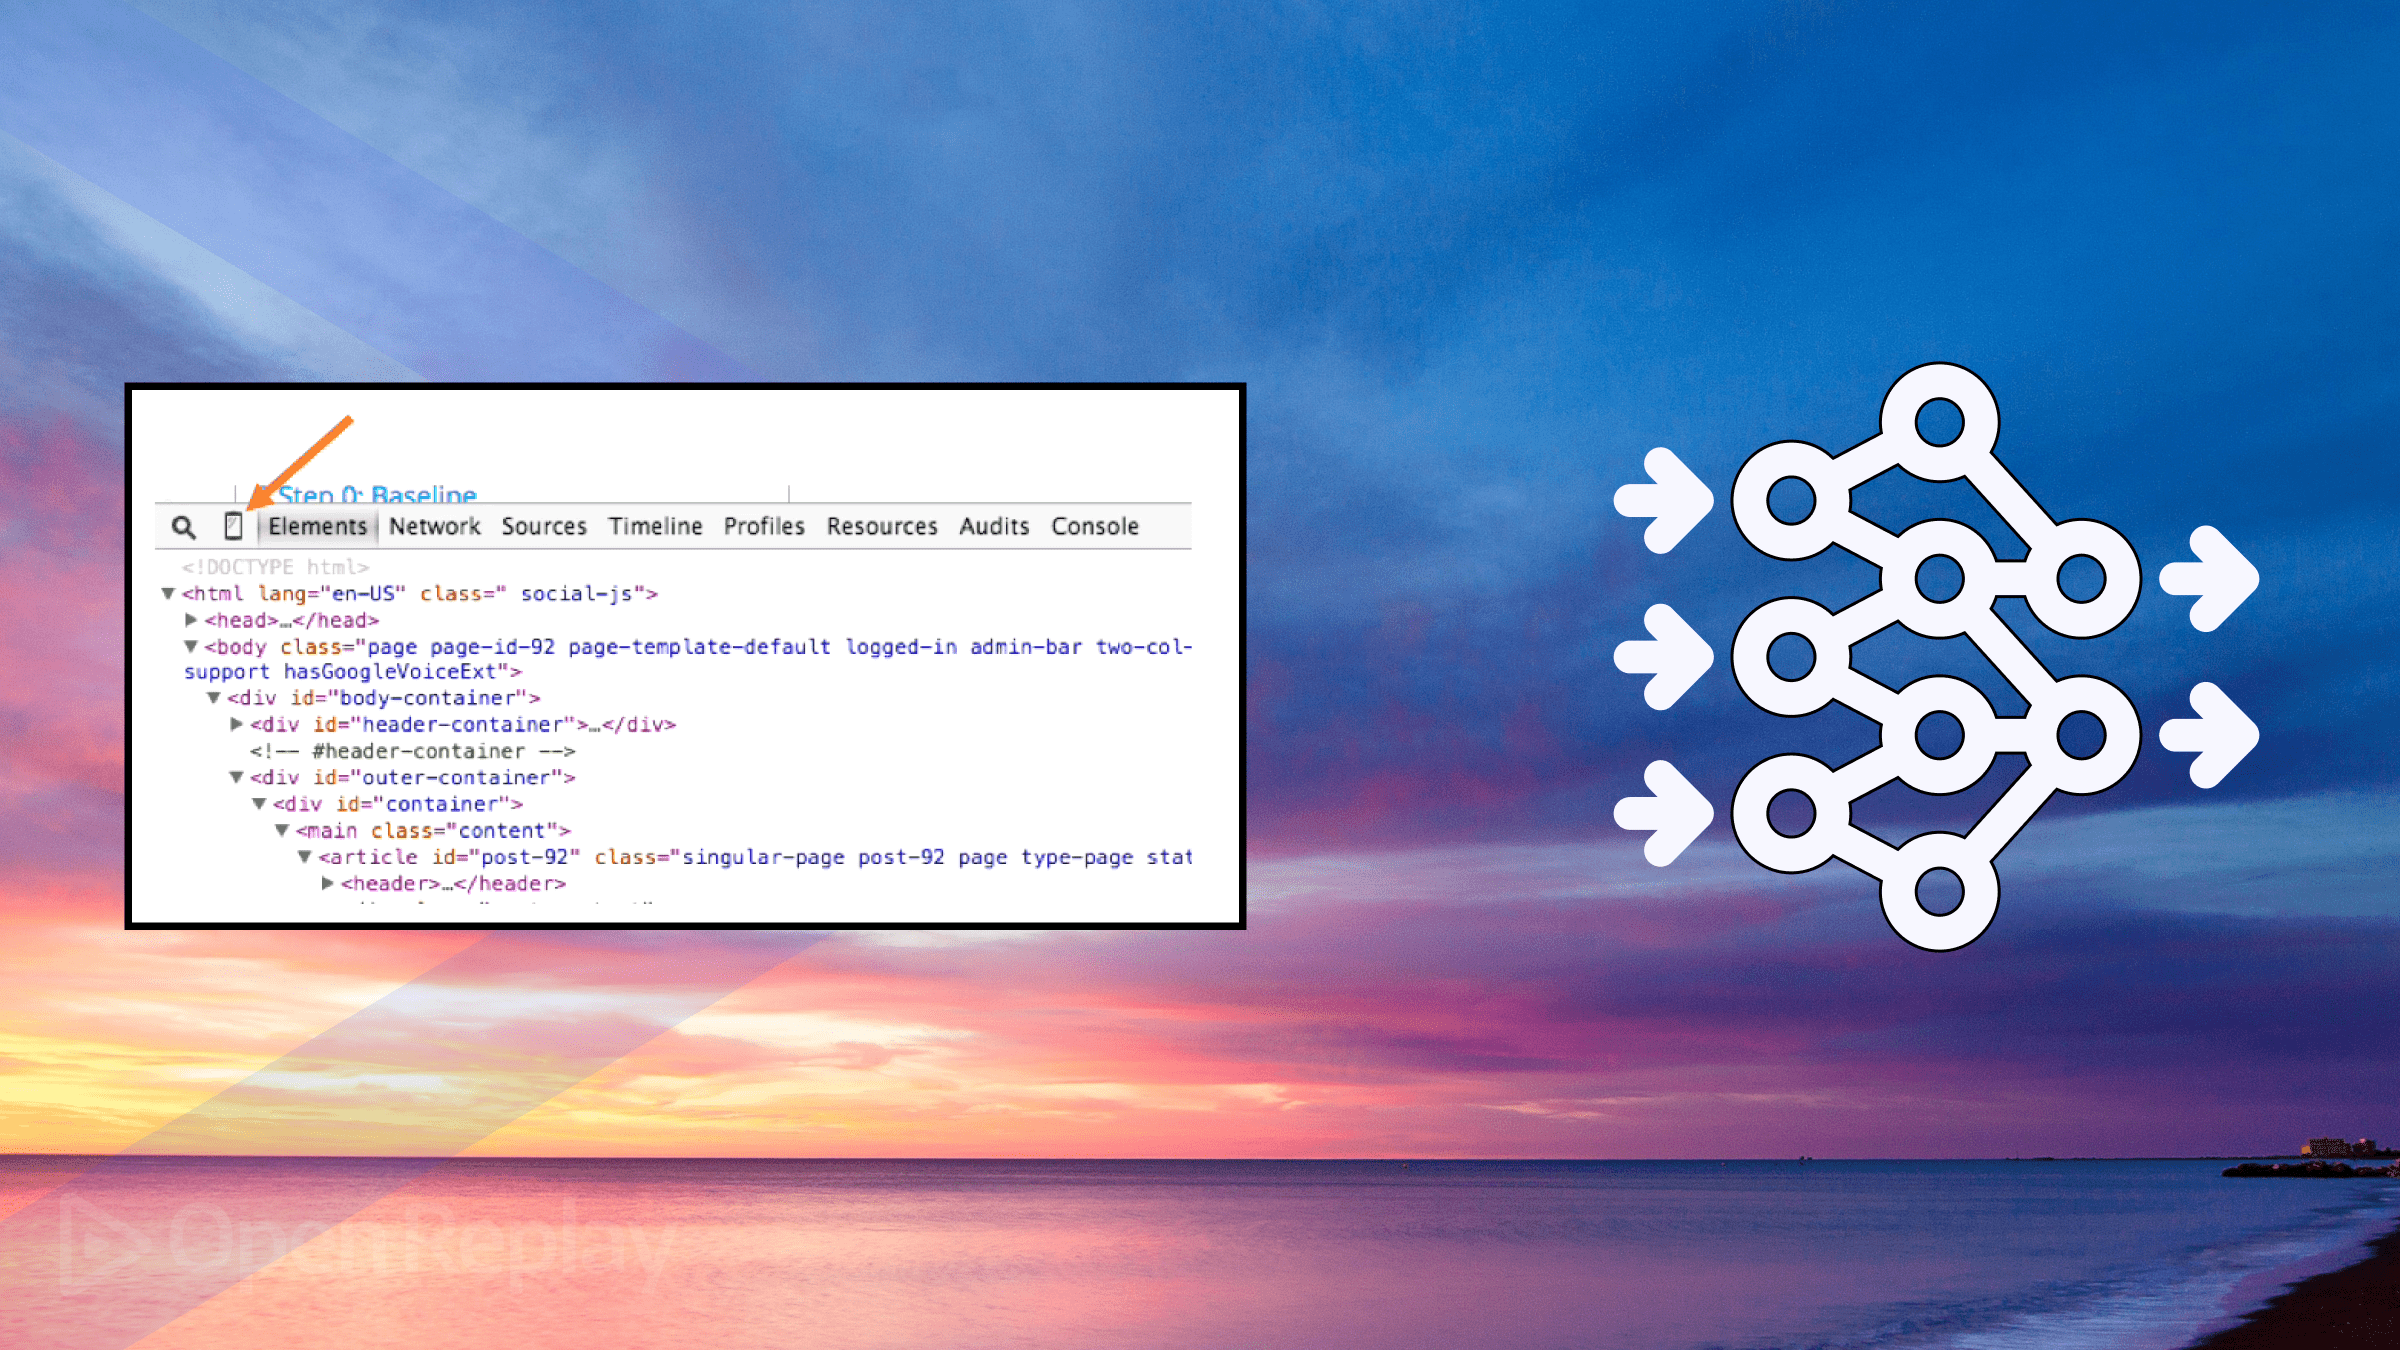
Open Source Session Replay
OpenReplay is an open-source, session replay suite that lets you see what users do on your web app, helping you troubleshoot issues faster. OpenReplay is self-hosted for full control over your data.

Start enjoying your debugging experience - start using OpenReplay for free.
Loading custom data
At this point, we only have one todo, which we hardcoded by ourselves. Let’s load some todos from an external file. In a full-stack application, this data is supposed to be from a backend API. For demonstration’s sake, we’d create dummy data for that. Create an **api/index.js** folder in the src directory and add the code snippet below:
interface Todo {
  id: number;
  name: string;
  completed: boolean;
  dateCreated: number;
}

export class API {
  id = 0;

  Todos: Todo[] = [
    {
      id: ++this.id,
      name: "Sleep",
      completed: false,
      dateCreated: Date.now(),
    },
    {
      id: ++this.id,
      name: "Excercise",
      completed: false,
      dateCreated: Date.now(),
    },
    {
      id: ++this.id,
      name: "Eat",
      completed: false,
      dateCreated: Date.now(),
    },
    {
      id: ++this.id,
      name: "Code",
      completed: false,
      dateCreated: Date.now(),
    },
    {
      id: ++this.id,
      name: "Sleep",
      completed: false,
      dateCreated: Date.now(),
    },
  ];

  getTodos() {
    return new Promise((resolve) => {
      const results = this.Todos.map((todo) => {
        return {
          id: todo.id,
          name: todo.name,
          completed: todo.completed,
          dateCreated: todo.dateCreated,
        };
      });
      resolve(results);
    });
  }
}
In the above code snippet, we created an API class with some todos and a method to return the todos.
Now import and use the API class in your app.ts file. Before that, you need to import the API class with the inject function from “aurelia-framework”. Aurelia has its dependency injection container, which it uses to instantiate classes in your app.
import { inject } from "aurelia-framework";
import { API } from "./api";
Now let’s create an interface for our Todo class and bind the API class to it. Update your app.ts file with the code snippet below:
import { inject } from "aurelia-framework";
import { API } from "./api";

interface todoInterface {
  id: number;
  name: string;
  completed: boolean;
  dateCreated: number;
}

@inject(API)
export class Todo {
  public todos;
  public name = "";

  constructor(private api: API) {}
}
Creating the App Methods
Now let’s add methods to our Todo class to read, create updates and delete todos. To read the todos in our API, we’ll call the getTodos method inside a created hook, which gets called after both the view-model and the view are created. Then, store the todos in the todos variable in our Todo class. Add the code snippet below in your app.ts file.
created() {
  this.api.getTodos().then((todos) => (this.todos = todos));
}
Now add the following method to create, update and delete a todo.
// ...
  async createTodo() {
    if (this.name) {
      const todoObj: todoInterface = {
        id: this.todos.length + 1,
        name: this.name,
        completed: false,
        dateCreated: Date.now(),
      };
      this.todos.push(todoObj);
      this.name = "";
    }
  }

  updateTodo(id: number) {
    this.todos.map((todo) => {
      if (todo.id == id) {
        todo.completed = !todo.completed;
      }
    });
  }

  deleteTodo(id) {
    this.todos.splice(
      this.todos.findIndex((todo) => todo.id == id),
      1
    );
  }

  // ...
Finally, update the app.html file with the code snippet below:
<template>
  <require from="./style.css"></require>
  <div class="container">
    <div class="main">
      <div class="todo-header">
        <h4>My Task</h4>
      </div>
      <div class="todo-body">
        <form submit.trigger="createTodo()">
          <input type="text" class="task" value.bind="name">
          <button type="submit" disabled.bind="!name" class="add">Add</button>
        </form>
        <ul repeat.for="todo of todos">
          <div class="todo-list" click.trigger="updateTodo(todo.id)">
            <input type="checkbox" checked.bind="todo.completed"/>
            <li class="text-decoration: ${todo.completed ? 'completed' : 'none'}">${todo.name}</li>
            <span click.trigger="deleteTodo(todo.id)">X</span>
          </div>
        </ul>
      </div>
    </div>
  </div>
</template>
In the above code snippet, we added the following events and bindings to our app view:
- submit.trigger=“createTodo():” This event gets called when the user clicks the submit button.
- click.trigger=“updateTodo(todo.id)” and click.trigger=“deleteTodo(todo.id)”: The events get called when the user click the delete carret or clicks on the todo, which will either delete or update the compeleted properties of that todo.
- value.bind=“name”: This allows us to bind the users’ input to the input field. Learn more about Aurelia binding here.
- disabled.bind=“!name”: This binding enables us to disable the submit button when the input field is empty.
- checked.bind=“todo.completed”: This binding checks the input box when a todo is completed.
Test the application
At this point, your Aurelia application is completed. Go ahead and test it out by adding, updating, and deleting a todo.
Conclusion
Wow, you made it here at last. In this tutorial, you’ve learned how to build a powerful web component using Aurelia. You’ve had an overview of what Aurelia is and why you should use it. Then you created a todo application for the demonstration. If you have any questions, please reach out on Twitter.