Awesome UI Interactions with Scroll Reveal

Web animations have always been eye-catching features designed to appeal to users while providing seamless UI/UX. Different animations can be applied to websites, each with varying levels of complexity, and can sometimes be an uphill task to implement.
Some web animations are simple to implement using libraries and short code snippets and can change your overall user experience; an example of such animation is a page transition effect. This effect animates site elements into view as the user interacts with the site rather than an “in-your-face” method, presenting all site information at once.
Scroll Reveal is a service that offers page transition animations based on the user’s micro-interactions. Actions such as scrolling or swiping reveal new elements of the web application. This makes the website less crowded, easier to manage, and directs the user’s attention to different sections of the site at a time; this makes for a better user experience compared to when lots of information are shown at a time.
Goals
At the end of this article, readers will learn what page transitions and Scroll Reveal are, and will be able to build a web application that leverages these animations to provide better UX.
Overview
In this article, we will discuss web animations and Scroll Reveal. Then, we will clone a working example web application made with React and add Scroll Reveal animations, explaining their properties and the different animations offered by Scroll Reveal.
What are Web Animations and Micro-interactions?
Website animations can be defined as images in motion, a feature used to engage users, capture attention, and sometimes direct user actions to certain actions, such as an animated CTA (Call To Action) button. Web animations can be used to pass information to users in the form of visual presentations of the basic steps of using an application or service. They can also help improve user experience by controlling how site elements are shown as the user interacts with the website.
What are Micro Interactions?
Micro-interactions in web applications refer to minute animations that render visual feedback to the user and are based on simple actions performed by them. They are simple yet highly informative and thrilling. Micro-interactions fall under two main categories: user and system-defined actions. User-defined actions are those performed by the user, which trigger micro-interactions such as clicks, scrolling, and swiping actions. In contrast, system-defined actions are animations that occur by default, with the aim of passing information to the user.
With this, micro-interactions are helpful in the following:
- Passing across the status of the action performed by the user, whether successful or unsuccessful, e.g., the shake animation in the password field when incorrect passwords are entered; and a tick when a piece of form information is successfully submitted.
- Provide visual feedback to the user upon completion of a process. An example of this could be pop-up interactions for posts on social media timelines, email notifications, and add-to-cart animations on e-commerce websites.
- Helps direct the user’s attention by providing context to possible user actions, such as hamburger menu animations, scroll-down prompts on websites, CTA buttons, pull-to-refresh animations, etc.
- Assist the user when performing various tasks, making actions easier to perform. An example of this is the autocomplete feature.
When well utilized, micro-interactions can significantly boost a web application’s user experience.
What is Scroll Reveal?
Scroll Reveal is a JavaScript animation library that uses scroll-triggered micro-interactions to add animations to a web application. These animations control the behavior of site elements and can be used to animate these elements into view as the user scrolls through the web application. This library provides a smooth transition when switching between site elements, helps the user focus on different site sections at a time, and can be used to direct the user’s attention.
Why use Scroll Reveal?
Below are the reasons why you should consider using Scroll Reveal in your web application:
- Provide a better user experience, allowing your users to interact with different sections of your web application.
- Help prevent overly-crowded web applications where all information is presented at once to the user. Instead, different site data can be put-into view at different times, directing the user’s attention across various items.
- Easily animate site sections. Scroll Reveal is easy to understand and integrate and only takes a few lines of code to liven up a web application.
Cloning the Starter Repo
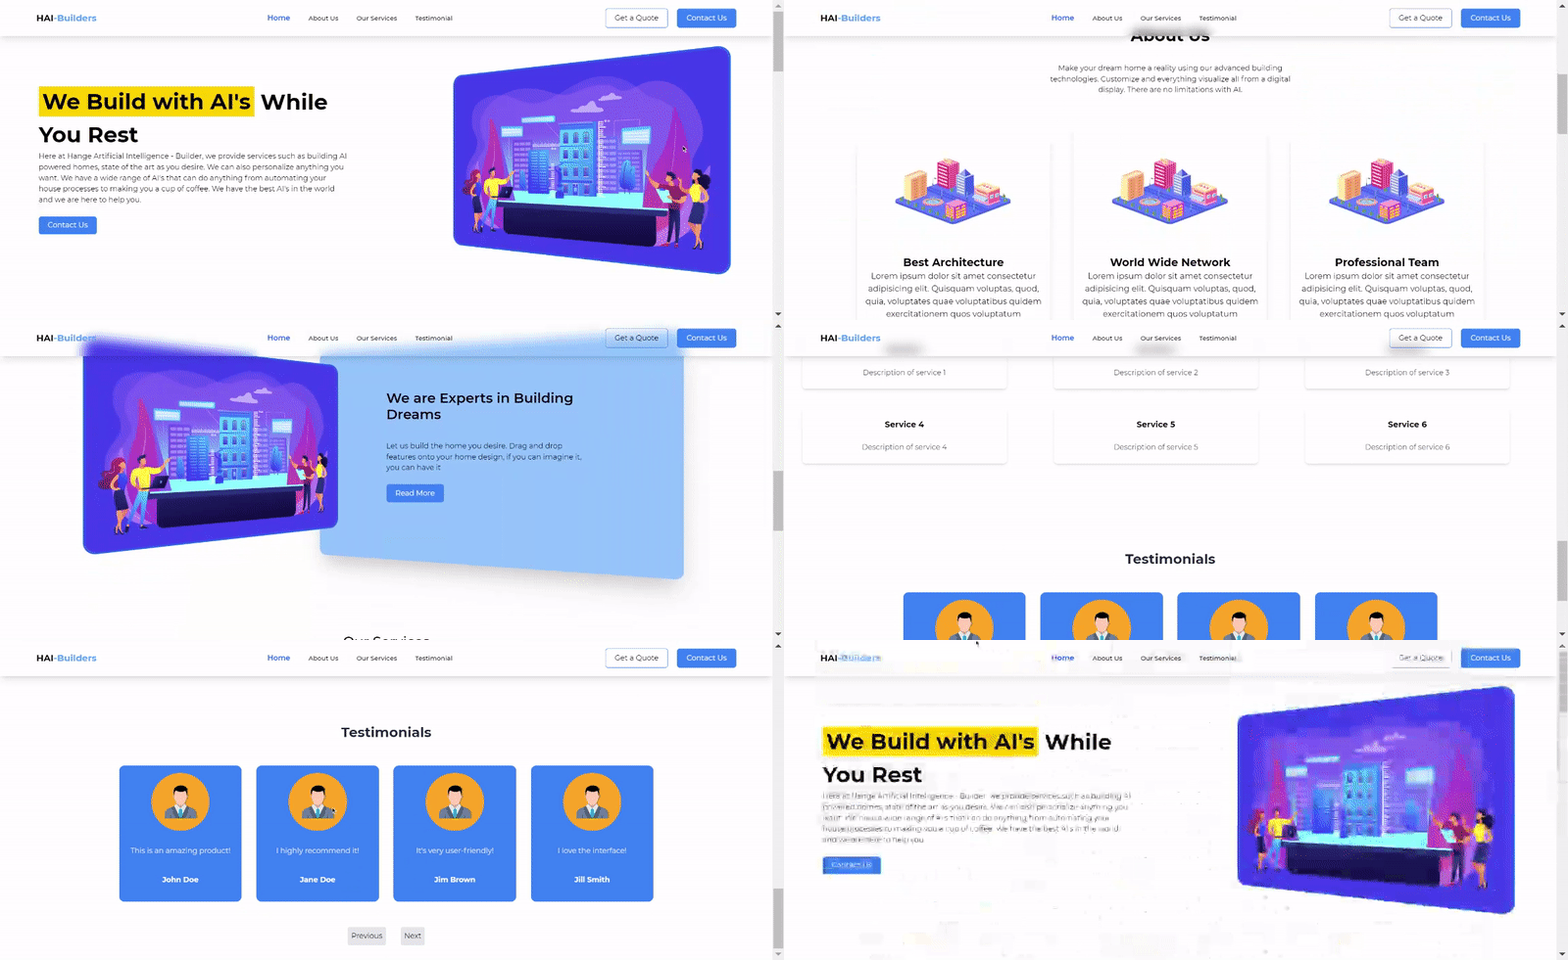
In this tutorial, we will demonstrate different site animations Scroll Reveal provides on a React application. First, clone the following GitHub Starter Repo. If we run the starter repo with the npm start command in the CLI, we will have the following results:

In the next section, we will cover integrating Scroll Reveal into this existing React application.
Session Replay for Developers
Uncover frustrations, understand bugs and fix slowdowns like never before with OpenReplay — an open-source session replay tool for developers. Self-host it in minutes, and have complete control over your customer data. Check our GitHub repo and join the thousands of developers in our community.
Adding Scroll Reveal animations
To set up Scroll Reveal animations in our application, we must first install the react-reveal dependency. This can be done in the CLI with the following command:
npm install react-reveal --saveOnce the installation is complete, we can 3integrate Scroll Reveal into our React Application. In the earlier sections of this article, we discussed the different animations provided by Scroll Reveal. In the following sections, we will mention and demonstrate how we can achieve each animation.
Zoom animation
As the name implies, this animation provides a pop-up zoom effect on the selected site element. The animation’s initial state sets the element dimensions to values smaller than the originally specified data. It scales it up as the animation progresses until its final state, where it achieves its original height and width values. We will require the Zoom component from Scroll Reveal to use the zoom effect. In the cloned project directory, make the following changes to the components/Landing.js file:
import Zoom from "react-reveal/Zoom"; //import for the Zoom effect component
  {
    /* add zoom animation to the site landing image */
  }
...
  <div className="landing__right">
    <Zoom>
      <div className=" landing__right__content">
        <img src={"/ai.png"} alt="AI" className="landing__right__image" />
      </div>
    </Zoom>
  </div>;
Fade animation
This animation provides a slide effect that introduces the desired elements into view. The user specifies the direction in which the element is introduced into view. To perform this animation, add the following code to Landing.js:
import { Fade, Zoom } from "react-reveal"; //import for the Fade component
<div className="landing__left__content">
    <Fade top>
      <h1 className="landing__left__content__title">
        <span>We Build with AI's</span> While You Rest
      </h1>
    </Fade>
    <Fade bottom>
      <p className="landing__left__content__description">
        Here at Hange Artificial Intelligence - Builder, we provide services
        such as building AI-powered homes, state of the art as you desire. We
        can also personalize anything you want. We have a wide range of AI's
        that can do anything from automating your house processes to making you
        a cup of coffee. We have the best AI's in the world and we are here to
        help you.
      </p>
    </Fade>
    {/* directions for fade can be: up, bottom, left, right, big */}
  </div>;
    ...
We have added the Fade component to the Landing page here.
Bounce, Slide, and LightSpeed
This is a spring-like animation offered by Scroll Reveal. It is similar to the Slide animation but differs mostly in its trait of behaving like an overstretched spring, which returns to its normal state, while the slide animation simply slides into view. Like the Fade animation, Bounce and Slide can also take a direction prop, indicating how the element enters the viewport.
The Lightspeed animation provides a sliding effect of the element into view. It also slightly skews the specified element during the animation, then sets the skew back to zero when the animation is completed.
To perform these animations, add the following to About.js:
import { Bounce } from "react-reveal"; //import for the Bounce componentNext, modify the code as shown below:
  <div className="About__container" id="About">
    {/* Bounce */}
    <Bounce>
      <h1 className="About__title">About Us</h1>
    </Bounce>
    <div className= "flex justify-center items-start">
      {/* Slide */}
      <Slide left>
        <p className="About__description">
          Make your dream home a reality using our advanced building
          technologies. Customize and everything visualize all from a digital
          display. There are no limitations with AI.
        </p>
      </Slide>
    </div>
    {/* LightSpeed */}
    <LightSpeed right cascade>
      <div className="About__cards">
        <div className="About__card">
          <div className="About__card__image">
            <img
              src={"/building.png"}
              alt= "AI"
              className="About__card__image__img"
            />
          </div>
          <div className="About__card__content">
            <h1 className="About__card__content__title">Best Architecture</h1>
            <p className="About__card__content__description">
              Lorem ipsum dolor sit amet consectetur adipisicing elit. Quisquam
              voluptas, quod, quia, voluptates quae voluptatibus quidem
              exercitationem quos voluptatum quibusdam quas. Quisquam, quae
            </p>
          </div>
        </div>
      </div>
      ...
      {/* other about cards*/}
    </LightSpeed>
    {/* Zoom animation */}
    <Zoom>{/* Read more section */}</Zoom>
  </div>;
In the LightSpeed component, notice we have an additional prop “cascade”. This property treats each element wrapped by the LightSpeed component differently when performing animations. Thus animating them uniquely rather than as a whole.
We can also add the Bounce and LightSpeed components to the Services section in Services.js:
import React from "react";
import { Bounce, LightSpeed } from "react-reveal"; //add import for the Scroll Reveal components
...
<div className=" my-48" id="Services">
   <Bounce right>
     <h1 className=" text-center text-3xl font-medium">Our Services</h1>
   </Bounce>
   <LightSpeed left cascade>
     {/* Services cards here */}
   </LightSpeed>
</div>;- Finally, we will add a
Flipanimation for the testimonial section. This makes the element appear to be rotating along the x-axis. Make the following modifications toTestimonial.js:
import { Flip } from "react-reveal"; //import for the flip component
...
  <Flip cascade>
    <h2 className="text-3xl font-bold text-gray-800 mb-4">Testimonials</h2>
    <div className="flex gap-8">
      {testimonialsToShow.map((testimonial) => (
        <Testimonial testimonial={testimonial} key={testimonial.name} />
      ))}
    </div>
    <div className="flex mt-4 mb-8 gap-8">
      <button
        className="bg-gray-200 hover:bg-gray-300 p-2 rounded"
        onClick={handlePrevious}
      >
        Previous
      </button>
      <button
        className="bg-gray-200 hover:bg-gray-300 p-2 rounded ml-auto"
        onClick={handleNext}
      >
        Next
      </button>
    </div>
  </Flip>;
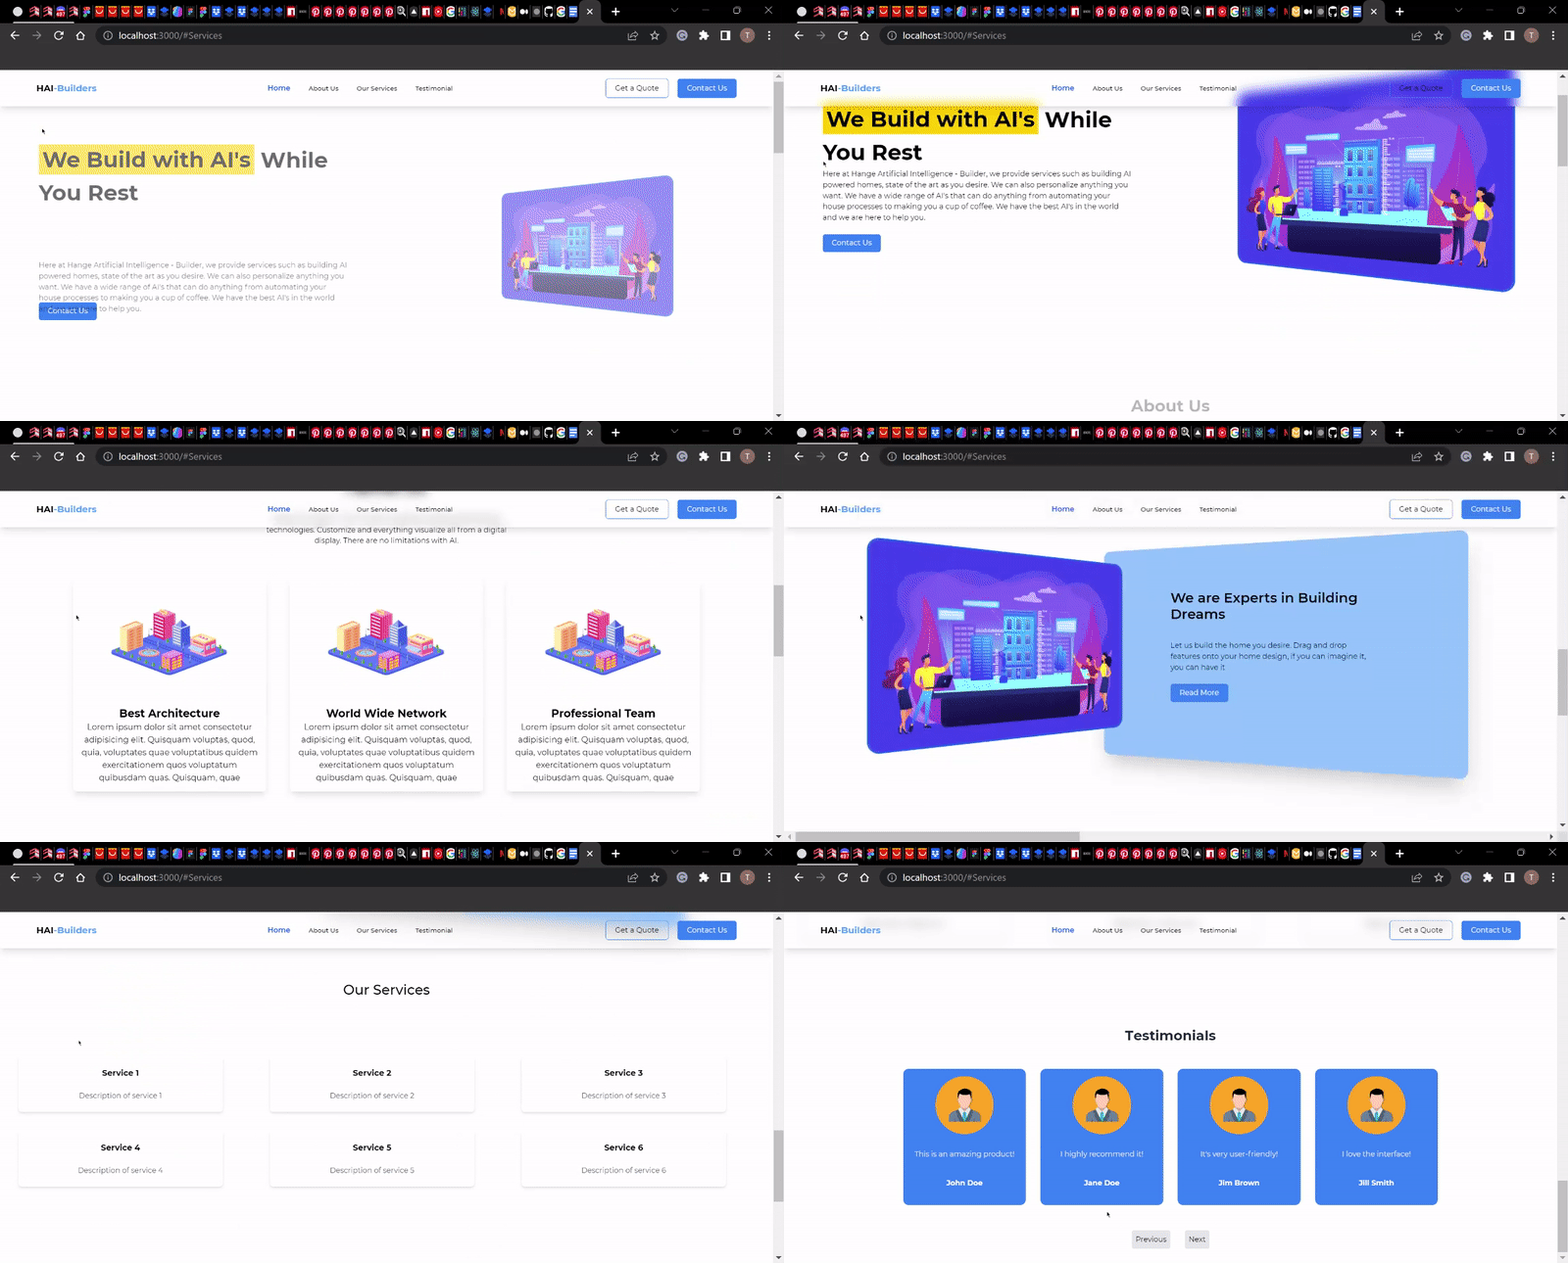
Now, if you run the application and view the output, you will have a result similar to the GIF below:

Conclusion
Congratulations on making it to the end of this tutorial. In this tutorial, we discussed Scroll Reveal and micro-interactions in a web application. Also, we demonstrated how Scroll Reveal animations could be achieved in a React application using Scroll Reveal.


