Biometrics Authentication in Android and iOS apps with React Native
Add more secure and friendly authentication to your mobile apps


As mobile apps continue to gain popularity, traditional authentication methods such as passwords and PINs are often cumbersome and prone to security breaches. Biometric authentication (the use of unique physical or behavioral characteristics to verify a user’s identity) provides a more secure and user-friendly alternative approach to authentication. This article discusses biometric authentication, how it works, its benefits, and its implementation in Android and iOS apps using React Native.
Biometrics Authentication is a type of authentication that captures users’ characteristics like fingerprints, iris or facial recognition, voice or speech patterns, and even behavior patterns like typing speed or gait using the sensors on their device, convert the collected data into a digital template and compare the data against preexisting records in the database.
This method involves integrating a biometric SDK (Software Development Kit) provided by the device manufacturer or a third-party provider. This SDK provides the necessary APIs to capture biometric data from the device’s sensors and perform the necessary analysis against the preexisting digital template stored on the device to verify a user’s identity. The users will not be authenticated if the user-supplied biometric data doesn’t match the preexisting data.
Integrating this feature into a mobile application can give users more convenience and security in the same pack. Let’s integrate this into a React Native project.
Initializing React Native Project
Since this tutorial demonstrates how biometrics authentication can be set up, you must clone a simple project of two screens. One will be regarded as a protected screen (A screen you must authenticate before viewing), while the other will be the authentication/entry screen. Follow the commands below to clone and initialize the React Native project.
git clone https://github.com/championuz/two-screens-demo.git
#Install Node Modules
npm install
#Install iOS dependencies
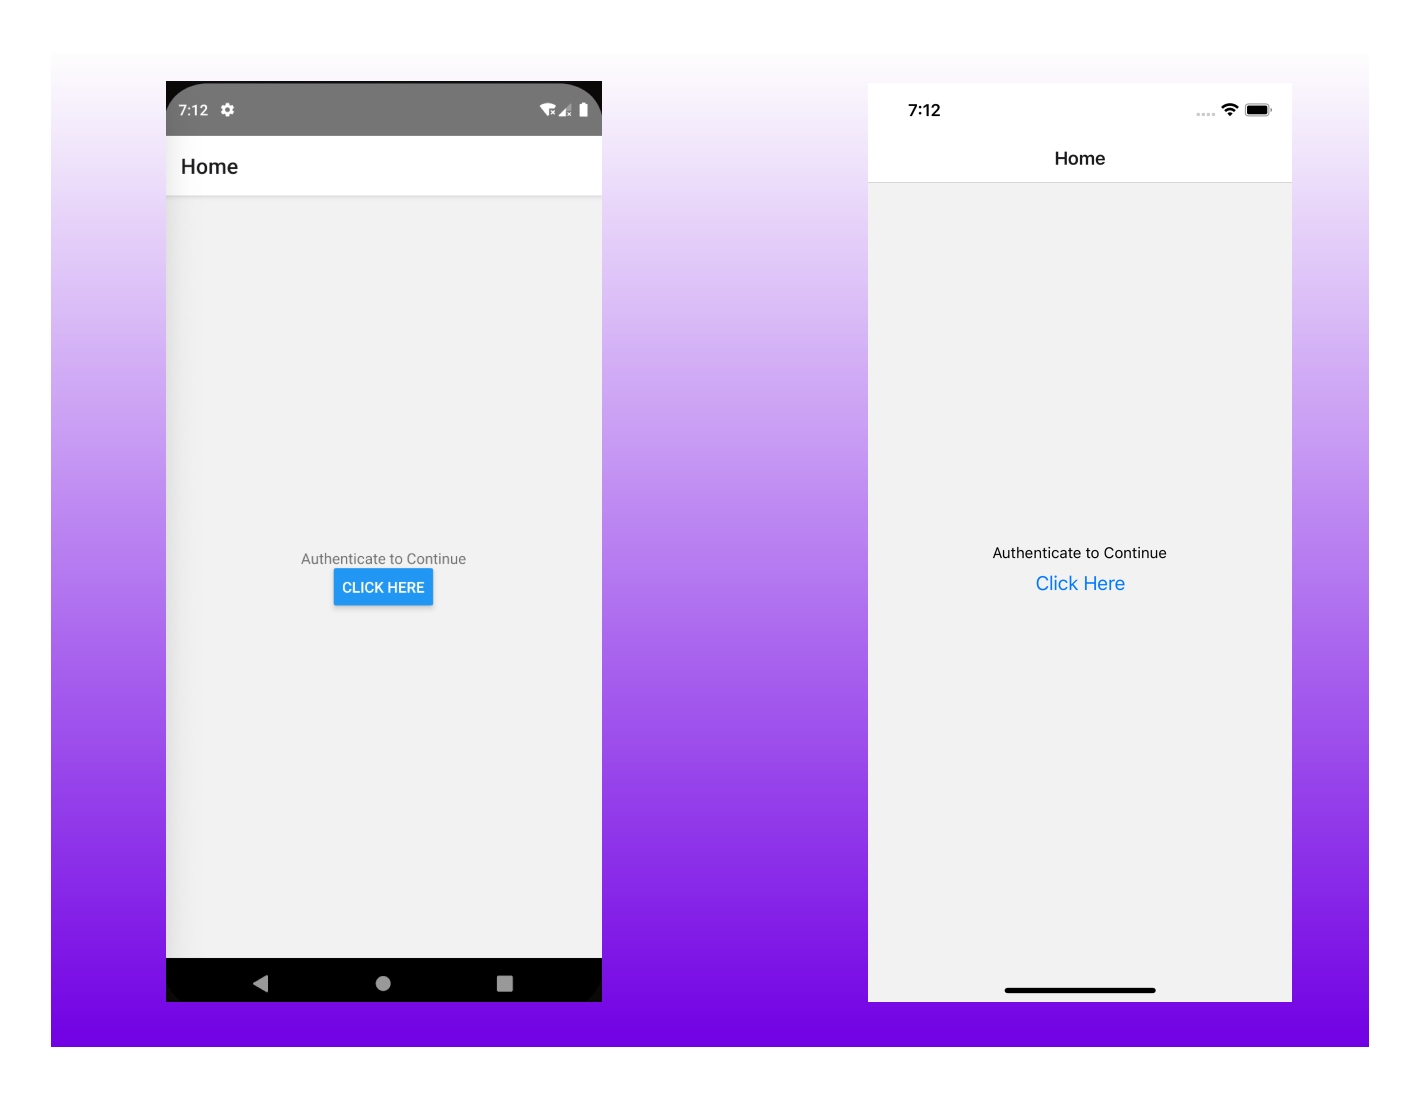
pod installOnce you’ve cloned the project, install the node modules and the iOS dependencies, then run it on your emulators, you will have it show up like so:
Session Replay for Developers
Uncover frustrations, understand bugs and fix slowdowns like never before with OpenReplay — an open-source session replay tool for developers. Self-host it in minutes, and have complete control over your customer data. Check our GitHub repo and join the thousands of developers in our community.
Implementing Biometric Authentication in the Project
As discussed earlier, we won’t be able to set up biometrics authentication without a biometrics SDK integrated into our project. For that, I will be using the react-native-touch-id library. Although a third-party library, it provides an easy-to-use API for integrating biometrics authentication in a React Native project with just a few lines of code. The user characteristics we will evaluate in this tutorial are Fingerprint and FaceID authentication, and this module will help us do that. You will get more details about the module here. Run the command below to install the module.
npm i react-native-touch-id

#Install iOS dependencies
cd ios && pod install
Complete the setup with the following steps.
For Android: navigate to android/app/src/main/AndroidManifest.xml and add the following permission.
<uses-permission android:name="android.permission.USE_FINGERPRINT" />For iOS: navigate to ios/<Project Name>/Info.plist and add the following:
<key>NSFaceIDUsageDescription</key>
<string>Enabling Face ID allows you quick and secure access to your account.</string>
Once this is done, build the application on your Android and iOS emulators.
Creating the Auth Component
The Authentication component is a function called handleAuth, which will prompt the verification of the users on the app once a button is clicked. Since this is to work on Android and iOS, we will first check for the availability of the sensors (Fingerprint for Android and FaceID for iOS) using the isSupported(). The response for this part will be alerted. The code is below:
//Add Import Statement to the top of the page
import TouchID from "react-native-touch-id";

//Within the app component
const handleAuth = () => {
  TouchID.isSupported().then((biometryType) => {
    if (biometryType === "FaceID") {
      Alert.alert("FaceID is supported");
    } else {
      Alert.alert("Fingerprint is supported");
    }
  });
};
After this, assign the handleAuth() function to the onPress prop of the button. Now clicking on the Android and iOS emulators button, you should have the alerts as shown.
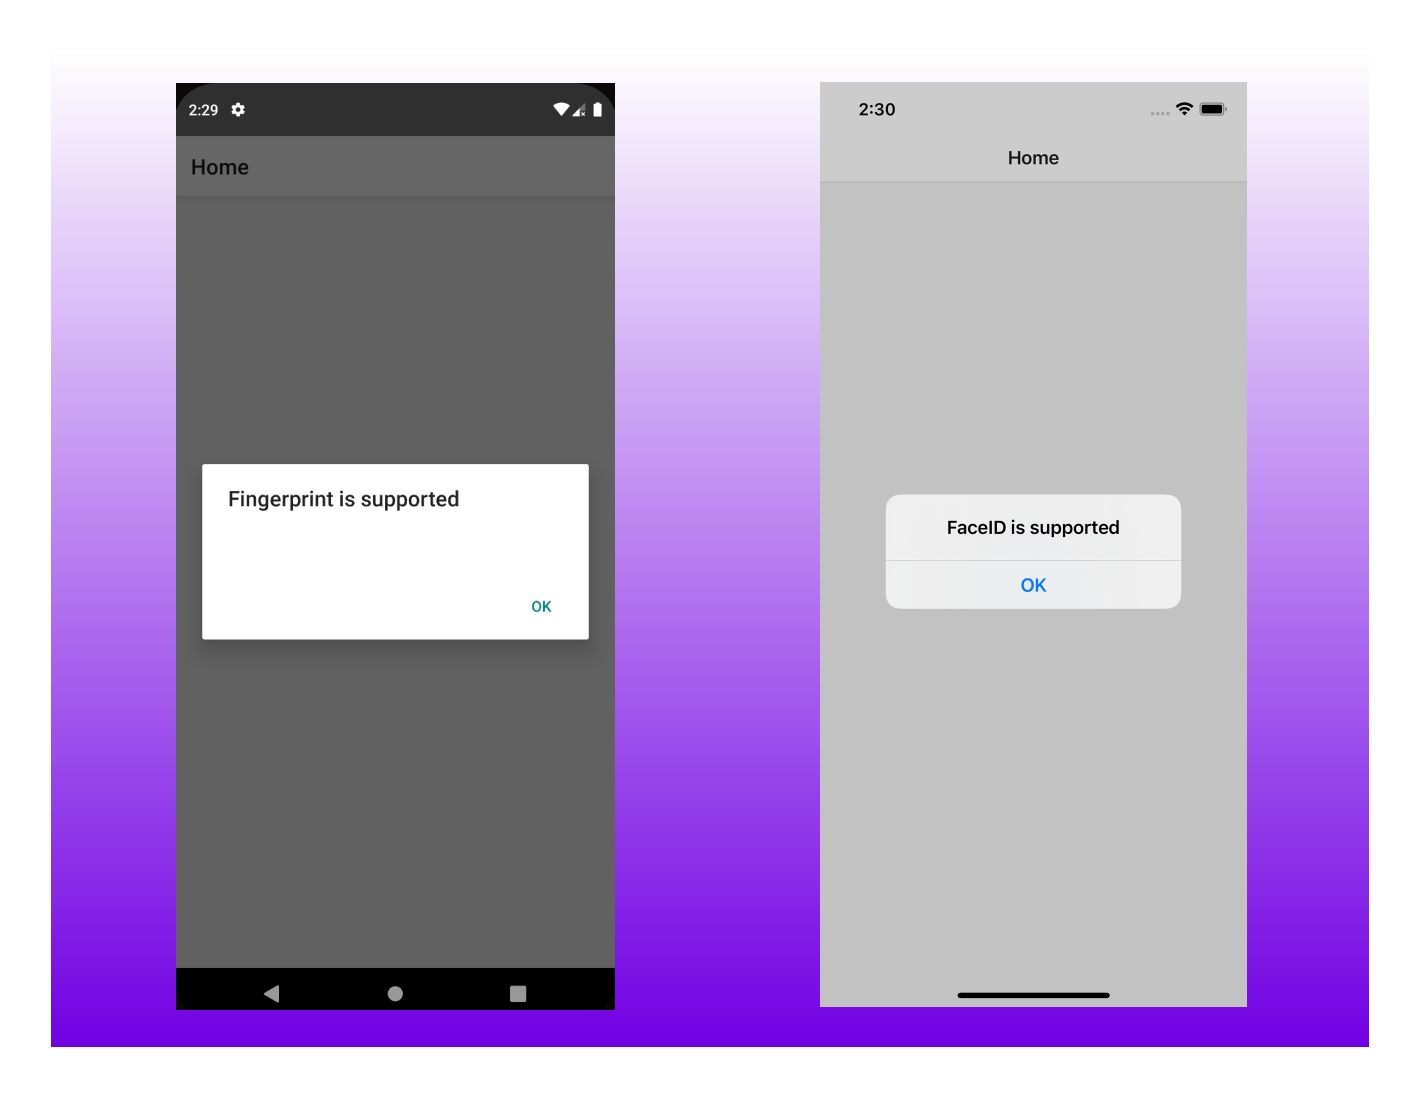
As you can see, clicking on the button on the Android emulator alerts that fingerprint is supported, and on the iOS simulator, it alerts that FaceID is supported.
Authenticating and Navigating to a Protected Screen
Now, the application can recognize the availability of the sensors on Android and iOS, so let’s set up the authentication functionality.
For authentication to be set up, we will be required to update the handleAuth() function so that on click, the app prompts to verify the user’s biometrics. This will be done using TouchID.authenticate() method. The code is below:
const handleAuth = () => {
  TouchID.isSupported().then((biometryType) => {
    if (biometryType === "FaceID") {
      TouchID.authenticate("")
        .then((success) => {
          navigation.replace("ProtectedScreen");
        })
        .catch((error) => {
          Alert.alert("Authentication Failed", error.message);
        });
    } else {
      TouchID.authenticate("")
        .then((success) => {
          navigation.replace("ProtectedScreen");
        })
        .catch((error) => {
          Alert.alert("Authentication Failed", error.message);
        });
    }
  });
};
If you are confused about how to test/simulate the authentication on your Android emulator, click here. For iOS biometric simulation, you will need to click on features from the menu items and then hover on FaceID. If you select the option “enrolled”, it will simulate that a face has been enrolled; then, when the app prompts you to authenticate, select “Matching Face,” and you will be authenticated.
Testing the authentication on your emulators, you will have your Android and iOS showing up like this:
There is an option to pass a configuration object. This configuration object will contain various properties that will define the appearance and functionality of the authentication prompt, majorly on Android. The code is below:
// This should be added within the app component
const optionalConfigObject = {
title: 'Please Authenticate', // Android
imageColor: '#000', // Android
imageErrorColor: '#ff0000', // Android
sensorDescription: 'Slightly Touch sensor', // Android
sensorErrorDescription: "Failed", // Android
cancelText: "Cancel", // Android
fallbackLabel: "Show Passcode", // iOS (if empty, then label is hidden)
unifiedErrors: false, // use unified error messages (default false)
passcodeFallback: false, // iOS
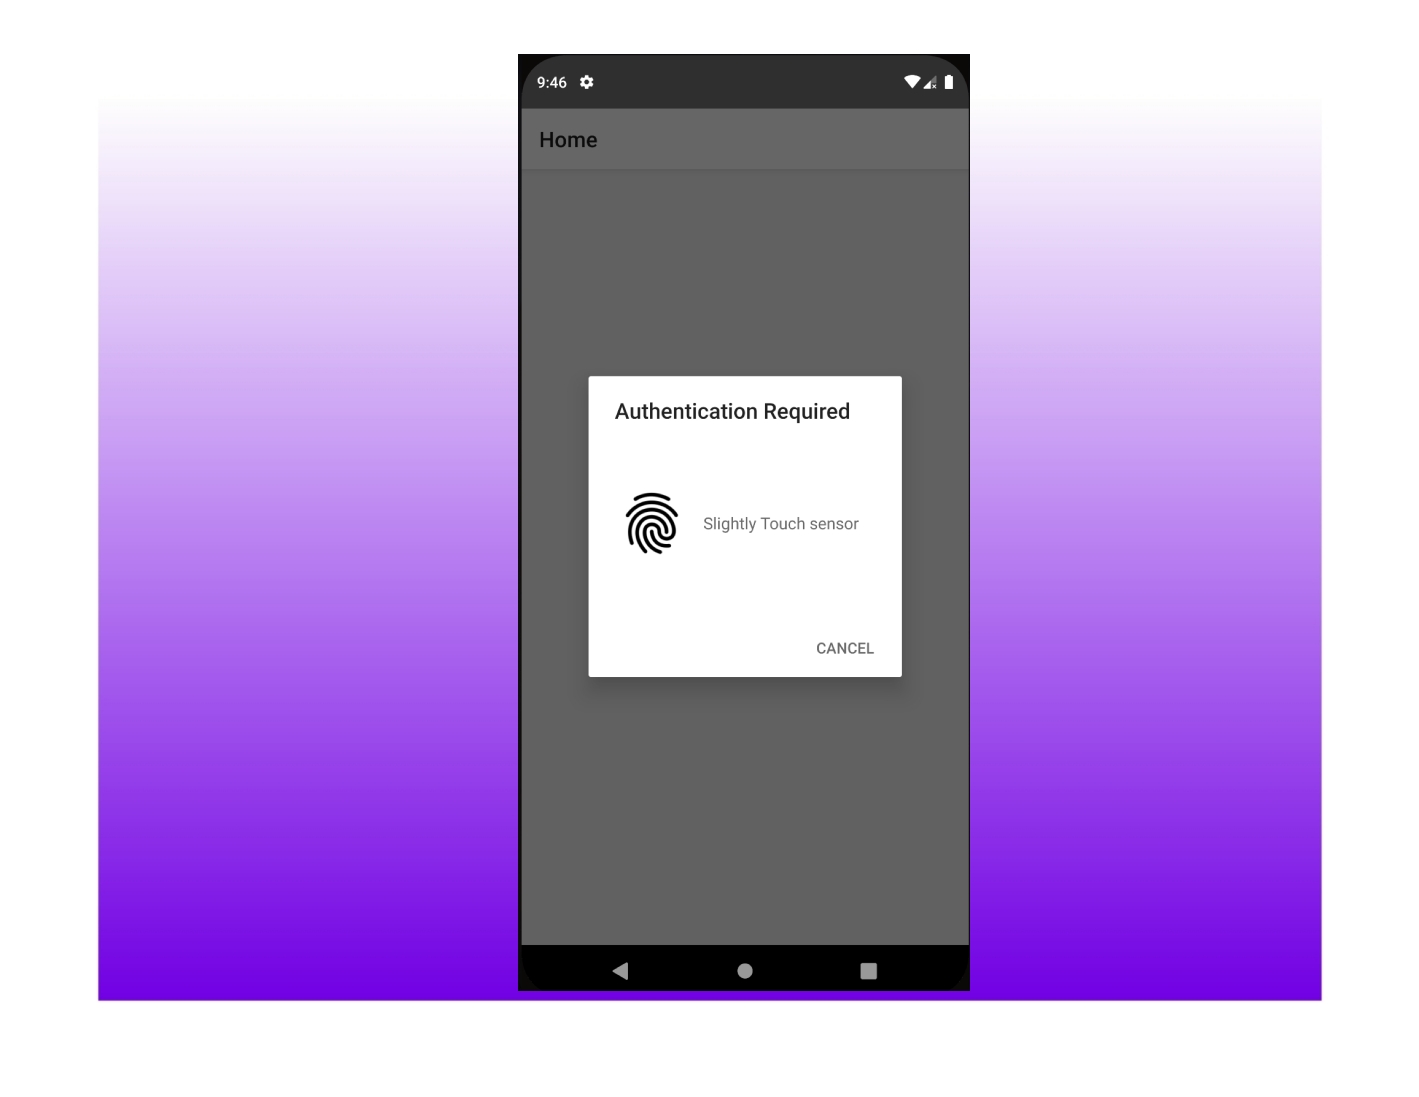
};Then pass optionalConfigObject in the handleAuth() function as shown below. Note that the code below is a repetition of the handleAuth() function with the optionalConfigObject added to it.
const handleAuth = () => {
  TouchID.isSupported().then((biometryType) => {
    if (biometryType === "FaceID") {
      TouchID.authenticate("", optionalConfigObject)
        .then((success) => {
          navigation.replace("ProtectedScreen");
        })
        .catch((error) => {
          Alert.alert("Authentication Failed", error.message);
        });
    } else {
      TouchID.authenticate("", optionalConfigObject)
        .then((success) => {
          navigation.replace("ProtectedScreen");
        })
        .catch((error) => {
          Alert.alert("Authentication Failed", error.message);
        });
    }
  });
};
Once this is added, on your Android emulator, you will notice the color update on the sensor image from the default red color to black, and the sensor description is updated too, as configured in the optionalConfigObject.
Conclusion
Biometric authentication has come to stay, and here’s to show how we can integrate biometric authentication into React Native apps so that users enjoy a very convenient and safe authentication process. You will find the complete source code on my Github repo.
Gain Debugging Superpowers
Unleash the power of session replay to reproduce bugs and track user frustrations. Get complete visibility into your frontend with OpenReplay, the most advanced open-source session replay tool for developers.