

Vue.js is a popular JavaScript framework for building user interfaces. This guide will teach you how to create a Vue.js app that interacts with data from a Django API. Ensure your computer has the Node.js and Python 3 installed.
Setting up a Django App
First, you must create a Python virtual environment that will be used to set up this project. A virtual environment helps you isolate specific Python environments on a single machine. This allows you to separate dependencies and packages for different projects, which is useful for avoiding conflicts between projects requiring different versions of the same packages.
Navigate to where you want the full-stack Django and Vue app to live and run the following command to install pipenv, a tool for creating isolated Python environments, into a single command-line tool. Run the following command to get pipenv installed:
pip install pipenvCreate and activate the project’s virtual environment using the following command:
pipenv shellInstall Django to your environment:
pipenv install djangoCreate your Django project using the following command:
django-admin startproject django_employees_appThis will create a simple Django application with the following main file hierarchy:
django_employees_app- the application directory.django_employees_app/django_employees_appfor managing and connecting up the application.manage.py- for performing various management tasks in a Django project, such as starting the development server, syncing the database, running tests, and creating new Django apps.
Let’s now change the directory to the created django_employees_app folder:
cd django_employees_appStart by creating a new app for managing the API
python manage.py startapp employeesRunning this command will create a new app directory named employees. It generates the basic files and directories needed for a Django app.
This will be the primary working directory for managing the API. Django treats it as a Python package. Therefore, you need to add it to the INSTALLED_APPS list in your project’s settings.py file to make it available to your project. In your django_employees_app/django_employees_app/settings.py, add the created employees app to the list of INSTALLED_APPS as follows:
INSTALLED_APPS = [
    'django.contrib.admin',
    'django.contrib.auth',
    'django.contrib.contenttypes',
    'django.contrib.sessions',
    'django.contrib.messages',
    'django.contrib.staticfiles',
    "employees"
]
Installing Django Packages
To create Django API, you need Django REST framework. It’s a powerful and flexible toolkit for building web APIs. It’s a third-party package for Django that makes it easy to build RESTful APIs using the Django framework.
Thus, install it. You must also add CORS Headers to this API. This will allow the external Vue.js application to communicate with the API and execute any needed operations such as Read, Create, Update, and Delete. To install these packages, run the following command:
pipenv install djangorestframework django-cors-headersAdd the installed packages to the django_employees_app/django_employees_app/settings.py file inside the list of INSTALLED_APPS as follows:
INSTALLED_APPS = [
    'django.contrib.admin',
    'django.contrib.auth',
    'django.contrib.contenttypes',
    'django.contrib.sessions',
    'django.contrib.messages',
    'django.contrib.staticfiles',
    "employees",
    'rest_framework',
    'corsheaders',
]
In the same file, add corsheaders to the MIDDLEWARE and CORS_ORIGIN_ALLOW_ALL = True. This tells Django to allow Cross-Origin Resource Sharing (CORS) for all origins. Add these changes as follows:
MIDDLEWARE = [
    'django.middleware.security.SecurityMiddleware',
    'django.contrib.sessions.middleware.SessionMiddleware',
    'django.middleware.common.CommonMiddleware',
    'django.middleware.csrf.CsrfViewMiddleware',
    'django.contrib.auth.middleware.AuthenticationMiddleware',
    'django.contrib.messages.middleware.MessageMiddleware',
    'django.middleware.clickjacking.XFrameOptionsMiddleware',
    'corsheaders.middleware.CorsMiddleware',
]

CORS_ORIGIN_ALLOW_ALL = True
Creating the Django Models
A model is a blueprint of your API. A model class represents a table in your database. Each attribute of the class represents a column in the table. In this example, create an Employee application. Based on that, create a Model that will define the application’s data models.
To define a model, navigate to the employees/models.py file. Create a subclass django.db.models.Model and define a series of class variables to represent the fields of the model as follows:
from django.db import models

# Create your models here.
class Employee(models.Model):

    fullname = models.CharField(max_length=100, null=True)
    dep = models.TextField(max_length=30, null=True)
    birthdate = models.CharField(max_length=30, null=True)
    salary = models.TextField(max_length=30, null=True)
    created_at = models.DateTimeField(auto_now_add=True , null=True)

    class Meta:
        ordering = ['created_at']

    def __str__(self):
        return self.fullname
Add the model to the employees/admin.py file. This will allow you to test the API in a Django UI.
from django.contrib import admin
from .models import Employee

# Register your models here.
admin.site.register(Employee)
Once you have defined the models, run the makemigrations and migrate commands to create the necessary database tables and apply these changes. Create new database migrations based on the changes in models:
python manage.py makemigrationsApply them to the database by running the following command:
python manage.py migrate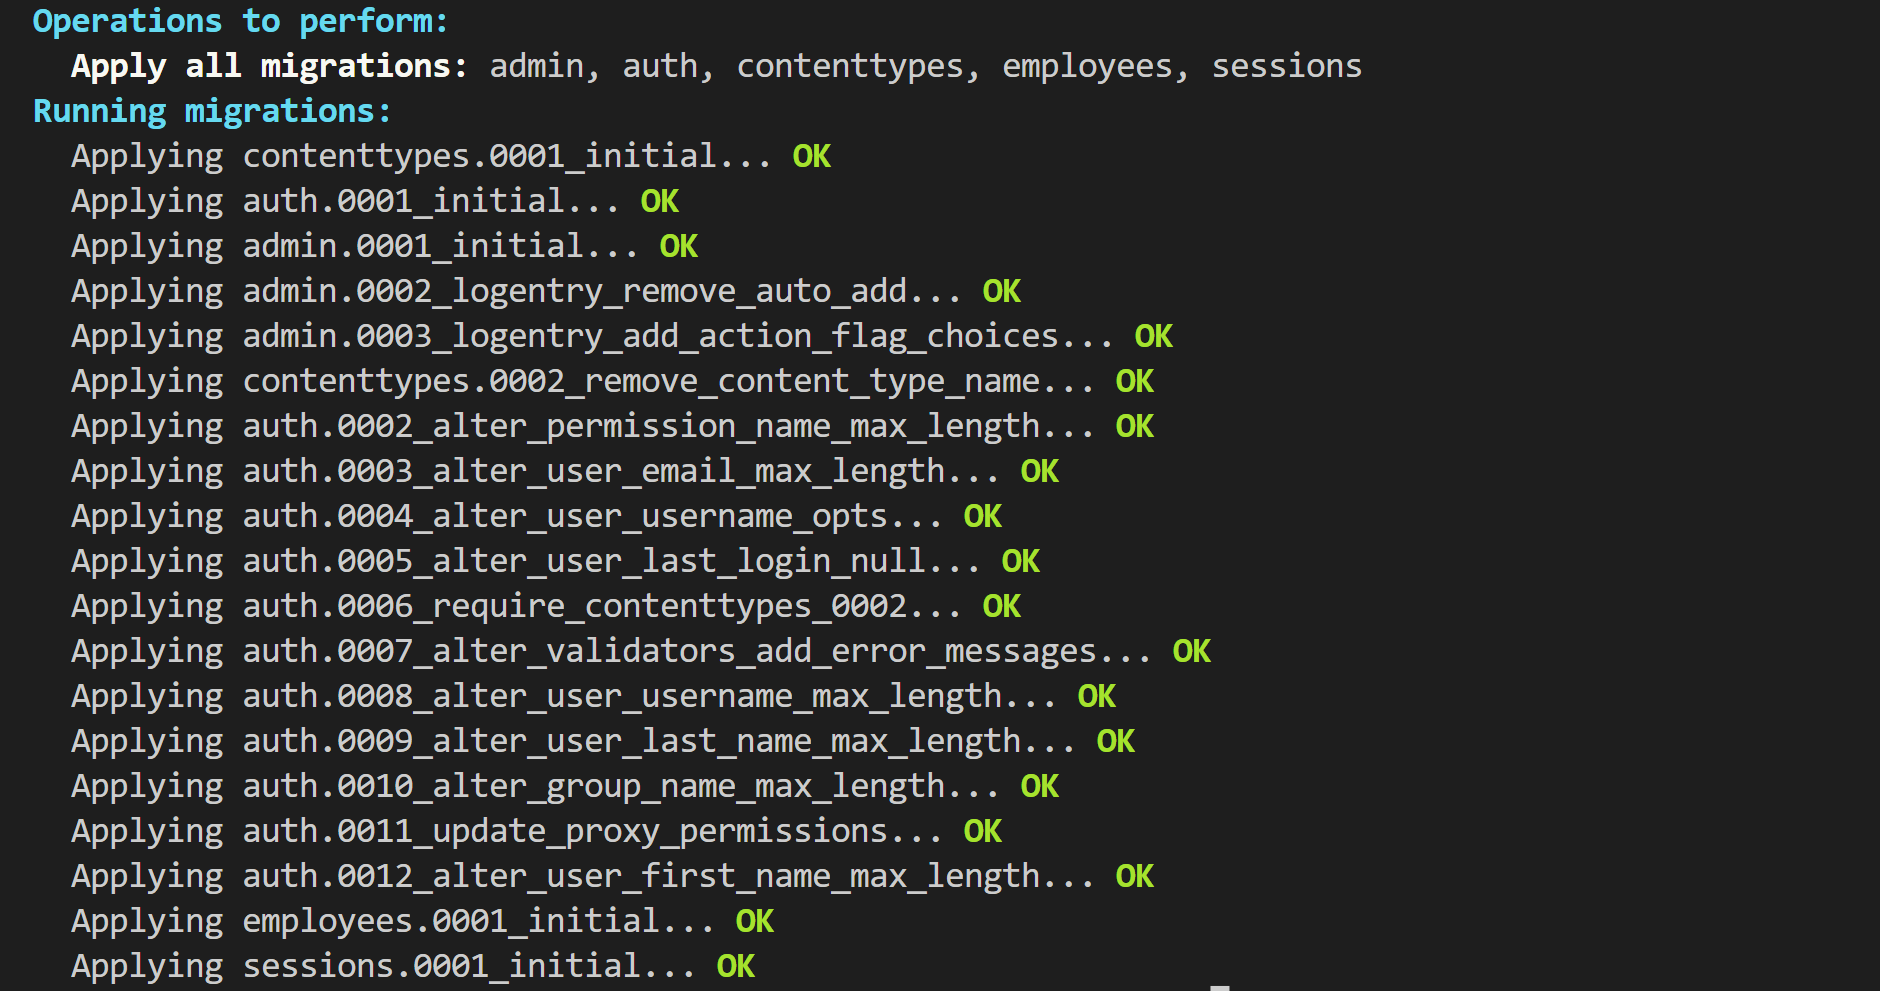
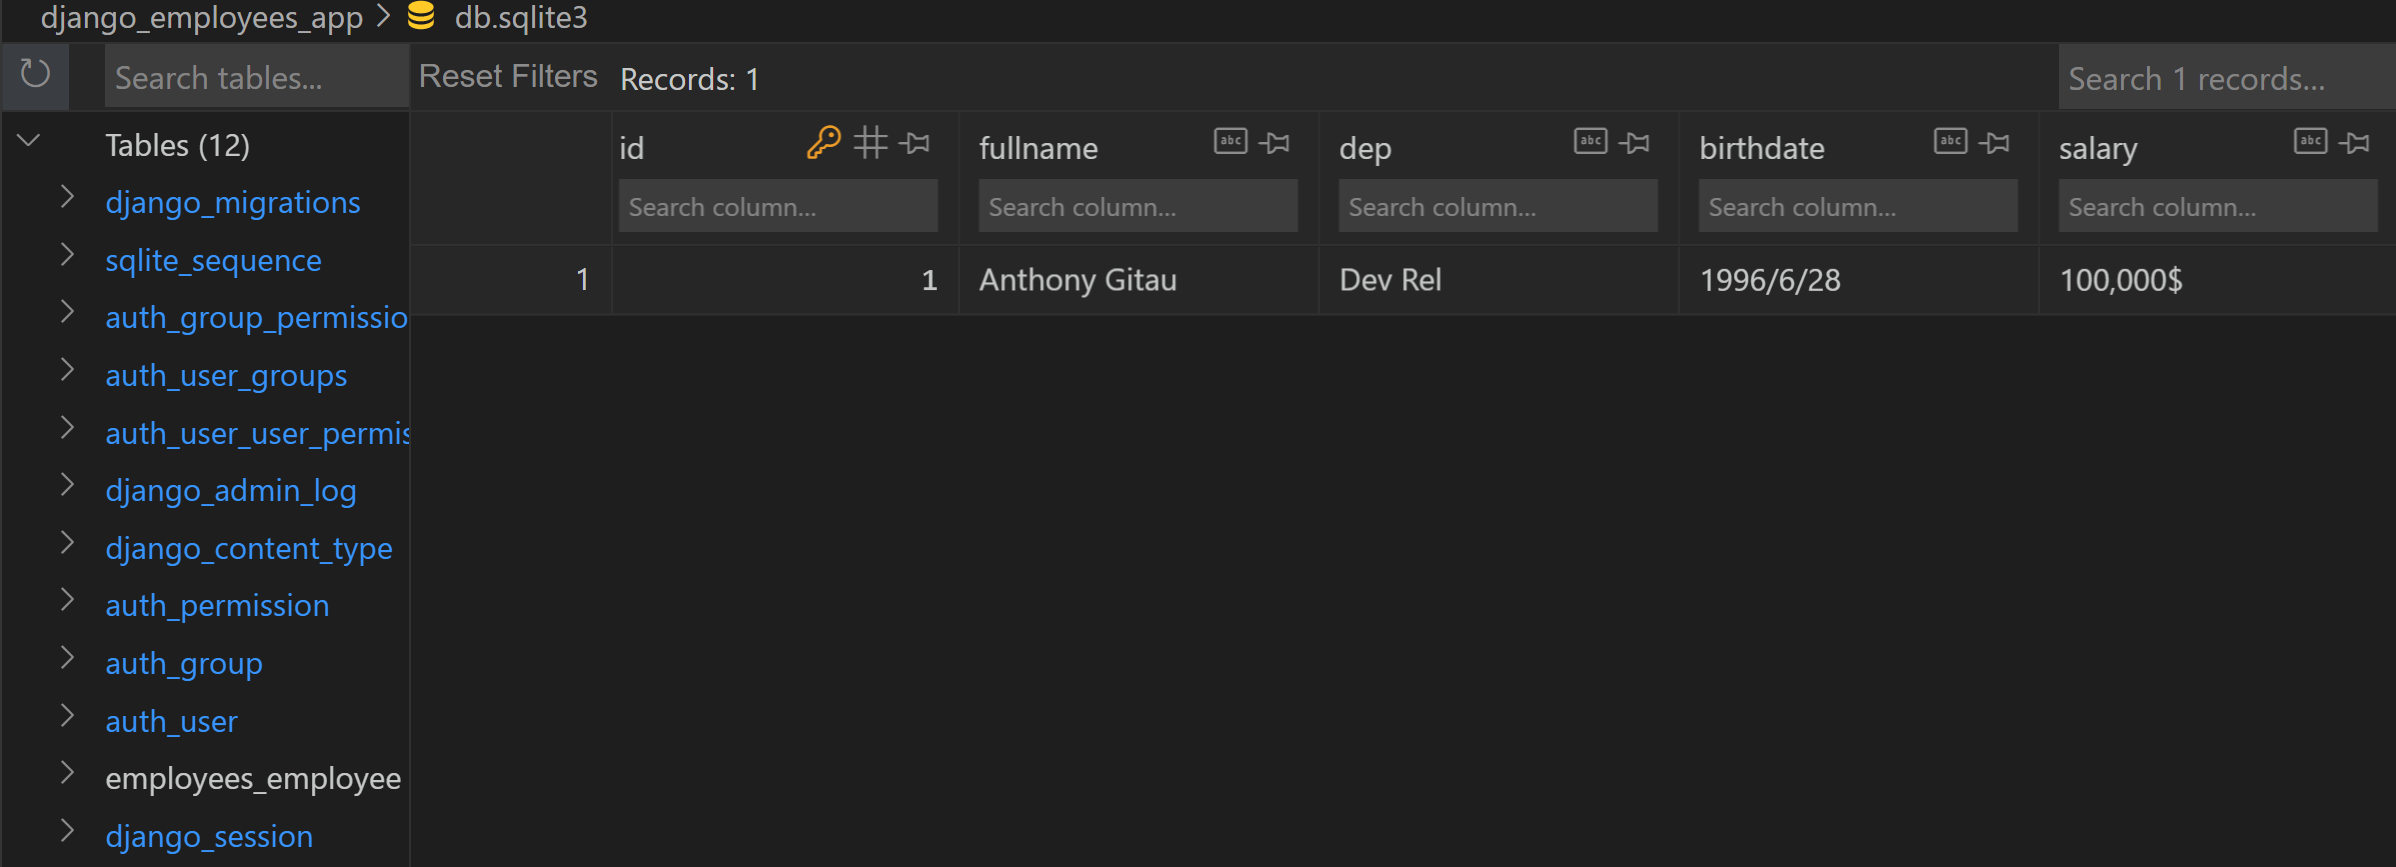
A db.sqlite3 file will be created at the root directory of your project for the SQLite database.
Creating the Model Serializer
A serializer is a class that converts data from a model instance into JSON format. Serializers facilitate the creation of APIs to allow clients to interact with the data.
Create a model serializer to specify the model fields that should be included in the serialized data. Create an employees/serializers.py file and add the ModelSerializer as follows:
from rest_framework.serializers import ModelSerializer

from .models import Employee

class EmployeeSerializer(ModelSerializer):
    class Meta:
        model = Employee
        fields = ["id", "fullname", "dep", "birthdate", "salary", "created_at"]
Creating the API Views
Let’s create the requests and responses required for the application API. Add these changes inside the employees/views.py file. This will set a Django Rest Framework API and allows you to read, create, retrieve, update, and delete Employee objects. Update the views.py file as follows:
from django.shortcuts import render
from rest_framework.viewsets import ModelViewSet
from .models import Employee
from .serializers import EmployeeSerializer

# Create your views here.
class EmployeeViewSet(ModelViewSet):
    queryset = Employee.objects.all()
    serializer_class = EmployeeSerializer
To access the view set, create an employees/urls.py and define a URL pattern for a Django Rest Framework API as follows:
from django.urls import path

from rest_framework import routers
from .views import EmployeeViewSet

router = routers.DefaultRouter()

router.register('employees', EmployeeViewSet)

urlpatterns = router.urls
To use the URL patterns, you need to include them in the project’s urls.py file. Navigate to django_employees_app/django_employees_app/urls.py and update the file and follows:
from django.contrib import admin
from django.urls import path, include

urlpatterns = [
    path('admin/', admin.site.urls),
    path('api/', include('employees.urls'))
]
Session Replay for Developers
Uncover frustrations, understand bugs and fix slowdowns like never before with OpenReplay — an open-source session replay tool for developers. Self-host it in minutes, and have complete control over your customer data. Check our GitHub repo and join the thousands of developers in our community.
Running the Django API
First, create a superuser for the admin:
python manage.py createsuperuser
Enter a username, email, password, and password (again) as such. To run the API, execute the following command:
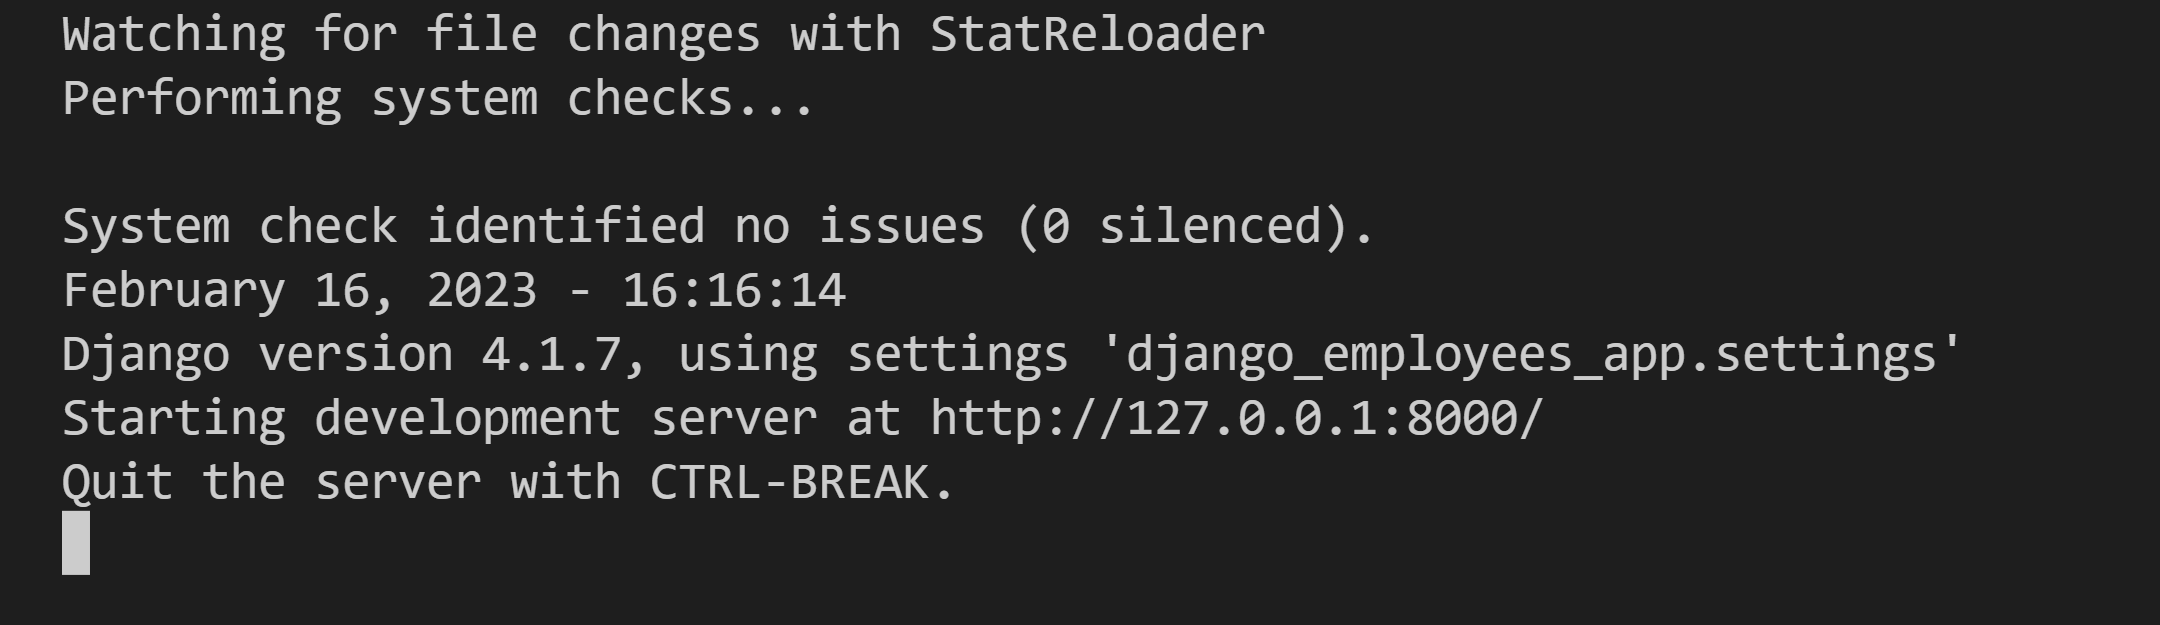
python manage.py runserverThis will expose the API on http://127.0.0.1:8000/ so external servers can access it.
To test the API, open http://127.0.0.1:8000/admin on the browser and enter your superuser details to log in:
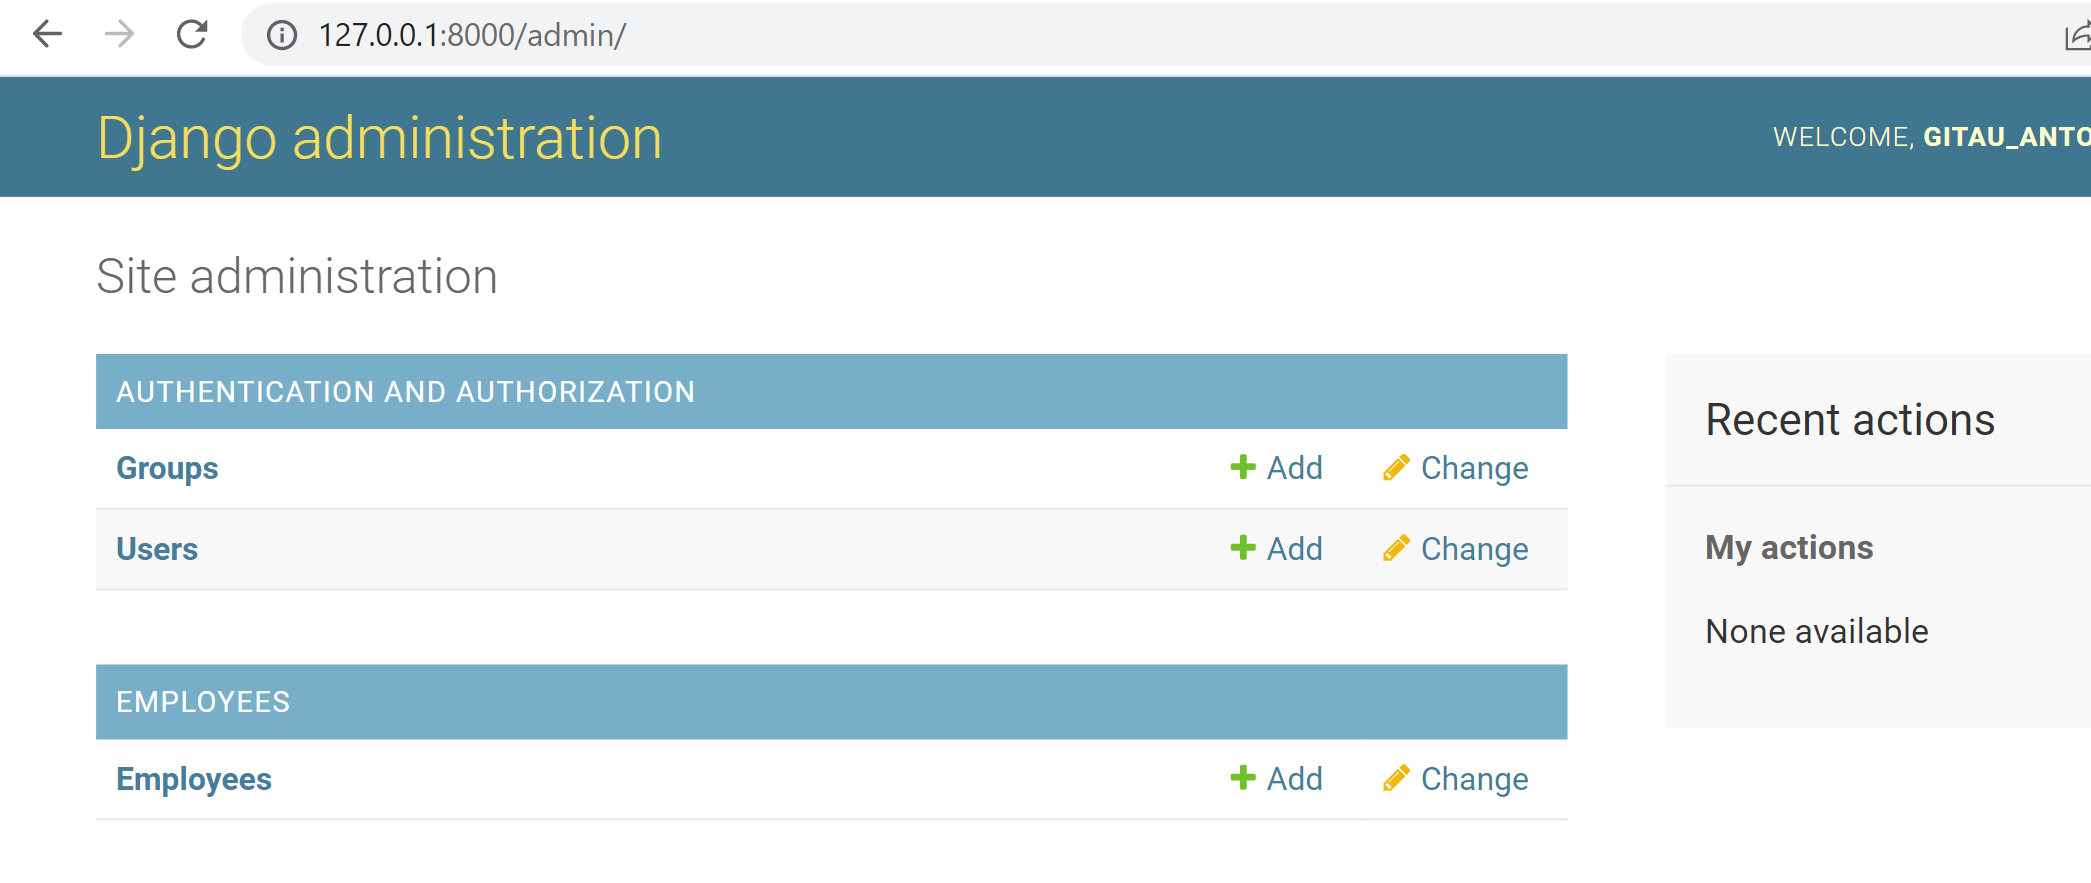
Click the +Add button under Employees and start interacting with the API.
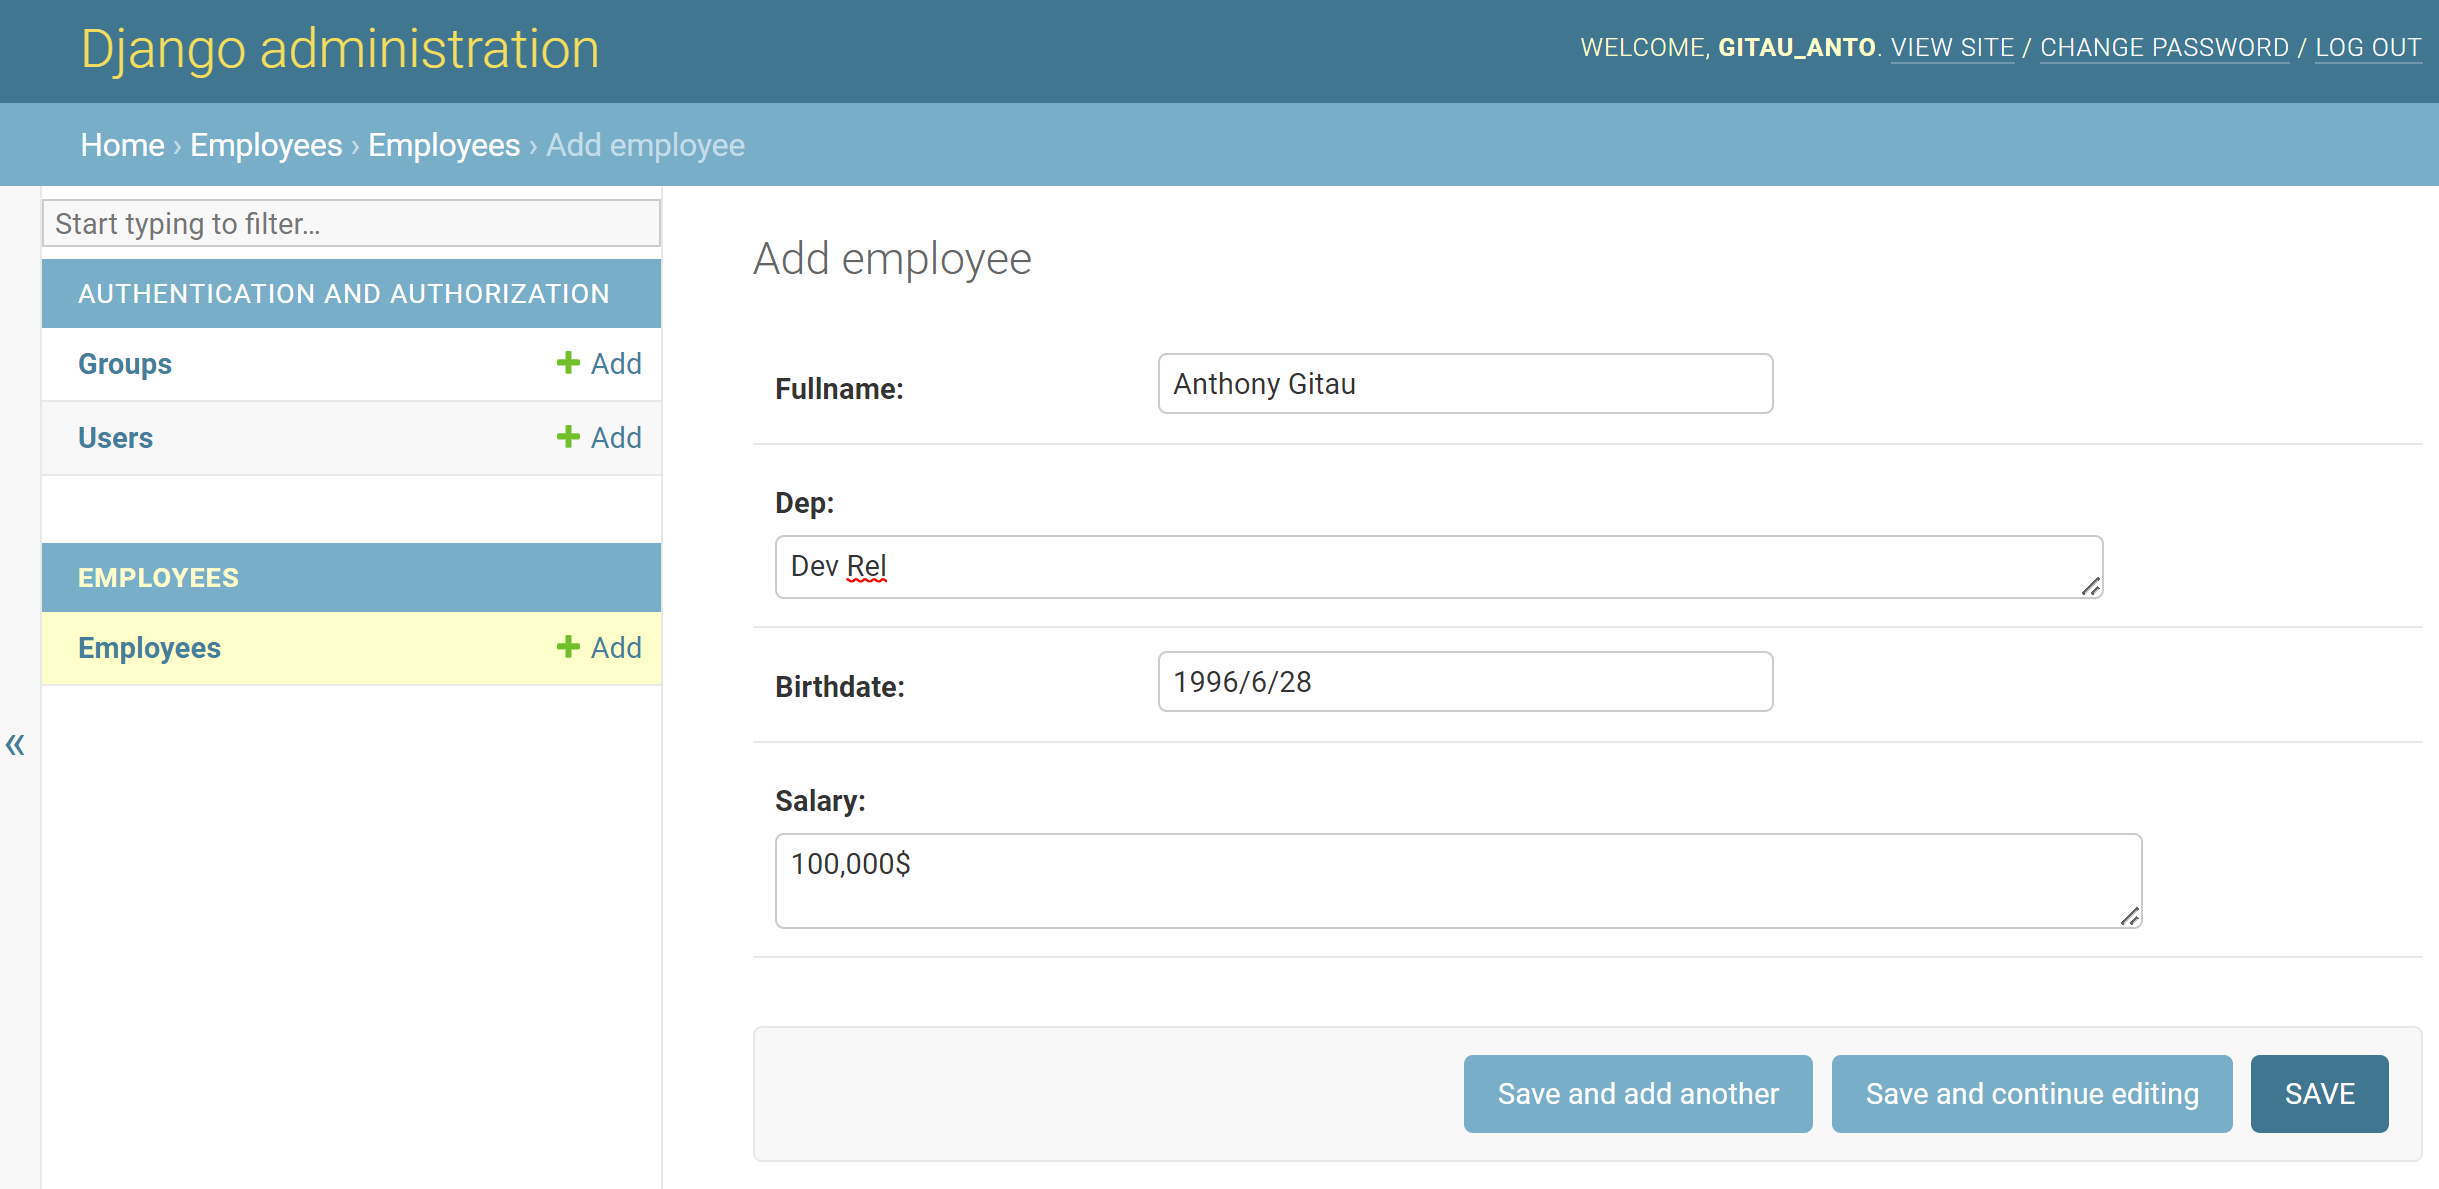
The changes you make here should reflect the SQLite database:
Django with Vue
You have the API ready. Let’s consume it using a Vue frontend. First, create a Vue.js application using the following command:
npm init vue@latest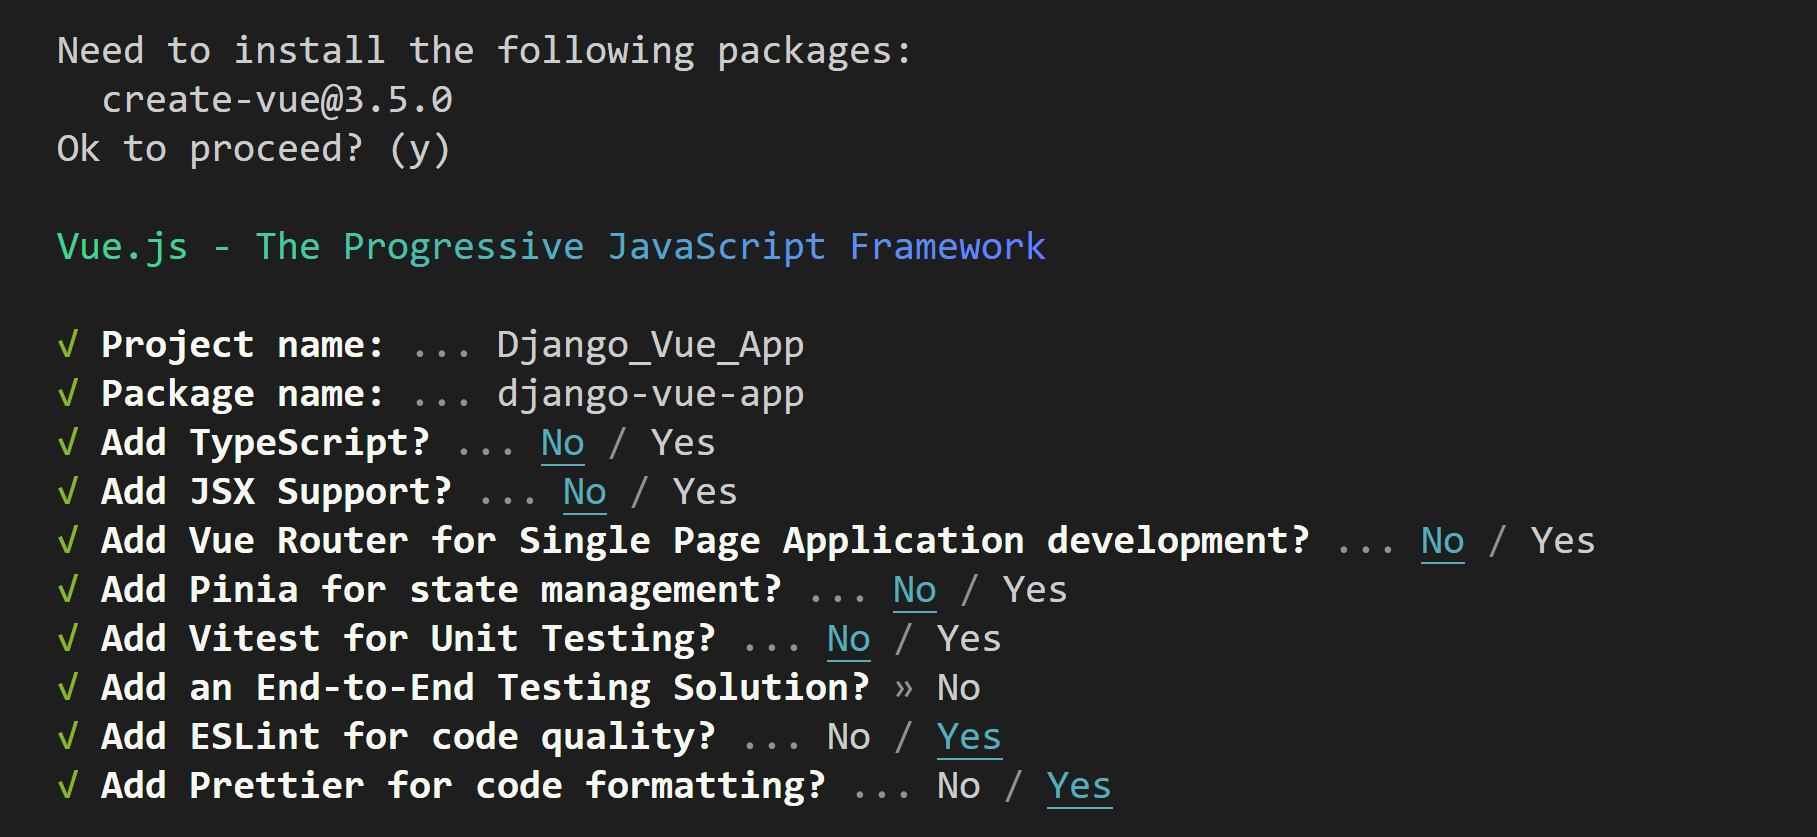
Change the directory to the newly created application:
cd Django_Vue_AppRun the following command to install the application dependencies:
npm installTo communicate with the API, use the Axios library. Axios is a promise-based HTTP client for making HTTP requests to APIs. To install it, run the following command:
npm install axiosTo use Axios on a Vue.js application, edit the src/main.js file as follows:
import { createApp } from 'vue'
import App from './App.vue'
import './assets/main.css'
import axios from 'axios'

const app = createApp(App);
app.config.globalProperties.$http = axios

app.mount('#app')
As a requirement, you will require some CSS styling for this guide. Copy this CSS code into your src/assets/main.css file.
Setting up Vue.js Component
Let’s create a component to interact with the employees’ API. Navigate to the src/components directory and create an EmployeesList.vue file. First, create the component scripts that have the data() method as follows:
<script>
export default {
  data() {
    return {
      employees: [],
      fullname: "",
      dep: "",
      birthdate: "",
      salary: "",
      id: "",
      isEditing: false,
    };
  },
    methods: {
    }
}
</script>

// apply styling to the component

<style scoped>
</style>
In this example:
- The
employeesempty array will store the list of employees - Fullname, dep, birthdate,salary and id will hold the data when creating or editing an employee
- The id property stores the id of the employee that is being edited, or deleted.
isEditingwill track whether the component is in editing mode or not and update the component based on the user’s actions.methodsobject will include methods needed to interact with the data and update the component’s state.
Fetching and Displaying API Data with Vue.js
At this point, ensure the API is running before interacting with it. First, let’s fetch the available employees stored in the API database.
You will require a method to read the data using Axios and the API endpoint. Replace the methods object with the following getEmployee() function.
Methods:
methods: {
    async getEmployee() {
      try {
        await this.$http
          .get(`http://127.0.0.1:8000/api/employees/`)
          .then((response) => {
            this.employees = response.data;
          });
      } catch (error) {
        console.log(error);
      }
    },
},
created() {
    this.getEmployee();
},
The main purpose of getEmployee() is to send a request to the API and store the result response of employees data. To execute getEmployee(), create a view using the Vue.js template. This view will read the data response and render it as follows:
<template>
  <div class="content">
    <h1>Employees App</h1>
    <div class="list">
      <ul class="list_content">
        <li v-for="employee in employees" :key="employee.id">
          <h4>{{ employee.fullname }}</h4>
          <h4>{{ employee.dep }}</h4>
          <h4>{{ employee.birthdate }}</h4>
          <h4>{{ employee.salary }}</h4>
        </li>
      </ul>
    </div>
  </div>
</template>
To run the component, navigate to src/App.vue and make the following changes:
<template>
  <div class="app">
    <EmployeesList />
  </div>
</template>

<script>
import EmployeesList from './components/EmployeesList.vue'

export default {
  name: 'App',
  components: {
    EmployeesList,
  }
}
</script>

<style scoped>
</style>
Run the following command to test if the application is working correctly:
npm run devIf everything is correctly set, Vue.js will display the employees you added using Django Admin; try it out.
Adding and Updating Data using Vue.js
Let’s add employee data using Vue.js and save it to the API database. In the src/components/EmployeesListList.vue file, create submitEmployee() function inside the methods object. submitEmployee() will create or update an employee, depending on whether the component is in editing mode (this.isEditing is true) or creating mode (this.isEditing is false) as follows:
async submitEmployee() {
    try {
      if (!this.isEditing) {
        await this.$http
          .post(`http://127.0.0.1:8000/api/employees/`, {
            fullname: this.fullname,
            dep: this.dep,
            birthdate: this.birthdate,
            salary: this.salary,
          })
          .then((response) => {
            this.employees.push(response.data);
            this.fullname = "";
            this.dep = "";
            this.birthdate = "";
            this.salary = "";
          });
      } else {
        await this.$http
          .put(`http://127.0.0.1:8000/api/employees/${this.id}/`, {
            fullname: this.fullname,
            dep: this.dep,
            birthdate: this.birthdate,
            salary: this.salary,
          })
          .then((response) => {
            let objIndex = this.employees.findIndex((s) => s.id === this.id);
            let tmp = this.employees;
            tmp[objIndex] = response.data;
            this.employees = tmp;
            this.fullname = "";
            this.dep = "";
            this.birthdate = "";
            this.salary = "";
            this.id = "";
            this.isEditing = false;
            this.getEmployee();
          });
      }
    } catch (error) {
      console.log(error);
    }
},
Here you are executing the POST and PUT requests at the same time. If the component is not in the editing mode (isEditing is false), execute the POST request to create a new employee. Pass in the employee properties as the data to be sent in the request. If the request is successful, it will add the response data to the employees array and clear component adding form.
If the component is in editing mode (isEditing is true), execute the PUT request to update an existing employee. Here, pass in the id of the employee to update, along with the updated employee values. If the PUT request is successful, reset isEditing to false.
To track if isEditing = true based on the employee being updated, let’s create another method. Inside the methods object, create an editEmployee() function as follows:
async editEmployee(employee) {
  try {
    this.isEditing = true;
    this.fullname = employee.fullname;
    this.dep = employee.dep;
    this.birthdate = employee.birthdate;
    this.salary = employee.salary;
    this.id = employee.id;
  } catch (error) {
    console.log(error);
  }
},
Next, create a template to render the above methods. Replace the existing template as follows:
<template>
  <div class="content">
    <h1>Employees App</h1>

    <div class="add_form">
      <form v-on:submit.prevent="submitEmployee">
        <input
          type="text"
          class="form-control"
          placeholder="Full Nmae"
          v-model="fullname"
        />
        <input
          type="text"
          class="form-control"
          placeholder="Birth Date"
          v-model="dep"
        />
        <input
          type="text"
          class="form-control"
          placeholder="Department"
          v-model="birthdate"
        />
        <input
          type="text"
          class="form-control"
          placeholder="Salary"
          v-model="salary"
        />
        <button type="submit" class="btn btn-primary">
          {{ isEditing ? "Edit Employee" : "Add Employee" }}
        </button>
      </form>
    </div>

    <div class="list">
      <ul class="list_content">
        <li v-for="employee in employees" :key="employee.id">
          <h4>{{ employee.fullname }}</h4>
          <h4>{{ employee.dep }}</h4>
          <h4>{{ employee.birthdate }}</h4>
          <h4>{{ employee.salary }}</h4>
          <div class="list_buttons">
            <button @click="editEmployee(employee)">Edit</button>
            <button @click="deleteEmployee(employee)">Delete</button>
          </div>
        </li>
      </ul>
    </div>

  </div>
</template>
Your application should be updated as follows:
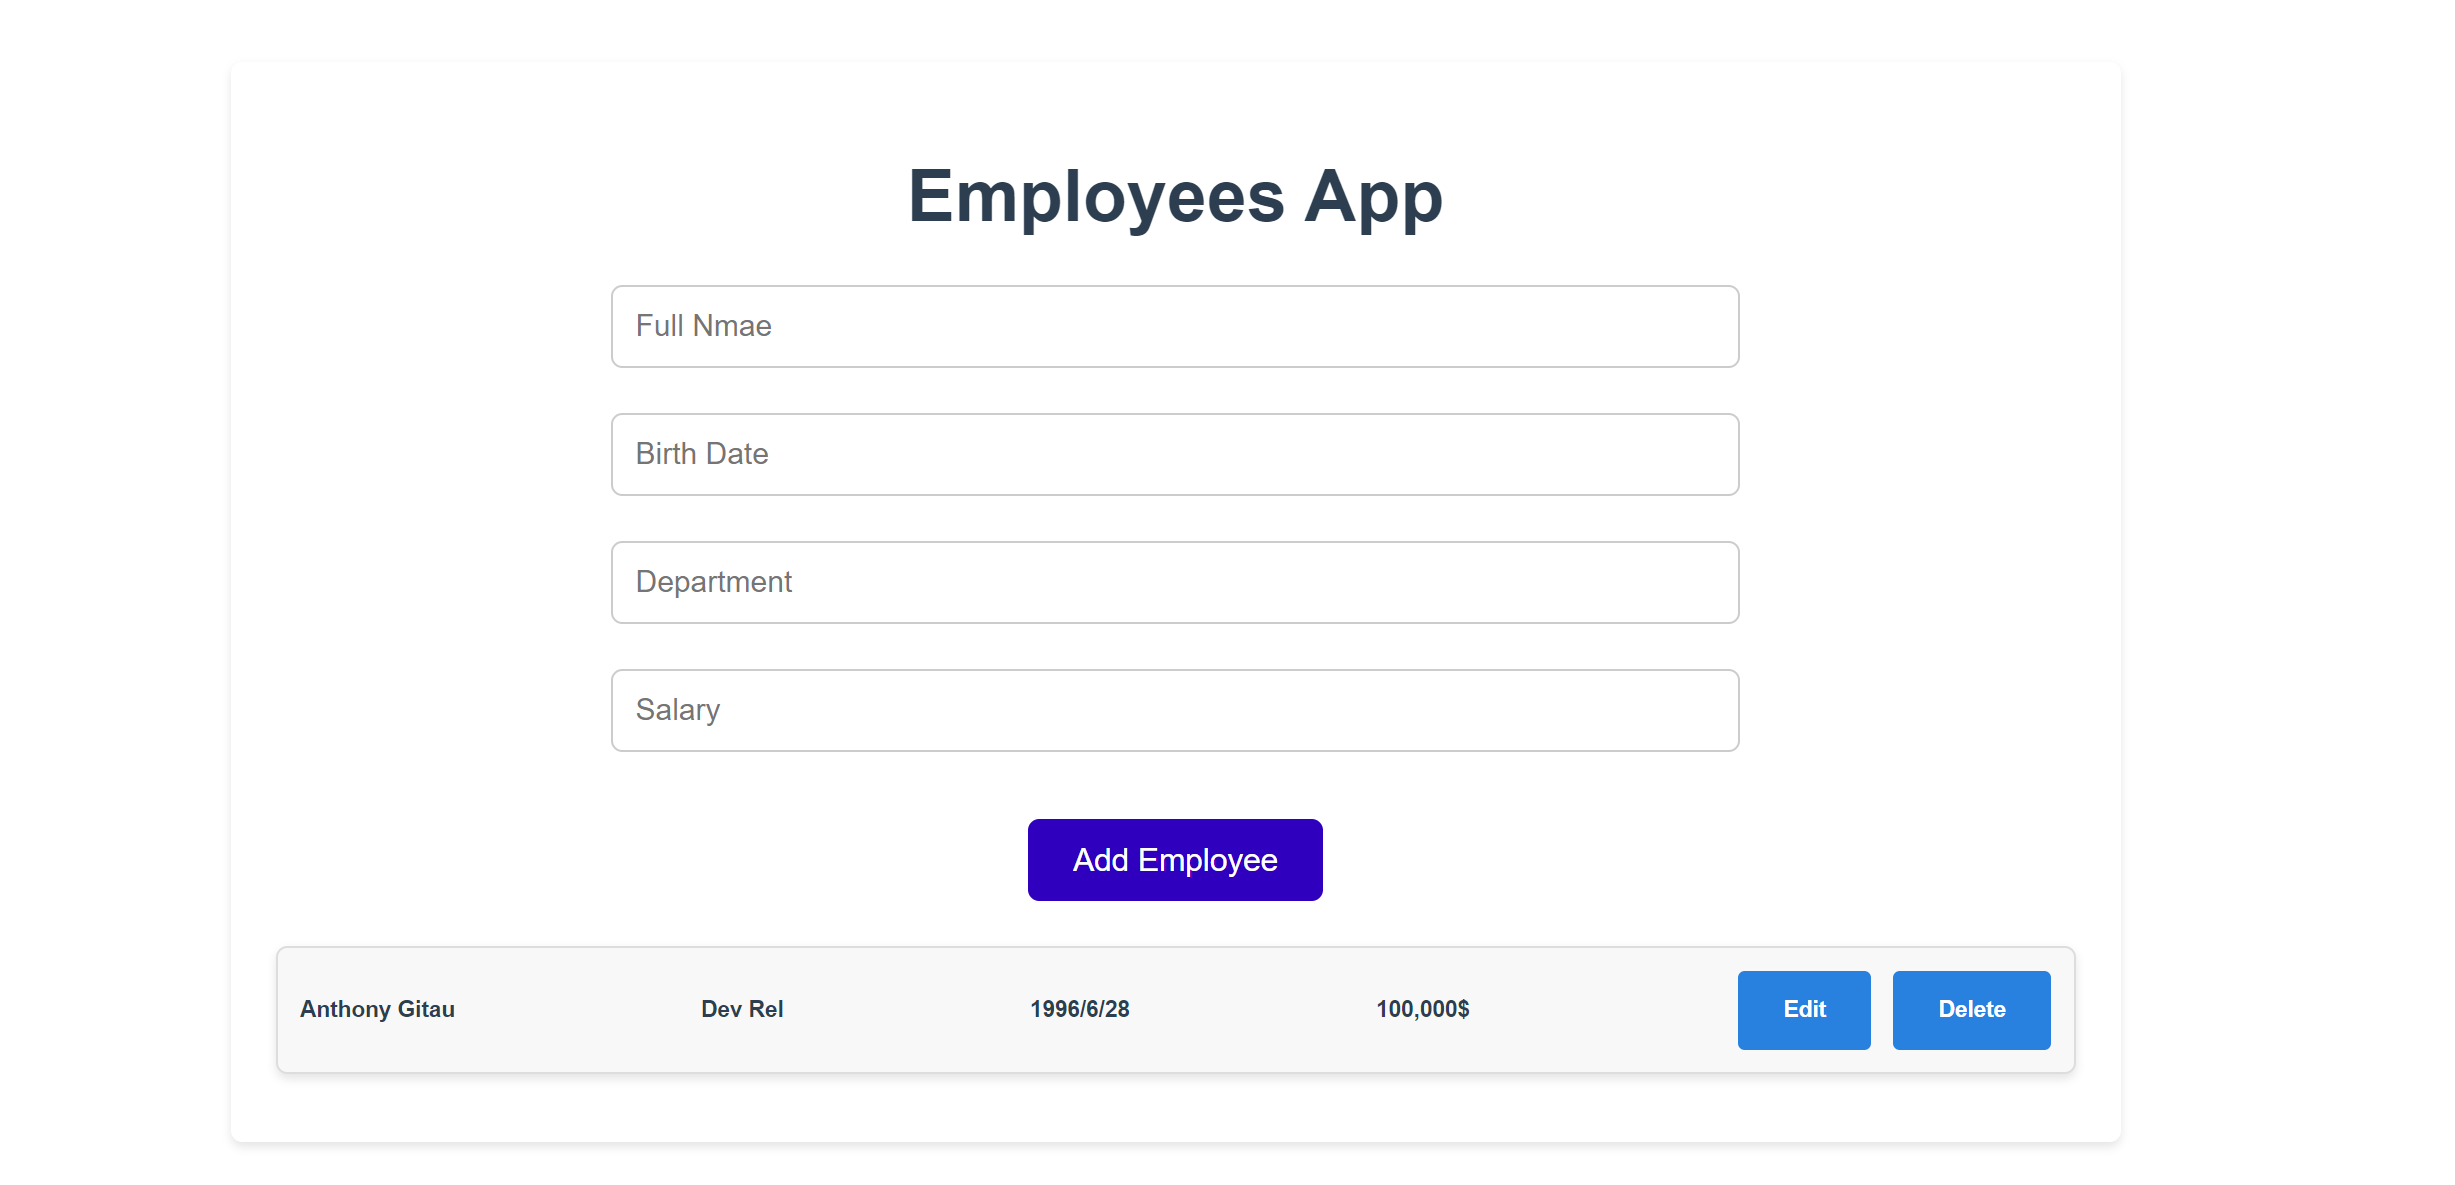
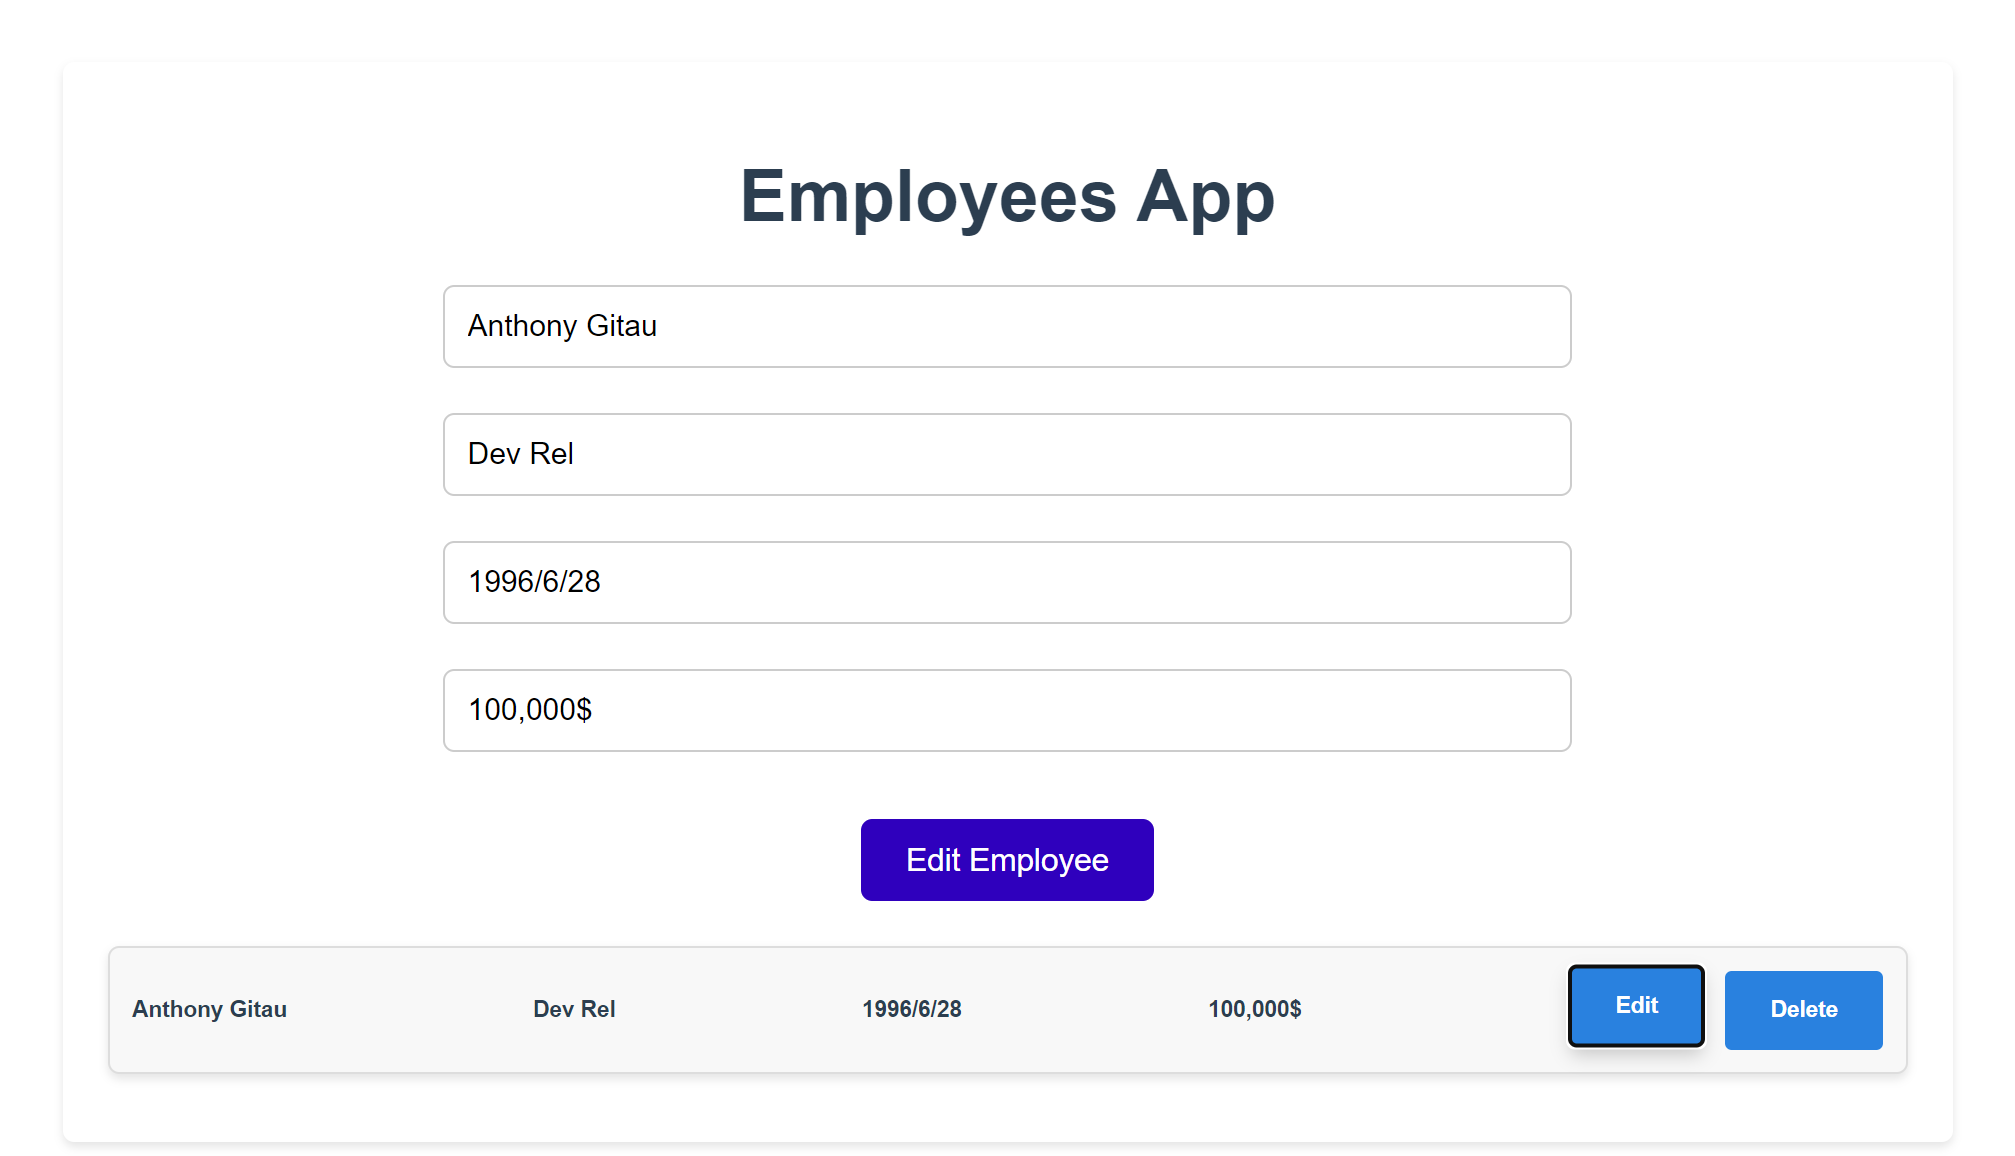
Use the form to add new data. Also, Click Edit to update the selected employee. Note: this will set isEditing to true and update the state as follows:
Deleting Data using Vue.js
Likewise, let’s add a new method to delete as exiting done as follows:
async deleteEmployee(employee) {
  if (!confirm("Are you sure?")) {
    return;
  }
  await this.$http.delete(`http://127.0.0.1:8000/api/employees/${employee.id}/`);
  await this.getEmployee();
},
Clicking the Delete button should remove the selected employee. These changes should reflect in the database as well.
Conclusion
Django provides intuitive solutions that are easy to learn and use when creating API. On the other end, Vue.js is a lightweight framework for building user interfaces. This guide has helped you understand how to build full-stack apps using Vue.js and Django.
Gain Debugging Superpowers
Unleash the power of session replay to reproduce bugs and track user frustrations. Get complete visibility into your frontend with OpenReplay, the most advanced open-source session replay tool for developers.