Capture real-time images and videos with React-Webcam


Webcams are video cameras that work well for recording in-progress pictures or videos for your web applications. It is recognized to help with streaming, instant messaging, video conferencing, and other related activities. Webcams have recently evolved into crucial tools for the social and business worlds, respectively.
React-Webcam is a lightweight JavaScript library with weekly downloads of over 113k on npm and 1.3k stars on GitHub. It supports both mobile and laptop devices that have physical or embedded webcams. The library includes several adaptable functions that make it simple to integrate into your application.
In this article, we will look at how to include react-webcam into your application and create a small webcam-based web application that will provide the following features:
- Choosing a camera
- Capturing Images
- Smoothing Images
- Capturing Video
Installing react-webcam
In this section, we will look at how to implement react-webcam into your react application and use the functionality that it supports.
To begin, run the React application using the instructions shown below.
npx create-react-app react-webcamInstall dependencies:
 cd react-webcam
 npm i react-webcam
 npm start
Next, we modify App.css to add some basic styling to the application.
.App {
  display: flex;
  justify-content: center;
  align-items: center;
  width: 100vw;
  background-color: #282c34;

}

.Container {
  display: flex;
  flex-direction: column;
  justify-content: center;
  align-items: center;
  min-height: 100vh;
  margin: 0 10px;
}

img {
  height: 400px;
  width: 400px;
  object-fit: cover;
}

button {
  background-color: crimson;
  color: #fff;
  margin-top: 10px;
  padding: 10px 40px;
  border: none;
  border-radius: 25px;
  cursor: pointer;
}
Build Webcam Component
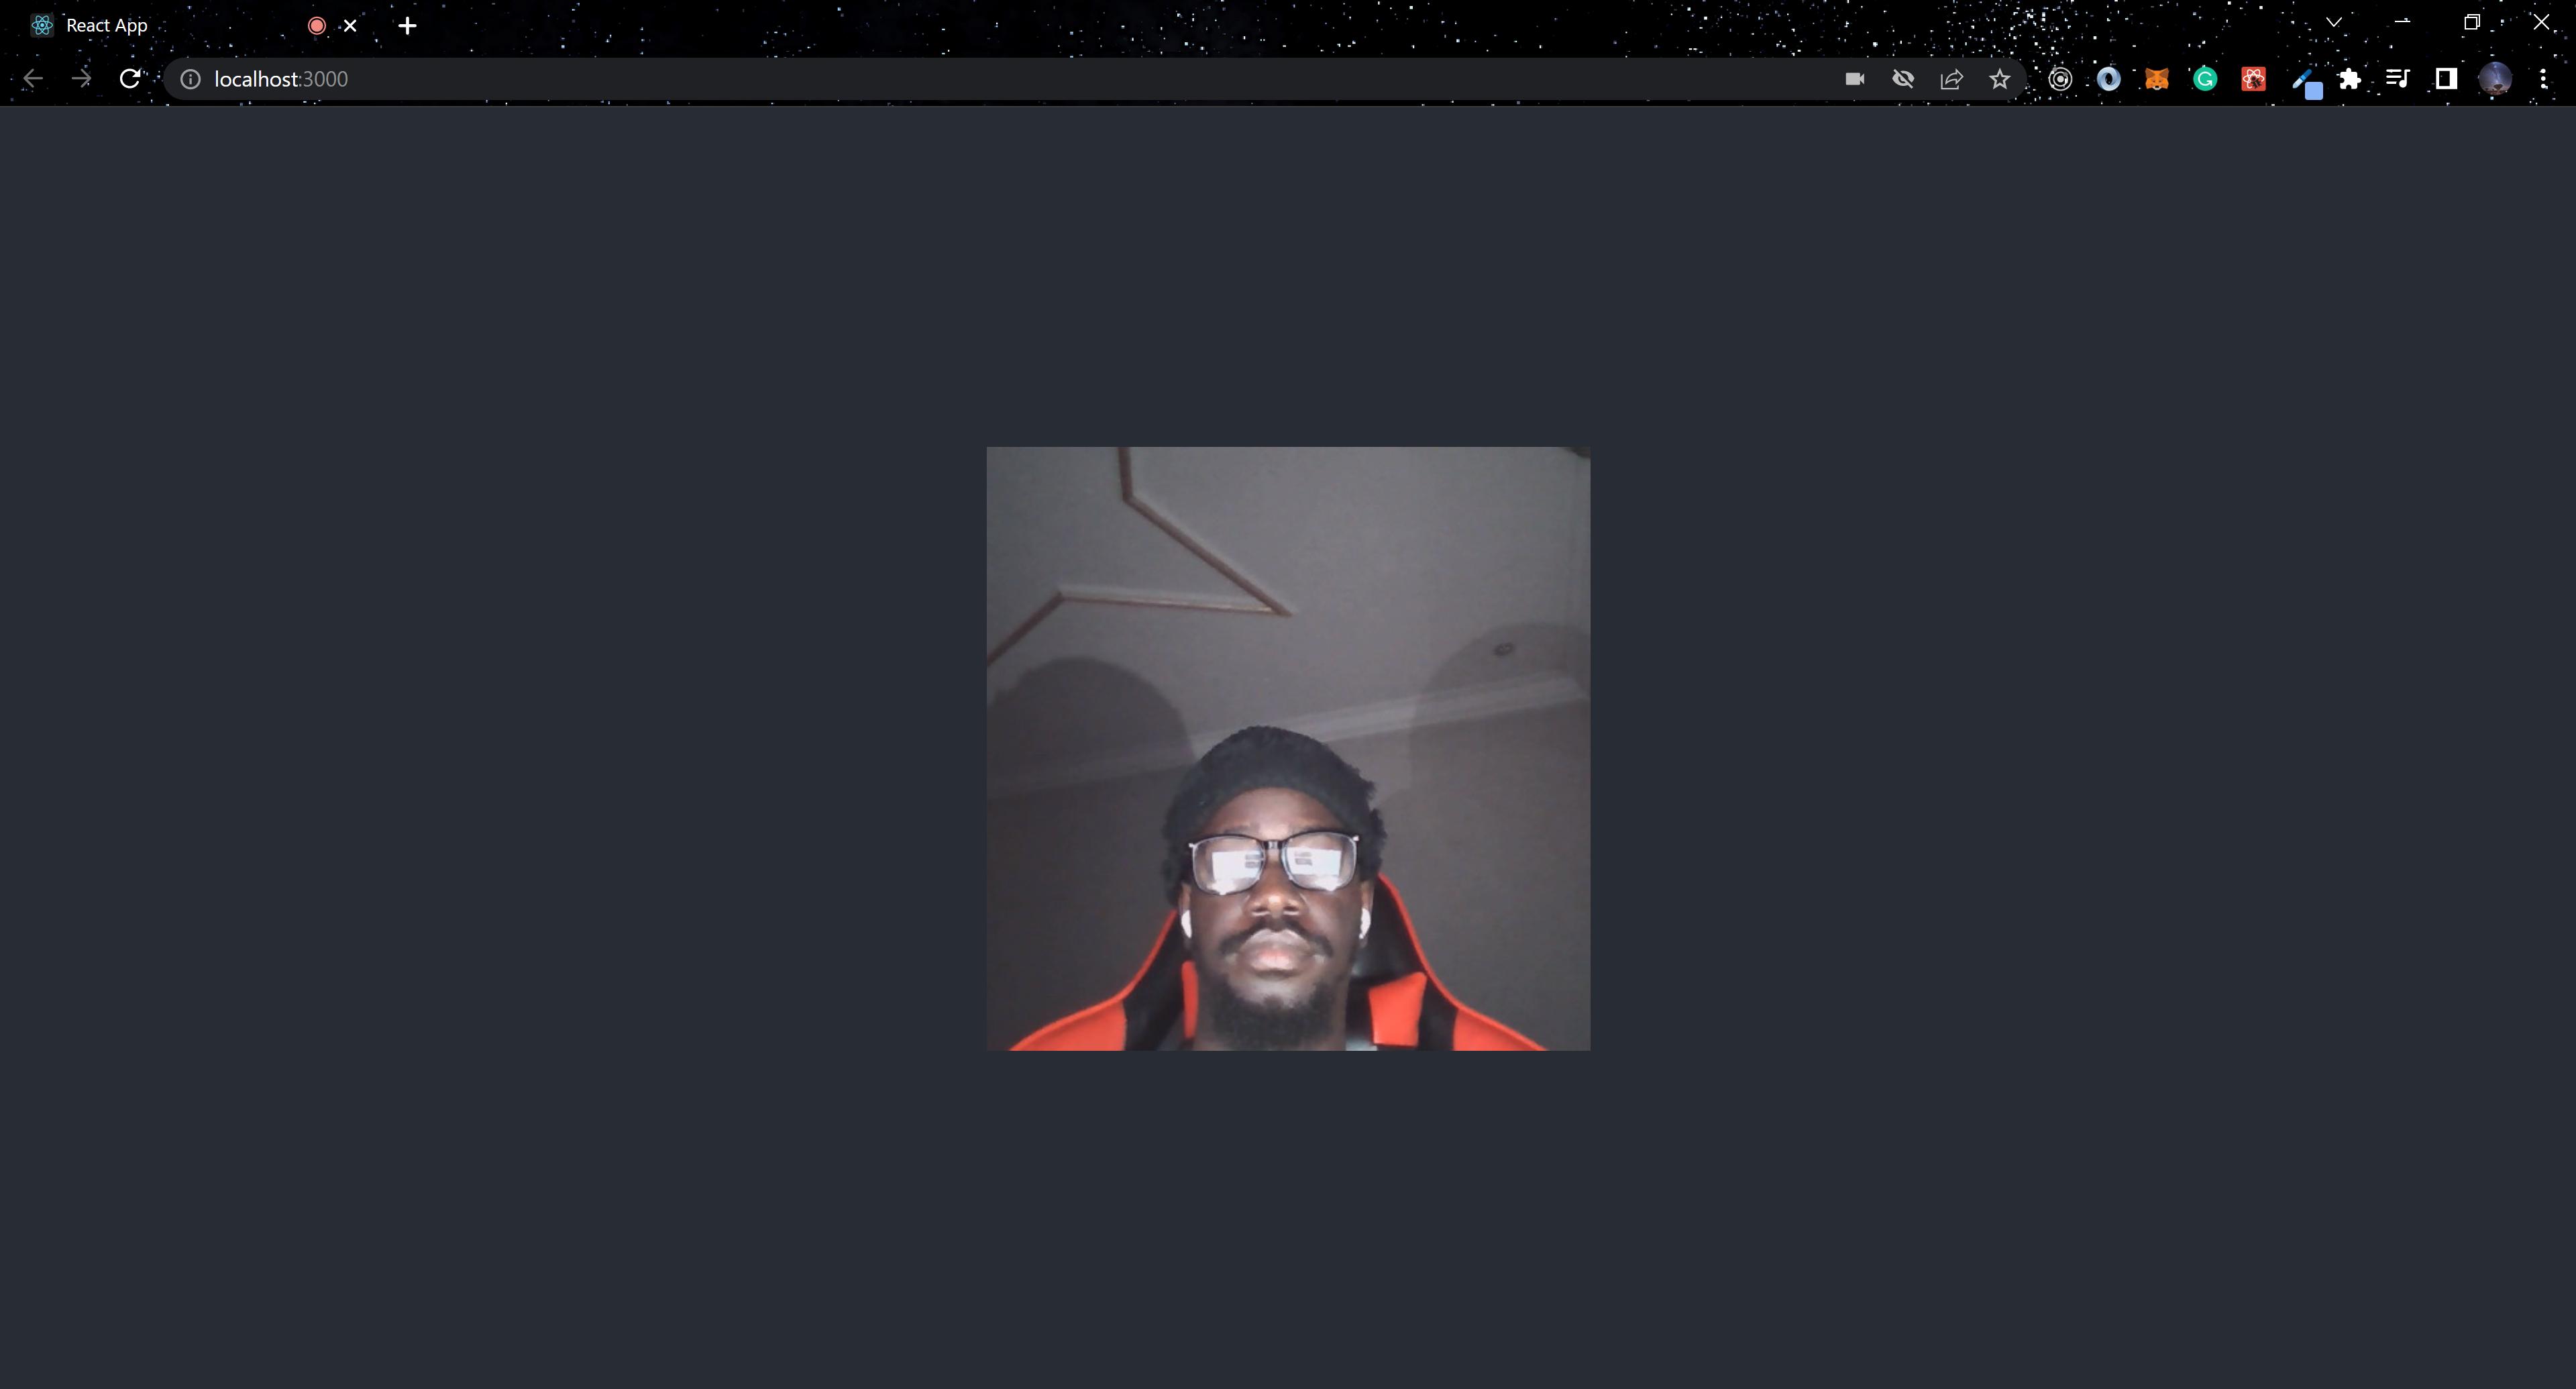
In this section, we will import the webcam component into the App.js component.
import React from "react";
import Webcam from "react-webcam";
import "./App.css";

function App() {
  return (
    <div className="App">
      <Webcam />
    </div>
  );
}

export default App;
A prompt will pop up on your screen; you have to click allow.
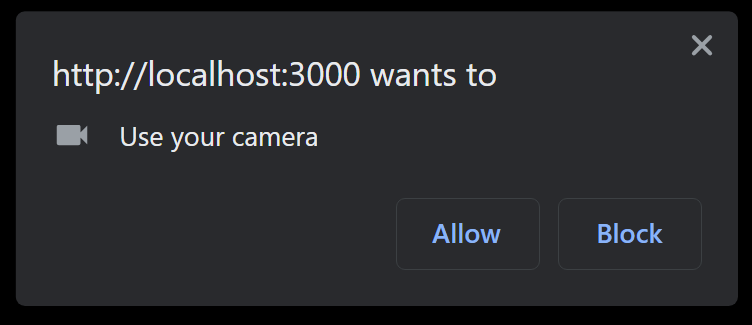
The component should now have access to your machine when you click Allow.
The react-webcam props
The react-webcam component has several props that you may utilize in your application. We’ll go through a couple of them below:
Image Smoothing
This prop smoothens the pixel of a screenshot taken. It is a boolean.
<Webcam imageSmoothing={true} />Audio
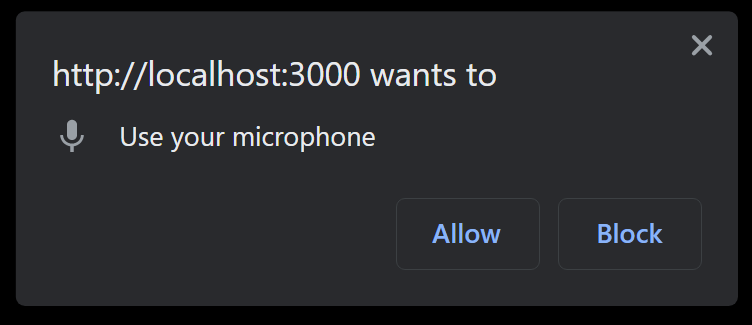
The audio prop is a boolean with a default value of false. This controls the state of the computer’s microphone.
<Webcam audio={true} />After adding the audio prop to the webcam component, we will get a prompt requesting to allow access to the computer’s microphone.
Screenshot Format
The screenshot format prop has a type of string and a default value of 'image/webp.'
<Webcam screenshotFormat='image/webp' />Mirrored
The mirrored prop is a boolean, with a default value of false This gives a mirrored version of the webcam’s output.
<Webcam mirrored={false} />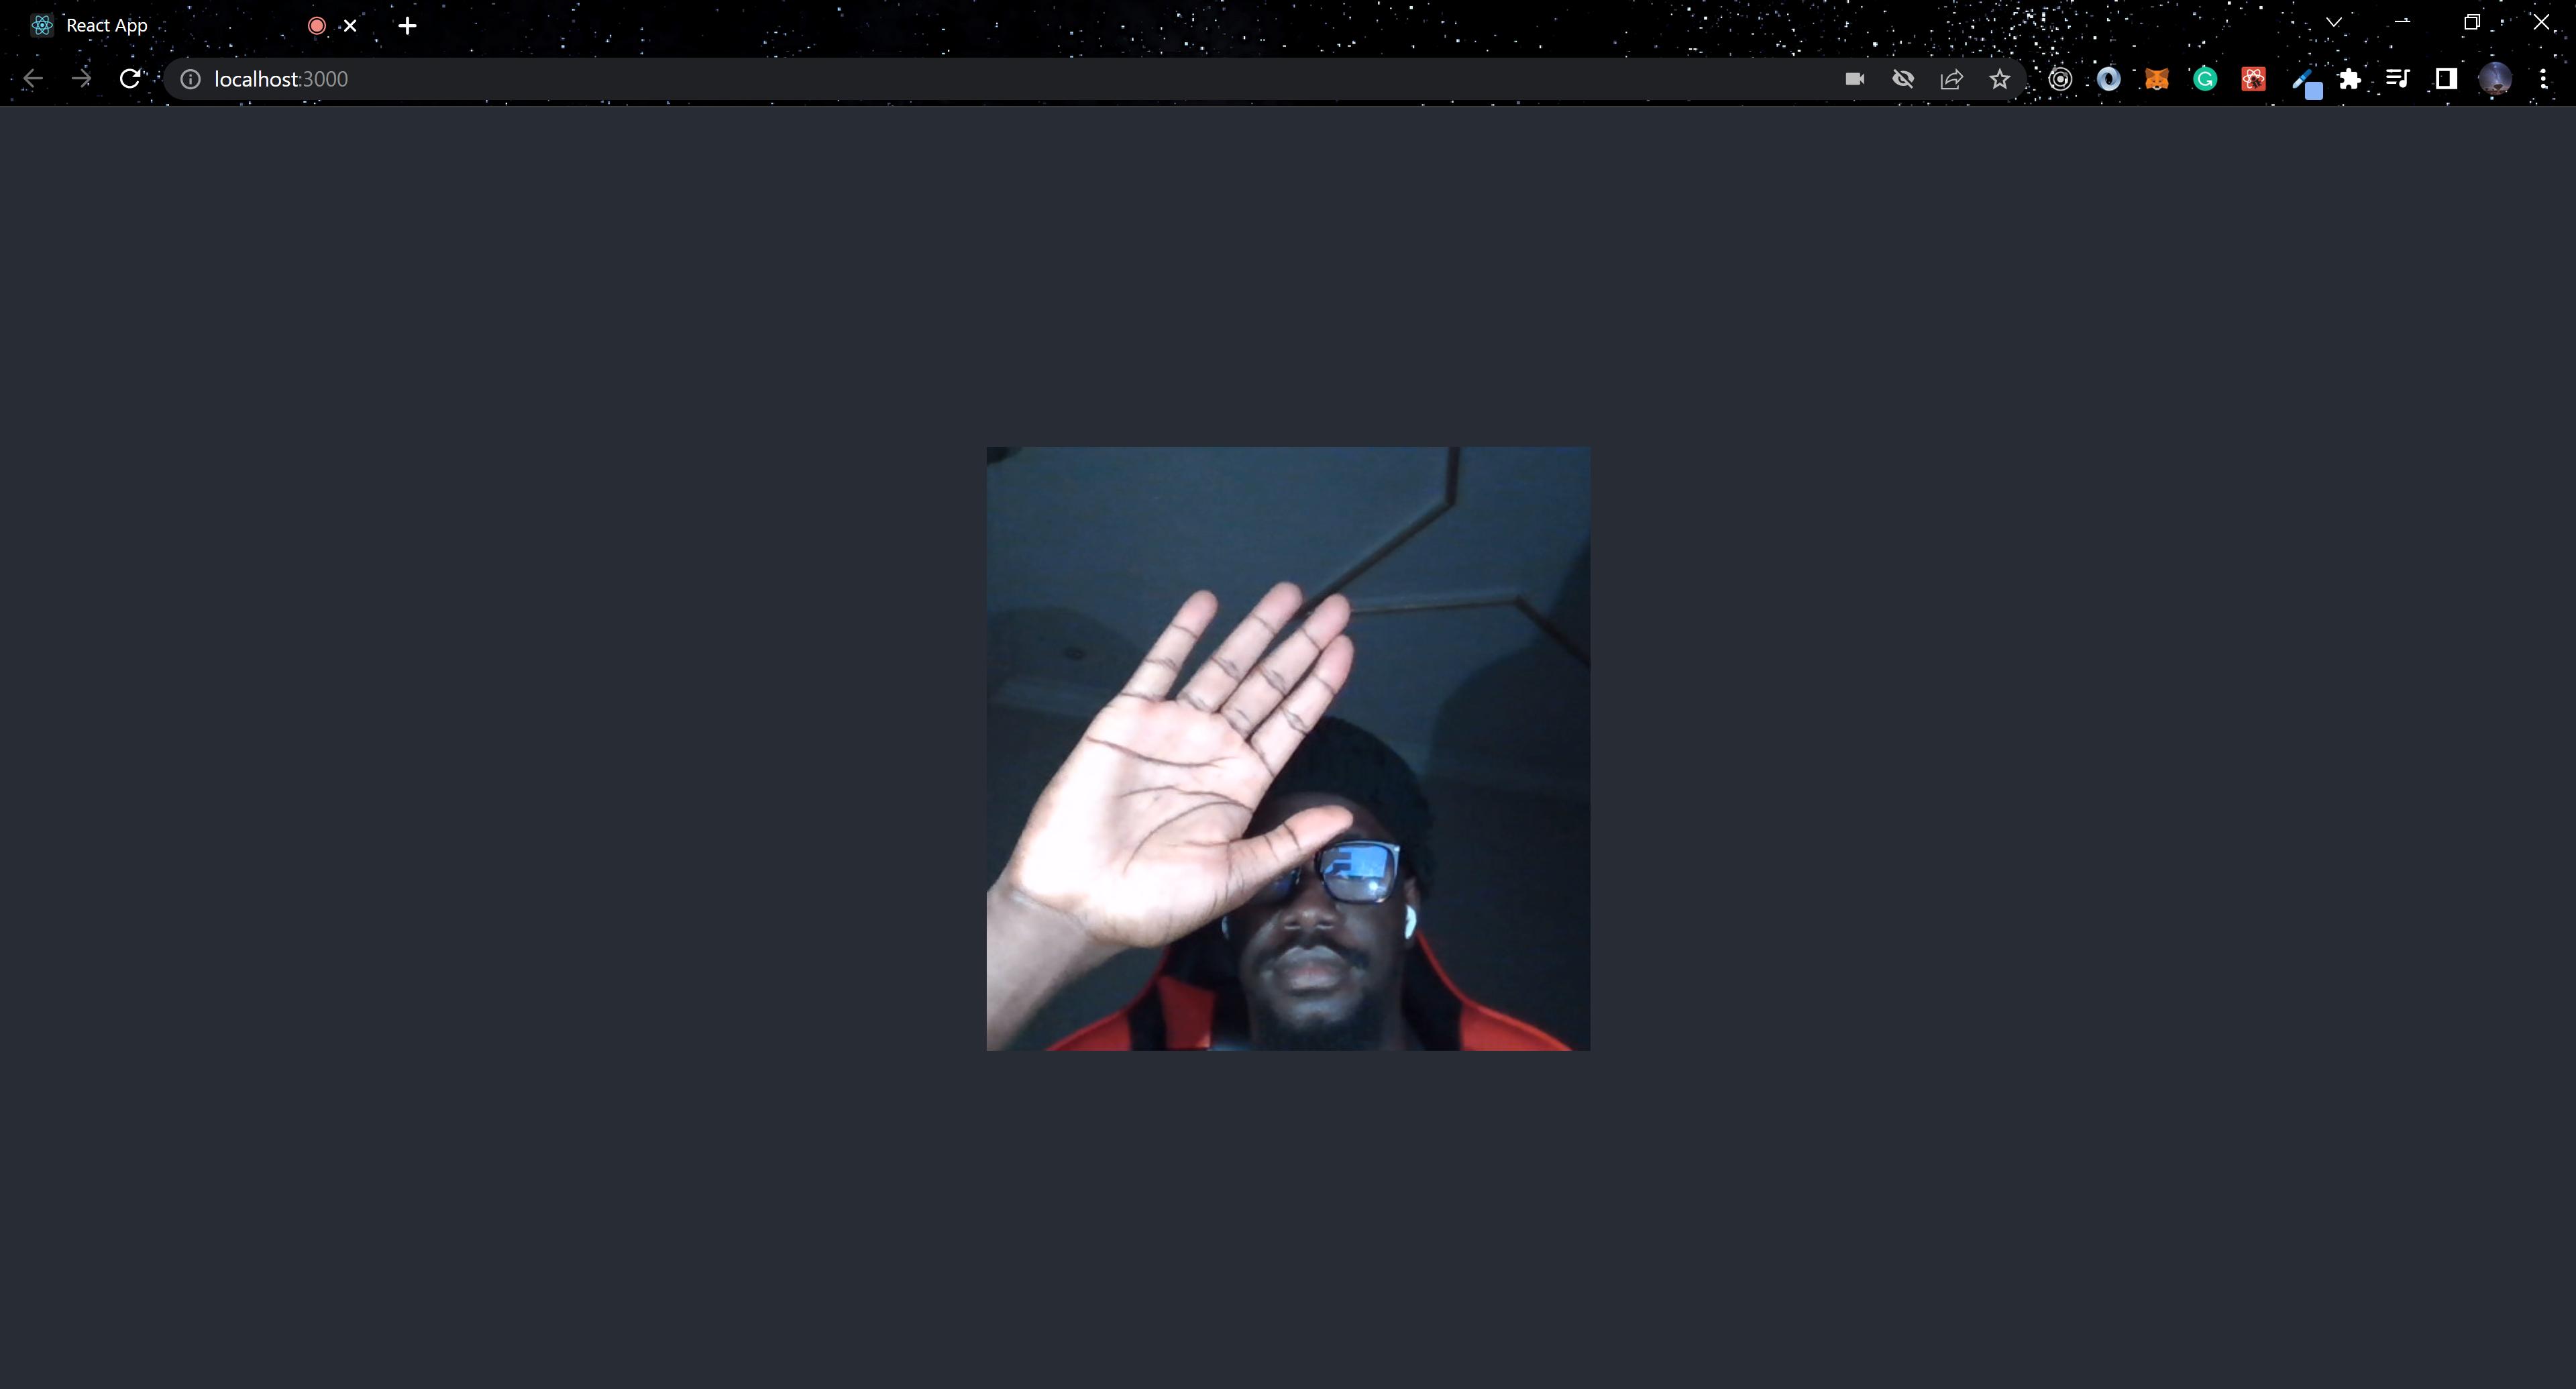
Following this, we will set the mirrored prop to true.
<Webcam mirrored={true} />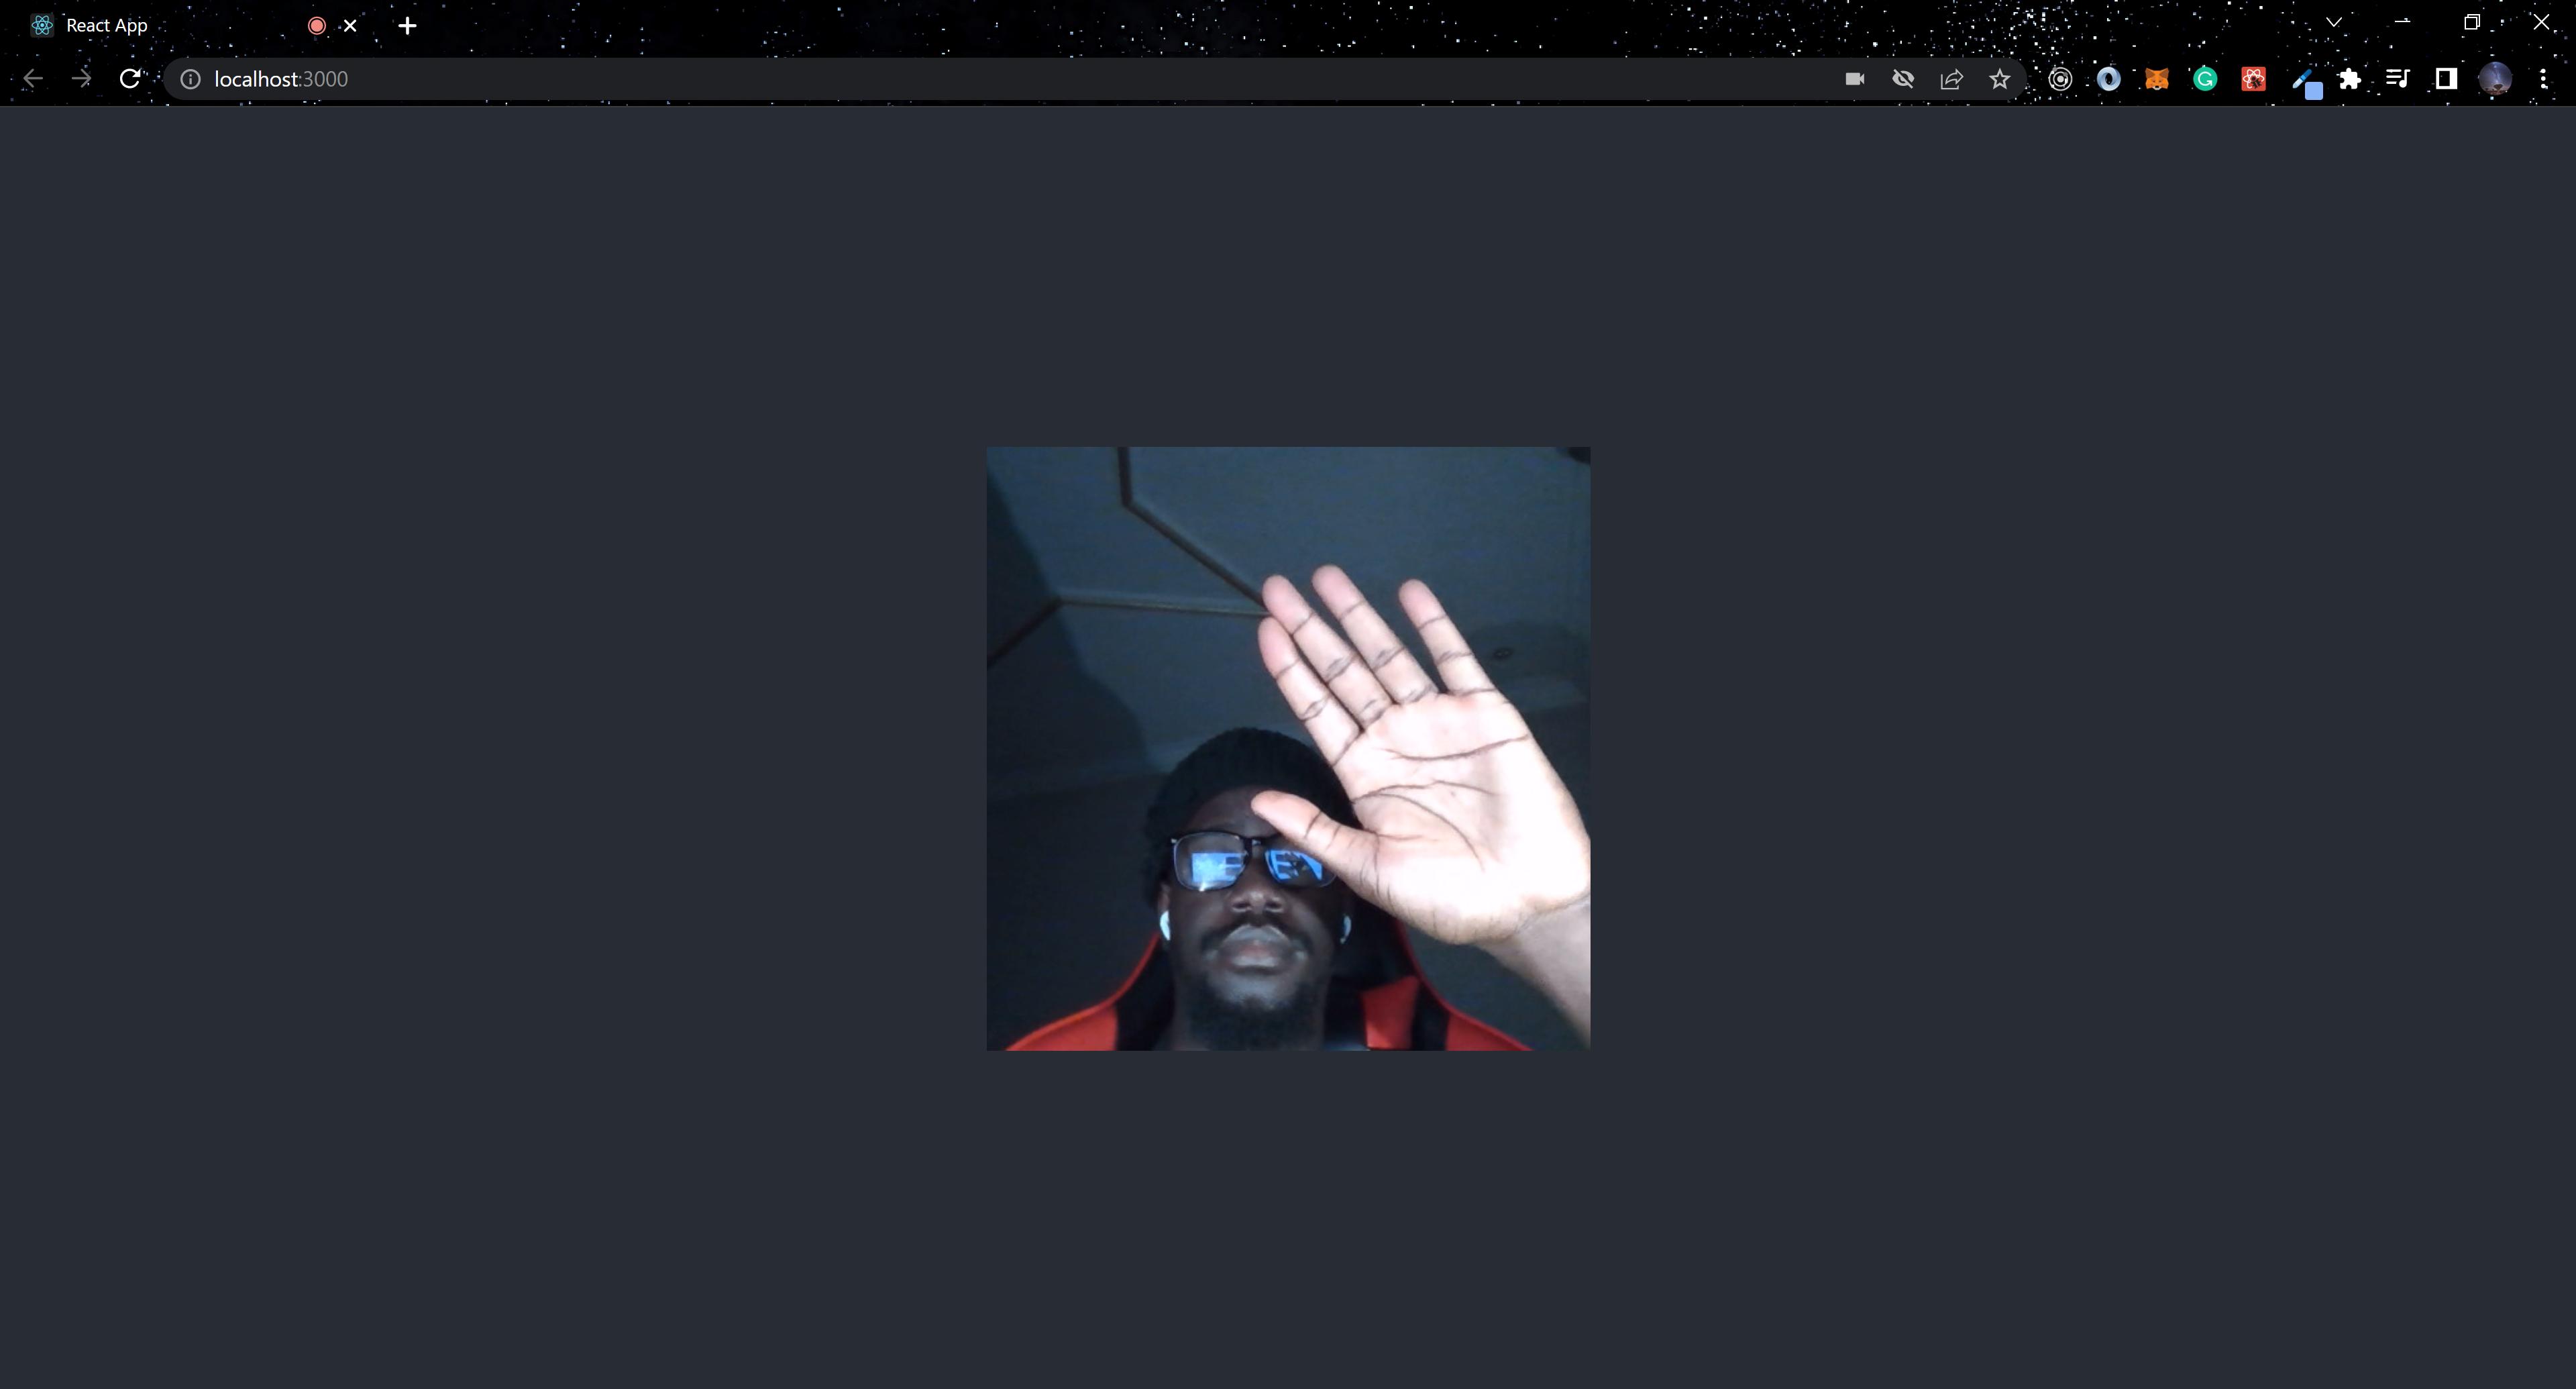
Video Constraints
The videoConstraints prop is a type of object that handles the values of the width, height, aspect ratio, and facingMode of a video. The aspect ratio value can change the camera layout to landscape or portrait.
const videoConstraints = {
  width: { min: 480 },
  height: { min: 720 },
  aspectRatio: 0.6666666667,
  facingMode: "user"
};

...
<Webcam width={480} height={720} videoConstraints={videoConstraints} />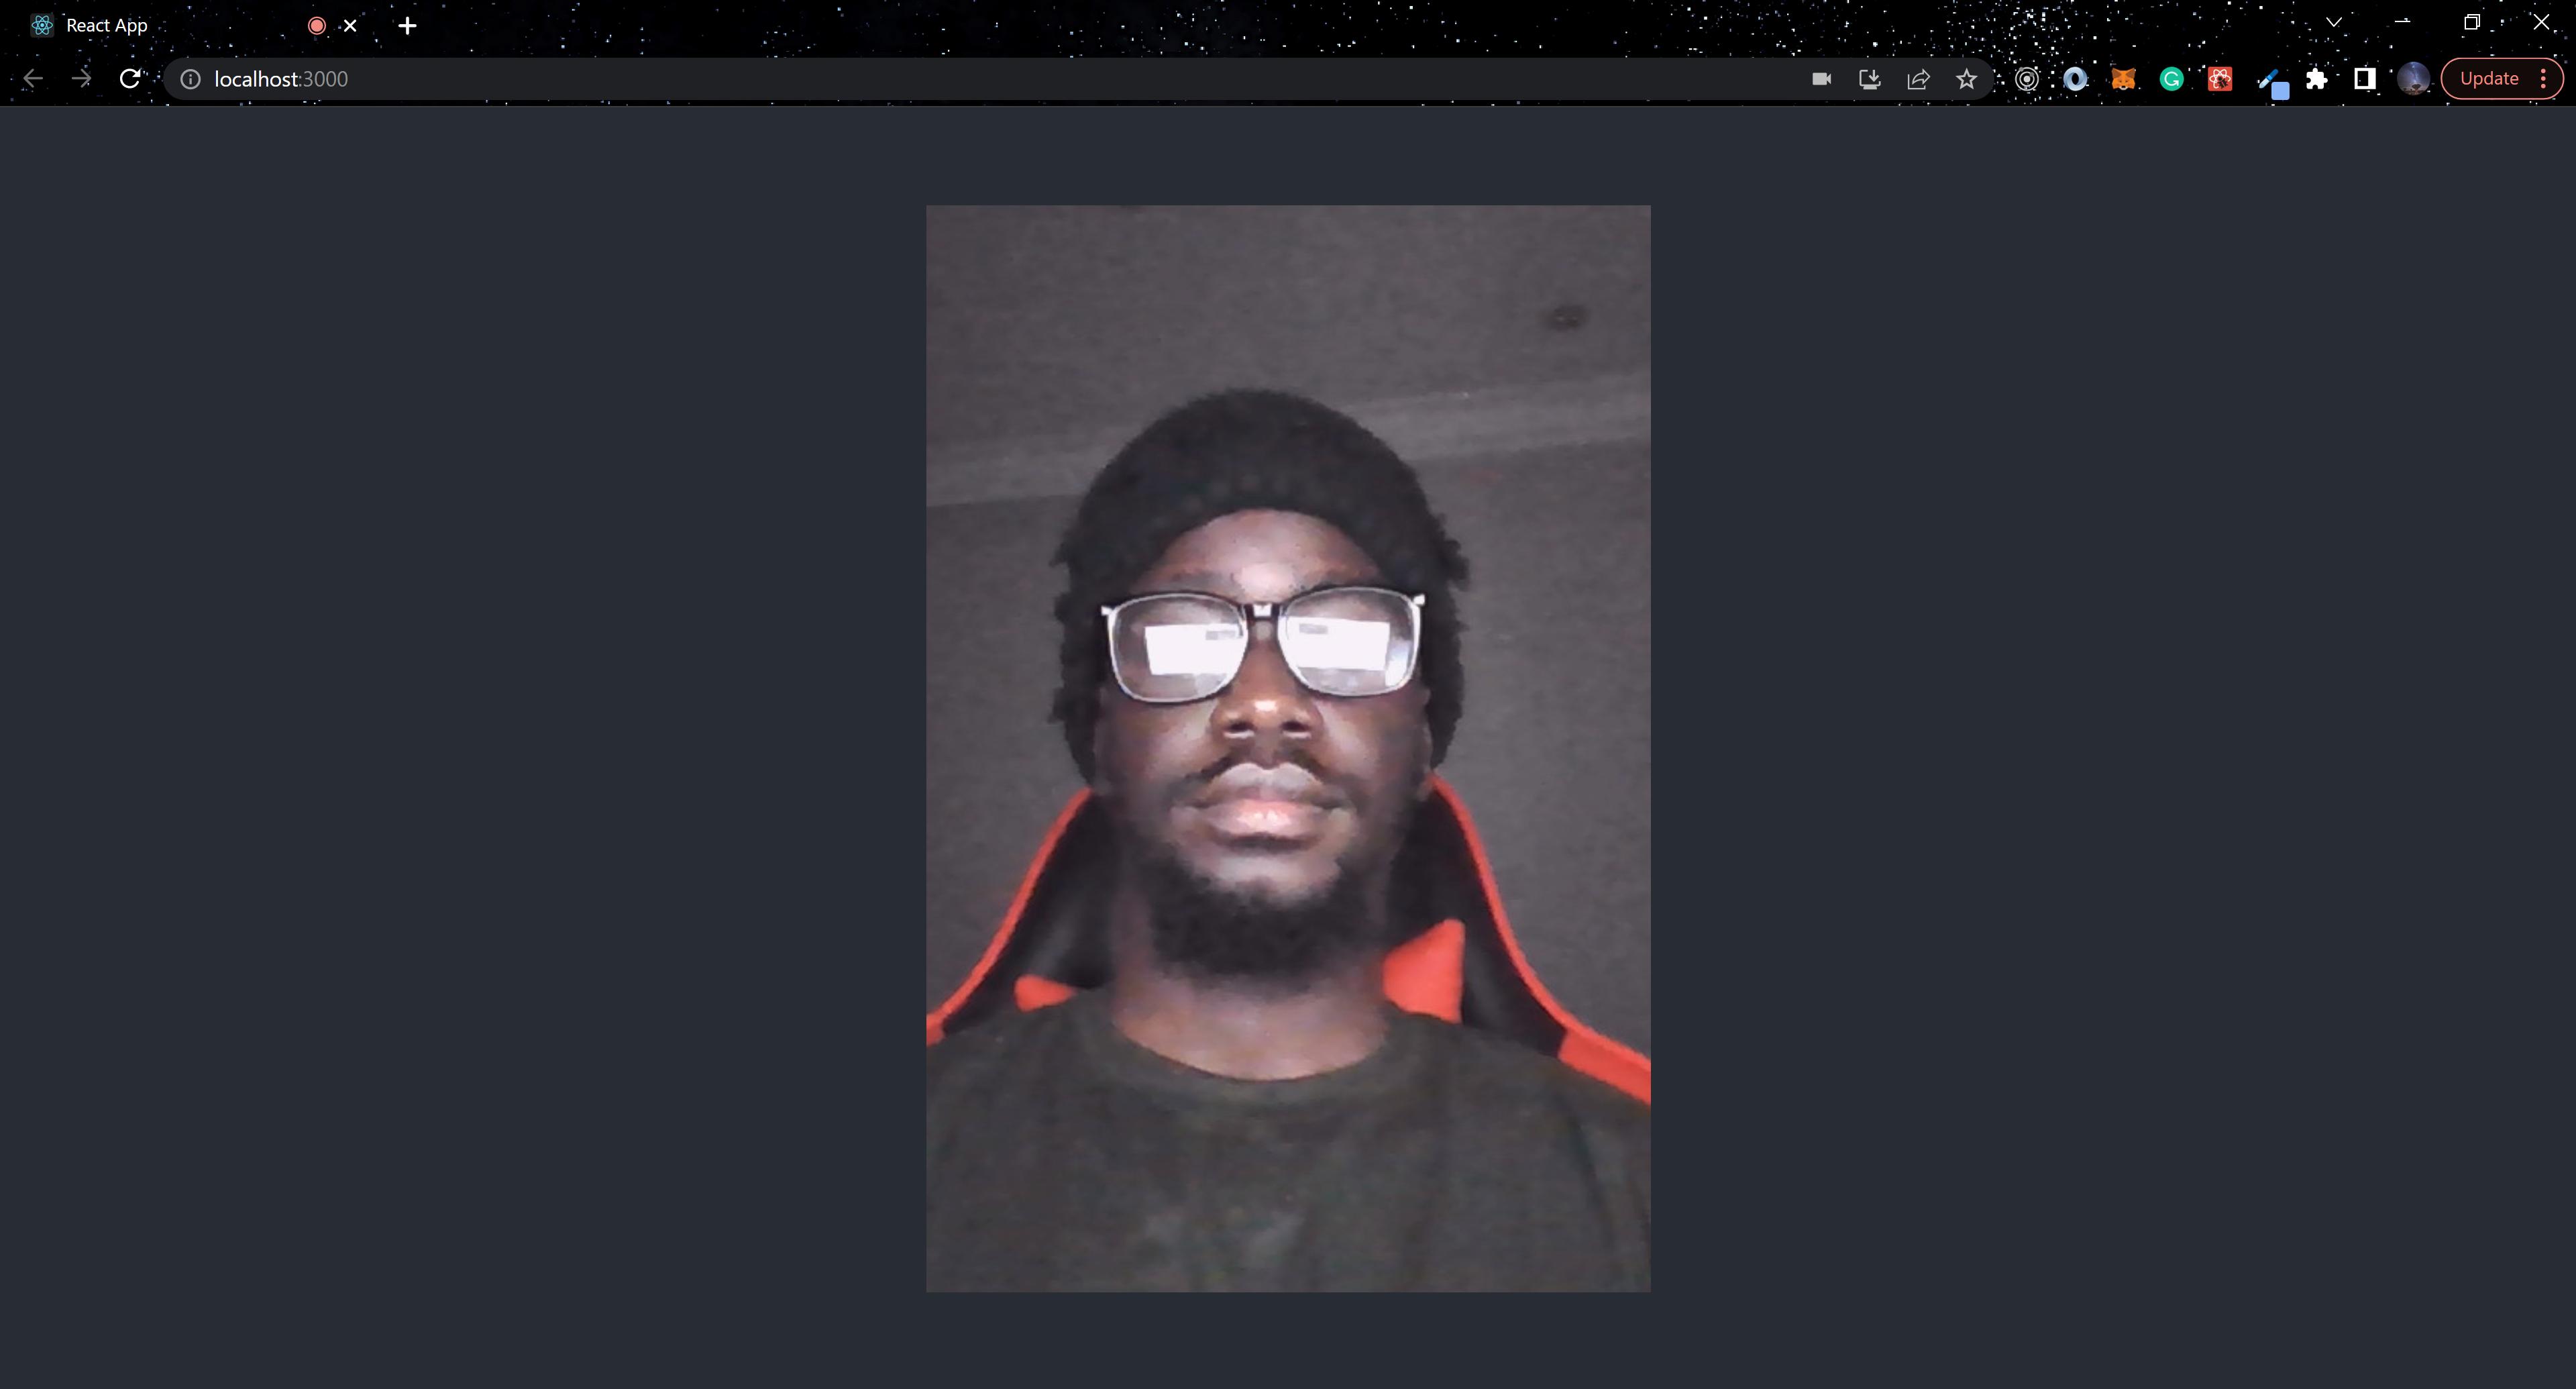
Front and back camera
For devices with front and back cameras, react-webcam allows you to flip between them. It accomplishes this by utilizing the videoConstraints prop. The code below uses the front camera.
function App() {
  const videoConstraints = {
    width: { min: 480 },
    height: { min: 720 },
    facingMode: "user",
  };

  return (
    <div className="App">
      <Webcam width={480} height={720} videoConstraints={videoConstraints} />
    </div>
  );
}
The code below uses the rear camera.
function App() {
  const videoConstraints = {
    width: { min: 480 },
    height: { min: 720 },
    facingMode: { exact: "environment" }
  };

  return (
    <div className="App">
      <Webcam width={480} height={720} videoConstraints={videoConstraints} />
    </div>
  );
}
Session Replay for Developers
Uncover frustrations, understand bugs and fix slowdowns like never before with OpenReplay — an open-source session replay tool for developers. Self-host it in minutes, and have complete control over your customer data. Check our GitHub repo and join the thousands of developers in our community.
Capture Image
In this section, we will extend the webcam’s functionality by combining two or more props to enable the application to capture a real-time image. We will utilize the getScreenshot method, which returns a base64 encoded string of the current webcam image.
Next, we will create a WebcamImage.js component and paste the code block below:
import React, { useCallback, useRef, useState } from "react";
import Webcam from "react-webcam";

function WebcamImage() {
  const [img, setImg] = useState(null);
  const webcamRef = useRef(null);

  const videoConstraints = {
    width: 420,
    height: 420,
    facingMode: "user",
  };

  const capture = useCallback(() => {
    const imageSrc = webcamRef.current.getScreenshot();
    setImg(imageSrc);
  }, [webcamRef]);

  return (
    <div className="Container">
      {img === null ? (
        <>
          <Webcam
            audio={false}
            mirrored={true}
            height={400}
            width={400}
            ref={webcamRef}
            screenshotFormat="image/jpeg"
            videoConstraints={videoConstraints}
          />
          <button onClick={capture}>Capture photo</button>
        </>
      ) : (
        <>
          <img src={img} alt="screenshot" />
          <button onClick={() => setImg(null)}>Retake</button>
        </>
      )}
    </div>
  );
}

export default WebcamImage;
Next, We modify App.js by pasting the code block below:
import React from "react";
import WebcamImage from "./WebcamImage";
import "./App.css";

function App() {
  return (
    <div className="App">
      <WebcamImage />
    </div>
  );
}

export default App;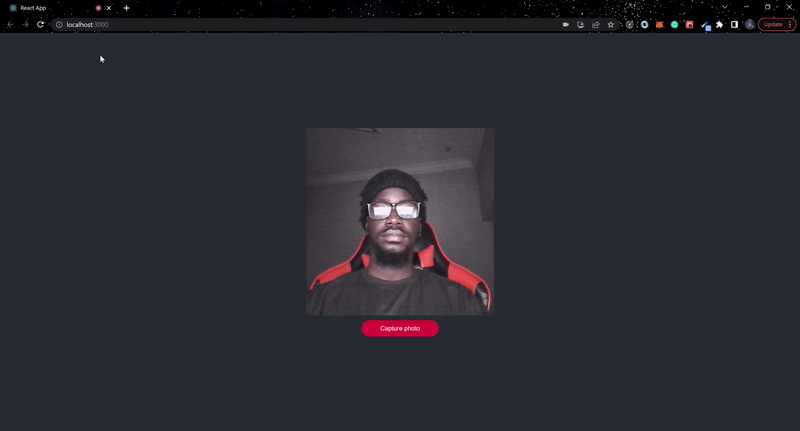
Capture Video
In this section, we’ll add to the react-webcam’s functionality by recording a live video and saving it to your computer.
Next, We will create a WebcamVideo.js component and paste the code block below:
import React, { useCallback, useRef, useState } from "react";
import Webcam from "react-webcam";

export default function WebcamVideo() {
  const webcamRef = useRef(null);
  const mediaRecorderRef = useRef(null);
  const [capturing, setCapturing] = useState(false);
  const [recordedChunks, setRecordedChunks] = useState([]);

  const handleDataAvailable = useCallback(
    ({ data }) => {
      if (data.size > 0) {
        setRecordedChunks((prev) => prev.concat(data));
      }
    },
    [setRecordedChunks]
  );

  const handleStartCaptureClick = useCallback(() => {
    setCapturing(true);
    mediaRecorderRef.current = new MediaRecorder(webcamRef.current.stream, {
      mimeType: "video/webm",
    });
    mediaRecorderRef.current.addEventListener(
      "dataavailable",
      handleDataAvailable
    );
    mediaRecorderRef.current.start();
  }, [webcamRef, setCapturing, mediaRecorderRef, handleDataAvailable]);

  const handleStopCaptureClick = useCallback(() => {
    mediaRecorderRef.current.stop();
    setCapturing(false);
  }, [mediaRecorderRef, setCapturing]);

  const handleDownload = useCallback(() => {
    if (recordedChunks.length) {
      const blob = new Blob(recordedChunks, {
        type: "video/webm",
      });
      const url = URL.createObjectURL(blob);
      const a = document.createElement("a");
      document.body.appendChild(a);
      a.style = "display: none";
      a.href = url;
      a.download = "react-webcam-stream-capture.webm";
      a.click();
      window.URL.revokeObjectURL(url);
      setRecordedChunks([]);
    }
  }, [recordedChunks]);

  const videoConstraints = {
    width: 420,
    height: 420,
    facingMode: "user",
  };

  return (
    <div className="Container">
      <Webcam
        height={400}
        width={400}
        audio={false}
        mirrored={true}
        ref={webcamRef}
        videoConstraints={videoConstraints}
      />
      {capturing ? (
        <button onClick={handleStopCaptureClick}>Stop Capture</button>
      ) : (
        <button onClick={handleStartCaptureClick}>Start Capture</button>
      )}
      {recordedChunks.length > 0 && (
        <button onClick={handleDownload}>Download</button>
      )}
    </div>
  );
}
Next, We update App.js by pasting the code block below:
import React from "react";
import WebcamVideo from "./WebcamVideo";
import "./App.css";

function App() {

  return (
    <div className="App">
      <WebcamVideo/>
    </div>
  );
}

export default App;
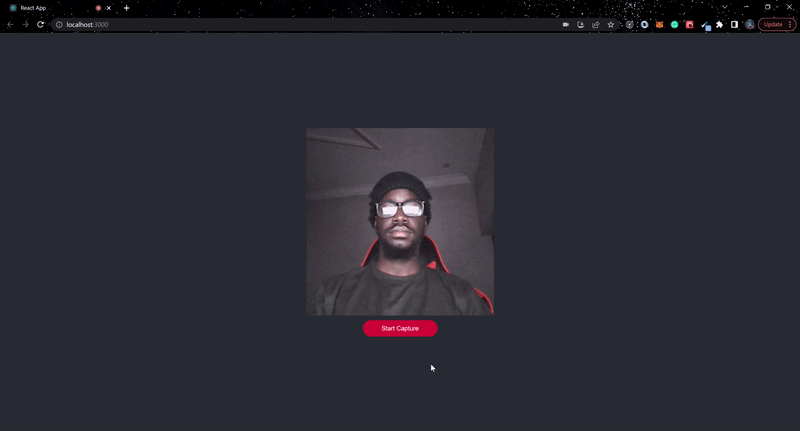
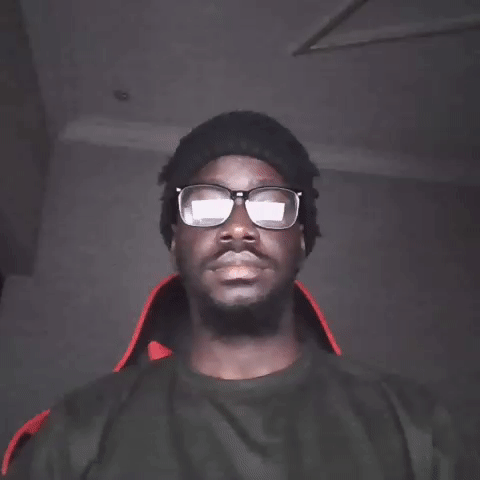
Below is the output of the video captured above
Conclusion
In this article, we demonstrated how to use react-webcam to capture images and videos on a real-time basis. I hope this article has helped you take advantage of its features. If you want to go at the code for this post, visit the GitHub Repository.
A TIP FROM THE EDITOR: You could complement the video capture with a conversion to GIF, as shown in the Convert Videos to GIF format for speed article.
Gain Debugging Superpowers
Unleash the power of session replay to reproduce bugs and track user frustrations. Get complete visibility into your frontend with OpenReplay, the most advanced open-source session replay tool for developers.