Catching UI Bugs with Visual Regression Testing
Visual regression testing with Playwright and Vitest catches UI bugs unit and E2E tests miss, with tips for baselines, flake control, and CI.

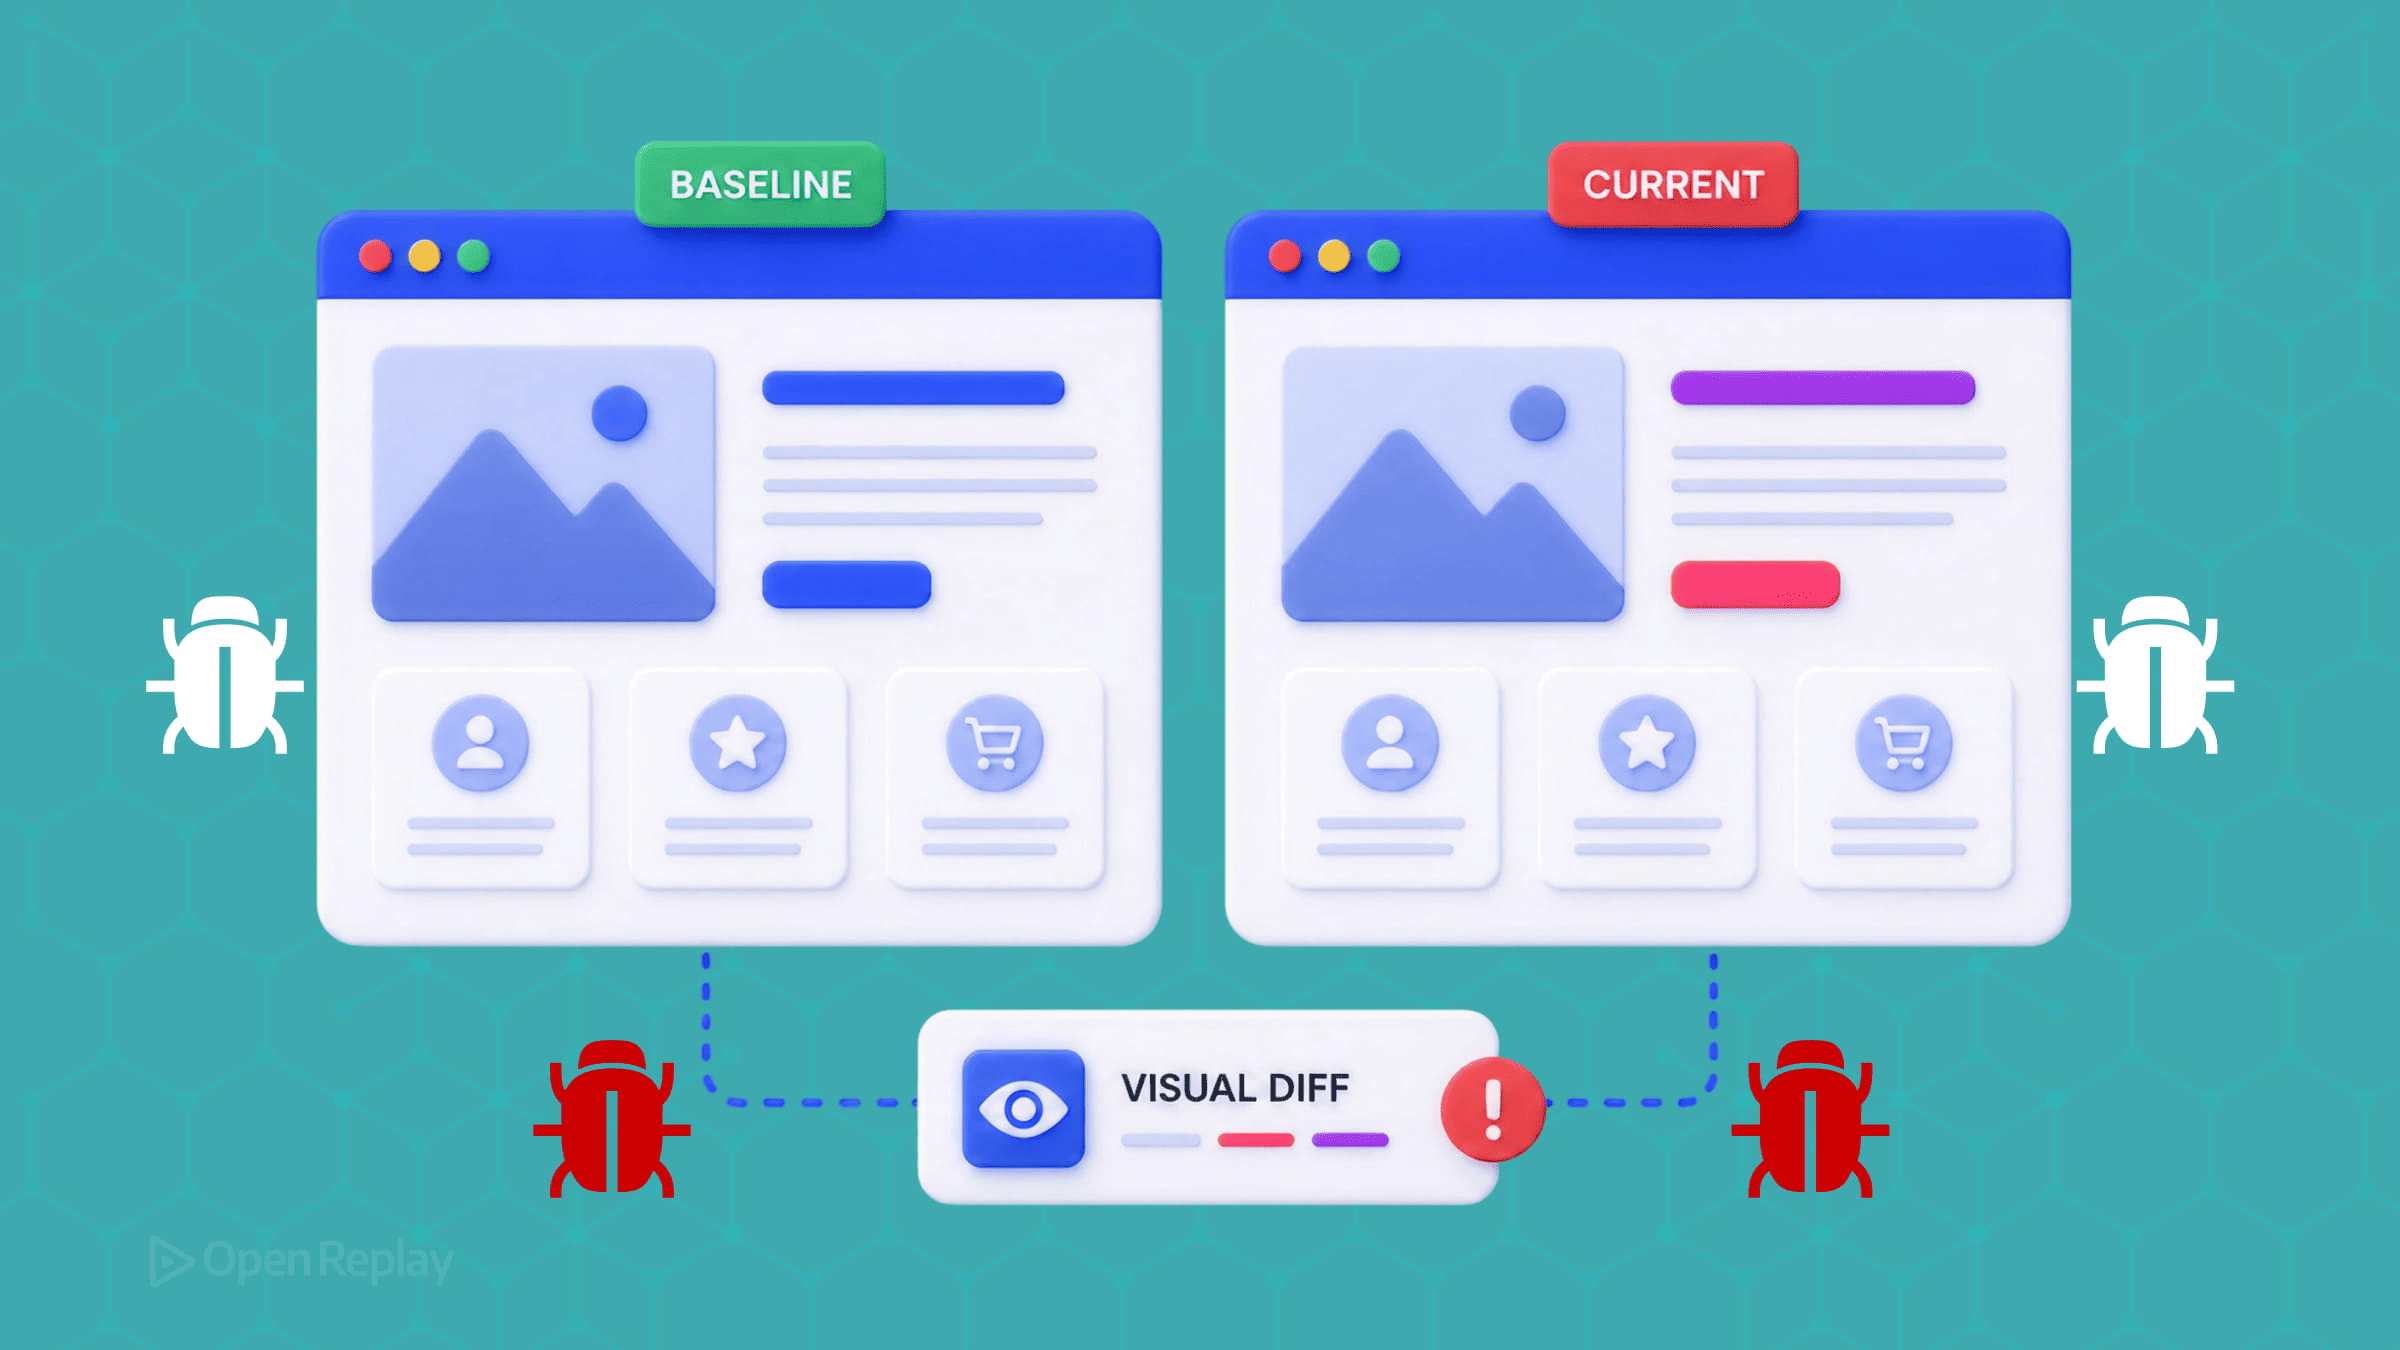
Visual regression testing catches unintended UI changes by rendering your component or page in a controlled browser, capturing a screenshot, and comparing it pixel-by-pixel against an approved baseline image — any diff above a configurable threshold fails the test and surfaces the change for human review. It catches a class of bug that unit and end-to-end tests structurally cannot see: a button that fires its click handler correctly but renders the wrong color, shifts twelve pixels, or disappears behind a modal overlay.
This is the failure mode that ships in a CSS refactor and silently breaks layout in production. Your tests pass, the build is green, and a user discovers the checkout button is now obscured by a cookie banner. This article shows how to close that gap with framework-native tooling — Playwright’s built-in screenshot assertions and Vitest’s browser-mode visual testing — without a paid service, then covers the flakiness control and CI setup that separate a useful suite from a noisy one.
Key Takeaways
- Visual regression testing compares a rendered screenshot against an approved baseline; any diff above a configurable threshold fails the test, catching color, position, and stacking-context bugs that functional tests pass.
- Playwright’s
expect(page).toHaveScreenshot()is built in and free, and it already defaultsanimationsto'disabled'and auto-retries until two consecutive screenshots match — so you don’t needwaitForTimeout. - Most flakiness traces to four sources: CSS animations, late-loading web fonts, dynamic content, and sub-pixel anti-aliasing that varies by GPU and OS — each has a specific fix, not a looser threshold.
- Pin CI to a specific Playwright Docker image (
mcr.microsoft.com/playwright:v1.61.0-noble) because font rendering differs across operating systems and would otherwise produce false positives. - Vitest 4.x added built-in visual regression via
toMatchScreenshot()in stable Browser Mode, giving Vitest users a native path without leaving their existing runner.
What is visual regression testing?
Visual regression testing is a testing method that compares screenshots of a web page or UI component against an approved baseline image to detect unintended visual changes. The mechanic is the same regardless of tool: capture a known-good rendering once, store it as a baseline, then on every subsequent run capture a fresh screenshot and diff it against that baseline. A diff above your threshold fails the test and flags the change for a human to approve or reject.
This is distinct from snapshot testing. A snapshot test serializes a component’s rendered markup and diffs the text; a visual regression test diffs the actual rendered pixels. Markup-level snapshots miss anything that is purely visual — a z-index change, a color token swap, a font fallback — because the serialized DOM is identical even when what the user sees is not.
Why do unit and E2E tests miss visual bugs?

Discover how at OpenReplay.com.
Unit tests verify that a button fires its onClick handler; E2E tests verify that clicking it completes a flow; neither test can tell you the button is the wrong color, has shifted twelve pixels to the right, or is hidden behind a modal overlay — that’s the gap visual regression testing fills. The catch matrix makes the boundary explicit:
| Scenario | Unit (Jest/Vitest) | E2E (Playwright/Cypress) | Visual |
|---|---|---|---|
| Button renders in the DOM | Yes | Partial | Yes |
Button fires onClick | Yes | Yes | No |
| Clicking completes the flow | No | Yes | No |
| Button is the right color | No | No | Yes |
| Button is in the right position | No | No | Yes |
| Button is obscured by an overlay | No | No | Yes |
The last row is the one that bites in production. Consider a <CheckoutButton> that works fine until someone adds a <CookieBanner> whose stacking context covers it:
// CheckoutButton.tsx
export function CheckoutButton({ onCheckout }: { onCheckout: () => void }) {
  return (
    <button data-testid="checkout" onClick={onCheckout}>
      Complete purchase
    </button>
  );
}
A unit test asserting the click handler fires passes — JSDOM, the DOM implementation Jest and Vitest use by default, does not compute layout or stacking contexts, so it cannot know the button is covered. An E2E assertion like await expect(page.getByTestId('checkout')).toBeVisible() also passes, because Playwright considers an element visible when it has a non-empty bounding box and is not display:none — being painted over by a higher z-index element does not change either. While a subsequent locator.click() may detect the obstruction through Playwright’s actionability checks, a visibility assertion alone will not. A screenshot diff shows the banner sitting on top of the button.
How does visual regression testing work?
The workflow is a five-step loop: capture a baseline, run after a change, diff the new screenshot against the baseline, review the diff, then either approve the change (update the baseline) or reject it (fix the code). Playwright makes this concrete through its --update-snapshots flow.
The first time you run a test containing toHaveScreenshot(), no baseline exists, so Playwright writes a reference image. Once that baseline has been reviewed and committed, subsequent runs diff against it. When a visual change is intentional — a redesigned button, a new color token — run npx playwright test --update-snapshots, review the diff in the generated HTML report, commit the updated .png files (Git LFS is a common practice for these binary baselines), and the new screenshot becomes the baseline; the next CI run compares against it. The --update-snapshots flag regenerates the reference images in place.
The critical discipline is treating a baseline update as a code review, not a rubber stamp. A baseline updated to “make the test pass” without inspecting the diff is how a real regression becomes the new accepted UI.
Diffing techniques and test scope
Visual regression tools use one of four diffing techniques — pixel-by-pixel, layout, DOM-based, or AI-assisted — and differ in what region they capture. The diff engine:
| Technique | How it works | Trade-off |
|---|---|---|
| Pixel-by-pixel | Compares every pixel; flags any difference | Precise but noisy from anti-aliasing and font smoothing; needs thresholds |
| Layout | Compares element position, size, and spacing | Ignores cosmetic pixel noise; misses color/texture changes |
| DOM-based | Diffs serialized markup, not rendered pixels | Catches structural changes; blind to render-only bugs |
| AI-assisted | Computer vision flags only human-noticeable changes | Reduces false positives; available in specific commercial tools |
The capture scope is a separate axis. Component-level tests isolate a single button, card, or modal — lower noise, faster review, ideal for design systems and Storybook. Page-level tests capture full screens and catch layout problems in real journeys at the cost of more dynamic content and slower review. A practical suite uses both: component-level for the design system, page-level for critical flows.
On AI diffing specifically, the field is frequently mischaracterized. As of June 2026, AI-based visual diffing is Applitools’ core paid offering; Percy adds AI-assisted triage on top of pixel comparison, while Chromatic uses pixel and Git-aware diffing rather than AI — and the framework-native tools (Playwright, Vitest browser mode) use pixel comparison with configurable thresholds, which is sufficient for most teams if flakiness is controlled upstream.
How do I set up visual regression testing with Playwright?
Playwright ships screenshot comparison as a built-in assertion, so you need no extra dependency beyond @playwright/test. The assertion is expect(page).toHaveScreenshot(), documented in the PageAssertions API reference. Start with the config:
// playwright.config.ts
import { defineConfig, devices } from '@playwright/test';

export default defineConfig({
  // Organize baselines by browser so cross-browser shots don't collide.
  snapshotPathTemplate: '{testDir}/__screenshots__/{projectName}/{arg}{ext}',
  expect: {
    toHaveScreenshot: {
      // Allow a small absolute pixel budget for sub-pixel rendering noise.
      maxDiffPixels: 100,
      // And a relative budget — 1% of the image — for larger captures.
      maxDiffPixelRatio: 0.01,
    },
  },
  use: {
    // Fixed viewport: responsive layout changes otherwise invalidate baselines.
    viewport: { width: 1280, height: 720 },
  },
  // Pin one browser for deterministic baselines in CI.
  projects: [{ name: 'chromium', use: { ...devices['Desktop Chrome'] } }],
});
Two options carry the weight. The maxDiffPixels and maxDiffPixelRatio options set how much difference is tolerated before the test fails. They exist because sub-pixel anti-aliasing varies between machines — Playwright’s docs note directly that “different operating systems may produce different screenshots.” A threshold of maxDiffPixelRatio: 0.01 absorbs that noise without masking real regressions.
One default is worth understanding rather than setting: for the toHaveScreenshot() assertion, animations defaults to 'disabled', which finishes finite CSS animations and freezes infinite ones before capturing. This differs from page.screenshot(), where animations defaults to 'allow'. So mid-transition frames are already handled for the assertion — you don’t add the option, you rely on it.
A test looks like this:
// checkout.spec.ts
import { test, expect } from '@playwright/test';

test('checkout button is not obscured', async ({ page }) => {
  await page.goto('/checkout');
  // Web-first assertion: waits for the element instead of a fixed timeout.
  await expect(page.getByTestId('checkout')).toBeVisible();
  await expect(page.getByTestId('checkout')).toHaveScreenshot('checkout-button.png');
});
Scoping the screenshot to a locator rather than the full page keeps the captured region small and the diff focused — exactly what catches the <CookieBanner> overlap without re-baselining the entire page on every unrelated change.
Component-level testing with Vitest browser mode
If your stack already uses Vitest, version 4.0 graduated Browser Mode to stable and added built-in visual regression via toMatchScreenshot(). This is a 4.x feature — the 2.x line has no such assertion — so target a ^4.0 floor. The setup uses the Playwright provider:
// vitest.config.ts
import { defineConfig } from 'vitest/config';
import { playwright } from '@vitest/browser-playwright';

export default defineConfig({
  test: {
    browser: {
      enabled: true,
      provider: playwright(),
      instances: [{ browser: 'chromium' }],
    },
  },
});
// Button.visual.test.ts
import { expect, test } from 'vitest';
import { page } from 'vitest/browser';
import { render } from 'vitest-browser-react';
import { CheckoutButton } from './CheckoutButton';
test('checkout button matches baseline', async () => {
render(<CheckoutButton onCheckout={() => {}} />);
// Capture a specific element locator — Vitest's docs flag whole-page
// capture as an anti-pattern.
await expect(page.getByTestId('checkout')).toMatchScreenshot();
});The provider is the playwright() function from @vitest/browser-playwright, passed as an object — not the string 'playwright' used in earlier versions. The context import is vitest/browser. Check the Vitest migration guide before upgrading an existing browser-mode setup, since these import paths changed in v4.
Component-level testing with Storybook stories
If your components live in Storybook (currently v10.4), you don’t have to rewrite anything to add visual coverage — reuse the stories you already maintain. The older jest-image-snapshot plus test-runner postVisit pattern is now a legacy Node path: it doesn’t run in Storybook’s current Vitest-based browser mode, because jest-image-snapshot depends on Node.js.
The current free, local equivalent is to pull a story into a Vitest browser-mode test with Storybook’s portable stories API (composeStories) and assert with the same toMatchScreenshot() from the Vitest setup above:
// CheckoutButton.visual.test.tsx
import { expect, test } from 'vitest';
import { page } from 'vitest/browser';
import { render } from 'vitest-browser-react';
import { composeStories } from '@storybook/react-vite';
import * as stories from './CheckoutButton.stories';

// Compose the story with its args, decorators, and project annotations,
// so the test renders the exact same component state your story describes.
const { Primary } = composeStories(stories);

test('CheckoutButton matches its story baseline', async () => {
  render(<Primary />);
  // Scope to the element, not the whole page.
  await expect(page.getByTestId('checkout')).toMatchScreenshot();
});
This keeps a single source of truth — the story — for both the component’s rendered states and its visual baseline. Two caveats worth knowing. The assertion runs in a standalone Vitest browser-mode test, not through the Storybook Vitest addon, which does not support toMatchScreenshot (it throws Invalid Chai property: toMatchScreenshot); the addon handles interaction and accessibility tests, not pixel diffs. And Storybook’s own first-party visual-testing product is Chromatic, a paid cloud service, which is the route to take if you want hosted cross-browser baselines and a managed review workflow instead of storing baselines in your repo.
Why do my visual tests keep failing?
Most visual test flakiness traces to four sources: CSS animations producing mid-transition frames, web fonts loading after the screenshot fires, dynamic content (timestamps, avatars, counters) that legitimately differs between runs, and sub-pixel anti-aliasing that varies by GPU and OS — each requires a specific fix, not a looser threshold. Reaching for a higher maxDiffPixels to silence noise also blinds the suite to real regressions, which defeats the point.
A stabilization helper addresses the controllable sources before the screenshot fires:
// prepare-page.ts
import { Page } from '@playwright/test';

export async function preparePageForScreenshot(page: Page) {
  // 1. Force animations and transitions to zero duration as a belt-and-braces
  //    measure (toHaveScreenshot already disables them, but page.screenshot
  //    and visible intermediate states benefit too).
  await page.addStyleTag({
    content: `*, *::before, *::after {
      animation-duration: 0s !important;
      transition-duration: 0s !important;
    }`,
  });

  // 2. Wait for web fonts. document.fonts.ready resolves when font loading
  //    settles, preventing the fallback-font reflow that shifts text.
  await page.waitForFunction(() => document.fonts.ready.then(() => true));

  // 3. Wait for all images to finish loading.
  await page.waitForFunction(() =>
    Array.from(document.images).every((img) => img.complete)
  );

  // 4. Neutralize dynamic content rather than mocking it everywhere.
  await page.locator('[data-dynamic]').evaluateAll((els) =>
    els.forEach((el) => ((el as HTMLElement).style.visibility = 'hidden'))
  );
}
Step 2 relies on document.fonts.ready, which returns a Promise that resolves once the document’s font loading and layout operations complete — the correct signal for “fonts are painted,” far more reliable than a fixed sleep.
Note what this helper deliberately does not do: it never calls page.waitForTimeout(). Playwright’s best-practices guide discourages fixed timeouts (“Never wait for timeout in production”). The obvious alternative, waitForLoadState('networkidle'), is also discouraged — Playwright’s docs say to “rely on web assertions to assess readiness instead.” The correct approach is web-first assertions and explicit element waits, and toHaveScreenshot() already auto-retries until two consecutive screenshots match, which absorbs most residual timing noise on its own.
For genuinely dynamic regions you want to keep visible but ignore, Playwright’s mask option accepts an array of locators and paints each one with a solid box before diffing:
await expect(page).toHaveScreenshot('dashboard.png', {
  mask: [page.getByTestId('last-login'), page.locator('img[data-avatar]')],
});
This is cleaner than CSS visibility hacks because the masked region still occupies layout space, so the surrounding layout is diffed exactly as it renders.
How do I run visual tests in CI without false positives?
Font rendering differs between Ubuntu, macOS, and Alpine Linux even at the same browser version, so a baseline captured on a developer’s MacBook will produce false positives when compared against a screenshot taken in a GitHub Actions Ubuntu runner — pin your CI to a specific official mcr.microsoft.com/playwright:v1.61.0-noble Docker image to eliminate this variable. Rolling tags like :latest are no longer published for these images, so a pinned version tag is required, not optional.
The practical rule that follows: generate baselines inside the same container CI uses. A baseline captured locally on a different OS is the single most common source of CI-only diffs. Generate references in CI (or in the pinned container locally) and commit those.
For the baselines themselves, Git LFS is a common practice — PNG files are binary and bloat the repository over time. A .gitattributes entry routes them to Git LFS:
tests/**/__screenshots__/** filter=lfs diff=lfs merge=lfs -textReview baseline diffs in pull requests exactly as you review code. When a visual test fails in CI, upload the Playwright HTML report as a build artifact so reviewers can open the side-by-side diff. An approved change is a deliberate baseline commit in the same PR as the code that caused it — never a separate “fix the tests” commit that hides what changed.
What should I test, and what should I leave alone?
Test components and flows where a visual change would cost you something — a broken checkout button, a collapsed navigation, a design-system component used across 40 pages; skip highly dynamic dashboards and third-party widgets where the content legitimately changes every render. The cost of a visual test is review time on every diff, so spend it where a regression is expensive and the rendering is stable.
Good candidates: design-system components, critical conversion flows (auth, checkout), navigation, error and empty states, and responsive breakpoints. Poor candidates: real-time dashboards, user-generated content, ad slots, and third-party embeds you don’t control — these produce constant diffs that train reviewers to approve without looking, the worst possible outcome.
Where visual tests stop: production
Visual regression tests validate UI against controlled baselines in CI, but production renders on real devices, uncontrolled viewports, fonts that may fail to load, and third-party scripts that reflow the page — session replay reconstructs and replays the recorded session, so a layout break that slipped past your test suite surfaces in recordings of the affected sessions.
Your test matrix pins one viewport and one browser; a user on a 1366×768 laptop with a web font that timed out and a locale that lengthened every label hits a layout your baselines never described. Visual testing is prevention at the PR boundary; session replay is detection at the production boundary. They cover different failure modes and are complementary, not redundant.
How do I choose a visual regression testing tool?
Visual regression tools fall into three categories — framework-native runners, cloud services, and self-hosted tools — and the choice maps to team need rather than feature lists. Framework-native runners — Playwright and Vitest browser mode — are free, run in your existing CI, and store baselines in your repo; the trade-off is that you manage baselines and cross-environment consistency yourself. Cloud services like Percy and Chromatic handle baseline storage and review workflows and offer free tiers (Percy includes 5,000 screenshots per month; Chromatic’s paid plans start at $179/month), at the cost of an external dependency. Self-hosted options like BackstopJS keep everything in-house with more configuration overhead. For a team already running Playwright or Vitest in CI, the native path costs nothing extra and is enough if flakiness is controlled upstream.
The framework-native path closes the bug class that functional tests structurally miss, with no new vendor and no recurring cost. Start by adding one toHaveScreenshot() assertion to your highest-stakes component — the checkout button, the primary nav — generate the baseline inside the same container your CI uses, and treat the first failing diff as a code review rather than a test to silence.
FAQs
What is the difference between visual regression testing and snapshot testing?
Snapshot testing serializes a component's rendered markup to text and diffs that string, while visual regression testing diffs the actual rendered pixels of the screenshot. Markup-level snapshots miss anything purely visual, such as a z-index change, a color token swap, or a font fallback, because the serialized DOM stays identical even when what the user sees is not. Visual regression catches the render-only bugs that snapshot diffs structurally cannot detect.
Why does my visual test pass locally but fail in CI?
Font rendering and sub-pixel anti-aliasing differ between operating systems, so a baseline captured on a macOS laptop produces false positives when compared against a screenshot taken in a GitHub Actions Ubuntu runner. The fix is to generate baselines inside the same pinned container your CI uses, such as the official mcr.microsoft.com/playwright:v1.61.0-noble Docker image, rather than committing references captured on a different OS. Cross-environment baselines are the single most common source of CI-only diffs.
Do I need a paid service like Percy or Applitools to do visual regression testing?
No. Playwright ships screenshot comparison as a built-in assertion through expect(page).toHaveScreenshot(), and Vitest 4.x added built-in visual regression via toMatchScreenshot() in stable Browser Mode, both free and running in your existing CI with baselines stored in your repo. Paid services like Percy and Chromatic add baseline storage and hosted review workflows, and Applitools adds AI-based diffing, but framework-native pixel comparison with configurable thresholds is sufficient for most teams if flakiness is controlled upstream.
Should I capture the whole page or a single component in a visual test?
Scope the screenshot to a specific element locator rather than the full page whenever possible. Component-level capture keeps the diff focused, lowers noise, speeds review, and avoids re-baselining the entire page on every unrelated change. Vitest's own documentation flags whole-page capture as an anti-pattern. Reserve page-level capture for critical end-to-end flows like checkout where layout interactions between elements matter, and use component-level tests for design-system pieces and isolated UI.