Step-by-Step Guide: Creating a Contact Form in Next.js with Netlify Forms
Use a Netlify Form to add a contact form to your Nextjs app


As a website owner, having a contact form that is easy to use and ensures the safety of your visitors’ information is crucial. A well-designed contact form is a great way to engage with potential customers and build trust with your audience. By the end of this guide, you’ll have a fully functional contact form based on Netlify Forms, integrated into your Next.js application, enabling you to easily receive and manage user inquiries.

Discover how at OpenReplay.com.
Creating an effective and reliable contact form is crucial in the modern age of online business. It’s essential to provide a secure and convenient way for visitors to contact you, and a contact form is the perfect solution. By implementing a contact form, you can streamline your communication process and make it easy for visitors to contact you with any questions or concerns. We will look at how to leverage Nextjs in this tutorial, a popular React framework known for its server-side rendering and seamless developer experience, in combination with Netlify Forms, a powerful form-handling service provided by Netlify.
Set Up Development Environment
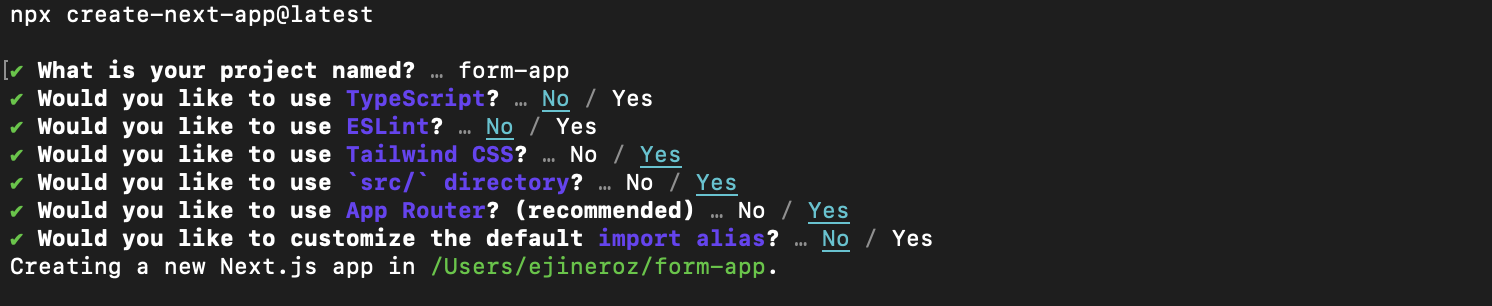
We would like to set up our Next.js environment before we start by using the command line below.
npx create-next-app@latestFollow the prompt as stated below:
After that, our Next App is ready, so we move to our editor, where the most work is done. We can check out our tree structure below.
form-app
├── package-lock.json
├── package.json
├── postcss.config.js
├── public
├── src
  └── app
    ├── favicon.ico
    ├── globals.css
    ├── layout.js
    └── page.js
└── tailwind.config.js
Creating the Contact Form Component
In this article, we have three methods to implement the integration of Netlify Forms with Next.js; first of all, we’ll have to look at the simplified approach while we move on to other methods.
To create our Form Component, we’ll navigate to our layout.js file.
export default function RootLayout({ children }) {
 return (
  <html lang="en">
   <body className={inter.className}>{children}</body>
  </html>
 );
}
Under the html tag, we’ll create a form field with various tags and attributes such as label and input.
//layout.js//
export default function RootLayout({ children }) {
 return (
  <html lang="en">
   <body className={inter.className}>
    {children}
    <div>
     <h2>Contact us!</h2>
     <form>
      <div>
       <label for="name">Name</label>
       <input type="text" id="name" name="name" />
      </div>
      <div>
       <label for="email">Email</label>
       <input type="email" id="email" name="email" />
      </div>
      <div>
       <label for="message">Message</label>
       <textarea id="message" name="message" rows="4"></textarea>
      </div>
      <button type="submit">Submit</button>
     </form>
    </div>
   </body>
  </html>
 );
}
There aren’t many gimmicks on this form; it’s pretty basic. Go to localhost:3000 after launching your application (usually with npm run dev). You should see a little bit that resembles this, depending on how you styled it:
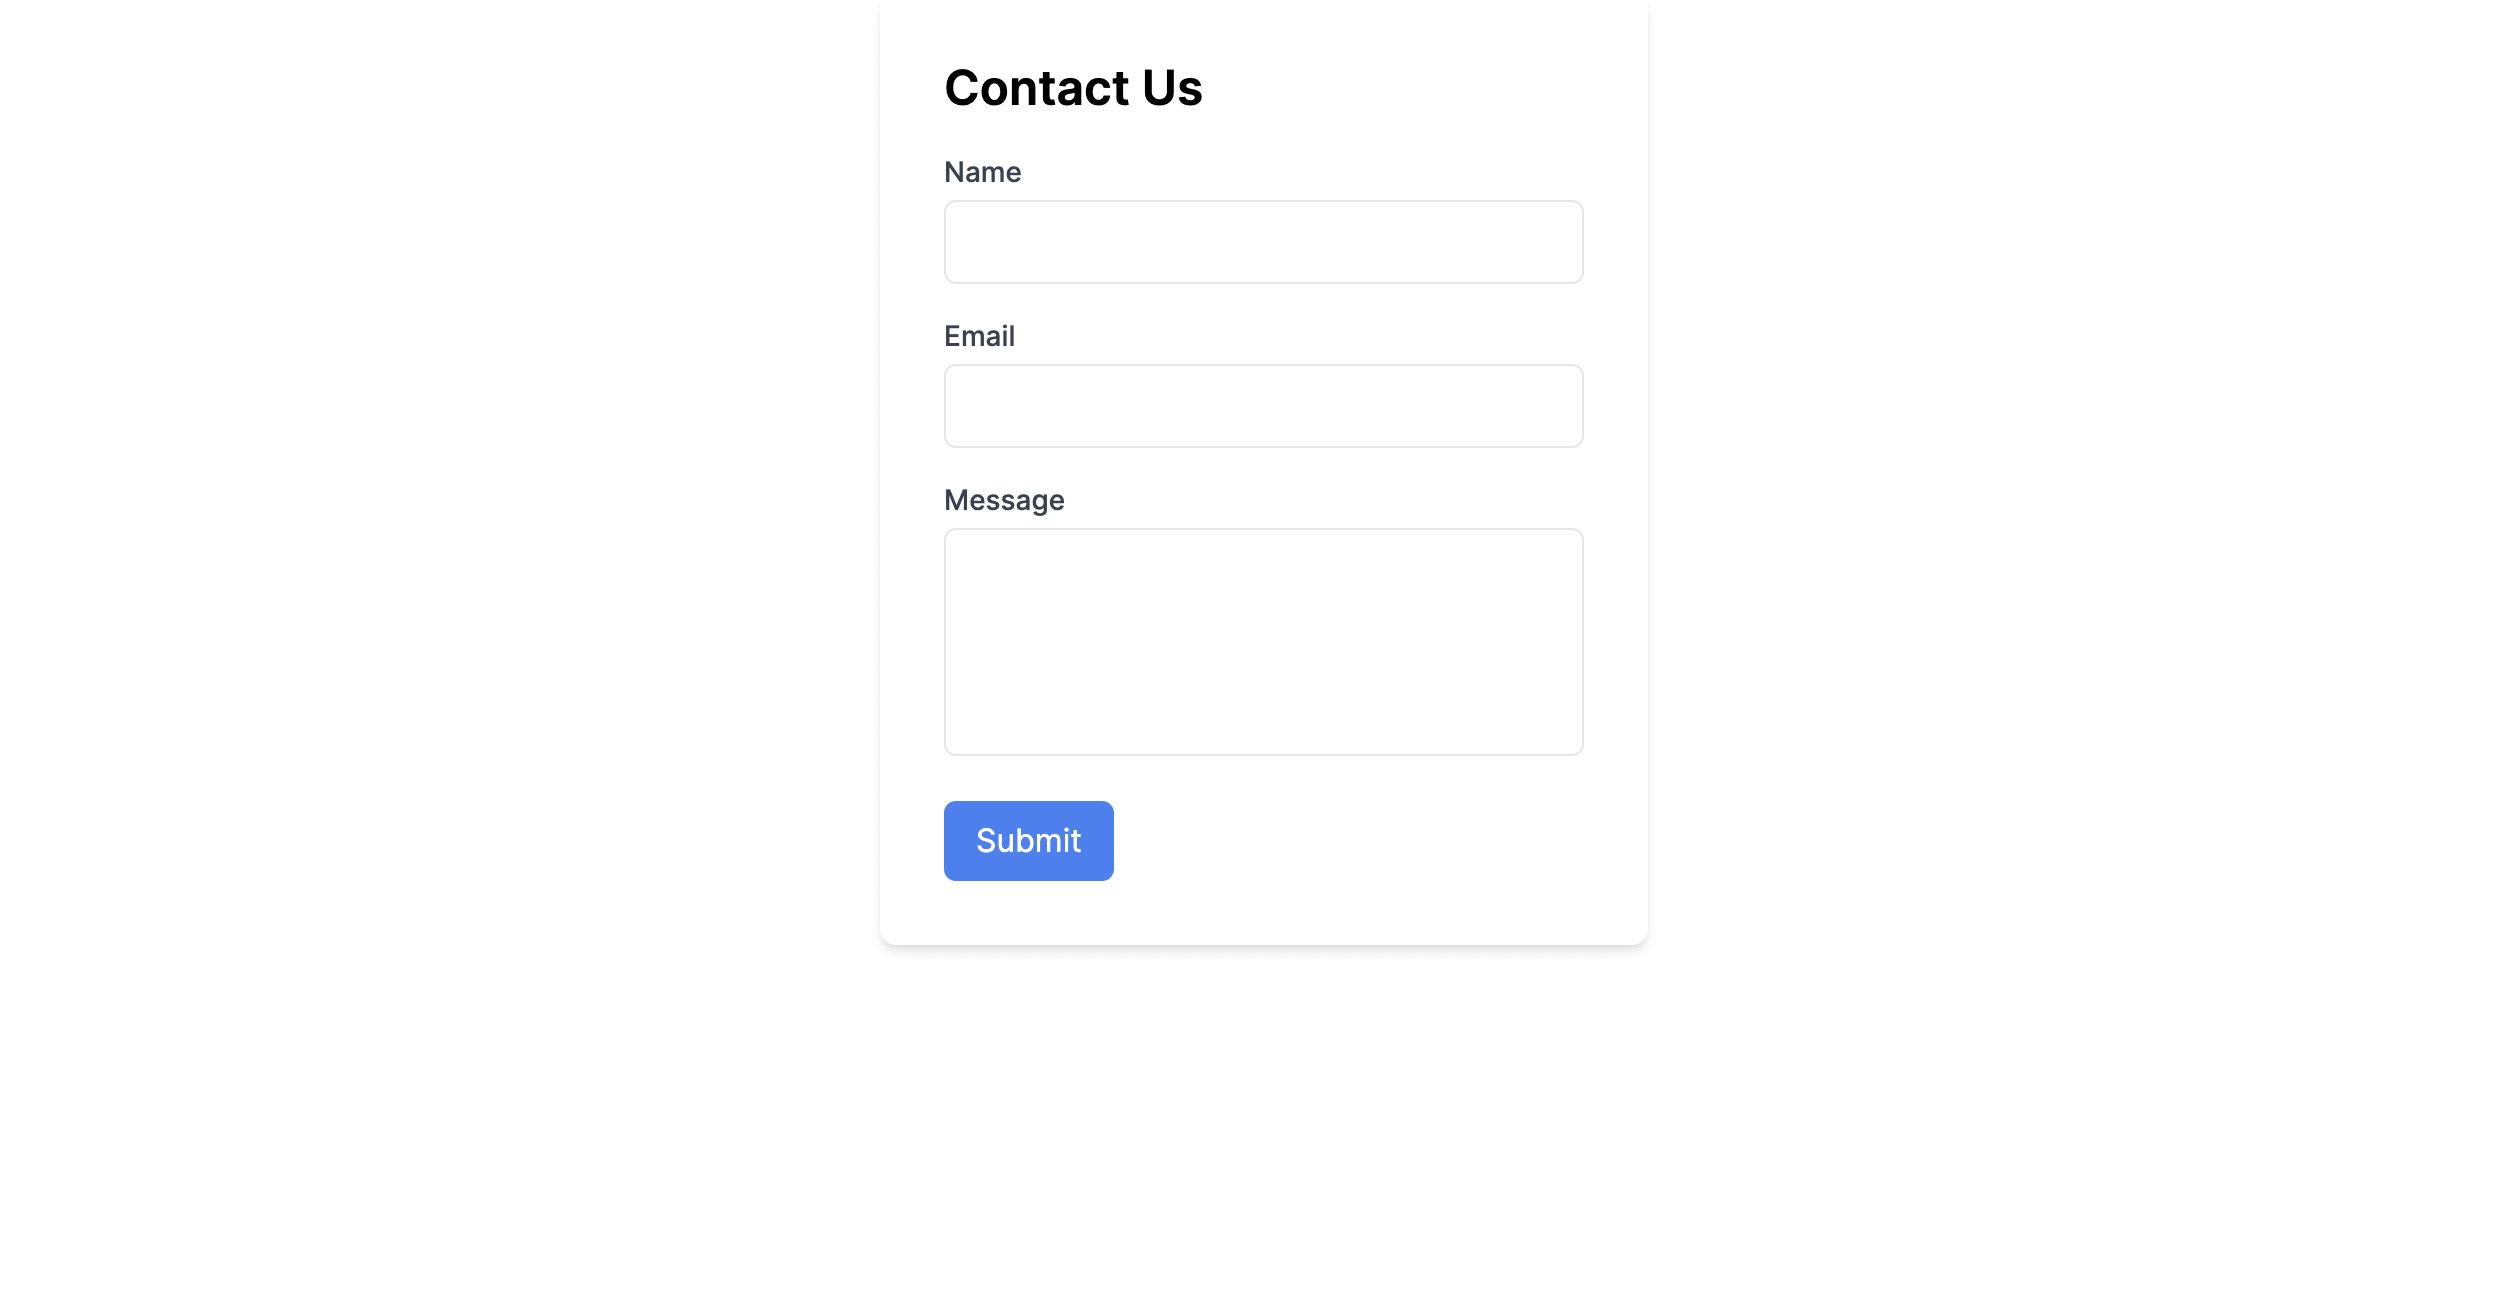
Currently, if you tried deploying this to Netlify at this time, nothing would happen. It is a straightforward form without any connections to make the form field do anything. So let’s change that.
Adding Netlify Attributes to our Form
Let’s return to the layout.js and add the Netlify attributes to the form tag, which helps link the form to the Netlify server. For clarification, the attributes are netlify, data-netlify='true', and netlify='true'. Understand that they all work the same way, so whichever you choose to use works perfectly.
  //layout.js//
export default function RootLayout({ children }) {
 return (
  <html lang="en">
   <body className={inter.className}>
    {children}
    <div>
     <h2>Contact us!</h2>
     <form name="contact" method="post" netlify>
      <input type="hidden" name="form-name" value="contact" />
      <div>
       <label for="name">Name</label>
       <input type="text" id="name" name="name" />
      </div>
      .....
     </form>
    </div>
   </body>
  </html>
 );
}
After this, we save and deploy to Netlify and move on to the next step, enabling form in Netlify.
Handling Form Submissions
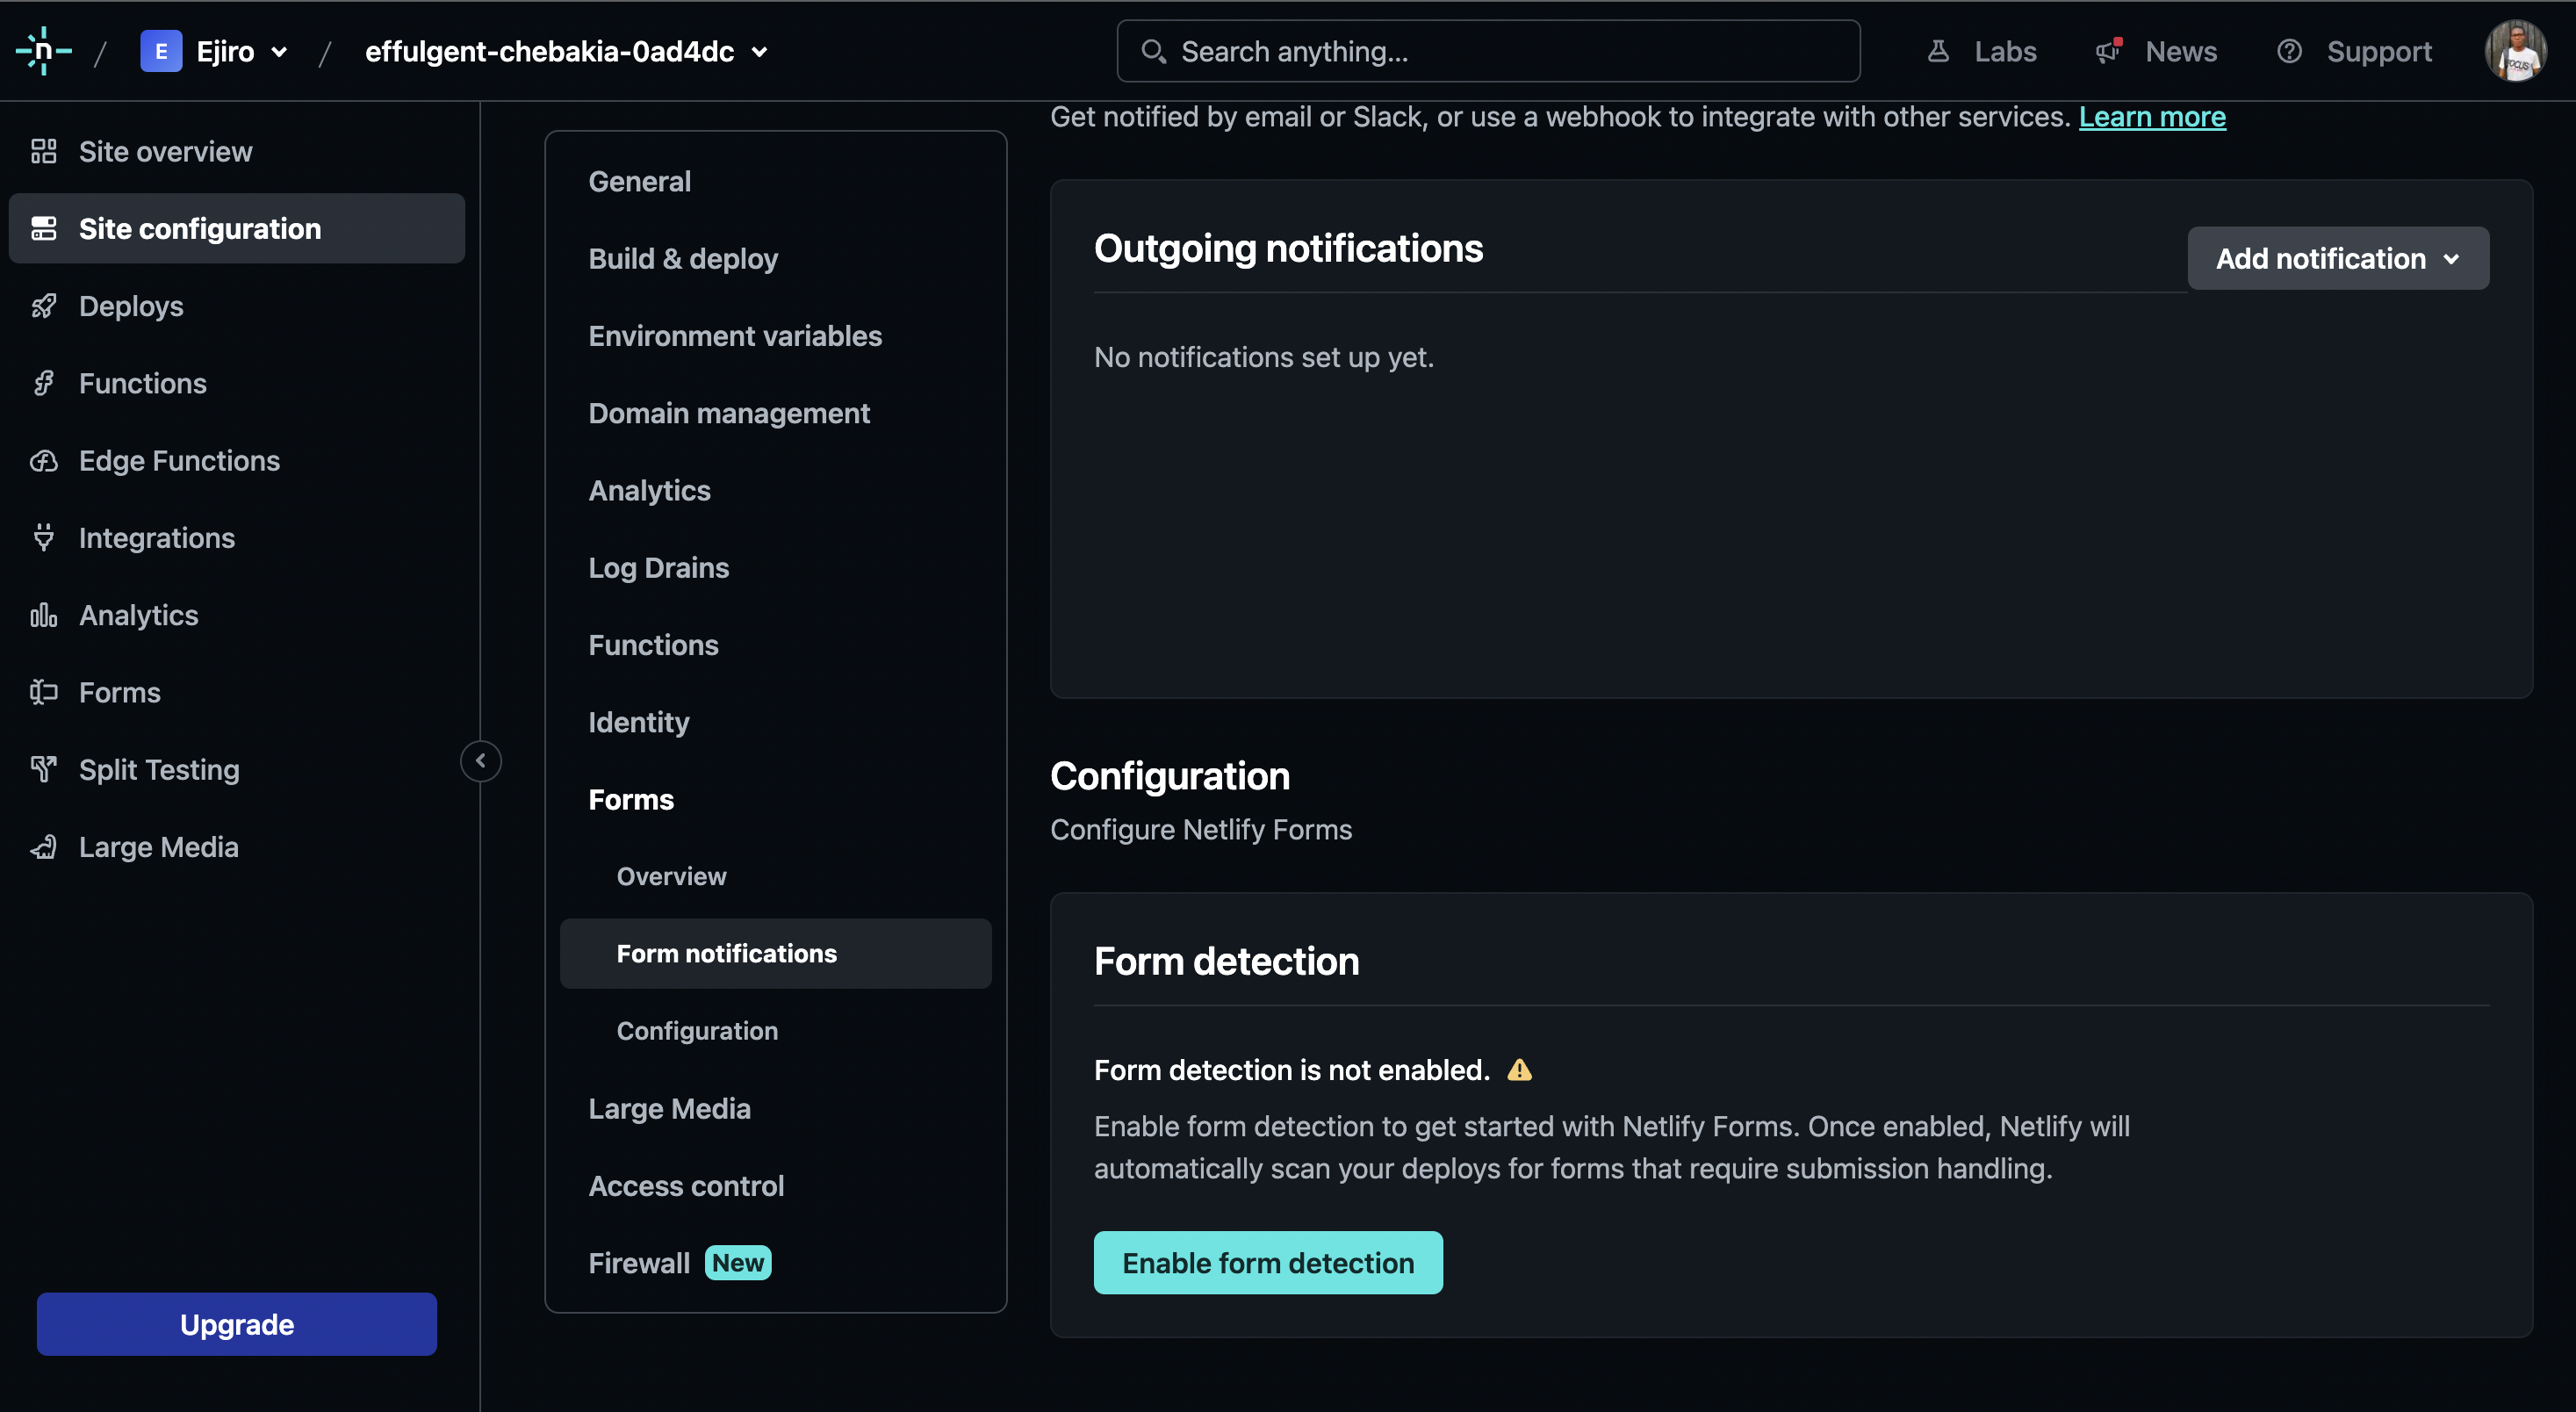
You can manage forms with Netlify’s serverless form management without making additional API calls or adding complex JavaScript code. Once turned on, the built-in form recognition capability enables their build system to parse your HTML automatically at deployment time, eliminating the need for you to use an API or add state functions.
To begin with, we have to enable the automatic form detection system in the site configuration on the Netlify website.
Now we’re done with the steps, so whenever a visitor visits your site and decides to submit a form, they get a success message below indicating that Netlify has received their message.
If we move to Netlify and our site dashboard, under form submission, we see a list of forms submitted by visitors to our site.

To be fair, this method is mainly for static sites, such as a site that includes HTML (Next.js is one of them). When a site is deployed, the processing bots search for the netlify attributes, which they can only understand in HTML form. So if we say we have a Next app that we would like to deploy to production, this form won’t work by adding the said attributes to the JSX form because they can’t detect forms rendered with Javascript. With that said, we can apply two other methods to make Netlify understand our form field with its attributes on a Javascript file: Stateless and Stateful Components Form.
Stateless Component
For our Stateless React component, all we have to do is add a static html form field with a hidden attribute.
<form name="contact" netlify="true" hidden>
 <input type="text" name="name" />
 <input type="email" name="email" />
 <textarea name="message"></textarea>
</form>;
In this case, we’ll add it to our layout.js cause it has a html tag within. Because we will add a hidden property to the form to make it invisible to users and screen readers, you can remove the label and submit components.
Add a Hidden Input tag in the JSX Form
In your JSX form, you must additionally include a hidden type element with the name and value properties shown in the code below:
<input type="hidden" name="form-name" value="contact" />Now, your Pages.js file ought to seem like follows:
export default function Home() {
 return (
  <div>
   <h2>Contact Us</h2>
   <form name="contact" method="post">
    <input type="hidden" name="form-name" value="contact" />
    <div>
     <label htmlFor="name">Name</label>
     <input type="text" id="name" name="name" />
    </div>
    <div>
     <label htmlFor="email">Email</label>
     <input type="email" id="email" name="email" />
    </div>
    <div>
     <label htmlFor="message">Message</label>
     <textarea id="message" name="message" rows="4"></textarea>
    </div>
    <button type="submit">Submit</button>
   </form>
  </div>
 );
}
You should be able to see the form if you run the app in the browser; when your app has been deployed to Netlify, can you submit forms.
Stateful Component
In this case, we’ll create a Contact.js file containing our state function, and then import it to our page.js. As for the layout.js, it remains hidden.
//Contact.js//
const encode = (data) => {
 return Object.keys(data)
  .map((key) => encodeURIComponent(key) + "=" + encodeURIComponent(data[key]))
  .join("&");
};
const Contact = () => {
 const [formData, setFormData] = useState({
  name: "",
  email: "",
  message: "",
 });
const handleSubmit = (e) => {
  e.preventDefault();
  fetch("/", {
   method: "POST",
   headers: { "Content-Type": "application/x-www-form-urlencoded" },
   body: encode({ "form-name": "contact", ...formData }),
  })
   .then(() => alert("Success!"))
   .catch((error) => alert(error));
 };
const handleChange = (e) => {
  const { name, value } = e.target;
  setFormData((prevData) => ({
   ...prevData,
   [name]: value,
  }));
 };
 return (
  <div>
   <h2>Contact Us</h2>
   <form onSubmit={handleSubmit}>...</form>
  </div>
 );
};
export default Contact;
The encode function converts the form data into a URL-encoded string. It takes an object (data) as input, iterates through its keys, and encodes both the key and its corresponding value. The resulting encoded key-value pairs are then joined with ’&’ to form a URL-encoded string.
The main functional component, Contact, uses the useState React hook to initialize and manage the form data state. The formData state holds the values for name, email, and message inputs.
The handleChange function is called whenever there’s a change in any of the input fields. It updates the form data state by creating a new object based on the previous state and updating the specific field (name, email, or message) with the new value.
Add a Success Message
Contrary to the static and stateless method in which Netlify redirects the page, for a stateful component to avoid redirecting errors (i.e., 404 messages), we create the handleSubmit function initiated when the form is filled out and submitted. It prevents the default form submission behavior and uses the Fetch API to send a POST request to the server. It sends the form data encoded as URL parameters and sets the form-name parameter to 'contact'. If the request is successful, an alert with ‘Success!’ is shown; otherwise, an error alert is shown.
Conclusion
Mastering the art of creating a dynamic contact form can greatly enhance your web development skills. The seamless integration of Next.js and Netlify Forms not only streamlines the process but also empowers you to easily build interactive and user-friendly contact forms. By harnessing the power of server-side rendering, Stateless, and Stateful components and leveraging the simplicity of Netlify Forms, you can offer visitors to your website a smooth and engaging communication channel. So, dive into Next.js and Netlify Forms and unlock a realm of possibilities to craft modern and effective web solutions that leave a lasting impression. Resources