Deploying Vue apps to the cloud with Kubernetes
How to quickly get your Vue app up to the cloud

Vue.js has gained popularity among developers for its simplicity and flexibility in building dynamic and interactive front-end applications. However, in today’s software development world, containers and orchestration have emerged as a powerful paradigm that is here to stay. In this article, we will delve into the deployment steps for applications in the cloud using Kubernetes. Let’s dive in and uncover the benefits and workings of orchestrating Vue applications with Kubernetes.
While Kubernetes is widely known for its effectiveness in managing backend services, it also holds significant power in deploying a front-end containerized application. Containerization and orchestration have revolutionized application deployment and management, presenting front-end developers with newfound possibilities. By embracing containerization and orchestration, front-end developers can achieve easy deployability, scalability, and resilience across any infrastructure. This is where Kubernetes comes in.
Before you embark on this tutorial, here are the requirements you must meet:
-
Docker Engine: Make sure you have Docker Engine installed on your machine. Don’t worry; the Docker Engine documentation has tailored installation instructions that perfectly match your operating system. So you’ll be up and running in no time.
-
Docker Hub Account: To share and store your Docker images, create an account on DockerHub. It’s the hub for all things Docker-related. Follow the steps outlined in the Docker Hub documentation to set up a public repository, where you can showcase your Docker images to the world. This article uses a repository called
vue-app. -
Docker CLI: The docker engine comes with the Docker CLI that you can use to log in to your Docker Hub account from your machine. A simple
docker logincommand will do the trick. This step authenticates your Docker client, opening the door to endless possibilities and interactions with your Docker Hub repositories. -
kubectl: To communicate with Kubernetes, you’ll need the
kubectlcommand-line tool installed on your machine. It’s your trusty companion throughout this tutorial, enabling you to manage your Kubernetes cluster effortlessly. -
Kubernetes Cluster: You’ll need a Kubernetes cluster to unleash the full power of your Vue.js app. It could be a cloud-based cluster provided by Google Kubernetes Engine (GKE), AWS Elastic Kubernetes Service (EKS), or Azure Kubernetes Service (AKS). Alternatively, you can set up a local cluster using tools like Minikube or Kind for a more personalized experience.
By meeting these requirements, you’re equipped with the essential tools and infrastructure to dive into the tutorial.
Building the Vue.js Application
To build a VueJS application efficiently, we’ll utilize Vite, a lightweight and fast build tool that optimizes and enables a seamless and rapid development experience.
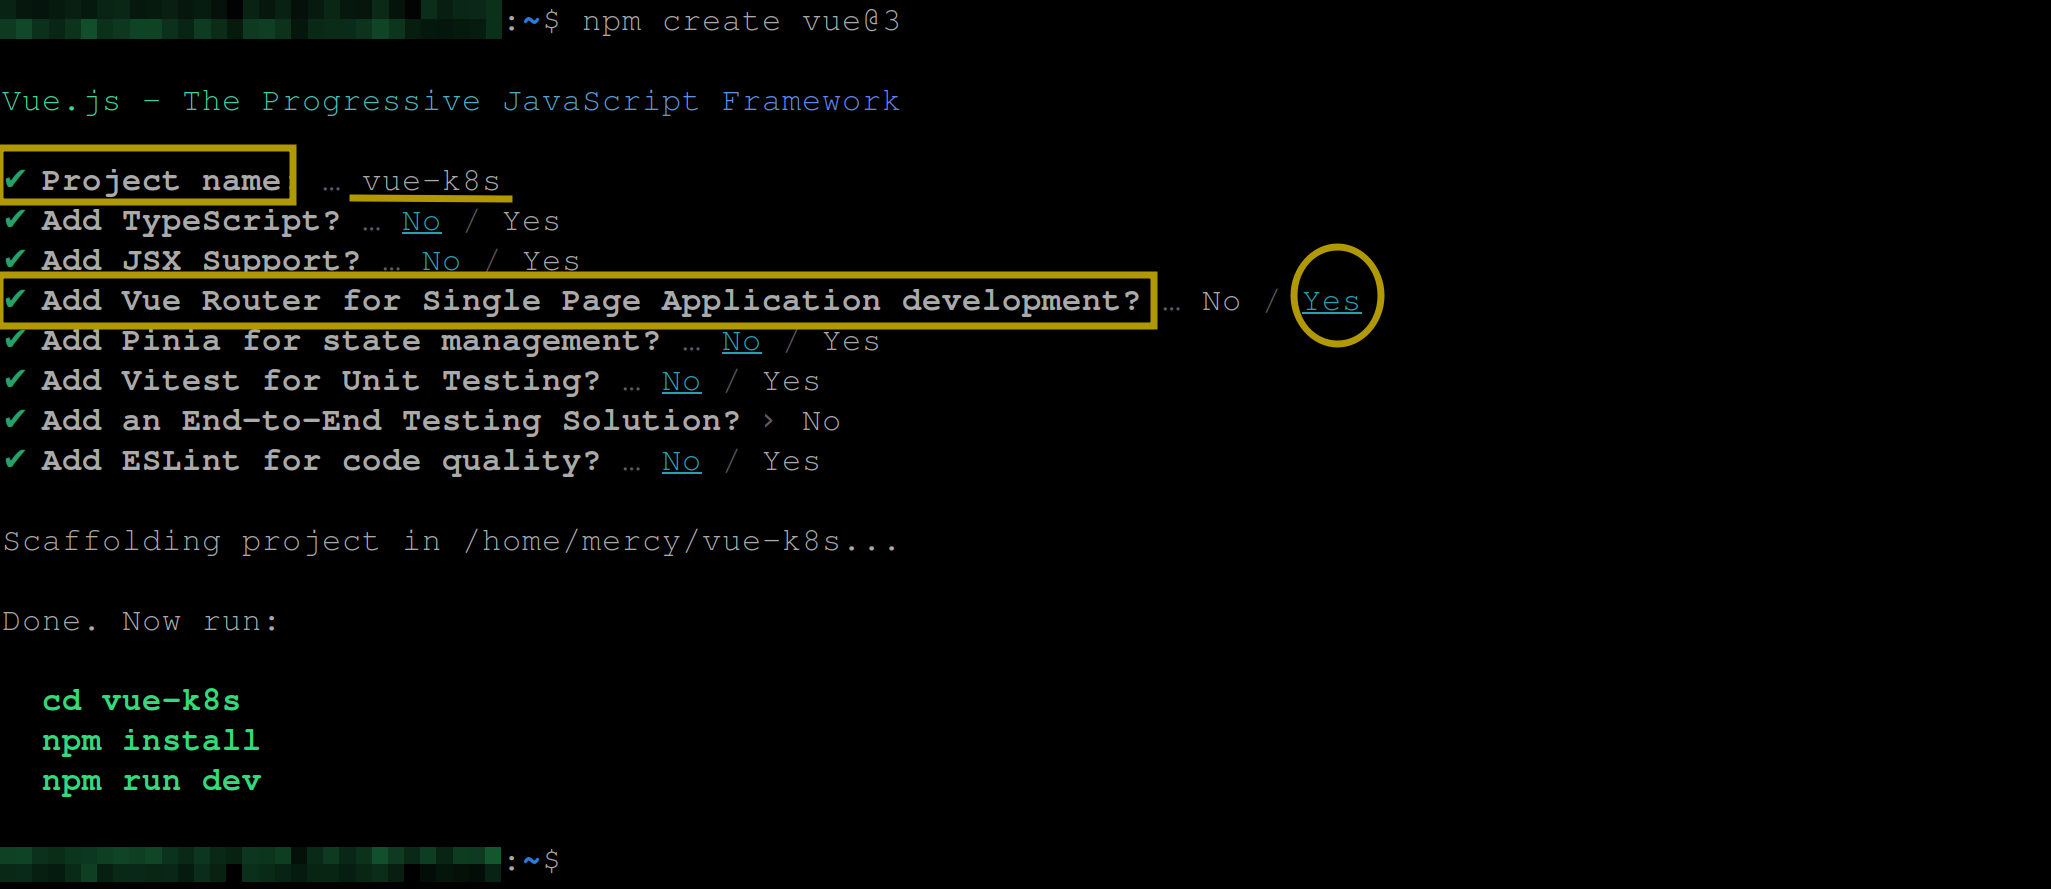
Let’s begin by setting up a Vue.js application using Vite. Open your terminal and run the following command:
npm create vue@3This command will prompt you with a few questions. Make sure to set the project name as vue-k8s and enable vue-router as shown in the screenshot below:
Once the project is created, navigate into the working directory using the following command:
cd vue-k8sInstall all the dependencies required for the Vue application by running the following:
npm install 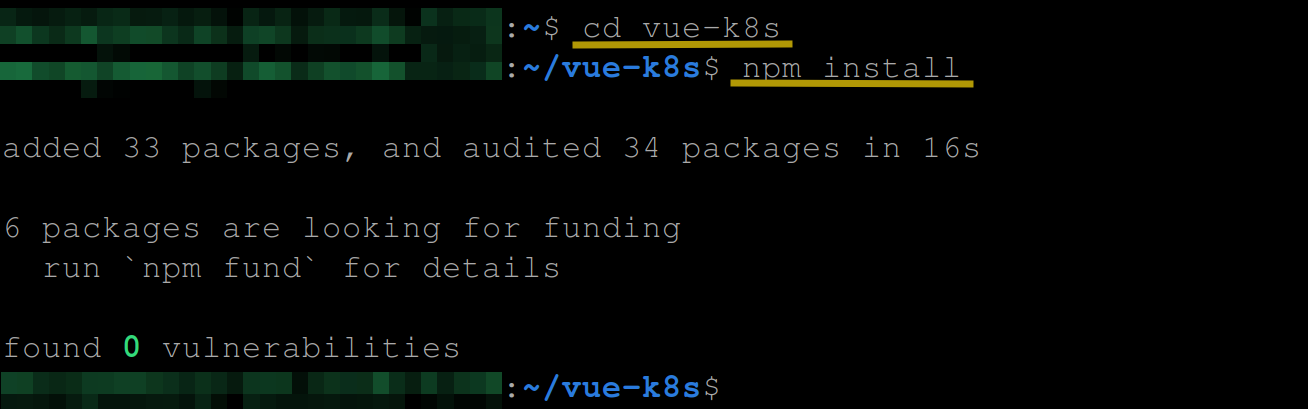
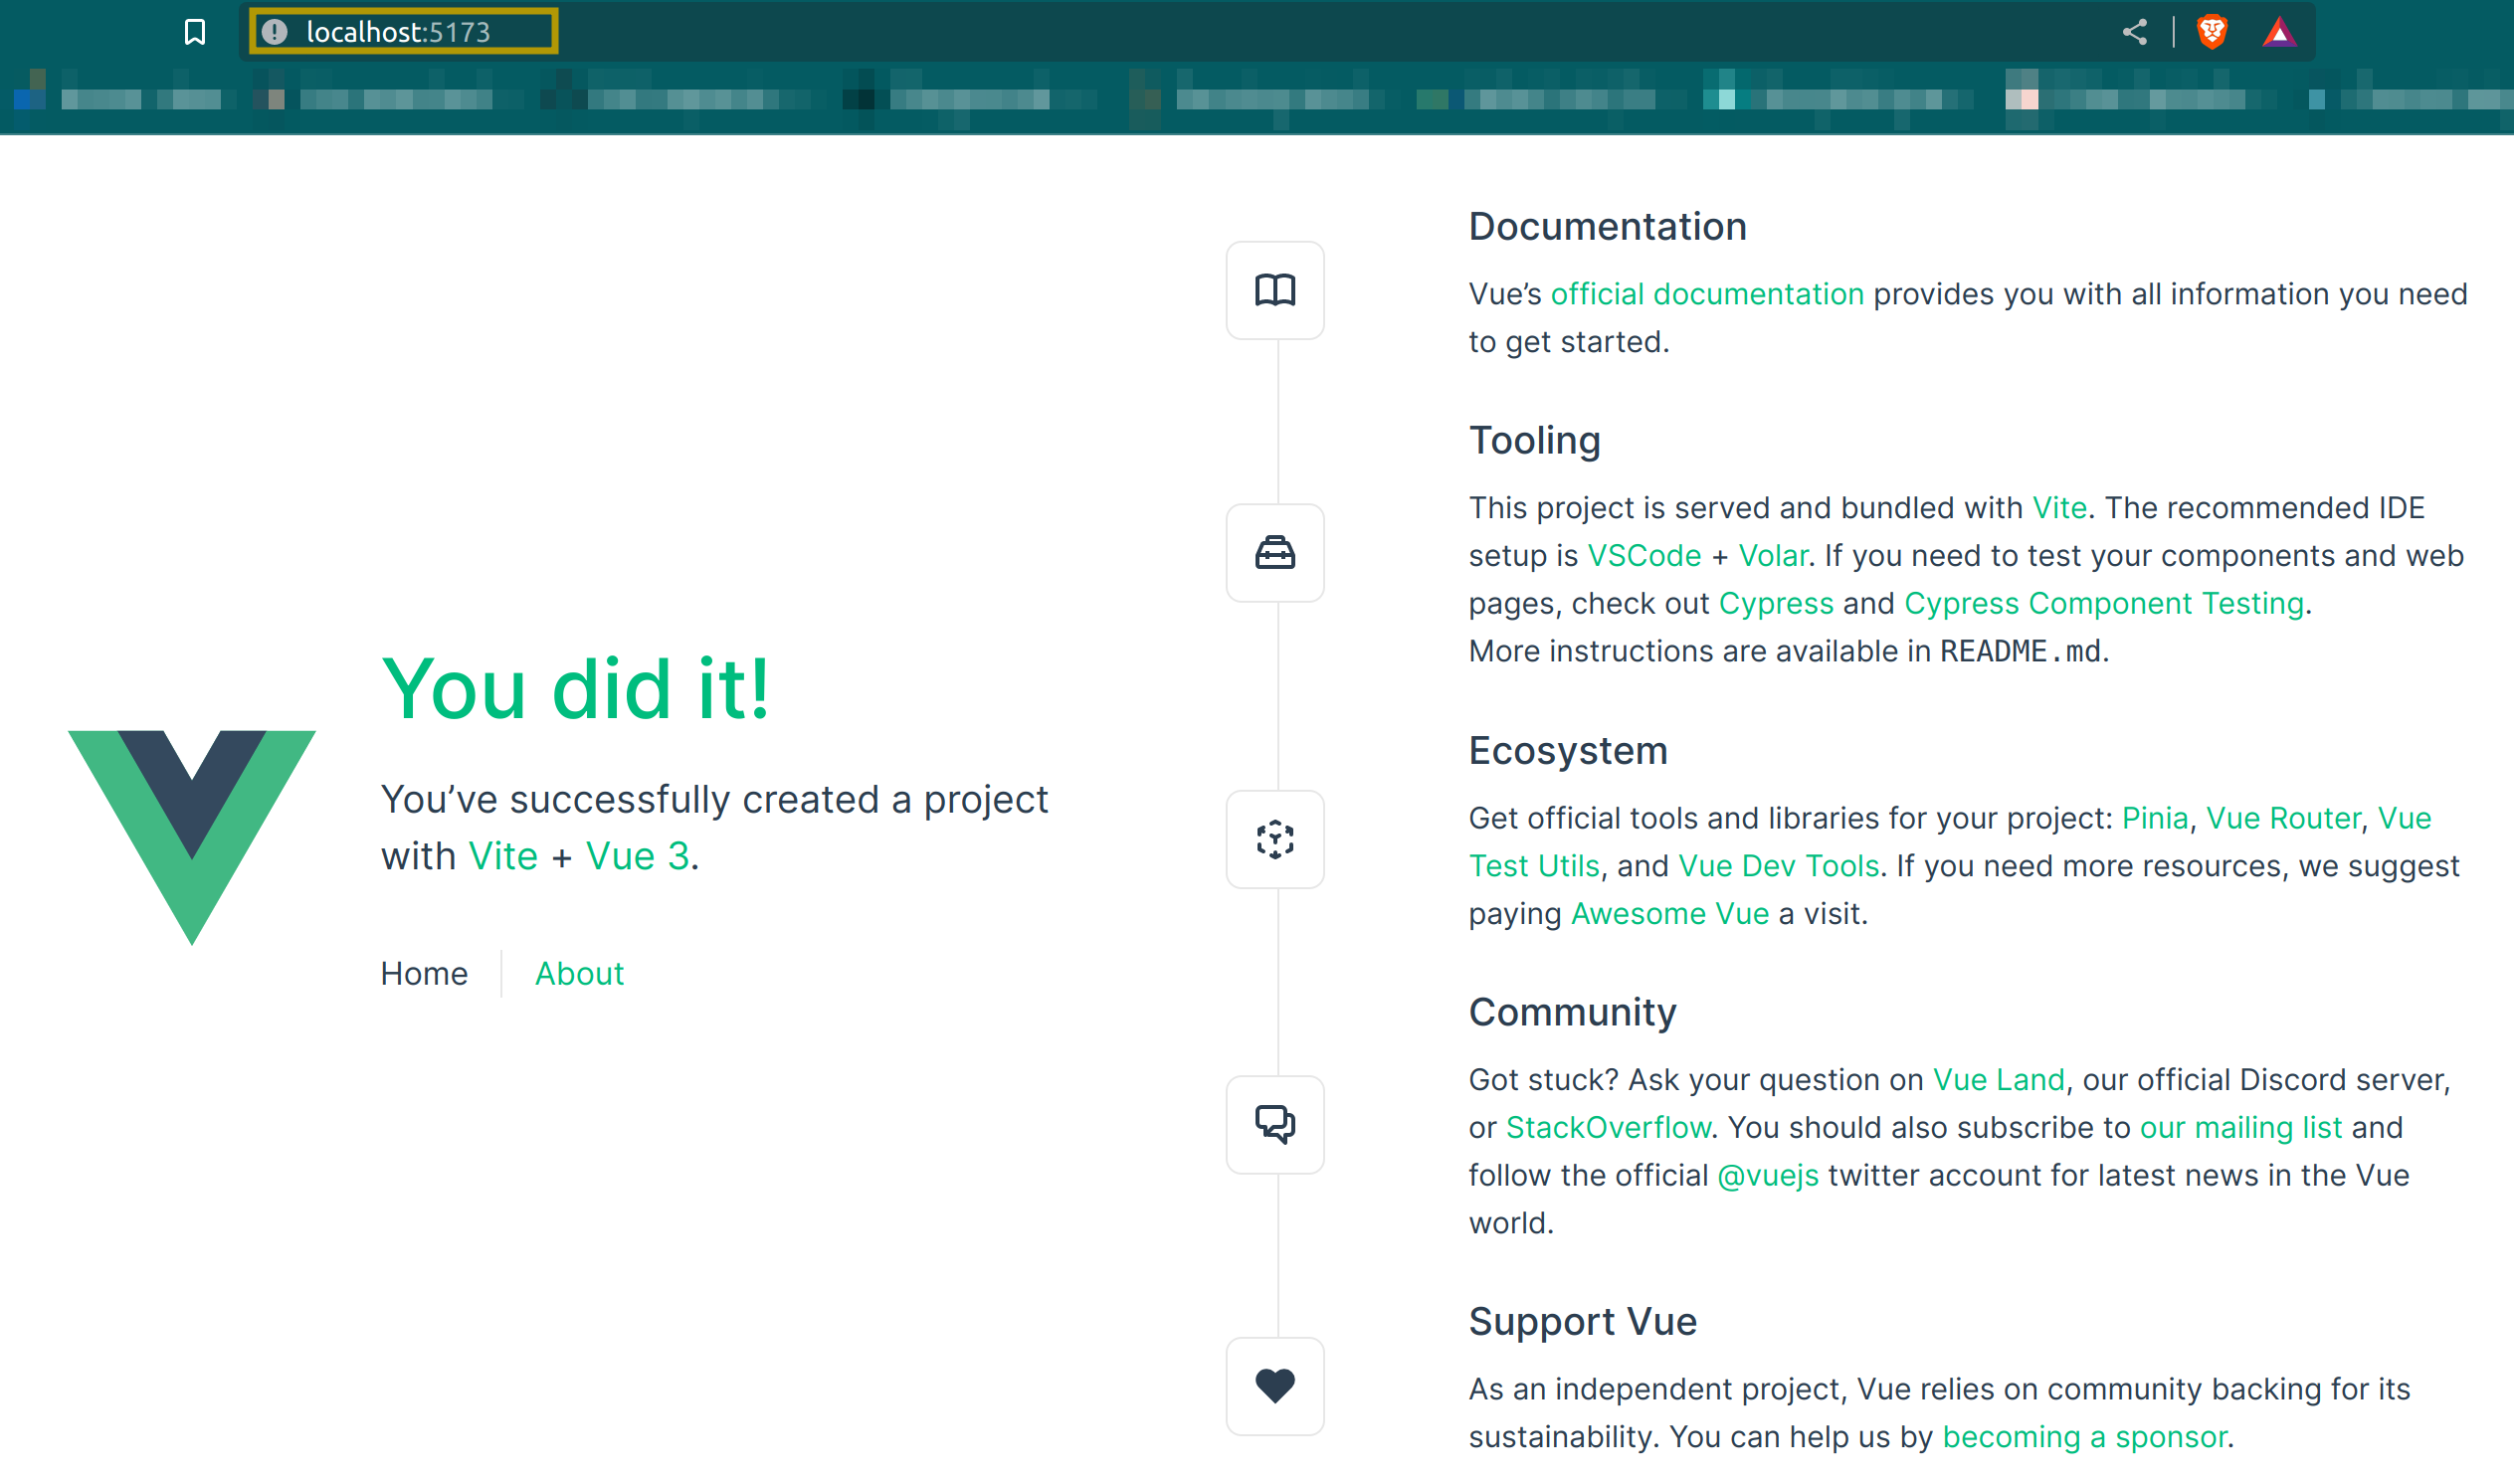
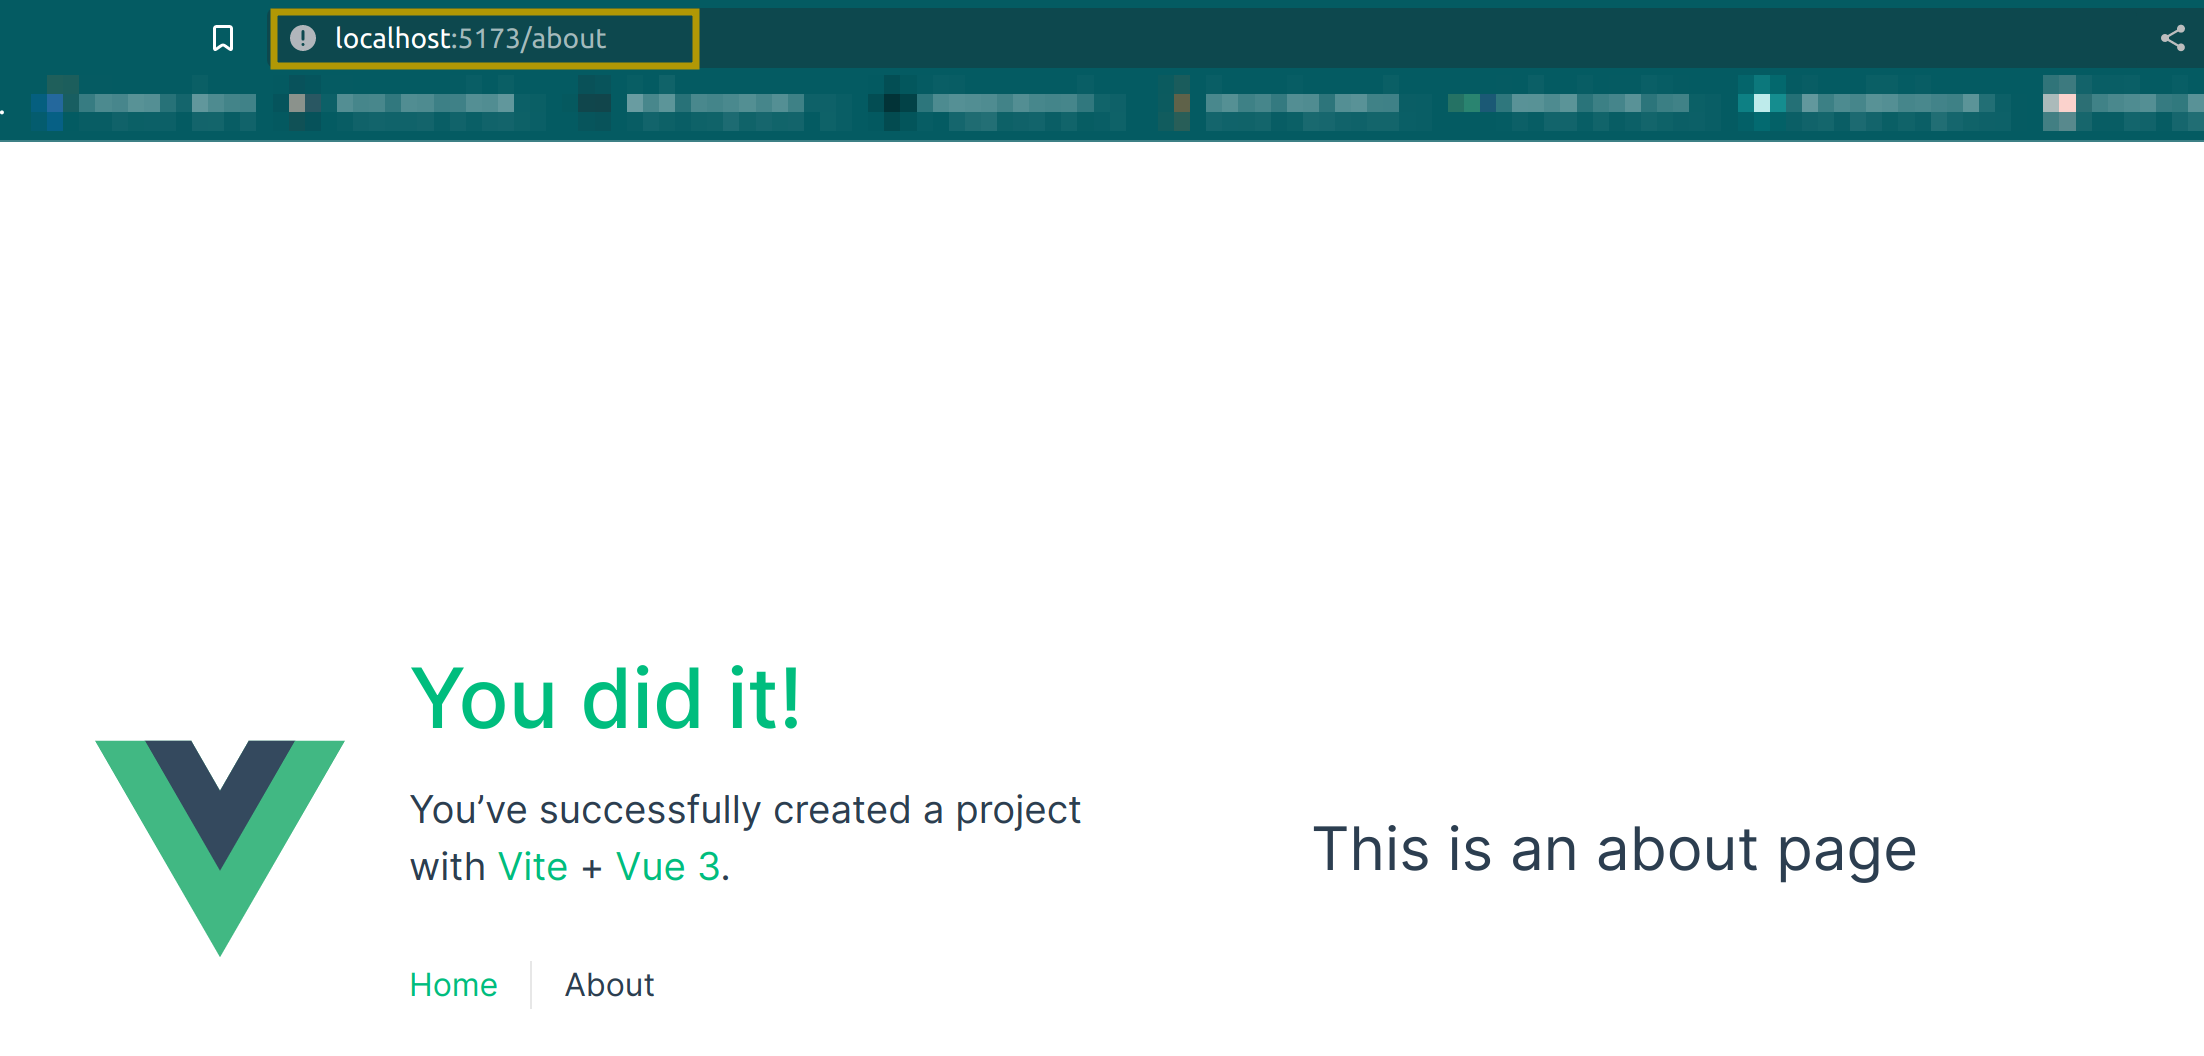
Once the application is set up, you can view the Vue application by running the command npm run dev from your working directory. After that, open up your preferred web browser and navigate to localhost:5173.
You should see the Vite welcome page and an about page, as shown in the screenshots below:
Now that you have a basic Vue application running, it’s important to note that in a real-world scenario, it might consist of multiple routes, tests, and some form of state management. However, deploying the application to the cloud remains the same. For demonstration purposes, this current setup will suffice.
In the next section, you will explore the necessary steps to build and run the Vue application locally with Docker to confirm it works locally before heading to the cloud using Kubernetes.
Preparing the Vue.js App for Deployment
Every application running in the cloud requires containerization, which involves encapsulating it as a container image. The Vue.js application, in this case, is no exception. To prepare it for deployment with Kubernetes, you need to create a container image and ensure it runs smoothly as a Docker container on your local machine.
Docker utilizes a file called Dockerfile to build container images. Therefore, the first step is to create a Dockerfile at the root of the Vue project. This file will define the necessary instructions for building the Vue application image.
Inside the Dockerfile, you’ll need to specify the base image, copy the required files, configure Nginx as a reverse proxy, and expose the appropriate ports. These instructions ensure that the Vue application is properly configured and ready for deployment as a container.
# Stage 1: Build Vue app
FROM node:18 as build-stage
WORKDIR /app
COPY package*.json ./
RUN npm install
COPY . .
RUN npm run build

# Stage 2: Serve Vue app with Nginx
FROM nginx:1.25.1 as prod-stage
COPY --from=build-stage /app/dist /usr/share/nginx/html
EXPOSE 80
CMD ["nginx", "-g", "daemon off;"]
I know you might be wondering why Nginx is included in the Dockerfile. Well, the reason is that Nginx, in this case, serves as a reverse proxy. But what does that mean?
In simple terms, a reverse proxy is a server that sits between clients and backend servers, acting as an intermediary for client requests. It receives incoming requests, forwards them to the appropriate backend server, and returns the response to the client.
In the Dockerfile, Nginx is included to fulfill this reverse proxy role. By utilizing Nginx as a reverse proxy, you leverage its capabilities to enhance request handling, load-balancing, scalability, serve static files effectively, and overall application performance.
To break things down properly, this Dockerfile comprises the build-stage and the prod-stage (also known as the production stage). In the build stage, we focus on building the Vue app, while in the production stage, we serve the built app using Nginx.
In the build stage, we are doing the following:
- We start with the base image
node:18, which includes Node.js version 18. This stage is responsible for assembling the Vue app’s dependencies and generating a production-ready build. - We set the working directory inside the container to
/app. This is where subsequent commands will be executed. - We copy the
package.jsonandpackage-lock.jsonfiles (if present) from the local directory to the/appdirectory inside the container. This step allows Docker to cache the dependencies installation process for faster subsequent builds. - We run
npm installto install the project dependencies based on thepackage.json file. - We copy all the files and directories from the local directory into the current working directory inside the container. This includes the source code of the Vue app.
- Finally, to build the Vue app, we execute the
npm run buildcommand inside the container. This triggers the build process and typically generates a production-optimized app version in a dist directory.
Moving on to the production stage, we do the following:
- Switch to the base image
nginx:1.25.1, which includes Nginx version 1.25.1. Here, our focus shifts to serving the Vue app using Nginx as a reverse proxy. - We copy the contents of the dist directory (built in the previous stage) from the build-stage image to the
/usr/share/nginx/htmldirectory inside the current image. This step replaces the default Nginx files with our Vue app’s production-optimized files. - To allow incoming traffic, we expose port
80in the container, which is the default port for HTTP traffic. - Finally, we use the
CMDinstruction to launch Nginx as the container’s main process, using the “daemon off;” option to keep it running in the foreground.
With this Dockerfile, we can efficiently build our Vue app in the first stage and serve it with Nginx in the second stage, providing a streamlined and production-ready containerized deployment.
Docker provides a valuable isolated environment for building and running applications, although not as sophisticated as Kubernetes. However, if our application functions correctly using Docker, it is likely to exhibit the same behavior when deployed to Kubernetes.
To push your Docker image successfully, you should already have a public repository on Docker Hub. If you haven’t created one yet, follow the steps outlined in the Docker Hub documentation to create a public repository to store and share your Docker images.
To build and run the VueJS application, execute the following commands sequentially:
docker build -t <your_dockerhub_username>/<repository_name> .The above command will build the Docker image for the Vue Application using the Dockerfile that was specified earlier in the current directory. The -t flag allows you to provide a tag for the image, and <your_dockerhub_username>/<repository_name> represents the desired image name and repository on Docker Hub.
Once the build is finished, though it might take some time, you should see the output similar to the following:
...
=> [build-stage 2/6] WORKDIR /app 0.6s
=> [build-stage 3/6] COPY package*.json ./ 0.2s
=> [build-stage 4/6] RUN npm install 9.9s
=> [build-stage 5/6] COPY . . 0.9s
=> [build-stage 6/6] RUN npm run build 7.9s
=> [prod-stage 2/2] COPY --from=build-stage /app/dist /usr/share/nginx/html 0.2s
=> exporting to image 0.2s
=> => exporting layers 0.1s
=> => writing image sha256:ca8e02bd3bb75c1b5354488d8f552b42a36fe0e8a8769774f2015d67d0943fcd 0.0s
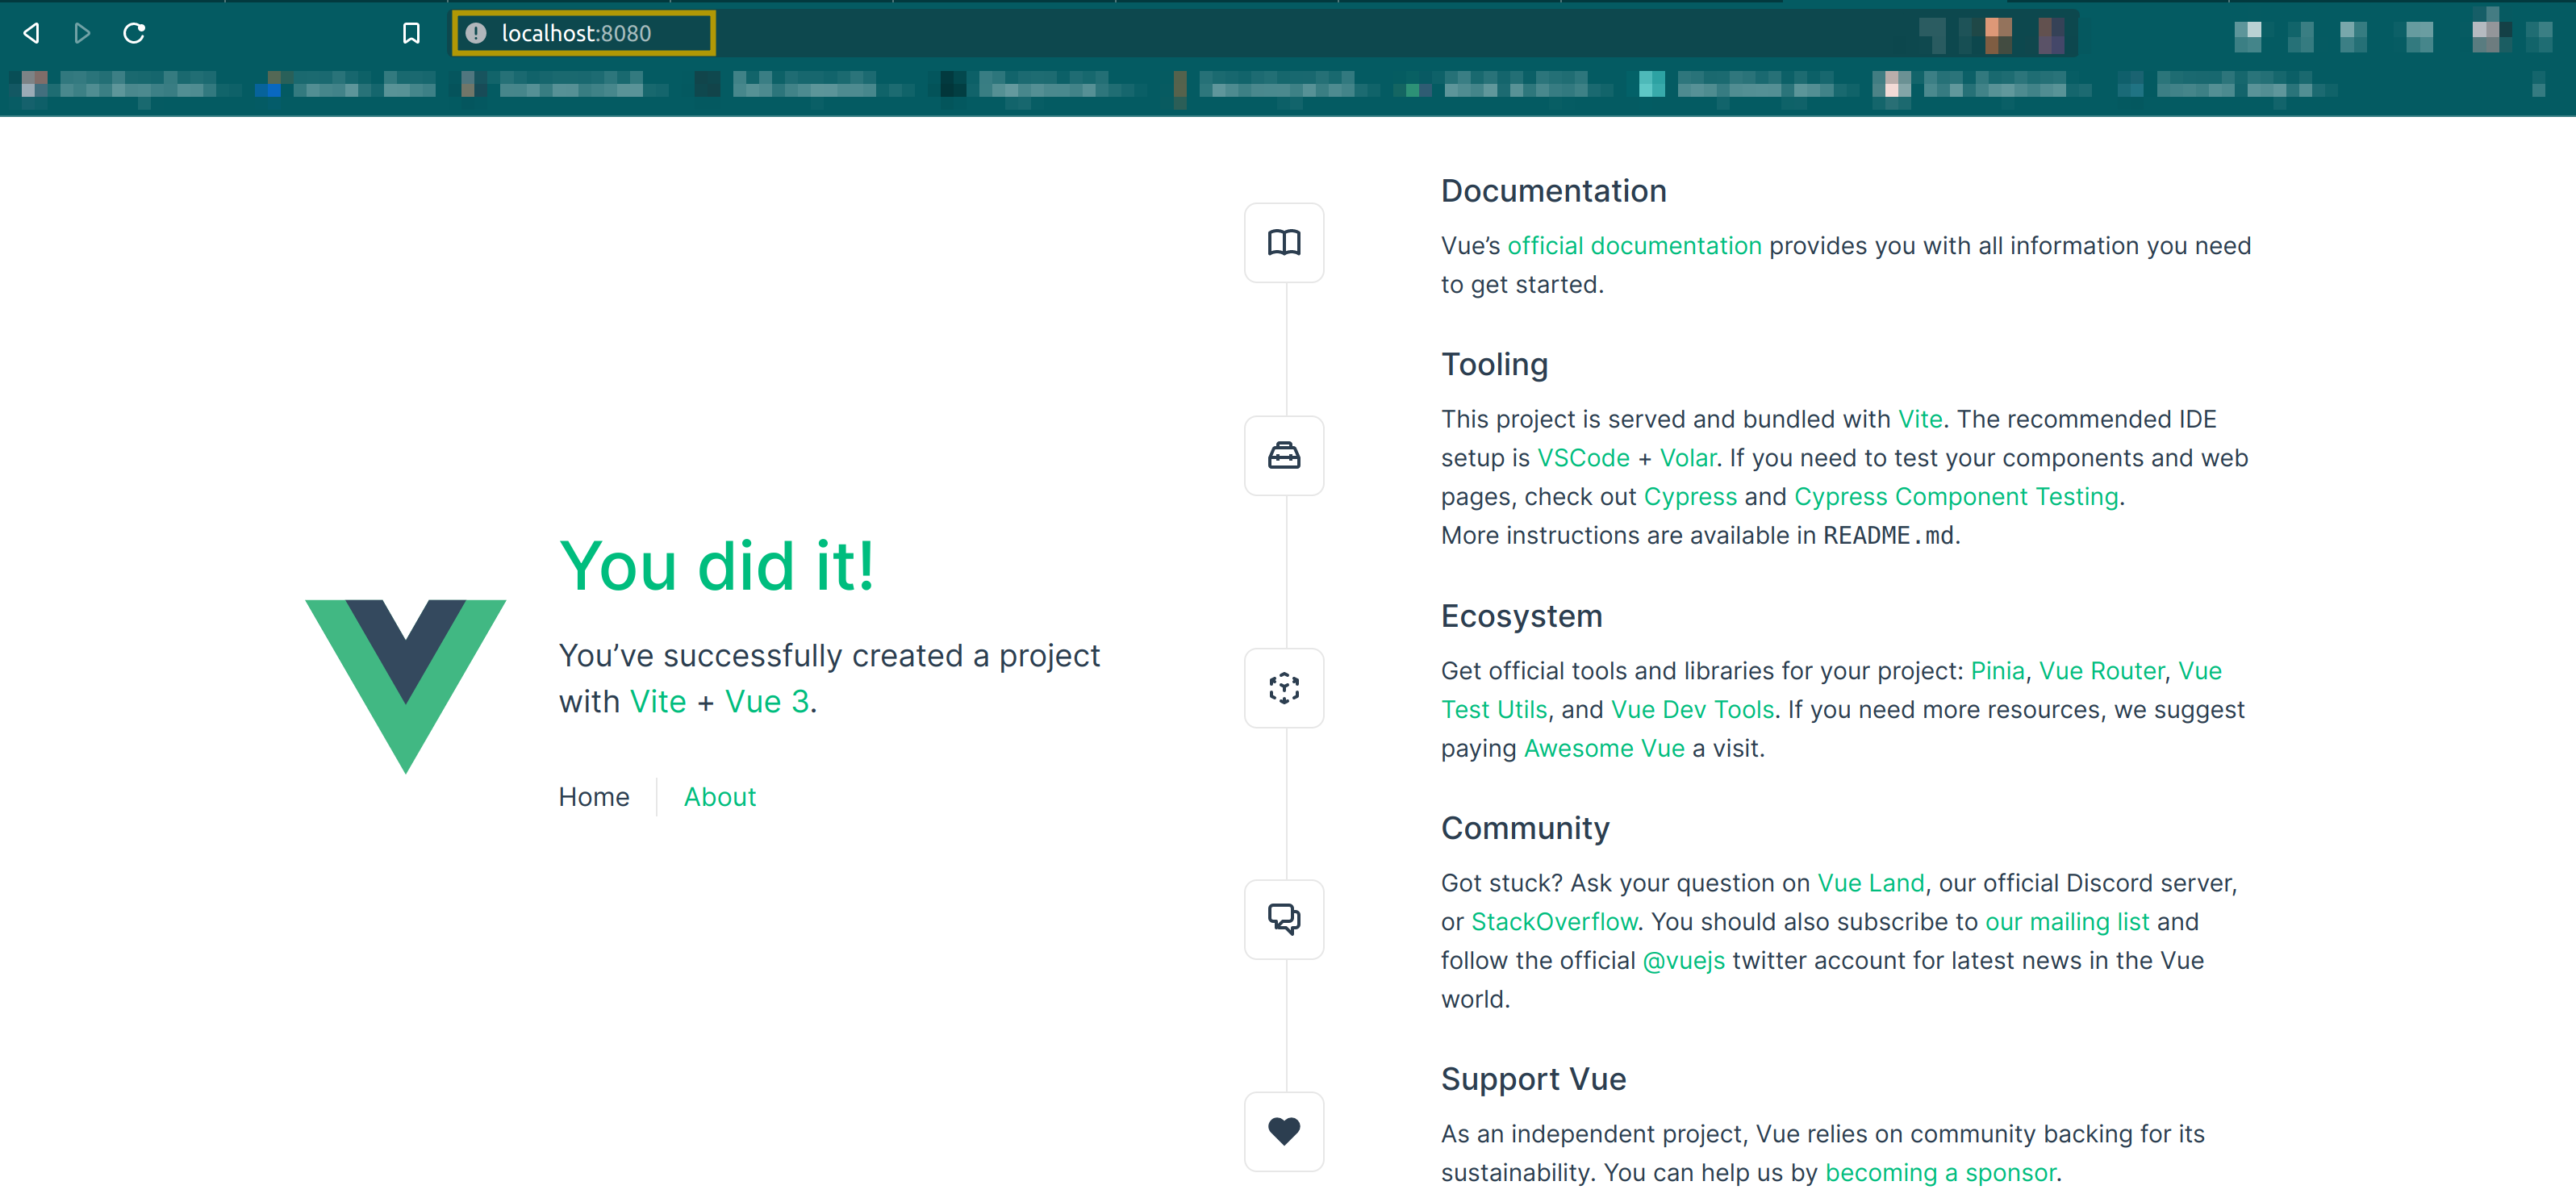
=> => naming to docker.io/mercybassey/vue-appNow, execute the following command to run the docker image as a container:
docker run -d -p 8080:80 <image_name>From the command above, the -d flag detaches the container and runs it in the background, while the -p flag maps port 8080 on the host machine to port 80 inside the container. This enables access to the VueJS application via localhost:8080 in your preferred web browser.
Once you have confirmed that the Vue App is working correctly, the next crucial step is pushing the image to Docker Hub. This step is essential to make the image accessible and shareable with others and allows for deployment to various environments.
Pushing the Docker image to Docker Hub makes it available in a centralized repository that other developers, collaborators, or deployment pipelines can access. It ensures that the image is readily available for deployment to Kubernetes clusters or other Docker-compatible infrastructures.
To push the Docker image to your Docker Hub repository, run the following command:
docker push <your_dockerhub_username>/<your_dockerhub_repository_name>:latestThis process may take some time, and once it is completed, you will receive an output similar to the following:
...
4ca29ffc4a01: Mounted from library/nginx
a83110139647: Mounted from library/nginx
ac4d164fef90: Mounted from library/nginx
latest: digest: sha256:fb78ef251d5bd24ca84129cbbfbdbc0a2eb7936c5944a36bc2a7de3a9e2d15da size: 1987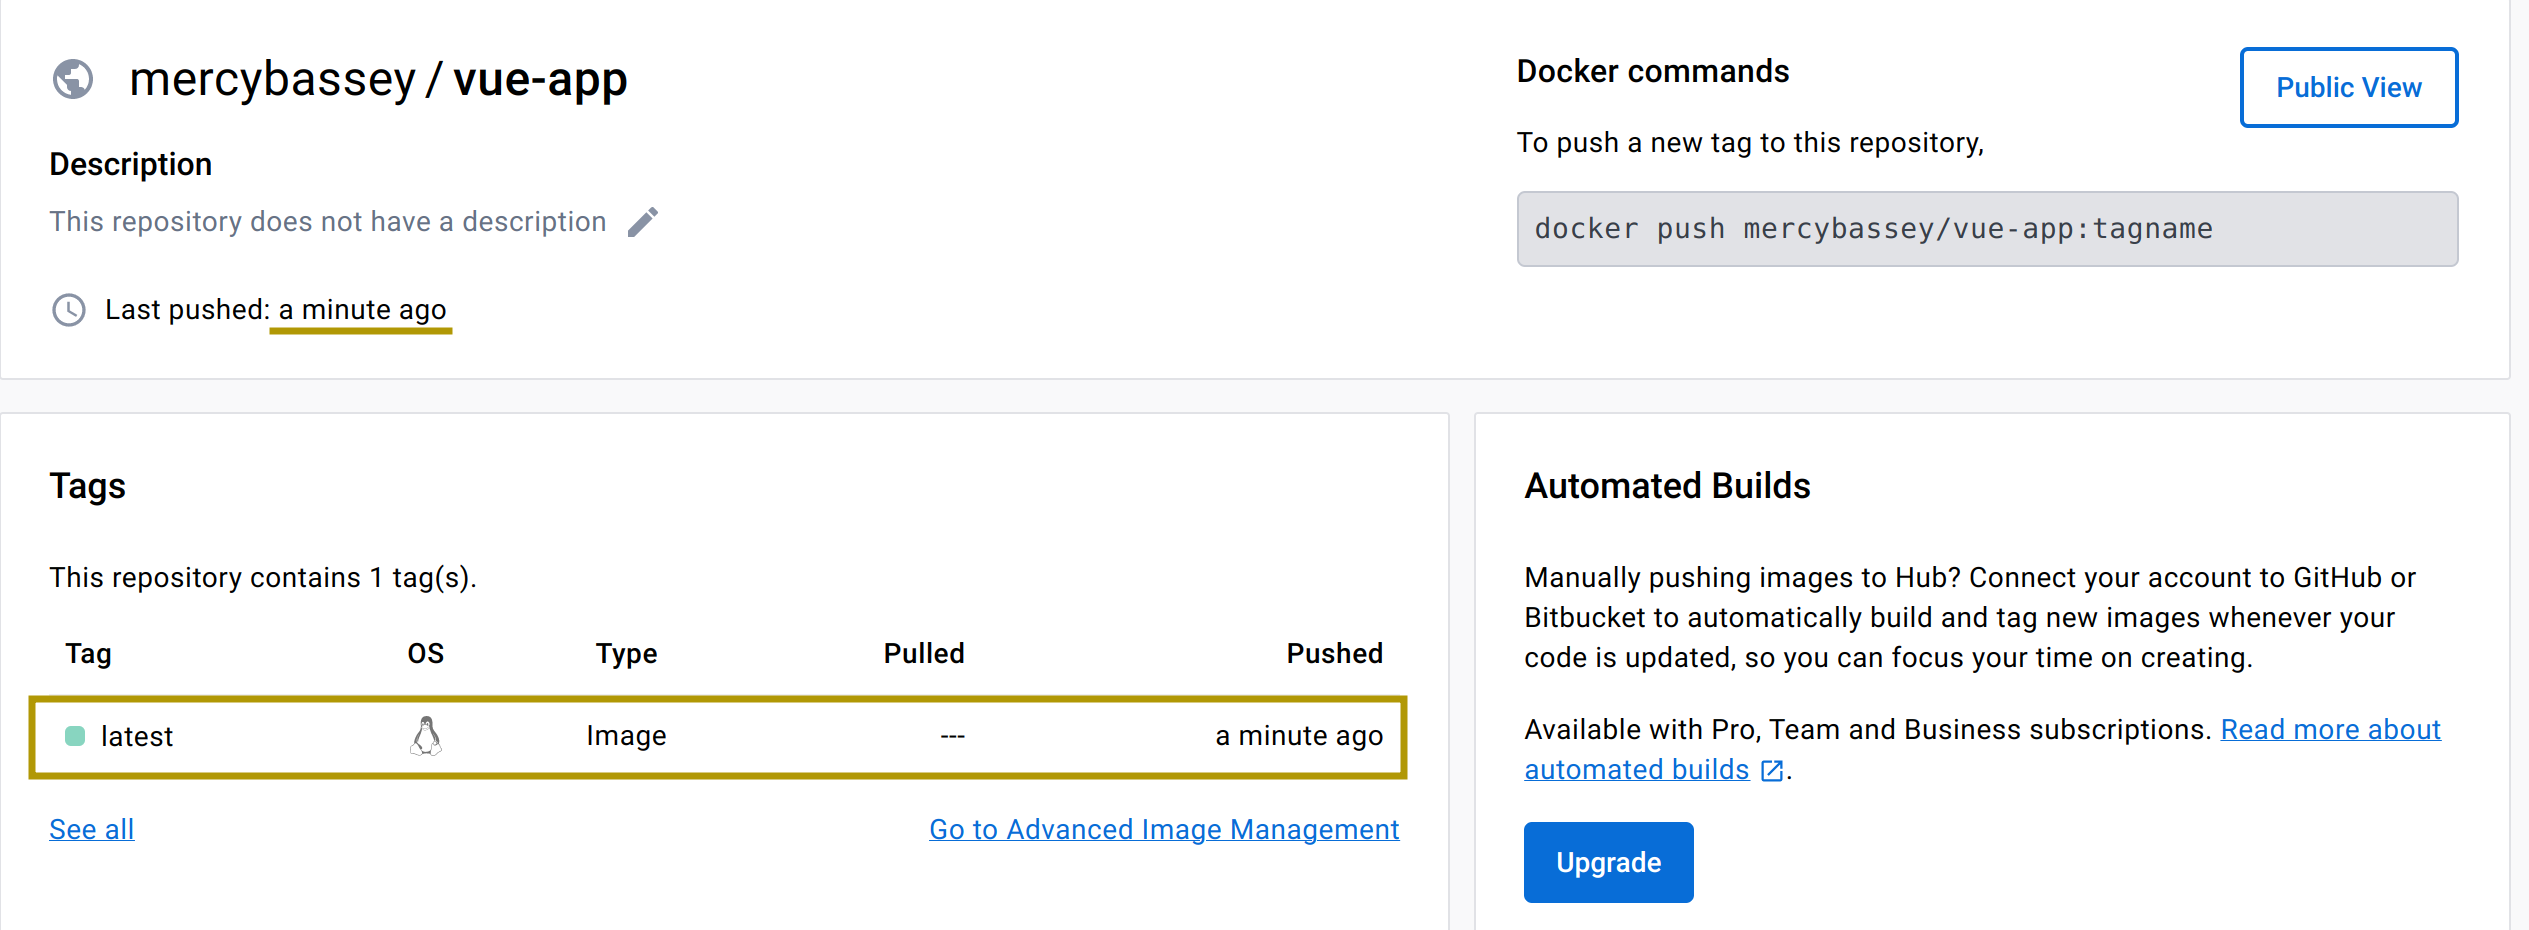
With the Docker image of your Vue App successfully pushed to Docker Hub, you are now ready to proceed with Kubernetes and begin the deployment process.
Session Replay for Developers
Uncover frustrations, understand bugs and fix slowdowns like never before with OpenReplay — an open-source session replay tool for developers. Self-host it in minutes, and have complete control over your customer data. Check our GitHub repo and join the thousands of developers in our community.
Deploying to Kubernetes
To begin the deployment process to Kubernetes, the first thing to do is to create a Kubernetes deployment object. This deployment object serves as an instruction set for Kubernetes, informing it on how to deploy your Vue application and any other application.
By defining the deployment object, you specify details such as the Docker image to use, the number of replicas (instances) of your application to run, networking configurations, and more. Kubernetes uses this information to ensure your application is deployed and managed effectively within the cluster.
Additionally, creating a deployment object allows Kubernetes to handle important aspects like scaling, load balancing, and self-healing. It ensures that your Vue.js app is always available and running smoothly, even in the face of failures or increased traffic.
To create a deployment object, create a file called vue-deployment.yaml from your terminal app or command prompt and paste the configuration settings below:
In Kubernetes, YAML files are used for resource configuration; in this case, to define your applications’ desired state, you need to define it using a
.yamlfile. This will allow you to specify how your application should be deployed and managed in a Kubernetes environment.
apiVersion: apps/v1
kind: Deployment
metadata:
 name: my-vue-app
spec:
 replicas: 3
 selector:
   matchLabels:
     app: my-vue-app
 template:
   metadata:
     labels:
       app: my-vue-app
   spec:
     containers:
     - name: my-vue-app-container
       image: <your_dockerhub_username>/vue-app:latest
       ports:
       - containerPort: 8080
This deployment defines the following:
- Defines a deployment named
my-vue-app. - Instruct Kubernetes to create three instances of the Vue application using the command (
replicas: 3). - Specifies that it should match labels with the value
my-vue-appto ensure proper selection. - Specifies container details in the
templateblock, such as the container name (my-vue-app-container) and the Docker image (<your_dockerhub_username>/vue-app:latest) from Docker Hub.
For more information about Kubernetes deployments, see the following guide from the official Kubernetes documentation.
Now execute the kubectl command to create this deployment in your Kubernetes cluster:
kubectl apply -f vue-deployment.yaml To confirm if the deployment has been created successfully, execute the following kubectl command:
kubectl get deployments To see the instances of the Vue application (also called pods), execute the following
 kubectl command:
kubectl get pods
Now that you have successfully created the deployment, the next thing to do is create a Kubernetes service object for the my-vue-app deployment so you can view the application.
Kubernetes services are an abstraction layer that provides network connectivity and load balancing for applications running within a Kubernetes cluster. You can see the official Kubernetes documentation to learn more.
Execute the following kubectl command:
kubectl expose deploy my-vue-app --port 8080 --target-port=80 --type=NodePortThe command above will expose the my-vue-app deployment with a service named “my-vue-app” with the type NodePort. It will expose the pods from the “my-vue-app” deployment on port 8080 and forward incoming traffic to the pods on port 80. You should see the following output once the service is created:
Kubernetes offers a wide range of service types to cater to various networking requirements. You can see the following guide.

Next, execute the following command to view the service:
kubectl get services
By default, NodePort services in Kubernetes listen on a port range of
30000-32767. In the provided image, the NodePort service is configured to listen on port31370. If the port is not explicitly specified during service creation, Kubernetes automatically assigns a port within the default range.
A NodePort exposes an application outside of the cluster on a specific port across all nodes in the cluster. It allows external access to the service using the IP address of any node in the cluster and the allocated port.
In this case, you should be able to view the Vue application on the following address <node-ip>:<NodePort-port>.
But before that, retrieve the IP of any of your cluster nodes using the following command:
kubectl get node <node-name> -o jsonpath='{.status.addresses[?(@.type=="InternalIP")].address}'
Now head to your preferred browser and visit the following address - <node-ip>:<NodePort-port> to view the Vue application. You should see the following outputs on both the home and about routes:
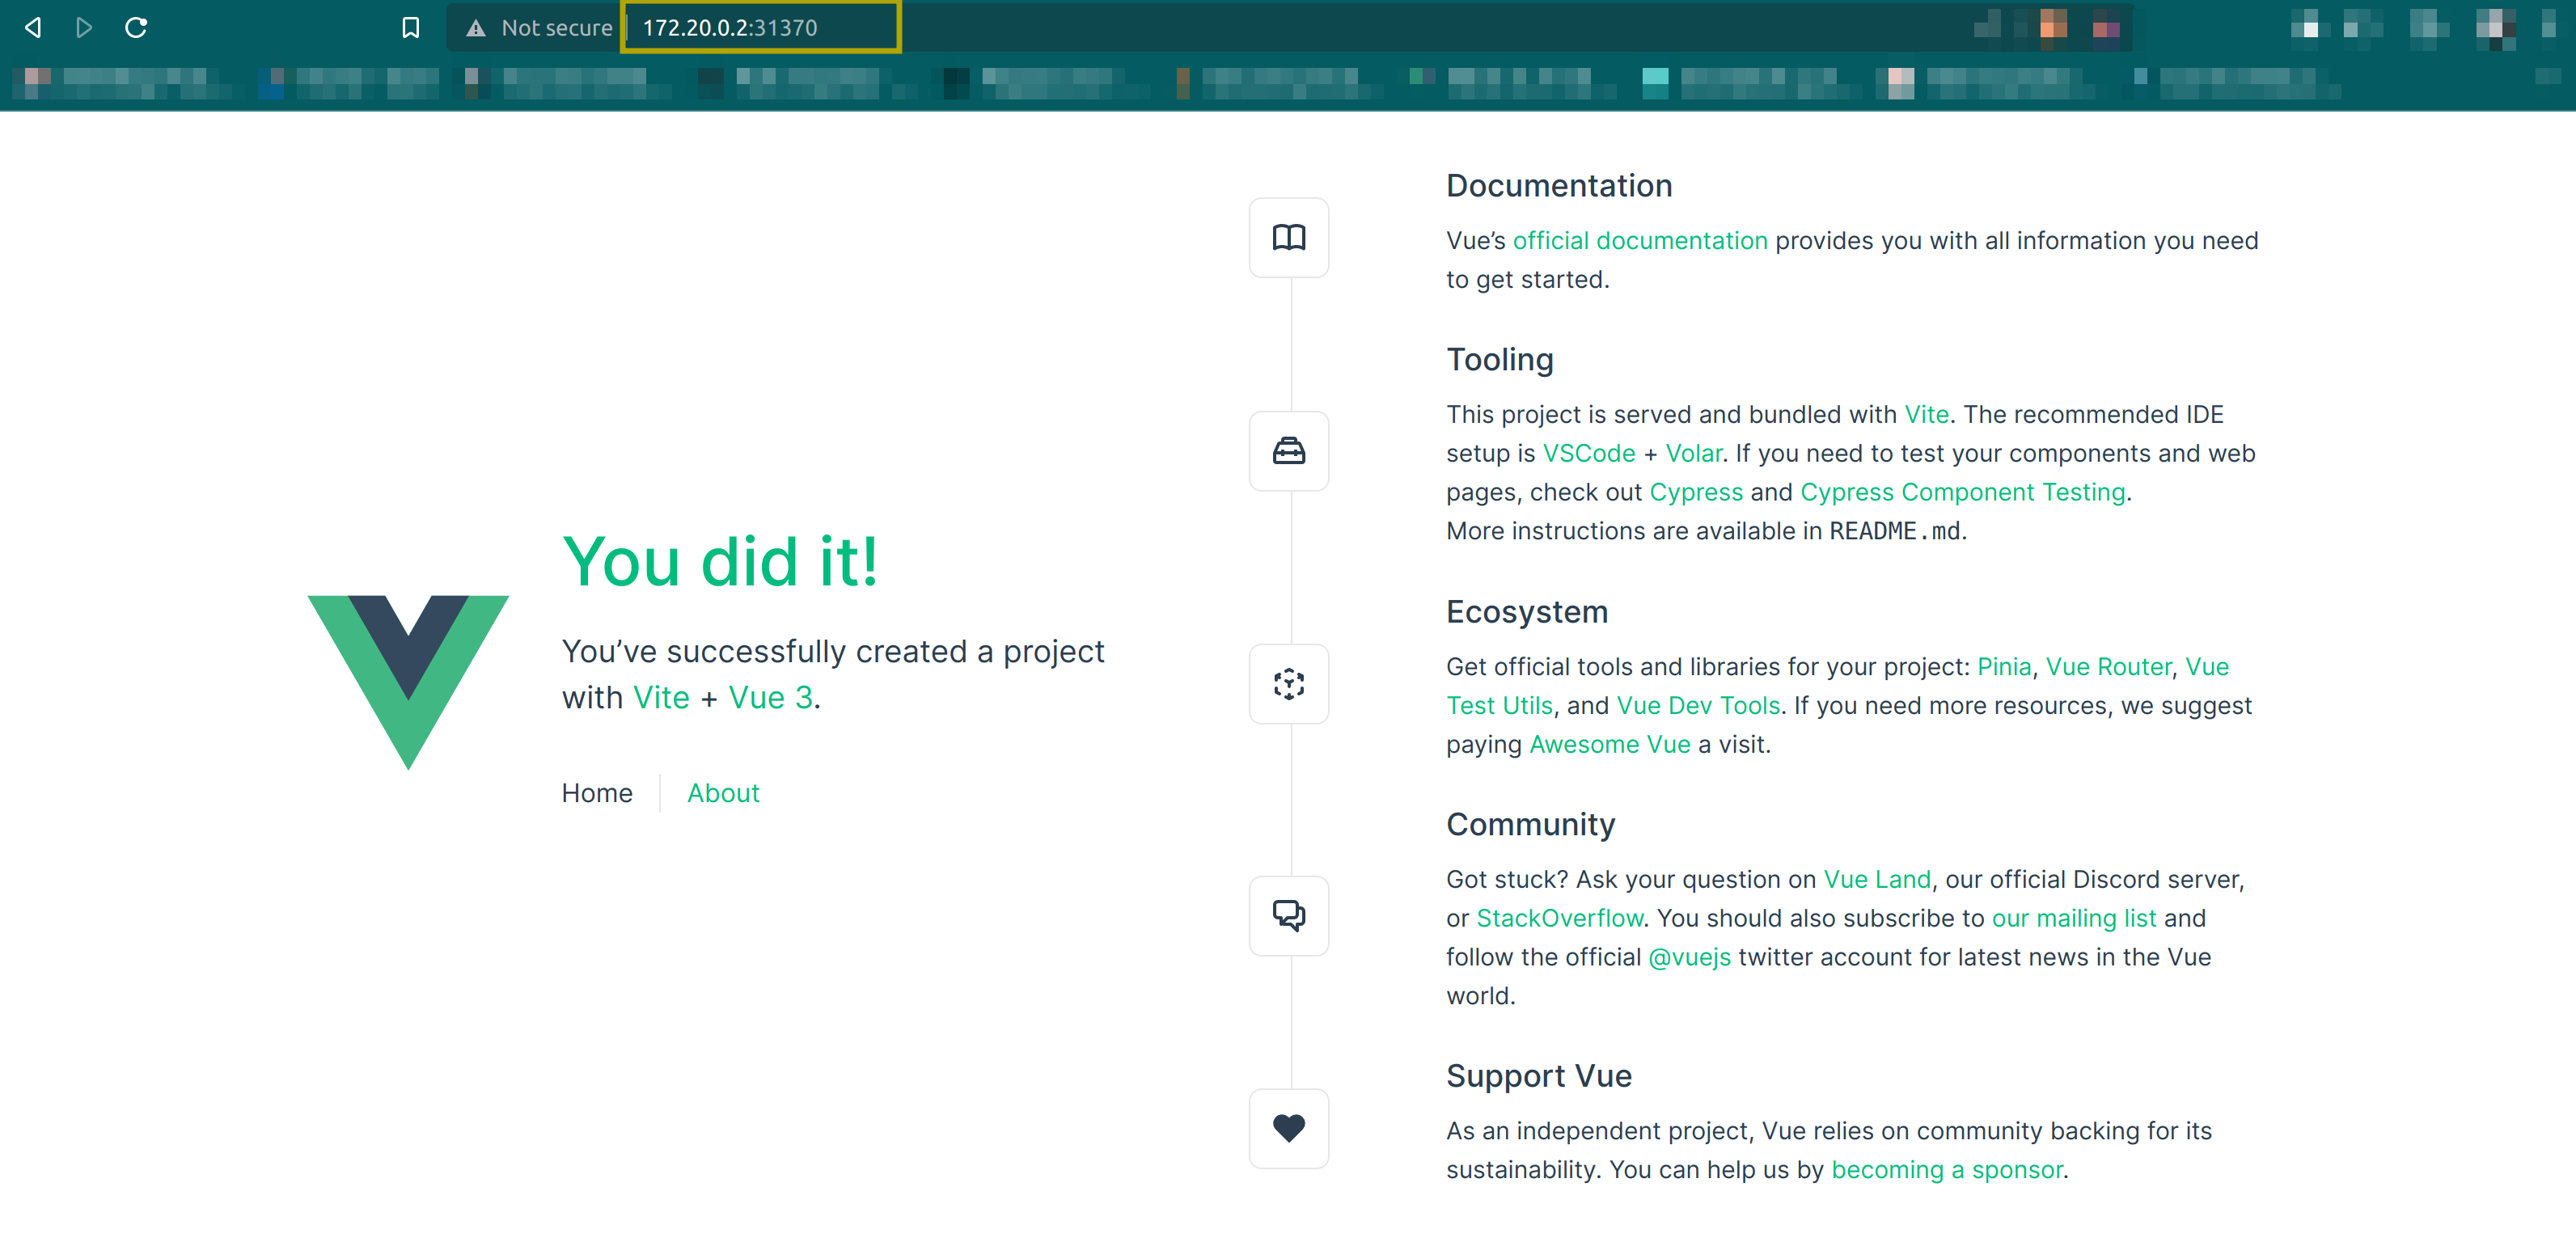

With this, you have successfully deployed a Vue application to the cloud using Kubernetes.
Summary
Kubernetes is an awesome tool, I must say. And throughout this tutorial, you have seen how to use its container-wielding powers to deploy a Vue application to the cloud.
With this newfound knowledge and with Kubernetes by your side, you can now conquer the challenges of deploying and managing a Vue application in the cloud like a true champion.
Gain Debugging Superpowers
Unleash the power of session replay to reproduce bugs and track user frustrations. Get complete visibility into your frontend with OpenReplay, the most advanced open-source session replay tool for developers.