Using Dev Containers for Local Development

You’ve probably experienced this: a new developer joins your team, and two days later they’re still fighting with Node version conflicts, missing dependencies, and environment variables that work on everyone’s machine except theirs. Meanwhile, your actual project sits untouched.
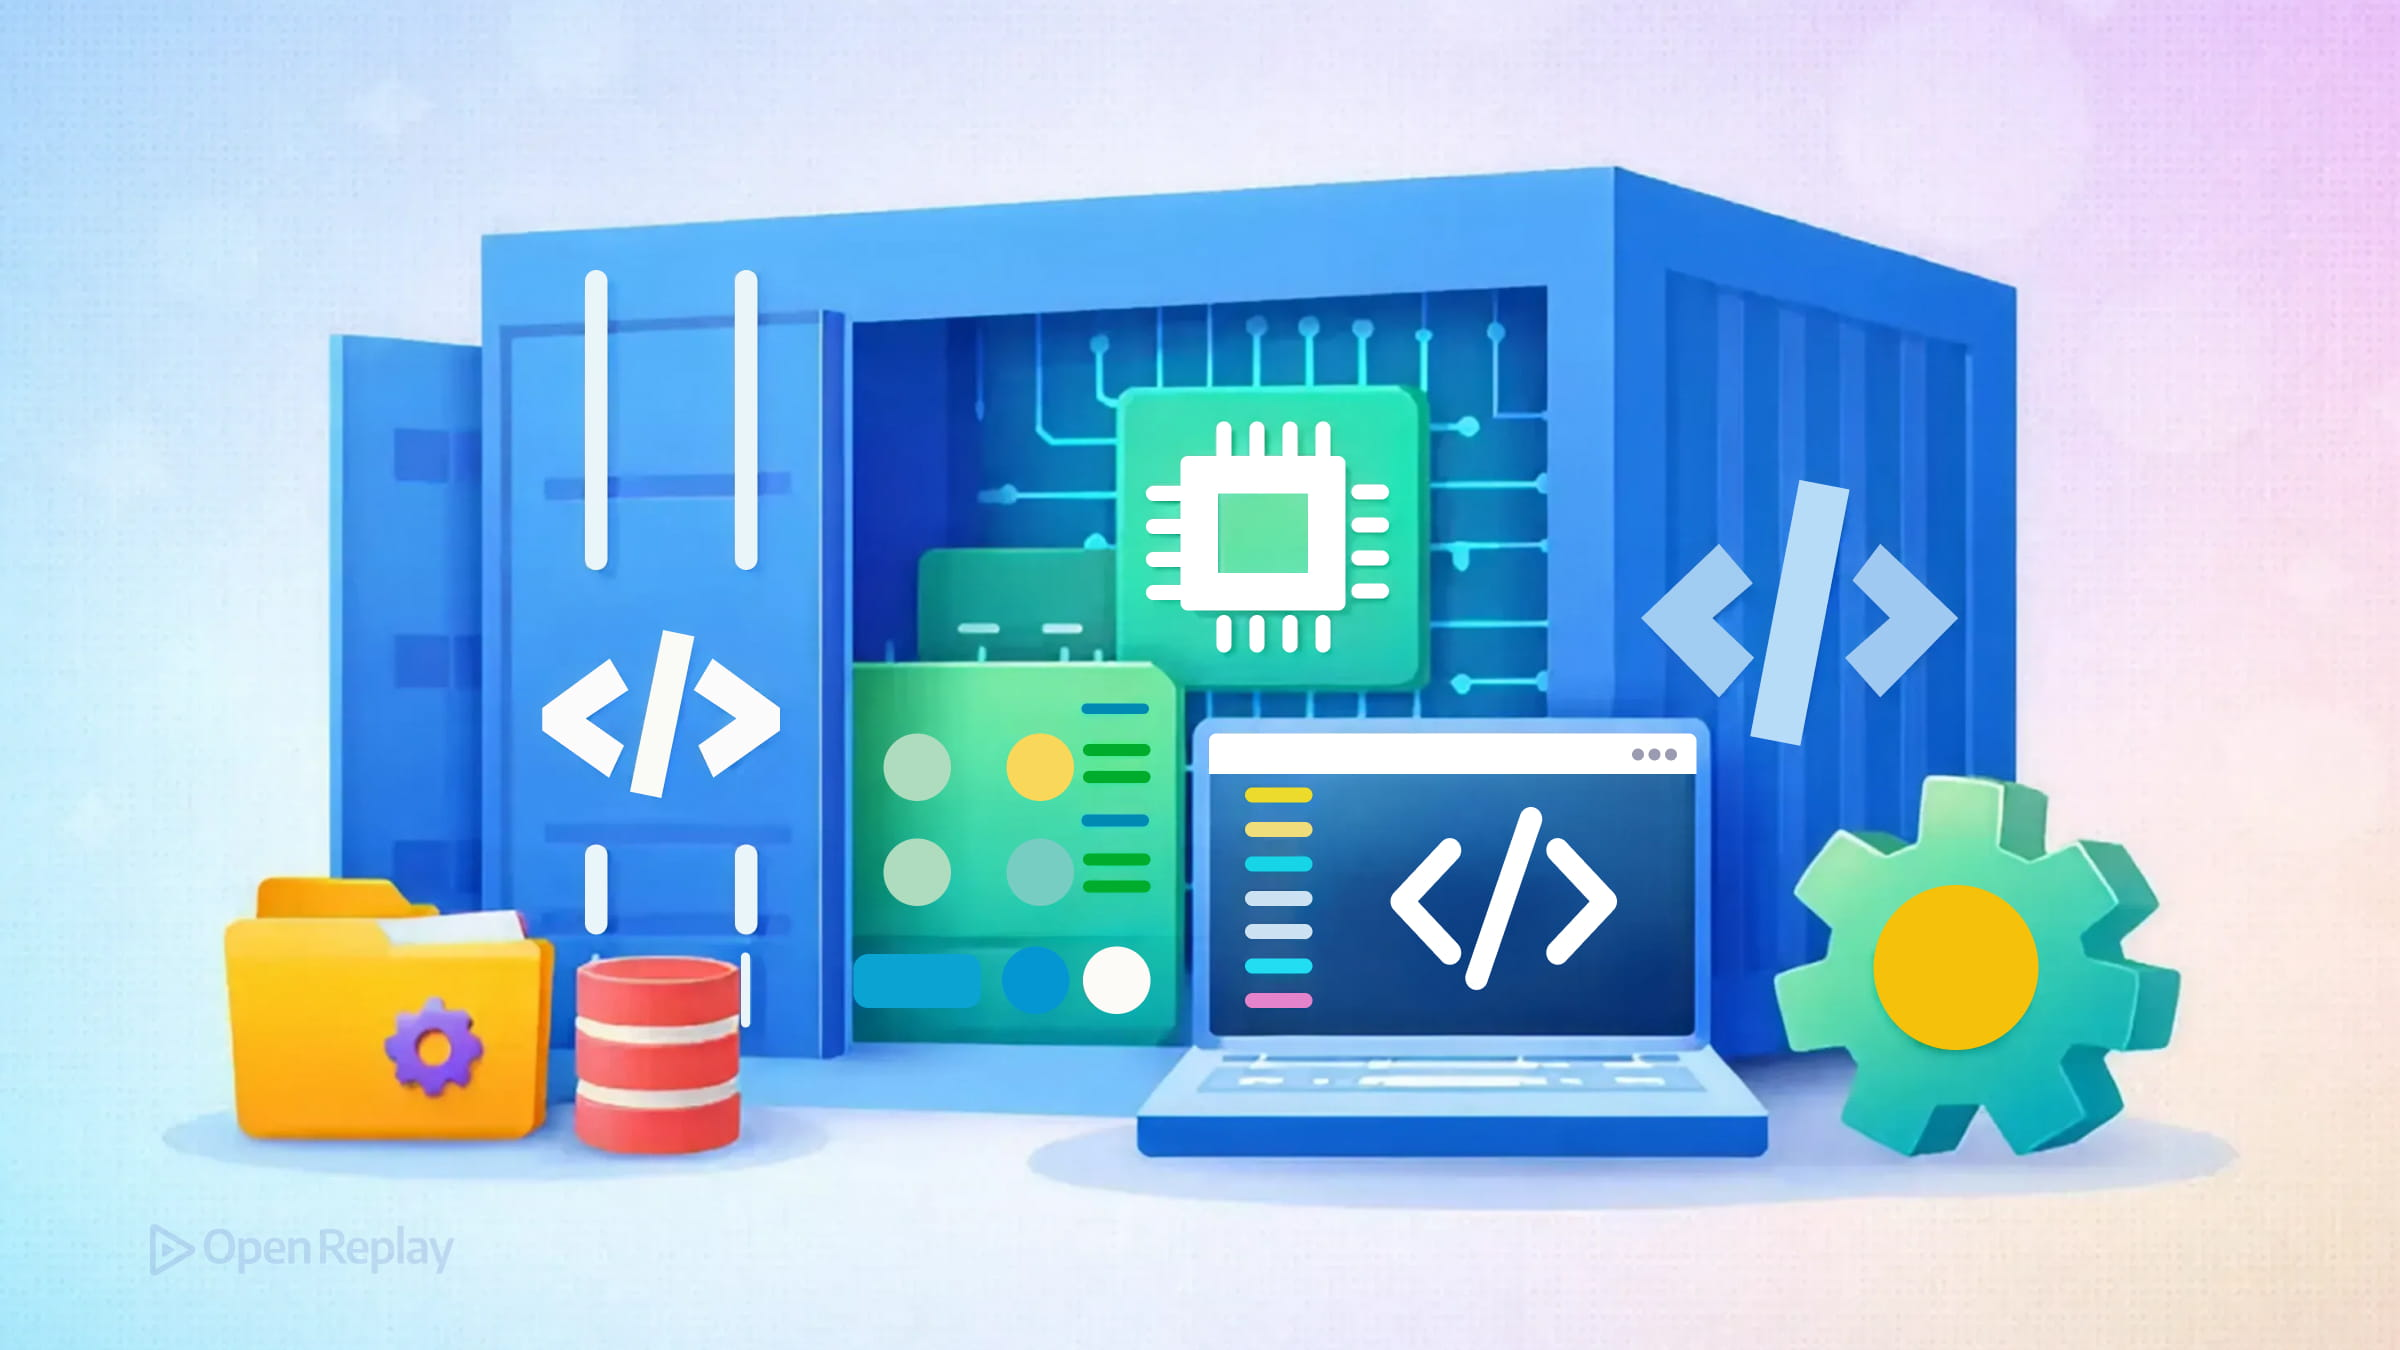
Dev Containers solve this problem by packaging your entire development environment—runtime, tools, extensions, and configuration—into a container that works identically on every machine. This article explains how Dev Containers create reproducible development environments for frontend teams without requiring deep Docker expertise.
Key Takeaways
- Dev Containers package your entire development environment—runtime, tools, extensions, and settings—into a reproducible, code-defined container.
- A single
devcontainer.jsonfile replaces lengthy setup documentation and eliminates “works on my machine” problems. - Pre-built images cover most frontend needs, while Docker Compose handles multi-service setups.
- Understanding the difference between
containerEnvandremoteEnv(andcontainerUservs.remoteUser) prevents common permission and configuration errors. - Dev Containers provide consistency, not immutability—pin your image versions and test configurations periodically.
What Dev Containers Actually Do
Dev Containers are Docker containers configured specifically for development work. Unlike production containers that run your application, Dev Containers run your entire development environment. Your editor connects to the container, and all your tools execute inside it.
The key insight is simple: instead of documenting setup steps and hoping everyone follows them correctly, you define your environment in code. When a developer opens your project, they get the exact same Node version, the same linting tools, and the same editor extensions as everyone else.
This approach to containerized local development eliminates the “works on my machine” problem entirely. Your devcontainer.json file becomes the single source of truth for how to develop on your project.
Core Concepts You Need to Understand
The devcontainer.json File
Every Dev Container configuration starts with a devcontainer.json file, typically stored in a .devcontainer folder at your project root. This file tells your editor how to build or pull the container and what to configure inside it.
A minimal configuration for a frontend project looks like this:
{
  "name": "Frontend Dev Environment",
  "image": "mcr.microsoft.com/devcontainers/typescript-node:20",
  "forwardPorts": [3000],
  "customizations": {
    "vscode": {
      "extensions": ["dbaeumer.vscode-eslint", "esbenp.prettier-vscode"]
    }
  }
}
This configuration pulls a pre-built Node 20 image with TypeScript support, forwards port 3000 so you can access your dev server from the host browser, and automatically installs ESLint and Prettier extensions in VS Code.
Images vs. Dockerfiles
You have two options for defining your container’s base. Using a pre-built image (like the example above) is simpler and faster—the container starts quickly because there’s nothing to build. Using a Dockerfile gives you complete control but adds build time.
For most frontend projects, pre-built images from Microsoft’s Dev Container images repository work well. You can extend them with Features—modular additions that install specific tools without requiring custom Dockerfiles.
Docker Compose for Complex Setups
When your frontend needs backend services during development—a database, API server, or Redis cache—Docker Compose integration lets you define multi-container environments. Your devcontainer.json references the Compose file, and all services start together.
{
  "name": "Full Stack Dev Environment",
  "dockerComposeFile": "docker-compose.yml",
  "service": "app",
  "workspaceFolder": "/workspace"
}
In this setup, the service property specifies which container in the Compose file your editor should connect to, while the remaining services (databases, caches, APIs) run alongside it.

Discover how at OpenReplay.com.
Environment Variables: containerEnv vs. remoteEnv
This distinction matters and causes confusion. containerEnv sets variables when the container starts—they’re available to all processes. remoteEnv sets variables only for processes your editor spawns. Use containerEnv for variables your build tools need and remoteEnv for editor-specific settings.
{
  "containerEnv": {
    "NODE_ENV": "development",
    "API_URL": "http://localhost:4000"
  },
  "remoteEnv": {
    "EDITOR_THEME": "dark"
  }
}
Similarly, containerUser determines who owns processes in the container, while remoteUser controls which user your editor connects as. Getting these wrong causes permission errors that frustrate developers. In most cases, setting remoteUser to "node" (for Node-based images) avoids root-ownership issues with generated files.
What Dev Containers Won’t Guarantee
Extension installation and workspace settings aren’t perfectly reproducible across rebuilds. Extensions update, and some settings depend on local state. Configurations baked into images can also change when you rebuild with updated base images.
Accept that Dev Containers provide consistency, not immutability. Pin your image versions (for example, use a specific SHA digest or dated tag rather than latest) and test your configuration periodically.
Tradeoffs Worth Considering
Dev Containers add startup time—containers must build or pull before you can work. They consume disk space for images. And your team needs basic familiarity with Docker concepts, even if they never write Dockerfiles.
For teams where onboarding takes days and environment drift causes regular problems, these costs are trivial. For solo developers on simple projects, they might not be worth it.
Emerging Workflows to Watch
Teams are increasingly integrating AI coding assistants and agent-style services through Dev Container configuration. The container becomes not just your development environment but the environment where automated tools operate on your code. This pattern is evolving quickly, but the foundation—defining your environment as code—remains stable.
Getting Started
VS Code offers the smoothest Dev Container experience. Install Docker Desktop, add the Dev Containers extension, and run Dev Containers: Add Dev Container Configuration Files from the command palette. Pick a template matching your stack, and you’re running in a container within minutes.
Other editors also support Dev Containers. JetBrains IDEs (such as IntelliJ and WebStorm) offer built-in Dev Container support, and the open-source Dev Container CLI lets you use Dev Containers from any terminal or CI pipeline.
Conclusion
The investment in setting up a Dev Container pays off the first time a new teammate starts contributing on day one instead of day three. By defining your development environment as code in a single devcontainer.json file, you replace fragile setup documentation with a reproducible, shareable configuration. The tradeoffs—startup time, disk space, and a basic understanding of containers—are modest compared to the hours lost debugging environment drift. Start with a pre-built image, add the extensions your team relies on, and iterate from there.
FAQs
No. For most frontend projects, you only need Docker Desktop installed and running. The devcontainer.json file handles configuration, and pre-built images from Microsoft eliminate the need to write Dockerfiles. Basic awareness of what containers are helps with troubleshooting, but deep Docker expertise is not required to get started.
Yes. JetBrains IDEs like IntelliJ and WebStorm have built-in Dev Container support. There is also an open-source Dev Container CLI that lets you build and run Dev Containers from any terminal, making them usable in CI pipelines or with other editors that support remote development workflows.
You may notice slightly slower file system operations, especially on macOS and Windows, because files are shared between the host and the container. Using named volumes or storing your project inside the container file system can reduce this overhead. CPU and memory performance is generally comparable to native development.
Yes. Dev Containers support Docker Compose, which lets you define multi-container environments. Your editor connects to one container while databases, API servers, and caches run in separate containers alongside it. All services start together when you open the project.
Understand every bug
Uncover frustrations, understand bugs and fix slowdowns like never before with OpenReplay — the open-source session replay tool for developers. Self-host it in minutes, and have complete control over your customer data. Check our GitHub repo and join the thousands of developers in our community.