Fetching data in Redux using RTK Query
Fetch and cache data easily, using RTK Query together with Redux.


Along with using Redux for state management, you can now also fetch and cached data with ease without using React Query, SWR, or any other library by using RTK Query: a powerful data fetching and caching tool included in the Redux Toolkit package.
In this article, we will learn about RTK Query and how to use it for data fetching in React. For this, we will build a task manager app using data from a JSON server. The code for this article is available on GitHub. To follow this tutorial, you should be familiar with React and Redux Toolkit and have Node.js installed on your machine.
Introduction to RTK Query
RTK Query is a powerful data fetching and caching tool. It is designed to simplify common cases for loading data in a web application, eliminating the need to hand-write data fetching and caching logic yourself. With RTK Query and a few lines of code, we can start working with fetched and cached data from our server through auto-generated React hooks. RTK Query is included within the installation of the Redux Toolkit package and has the following API:
-
createApi(): This is the main source of RTK functionality. it is where we create the endpoint for communicating with the server. It also includes configurations of how to fetch and transform fetched data. -
fetchBaseQuery(): A small wrapper around the[fetch](https://developer.mozilla.org/en-US/docs/Web/API/Fetch_API)API that aims to simplify requests. -
<ApiProvider />: This can be used as aProviderif you do not already have a Redux store. Note: Using this together with an existing Redux store will cause them to conflict with each other. -
setupListeners(): A utility used to enablerefetchOnMountandrefetchOnReconnectbehaviours.
Now that we know what RTK Query is, let’s learn how to use it to carry out CRUD operations on a JSON server by building a task manager app.
Setting up React
I have already created a starter repo where I built a task manager template, included the JSON data, and set up the JSON server we will use in this article so we can solely focus on how to use RTK Query. The next step is to clone the GitHub repo. We can do that with the following commands:
$ git clone -b starter https://github.com/fasasitope123/rtk-query-tut.git
$ cd rtk-query-tut
$ npm install
I have included the dependencies that we will use in the package.json file in the starter repo. They are @reduxjs/toolkit, react-redux, json-server. They will all be installed by running the npm install command.
Now, we can start the app and the JSON server with the following commands:
$ npm start
// use the following command to start up the JSON server from a different terminal
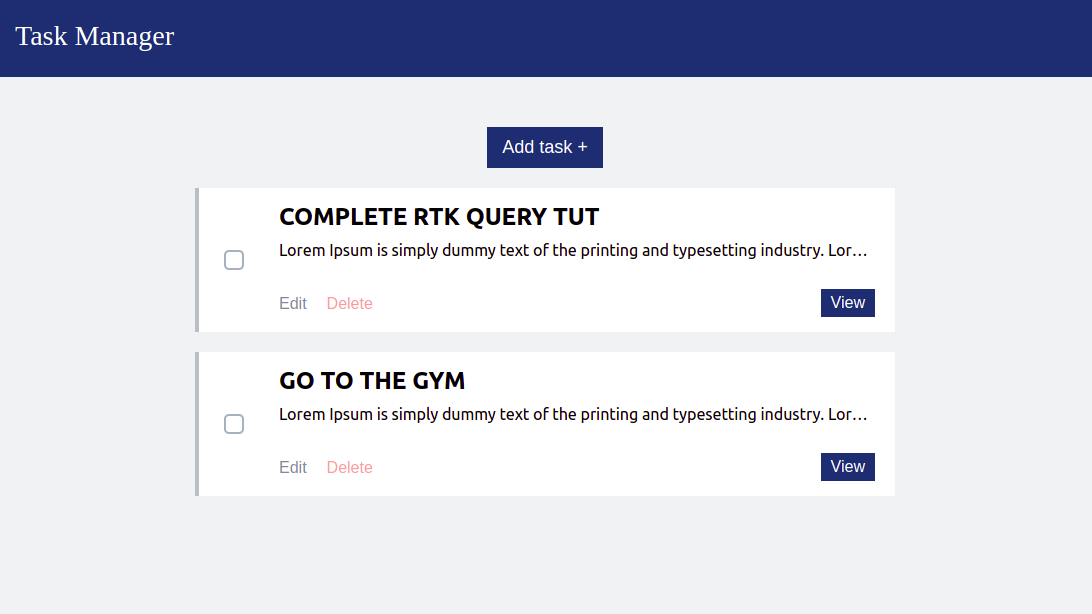
$ npm run serverWith this, we can access the React app with this URL http://localhost:3000/. it will look like this:
We can also access the resources on the JSON server with http://localhost:5000/tasks. Here is what the resources will look like:
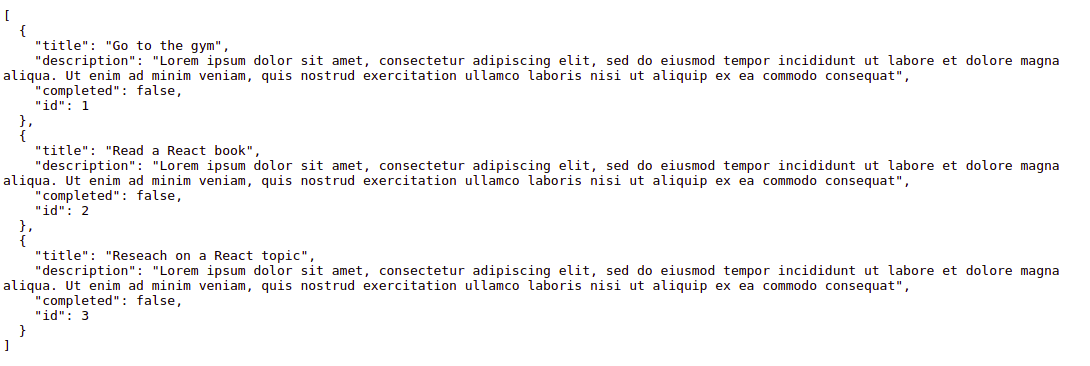
This is what we will be working with in this tutorial.
Open Source Session Replay
OpenReplay is an open-source, session replay suite that lets you see what users do on your web app, helping you troubleshoot issues faster. OpenReplay is self-hosted for full control over your data.

Start enjoying your debugging experience - start using OpenReplay for free.
Performing CRUD operations with RTK Query
We will use the createApi and fetchBaseQuery APIs to set up the service, both included by RTK Query in the Redux toolkit. To access these APIs, we can use the following entry points:
import {
  createApi,
  fetchBaseQuery
} from "@reduxjs/toolkit/query";

/* React-specific entry point that automatically generates
       hooks corresponding to the defined endpoints */
import {
  createApi,
  fetchBaseQuery
} from "@reduxjs/toolkit/query/react";
We will use the second entry point, knowing that it will automatically generate hooks, making things easier.
In the src directory, create a services folder, create a taskApi.js file in that folder and add the following lines of code to it.
// src/services/taskApi.js
import {
  createApi,
  fetchBaseQuery
} from "@reduxjs/toolkit/query/react";

export const taskApi = createApi({
  reducerPath: "tasksApi",
  baseQuery: fetchBaseQuery({
    baseUrl: "http://localhost:5000/"
  }),
  endpoints: (builder) => ({})
});
In the above code, we created a taskApi service/Api slice using the createApi function. We have passed a configuration object parameter with the following options:
-
reducerPath: This is a unique key that defines where the Redux store will store the cache. -
baseQuery: The base query used by each endpoint to request data. Here as its value, we passedfetchBaseQuery, which allows us to build a query by just providing the base URL. -
endpoints: The set of operations that we want to perform against the server.
Right now, we haven’t defined any endpoints yet. Before we do that, let us know about the two endpoints available in RTK Query:
-
Query endpoints: They are endpoints for requests that retrieve data. Meaning for reading data from the server, we use queries.
-
Mutation endpoints: As opposed to queries, mutations endpoints are used for creating, updating, and deleting data.
Now, let’s create the endpoints for carrying out CRUD operations. In the taskApi.js file, modify the endpoints property to look like this:
// src/services/taskApi.js
endpoints: (builder) => ({
  tasks: builder.query({
    query: () => "/tasks"
  }),
  addTask: builder.mutation({
    query: (task) => ({
      url: "/tasks",
      method: "POST",
      body: task
    })
  }),
  updateTask: builder.mutation({
    query: ({ id, ...rest }) => ({
      url: `/tasks/${id}`,
      method: "PUT",
      body: rest
    })
  }),
  deleteTask: builder.mutation({
    query: (id) => ({
      url: `/tasks/${id}`,
      method: "DELETE"
    })
  })
});
In the above code, we have created four endpoints for reading, adding, updating, and deleting data from the db.json file:
-
tasks: This is a query endpoint, responsible for getting all the tasks in thedb.jsonfile. The URL for this endpoint will be constructed by joining the base URL with “/tasks”. -
addTask: This is a mutation endpoint. As the name implies, it adds new tasks to our JSON data. This endpoint receivestaskas an argument which will be the data to be added. It then attaches thetaskdata received to the body of the POST request sent to the server. -
updateTask: A mutation endpoint for updating a task. -
deleteTask: A mutation endpoint for deleting a task.
Now that we have defined the endpoints, React hooks to access them will be automatically generated. The names of hooks generated all take the form use<endpoint name><endpoint type> in camelCase. For tasks, the hooks’ name will be useTasksQuery; for addTask, it will be useAddTaskMutation, and so on. You can view all the hooks generated by logging taskApi in the browser console with console.log(taskApi). Let’s export the hooks so that we can use it in our components. Add the following lines of code at the bottom of the taskApi.js file:
// src/services/taskApi.js
export const {
  useTasksQuery,
  useAddTaskMutation,
  useUpdateTaskMutation,
  useDeleteTaskMutation
} = taskApi;
Configure the Store
When the data have been fetched from our server, RTK Query will store the data in the Redux store as a cache, but for that to happen, we need to first configure the store. We need to add the Redux slice reducer and a custom middleware that was auto-generated when creating the API slice to the Redux store. In the src directory, create a store.js file and add the following lines of code:
// src/store.js
import { configureStore } from "@reduxjs/toolkit";
import { taskApi } from "./services/taskApi";

export const store = configureStore({
  reducer: {
    [taskApi.reducerPath]: taskApi.reducer
  },
  middleware: (getDefaultMiddleware) =>
    getDefaultMiddleware().concat(taskApi.middleware)
});
Before we can start working with our endpoints, the next thing to do is wrap a Provider around our app. Go over to the index.js file first and add the following imports:
import { Provider } from "react-redux";
import { store } from "./store";
Next, modify ReactDom.render function call to look like this:
ReactDOM.render(
  <Provider store={store}>
    <React.StrictMode>
      <App />
    </React.StrictMode>
  </Provider>,
  document.getElementById("root")
);
With this, we have completed all the required setup. It is time we start working with our endpoints using the generated hooks.
Get all tasks
First, go over to the TaskManager.js file and add the following import:
// src/App.js
import { useTasksQuery } from "./services/taskApi";
Next, call the useTasksQuery in the TaskManger component after openAddModal state the like this:
// src/TaskManager.js
...
const [openAddModal, ...
const { data, error, isLoading, isSuccess } = useTasksQuery();
...
When a query hook is called, it returns an object containing properties such as the latest data for the query request and status booleans for the current request lifecycle state like isLoading, isFetching, etc. You can view others here.
In the above code, we are destructing {data, error, isLoading, isSuccess} from the object returned from the useTasksQuery hooks. Replace the hard-coded tasks under the comment with the following code:
// src/TaskManager.js
<div className='isErrorIsLoading'>
{error && <p>An error occured</p>}
{isLoading && <p>Loading...</p>}
</div>
{isSuccess && (
<>
{data.map((task) => (
<Task
id={task.id}
key={task.id}
completed={task.completed}
title={task.title}
description={task.description}
/>
))}
</>
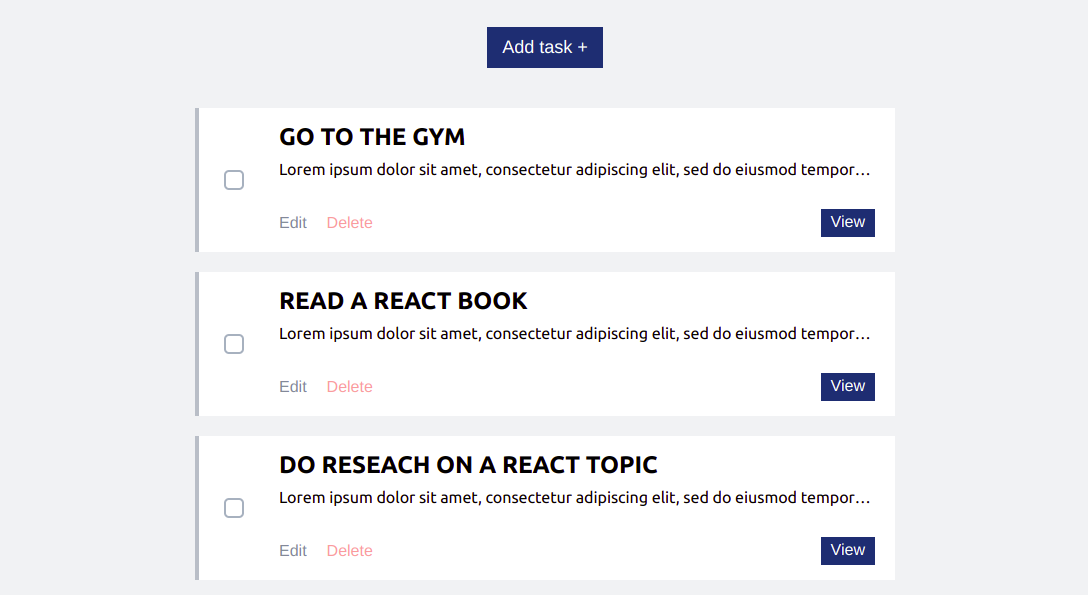
)}In the code above, we use the values from the query hook to display error, loading message, or the task data based on whether the values are true or false. Now, when we open the app in our browser, we will see a page like the one below displaying all the tasks in the JSON data:
Add a task
To add a task, we need to pass a task object containing a name, description, completed value, and unique id to the addTask mutation endpoint we created earlier. To do that, go over the to AddTask.js file and first add the following import:
// src/AddTask.js
import { useAddTaskMutation } from "./services/taskApi";
Next, call the useAddTaskMutation hook in AddTask component after the description state:
// src/AddTask.js
...
const [description, ...
const [addTask, result] = useAddTaskMutation();
...
Unlike query hooks, which return an object, mutation hooks return a tuple. The first item in the tuple is the “trigger” function, which we will use to fire off the mutation request for that endpoint. The second item in the tuple contains an object with status, error, and data. Next, we need to call the addTask trigger function and pass it the task we want to add as a parameter when the addTask form is submitted. Add the following lines of code below:
// src/AddTask.js
const handleAddTask = async (e) => {
  e.preventDefault();
  const task = {
    title,
    description,
    completed: false,
    id: Math.random()
  };
  await addTask(task);
  onClose();
};
Now modify the opening tag of the form to look like this:
// src/AddTask.js
<form className='addTask' name='addTask' onSubmit={handleAddTask}>
When we go over to our app in the browser and add a new task by clicking on the Add task + button, filling and submitting the form, a new task will be added to our JSON data. However, the UI won’t be updated with the new task unless we refresh the page. That’s because the useTaskQuery() query hook did not refetch the data.
To refetch data after a mutation, we can call the [refetch](https://redux-toolkit.js.org/rtk-query/usage/cache-behavior#re-fetching-on-demand-with-refetchinitiate) function, which is one of the properties present in the object returned by a query hook. Otherwise, we can use the cache tag system to automate refetching. For this article, the most efficient way is to use the cache tag system so that we won’t have to call the refetch function whenever data is affected by a mutation endpoint.
So how does the cache tag system work? For the cache tag system, when a mutation hook is triggered, caches from queries will be invalidated, which will cause an auto refetching and updating of the caches. An array of tag type names are first declared in createApi using the tagTypes property. The tag names are provided to caches using the providesTags property for the query endpoint and then can be invalidated using the invalidatesTags property for a mutation endpoint. You can read more on the cache tag system here.
Let’s update our code so that we can start seeing the mutated data any time we trigger a mutation hook. Go over to the taskApi.js file and modify createApi to look like this:
// src/taskApi.js
createApi({
  reducerPath: "tasksApi",
  baseQuery: fetchBaseQuery({
    baseUrl: "http://localhost:5000/"
  }),
  tagTypes: ["Task"],
  endpoints: (builder) => ({
    tasks: builder.query({
      query: () => "/tasks",
      providesTags: ["Task"]
    }),
    addTask: builder.mutation({
      query: (task) => ({
        url: "/tasks",
        method: "POST",
        body: task
      }),
      invalidatesTags: ["Task"]
    }),
    updateTask: builder.mutation({
      query: ({ id, ...rest }) => ({
        url: `/tasks/${id}`,
        method: "PUT",
        body: rest
      }),
      invalidatesTags: ["Task"]
    }),
    deleteTask: builder.mutation({
      query: (id) => ({
        url: `/tasks/${id}`,
        method: "DELETE"
      }),
      invalidatesTags: ["Task"]
    })
  })
});
We added a tag name called Task, which we provided to the cache in the query endpoint using providesTags and used it in the mutation endpoints invalidatesTags. With this, any time we trigger mutation hooks for adding, updating, or deleting data, our UI will be updated with mutated data.
Updating tasks
To update a task, in the EditTask.js file first add the following import:
// src/EditTask.js
import { useUpdateTaskMutation } from "./services/taskApi";
Next call the useUpdateTaskMutation hook after the description state like this:
// src/EditTask.js
...
const [description ...
const [updateTask] = useUpdateTaskMutation();
...
We have destructured the updateTask trigger function from the hook in the above code. Next, let’s call it when the editTask form is submitted, passing the task to be edited as a parameter to it. Add the following lines of code after the useUpdateTaskMutation hook:
// src/EditTask.js
const handleUpdateTask = (e) => {
  e.preventDefault();
  const task = {
    title,
    description,
    completed: false,
    id
  };
  updateTask(task);
  onClose();
};
Now, modify the opening tag of the form to look like this:
// src/EditTask.js
<form className='editTask' name='updateTask' onSubmit={handleUpdateTask}>
With this, we can now be able to update the tasks. To try it out, go to the app in our browser and click on edit on the task you want to update. We should see a form like this:
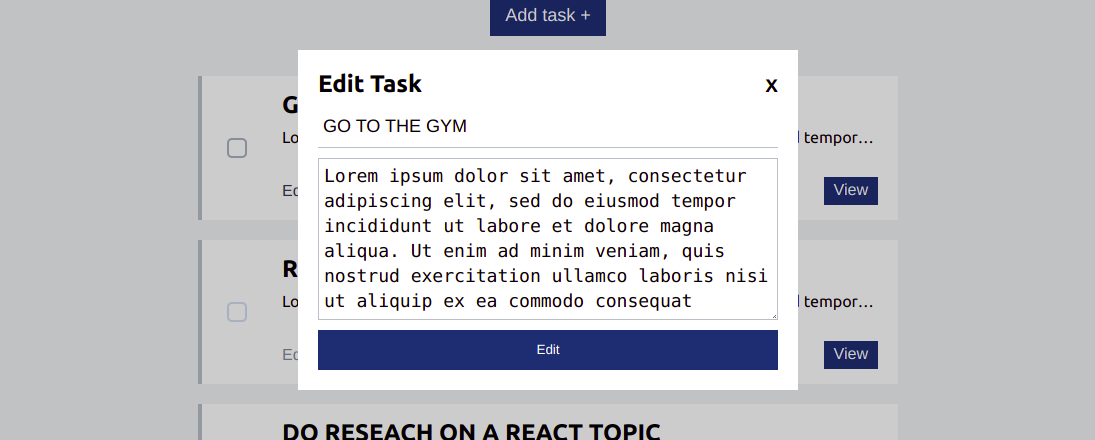
Make the intended changes to the task and click on the Edit button, and the UI will be updated with the edited task if the request is successful.
Another update we need to make is to change the completed property value of a task to be either true or false based on the state of the checkbox. This process is similar to the task update we did above; the only difference is the change in the complete property value. In the Task.js file add the following import:
// src/Task.js
import {useUpdateTaskMutation} from './services/taskApi';
Next, call the above hook after the useDeleteTaskMutation hook like this:
// src/Task.js
const [deleteTask...
const [updateTask] = useUpdateTaskMutation();
Next, add the following function which will be responsible for updating the checkbox state after the handleDeleteTask function:
// src/Task.js
const handleUpdateTask = (e) => {
  e.preventDefault();
  const task = {
    title,
    description,
    completed: checked,
    id
  };
  updateTask(task);
};
Now what we need to call it each time the checkbox is changes using an onChange event. Modify the checkbox input to look like this:
// src/Task.js
<input
  id={`checkbox-${id}`}
  className="checkbox-custom"
  name="checkbox"
  checked={checked}
  onChange={handleUpdateTask}
  type="checkbox"
/>;
With this, even after refreshing the browser, the checkbox will stay checked or unchecked when we change it.
Delete tasks
To delete a task, in the Task.js file first add the following import:
// src/Task.js
import {useDeleteTaskMutation} from './services/taskApi';
Next call the useDeleteTaskMutation hook after the open state like this:
// src/Task.js
...
const [open...
const [deleteTask] = useDeleteTaskMutation();
...
Next, let’s call the deleteTask trigger function when the delete button is clicked passing it the id of the task to be deleted. Add the following line of code after the handleClose function:
// src/Task.js
const handleDeleteTask = (e) => {
  e.preventDefault();
  deleteTask(id);
  handleClose();
};
Scroll to the bottom of the Task.js page and modify the delete button to look like this:
// src/Task.js
<button className='task__deleteButton' onClick={handleDeleteTask}>Delete</button>
When we go over to our app in the browser and click on the delete button on the task we want to remove, it will be deleted if the request is successful, and the UI will be updated.
Conclusion
Typically, even with a basic example like the one above (where we are carrying out CRUD operations on a JSON server, displaying the fetched data in the UI based on the state of the request, and caching the data in the state) we would have written a lot more code without using RTK Query. So not only does RTK Query use an API that is easy to grasp, but it also drastically reduces the amount of code written.