Authentication is a process where a user must prove their identity in an application to access a specific resource. Basically, a user tries to log in with a username and password using the client. The server then looks at the submitted username and password against the already stored information in the database. It tries to match these details and see if the user is who the user says they are.
Password and username is one of the commonly used methods of user authentication. This guide will teach you how to implement authentication using Flutter. To comfortably implement this authentication, we will use Strapi as the server for this application.
Strapi CMS provides authentication right out of the box. It provides you with a built-in role-based access control for authentication operations. Strapi then generates endpoints that you can use to implement authentication using any front end of your choice. In this article, we will build a Flutter authentication application with Strapi. Catch the complete code on GitHub.
Setting up Strapi CMS
Let’s dive in and create an Authentication server on your local computer. Strapi allows you to scaffold a startup server that you can use to build up and create your expected API data. We can have Strapi CMS ready on a local computer with just one command. On where you want the Strapi server to live, run the following command:
npx create-strapi-app@latest strapi-authThe above command will create a new folder, create strapi-auth containing all the dependencies Strapi CMS needs. To test if the bootstrapped application works as expected, proceed to the newly created directory:
cd strapi-authStart the development environment:
npm run developYou will be directed to an authentication page to log in or sign up. If it is your first time, consider signing up; else, log in.
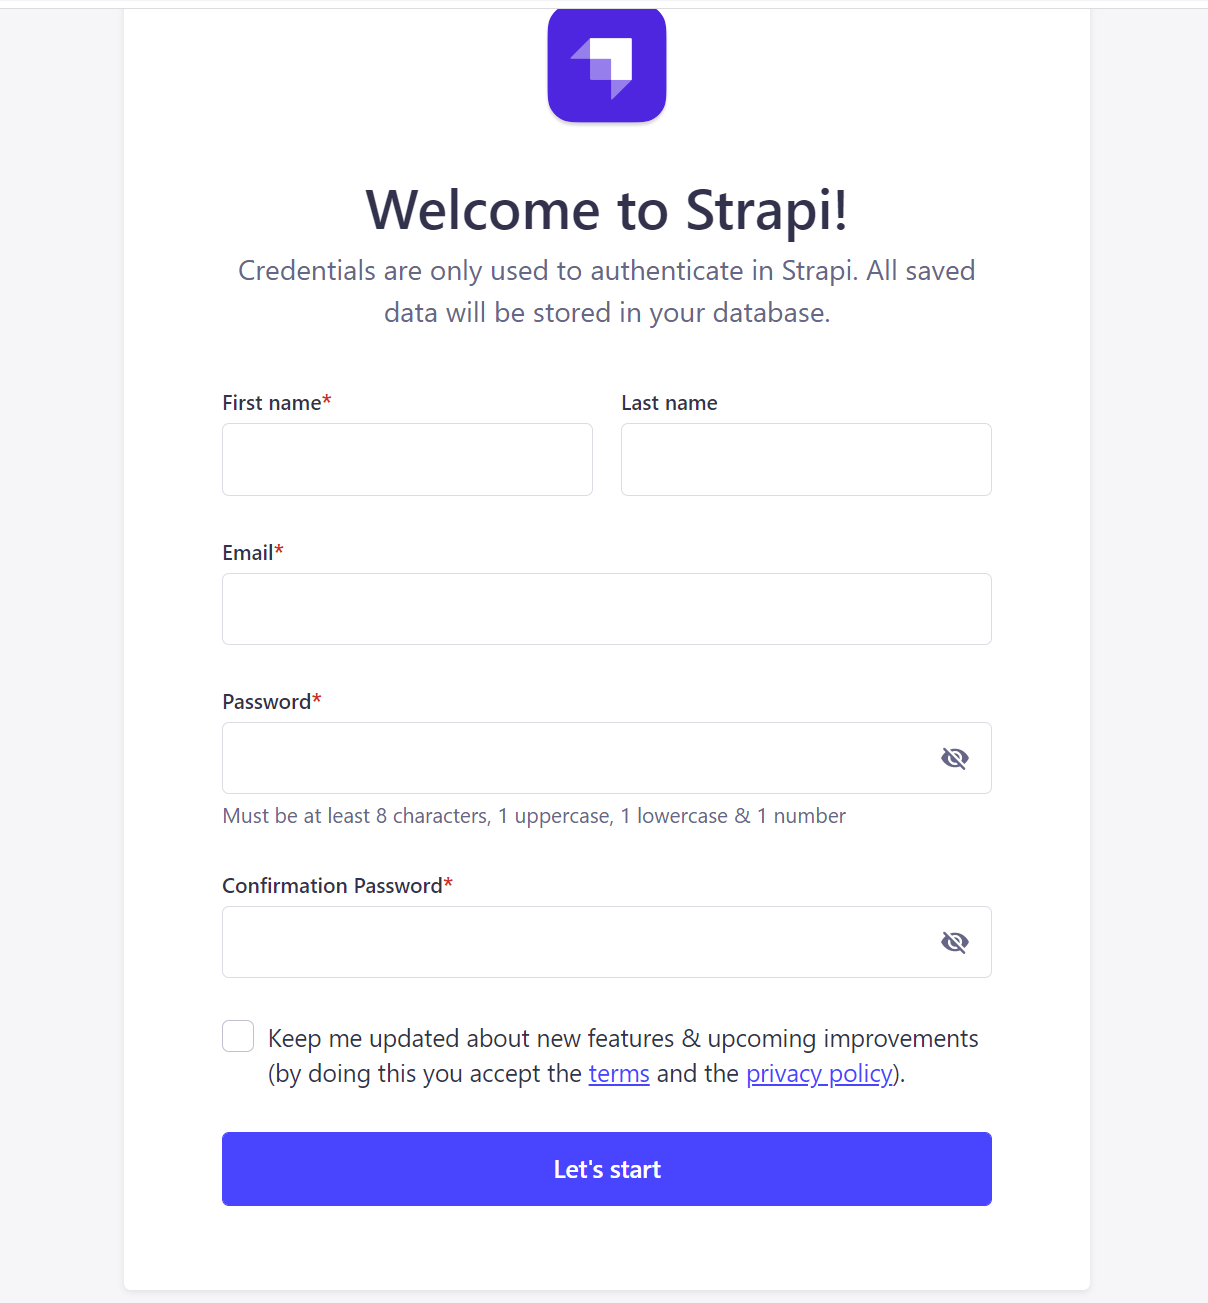
Note: After Installation, Strapi may automatically direct you to the authentication dashboard on your browser. If this doesn’t happen, you can run the above commands.
Configuring the user content type
This project will involve authentication users using Strapi and Flutter. From your Strapi dashboard Page:
- Click on the Content Type Builder link from the left pane.
- On the directed page, you can be able to see all the added fields for a user as follows:
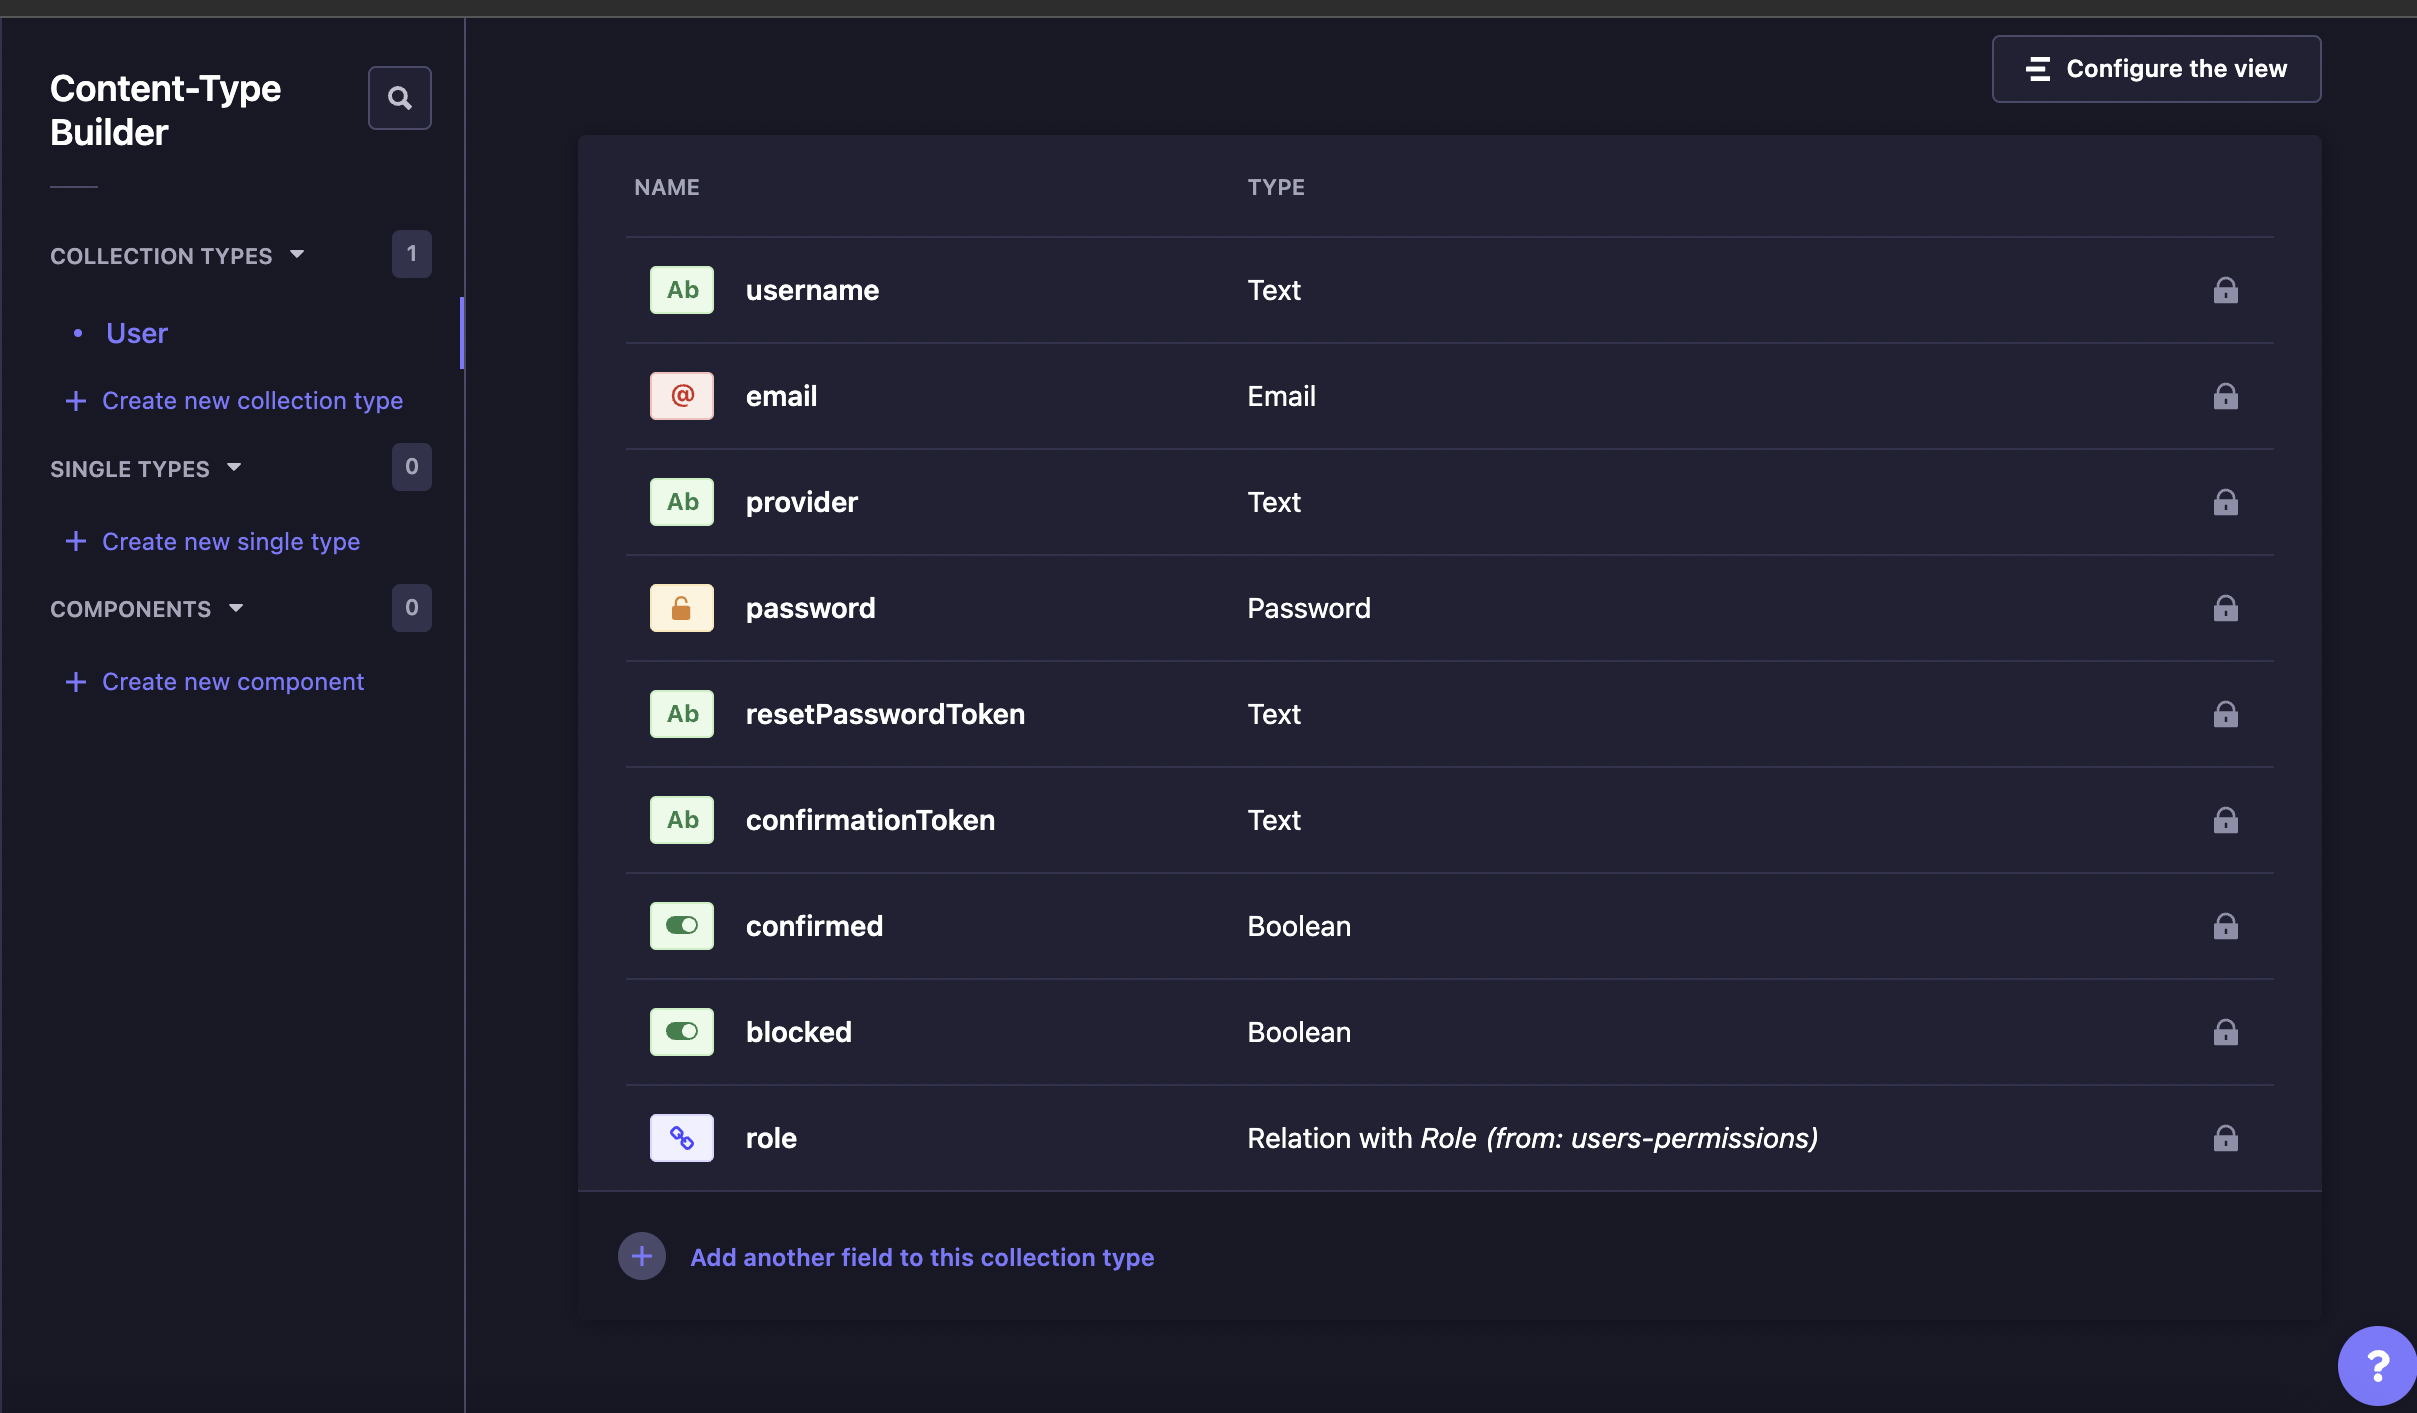 For this article, the listed fields are sufficient, but if you need more user fields, feel free to add them by just clicking the plus button to Add another field to this collection type.
To access Strapi content from outside, we need an API token that will allow you to access the above content securely. To do:
- Navigate to the left pane, and select the Settings section.
- On the resulting menu, check your left pane and click on API Tokens.
- On the resulting page, click the Create new API Token button.
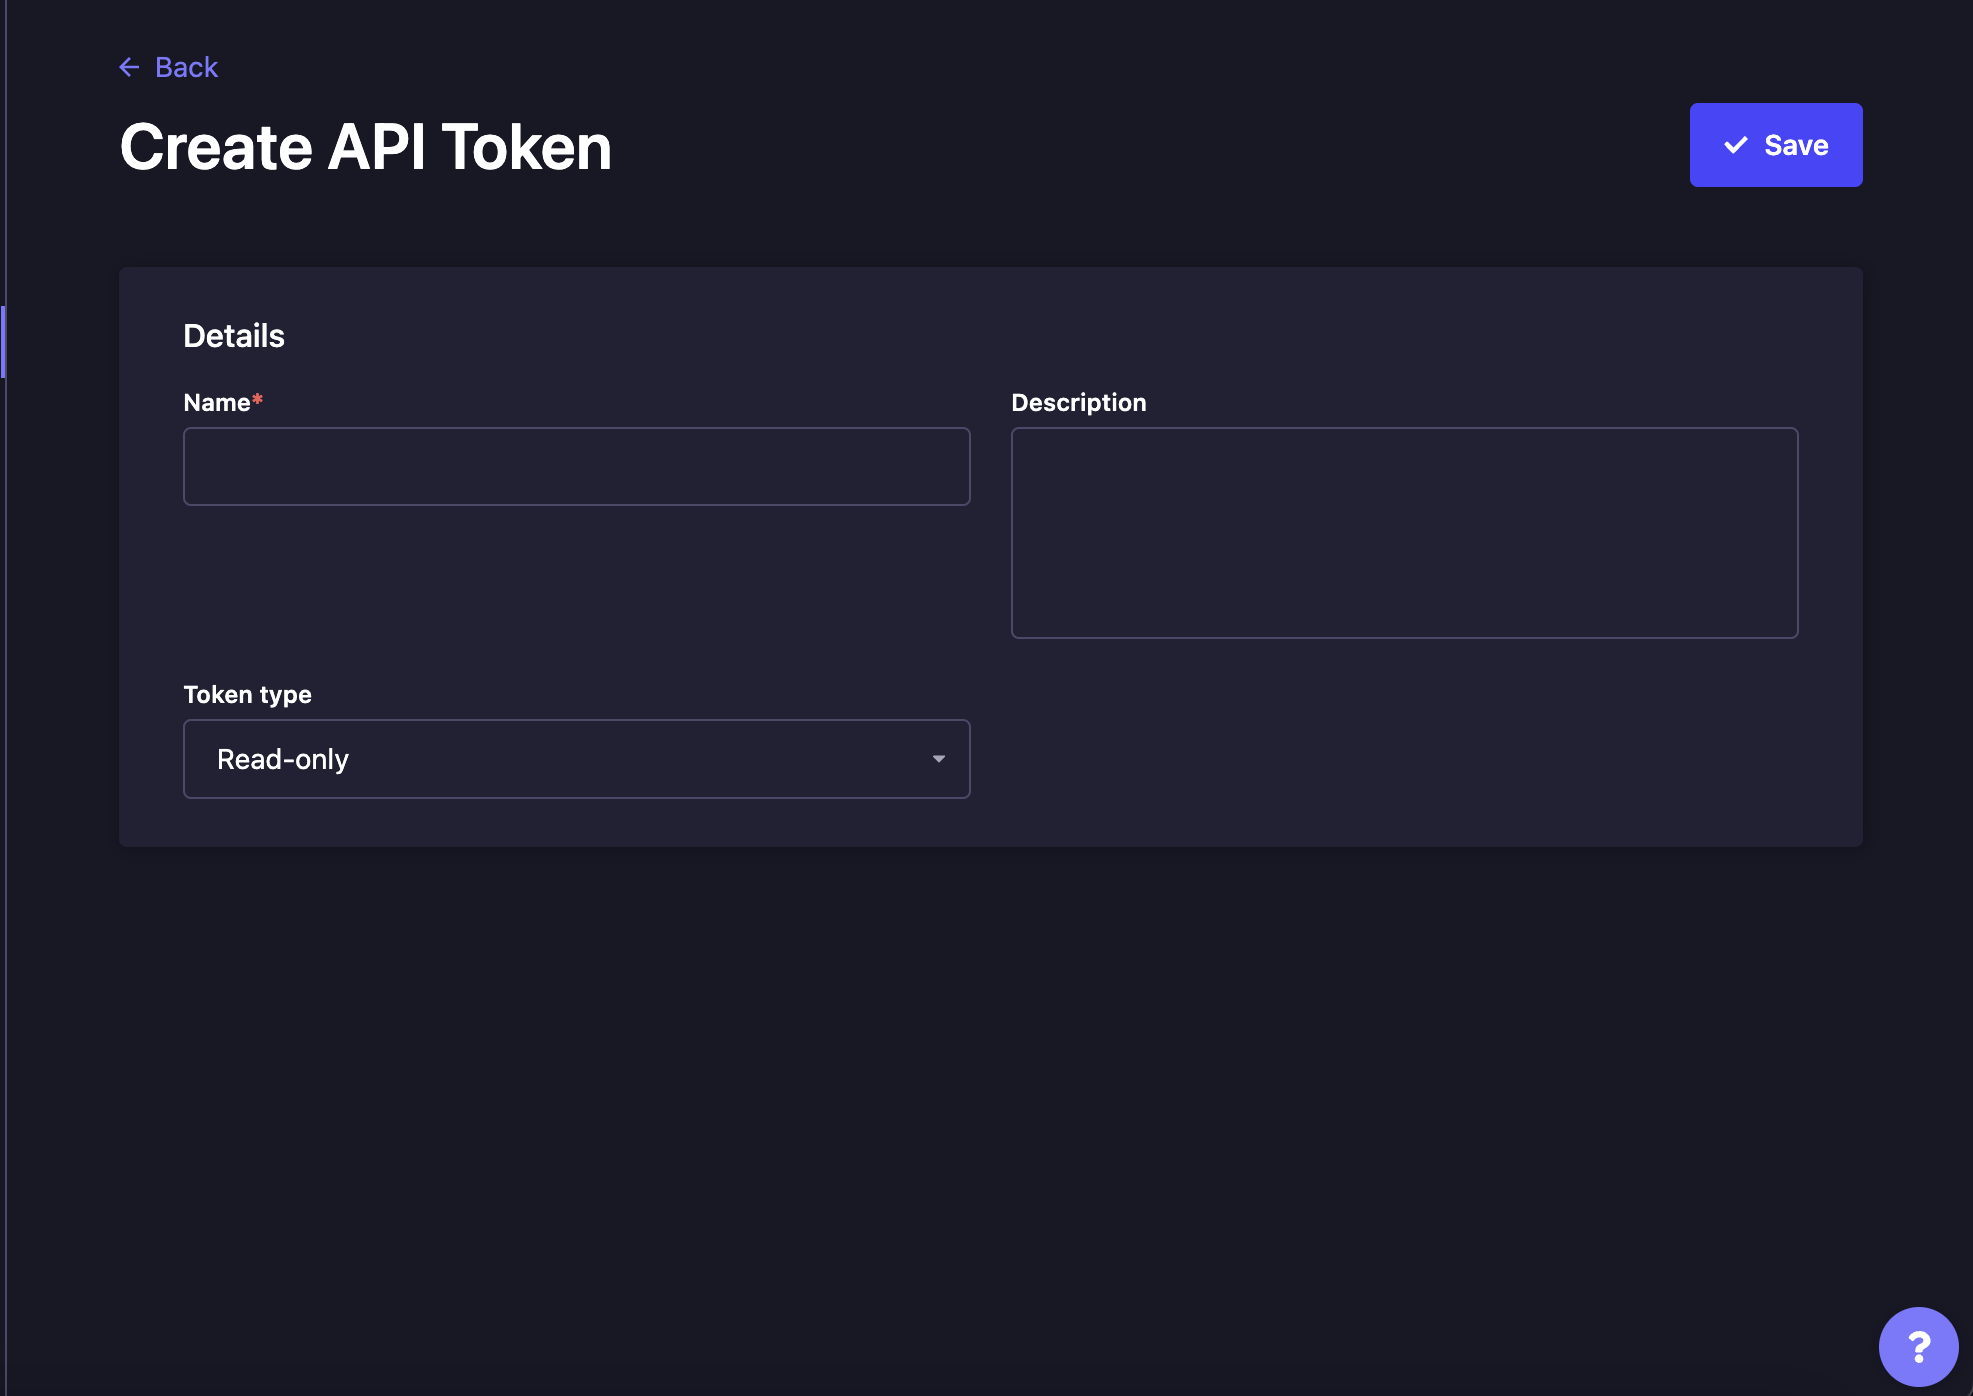
- From the provided form, enter the Name, Description, and Token type. For the token type, ensure you select Full access.
The API Token will be generated and ready to copy. Make sure to copy the generated token right away and save it. Once you navigate off the generate token panel, you won’t be able to reaccess the token for this application.
Our backend is correctly set up. Let’s dive in and create the Flutter application.
Connecting Flutter with Strapi
We will use the following command to create a Flutter app.
flutter create flutter_auth_projectTo test if Flutter is working correctly, navigate to the newly created Flutter project cd flutter_auth_project, then run:
flutter runThis will serve you a basic Flutter application based on your testing environments, such as using a mobile device or a web browser.
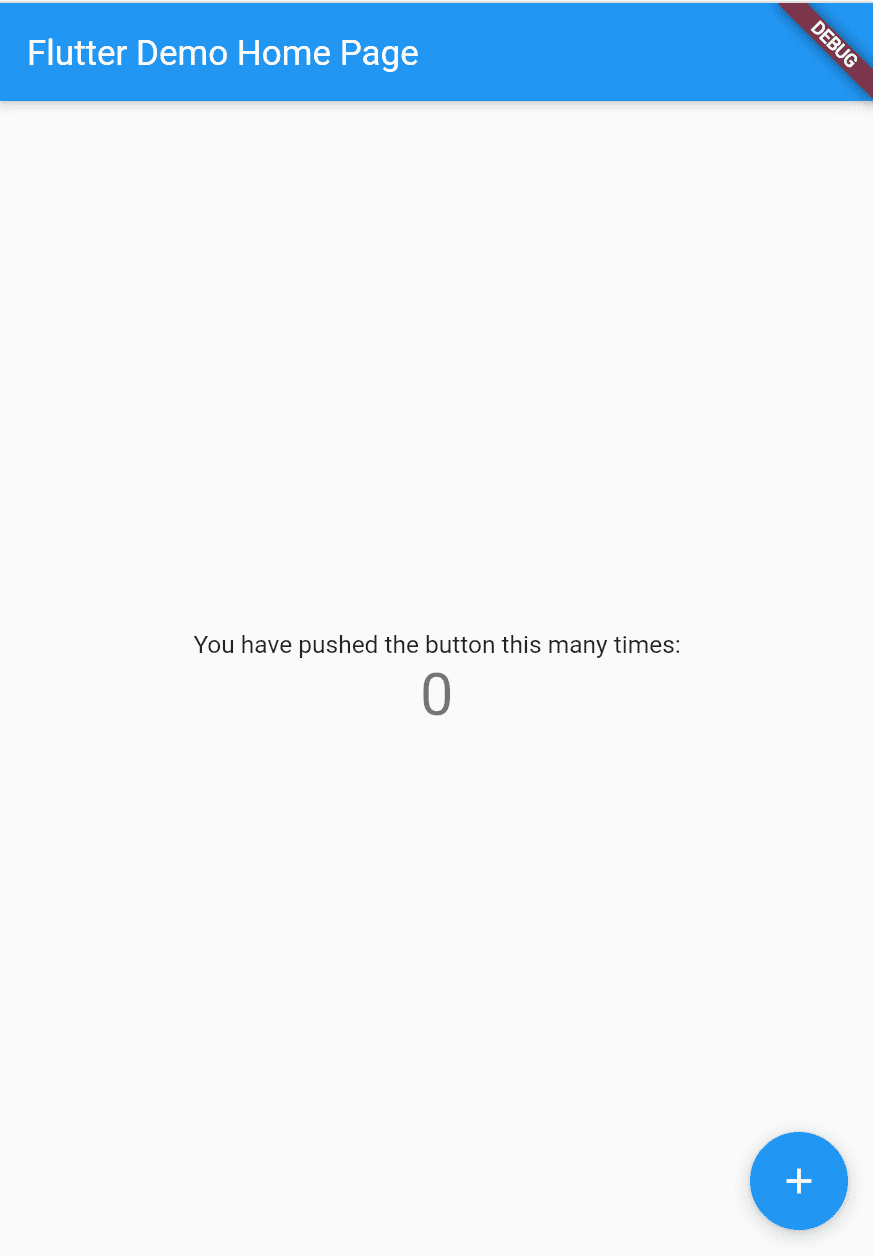
Awesome! Flutter is ready to get connected with Strapi.
To consume the Strapi backend, we will use the HTTP package for making HTTP requests. To install it, run the following command:
flutter pub add httpThere are different things that allow Flutter to get connected to the Strapi server. This includes the server endpoints and the Strapi API access token. Using this parameter, we can locally access Strapi and perform any server-side operation while using Flutter as the client.
We will manage these constant values using a .env file. First, install the Flutter Dotenv library to your application using the following command:
flutter pub add flutter_dotenvAt the root directory of the Flutter project, add a .env file and add your Strapi constants as follows:
baseUrl=http://localhost:1337/api
usersEndpoint=/users
accesToken=your_access_token
Make sure you replace your access token from the Strapi dashboard, as we had generated from the previous step.
To use these constant variables, navigate to your project’s pubspec.yaml file and include a .env assets bundle as follows:
flutter:
  assets:
  - .env
You are progressing well. Let’s dive in and create the Flutter authentication implementation.
Creating User Model
To interact with the user details, you need to model the user details. Navigate to the lib/models and create a user.dart. Then create a user model as follows:
import' dart:convert';

// getting a list of users from json
List<User> UserFromJson(String str) =>
   List<User>.from(json.decode(str).map((x) => User.fromJson(x)));
// getting a single user from json
User singleUserFromJson(String str) => User.fromJson(json.decode(str));

// user class
class User {
  User({
   required this.id,
   required this.username,
   required this.email,
   required this.provider,
   required this.confirmed,
   required this.blocked,
   required this.createdAt,
   required this.updatedAt,
  });

  int id;
  String username;
  String email;
  String provider;
  bool confirmed;
  bool blocked;
  DateTime createdAt;
  DateTime updatedAt;

  factory User.fromJson(Map<String, dynamic> json) => User(
     id: json["id"],
     username: json["username"],
     email: json["email"],
     provider: json["provider"],
     confirmed: json["confirmed"],
     blocked: json["blocked"],
     createdAt: DateTime.parse(json["createdAt"]),
     updatedAt: DateTime.parse(json["updatedAt"]),
    );
}
Set up the Flutter Server
To execute the above user and model, Flutter needs to get each one on them and process them using Strapi. Therefore, using the Flutter HTTP package for server management, execute these models based on the API endpoints and adds the Strapi Authorization headers. Create a server.dart file in the lib/utils directory as follow:
import 'dart:convert';
import' dart:developer';
import 'package:http/http.dart' as http;
import 'package:flutter_dotenv/flutter_dotenv.dart';
import 'package:flutter_auth_project/models/user.dart';

class ApiService {
  // Getting users
  Future<List<User>?> getUsers() async {
    try {
      var url = Uri.parse(dotenv.get('baseUrl') + dotenv.get('usersEndpoint'));
      var response = await http.get(url,
          headers: {"Authorization": "Bearer ${dotenv.get('accesToken')}"});
      if (response.statusCode == 200) {
        List<User> _model = UserFromJson(response.body);
        return _model;
      } else {
        String error = jsonDecode(response.body)['error']['message'];
        throw Exception(error);
      }
    } catch (e) {
      log(e.toString());
    }
  }

  // Adding user
  Future<User?> addUser(String email, String username, String password) async {
    try {
      var url = Uri.parse(dotenv.get('baseUrl') + dotenv.get('usersEndpoint'));
      var response = await http.post(url,
          headers: {"Authorization": "Bearer ${dotenv.get('accesToken')}"},
          body: {"email": email, "username": username, "password": password});

      if (response.statusCode == 201) {
        User _model = singleUserFromJson(response.body);
        return _model;
      } else {
        String error = jsonDecode(response.body)['error']['message'];
        throw Exception(error);
      }
    } catch (e) {
      throw Exception(e);
    }
  }
}
Authenticating Users: User Registration
Users must set and fill in their data while creating/registering an account. Let’s dive in and create a form for submitting the authentication data. This will use Material components to build any frontend components easily.
Navigate to the lib/screens directory, and create a signup_screen.dart file. Then add the following code to this file: Add the needed dependencies and modules:
import 'package:flutter/material.dart';
import 'package:flutter_auth_project/screens/login_screen.dart';
import 'package:flutter_auth_project/models/user.dart';
import 'package:flutter_auth_project/utils/server.dart';
import 'package:flutter_auth_project/screens/dashboard_screen.dart';
Here, you require the Material library to create the form elements. The user models to get what details the user needs to submit. And the server executes the user endpoint.
Also Note: These imports include two screens:
- A dashboard_screen
- A login_screen
We will create them later in this guide.
Create a Stateful Signup Widget as follows:
class Signup extends StatefulWidget {
  static const namedRoute = "signup-screen";
  const Signup({Key? key}) : super(key: key);
}
Inside Signup, create a state for user registration details as follows:
@override
  State<Signup> createState() => _SignupState();
Implement the states using _SignupState as follows:
class _SignupState extends State<Signup> {
  String _username = "";
  String _email = "";
  String _password = "";
  String _error = "";

  void _signup() async {
   try {
    User? createduser =
      await ApiService().addUser(_email, _username, _password);
    if (createduser != null) {
     // navigate to the dashboard.
     Navigator.pushNamed(context, Dashboard.namedRoute);
    }
   } on Exception catch (e) {
    setState(() {
     _error = e.toString().substring(11);
    });
   }
  }
}
From the above:
-
Using the async function executes an
addUser()method from the server. This will execute the user endpoint using the POST HTTP method to send a request body with user information. These are username, password, and email. -
If the values are valid and an account is created, the user is directed to the dashboard screen; else, an error is shown.
Let’s now create a form to submit these details to the Strapi server. Inside the’_SignupState` class, add your Widget that’s created the user signup screen as follows:
@override
Widget build(BuildContext context) {
  return Scaffold(
    appBar: AppBar(
     title: const Text('Create Account'),
    ),
    body: SingleChildScrollView(
     child: Column(
      children: <Widget>[
       Padding(
         padding: const EdgeInsets.only(top: 60.0),
         child: Center(
          child: Column(
           children: const [
            SizedBox(
             height: 150,
            ),
            Text("Strapi App"),
            SizedBox(
             height: 20,
            )
           ],
          ),
         )),
       if (_error.isNotEmpty)
        Column(
         children: [
          Text(
           _error,
           style: const TextStyle(color: Colors.red),
          ),
          const SizedBox(
           height: 10,
          )
         ],
        ),
       Padding(
        padding: const EdgeInsets.symmetric(horizontal: 15),
        child: TextField(
         onChanged: (value) {
          setState(() {
           _username = value;
          });
         },
         decoration: const InputDecoration(
           border: OutlineInputBorder(),
           labelText: 'Username',
           hintText: 'Enter valid username e.g. Paul'),
        ),
       ),
       const SizedBox(height: 15),
       Padding(
        padding: const EdgeInsets.symmetric(horizontal: 15),
        child: TextField(
         onChanged: (value) {
          setState(() {
           _email = value;
          });
         },
         decoration: const InputDecoration(
           border: OutlineInputBorder(),
           labelText: 'Email',
           hintText: 'Enter valid email id as abc@gmail.com'),
        ),
       ),
       Padding(
        padding: const EdgeInsets.only(
          left: 15.0, right: 15.0, top: 15, bottom: 0),
        child: TextField(
         obscureText: true,
         onChanged: (value) {
          setState(() {
           _password = value;
          });
         },
         decoration: const InputDecoration(
           border: OutlineInputBorder(),
           labelText: 'Password',
           hintText: 'Enter secure password'),
        ),
       ),
       const SizedBox(height: 15),
       Container(
        height: 50,
        width: 180,
        decoration: BoxDecoration(
          color: Colors.blue, borderRadius: BorderRadius.circular(20)),

        child: TextButton(
         onPressed: () => _signup(),
         child: const Text(
          'Create Account',
          style: TextStyle(color: Colors.white, fontSize: 16),
         ),
        ),
       ),
       const SizedBox(
        height: 30,
       ),

       TextButton(
        onPressed: () {
         // navigate to the signup screen
         Navigator.push(
           context, MaterialPageRoute(builder: (_) => Login()));
        },
        child: const Text(
         'Already have an account? Login',
         style: TextStyle(fontSize: 16),
        ),
       ),
      ],
     ),
    )
   );
}
From the above:
- We have a form with
username,password, andemailfields. - Once the form is submitted, the values get sent to Strapi.
The user is directed to the dashboard screen if the values are valid and an account is created. Let’s dive in and create this screen.
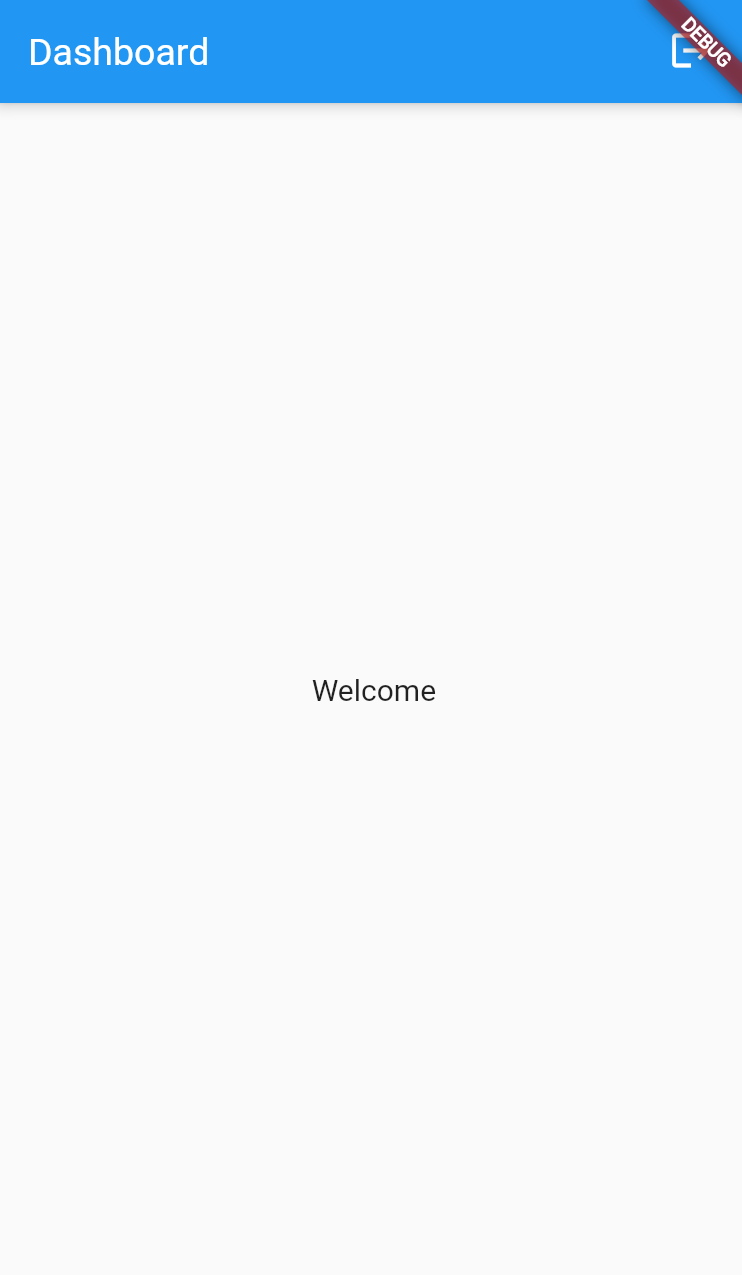
This page will only be displayed to a user who has successfully signed up or logged in. Here we will display a simple dummy text. Navigate to the lib/screens directory, and create a dashboard-screen.dart.
Import the Material UI to build the screen elements,
import 'package:flutter/material.dart';Create a Dashboard StatefulWidget and the state for a text highlight.
import 'package:flutter/material.dart';

class Dashboard extends StatefulWidget {
  static const namedRoute = "dashboard-screen";
  const Dashboard({Key? key}) : super(key: key);

  @override
  State<Dashboard> createState() => _DashboardState();
}

class _DashboardState extends State<Dashboard> {
  @override
  Widget build(BuildContext context) {
    return Scaffold(
      appBar: AppBar(
        title: const Text('Dashboard'),
        actions: [
          Padding(
            padding: const EdgeInsets.only(right: 20.0),
            child: GestureDetector(
              onTap: () => Navigator.pop(context),
              child: const Icon(Icons.logout),
            ),
          ),
        ],
      ),
      body: const Center(
        child: Text(
          'Welcome',
          style: TextStyle(fontSize: 16),
        ),
      ),
    );
  }
}
Upon signup, you will be directed to the dashboard screen.
Session Replay for Developers
Uncover frustrations, understand bugs and fix slowdowns like never before with OpenReplay — an open-source session replay tool for developers. Self-host it in minutes, and have complete control over your customer data. Check our GitHub repo and join the thousands of developers in our community.
Authenticating Users: User login
In the lib/screens directory, create a login_screen.dart file. Add the needed dependencies and modules:
import 'package:flutter/material.dart';
import 'package:flutter_auth_project/screens/signup_screen.dart';
import 'package:flutter_auth_project/screens/dashboard_screen.dart';
import 'package:flutter_auth_project/utils/server.dart';
import 'package:flutter_auth_project/models/user.dart';
Here, you require the Material library to create the form elements. The user models to get the details the user must submit to log in. And the server executes the user endpoint. Create a Stateful Login Widget as follows:
class Login extends StatefulWidget {
  static const namedRoute = "login-screen";
  const Login({Key? key}) : super(key: key);
}
Inside Login, create a state for user login details as follows:
@override
State<Login> createState() => _LoginState();
Implement the states using _LoginState as follows:
class _LoginState extends State<Login> {
  String _email = "";
  String _password = "";
  String _error = "";

  void _login() async {
    try {
    List<User> users = (await ApiService().getUsers())!;
    late User? loggedInUser;
    if (users.isNotEmpty) {
      for (var i = 0; i < users.length; i++) {
      if (users[i].email == _email) {
        loggedInUser = users[i];
        break;
      }
      }
    }
    if (loggedInUser == null) {
      setState(() {
      _error = "Your account does not exist.";
      });
    }
    else {
      // navigate to the dashboard screen.
      Navigator.pushNamed(context, Dashboard.namedRoute);
    }
    } on Exception catch (e) {
    setState(() {
     _error = e.toString().substring(11);
    });
    }
  }
}
From the above:
-
Using the async function executes an
getUsers()method from the server. This will execute the user endpoint using the GET HTTP method to send a request body with user information. -
If the values are valid, the user will log in and be redirected to the dashboard screen; else, an error is shown.
Let’s now create a form to submit these details to the Strapi server. Inside the _LoginState class, add your Widget that’s created the user login screen as follows:
  @override
  Widget build(BuildContext context) {
   return Scaffold(
      appBar: AppBar(
      title: const Text('Login'),
      ),
      body: SingleChildScrollView(
      child: Column(
        children: <Widget>[
        Padding(
          padding: const EdgeInsets.only(top: 60.0),
          child: Center(
            child: Column(
            children: const [
              SizedBox(
              height: 150,
              ),
              Text("Strapi App"),
              SizedBox(
              height: 20,
              )
            ],),
          )),
        if (_error.isNotEmpty)
          Column(
          children: [
            Text(
            _error,
            style: const TextStyle(color: Colors.red),
            ),
            const SizedBox(
            height: 10,
            )
          ],
          ),
        Padding(
          padding: const EdgeInsets.symmetric(horizontal: 15),
          child: TextField(
          onChanged: (value) {
            setState(() {
            _email = value;
            });
          },
          decoration: const InputDecoration(
            border: OutlineInputBorder(),
            labelText: 'Email',
            hintText: 'Enter valid email id as abc@gmail.com'),
          ),
        ),
        Padding(
          padding: const EdgeInsets.only(
            left: 15.0, right: 15.0, top: 15, bottom: 0),
          child: TextField(
          obscureText: true,
          onChanged: (value) {
            setState(() {
            _password = value;
            });
          },
          decoration: const InputDecoration(
            border: OutlineInputBorder(),
            labelText: 'Password',
            hintText: 'Enter secure password'),
          ),
        ),
        const SizedBox(
          height: 50,
        ),
        Container(
          height: 50,
          width: 250,
          decoration: BoxDecoration(
            color: Colors.blue, borderRadius: BorderRadius.circular(5)),

          child: TextButton(
          onPressed: () => _login(),
          child: const Text(
           'Login',
           style: TextStyle(color: Colors.white, fontSize: 16),
          ),
          ),
        ),
        const SizedBox(
          height: 130,
        ),

        TextButton(
          onPressed: () {
          // navigate to the signup screen
          Navigator.push(
            context, MaterialPageRoute(builder: (_) => Signup()));
          },
          child: const Text(
          'New user? Create Account',
          style: TextStyle(fontSize: 14),
          ),
        ),
        ],
       ),
     ));
  }
}
From above:
- We have an
emailandpasswordfield. - When the form is submitted, the application will check if a user exists with the set email. If the user exists, you will be directed to the dashboard page; else, an error will be populated.
Note to execute all these screens, edit the main.dart file as below:
import 'package:flutter/material.dart';
import 'package:flutter_auth_project/screens/dashboard_screen.dart';
import 'package:flutter_auth_project/screens/login_screen.dart';
import 'package:flutter_auth_project/screens/signup_screen.dart';

void main() {
  runApp(const Home());
}

class Home extends StatefulWidget {
  const Home({Key? key}) : super(key: key);

  @override
  _HomeState createState() => _HomeState();
}

class _HomeState extends State<Home> {
  @override
  Widget build(BuildContext context) {
   return MaterialApp(
    title: "Strapi App",
    home: const Login(),
    routes: {
     Dashboard.namedRoute: (ctx) => const Dashboard(),
     Login.namedRoute: (ctx) => const Login(),
     Signup.namedRoute: (ctx) => const Signup()
    },
    onGenerateRoute: (settings) {
     return MaterialPageRoute(builder: (context) => const Dashboard());
    },
    onUnknownRoute: (settings) {
     return MaterialPageRoute(builder: (context) => const Dashboard());
    },
   );
  }
}
From above, we are:
- Setting the login screen to be the default screen.
- Setting up the routes for all screens.
- Setting up a handler in case one is directed to a route that does not exist.
Testing the app
Start the development server by running the below command:
flutter runAt first, you will be presented with the login screen:
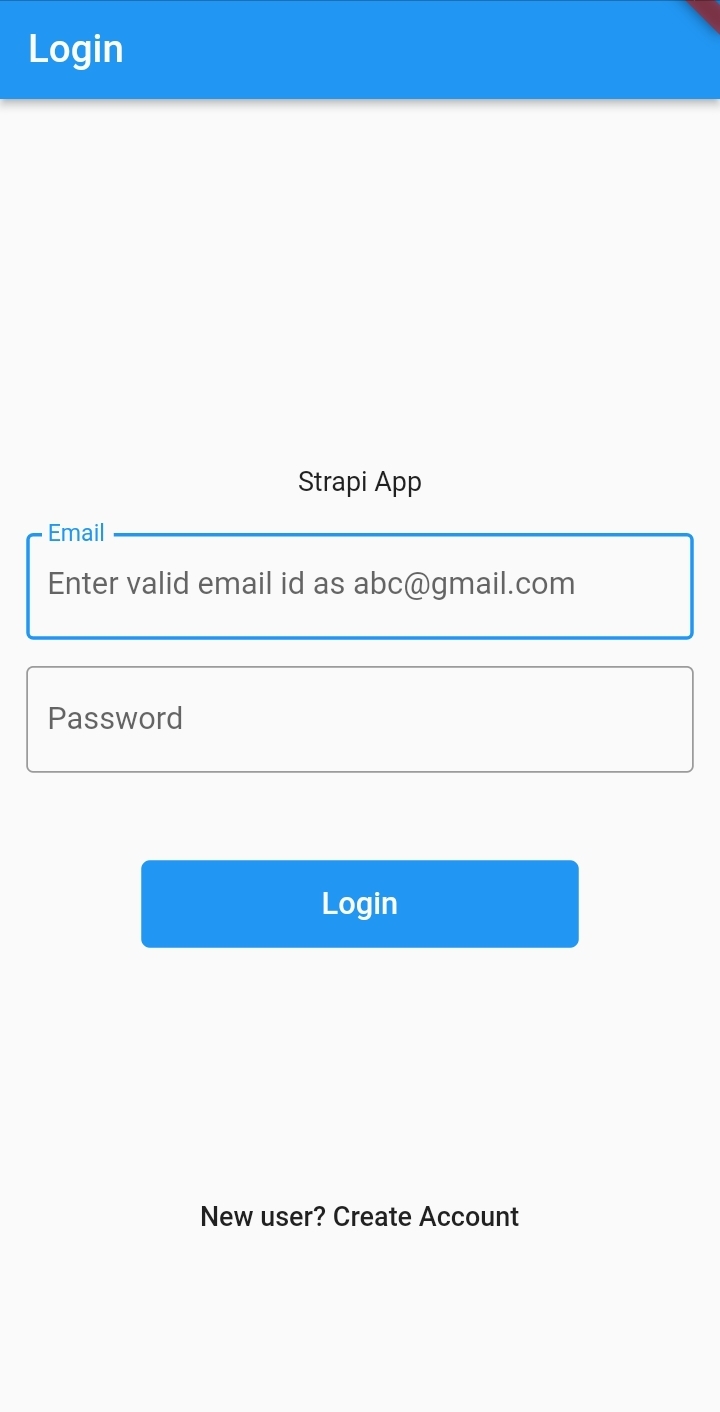
Then, once you click that you do not have an account, you will be directed to the signup screen:
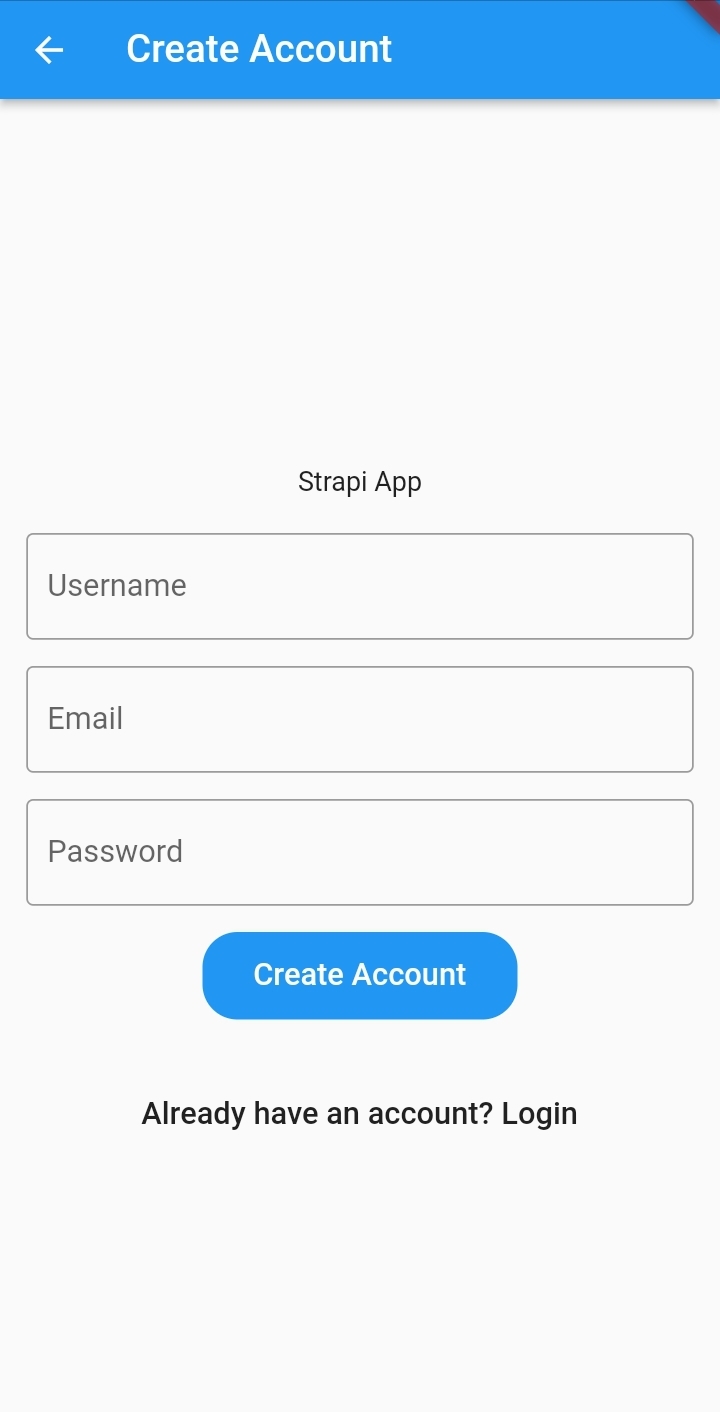
Upon signup or login, you will be directed to the dashboard screen:
Conclusion
Content manager allows you to consume decoupled API for your application. It allows you to model data and consume it with a fronted framework of your choice. Happy coding!
Gain Debugging Superpowers
Unleash the power of session replay to reproduce bugs and track user frustrations. Get complete visibility into your frontend with OpenReplay, the most advanced open-source session replay tool for developers.