
Full-text Search in React with Algolia and Firestore

Search can tremendously improve the user experience in your application. When developing an application with a large amount of generated content, it is critical that users can easily search through the content and find what they are looking for fast.
In this article, readers will learn how to index data in a Firestore Database into Algolia and how users can conduct searches on them. We will know how to rapidly add a Full-Text Search capability to React applications.
What is Full-Text Search?
A full-text search matches every word in the search query against every word in the database or document. It allows you to search across your database for particular words, phrases, or patterns.
For example, If you want to identify all the documents in your database that contain the term “quick”, you may use a full-text search to find them and get the related documents back.
We use this kind of search in applications with lots of content in which scrolling or going on to the next page may not be ideal. With this, users can do searches using keywords and get results similar to or exactly what they are looking for.
What is Cloud Firestore?
Cloud Firestore is a very scalable NoSQL cloud database for mobile, web, and server development from Firebase and Google Cloud. According to the Official Firebase documentation:
Cloud Firestore doesn’t support native indexing or search for text fields in documents. Additionally, downloading an entire collection to search for fields client-side isn’t practical.
To enable full-text search of your Cloud Firestore data, use a dedicated third-party search service. These services provide advanced indexing and search capabilities far beyond what any simple database query can offer.
A very good example of such a third-party service is Algolia.
What is Algolia?
According to the Algolia website:
Algolia is a search-as-a-service solution that helps you build real-time search into your app with customizable, prebuilt widgets along with tools that make building search systems easy.
Algolia is one of the most powerful integrations you can make with Cloud Firestore. It converts your Firestore database into a full-text search engine. Every time we add, remove, or modify data in our Firestore database, a Cloud Function is triggered, which then sends the data to Algolia. A free tier from Algolia allows for up to 10,000 queries each month.
Create an Algolia Application
To sign up, go to the Algolia website and click Start Free.

Once you do so, you will be redirected to the dashboard page.
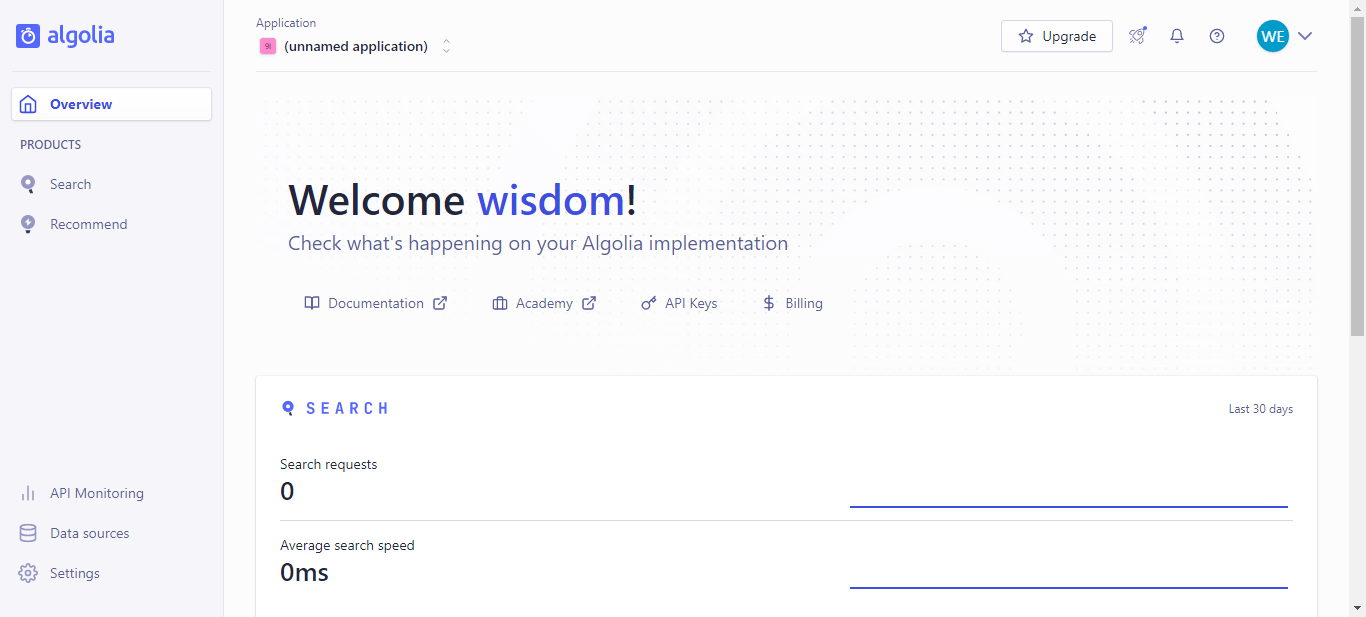
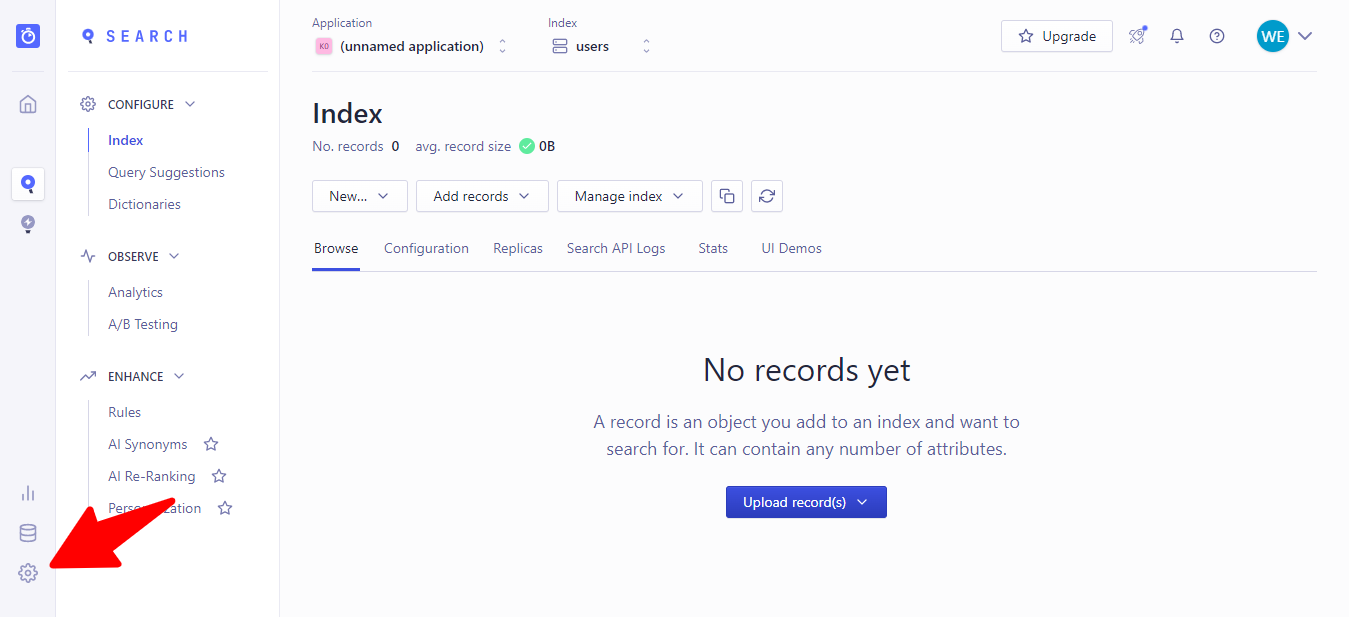
Navigate to the sidebar and click Search under Products.

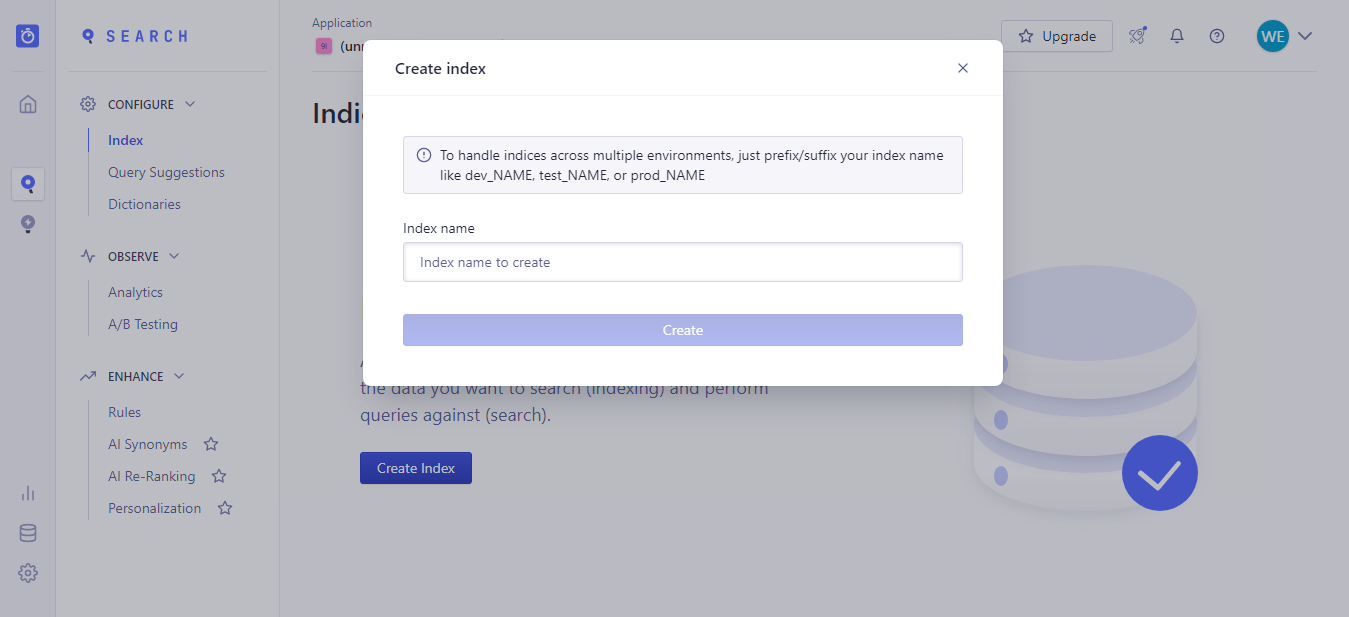
Create a new Search Index
What is an index? You can think of an index as a collection you want to search across, and it’s the search equivalent of a database’s “table”. Unlike a database table, a search index is optimized for search operations.
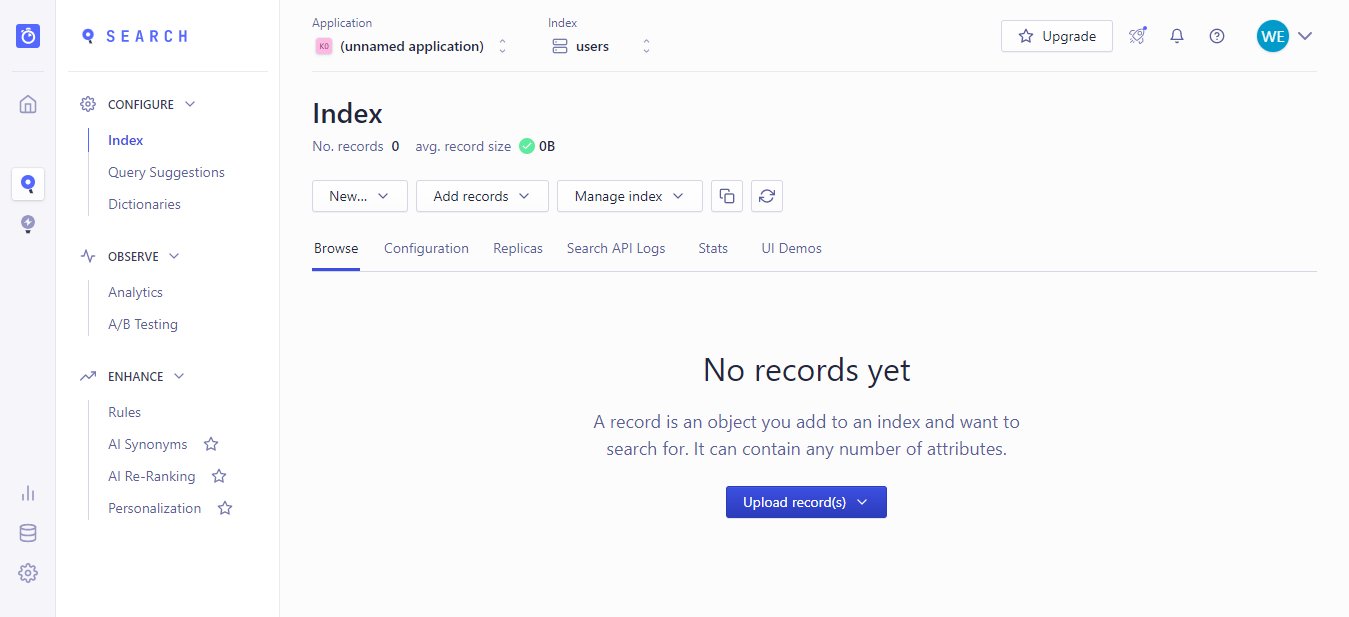
Click on the Create Index button and add an index name. I am using users.
Setting up Firebase
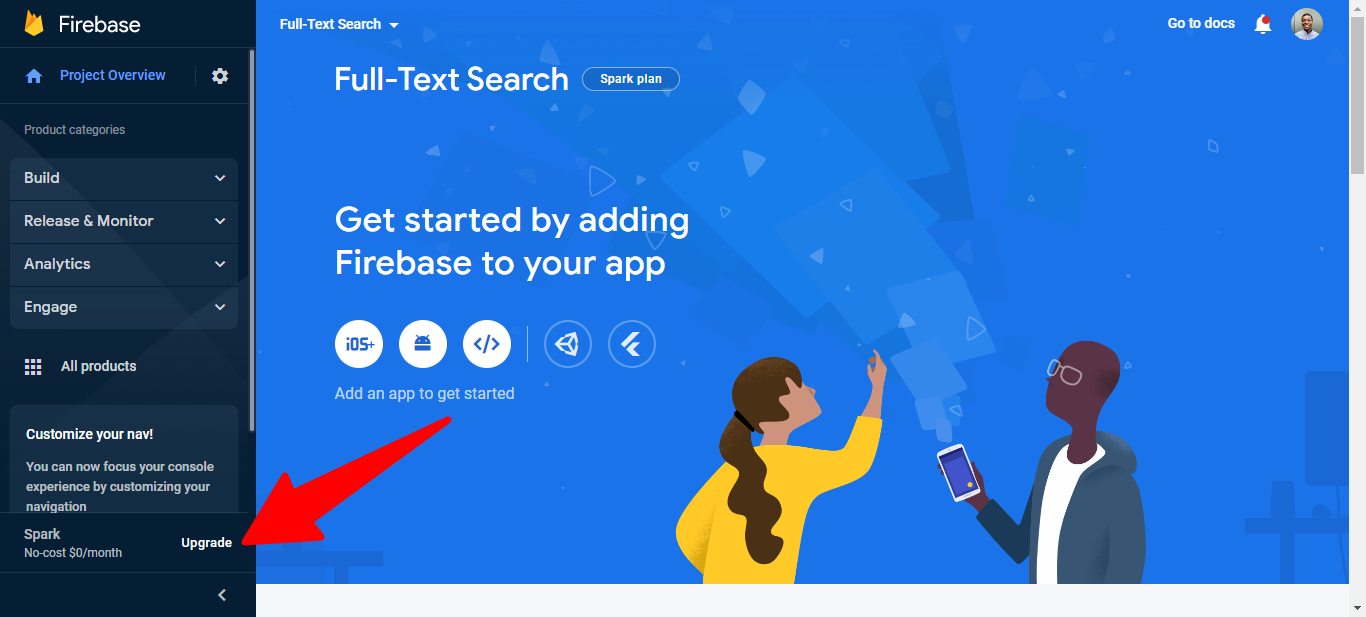
Go to the Firebase Console and create a new project. To be able to make requests to external services like Algolia we will need to make use of Firebase Cloud Functions, which is only accessible when we upgrade our Firebase plan from Spark plan to blaze plan.
To upgrade, you need to have an Active Billing Account in your Google Cloud Console; else, you will be redirected to create one before you can continue.
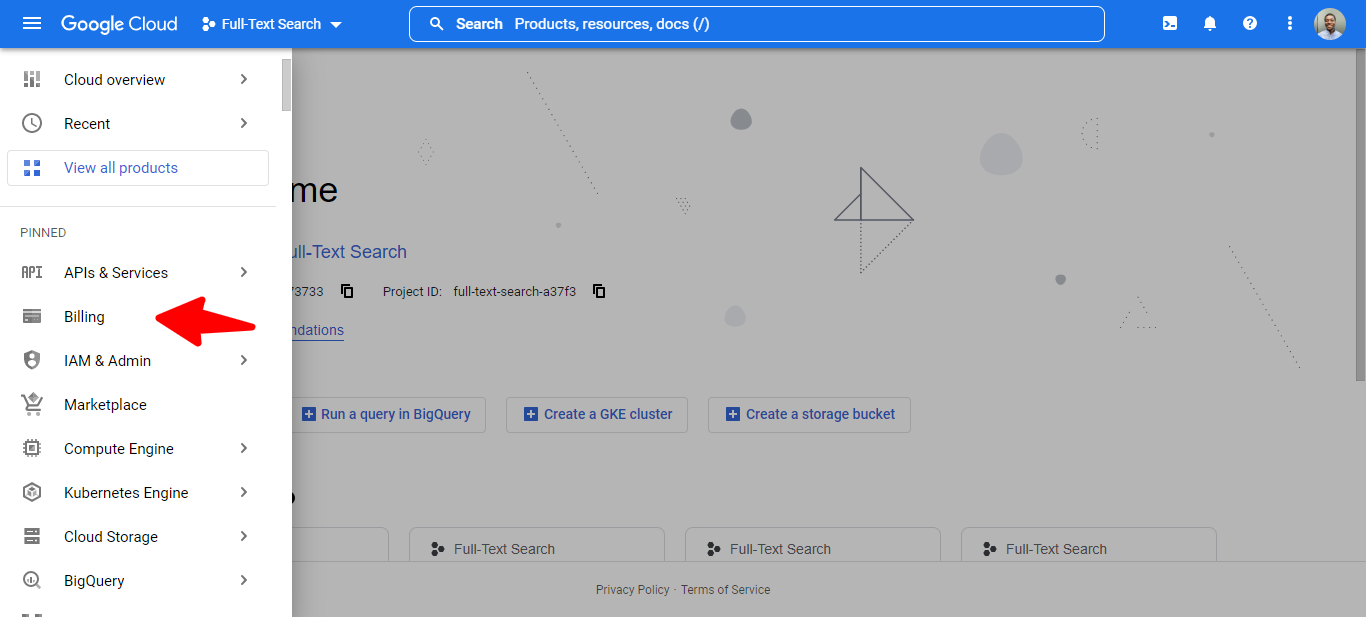
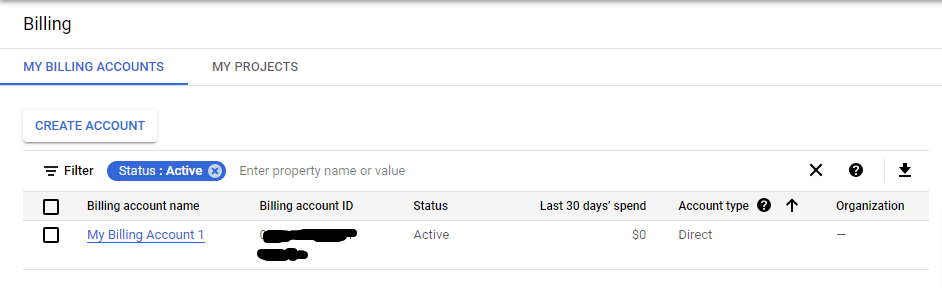
To check if you have an active account go to console.cloud.google.com, navigate to billing, and then you will see all active billing accounts.
Then:
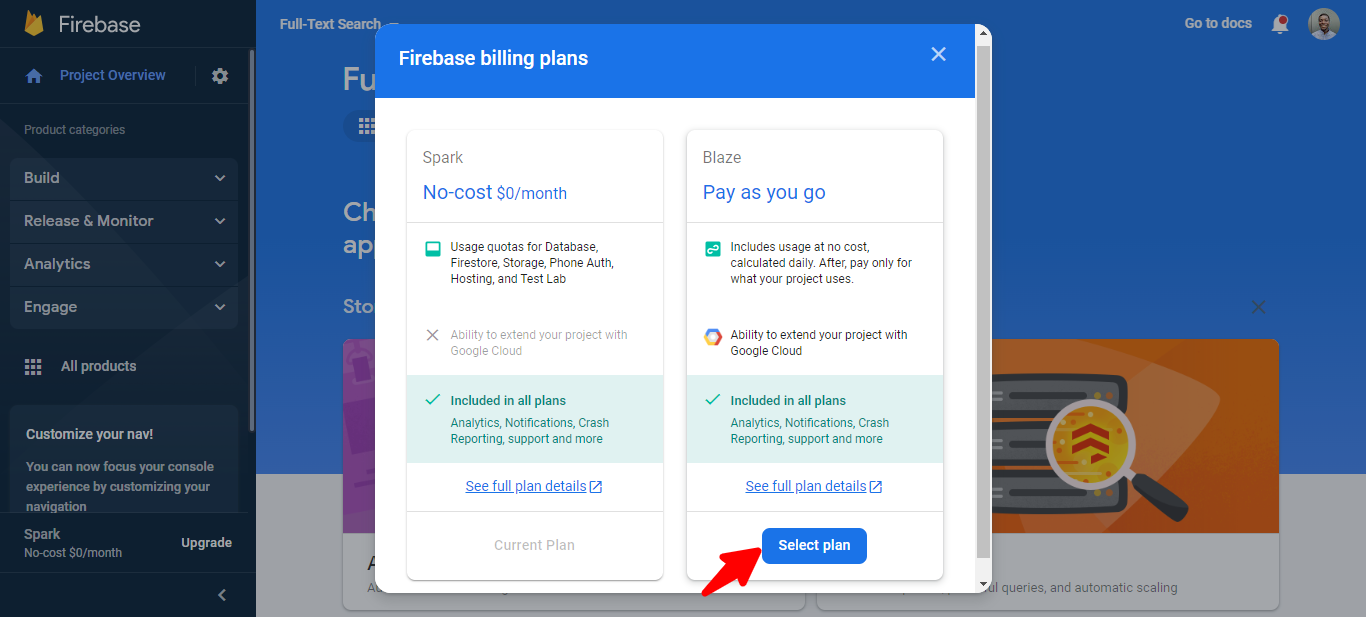
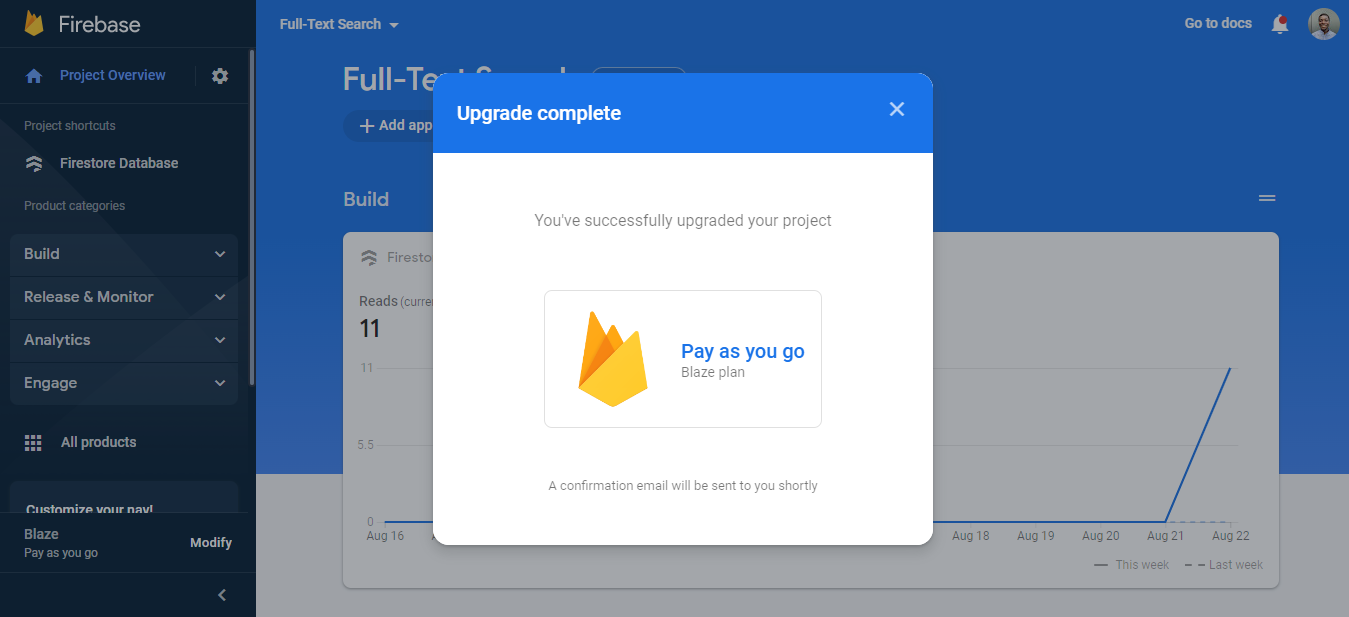
When you have an Active Billing Account setup, click on Upgrade, Select the Blaze plan (Pay as you go), choose the billing account you created, and then click Purchase.
Create a Firestore Database
The next thing we need to do is to create a database where our data will be stored.
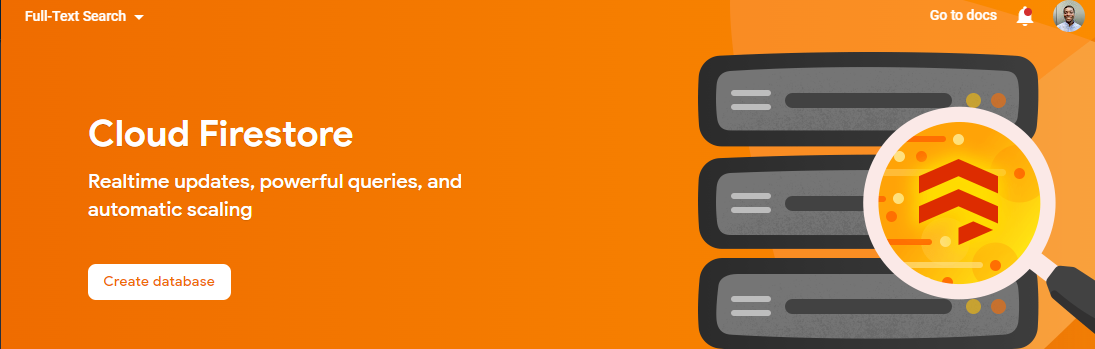
Navigate to Project Overview, Select Cloud Firestore, and set up the database.
Then create a collection. Click Start collection. I will be using users as my collection name.
Initialize Cloud Functions
So far, we have set up both Firebase and Algolia. Now let us see how both can work together.
In your project of choice, we will initialize Cloud Functions using the Firebase CLI.
The Firebase CLI provides various tools for managing, viewing, and deploying Firebase projects.
To install the CLI run the code below:
npm install -g firebase-toolsBefore initializing functions, we must log in to Firebase using the terminal. Run:
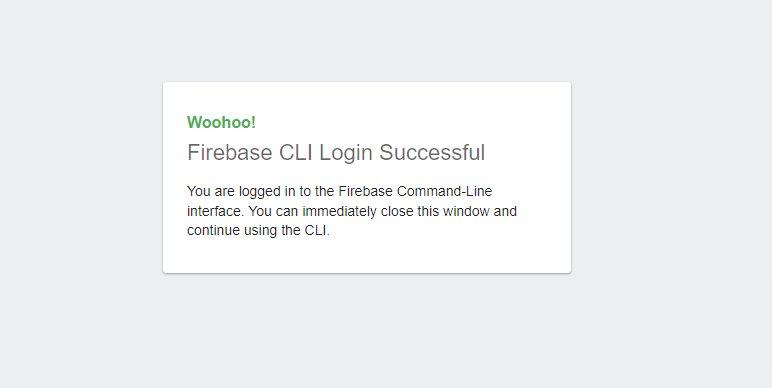
firebase loginThis will redirect you to the browser, where you will permit Firebase functions on your account.
Once that is done, you can initialize a functions directory.
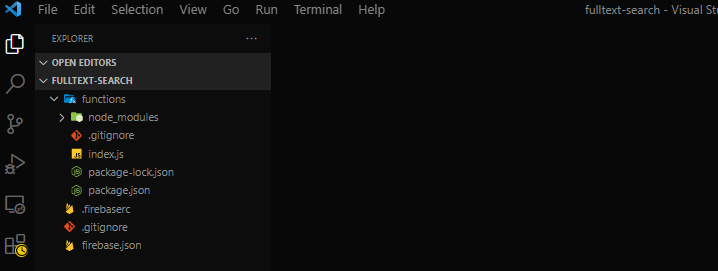
firebase init functionsThe starter code will be generated. Here is the file structure below.
Install Algolia Search Client
Navigate to the functions directory and run the code below to install the Algolia Search Client for Javascript.
cd functions

npm install algoliasearch
This SDK will allow us to use Algolia in a Javascript application and also handle the task of indexing the data.
Add the Algolia API Key to Firebase
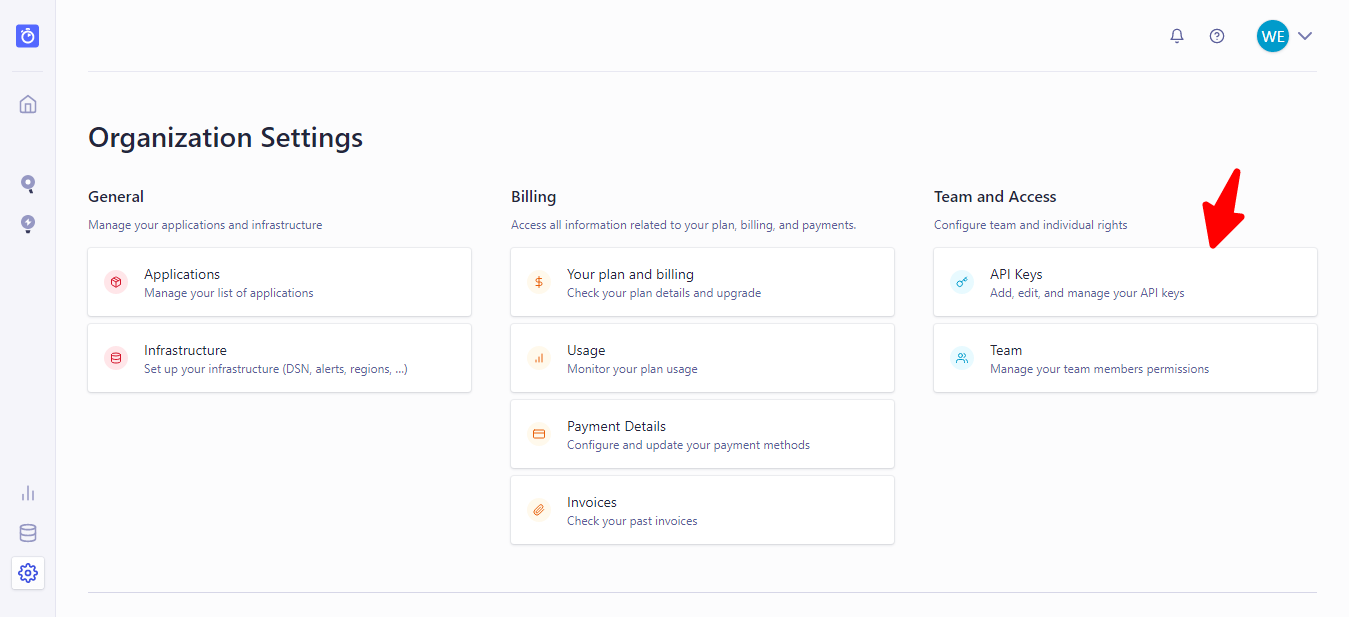
Go to settings in your Algolia Dashboard and grab your API keys ( Application ID, Admin API Key).
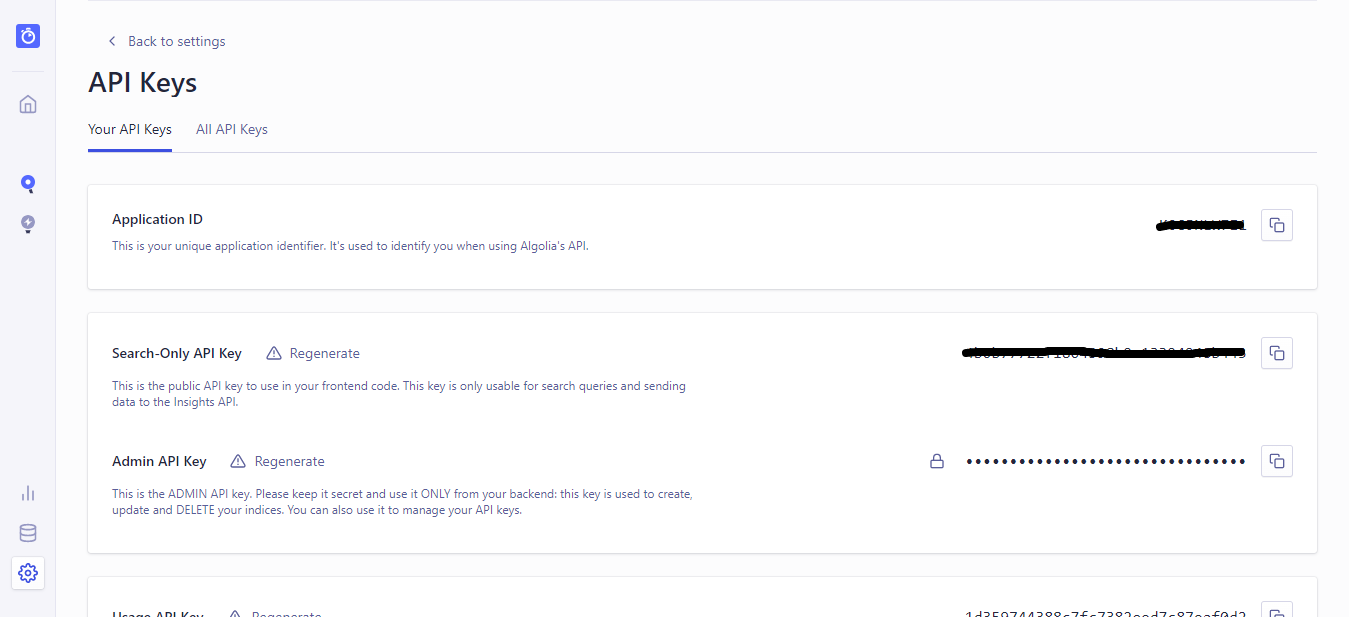
Now copy those keys and set them in the configuration of your Firebase project with the following command.
firebase functions:config:set algolia.app=YOUR_APP_ID algolia.key=ADMIN_API_KEYNote: Replace YOUR_APP_ID & ADMIN_API_KEY with your actual keys.
Data Syncing
Still, in your functions directory, add the code below to the index.js file.
const functions = require('firebase-functions');
const algoliasearch = require('algoliasearch');
const APP_ID = functions.config().algolia.app;
const ADMIN_KEY = functions.config().algolia.key;
Then we initialize the Algolia client using the Keys and index we created earlier called users.
const client = algoliasearch(APP_ID, ADMIN_KEY);
const index = client.initIndex('users');
Now, let’s start writing some cloud functions.
Open Source Session Replay
OpenReplay is an open-source, session replay suite that lets you see what users do on your web app, helping you troubleshoot issues faster. OpenReplay is self-hosted for full control over your data.

Start enjoying your debugging experience - start using OpenReplay for free.
Add Record to Algolia Index
This function duplicates data created in the users collection of the Cloud Firestore database to Algolia. When the onCreate Firestore event is called, it takes a snapshot of the data created and adds it to the Algolia index.
exports.addToIndex = functions.firestore.document('users/{userId}')

    .onCreate(snapshot => {
        const data = snapshot.data();
        const objectID = snapshot.id;
        return index.saveObject({ ...data, objectID });
    });
Update Record in Algolia Index
If changes have been made to the data in Firestore, we would want to ensure that the change updates in our Algolia index. This is done with the help of the onUpdate event.
exports.updateIndex = functions.firestore.document('users/{userId}')

    .onUpdate((change) => {
        const newData = change.after.data();
        const objectID = change.after.id;
        return index.saveObject({ ...newData, objectID });
    });
Delete Index from Algolia
When a record is deleted from the Firestore database, we would like to also remove it from the Algolia index. We do this by passing the objectID into the onDelete function.
exports.deleteFromIndex = functions.firestore.document('users/{userId}')

    .onDelete(snapshot => index.deleteObject(snapshot.id));
Deploy Cloud Functions
Once we are done, we then have to deploy our Cloud Functions. Go to the terminal and run the code below.
firebase deploy --only functions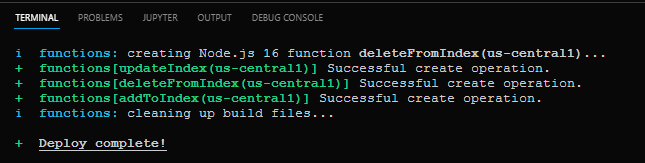
Seeding the Database with random data
Now the functions have been deployed, let’s test it out by seeding the Firestore database with a bunch of fake data using Faker.js.
Faker.js is a javascript library used for Generating massive amounts of fake (but realistic) data for testing and development.
We will install it as a Dev Dependency. Run the code below.
npm install @faker-js/faker --save-devCreate a file called data.js in the functions directory and add the code below.
const admin = require("firebase-admin");
const {faker} = require("@faker-js/faker");
const serviceAccount = require("path/to/serviceAccountKey.json");

// Initialize Firebase Admin
admin.initializeApp({
  credential: admin.credential.cert(serviceAccount)
});

const db = admin.firestore();

const addFakeIt = () => {
  return db.collection("users").add({
    username: faker.name.findName(),
    email: faker.internet.email(),
    bio: faker.hacker.phrase(),
    avatar: faker.internet.avatar(),
  });
};

Array(10).fill(0).forEach(addFakeIt);
We import faker in the code above and refer to Firestore. Then we write a function called addFakeit. Anytime this function is called, it will add a new document to the database, with all its data being completely random. Next, we create an array with the length of the number of documents we want to create, in this case, 10. We go ahead and call this function for each item in the array.
Also, we initialized the Firebase admin SDK using an admin credential called serviceAccountKey.json. To make writes to the database externally, we need admin privileges.
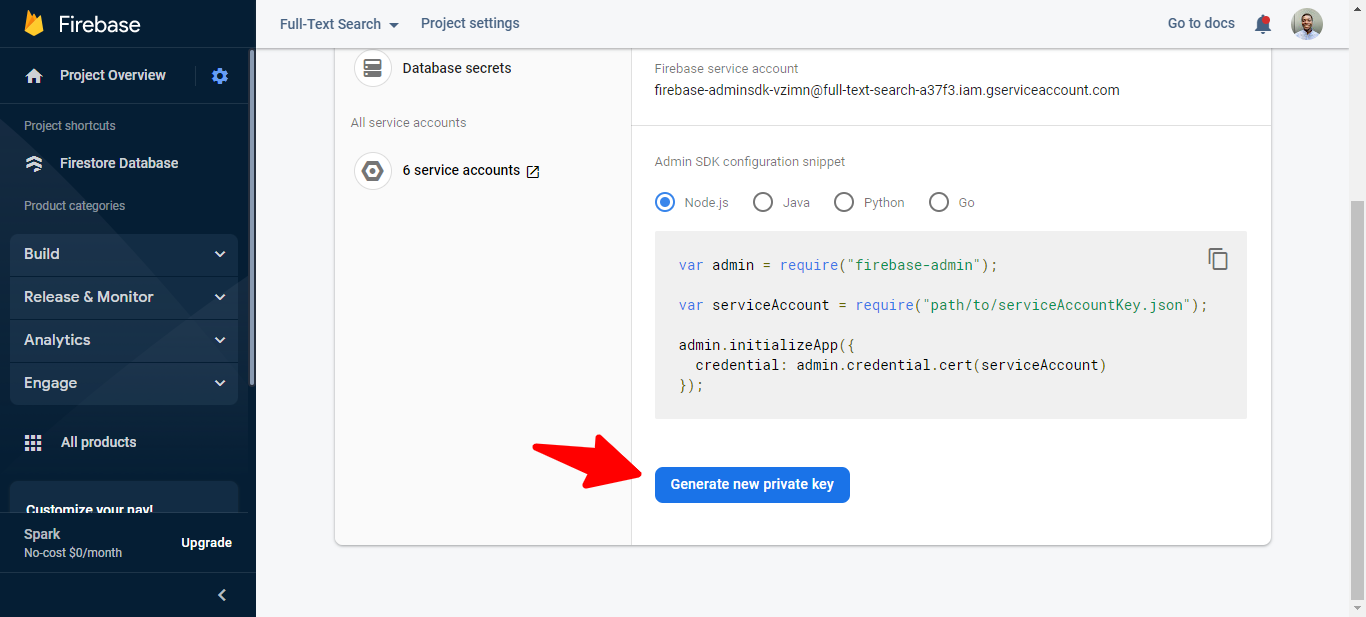
To get your serviceAccountKey.json file go to your Firebase project settings.
Navigate to Service Accounts.
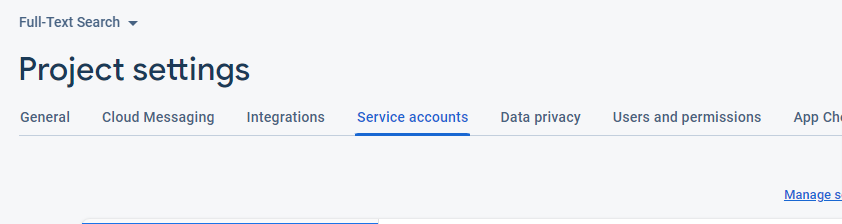
Scroll to the bottom and click on Generate new private key to download the file.
Add the file to a path in your project.
Let’s run the script:
cd functions
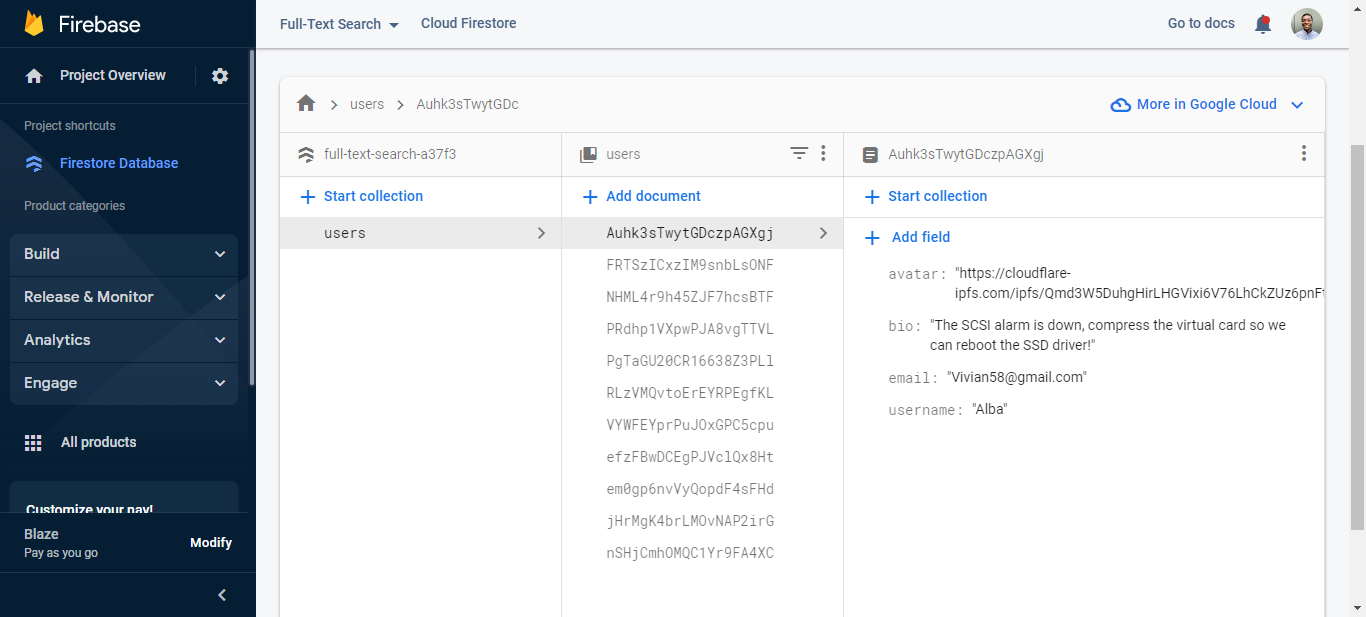
node data.jsOn checking the database, the dummy data has been added successfully.
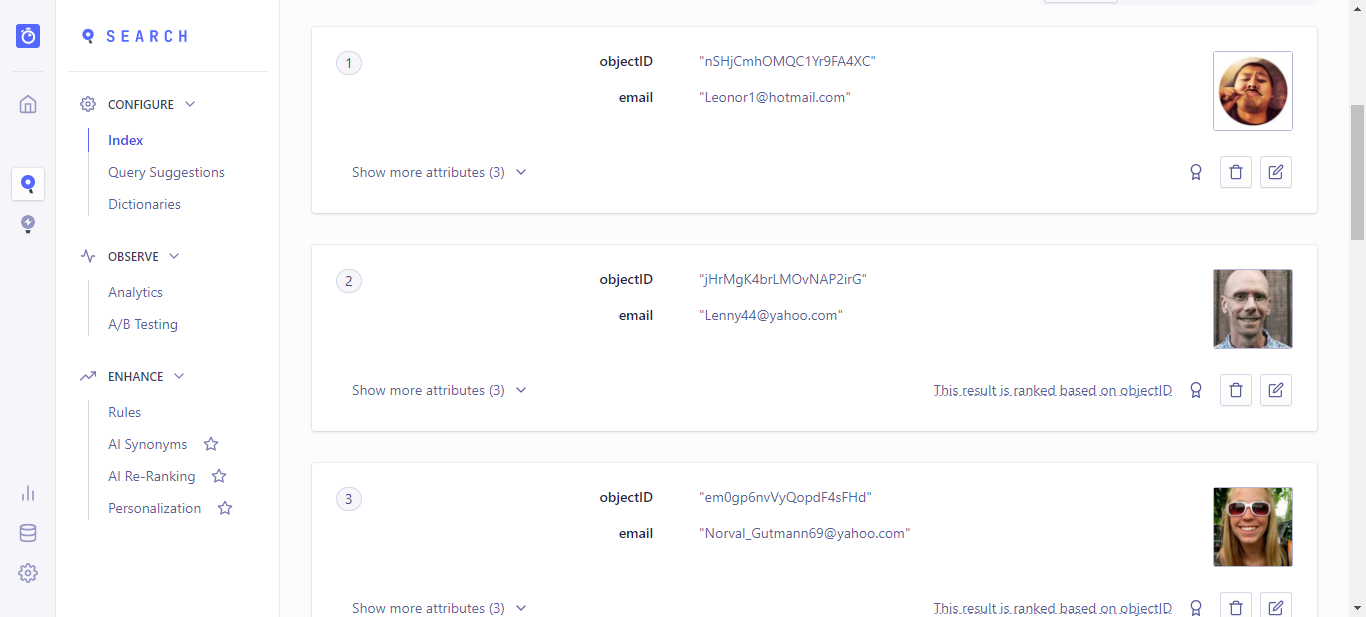
The Algolia index is also updated with the same data. Hence everything is working perfectly.
Build the Search UI using Algolia React InstantSearch UI
Now head over to your React application. If you don’t have an existing React App, you can quickly scaffold it.
In the terminal, navigate out of the functions directory.
cd ..Run the command below.
npx create-react-app my-app
cd my-app
npm start
In the index.html file in the public folder, add the stylesheet for the Algolia InstantSearchUI Library.
  <link rel="stylesheet" href="https://cdn.jsdelivr.net/npm/instantsearch.css@7.4.5/themes/satellite-min.css"
    integrity="sha256-TehzF/2QvNKhGQrrNpoOb2Ck4iGZ1J/DI4pkd2oUsBc=" crossorigin="anonymous">
Next, we install two packages: algoliasearch and react-instantsearch-hooks-web
Navigate to your React app directory and run the code below.
npm install algoliasearch react-instantsearch-hooks-webcreate a .env file and add Your Algolia SEARCH_API_KEY & APP_ID
REACT_APP_ALOGLIA_APP_ID =
REACT_APP_ALGOLIA_SEARCH_API_KEY =
In the App.js file, add the code below.
import React from 'react';
import "./App.css"
import algoliasearch from 'algoliasearch/lite';
import {
  InstantSearch,
  SearchBox,
  PoweredBy,
  Hits,
  Highlight,
} from 'react-instantsearch-hooks-web';


//algolia credentials
const searchClient = algoliasearch(
  process.env.REACT_APP_ALOGLIA_APP_ID,
  process.env.REACT_APP_ALGOLIA_SEARCH_API_KEY
);


function Hit ({ hit }) {
  return (
  <article>
    <img src={hit.avatar} alt={hit.username} />
    <h1> <Highlight attribute="username" hit={hit} /> </h1>
    <p><strong>Email:</strong> {hit.email}</p>
    <p><strong>Bio:</strong>  {hit.bio}</p>
  </article>
  );
}


const App = () => {
  return (
    <div>
    <InstantSearch searchClient={searchClient} indexName='users'>

      <h3 className='title'>Algolia Firebase Search</h3>

      <SearchBox autoFocus placeholder='Search...' className='searchbox'/>

      <PoweredBy className='poweredby'/>

      <Hits hitComponent={Hit} className="hits"/>

      </InstantSearch>
    </div>
  );
}

export default App;
In the preceding code, we import the Algolia and instant search libraries. Next, we create a search client using the Algolia credentials.
The Instant Search Library provides us with a Search component. In the component, we add the searchBox and a Poweredby component that will display the search engine’s name.
Then a Hits component will highlight the keywords searched on the result.
Styling the Search UI
Now add the following custom styles to the App.css.
.App {
  text-align: center;
}

.title {
  margin: auto;
  text-align: center;
  width: 40%;
  margin-top: 100px;
  margin-bottom: 10px;
}

.searchbox {
  margin-top: 1px;
  margin: auto;
  width: 40%;
}

.poweredby {
  justify-content: right;
  margin: auto;
  width: 40%;
}

.hits {
  margin: auto;
  width: 40%;
  border-style: solid;
  border-width: medium;
}
Final Demo
Now, test the application by navigating to localhost:3000 in your browser; you should see a similar output below.
Optional:
Firebase has published a Firebase Extension for Algolia that you can install into your Firebase project and easily sync Firestore documents into Algolia. Click here to see more about it: Link.
Conclusion
You’ve seen how easy it is to implement Full-Text Search in React apps with Algolia and Firestore. We started with an overview of Full-Text Search and why we want to use it in our apps. Then we set up Algolia and Firestore and wrote some cloud functions to sync data between them. Lastly, we integrated all of that with a React Application. If you want to go even further, you can explore other Algolia features like pagination and more.
Resources
A TIP FROM THE EDITOR: For a different application of Algolia, don’t miss our Building a Music Entertainment Application with ReactJS, NextJS, Algolia, and Firebase article!