In modern-day web development, Bun gradually dominates the JavaScript runtime environment due to its swift execution speed. It also incorporates many more essential features, like built-in testing (Bun test for executing tests within a Bun project) and bundlers for our frontend projects. This article will discuss migrating from Node.js to Bun and see how the latter is transforming web development.

Discover how at OpenReplay.com.
Bun is a JavaScript runtime crafted for the modern JavaScript environment. It is a seamless substitute for Node.js, offering complete compatibility with Node.js APIs. Bun is unmatched in speed compared to Node.js. It achieves this through rapid compilation, resulting in blazing-fast applications and smooth responsiveness.
Here is how Bun simplifies and enhances your experience as a developer; it comes with built-in features, which means you don’t have to search for any external libraries or tools since there is an integration of straightforward commands.
Bun essential features to know
It is no longer news that Bun is a new player in the JavaScript runtime arena that packs a punch with features that put the needs of developers, like speed and ease, first.
Bun runs most server-side JavaScript globally and offers tools to increase productivity and decrease complexity. It eliminates the need to install a series of tools to develop your application by providing a comprehensive toolkit to build JavaScript applications with a package manager and test runner.
Now, let’s examine some of the Bun’s notable features:
- Built-in SQLite driver: Bun has built-in
SQLitereadily available drivers. If you want to embark on a project, you already have direct access; all you have to do is import the Bun: SQLite modules to start enjoying theSQLitefunctionalities in your bun code. - Faster than Node.js: Bun starts quickly and maintains high speed by employing JavaScriptCore, the performance-oriented JS engine initially designed for Safari. Additionally, it includes optimized system calls that are tailored to each operating system, ensuring fast installation compared to Node.js
- Built-in testing package: Bun has an integrated package that streamlines code verification; the built-in package mainly doesn’t require external setup. Bun has a lot of valuable features that other frameworks need libraries for. Testing package: for example, with the Bun test package, you’ll streamline test execution within your Bun projects. It also executes test files and validates your code. Overall, Bun’s testing package streamlines the testing workflow by providing numerous features that improve convenience and speed.
Starting a new Bun Project
With Bun installed, you can start a new Bun project by running the command below.
mkdir quickstart
cd quickstart
bun init
The first command generates a fresh directory for the project. After that, we use cd quickstart to open the created folder in the terminal. Finally, bun init is used to initialize and configure the project.
Launch your code editor, open the project, and create an app.ts file. Inside the file, add the code below to it.
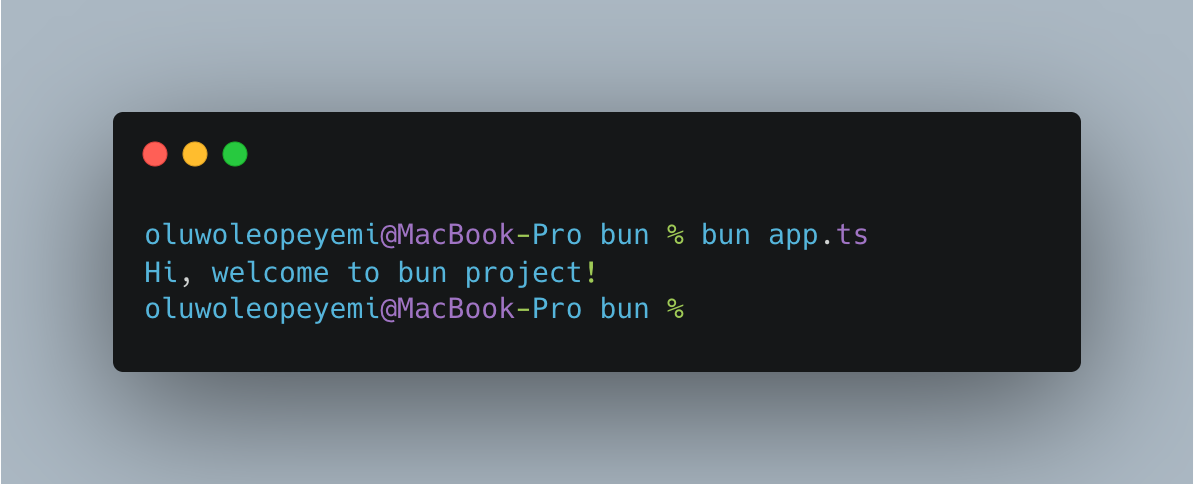
console.log("Hi, welcome to bun project!");Next, to start the application above, run the command below on the terminal
bun run app.ts The above command will log"Hi, welcome to bun project!" on the console, as shown in the image below.
Getting Node.js app set for migration
While thinking of the transition from Node.js to Bun, in my own opinion, these strategies can be readily adopted by developers:
- Gradual migration: Gradual migration is a piece-by-piece transition of specific modules or functionalities to Bun while maintaining the Node.js foundation. This approach entails replacing particular components, such as substituting an existing Node.js API with Bun’s equivalent. For instance, transitioning from the Node.js fs module to Bun’s built-in
Bun:fsAPI is a gradual migration. - Complete migration: A Complete migration is completely rewriting the application using Bun from the ground up. This strategy becomes crucial for developers looking for immediate benefits in cases where Node.js compatibility is less needed. At the start-up, be prepared to start fresh and design your app’s architecture around Bun’s unique features.
Migrating your codebase
Remember the good old days of flicking a switch? Bun is a bit more than that; don’t be scared. In this section, we will compare Node.js and Bun.
Let’s explore some examples of how to migrate a Node.js application to a Bun application.
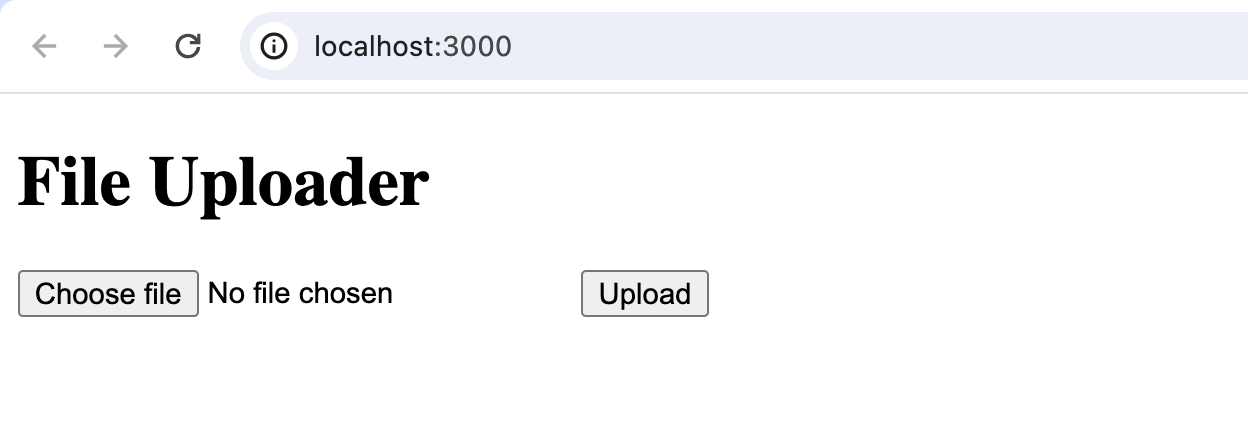
We can create an HTTP server in Node.js and see how to convert it to Bun. The code below demonstrates creating an HTTP server on port 3000 that displays a file uploader.
const express = require('express');
const path = require('path');

const app = express();
const port = 3000;

// Serve HTML form for file upload
app.get('/', (req, res) => {
 res.sendFile(path.join(__dirname, 'index.html'));
});

// Start the server
app.listen(port, () => {
 console.log(`Server is running at http://localhost:${port}`);
});
Next, you must create the HTML file containing the file uploading code. To do that, create a file named index.html from the project root directory and add the following code.
<!doctype html>
<html lang="en">
  <head>
    <meta charset="UTF-8" />
    <meta name="viewport" content="width=device-width, initial-scale=1.0" />
    <title>File Uploader</title>
  </head>
  <body>
    <h1>File Uploader</h1>
    <form action="/upload" method="post" enctype="multipart/form-data">
      <input type="file" name="file" />
      <button type="submit">Upload</button>
    </form>
  </body>
</html>
In the code above, we created an HTTP server using Node.js, listen on port 3000, and you should have the following output.
 Now, we can convert the Node.js HTTP server to its corresponding Bun HTTP server using the Bun Serve API. The code below demonstrates converting the Node.js HTTP server code to the Bun application.
const server = Bun.serve({
port: 4000,
async fetch(req) {
const url = new URL(req.url);
if (url.pathname === "/") {
// Serve index.html for root path
return new Response(Bun.file("index.html"), {
headers: {
"Content-Type": "text/html",
},
});
}
},
});
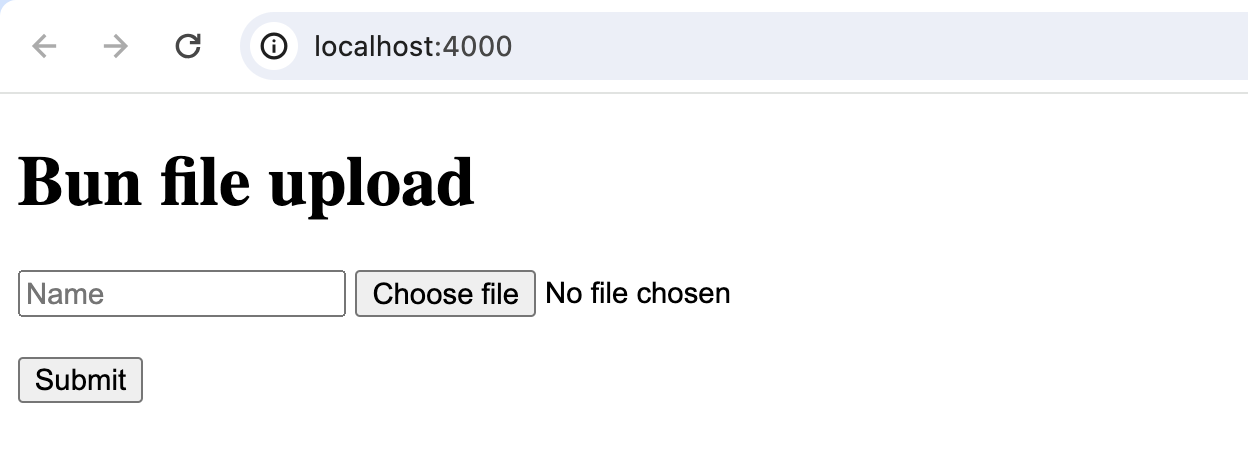
console.log(`Listening on http://localhost:${server.port}`);It is time to create the HTML file that contains the file uploading HTML code. To do that, create a file named index.html from the project root directory and add the following code:
<!doctype html>
<html>
  <head>
    <meta charset="utf-8" />
    <title>Form</title>
  </head>
  <body>
    <form action="/action" method="post" enctype="multipart/form-data">
      <input type="text" name="name" placeholder="Name" />
      <input type="file" name="profilePicture" />
      <input type="submit" value="Submit" />
    </form>
  </body>
</html>
This code sets up a web server using Bun, designed for user input and file uploads.
Using the File System
In a Node.js application, the Node.js fs API manages file operations such as opening, editing, copying, saving, or deleting files. Let’s demonstrate how to save the uploaded file in our previous code to the application server. In Node.js, app file uploading uses an external library called multer. To install the library, run the command below on your terminal
npm install multerNext, create a folder named Uploads, where all uploading files will be stored. After creating the folder, you need to update index.tsx with the following code to handle the file upload:
const express = require("express");
const multer = require("multer");
const path = require("path");

const app = express();
const port = 3000;

// Set up multer for handling file uploads
const storage = multer.diskStorage({
  destination: function (req, file, cb) {
    cb(null, "uploads/"); // Files will be stored in the 'uploads' directory
  },
  filename: function (req, file, cb) {
    cb(
      null,
      file.fieldname + "-" + Date.now() + path.extname(file.originalname),
    );
  },
});
const upload = multer({ storage: storage });

app.get("/", (req, res) => {
  res.sendFile(path.join(__dirname, "index.html"));
});

app.post("/upload", upload.single("file"), (req, res) => {
  const uploadedFile = req.file;
  if (!uploadedFile) {
    return res.status(400).send("No file uploaded.");
  }
  const imageUrl = `/uploads/${uploadedFile.filename}`;
  res.send(
    `<h2>File Uploaded Successfully</h2><img src="${imageUrl}" alt="Preview">`,
  );
});

app.use("/uploads", express.static("uploads"));

app.listen(port, () => {
  console.log(`Server is running at http://localhost:${port}`);
});
Next, reload the application in your browser; you will have the following output, as shown in the GIF image below:
 To migrate the upload Node.js code above to the Bun code, you do not need to install an external library. To do so, you update the Bun
 index.ts with the following code:
const server = Bun.serve({
  port: 4000,
  async fetch(req) {
    const url = new URL(req.url);
    if (url.pathname === "/") {
      // Serve index.html for root path
      return new Response(Bun.file("index.html"), {
        headers: {
          "Content-Type": "text/html",
        },
      });
    }
  },
});

console.log(`Listening on http://localhost:${server.port}`);
If you restart the Bun application, you should have the following output, as shown in the image below.

API Migration
API migration refers to the art of transferring an API (application programming interface) from one environment to another while still keeping the application’s functionality in check.
Shortly, we will explore how to migrate your Node.js API endpoints to the Bun environment without compromising its core features.
On the MySQL server, create a new database named mydatabase; after creating the database, create a table named users with the following fields below.
 Now, let’s create a Node.js API endpoint that performs CRUD operations, and demonstrate how they can be migrated to corresponding Bun API endpoints.
First, in Node.js applications, to use
Now, let’s create a Node.js API endpoint that performs CRUD operations, and demonstrate how they can be migrated to corresponding Bun API endpoints.
First, in Node.js applications, to use MySQL, you need to install it by running the command below:
npm install mysql2After the installation, we can create the /api/register endpoint for user account registration using the POST method and store the data in the database. Open the index.tsx file and replace its code with the following:
const express = require("express");
const mysql = require("mysql2");
const app = express();

const db = mysql.createConnection({
  host: "localhost",
  user: "root",
  password: "",
  database: "mydatabase",
});

db.connect((err) => {
  if (err) {
    throw err;
  }
  console.log("Connected to MySQL");
});

// Middleware
app.use(express.json());

// Create a new user
app.post("/api/register", (req, res) => {
  const { name, email } = req.body;
  db.query(
    "INSERT INTO users (name, email) VALUES (?, ?)",
    [name, email],
    (err, result) => {
      if (err) {
        res.status(500).send("Failed to create user");
        throw err;
      }
      res.status(201).send("User created successfully");
    },
  );
});
const PORT = process.env.PORT || 3000;
app.listen(PORT, () => {
  console.log(`Server running on port ${PORT}`);
});
From the code above, we import mysql2 and establish a connection to the database. Then, we created the api/register endpoint with a POST request for user registration.
 Now we can migrate the Node.js API code to Bun. This can be done simply by replacing the code in
 index.ts with the following:
const { createServer } = require("bun");
const { json } = require("bun/plugins");
const dbConfig = {
host: "localhost",
user: "root",
password: "",
database: "mydatabase",
};
const app = createServer();
const db = require("mysql2/promise").createConnection(dbConfig);
// Middleware
app.use(json());
// Create a new user
app.post("/api/register", async (req, res) => {
const { name, email } = req.body;
try {
await db.query("INSERT INTO users (name, email) VALUES (?, ?)", [
name,
email,
]);
res.status(201).send("User created successfully");
} catch (err) {
console.error(err);
res.status(500).send("Failed to create user");
}
});
const PORT = process.env.PORT || 4000;
app.listen(PORT, () => {
console.log(`Server running on port ${PORT}`);
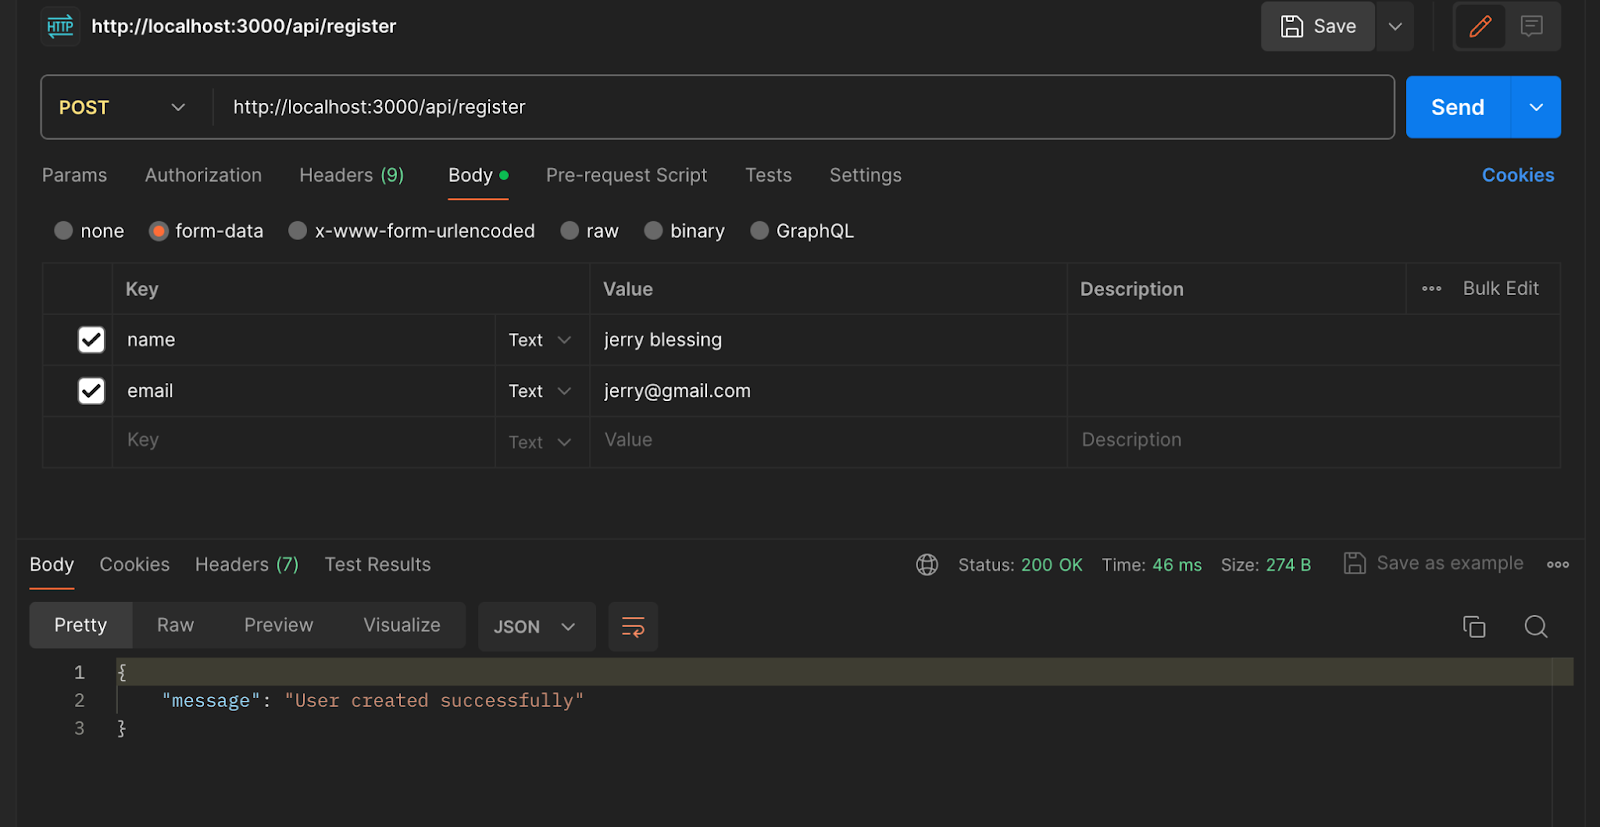
});From the code above, we establish a database connection to the MySQL server and created the /api/register endpoint that stores the user information in the database, as shown in the image below:
 Now, let’s explore how to migrate dynamic routes from a Node.js API to their corresponding Bun.js code. A dynamic route receives parameters passed to your endpoint or application using the
 GET method.
To create a Node.js API endpoint that uses dynamic routing to fetch user information from the database, add the following endpoint code to index.tsx:
// Fetch user data by ID
app.get("/api/users/:id", (req, res) => {
const { id } = req.params;
db.query("SELECT * FROM users WHERE id = ?", [id], (err, result) => {
if (err) {
res.status(500).send("Failed to fetch user");
throw err;
}
if (result.length === 0) {
res.status(404).send("User not found");
return;
}
res.status(200).json(result[0]);
});
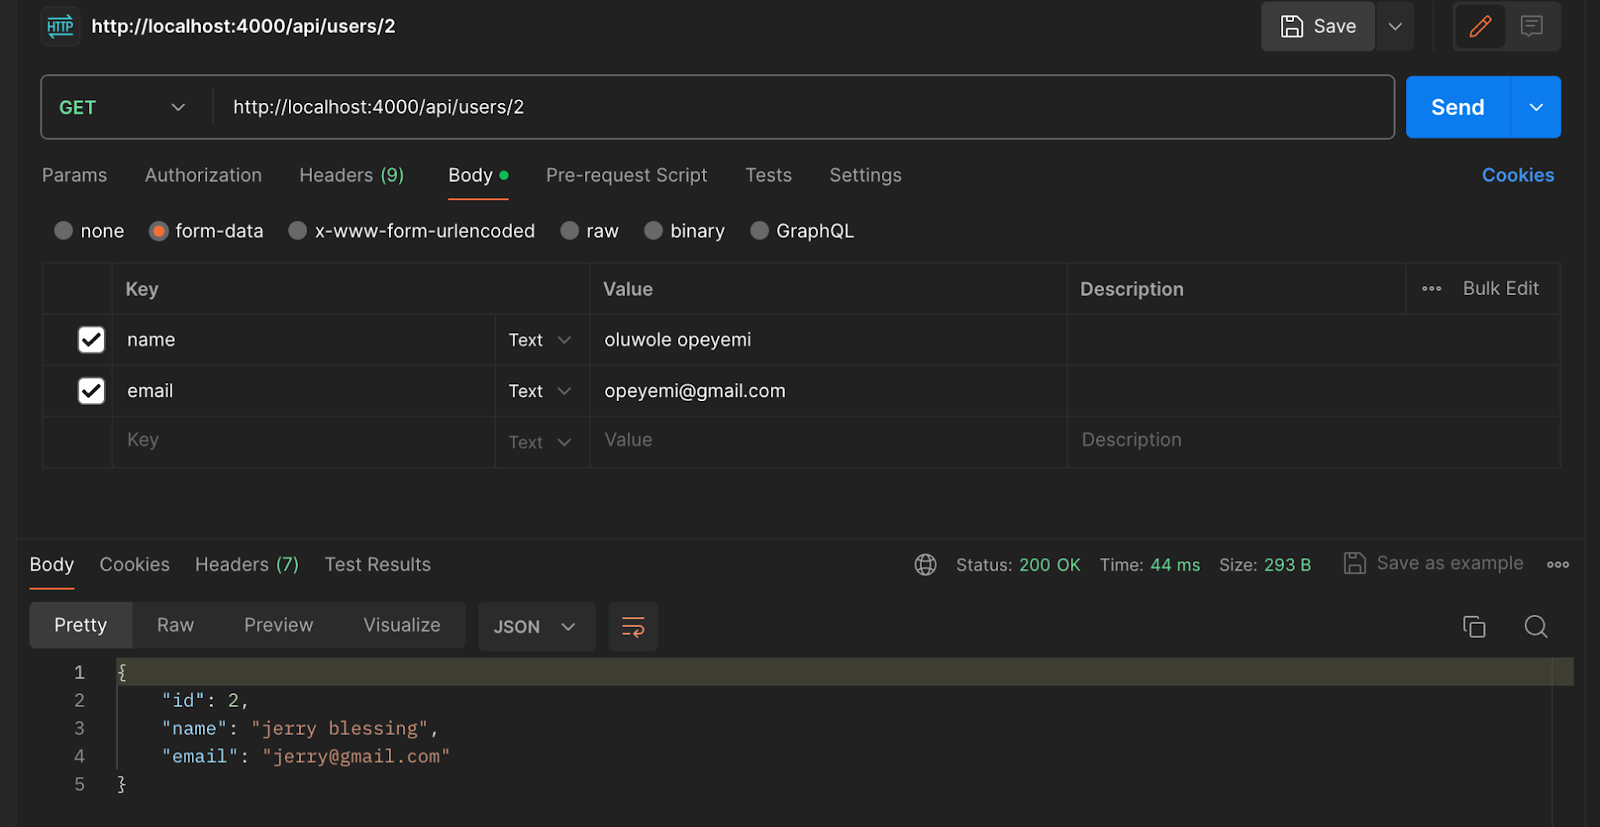
});The GET request is used in the code above to retrieve user IDs and return user details from the database via the /api/users/:id endpoint.
Next, we can migrate the above Node.js dynamic route to Bun code. This can be done by adding the following code to index.tsx in the Bun project.
app.get("/api/users/:id", async (req, res) => {
  const { id } = params(req);
  try {
    const [user] = await db.query("SELECT * FROM users WHERE id = ?", [id]);
    if (!user) {
      return status(404).send("User not found");
    }
    return json(user);
  } catch (err) {
    console.error("Error fetching user:", err);
    return status(500).send("Failed to fetch user");
  }
});
In the Bun code above, the params(req) function is used to retrieve the parameters passed to the endpoint instead of using the req.params object in Node.js After obtaining the user ID from the dynamic link, the user details are then fetched from the database.

Unit testing
When unit testing both Node.js and Bun applications, they share the same unit testing code; the only difference is that Node.js does not have a built-in testing framework like Jest, while Bun comes with an inbuilt Jest testing framework. The frameworks have the same testing code syntax when using Jest as the testing tool. To test the Node.js application, you can install Jest using the command below:
npm install jest -save-devAfter the installation, you must add the code below to the package.json file to the configure jest.
"scripts": {
  "test": "jest"
      }
Now, let’s create a function called isEven and run a test on it. Open the Index.ts file and add the following code.
//index.ts
function isEven(number1) {
  if (number1 < 0) throw new Error("The number must be positive");
  if (typeof number1 !== "number") throw new Error("The number must be a number");
  return number1 % 2 === 0;
}
module.exports = isEven;
Next, to run the unit test on the function above, create the iseven.test.ts file and add the following code to it.
import { test, expect, describe } from "bun:test";
import { isEven } from "./index";

describe("isEven", () => {
  test("returns true if number is even", () => {
    expect(isEven(2)).toBe(true);
  });
});
Save the code and run the test command below to start the application testing:
npm testAfter running the command above, you will have the following test output on your terminal:
 Let’s see how we can run the same test in the Bun application. First, we will create
 isEven inside the index.tsx file and add the following code.
export function isEven(number: number): boolean {
  return number % 2 === 0;
}
Next, create a folder named test, create isEven.test.ts, and add the following test code.
import { test, expect } from "bun:test"; import { isEven } from "../index";
describe("isEven", () => { test("returns true if number is even", () => {
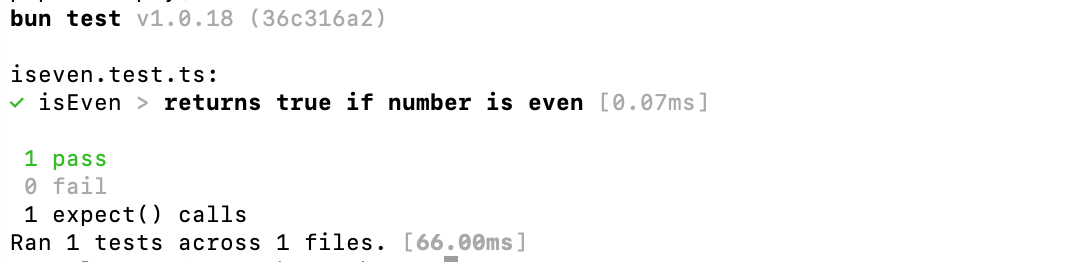
expect(isEven(2)).toBe(true); }); });Save your work and start the Bun test command by running the command below on your terminal:
bun testBy running the command above, the test result will be displayed on the terminal, as shown in the image below.
Removing and Updating incompatible Node.js API
When migrating Node.js APIs to Bun, first check whether Bun supports the API or library. You can visit the official Bun documentation to review the list of Node.js APIs compatible with Bun.
Using Bun remove command
The code syntax below can be used to remove Node.js API incompatibility from your Bun codebase.
bun remove library_nameIn the command above, replace library_name with the Node.js API you want to remove from the codebase.
Using Bun Update to Upgrade Dependencies
After you have migrated your Node.js application to a Bun application, you can use the bun update command to upgrade all the installed dependencies in your application. To do that, open your terminal and run the command below:
bun updateThe command above will upgrade all the installed packages to the latest version compatible with the application.
Conclusion
In this article, you have learned about the rise of Bun as an alternative to Node.js and how it was built to strengthen all the shortcomings of Node.js.
By now, you should understand that migrating to Bun is a step up and a leap into the JavaScript running environment. As a developer, you have the choice of opting for a gradual migration by replacing modules and APIs piece by piece or embracing Bun’s full potential by writing your application from scratch so as to reap the benefits of its speed and streamlined workflow.
Furthermore, remember to keep compatibility in check because not all Node.js APIs have Bun equivalents. Also, focus on performance and runtime execution while the thought of migrating springs up.
Gain Debugging Superpowers
Unleash the power of session replay to reproduce bugs, track slowdowns and uncover frustrations in your app. Get complete visibility into your frontend with OpenReplay — the most advanced open-source session replay tool for developers.
Star on GitHub12k