How to Build a Progress Bar Indicator for Next.js

Next.js is a server-side framework with an emphasis on performance. It is also of the most widely used JavaScript frameworks (beneath React) worldwide. The server-side rendering for React apps is then done by Next.js.
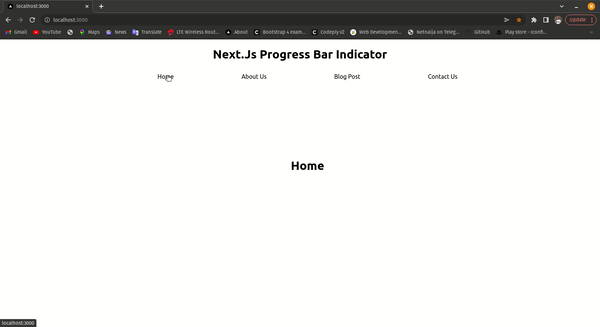
Sometimes, switching from one route to another requires a little extra time for various reasons. It can be making an API request or rendering a complicated page component in the background. When this happens, the app briefly appears to have stopped responding before abruptly switching to the next route. For example, the image below shows a client switching from one page to another.
Without a loading indicator, the user may believe that nothing happened or that the page is malfunctioning, even if all that is happening is that the page is simply fetching content. If you look closely, you will notice this. This can make users highly confused and have a bad effect on the website and user encounter with such application.
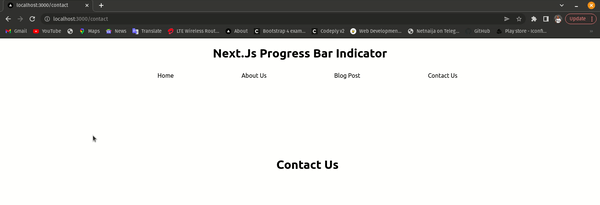
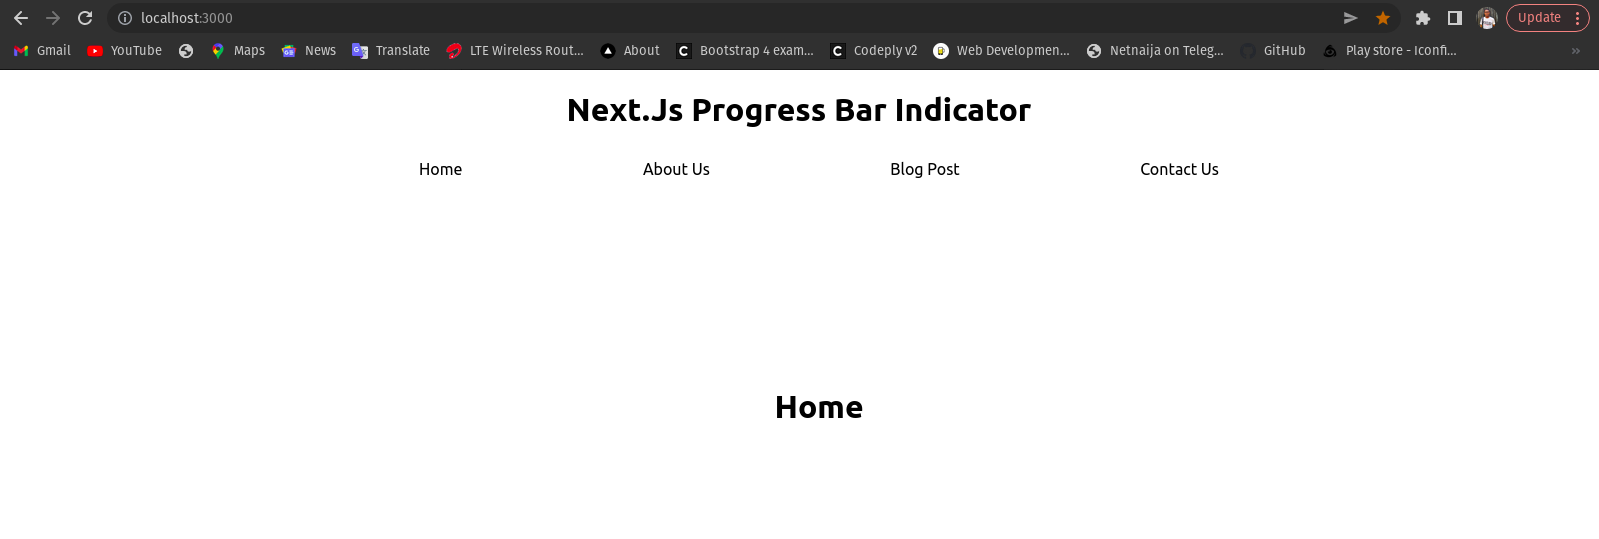
The solution for this problem is to show a top progress bar on the Next.js website until the data from the server is loaded into the website, which is to say that the progress bar gives the user the impression that the page is loading and also how far the page has gone in terms of loading completely. Take, for instance, this page below, which has a progress bar indicator.
Let’s see how we can build this nice progress bar indicator for our Next.js Application.
Types of Progress Bar
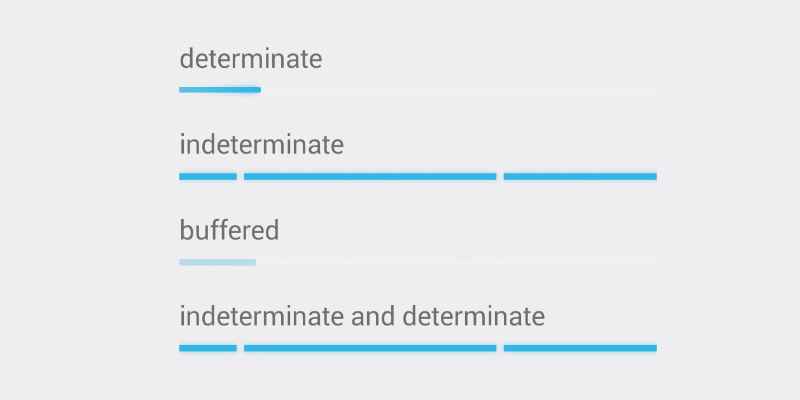
Progress Bar Indicators could be determinate or indeterminate:
-
An indicator is determinate when it indicates how long an operation will take when the percentage complete is detectable.

-
An indicator is indeterminate when it requests that the user waits while something finishes, when it’s not necessary to indicate how long it will take.
In a general-purpose progress bar indicator, there are many features to cover to archive a user-friendly Progress Bar Indicator.
- Show the movement’s direction; generally, it is from left to right.
- Include a signal that demonstrates that a step has been completed successfully.
- Numbering the steps to help users identify each step along the way.
Adding Progress Bar Indicator to our Next.js App
Let’s quickly move to our terminal and run the following command to create a Next.js project.
npx create-next-app@latest
# or
yarn create next-app
# or
pnpm create next-app
You’ll be prompted to give a name to your project.
Create Pages
I am creating a new file in the pages folder first. This will provide you with a new route. We’ll give it a name about.js: just an h1 tag and a button that directs to the home page.
//about.js//
import Link from 'next/link'

function about() {
  return (
    <div><><h1>Next.Js Progress Bar Indicator</h1><ul>
    <div className='flex'>
      <Link href="/">
        <a>Home</a>
      </Link>


      <Link href="/about">
        <a>About Us</a>
      </Link>

      <Link href="/blog">
        <a>Blog Post</a>
      </Link>
      <Link href="/contact">
        <a>Contact Us</a>
      </Link>
    </div>

  <h3>About Us</h3>
  </ul></></div>
  )
}
export default about
We’ll also create other files to make our app flexible. We’ll create blog post and contact us files, and routes/links them back to the home file.
Install nprogress
nprogress is a package that offers a progress bar that moves. Install it using one of the commands below.
npm i nprogress
# or
yarn add nprogress
Integrate with Router Event
After client-side navigation begins, the nprogress animation will automatically start, and stop when navigation is complete. We can use the built-in Router events in Next.js to bind them, and we’ll bind the events in a unique component to keep the code tidy.
// _app.js


import Router from 'next/router';
import NProgress from 'nprogress'; //nprogress module
import 'nprogress/nprogress.css'; //styles of nprogress

//Route Events.
Router.events.on('routeChangeStart', () => NProgress.start());
Router.events.on('routeChangeComplete', () => NProgress.done());
Router.events.on('routeChangeError', () => NProgress.done());

function MyApp({ Component, pageProps }) {
    return <Component {...pageProps} />
}
export default MyApp;
We ensure that the event handler binds outside of components to avoid binding multiple handlers. Also, the loading spinner that comes as default can be removed depending on our use case.
NProgress.configure({ showSpinner: false })The code has been completed. Let’s look at how our progress bar will seem with our Next.js App.
Open Source Session Replay
OpenReplay is an open-source, session replay suite that lets you see what users do on your web app, helping you troubleshoot issues faster. OpenReplay is self-hosted for full control over your data.

Start enjoying your debugging experience - start using OpenReplay for free.
Customizing The Progress Bar
You can add change props of nProgress like color, height, key, ref, startPosition, and many more. I mostly just change the color and height because I like the other stylings the way they are. Here is how you can change the color and height.
By default, nprogress shows a blue progress bar on top of the page. That may not match the website’s look and feel. To customize:
- create a new file named
Nprogress.cssin the styles directory. - Paste the following code in that file and change
--primary-color: #29dto whichever color you want
/* Make clicks pass-through */
#nprogress {
  --primary-color: #ff0000; //changing mine to red
  pointer-events: none;
}
#nprogress .bar {
  background: var(--primary-color);
  position: fixed;
  z-index: 1031;
  top: 0;
  left: 0;
  width: 100%;
  height: 10px; //Also increasing my bar size to 10px just for illustration purpose
}
/* Fancy blur effect */
#nprogress .peg {
  display: block;
  position: absolute;
  right: 0px;
  width: 100px;
  height: 100%;
  box-shadow: 0 0 10px var(--primary-color), 0 0 5px var(--primary-color);
  opacity: 1.0;
  -webkit-transform: rotate(3deg) translate(0px, -4px);
      -ms-transform: rotate(3deg) translate(0px, -4px);
          transform: rotate(3deg) translate(0px, -4px);
}
  /* Remove these to get rid of the spinner */
  #nprogress .spinner {
  display: block;
  position: fixed;
  z-index: 1031;
  top: 15px;
  right: 15px;
}
#nprogress .spinner-icon {
  width: 18px;
  height: 18px;
  box-sizing: border-box;
  border: solid 2px transparent;
  border-top-color: var(--primary-color);
  border-left-color: var(--primary-color);
  border-radius: 50%;
  -webkit-animation: nprogress-spinner 400ms linear infinite;
          animation: nprogress-spinner 400ms linear infinite;
}
.nprogress-custom-parent {
  overflow: hidden;
  position: relative;
}
.nprogress-custom-parent #nprogress .spinner,
.nprogress-custom-parent #nprogress .bar {
  position: absolute;
}
@-webkit-keyframes nprogress-spinner {
  0%   { -webkit-transform: rotate(0deg); }
  100% { -webkit-transform: rotate(360deg); }
}
@keyframes nprogress-spinner {
  0%   { transform: rotate(0deg); }
  100% { transform: rotate(360deg); }
}- change the import to
*import*”../styles/Nprogress.css”
Conclusion
Progress Bar Indicators are mainly used by online applications. For example, online stores use them to increase conversion rates; progress bar indicators make users pass the required procedures necessary to complete the purchase.
We discussed Progress Indicator Bar, its features, and especially how to build one with the nprogress package into our Next.js App. For the source code on Github and also the live app on Netlify
Resources
A TIP FROM THE EDITOR: Rendering images more efficiently also helps the performance of Next.js based pages, as shown in our Improving image rendering speed article.