How to deploy a Next.js app to production
Doing the final step to get your code into production


Next.js is a robust framework for building static and Server-Side Rendering (SSR) applications. With its impressive Search Engine Optimization (SEO), it is no wonder it has become a favorite for developers.
It’s one thing to create a Next.js application and another to deploy it to a website and take advantage of its SEO and SSR capabilities. After reading this article, you should be able to deploy your Next.js application to production using the Netlify and Vercel Command Line Interfaces(CLIs).
This article assumes that you have basic experience with using the following:
- GitHub
- React.js
- Next.js
If you have yet to gain experience with Next.js and want to learn more about the framework, follow this link to my Next.js article.
Preparing Application for Deployment
Next.js has three helpful script commands to help deploy your application to production. They are “next build”, “next start”, and “next export”.
You should run the “next build” command before “next start” or “next export”. After running the command, it creates an optimized version of your app for production, and then it saves this version to a newly created folder called “.next”.
The “next start” command starts a Node.js server in production mode that supports static and server-side rendered pages. The “next export” command, however, exports all your pages to static HTML files and saves the files to a newly created folder called “out”. This folder is the equivalent of the “build” folder found in traditional React applications. By default, Next.js does not provide the “next export” command in your project. To use the command, add `“export”: “next export``` in the scripts of your “package.json” file like so:
"scripts": {
    "dev": "next dev",
    "build": "next build",
    "start": "next start",
    "export": "next export",
    "lint": "next lint"
},
With these essential points in mind, let’s proceed to have your application deployed. First, create a new GitHub repository and push your application to that repository. Next, I will show you how to deploy your application to the popular hosting platforms Netlify and Vercel.
Deploying to Netlify
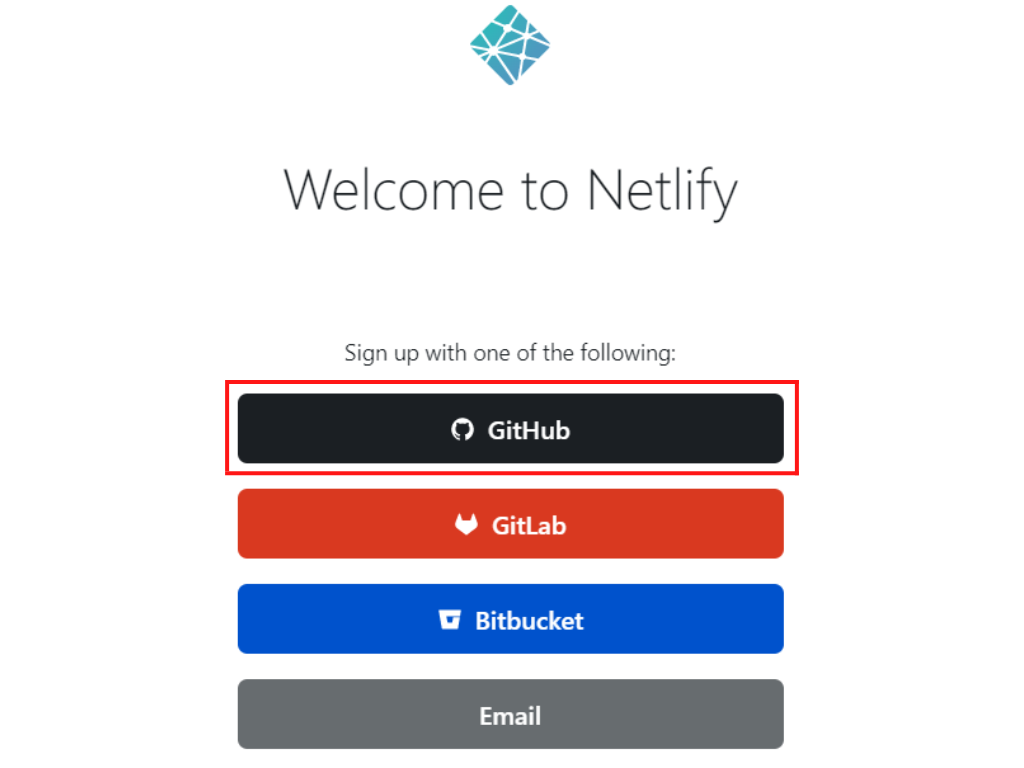
We will be deploying to Netlify with its Command Line Interface(CLI). If you don’t already have a Netlify account, follow this link to create one and select GitHub as your sign-up method:
Now, install the CLI package into your terminal with the command below:
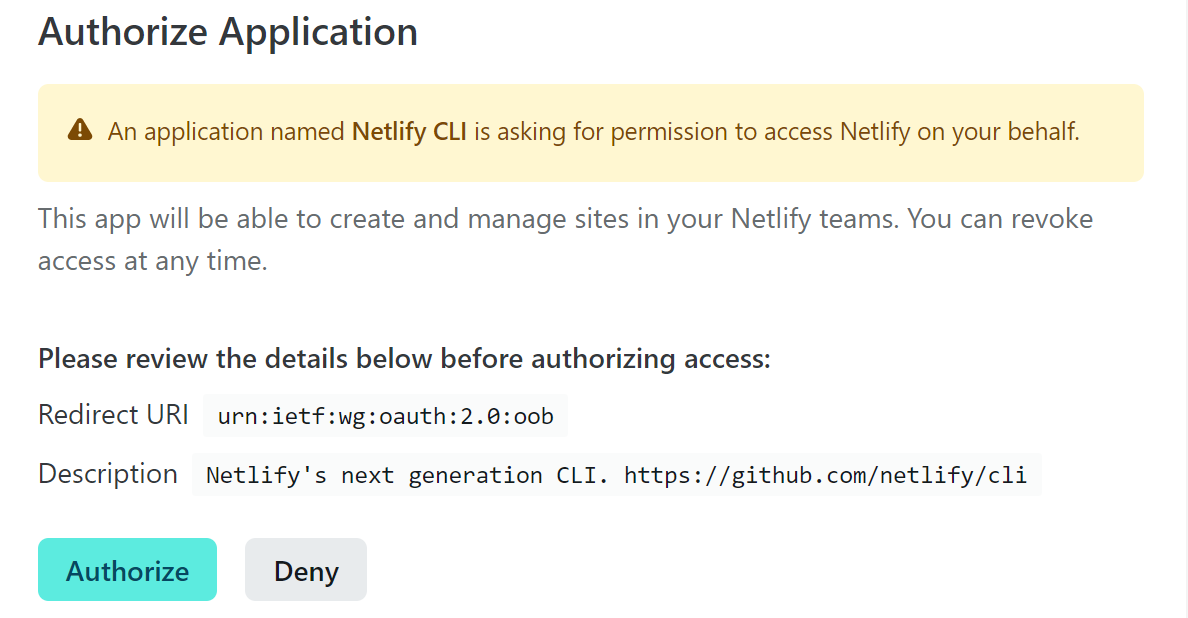
npm install -g netlify-cliNext, log into your Netlify account from your terminal with:
ntl loginYou will be redirected to this page, where you must authorize the CLI to access Netlify on your behalf. Click on “Authorize”:
Great! Now that you are logged in to Netlify, create a new site for your application by running the command:
ntl initAfter running the command, select “Create & configure a new site”.

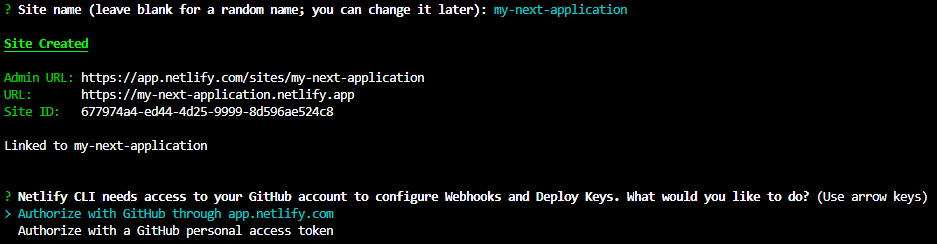
Now give the site a name. This name will be added before the domain “netlify.app”. After setting a name for your site, Netlify will provide information about your new site. However, the site is not yet active:

Authorize the Netlify CLI to add an SSH key to your GitHub repo. Then, select “Authorize with GitHub through app.netlify.com”.
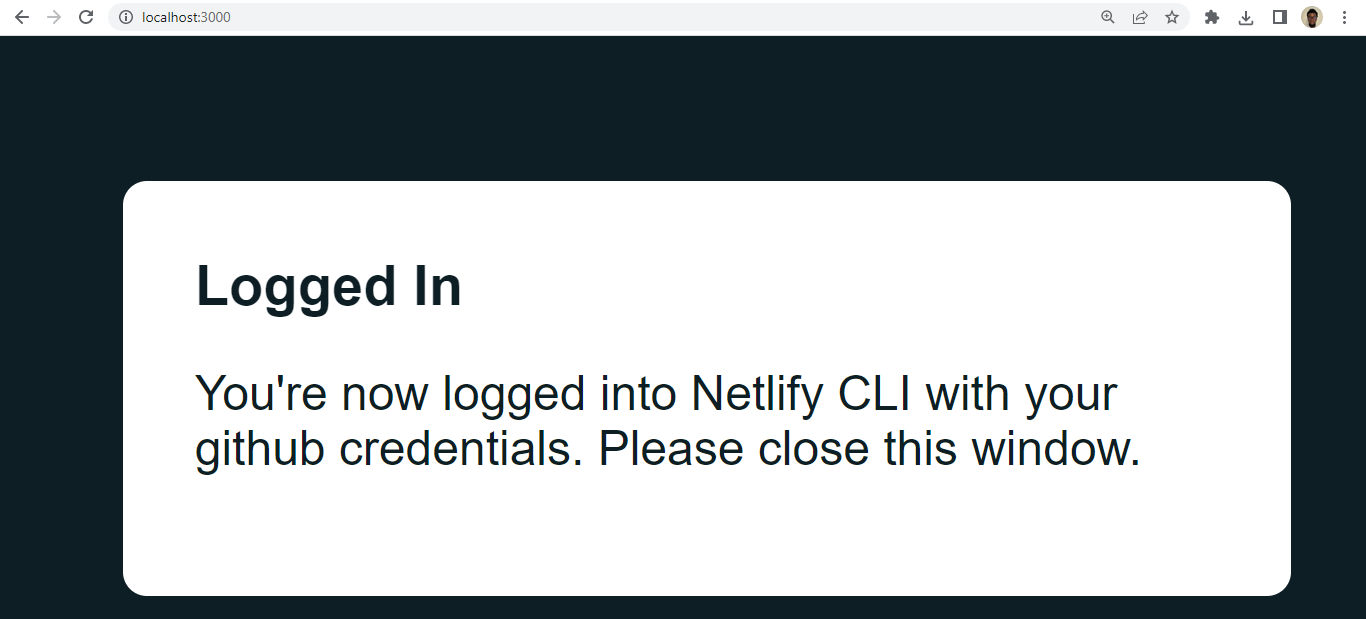
After successful authorization, you will be redirected to localhost:3000 with this message:
Back in the terminal, you will get asked to build and deploy the Next.js application in production mode as a server-side rendering or static website. For an SSR website, type in the command npm run build and click Enter. After this, specify the directory to deploy. Type “.next”:

Your site is now active on the Netlify server. To visit your deployed Next.js website, type in the name you gave to the project along with “netlify. app”, like, e.g., “my-next-application.netlify.app”.
Session Replay for Developers
Uncover frustrations, understand bugs and fix slowdowns like never before with OpenReplay — an open-source session replay tool for developers. Self-host it in minutes, and have complete control over your customer data. Check our GitHub repo and join the thousands of developers in our community.
Deploying to Vercel
Since Vercel is the creator behind Next.js, it makes sense that the hosting platform would make it super easy for developers to deploy their Next.js applications.
You must have a Vercel account before using the Vercel CLI in your workspace. If you don’t already have an account with Vercel, follow this link to create one and select GitHub as your sign-up method.
Install the Vercel CLI by running the command:
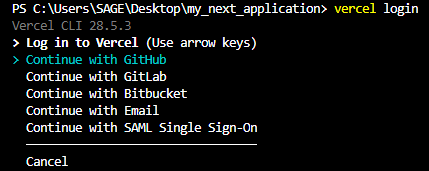
npm install -g vercelLog in to the CLI with the command:
vercel loginSelect a login method. Use the same method you used while signing up for Vercel.
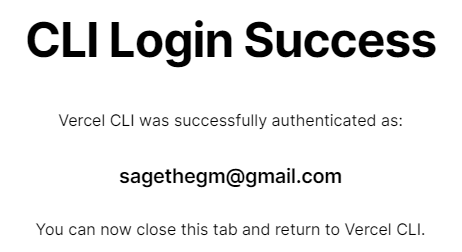
After clicking on a login method, you will be redirected to a page with this message displayed:
Now that you’ve logged into Vercel from the CLI, run the command below to deploy:
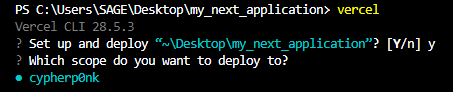
vercelInput “Y” into the terminal to confirm you want to deploy the project from your current directory.

Select the Vercel account (if you have more than one) you want your project deployed to.
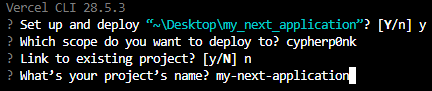
Input “N” to create a new project on Vercel.

Give the project a name. This will be added before the domain “vercel.app”.
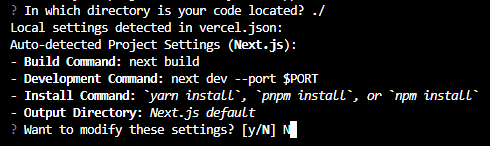
Specify the location of your code by inputting ./, which is the root of the project directory.

Vercel can detect that the application is a Next.js project. Input “N” to use the default build commands for running Next.js.
And that’s it! Vercel is that easy to deploy. To visit your new Next.js website, type in the name you gave to the project and “vercel.app” into your browser; e.g., “my-next-application.vercel.app”.
Vercel also creates a new “.vercel” folder with a package.json file. This file contains the origin and project IDs for your deployed Next.js application. The IDs help in pushing changes from your local machine to Vercel. To use them, run the command:
vercel --prodAdding Environment Variables
To add your environment variables to the deployed application, run the following commands on your terminal:
- For Netlify run:
netlify env:set YOUR_ENV_VAR "VALUE"- For Vercel run:
vercel env add YOUR_ENV_VARYou will be asked for the value of the environment variable and the environment to add the variable to:
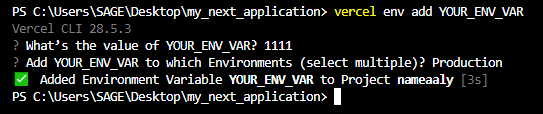
You have now successfully added environment variables to your deployed Next.js application from the comfort of your command line :).
Conclusion
Netlify and Vercel are great platforms to host your Next.js application. Vercel, in particular, always adds new features to make the deployment process easier for developers since Next.js is their product.
A TIP FROM THE EDITOR: For more options, consider our Alternatives To Netlify For Deploying Front-End Apps article.
Gain Debugging Superpowers
Unleash the power of session replay to reproduce bugs and track user frustrations. Get complete visibility into your frontend with OpenReplay, the most advanced open-source session replay tool for developers.