Implementing authentication in Remix applications with Supabase

Authentication is an essential part of many applications as it provides a form of security to users and helps personalise the user experience. Most applications today have authentication access to restrict users to certain parts of an application.
In this article, we will be looking at implementing an authentication system with Remix and Supabase.
Getting started with Remix
Remix is a full stack web application framework created by Ryan Florence and Michael Jackson, the developers behind the popular React library React Router. It is similar to Next.js as they share a similar file-based routing system, data loading techniques, and they allow you to interact with sessions and cookies. However, unlike Next.js, Remix will enable you to manipulate cookies and sessions out of the box.
To get started with Remix you’ll need:
- Node.js v14 or greater,
- npm 7 or greater
- Code editor
Follow the steps below to get a Remix project running on your machine
- Open a terminal and run the code below
npx create-remix@latest- On the next prompt type (“y”) to proceed
- Specify the directory to install the remix application
- Select Remix App Server on the “Where do you want to deploy” prompt. The deployment target can always be changed
- Select “JavaScript” on the next prompt
- Enter (“Y”) on the last prompt for the installer to install the packages
After installation, navigate to the project directory and run the code below to start the remix app development server
npm run devOpen a browser, and navigate to https:localhost:3000 to access the web application

Getting Started with Supabase
Supabase is an open-source alternative to Firebase and provides a platform that includes Auth, Database, and Storage as a service to developers. At the heart of the Supabase products is a PostgreSQL database, and it powers all the products. For this article, we will focus on Authentication and Database.
Supabase provides various Authentication methods that can be integrated into a web application. They include;
- Email & password.
- Magic links (one-click logins).
- Social providers.
- Phone logins
To get started with Supabase, you have to create a Supabase project. Follow the steps below to get a Supabase project up and running
- Visit Supabase
- Create an account
- Click on “New project”
You’ll have to wait a bit for the project to be created. After creating the project we need to get API Key and URL to be used in the web application.
- Go to the “Settings” section.
- Click “API” in the sidebar.
- Copy the URL in the Configuration section.
- Copy the “service secret” key on “Project API Keys” section.
Keeps these keys safely, as we will be using them in the next section
Adding Supabase to Remix
Supabase has an official library that can be used in JavaScript applications. The library exposes an API that allows us to communicate with our Supabase project. Run the code below to install it in your Remix application.
npm install @supabase/supabase-jsAfter installation, create a .env file in the root of the Remix application and paste the code below
SUPABASE_URL=<SUPABASE_PROJECT_URL>
SUPABASE_SECRET_KEY=<SUPABASE_SERVICE_SECRET_KEY>
Replace the placeholders with the keys copied earlier from Supabase.
Note: Never commit the .env file to a repository, as it is meant to keep your secret keys away from the public.
The next step is to initialize Supabase in our application. Create a supabase.server.js file in the app directory and paste the code below
import { createClient } from '@supabase/supabase-js'
const supabaseUrl = process.env.SUPABASE_URL
const supabaseSecretKey = process.env.SUPABASE_SECRET_KEY
export const supabase = createClient(supabaseUrl, supabaseSecretKey)
You might wonder about the .server naming convention. Remix ensures that files that append .server to its name never end up in the browser, so when Remix compiles the files, the supabase.server.js file will be skipped.
Adding Tailwind to Remix
We will be styling our application with Tailwind CSS as it is the most popular way of styling a Remix application due to its inline styling, and it can generate a CSS file for Remix to import.
Run the code below to install the libraries required for using tailwind in Remix
npm install -D npm-run-all tailwindcssNext, run the code below in a terminal to generate a Tailwind configuration file
npx tailwindcss initThis generates a tailwind.config.js file in the root of our Remix application. Open the file and replace the content with the code below
module.exports = {
  content: ["./app/**/*.{ts,tsx,jsx,js}"],
  theme: {
    extend: {},
  },
  plugins: [],
};
I’ve modified the content property, so tailwind will know which files to generate classes from.
Open the package.json file and add the code below to the scripts property
{
  // ...
  scripts: {
    build: "run-s build:*",
    "build:css": "npm run generate:css -- --minify",
    "build:remix": "remix build",
    dev: "run-p dev:*",
    "dev:css": "npm run generate:css -- --watch",
    "dev:remix": "remix dev",
    "generate:css": "npx tailwindcss -o ./app/tailwind.css",
    postinstall: "remix setup node",
    start: "remix-serve build",
  },
  // ...
  }
I’ve added scripts to generate tailwind.css stylesheet and watch for changes during development and also a production build.
Now, go to app/root.jsx and add the code below to import the generated stylesheet into the Remix application
import styles from "./tailwind.css";

export const links: LinksFunction = () => [
  { rel: "stylesheet", href: styles },
];
We can now go ahead to use Tailwind classes in our Remix application.
Implementing Sign Up
In this section, we will be implementing the signup page. Remix uses a file-based routing system, so every file created in the routes directory is rendered in the browser. Go to the routes directory create a sign-up.jsx file and paste the code below
const SignUp = () => {
  return <div>SignUp</div>;
};
export default SignUp;
When a user visits the /sign-up up route the contents of this component will be rendered to the browser.
Before we start implementing the sign-up page, I want us to create a Layout component that other routes can reuse. Run the code below to achieve that
cd app
mkdir components
cd components
touch layout.jsx
The above code creates a layout.jsx in the app/components. Open the layout.jsx file and paste the code below
import { Form, useTransition } from "remix";
const Layout = ({ children, showSignOut }) => {
  const transition = useTransition();
  return (
    <div className="container mx-auto p-6">
      <header className="flex justify-between items-center">
        <h1 className="text-2xl font-light">
          Remix{" "}
          <strong className="font-bold">
            Supabase
          </strong>
        </h1>
        {showSignOut && (
          <Form action="/sign-out" method="post">
            <button
              type="submit"
              className="bg-blue-500 hover:bg-blue-700 text-white font-bold py-2 px-4 rounded focus:outline-none focus:shadow-outline mt-3"
              aria-live="polite"
              disabled={
                transition.state !== "idle"
              }
            >
              {transition.state !== "idle"
                ? "Loading..."
                : "Sign out"}
            </button>
          </Form>
        )}
      </header>
      <main className="w-full md:w-3/4 lg:w-2/4 mx-auto py-6 my-6">
        {children}
      </main>
    </div>
  );
};
export default Layout;
In this file, we’ve created a page with a header and a place to render content. You can notice we imported a Form component and a useTransition hook from Remix.
The Form is a component that allows us to perform data mutations. When the submit button is triggered, the data from the Form will be posted to the /sign-out route. The action prop is optional. If it isn’t present, the form data is posted to the same route in the form.
The useTransition hook provides information about page transitions. It provides a state property that tells us the stage of the transition. The transition state can be in any of these states (idle, submitting, loading). We can now use these states to customise our UI.
Now that we have our Layout component ready let’s create some helpful utilities that will come in handy when creating the SignUp component.
Run the code below to create an auth.js file and cookie.js file in app/utils/
cd app
mkdir utils
cd utils
touch auth.js
touch cookie.js
Open the cookie.js file and paste the code below
import { createCookie } from "remix";
const cookieOptions = {
  httpOnly: true,
  secure: false,
  sameSite: "lax",
  maxAge: 604_800,
};
const supabaseToken = createCookie("sb:token", {
  ...cookieOptions,
});
export default supabaseToken;
This is a helper file that helps us create a cookie stored on the user’s browser. The createCookie is a logical container for managing a browser cookie.
Next, open the auth.js file and paste the code below.
import { supabase } from "~/supabase.server";

export const createUser = async (data) => {
  const { user, error } =
    await supabase.auth.signUp({
      email: data?.email,
      password: data?.password,
    });
  const createProfile = await supabase
    .from("profiles")
    .upsert({
      id: user?.id,
      first_name: data?.firstName,
      last_name: data?.lastName,
      phone_number: data?.phoneNumber,
    });
  return { user: createProfile, error };
};
We’ve created a function to help create a user in this file. Two things happen here:
- First, we create a new user by calling the
supabase.auth.signUp, which accepts an email and password - Supabase doesn’t allow us to pass extra data to the
signUpmethod, so we callsupabase.from('profiles').upsert()to take the additional data and insert the data into aprofilestable if it doesn’t exist or update it if it does using the user id from the successful sign up as a reference.
You might wonder how we have access to a profiles table? We don’t, but we will create one now. Go back to Supabase and follow the steps below to create a profiles table.
- Navigate to the Supabase dashboard.
- Click on your project to open the project dashboard
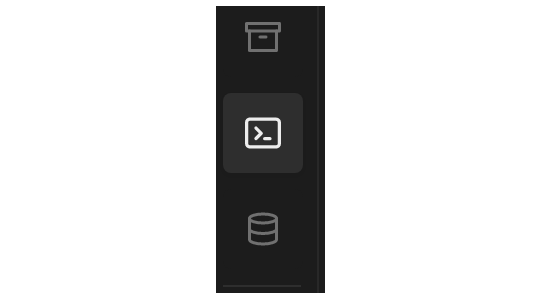
- Click on “SQL editor” in the side navigation
- Paste the code below in the editor
create table profiles (
  id uuid references auth.users,
  first_name text,
  last_name text,
  phone_number text
);- Click “Run” to execute the query
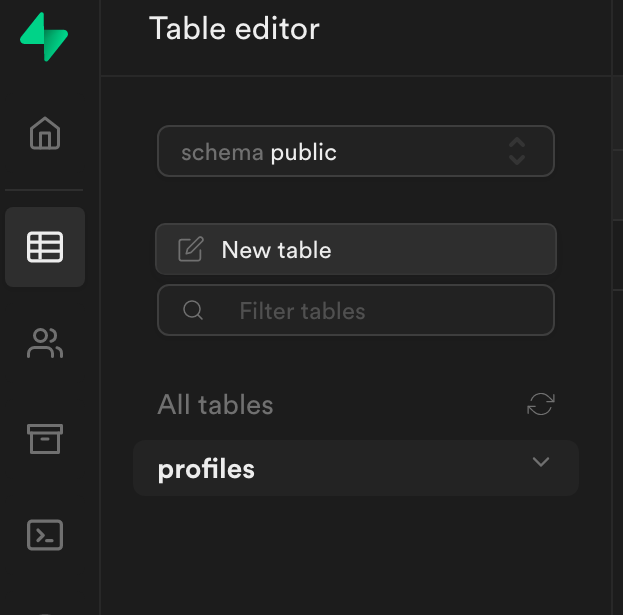
We’ve now created the profiles table. You can navigate to the tables editor to view the created table
Go back to the sign-up.js file and replace the code with the code below
import {
  Form,
  useActionData,
  json,
  useTransition,
} from "remix";
import { createUser } from "~/utils/auth";
import Layout from "~/components/layout";
export async function action({ request }) {
  const errors = {};
  try {
    const form = await request.formData();
    const firstName = form.get("firstName");
    const lastName = form.get("lastName");
    const email = form.get("email");
    const password = form.get("password");
    const phoneNumber = form.get("phoneNumber");
    // validate the fields
    if (!firstName) {
      errors.firstName = "First name is required";
    }
    if (!lastName) {
      errors.lastName = "Last name is required";
    }
    if (!email || !email.match(/^\S+@\S+$/)) {
      errors.email = "Email address is invalid";
    }
    if (!password || password.length < 6) {
      errors.password =
        "Password must be > 6 characters";
    }
    if (
      !phoneNumber ||
      !phoneNumber.match(/^\D*(\d\D*){9,14}$/)
    ) {
      errors.phoneNumber =
        "Phone number is invalid";
    }
    // return data if we have errors
    if (Object.keys(errors).length) {
      return json({ errors }, { status: 422 });
    }
    const { user, error } = createUser({
      email,
      password,
      firstName,
      lastName,
      phoneNumber,
    });
    if (user?.status === 201) {
      return json({ user }, { status: 200 });
    }
    throw error;
  } catch (error) {
    console.log("error", error);
    errors.server = error?.message || error;
    return json({ errors }, { status: 500 });
  }
}
const SignUp = () => {
  const data = useActionData();
  const transition = useTransition();
  return (
    <Layout>
      <h2 className="text-3xl font-light">
        Sign{" "}
        <strong className="font-bold">up</strong>
      </h2>
      <Form method="post" className="my-3">
        {data?.user && (
          <div
            className="mb-4 bg-green-100 border border-green-400 text-green-700 px-4 py-3 rounded relative"
            role="alert"
          >
            <strong className="font-bold">
              Congrats!{" "}
            </strong>
            <span className="block sm:inline">
              Your account has been registered.
              Please go to your email for
              confirmation instructions.
            </span>
          </div>
        )}
        <div className="mb-2">
          <label
            className="text-gray-700 text-sm font-bold mb-2"
            htmlFor="firstName"
          >
            First name
          </label>
          <input
            id="firstName"
            className="shadow appearance-none border rounded w-full py-2 px-3 text-gray-700 leading-tight focus:outline-none focus:shadow-outline"
            type="text"
            placeholder="Your first name"
            name="firstName"
          />
          {data?.errors?.firstName ? (
            <p className="text-red-500 text-xs italic">
              {data?.errors.firstName}
            </p>
          ) : null}
        </div>
        <div className="mb-2">
          <label
            className="text-gray-700 text-sm font-bold mb-2"
            htmlFor="lastName"
          >
            Last name
          </label>
          <input
            id="lastName"
            className="shadow appearance-none border rounded w-full py-2 px-3 text-gray-700 leading-tight focus:outline-none focus:shadow-outline"
            type="text"
            placeholder="Your last name"
            name="lastName"
          />
          {data?.errors?.lastName ? (
            <p className="text-red-500 text-xs italic">
              {data?.errors.lastName}
            </p>
          ) : null}
        </div>
        <div className="mb-2">
          <label
            className="text-gray-700 text-sm font-bold mb-2"
            htmlFor="email"
          >
            Email
          </label>
          <input
            id="email"
            className="shadow appearance-none border rounded w-full py-2 px-3 text-gray-700 leading-tight focus:outline-none focus:shadow-outline"
            type="email"
            placeholder="Your email"
            name="email"
          />
          {data?.errors?.email ? (
            <p className="text-red-500 text-xs italic">
              {data?.errors.email}
            </p>
          ) : null}
        </div>
        <div className="mb-2">
          <label
            className="text-gray-700 text-sm font-bold mb-2"
            htmlFor="password"
          >
            Password
          </label>
          <input
            id="password"
            className="shadow appearance-none border rounded w-full py-2 px-3 text-gray-700 leading-tight focus:outline-none focus:shadow-outline"
            type="password"
            name="password"
            placeholder="Your password"
          />
          {data?.errors?.password ? (
            <p className="text-red-500 text-xs italic">
              {data?.errors.password}
            </p>
          ) : null}
        </div>
        <div className="mb-2">
          <label
            className="text-gray-700 text-sm font-bold mb-2"
            htmlFor="phoneNumber"
          >
            Phone Number
          </label>
          <input
            id="phoneNumber"
            className="shadow appearance-none border rounded w-full py-2 px-3 text-gray-700 leading-tight focus:outline-none focus:shadow-outline"
            type="text"
            placeholder="Your phone number"
            name="phoneNumber"
          />
          {data?.errors?.phoneNumber ? (
            <p className="text-red-500 text-xs italic">
              {data?.errors.phoneNumber}
            </p>
          ) : null}
        </div>
        <div>
          <button
            type="submit"
            className="bg-blue-500 hover:bg-blue-700 text-white font-bold py-2 px-4 rounded focus:outline-none focus:shadow-outline mt-3"
            aria-live="polite"
          >
            {transition.state !== "idle"
              ? "Loading..."
              : "Sign up"}
          </button>
          {data?.errors?.server ? (
            <p className="text-red-500 text-xs italic">
              {data?.errors.server}
            </p>
          ) : null}
        </div>
      </Form>
    </Layout>
  );
};
export default SignUp;
Pardon the length of this file. Most are just the markup for the sign-up form. Let’s walk through it. A user submits the sign-up form in this component, which triggers the action function.
The action function is a server only function that runs when a non GET request is made to the server to handle data mutations and other actions. As I explained earlier in the Layout component, because we don’t provide an action prop to the Form component, the data from the form is submitted to the same route and triggers the action server function.
The request property passed to the action server function is an object that describes the request made to a server. We can get the form data from the request object, which we have done, and then perform validation as needed. If there is an error during validation, we use the json helper function to return a JSON response to the client.
If there aren’t validation errors, we go-ahead to create a new user by calling the helper function createUser. A confirmation email is sent to the user when a new user is created on Supabase. Supabase also returns a success response to the client. If there is an error creating the user, Supabase returns an error.
We use the useActionData hook to get data from the action function that runs on the server. We can use this data to manipulate our UI. We conditionally display errors if the useActionData returns an error. We also show a success alert if the user was created successfully.
Save the file, navigate to the /sign-up route in your browser and test to see if it works
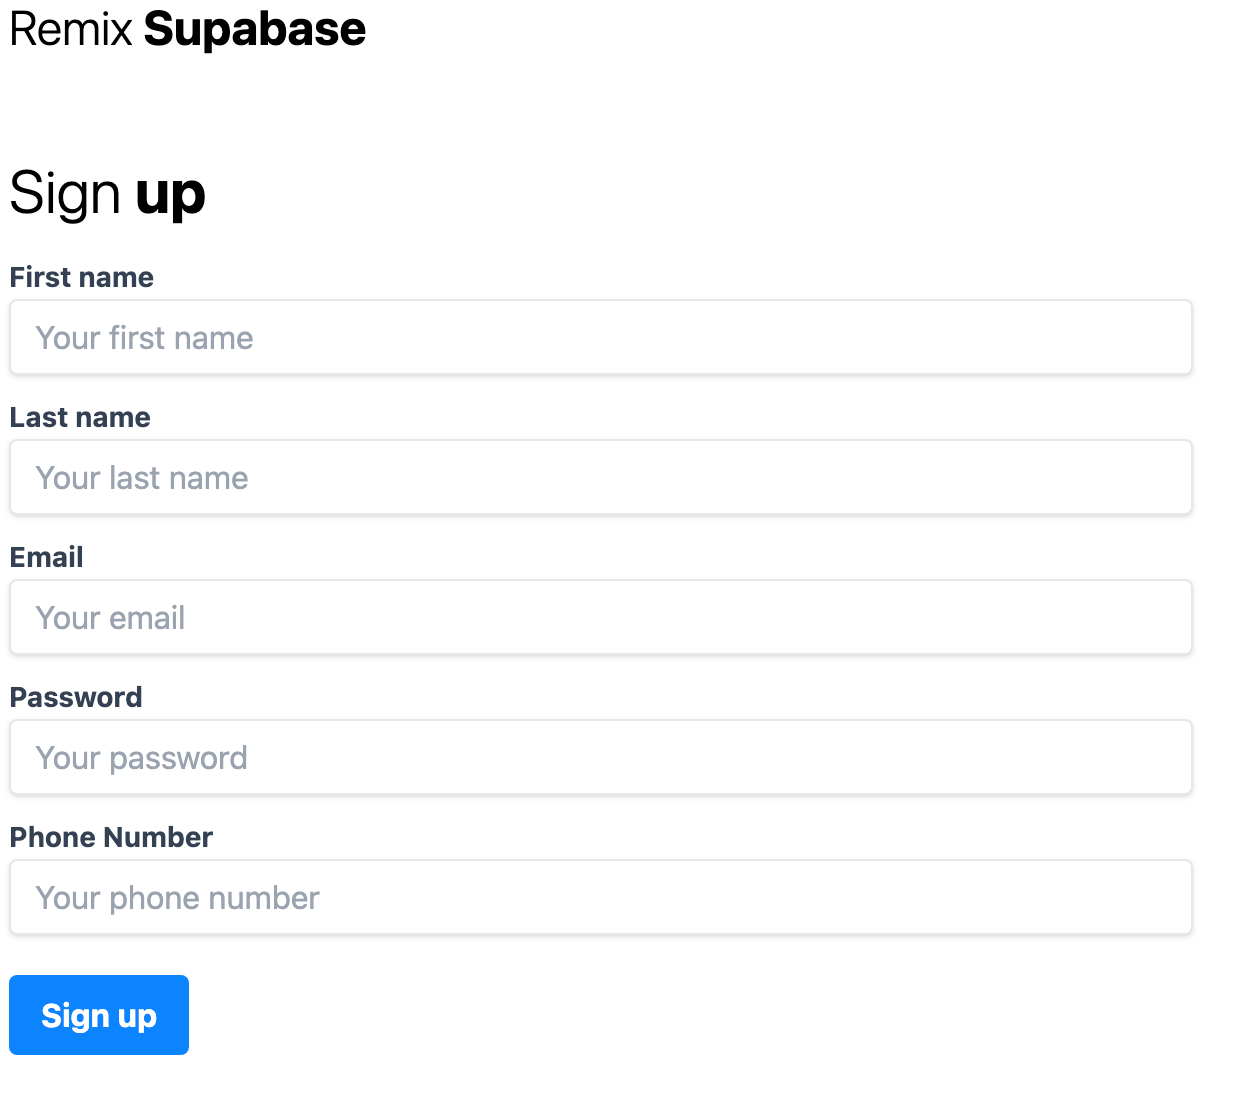
You’ll get a confirmation email with a link after successfully submitting the form, redirecting to localhost:3000. The URL the confirmation link redirects to can be changed by going to the Authentication section of your Project Settings on Supabase.
Open Source Session Replay
OpenReplay is an open-source, session replay suite that lets you see what users do on your web app, helping you troubleshoot issues faster. OpenReplay is self-hosted for full control over your data.

Start enjoying your debugging experience - start using OpenReplay for free.
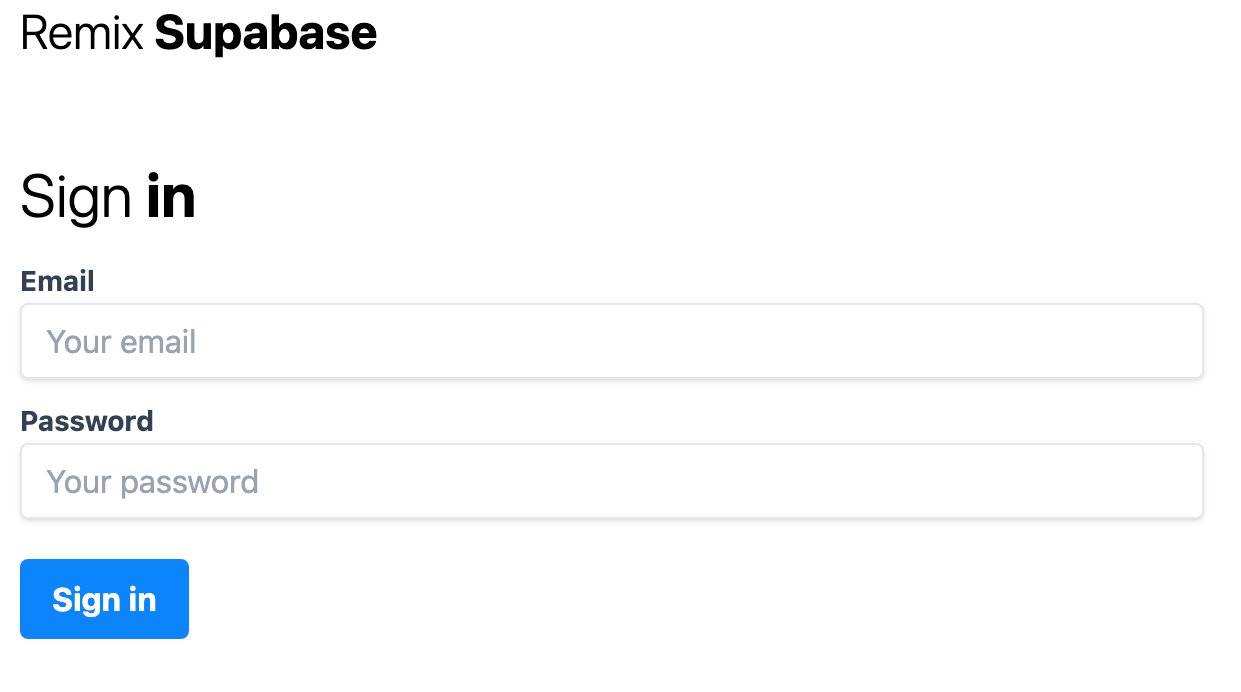
Implementing Sign in
We now have our Sign up page up and running let’s go ahead to implement the sign in page.
Open the auth.js file we created and add the code below
// existing code ...
export const signInUser = async ({
  email,
  password,
}) => {
  const { data, error } =
    await supabase.auth.signIn({
      email,
      password,
    });
  return { data, error };
};
This is a wrapper function for the supabase.auth.signIn which takes an email and password as parameters and attempts to sign in the user. It returns data or error depending on if it executes successfully.
Create a sign-in.jsx file in the routes directory and paste the code below
import {
  Form,
  useActionData,
  json,
  redirect,
  useTransition,
} from "remix";
import supabaseToken from "~/utils/cookie";
import Layout from "~/components/layout";
import { signInUser } from "~/utils/auth";
export async function action({ request }) {
  const errors = {};
  try {
    const form = await request.formData();
    const email = form.get("email");
    const password = form.get("password");
    // validate the fields
    if (
      typeof email !== "string" ||
      !email.match(/^\S+@\S+$/)
    ) {
      errors.email = "Email address is invalid";
    }
    if (
      typeof password !== "string" ||
      password.length < 6
    ) {
      errors.password =
        "Password must be > 6 characters";
    }
    // return data if we have errors
    if (Object.keys(errors).length) {
      return json(errors, { status: 422 });
    }
    // otherwise create the user and redirect
    const { data, error } = await signInUser({
      email,
      password,
    });
    if (data) {
      return redirect("/", {
        headers: {
          "Set-Cookie":
            await supabaseToken.serialize(
              data.access_token,
              {
                expires: new Date(
                  data?.expires_at
                ),
                maxAge: data.expires_in,
              }
            ),
        },
      });
    }
    throw error;
  } catch (error) {
    console.log("error", error);
    errors.server = error?.message || error;
    return json(errors, { status: 500 });
  }
}
const SignIn = () => {
  const errors = useActionData();
  const transition = useTransition();
  return (
    <Layout>
      <h2 className="text-3xl font-light">
        Sign{" "}
        <strong className="font-bold">in</strong>
      </h2>
      <Form
        method="post"
        className="my-3 lg:w-3/4"
      >
        <div className="mb-2">
          <label
            className="text-gray-700 text-sm font-bold mb-2"
            htmlFor="email"
          >
            Email
          </label>
          <input
            id="email"
            className="shadow appearance-none border rounded w-full py-2 px-3 text-gray-700 leading-tight focus:outline-none focus:shadow-outline"
            type="email"
            placeholder="Your email"
            name="email"
          />
          {errors?.email ? (
            <p className="text-red-500 text-xs italic">
              {errors.email}
            </p>
          ) : null}
        </div>
        <div className="mb-2">
          <label
            className="text-gray-700 text-sm font-bold mb-2"
            htmlFor="password"
          >
            Password
          </label>
          <input
            id="password"
            className="shadow appearance-none border rounded w-full py-2 px-3 text-gray-700 leading-tight focus:outline-none focus:shadow-outline"
            type="password"
            name="password"
            placeholder="Your password"
          />
          {errors?.password ? (
            <p className="text-red-500 text-xs italic">
              {errors.password}
            </p>
          ) : null}
        </div>
        <div>
          <button
            type="submit"
            className="bg-blue-500 hover:bg-blue-700 text-white font-bold py-2 px-4 rounded focus:outline-none focus:shadow-outline mt-3"
            aria-live="polite"
            disabled={transition.state !== "idle"}
          >
            {transition.state !== "idle"
              ? "Loading..."
              : "Sign in"}
          </button>
          {errors?.server ? (
            <p className="text-red-500 text-xs italic">
              {errors.server}
            </p>
          ) : null}
        </div>
      </Form>
    </Layout>
  );
};
export default SignIn;
Like our SignUp component, when a user submits the form, the action server function is called, validating the form and attempting to sign in the user. If the request is successful, we return a redirect response using the redirect helper function. We also use supabaseToken.serialize() to serialize the access_token returned by Supabase as a string and store the cookie on the user browser so we can use it later to authenticate requests made to Supabase.
Implementing the Dashboard
After a user signs in successfully, they are taken to the homepage containing sample data. Let’s change that.
Open the auth.js file in the app/utils directory and add the code below
// ...
import supabaseToken from "~/utils/cookie";

const getToken = async (request) => {
  const cookieHeader =
    request.headers.get("Cookie");
  return await supabaseToken.parse(cookieHeader);
};

const getUserByToken = async (token) => {
  supabase.auth.setAuth(token);
  const { user, error } =
    await supabase.auth.api.getUser(token);
  return { user, error };
};

export const isAuthenticated = async (
  request,
  validateAndReturnUser = false
) => {
  const token = await getToken(request);
  if (!token && !validateAndReturnUser)
    return false;
  if (validateAndReturnUser) {
    const { user, error } = await getUserByToken(
      token
    );
    if (error) {
      return false;
    }
    return { user };
  }
  return true;
};

export const getUserData = async (userId) => {
  const { data, error } = await supabase
    .from("profiles")
    .select()
    .eq("id", userId)
    .single();
  return { data, error };
};

//...
We’ve added four new helper methods to our auth.js file:
getToken: This gets the cookie from the request object and parses it to return it’s valuegetUserByToken: Using the parsed cookie gotten from thegetTokenfunction which is anaccess_tokenof the user. ThegetUserTokenreturns the currently authenticated user.isAuthenticated: This function checks if the stored cookie is valid and if it is either returns a boolean or the user data if the cookie is valid, and the*validateAndReturnUser*is truegetUserData: This takes a unique user id and uses it to fetch a record from the profiles table we created on Supabase. We use the id returned from the authentication as a reference on the profiles table. So each authentication record on Supabase is connected to a profile record.
Open the index.jsx component in the routes directory and paste the code below
import {
  redirect,
  useLoaderData,
  json,
} from "remix";
import Layout from "~/components/layout";
import {
  getUserData,
  isAuthenticated,
} from "~/utils/auth";
export const loader = async ({ request }) => {
  let errors = {};
  try {
    const userAuthenticated =
      await isAuthenticated(request, true);
    if (!userAuthenticated) {
      return redirect("/sign-in");
    }
    const { user } = userAuthenticated;
    const { data, error } = await getUserData(
      user?.id
    );
    if (data) {
      console.log("here");
      return json(
        { user: { ...data, email: user?.email } },
        { status: 200 }
      );
    }
    throw error;
  } catch (error) {
    console.log("error", error);
    errors.server = error?.message || error;
    return json({ errors }, { status: 500 });
  }
};

const Index = () => {
  const data = useLoaderData();
  return (
    <Layout showSignOut={true}>
      <h2 className="text-3xl font-light">
        Welcome{" "}
        <strong className="font-bold">
          {data?.user?.first_name}
        </strong>
        ,
      </h2>
      <section className="max-w-sm w-full lg:max-w-full my-6">
        <div className="mb-2">
          <p className="text-gray-700 text-sm font-bold">
            Full name
          </p>
          <p>{`${data?.user?.first_name} ${data?.user?.last_name}`}</p>
        </div>
        <div className="mb-2">
          <p className="text-gray-700 text-sm font-bold">
            Email
          </p>
          <p>{data?.user?.email}</p>
        </div>
        <div className="mb-2">
          <p className="text-gray-700 text-sm font-bold">
            Phone Number
          </p>
          <p>{data?.user?.phone_number}</p>
        </div>
      </section>
    </Layout>
  );
};
export default Index;
Unlike our SignUp and SignIn component, we are using a loader server function here instead of the action server function. The difference is the loader function is called before the component is rendered, while the action function, as the name implies, needs an action to be performed. Think of the loader function as a useEffect hook set to run once on the server.
We then check if a user is authorised to view the dashboard page using the isAuthenticated helper function we created earlier. If the user isn’t, we redirect them back to the /sign-in page. If the user is authenticated, we get the user data and use it to fetch the profile information, returned by the getUserData function.
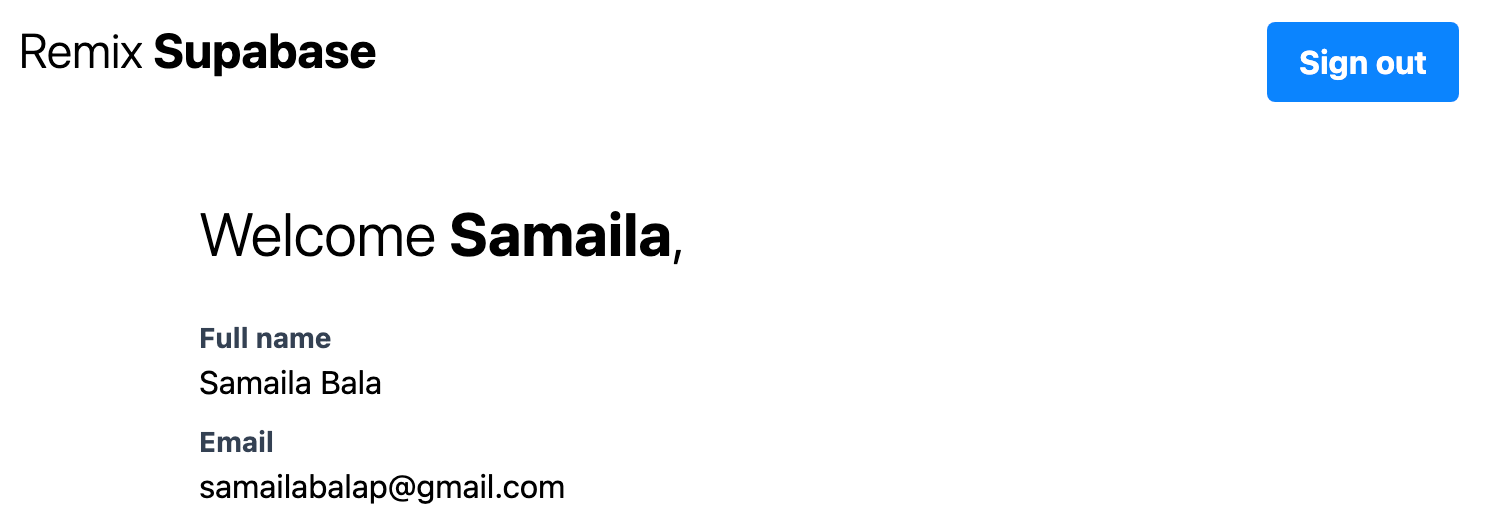
Refresh the home page and if the user is signed in, you should see a Dashboard page similar to the screenshot below
Implementing Sign out
You can see a sign-out button on our dashboard page. You will be taken to a 404 page if you click on the button because we don’t have a /sign-out route. Before we create that go back to the auth.js file and add the code below
//... existing code
export const signOutUser = async (request) => {
  const token = await getToken(request);
  return await supabase.auth.api.signOut(token);
};
So what happens in this function? We get the access_token, parsed from the cookie in the request object, and call the supabase.auth.api.signOut() to invalidate the token.
Now create a sign-out.jsx file in the routes directory and paste the code below
import { redirect } from "remix";
import supabaseToken from "~/utils/cookie";
import { signOutUser } from "~/utils/auth";
export const action = async ({ request }) => {
  try {
    await signOutUser(request);
    return redirect("/sign-in", {
      headers: {
        "Set-Cookie":
          await supabaseToken.serialize("", {
            maxAge: 0,
          }),
      },
    });
  } catch (error) {
    console.log(error);
  }
};
We aren’t rendering any component in the /sign-out route. We just redirect the user back to the sign-out page and remove the cookie we stored in the user browser.
Conclusion
We’ve come to the end of the article. You can now test end to end. A user should be able to
- Create a new account
- Sign in to the account
- View the dashboard, which contains their profile info if authentication was successful
- Sign out
Remix is attempting to redefine how we build web applications by fixing the pitfalls of React while utilising its best features. When combined with Supabase, we can build complete solutions without worrying about database architecture and implementing our custom authentication systems. Endeavour to read the Remix docs to see what more can be achieved as this article only scratches the surface. You can extend the application we’ve built by adding a reset password feature which I intentionally left out. I’ll love to see what you come up with. The complete code of this article can be accessed here.