Implementing Facebook Authentication for Flutter

Authentication is a security process whereby a user has to provide their identity to access a particular application, system, or a piece of specific information or resource. In terms of computer security, authentication is the process or action of verifying the identity of a user. Without authentication, computer networks are open to attacks, and a hacker might want to gain access to confidential information or resources.
Flutter provides us with a package known as flutter_facebook_auth, where we can easily add a Facebook login to our Flutter application. It provides us with a lot of features which include:
- Login on IOS, Android, and Web
- Express login on Android
- Provide an access token to make a request to the Graph API and a lot more.
For the complete documentation, head to this page.
In this article, we will set up an app to show how to use this package in our Flutter application.
Creating Our Flutter Application
To get started, head to GitHub and clone the starter files created for this project. Open the pubspec.yaml file and add flutter_facebook_auth under the cupertino_icons or run flutter pub add flutter_facebook_auth on your terminal.
name: facebook_auth
description: A new Flutter project.

publish_to: `none

version: 1.0.0+1

environment:
  sdk: ">=2.17.6 <3.0.0"

dependencies:
  flutter:
    sdk: flutter

  cupertino_icons: ^1.0.2
  flutter_facebook_auth: ^4.4.0+1 # Add This Line

dev_dependencies:
  flutter_test:
    sdk: flutter

  flutter_lints: ^2.0.0

flutter:
  uses-material-design: true
Adding Dependencies to Our App
Before adding functionalities to our app, we need to configure the project root files to grant us access to Facebook Login. On your browser, head to Facebook Developer to create a Facebook Developer Account and start creating our app.
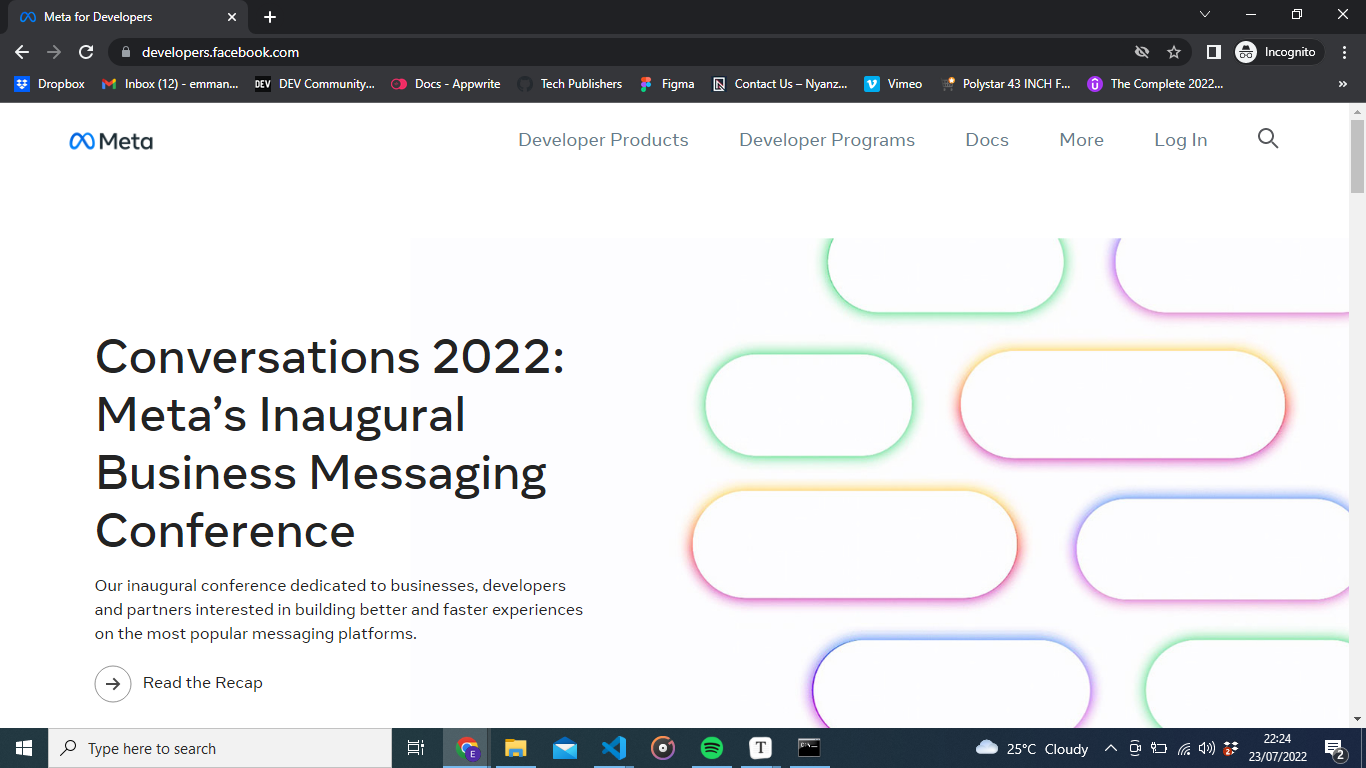
Click the login button. This will prompt you to log in using your Facebook details.
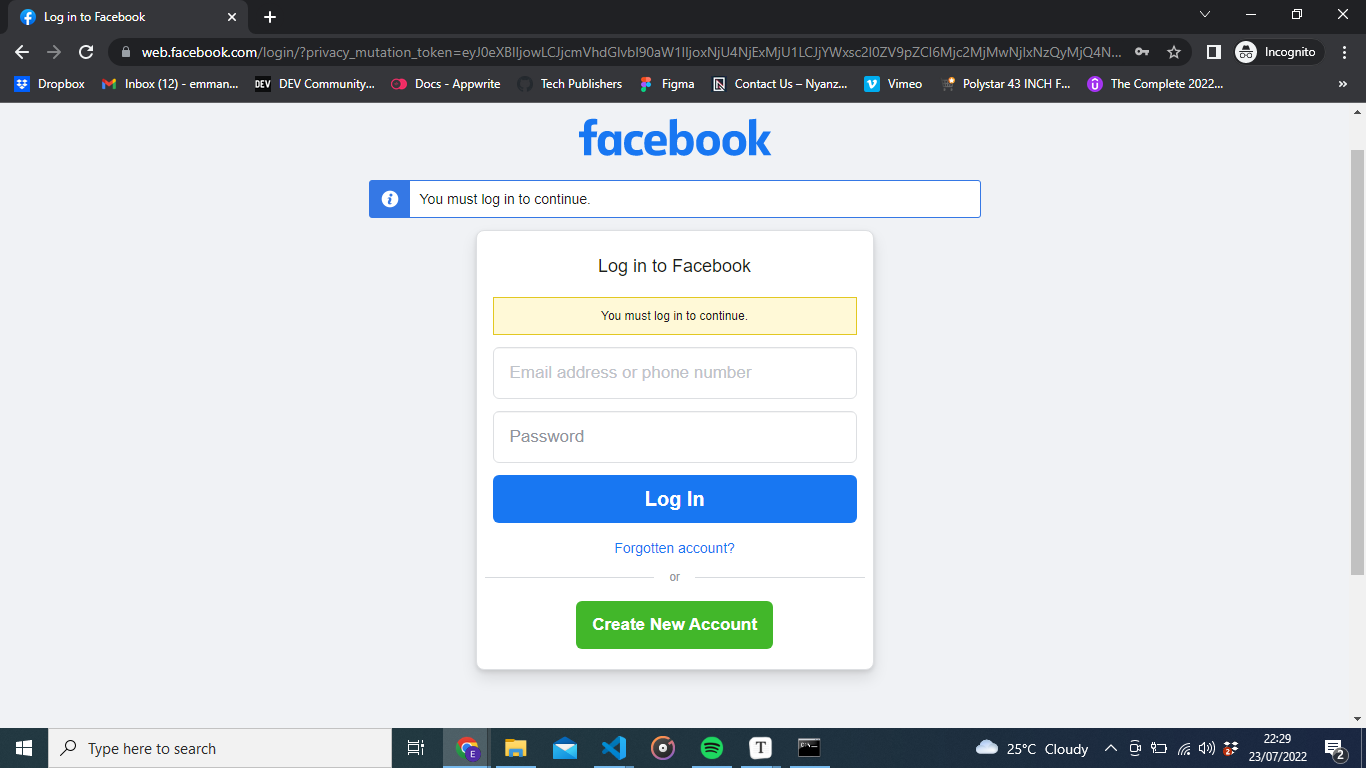
Enter your login details and hit the Log In button to continue.
Click on My Apps, and we can start creating our app on Facebook.
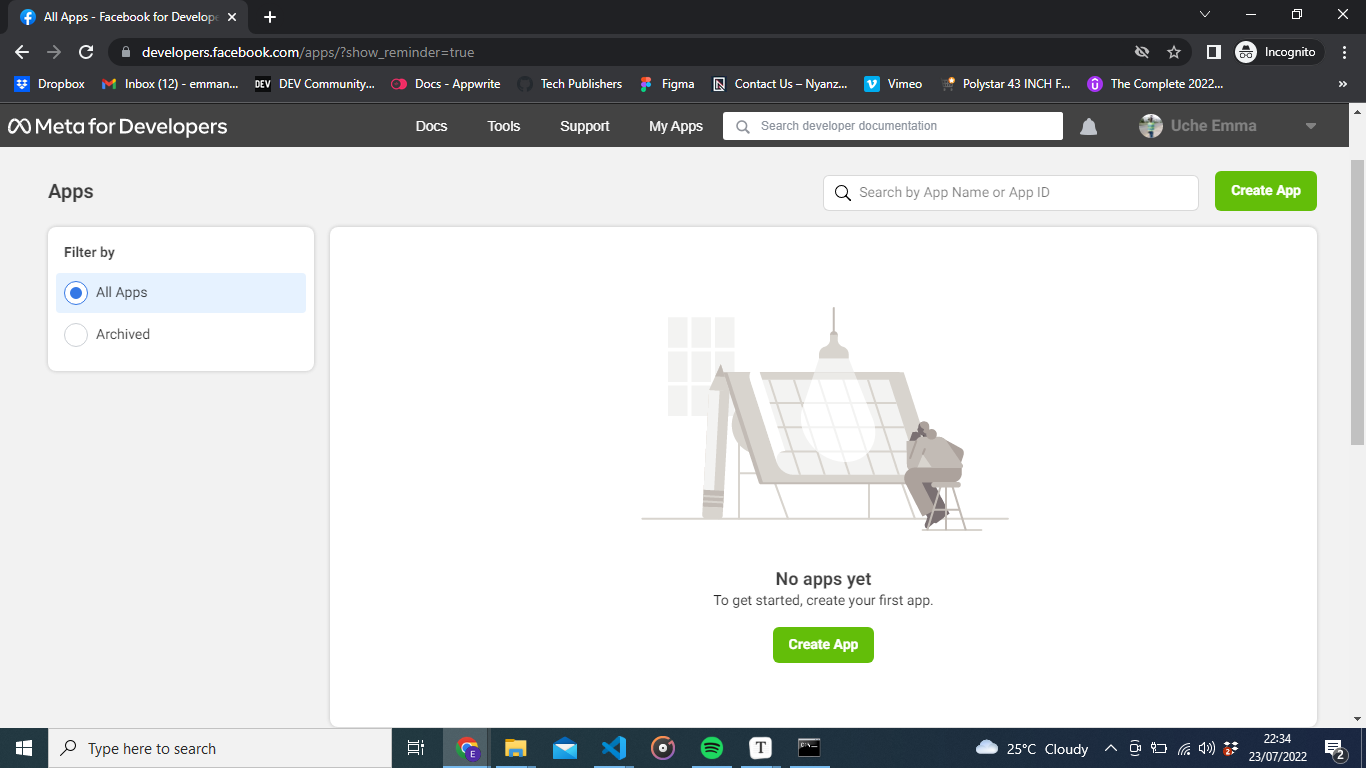
Here we have no app created. Hit the Create App button so we can start creating our app
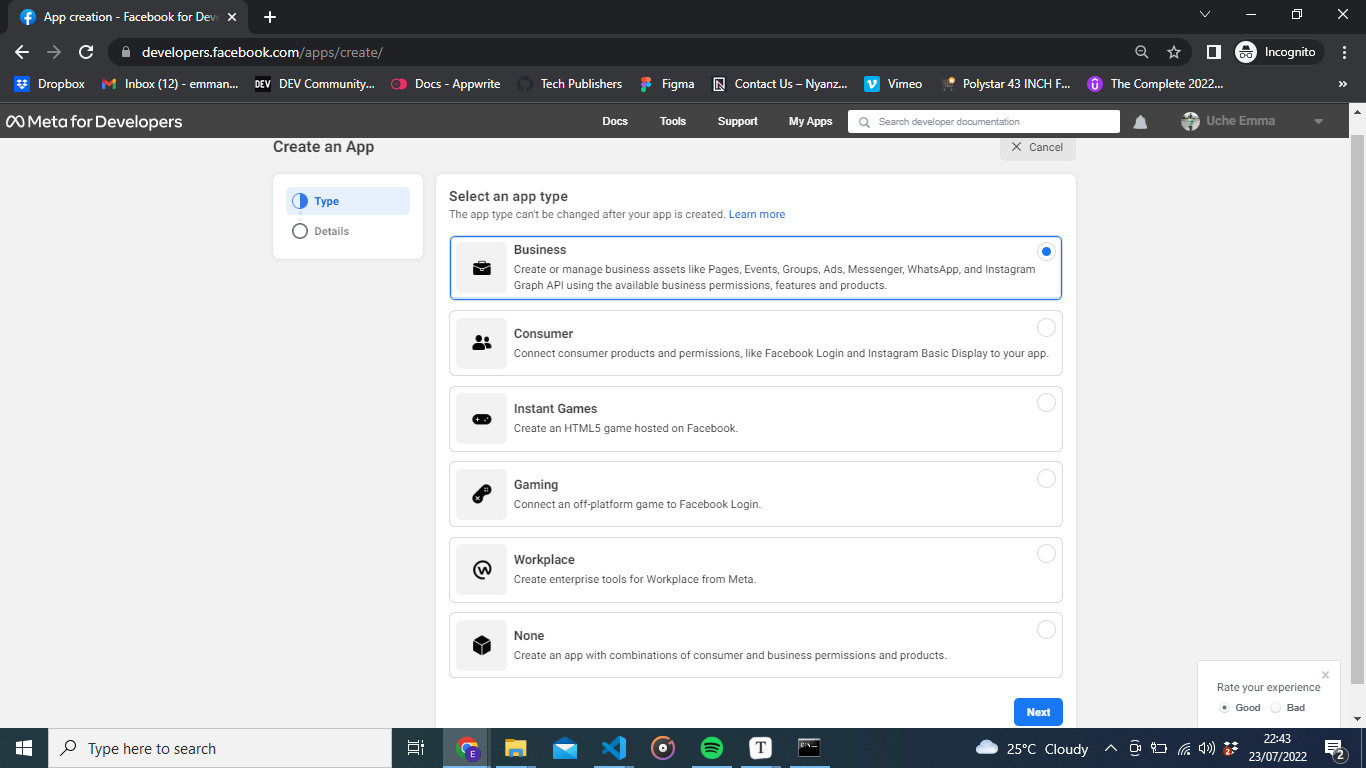
Here we can choose any app type. I am going to choose Business for this tutorial and hit Next.
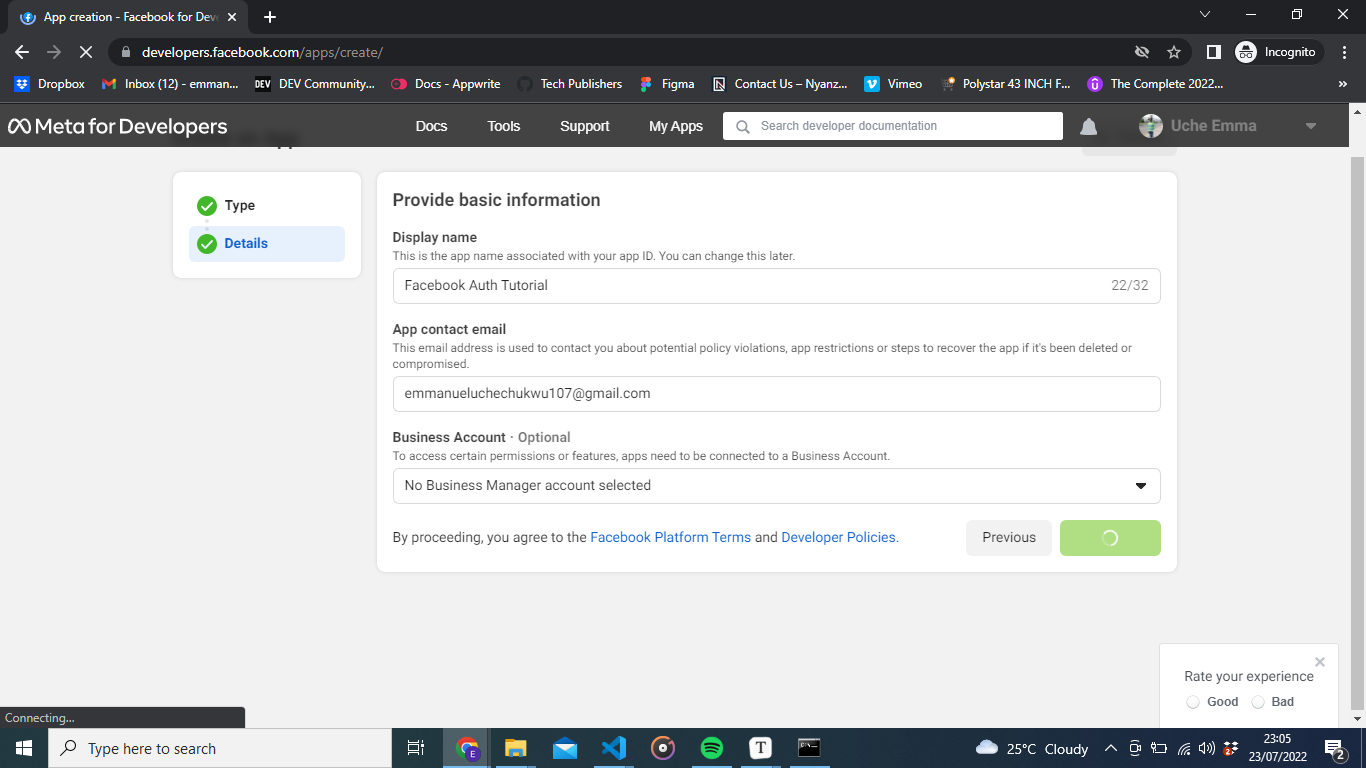
Add a display name of your choice and hit create app to continue. You might be prompted to enter your password, enter your password, and click Submit.
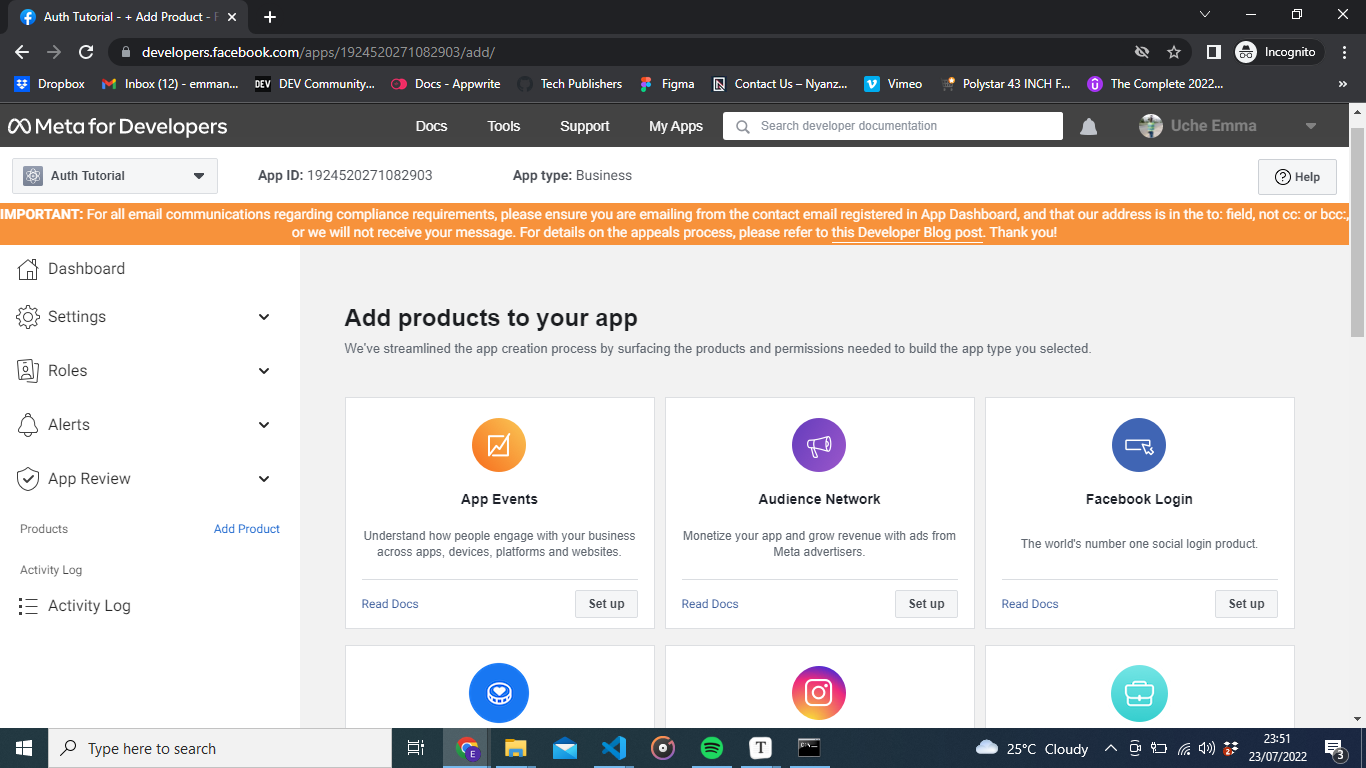
Here you can see that our app has been created. We have our app name on the top left and our app id. Click on the Facebook Login so we can set up the Facebook login feature on our app.
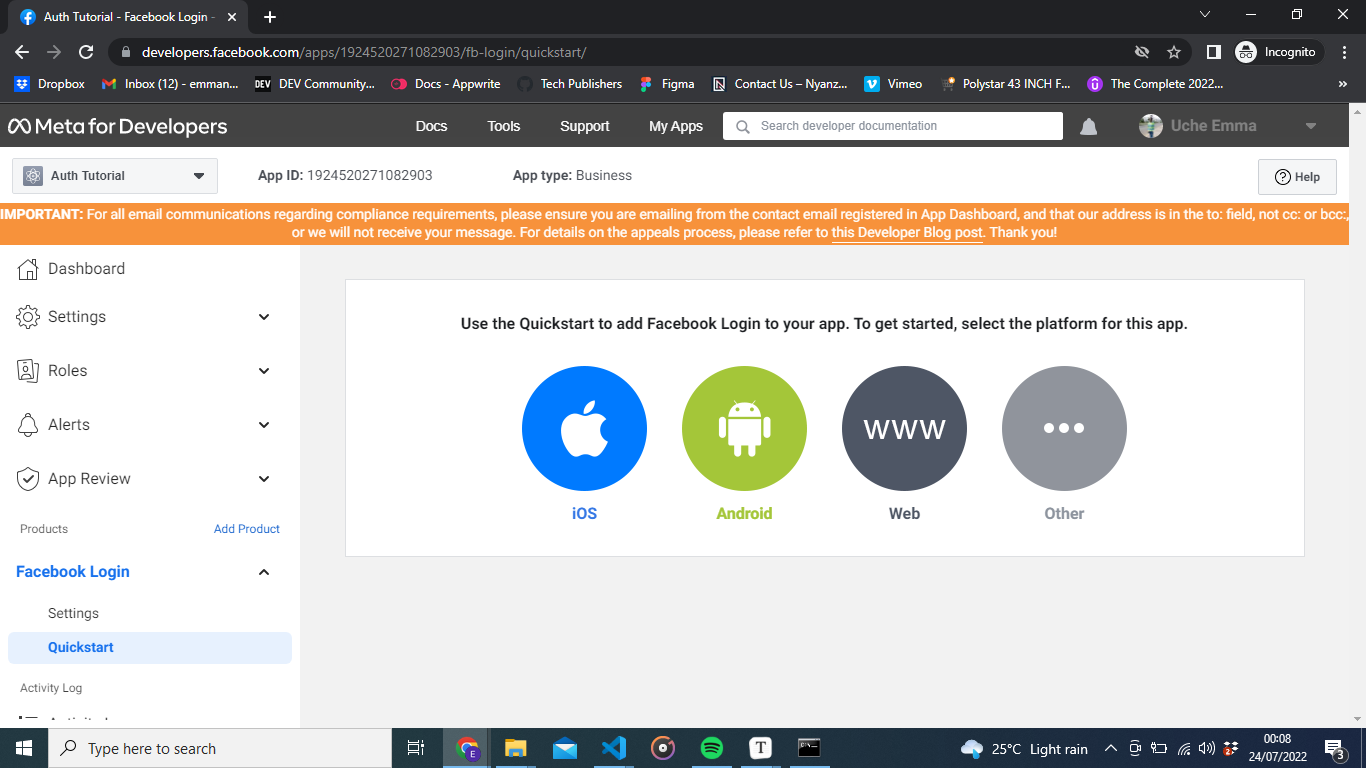
I will be working on the android platform for this tutorial. Click on the Android logo to continue.
In your project-level > build.gradle file add the code to the buildscript{repositories{ }}
buildscript {
    ext.kotlin_version = '1.6.10'
    repositories {
        google()
        mavenCentral() // Add Here
    }

    dependencies {
        classpath 'com.android.tools.build:gradle:7.1.2'
        classpath "org.jetbrains.kotlin:kotlin-gradle-plugin:$kotlin_version"
    }
}

allprojects {
    repositories {
        google()
        mavenCentral() // Add Here
    }
}

rootProject.buildDir = '../build'
subprojects {
    project.buildDir = "${rootProject.buildDir}/${project.name}"
}
subprojects {
    project.evaluationDependsOn(':app')
}

task clean(type: Delete) {
    delete rootProject.buildDir
}
And in your app-level>build.gradle file, add the code to the dependencies section.
def localProperties = new Properties()
def localPropertiesFile = rootProject.file('local.properties')
if (localPropertiesFile.exists()) {
localPropertiesFile.withReader('UTF-8') { reader ->
localProperties.load(reader)
}
}
def flutterRoot = localProperties.getProperty('flutter.sdk')
if (flutterRoot == null) {
throw new GradleException("Flutter SDK not found. Define location with flutter.sdk in the local.properties file.")
}
def flutterVersionCode = localProperties.getProperty('flutter.versionCode')
if (flutterVersionCode == null) {
flutterVersionCode = '1'
}
def flutterVersionName = localProperties.getProperty('flutter.versionName')
if (flutterVersionName == null) {
flutterVersionName = '1.0'
}
apply plugin: 'com.android.application'
apply plugin: 'kotlin-android'
apply from: "$flutterRoot/packages/flutter_tools/gradle/flutter.gradle"
android {
compileSdkVersion flutter.compileSdkVersion
ndkVersion flutter.ndkVersion
compileOptions {
sourceCompatibility JavaVersion.VERSION_1_8
targetCompatibility JavaVersion.VERSION_1_8
}
kotlinOptions {
jvmTarget = '1.8'
}
sourceSets {
main.java.srcDirs += 'src/main/kotlin'
}
defaultConfig {
// TODO: Specify your own unique Application ID (https://developer.android.com/studio/build/application-id.html).
applicationId "com.example.facebook_auth"
// You can update the following values to match your application needs.
// For more information, see: https://docs.flutter.dev/deployment/android#reviewing-the-build-configuration.
minSdkVersion flutter.minSdkVersion
targetSdkVersion flutter.targetSdkVersion
versionCode flutterVersionCode.toInteger()
versionName flutterVersionName
}
buildTypes {
release {
// TODO: Add your own signing config for the release build.
// Signing with the debug keys for now, so `flutter run --release` works.
signingConfig signingConfigs.debug
}
}
}
flutter {
source '../..'
}
dependencies {
implementation "org.jetbrains.kotlin:kotlin-stdlib-jdk7:$kotlin_version"
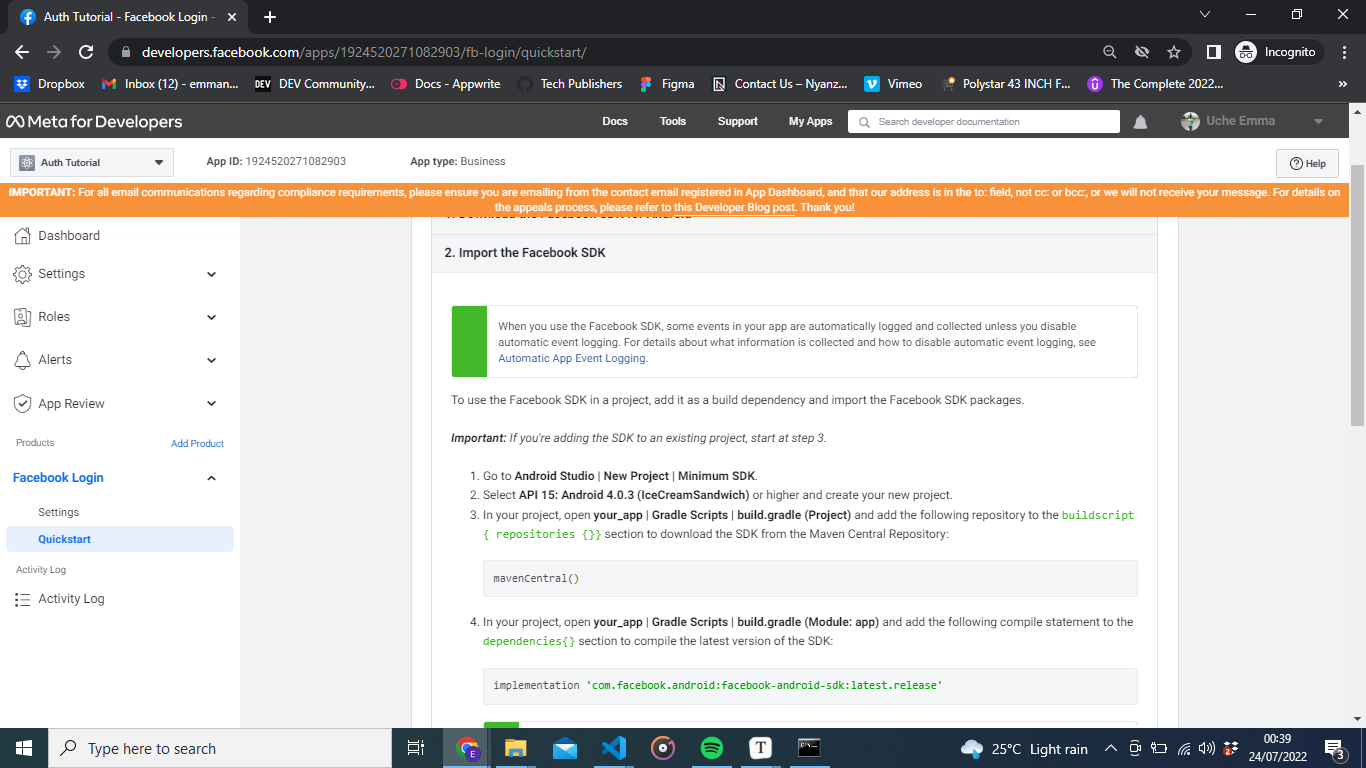
implementation 'com.facebook.android:facebook-android-sdk:latest.release' // Add This Line Here.
}Click Next If you have done that successfully.

In step 3, enter the Package Name and the Default Activity Class Name as seen above. You can get your package name by going to your android>app>build.gradle file in your Flutter project.
Hit Save to continue setting up the app.
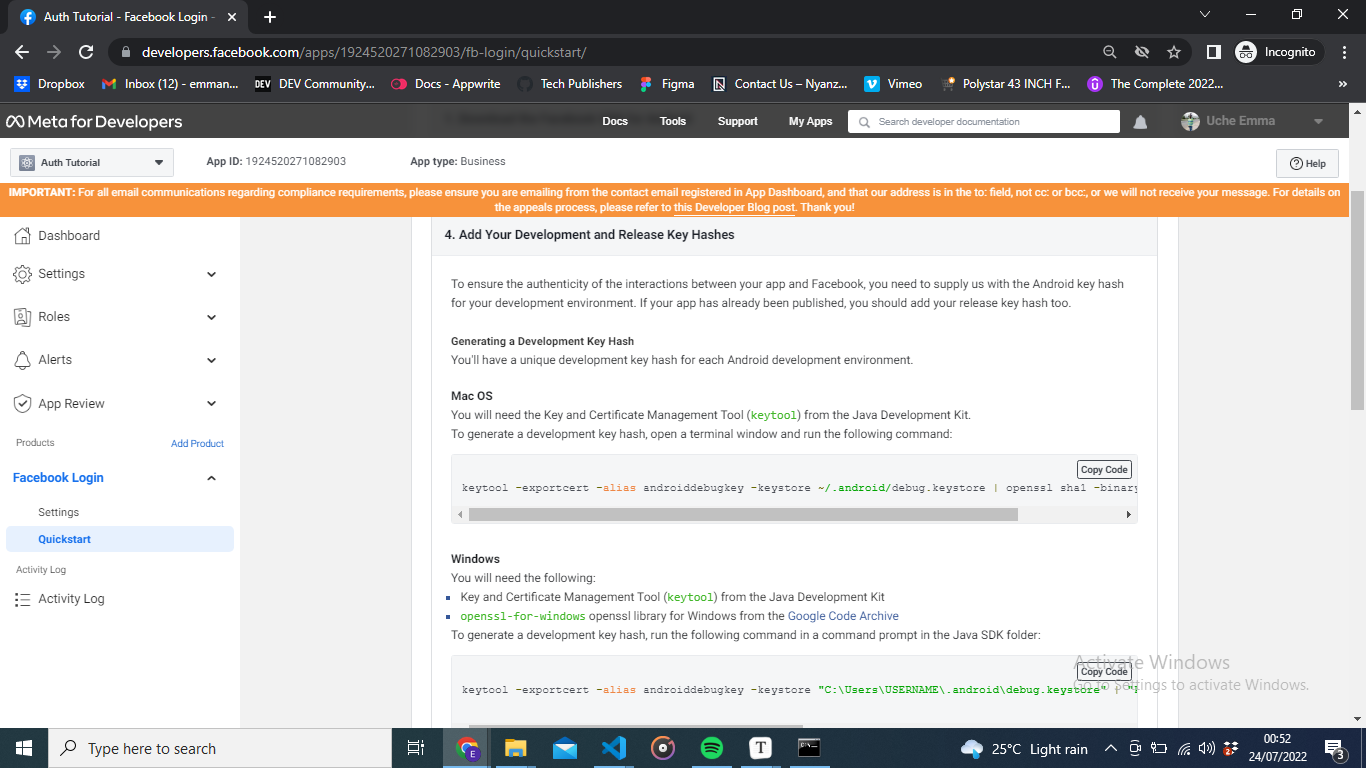
In step 4, we need to generate a development key hash to ensure the authenticity of the interaction between our app and Facebook. I am on a windows machine, so I will click on the openssl-for-windows and download and extract the zip file specific to my PC(32bit or 64bit). Copy the code below and paste it on your terminal.
keytool -exportcert -alias androiddebugkey -keystore "C:\Users\USERNAME\.android\debug.keystore" | "PATH_TO_OPENSSL_LIBRARY\bin\openssl" sha1 -binary | "PATH_TO_OPENSSL_LIBRARY\bin\openssl" base64Change the USERNAME to your own and add the path to the openss\bin folder. In my case, I have this:

Here, I changed the username to my system user and added the path to the openssl\bin folder. When prompted to input a password, use android. This will generate a key for you to copy and paste on the Key Hashes section on your web page.
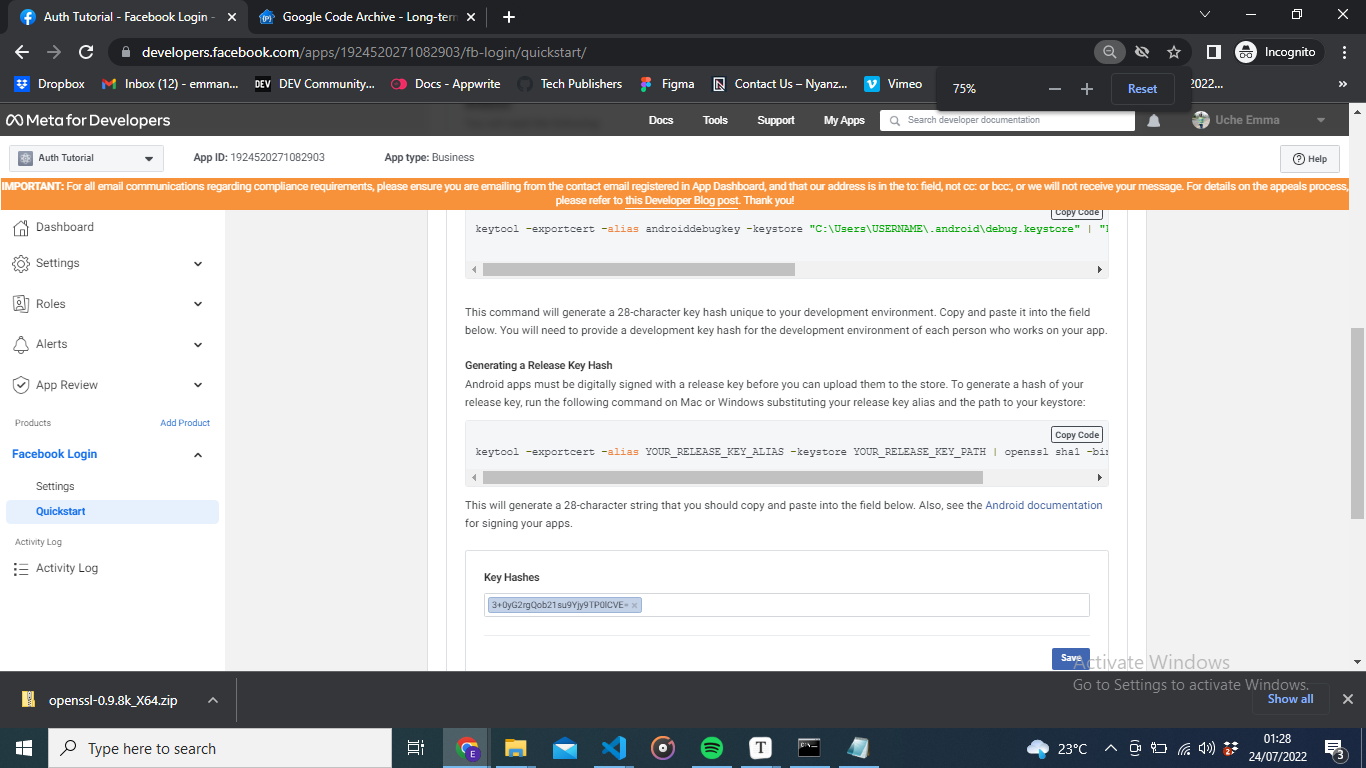
Hit Save and Continue.
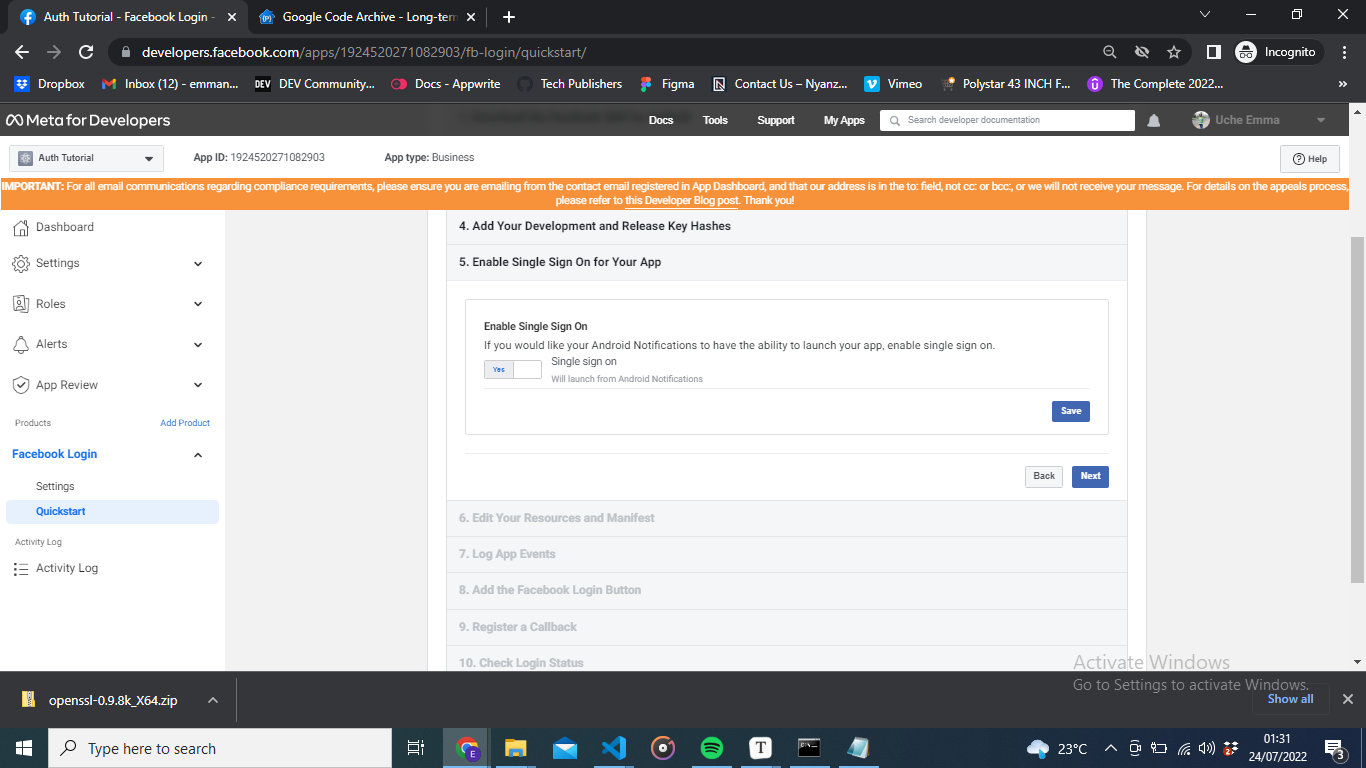
Step 5, enable the single sign-on, click Save and Next.

In Step 6, we will edit the Resources and Manifest file. On your app>src>main>res>values, create a string.xml file and add the code below:
<?xml version="1.0" encoding="utf-8"?>
<resources>
    <string name="app_name">App Name</string>
    <string name="facebook_app_id">App ID</string>
    <string name="fb_login_protocol_scheme">Login Protocol Scheme</string>
    <string name="facebook_client_token">Client Token</string>
</resources>
Your facebook_app_id can be found above in your browser, and your fb_login_protocol_scheme is your app id with a prefix fb (for instance, if your App Id is 1234, your protocol scheme will be fb1234). To get your facebook_client_token, On your dashboard, navigate to Settings>Advanced>Security>Client Token. In my case:
<?xml version="1.0" encoding="utf-8"?>
<resources>
    <string name="app_name">Auth Tutorial</string>
    <string name="facebook_app_id">1924520271082903</string>
    <string name="fb_login_protocol_scheme">fb1924520271082903</string>
    <string name="facebook_client_token">ab808c0a71a13009bcf8792433ff6b94</string>
</resources>
Lastly, Go to your AndroidManifest.xml file and copy the code below:
<manifest xmlns:android="http://schemas.android.com/apk/res/android"
    package="com.example.facebook_auth">

    <!-- FACEBOOK CONFIGURATIONS -->
    <uses-permission android:name="android.permission.INTERNET"/>
    <!-- FACEBOOK CONFIGURATIONS ENDS HERE -->


    <application
        android:label="facebook_auth"
        android:name="${applicationName}"
        android:icon="@mipmap/ic_launcher">
        <activity
            android:name=".MainActivity"
            android:exported="true"
            android:launchMode="singleTop"
            android:theme="@style/LaunchTheme"
            android:configChanges="orientation|keyboardHidden|keyboard|screenSize|smallestScreenSize|locale|layoutDirection|fontScale|screenLayout|density|uiMode"
            android:hardwareAccelerated="true"
            android:windowSoftInputMode="adjustResize">
            <meta-data
              android:name="io.flutter.embedding.android.NormalTheme"
              android:resource="@style/NormalTheme"
              />
            <intent-filter>
                <action android:name="android.intent.action.MAIN"/>
                <category android:name="android.intent.category.LAUNCHER"/>
            </intent-filter>
        </activity>
        <meta-data
            android:name="flutterEmbedding"
            android:value="2" />

            <!-- FACEBOOK CONFIGURATIONS -->
        <meta-data android:name="com.facebook.sdk.ApplicationId" android:value="@string/facebook_app_id"/>
        <meta-data android:name="com.facebook.sdk.ClientToken" android:value="@string/facebook_client_token"/>

        <activity android:name="com.facebook.FacebookActivity"
            android:configChanges=
                "keyboard|keyboardHidden|screenLayout|screenSize|orientation"
            android:label="@string/app_name" />
        <activity
            android:name="com.facebook.CustomTabActivity"
            android:exported="true">
            <intent-filter>
                <action android:name="android.intent.action.VIEW" />
                <category android:name="android.intent.category.DEFAULT" />
                <category android:name="android.intent.category.BROWSABLE" />
                <data android:scheme="@string/fb_login_protocol_scheme" />
            </intent-filter>
        </activity>
        <!--FACEBOOK CONFIGURATION ENDS HERE -->
    </application>
</manifest>
Note: I commented the lines you are meant to copy and paste. You have completed all tasks relating to Facebook. Next, we will start adding functionality to our app.
Open Source Session Replay
OpenReplay is an open-source, session replay suite that lets you see what users do on your web app, helping you troubleshoot issues faster. OpenReplay is self-hosted for full control over your data.

Start enjoying your debugging experience - start using OpenReplay for free.
Adding the Functionalities
With the platform configurations complete, let’s set up our application. In our main.dart file, we will add functionalities to our button. On the onPressed parameter, add the code below.
Navigator.push(
                context,
                MaterialPageRoute(
                  builder: (context) => const UserScreen(),
                ),
              );
The code above allows us to move to the next screen (the UserScreen()) when the button is clicked. Create a new dart file named user_screen.dart inside the lib folder. This file will be used to display the user data gotten from Facebook.
// user.dart

import 'package:flutter/material.dart';
import 'package:flutter_facebook_auth/flutter_facebook_auth.dart';

class UserScreen extends StatefulWidget {
  const UserScreen({Key? key}) : super(key: key);

  @override
  State<UserScreen> createState() => _UserScreenState();
}

class _UserScreenState extends State<UserScreen> {
  Map<String, dynamic>? _userData;
  AccessToken? _accessToken;
  bool? _checking = true;

  _ifUserIsLoggedIn() async {
    final accessToken = await FacebookAuth.instance.accessToken;

    setState(() {
      _checking = false;
    });

    if (accessToken != null) {
      final userData = await FacebookAuth.instance.getUserData();
      _accessToken = accessToken;
      setState(() {
        _userData = userData;
      });
    } else {
      _login();
    }
  }

  _login() async {
    final LoginResult loginResult = await FacebookAuth.instance.login();

    if (loginResult.status == LoginStatus.success) {
      _accessToken = loginResult.accessToken;
      final userInfo = await FacebookAuth.instance.getUserData();
      _userData = userInfo;
    } else {
      print('ResultStatus: ${loginResult.status}');
      print('Message: ${loginResult.message}');
    }
  }

  _logOut() async {
    await FacebookAuth.instance.logOut();
    _accessToken = null;
    _userData = null;
  }

  @override
  void initState() {
    super.initState();
    _ifUserIsLoggedIn();
  }

  @override
  Widget build(BuildContext context) {
    return Scaffold(
        body: _checking!
            ? const Center(
                child: CircularProgressIndicator(),
              )
            : Center(
                child: Column(
                  mainAxisAlignment: MainAxisAlignment.center,
                  crossAxisAlignment: CrossAxisAlignment.center,
                  children: [
                    const Text('Welcome'),
                    _userData != null
                        ? Text(
                            '${_userData!['name']}',
                            style: TextStyle(
                                fontWeight: FontWeight.bold, fontSize: 28),
                          )
                        : Container(),
                    _userData != null
                        ? Container(
                            child: Image.network(
                                _userData!\['picture'\]['data']['url']),
                          )
                        : Container(),
                    const SizedBox(
                      height: 20,
                    ),
                    ElevatedButton(
                      onPressed: () {
                        _logOut();
                        Navigator.pop(context);
                      },
                      child: const Text('Log Out'),
                    ),
                  ],
                ),
              ));
  }
}
Let us break down the code above.
Map<String, dynamic>? _userData;
  AccessToken? _accessToken;
  bool? _checking = true;
In the code above, we have three nullable variables:
_userData: This holds the user information when logged in._accessToken: When logged in, an access token will be generated automatically; this variable will hold that access token for us._checking: This checks if the user is logged in before or not.
_ifUserIsLoggedIn() async {
    final accessToken = await FacebookAuth.instance.accessToken;

    setState(() {
      _checking = false;
    });

    if (accessToken != null) {
      final userData = await FacebookAuth.instance.getUserData();
      _accessToken = accessToken;
      setState(() {
        _userData = userData;
      });
    } else {
      _login();
    }
  }

  _login() async {
    final LoginResult loginResult = await FacebookAuth.instance.login();

    if (loginResult.status == LoginStatus.success) {
      _accessToken = loginResult.accessToken;
      final userInfo = await FacebookAuth.instance.getUserData();
      _userData = userInfo;
    } else {
      print('ResultStatus: ${loginResult.status}');
      print('Message: ${loginResult.message}');
    }
  }

  _logOut() async {
    await FacebookAuth.instance.logOut();
    _accessToken = null;
    _userData = null;
  }
Looking at the code above, we have three asynchronous functions:
_ifUserIsLoggedIn(): This checks if the user is logged in and gets the access token and the user data._login(): The log-in function gets us to log in, and if the login status was a success, it should get the user data and the generated access token._logOut(): This sets the user data and the access token to null and then takes us back to the first page.
Scaffold(
        body: _checking!
            ? const Center(
                child: CircularProgressIndicator(),
              )
            : Center(
                child: Column(
                  mainAxisAlignment: MainAxisAlignment.center,
                  crossAxisAlignment: CrossAxisAlignment.center,
                  children: [
                    const Text('Welcome'),
                    _userData != null
                        ? Text(
                            '${_userData!['name']}',
                            style: TextStyle(
                                fontWeight: FontWeight.bold, fontSize: 28),
                          )
                        : Container(),
                    _userData != null
                        ? Container(
                            child: Image.network(
                                _userData!\['picture'\]['data']['url']),
                          )
                        : Container(),
                    const SizedBox(
                      height: 20,
                    ),
                    ElevatedButton(
                      onPressed: () {
                        _logOut();
                        Navigator.pop(context);
                      },
                      child: const Text('Log Out'),
                    ),
                  ],
                ),
              ));
The code above displays our values on the screen. We use a ternary operator, which is a simplified if and else statement in dart. It checks to see if the value of the variable _checking is true, then display a progress indicator; else, display the user data. We also have a logout button that takes in the _logOut function and takes us back to the home screen.
Testing the Application
With all the configuration and setup complete, let’s test our app. Run the application on an emulator or actual device using the command in a terminal. The command flutter run will build the app and install it on your device.
Conclusion
Authentication is necessary for our application. Without it, you keep data vulnerable to breaches and unauthorized access.
Here is the link to the GitHub Source Code
A TIP FROM THE EDITOR: For more on developing Flutter apps, check out our Building a digital Signature pad and Signature Images with Flutter and Push Notifications in Flutter with Native Notify articles.