
Implementing OTP Phone Authentication in React Native


Phone number-based auth is one of the many authentication strategies you can add to your applications. An OTP (one-time password) SMS verification minimizes spamming and fraud and can be used to verify logins automatically. This article will implement phone authentication using Firebase in a React Native Expo application.
Creating the Firebase App
Firebase provides several authentication providers, one of them being phone number-based authentication. To set this up:
- Navigate to your Firebase console and Add Project.
- Provide the application name and Create project.
- Once the project creation process is done, add a new web application.
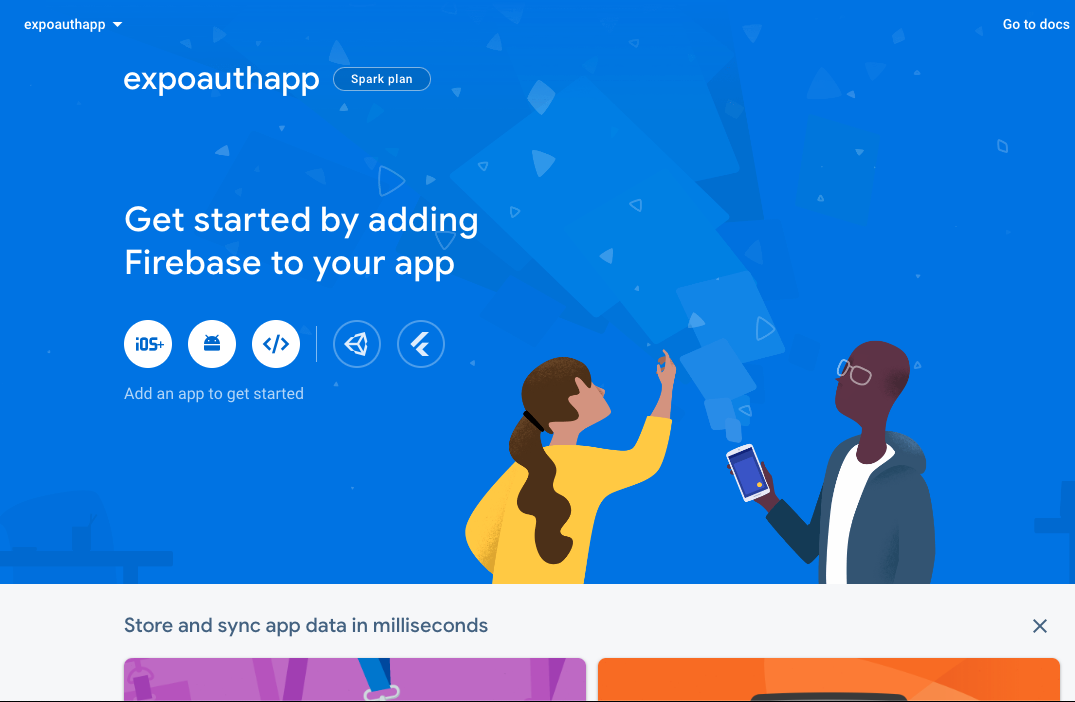
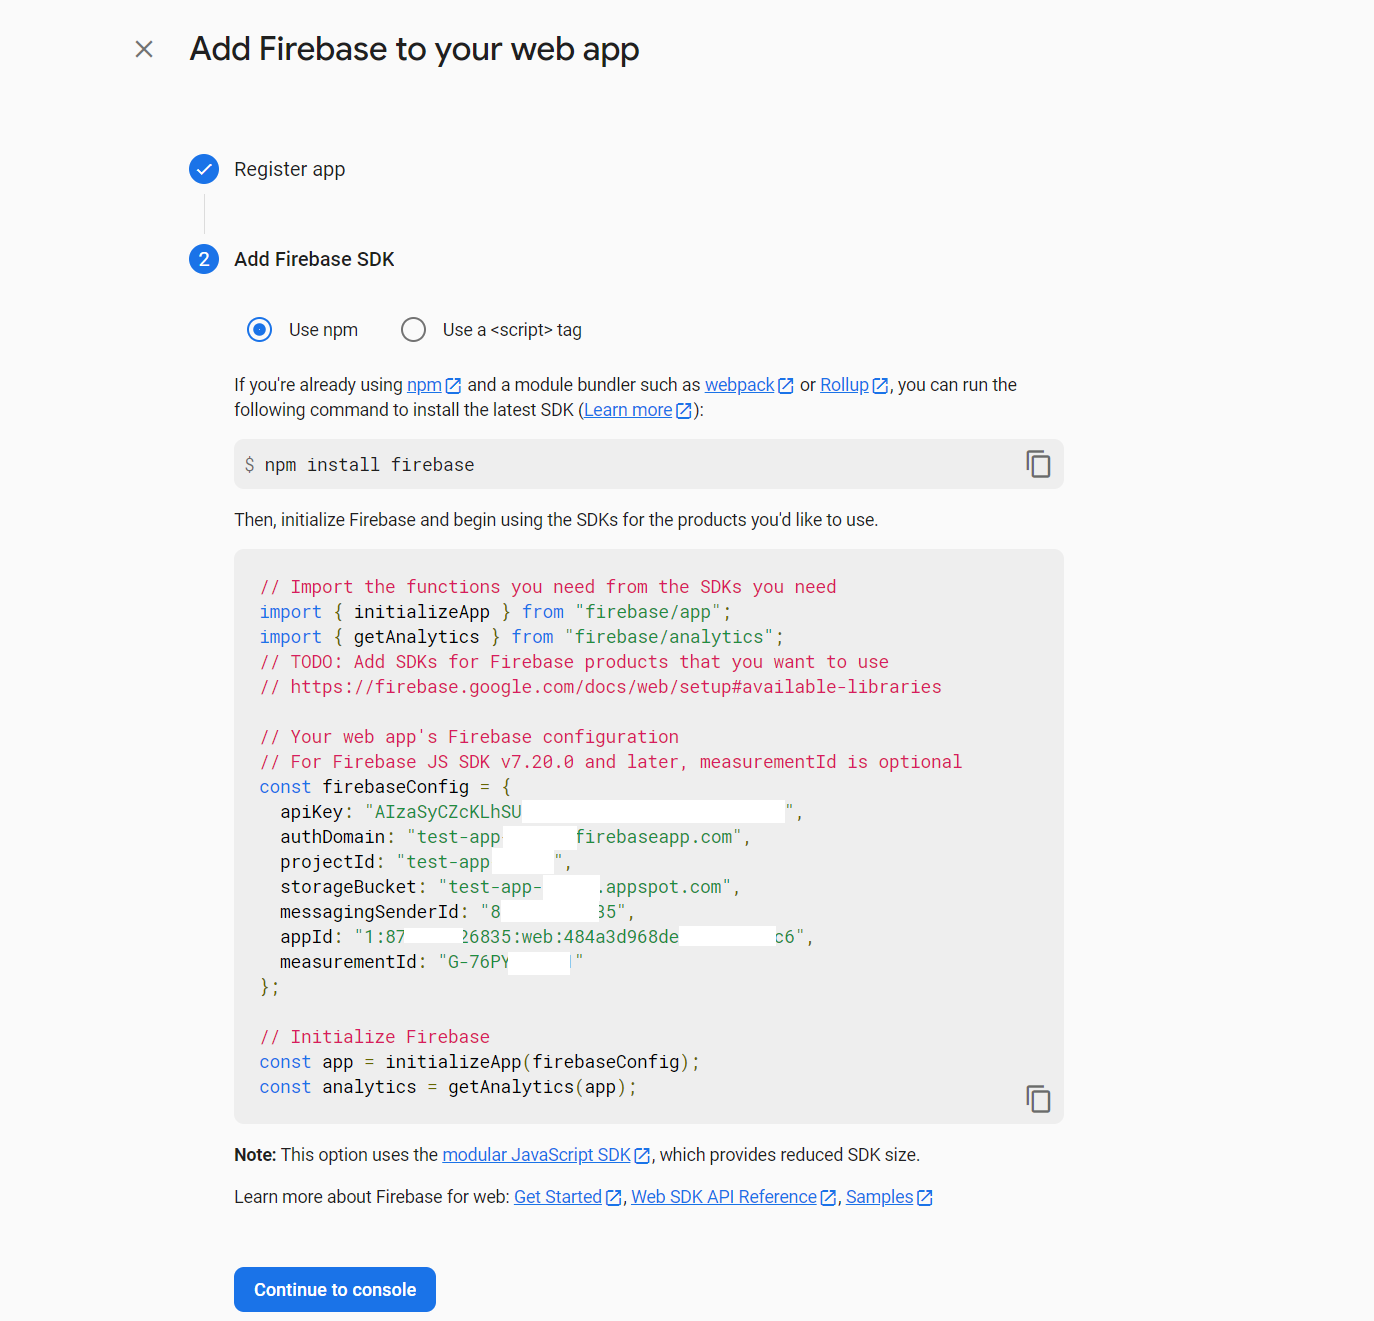
Register the app to Add Firebase to your web app. Next, you will be presented with some guidelines for installing Firebase. Copy the Firebase configurations that use npm. You will use this code later in this guide to initialize a Firebase SDK to React Native.
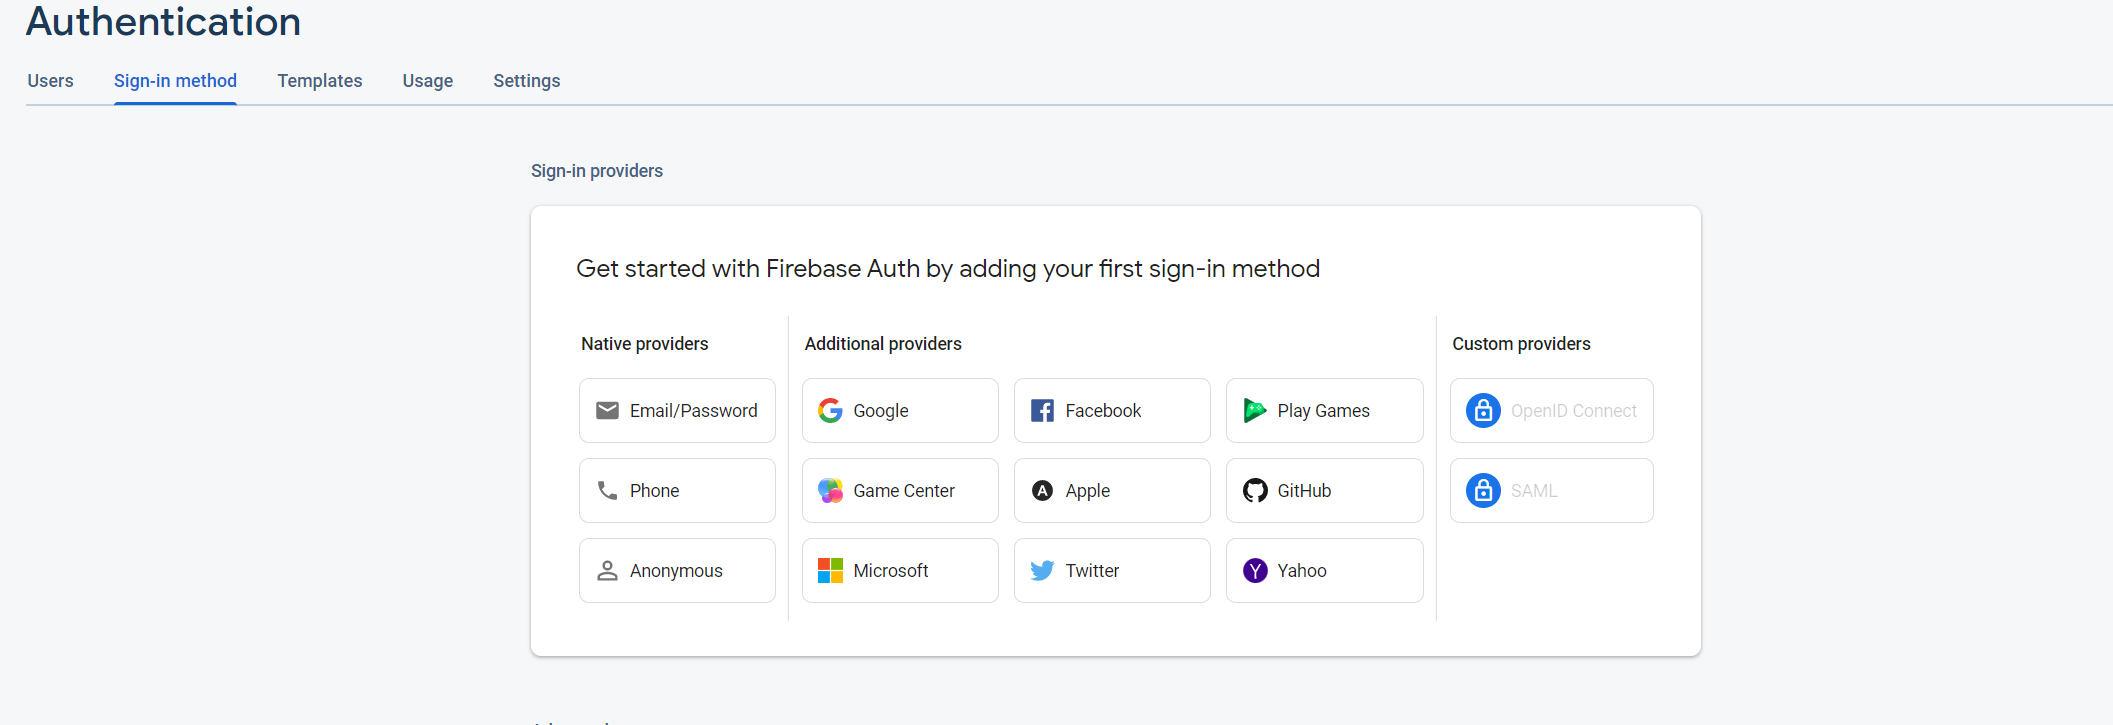
On your console dashboard, navigate to authentication, and Get Started with Firebase Auth by adding your first sign-in method. Select Phone as a native provider, enable it, and Save.
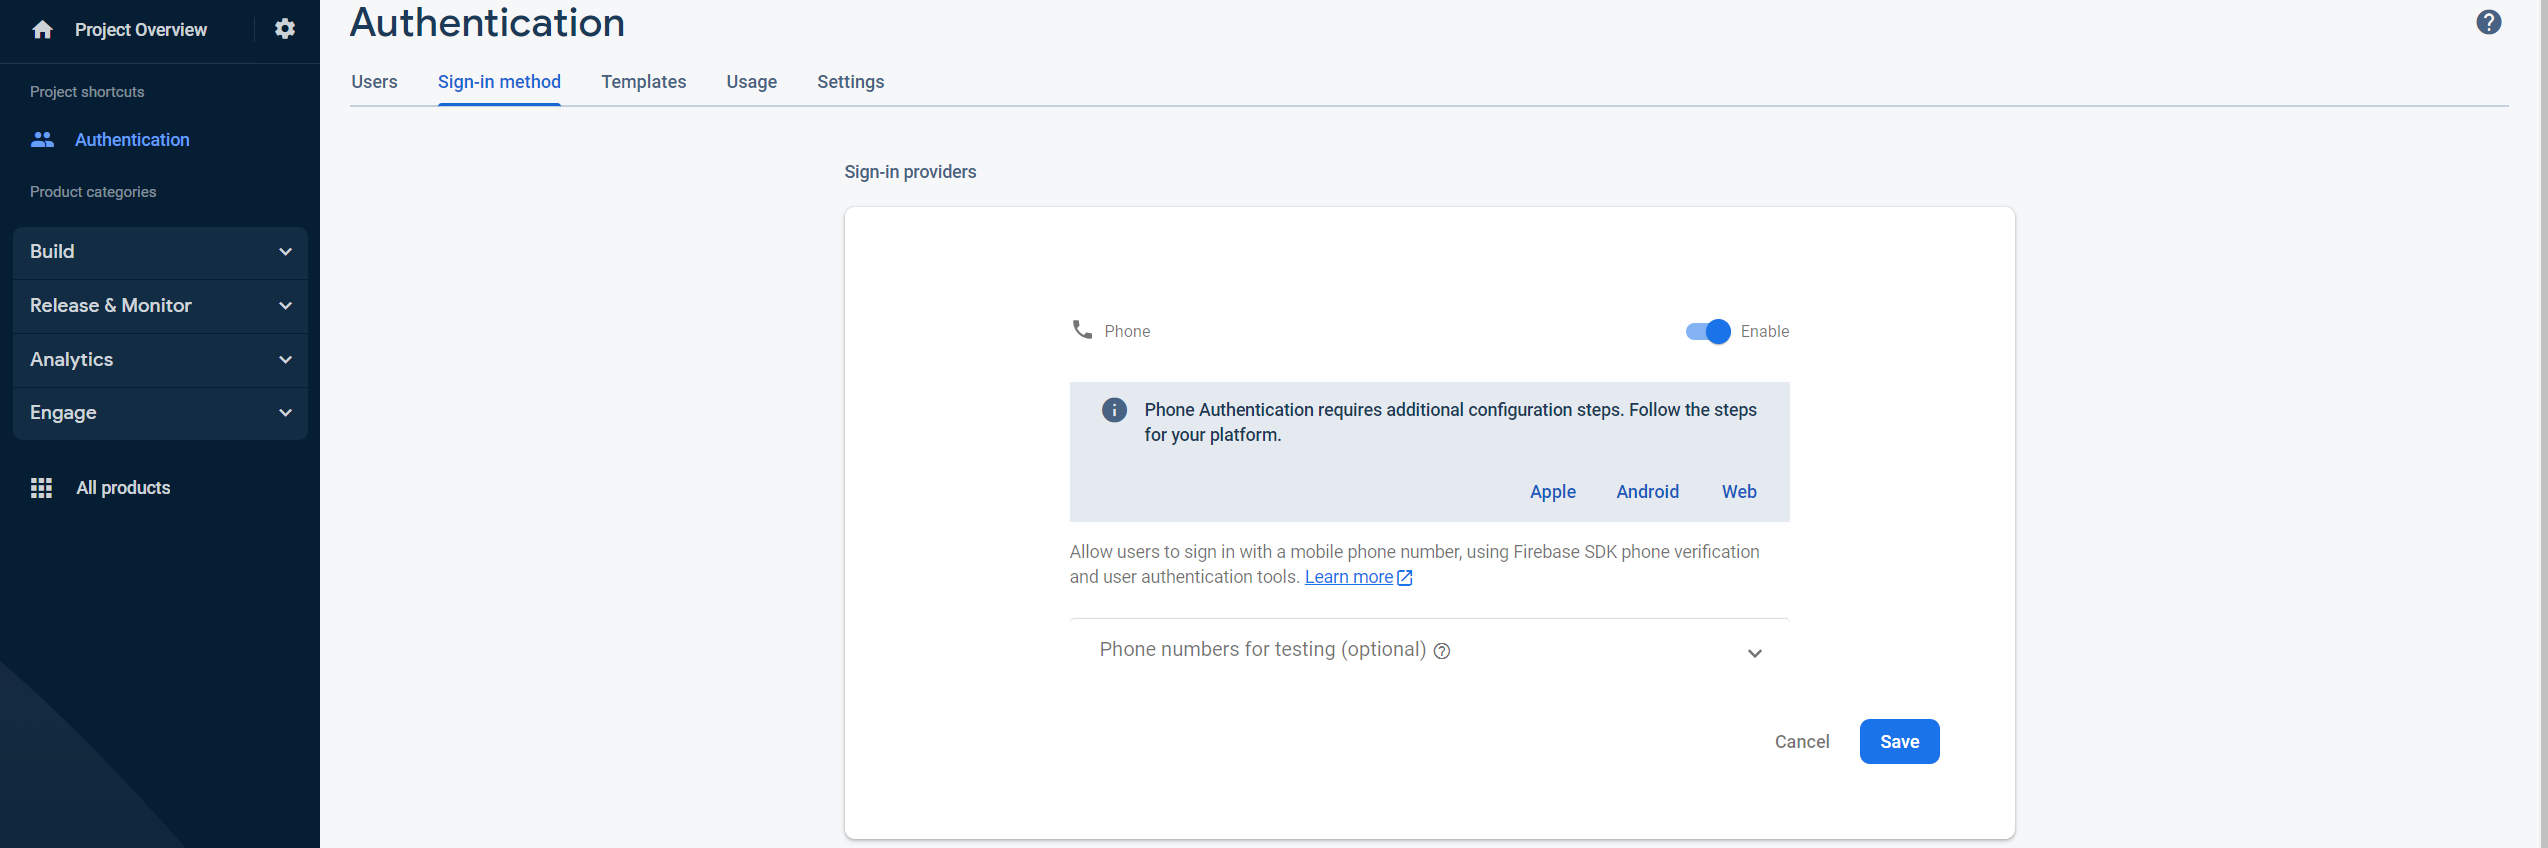
It’s good to note that Phone Authentication requires additional configuration steps. Firebase Authentication signs in a user by sending an SMS message to the user’s phone. This guide follows Firebase Phone Number Authentication using JavaScript to set up the correct configuration steps for the Phone provider inside your React Native apps.
Configuring React Native App
Navigate to the directory where you want your project to live and open a terminal that points to this directory. Run the following command to initialize an Expo application:
npx create-expo-app firebase-phone-authOnce the installation is done, proceed to the newly created directory.
cd firebase-phone-authInstall the following dependencies:
- For navigation:
npx expo install @react-navigation/native @react-navigation/stack react-native-safe-area-context react-native-gesture-handler- Firebase SDK:
npx expo install firebase- For Firebase reCAPTCHA verifier:
npx expo install expo-firebase-recaptcha react-native-webviewOn the root directory, change the file app.config.json to app.config.js* and edit it as below:
export default {
"expo": {
    "name": "fbphoneauth",
    "slug": "fbphoneauth",
    "version": "1.0.0",
    "orientation": "portrait",
    "icon": "./assets/icon.png",
    "userInterfaceStyle": "light",
    "splash": {
    "image": "./assets/splash.png",
    "resizeMode": "contain",
    "backgroundColor": "#ffffff"
    },
    "updates": {
    "fallbackToCacheTimeout": 0
    },
    "assetBundlePatterns": [
    "**/*"
    ],
    "ios": {
    "supportsTablet": true
    },
    "android": {
    "adaptiveIcon": {
        "foregroundImage": "./assets/adaptive-icon.png",
        "backgroundColor": "#FFFFFF"
    }
    },
    "web": {
    "favicon": "./assets/favicon.png"
    }
},
"extra" :{
    firebaseApiKey: your_firebase_api_key,
    firebaseAuthDomain: your_firebase_auth_domain,
    firebaseProjectId: your_firebase_project_id,
    firebaseStorageBucket: your_firebase_storage_bucket,
    firebaseMessagingSenderId: your_firebase_messaging_sender_id,
    firebaseAppId: your_firebase_app_id
}
}
In the above section, add Firebase code you copied earlier to the extra section. Ensure these Firebase configurations reflects based on the above-highlighted areas.
To connect to the Firebase SDK using the above configurations, create a config directory in the root folder. Inside the directory, create a firebase.js file:
import config from '../app.config';

const firebaseConfig = {
    apiKey: config.extra.firebaseApiKey,
    authDomain: config.extra.firebaseAuthDomain,
    projectId: config.extra.firebaseProjectId,
    storageBucket: config.extra.firebaseStorageBucket,
    messagingSenderId: config.extra.firebaseMessagingSenderId,
    appId: config.extra.firebaseAppId
};

module.exports = firebaseConfig;
This way, React Native can communicate with your Firebase app.
Creating a Home Screen
Let’s create a screen to welcome the user and a Sign in button. On the project root directory, create a screens directory. Inside the directory, create a Home.js to display the home screen as follows:
- Import the necessary packages:
import {View,Text,StyleSheet,Button} from 'react-native';- The render function:
const HomeScreen = ({navigation}) => {
    return (
        <View style={styles.container}>
            <Text style={styles.text}>Hurray!!, we are on the home screen</Text>
            <Button onPress={ () => navigation.navigate("SignIn")} title="Go to Sign In" />
        </View>
    )
}- The styles:
const styles = StyleSheet.create({
    text:{
        color: "#aaa"
    },
    container:{
        flex: 1,
        backgroundColor: '#fff',
        alignItems: 'center',
        justifyContent: 'center',
    }
});- Export the render function by default:
export default HomeScreen;Creating a Phone Sign-in Screen
Inside the screens directory, create SignInScreen.js files for creating the signing-in methods. Inside this file:
- Import the needed packages:
import {View,Text,StyleSheet,TextInput,Button} from 'react-native';
import {React,useState,useRef} from 'react';
import {getApp,initializeApp} from 'firebase/app';
import {FirebaseRecaptchaVerifierModal,FirebaseRecaptchaBanner} from 'expo-firebase-recaptcha';
import {getAuth,PhoneAuthProvider,signInWithCredential} from 'firebase/auth';
import fbConfig from '../config/firebase';- Initialize the Firebase SDK:
try{
    firebase.initializeApp(fbConfig);
}catch(error){
    console.log("Initializing error ",error);
}- Initialize an instance for the app and auth:
const app = getApp();
const auth = getAuth(app);

if (!app?.options || Platform.OS === 'web') {
    throw new Error(
    'This example only works on Android or iOS, and requires a valid Firebase config.'
    );
}
In the render function:
- Define the state variables:
const recaptchaVerifier = useRef(null);

const [phoneNumber,setPhoneNumber] = useState('');
const [verificationId,setVerificationID] = useState('');
const [verificationCode,setVerificationCode] = useState('');

const firebaseConfig = app ? app.options : undefined;
const [info,setInfo] = useState("");
const attemptInvisibleVerification = false;
This sets what we need in this application. First, you need the phoneNumber to carry authentication. A verificationId that sets the OTP code sent by Firebase via SMS and verificationCode that confirms and verifies the received verification code.
It’s essential to remember that Firebase necessitates a reCAPTCHA verifier to avoid misuse, such as by making sure the request for a phone number verification comes from one of the authorized domains of your application. When using the Firebase SDK, you need to utilize the recaptchaVerifier object, and the reCAPTCHA will be generated automatically.
This guide will use the FirebaseRecaptchaBanner (a reCAPTCHA widget) that requires user interaction to complete authentication successfully. You can also use an invisible reCAPTCHA to validate the user without requiring user action, in contrast to the reCAPTCHA widget.
- Define the function for sending the verification code:
const handleSendVerificationCode = async () => {
try{
const phoneProvider = new PhoneAuthProvider(auth); // initialize the phone provider.
const verificationId = await phoneProvider.verifyPhoneNumber(
phoneNumber,
recaptchaVerifier.current
); // get the verification id
setVerificationID(verificationId); // set the verification id
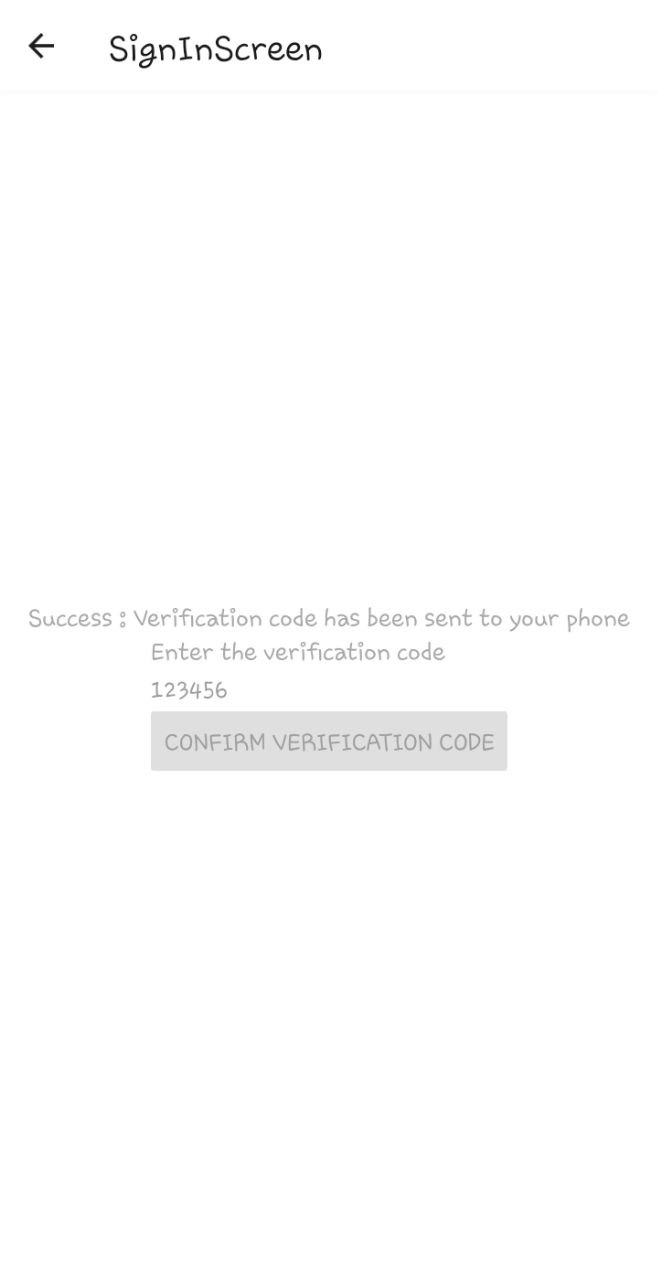
setInfo('Success : Verification code has been sent to your phone'); // If Ok, show message.
}catch(error){
setInfo(`Error : ${error.message}`); // show the error
}
};- Define the function for verifying the entered verification code:
 const handleVerifyVerificationCode = async () => {
    try{
        const credential = PhoneAuthProvider.credential(verificationId,verificationCode); // get the credential
        await signInWithCredential(auth,credential); // verify the credential
        setInfo('Success: Phone authentication successful'); // if OK, set the message
        navigation.navigate("Welcome"); // navigate to the welcome screen
    }catch(error){
        setInfo(`Error : ${error.message}`); // show the error.
    }
}- Render the phone number input fields and execute the above-created methods:
return (
    <View style={styles.container}>

        <FirebaseRecaptchaVerifierModal
            ref={recaptchaVerifier}
            firebaseConfig={firebaseConfig}
        />

        {
            info && <Text style={styles.text}>{info}</Text>
        }

        { // show the phone number input field when verification id is not set.
            !verificationId && (
                <View>
                    <Text style={styles.text}>Enter the phone number</Text>

                        <TextInput
                            placeholder='+2547000000'
                            autoFocus
                            autoCompleteType='tel'
                            keyboardType='phone-pad'
                            textContentType='telephoneNumber'
                            onChangeText={ (phoneNumber) => setPhoneNumber(phoneNumber)}
                        />

                        <Button
                            onPress={ () => handleSendVerificationCode()}
                            title= "Send Verification Code"
                            disabled={!phoneNumber}
                        />
                </View>
            )

        }

        { // if verification id exists show the confirm code input field.
            verificationId && (
                <View>
                    <Text style={styles.text}>Enter the verification code</Text>

                    <TextInput
                        editable={!!verificationId}
                        placeholder= "123456"
                        onChangeText={setVerificationCode}
                    />

                    <Button
                        title= "Confirm Verification Code"
                        disabled={!verificationCode}
                        onPress = {() => handleVerifyVerificationCode()}
                    />
                </View>
            )
        }

        {attemptInvisibleVerification && <FirebaseRecaptchaBanner/>}
    </View>
)- Define some styles:
const styles = StyleSheet.create({
text:{
    color: "#aaa"
},
container:{
    flex: 1,
    backgroundColor: '#fff',
    alignItems: 'center',
    justifyContent: 'center',
}
})- Export the render function:
export default SignInScreen;Session Replay for Developers
Uncover frustrations, understand bugs and fix slowdowns like never before with OpenReplay — an open-source session replay tool for developers. Self-host it in minutes, and have complete control over your customer data. Check our GitHub repo and join the thousands of developers in our community.
Creating the Authenticated Screen
If the user confirms the send code and Firebase verifies it, create a screen that will be triggered for successful authentication. Inside the screens directory create Welcome.js files for showing once logged in. Inside this file:
- Import the necessary packages:
import {View,Text,StyleSheet} from 'react-native';- Define the render function:
const WelcomeScreen = () => {
return (
    <View style={styles.container}>
        <Text style={styles.text}>Hurray!!, we are on the welcome screen</Text>
    </View>
)
}- Define the styles:
const styles = StyleSheet.create({
text:{
    color: "#aaa"
},
container:{
    flex: 1,
    backgroundColor: '#fff',
    alignItems: 'center',
    justifyContent: 'center',
}
})- Export the render function:
export default WelcomeScreen;Connecting up the Created Screens
Now that everything is set, use React navigation to control the application stack. Edit App.js as follows:
- Import the necessary packages:
import { NavigationContainer } from '@react-navigation/native';
import { createStackNavigator } from '@react-navigation/stack';- Import the screens:
import Home from './screens/Home';
import SignIn from './screens/SignInScreen';
import Welcome from './screens/Welcome';- Define the stack:
const Stack = createStackNavigator();- Change the rendered content in the render function:
export default function App() {
    return (
        <NavigationContainer>
        <Stack.Navigator initialRouteName='Home'>
            <Stack.Screen name="Home" component={Home} options={{title:"Welcome"}} />
            <Stack.Screen name="SignIn" component={SignIn} options={{title:"SignInScreen"}} />
            <Stack.Screen name="Welcome" component={Welcome} options={{title:"Welcome"}} />
        </Stack.Navigator>
        </NavigationContainer>
    );
}
Running and Testing the App
Ensure your development is up and running with the following command to start the application:
### for android
npm run
### for ios
npm run ios
Here is how the application Home screen will be launched on your device:

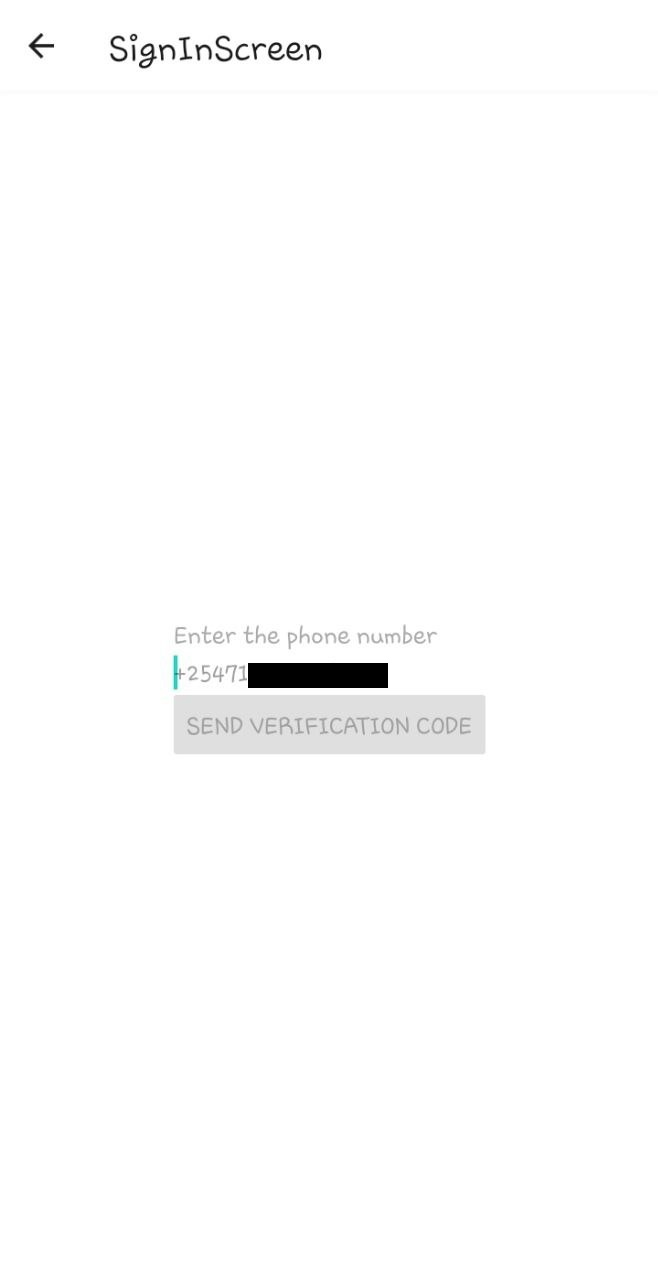
Proceed to GO TO SIGN IN and provide a valid phone number as follows:
To verify your number, click SEND VERIFICATION CODE. This will launch the Firebase ReCAPTCHA banner:

Check that you’re not a robot. A verification code will be sent to the provided phone number. Confirm the code.
If everything was successful, a logged-in welcome screen should be on your device as such:

Conclusion
This guide taught you how you set up Firebase Phone Authentication in a React Native app. I hope you found it helpful.
A TIP FROM THE EDITOR: For another way of doing auth in React Native, check out Google OAuth with Firebase in React Native.
Gain Debugging Superpowers
Unleash the power of session replay to reproduce bugs and track user frustrations. Get complete visibility into your frontend with OpenReplay, the most advanced open-source session replay tool for developers.
