

Most web sites use modals and popups, and you need to know how to process “outside clicks”, and this article will show you how to do just that with React.

Discover how at OpenReplay.com.
Modals and popups are very common on modern websites; they are used for alerts and notifications, media previews, forms and authentication, etc. Navigating through web interfaces can become cumbersome for users when attempting to close modal popups or collapse navigation menus solely by relying on close buttons.
In this article, we delve into a solution that enhances the user experience by introducing a mechanism to detect outside clicks. We will explore the creation of a versatile React Modal component that not only responds to internal close button interactions but also adeptly manages state changes triggered by clicks outside the component boundaries.
This blog not only equips us with the skills to implement outside-click functionality within a modal but also extends its applicability to other React components. The ability to discern clicks outside the component’s scope proves invaluable in handling diverse user interactions and events across your React applications.
Stick with us as we unravel the steps to seamlessly integrate this feature, providing users with an intuitive and efficient way to interact with various elements on the interface.
Understanding the Outside-click event
Implementing outside-click functionality in a React application involves utilizing the onClick event handler to execute specific functions when users click outside a particular component.
Implementing the outside-click event in React relies primarily on three essential React hooks: useState, useEffect, and useRef. Let’s delve into each hook and its role in facilitating the outside-click event functionality.
The useState hook is fundamental for managing components’ states. It initializes a state variable with an initial value and provides a function to update it.
The useEffect hook is pivotal for managing side effects in functional components. It enables actions or computations in response to state changes or other events. Within the context of outside-click event handling, useEffect is utilized to set up and clean up event listeners, ensuring responsiveness to changes.
The useRef hook creates objects with a mutable value, distinct from useState. Although it doesn’t trigger re-renders directly, useRef is invaluable for persisting values across renders and accessing DOM elements imperatively. It efficiently detects clicks outside specific components, enabling the implementation of corresponding logic without causing unnecessary UI updates.
Importance of handling Outside-click events in web applications
Navigating through modern web applications should be intuitive, highly efficient, and seamless; hence, the importance of the outside-click event cannot be overemphasized, as there are a lot of benefits that come with it.
The outside-click event lets us create interfaces that respond intuitively to user behavior; it provides a natural means to close components such as menus and dropdowns just by clicking outside the component, which offers an enhanced user experience.
If mobile-friendly design is also your priority, then the outside click is important, as mobile users often expect elements to close or dismiss when tapping outside of them, mirroring the behavior seen in native mobile applications.
Another important benefit of incorporating outside-click event handling is a consistent experience across different platforms and devices. Users become accustomed to a universal behavior where clicking outside a component triggers a dismissive action. This consistency fosters user confidence and a sense of familiarity, contributing to an overall positive perception of the application.
Step-by-step guide on Implementing Outside-click event
In this section of our blog, we will be creating a React Modal that we will use to illustrate the outside click event. This will serve as a step-by-step guide on how the outside click event can be done.
Project setup
Setting up our development environment is the initial step for creating components in a React application. This involves the installation of Node.js and npm(Node Package Manager) on our computer.
Once Node.js and npm are successfully installed, utilize the Create React App command-line tool to initiate a fresh React project. In our local terminal, execute the following command:
npx create-react-app outside-click-project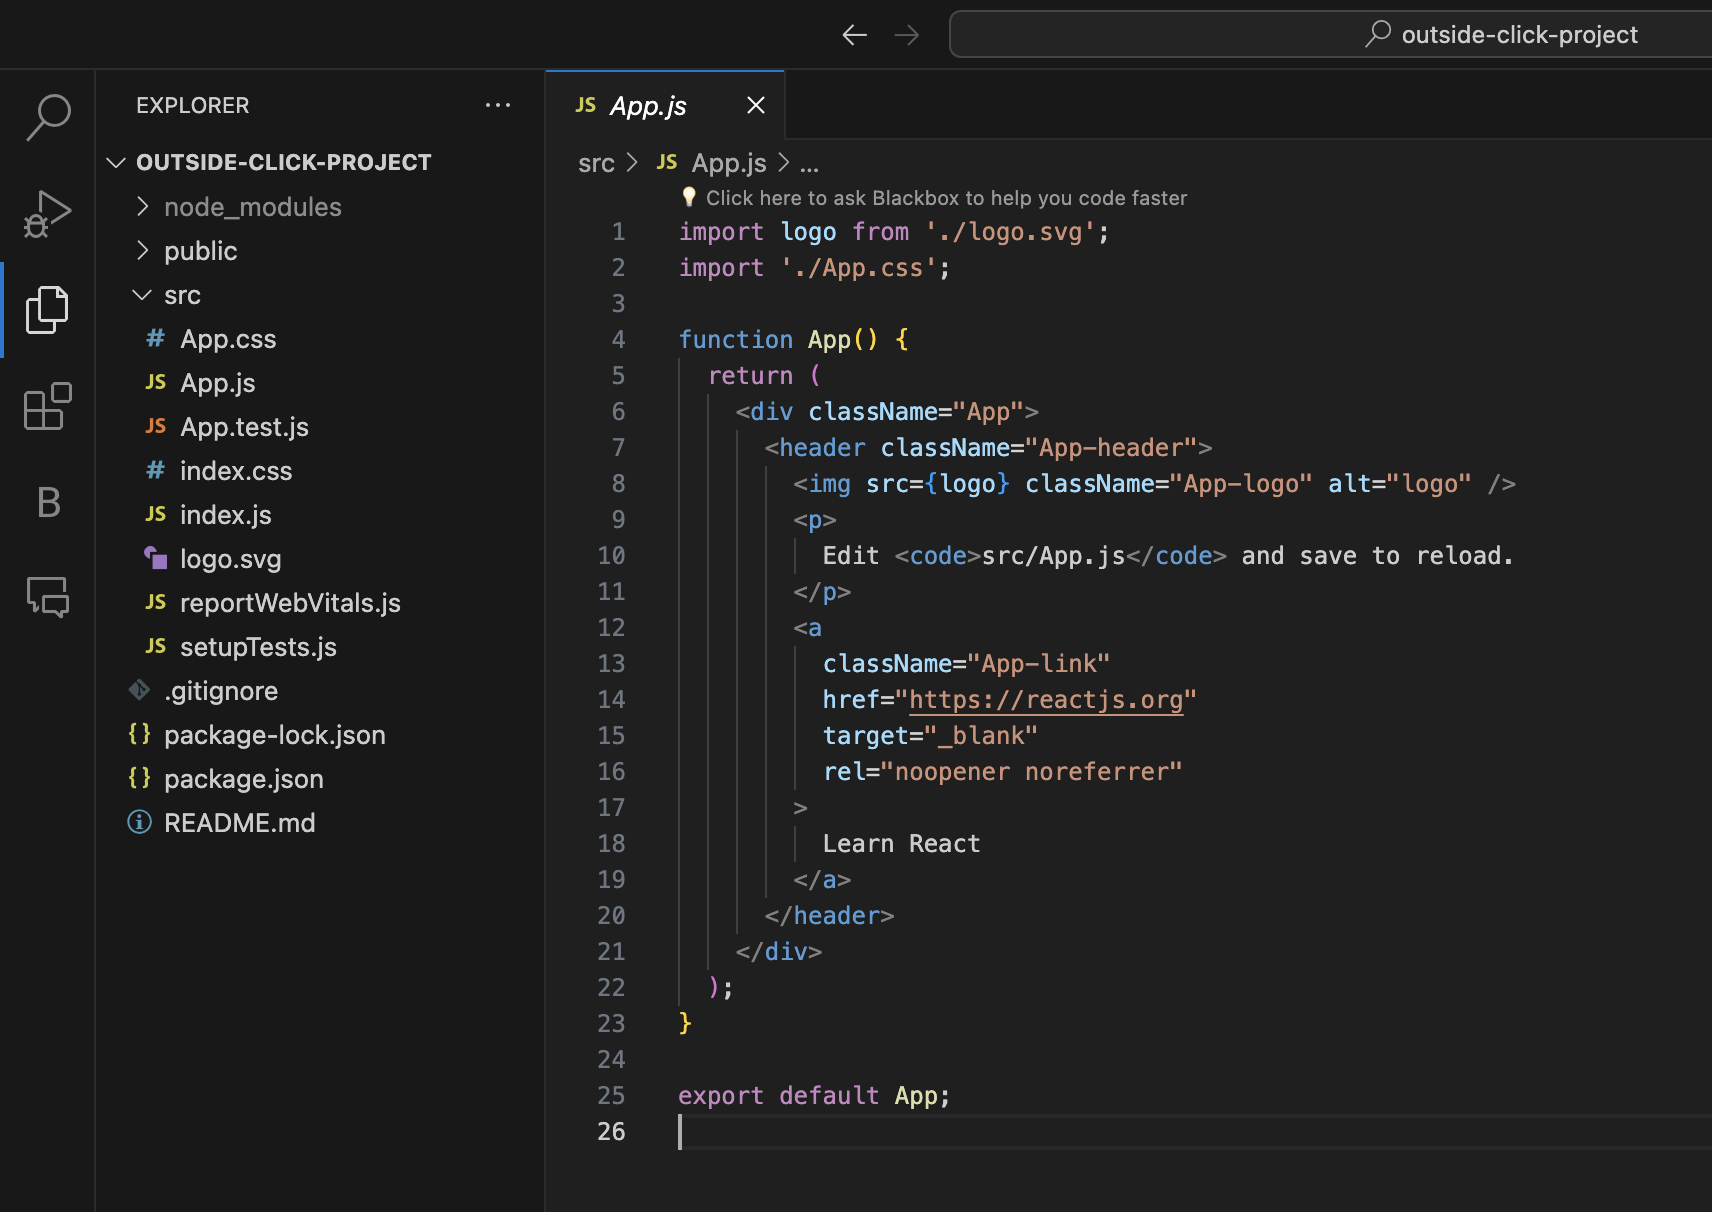
The image above showcases our new React application as viewed in our text editor.
Once our project is created, you’ll notice several files and folders that come pre-packaged with boilerplate code. Some of these files, such as App.test.js and logo.svg, are not relevant to our specific project requirements.
Before diving into development, we can safely delete all other files in our src folder, excluding our App.js, App.css, index.js, and index.css.
By decluttering your project and removing unnecessary files, you can streamline your development workflow and maintain a cleaner codebase.
Creating our React Component(Modal)
First, after creating our React app, we will create a navbar.jsx file where we will create the structure for our navbar and a navbar.css file where the basic styles for our navbar will be. We will also include the structure for the modal, which we will use as a demonstration for the outside click event in our navbar.jsx file.
Here is the code for our navbar.jsx :
import "./navbar.css";

export default function Navbar() {
  return (
    <div>
      <div className="navbar">
        <a href="https://www.openreplay.com/">
          <img
            class="logo"
            src="https://openreplay.com/images/logo-open-replay.svg"
            alt="logo"
            width={200}
          />
        </a>{" "}
        <div>
          <ul class="nav-items">
            <li>
              <a href="https://www.openreplay.com">Platform</a>
            </li>
            <li>
              <a href="https://www.openreplay.com">Enterprise</a>
            </li>
            <li>
              <a href="https://www.openreplay.com">Resources</a>
            </li>
            <li>
              <a href="https://www.openreplay.com">Developers</a>
            </li>
            <li>
              <a href="https://www.openreplay.com">Pricing</a>
            </li>

            <li>
              <a class="upgrade-btn" href="https://www.openreplay.com">
                Upgrade
              </a>
            </li>
          </ul>
        </div>
        <div className="hamburger">
          <img
            src="https://www.svgrepo.com/show/493681/hamburger-menu-mobile.svg"
            className="hamburger"
            alt="hamburger"
          />
        </div>
      </div>
      <div className="modal">
        <div className="modal-menu">
          <div className="close-button">
            <img
              src="https://www.svgrepo.com/show/486564/cancel.svg"
              alt="close"
              className="close"
            />
          </div>

          <p className="modal-text">
            OpenReplay uses standard cookies <span>I Accept</span>
          </p>
        </div>
      </div>
    </div>
  );
}
In the provided code snippet, we’ve established the foundational structure for our design. This includes the creation of both a navbar and a modal menu. Now, let’s incorporate the corresponding CSS.
body {
  background-color: rgb(44, 44, 44);
  width: 100vw;
  background: url(../public/image.png) no-repeat center center;
  background-size: cover;
  background-position: center top;
}

.navbar {
  display: flex;
  justify-content: space-between;
  align-items: center;
  height: 50px;
  border-bottom: 1px solid black;
  padding: 10px;
  background-color: white;
}

.hamburger {
  width: 40px;
}

.modal {
  position: relative;
  top: 20px;
  width: 75vw;
}
span {
  background-color: rgba(0, 0, 255, 0.741);
  padding: 10px;
  border-radius: 15px;
  color: white;
}

.close {
  width: 30px;
  cursor: pointer;
}

.nav-items {
  display: none;
}

li {
  margin-right: 20px;
  margin-top: 10px;
  margin-bottom: 10px;
}

.modal-menu {
  position: absolute;
  top: 100px;
  left: 12.5%;
  padding: 20px;
  background-color: lightblue;
  color: #111314;
  list-style: none;
  gap: 20px;
  width: 100%;
}

.close-button {
  display: flex;
  justify-content: end;
}

.modal-text {
  text-align: center;
}

@media screen and (min-width: 800px) {
  .nav-items {
    display: flex;
    list-style: none;
    gap: 2rem;
    align-items: center;
  }
  a {
    text-decoration: none;
    color: black;
  }

  .hamburger {
    display: none;
  }
  .modal-menu {
    top: 150px;
    left: 12.5%;
    padding: 20px;
    background-color: rgb(9, 81, 105);
    color: #ffffff;
    font-size: 2rem;
    list-style: none;
    gap: 20px;
    width: 100%;
  }
}
With our CSS successfully added, here is what our design looks like.
If you observe the image presented above, you can identify that the click functionality has not been incorporated. This is evident as the menu persists even after clicking both outside the modal menu area and the close button.
Implementing the Outside-click functionality
When implementing the outside click, we must consider some key functionality:
- Managing the modal’s visibility state using a
useStatehook. - Tracking the references to modal elements using
useRefhooks. - Implementing event handlers for closing the modal when a close button is clicked and when a user clicks outside the modal.
Here is our complete code:
import "./navbar.css";
import { useState, useEffect, useRef } from "react";

export default function Navbar() {
  const [modal, setModal] = useState(true);
  const [modalClose, setModalClose] = useState(false);
  const menuRef = useRef(null);
  const modalRef = useRef(null);

  const handleScroll = () => {
    setModalClose(true);
  };
  const handleCloseButton = () => {
    setModal(!modal);
  };

  const handleOutsideClick = (e) => {
    if (
      menuRef.current &&
      !menuRef.current.contains(e.target) &&
      modalRef.current &&
      !modalRef.current.contains(e.target)
    ) {
      setModal(false);
    }
  };

  useEffect(() => {
    document.addEventListener("mousedown", handleOutsideClick);

    // Cleanup function
    return () => {
      document.removeEventListener("mousedown", handleOutsideClick);
    };
  }, []);

  return (
    <div onClick={handleScroll}>
      <div className="navbar" ref={menuRef}>
        <a href="https://www.openreplay.com/">
          <img
            className="logo"
            src="https://openreplay.com/images/logo-open-replay.svg"
            alt="logo"
            width={200}
          />
        </a>{" "}
        <div>
          <ul className="nav-items">
            <li>
              <a href="https://www.openreplay.com">Platform</a>
            </li>
            <li>
              <a href="https://www.openreplay.com">Enterprise</a>
            </li>
            <li>
              <a href="https://www.openreplay.com">Resources</a>
            </li>
            <li>
              <a href="https://www.openreplay.com">Developers</a>
            </li>
            <li>
              <a href="https://www.openreplay.com">Pricing</a>
            </li>

            <li>
              <a className="upgrade-btn" href="https://www.openreplay.com">
                Upgrade
              </a>
            </li>
          </ul>
        </div>
        <div className="hamburger">
          <img
            src="https://www.svgrepo.com/show/493681/hamburger-menu-mobile.svg"
            className="hamburger"
            alt="hamburger"
          />
        </div>
      </div>
      {modal && modalClose && (
        <div className="modal" ref={modalRef}>
          <div className="modal-menu">
            <div className="close-button">
              <img
                src="https://www.svgrepo.com/show/486564/cancel.svg"
                alt="close"
                className="close"
                onClick={handleCloseButton}
              />
            </div>

            <p className="modal-text">
              OpenReplay uses standard cookies <span>I Accept</span>
            </p>
          </div>
        </div>
      )}
    </div>
  );
}
In the provided code snippet, we initiate the management of the modal’s visibility by introducing a state variable named modal. Its initial value is set to true, indicating that the modal is initially displayed.
We establish references (’ refs’) to facilitate the identification of the modal and menu elements in the Document Object Model (DOM). These references, namely menuRef and modalRef, track the corresponding DOM elements. They become particularly useful in the subsequent process of detecting clicks outside the modal.
The handleCloseButton function is defined to handle the scenario where the close button is clicked. This function toggles the modal state, effectively controlling the visibility of the modal.
Additionally, the handleOutsideClick function is implemented to determine if a click event occurs outside the modal or menu elements. In such cases, the function triggers the closing of the modal by invoking setModal(false).
The’ useEffect’ hook is utilized to integrate this functionality into the application. It attaches a mousedown event listener to the document, invoking the handleOutsideClick function whenever a click event is detected.
Importantly, useEffect includes a cleanup function to remove the event listener when the component is unmounted. This ensures that potential memory leaks are mitigated and that the event listener is no longer active when the component is no longer in use.
Our final result should then look like this:
Conclusion
The significance of incorporating outside-click functionality in web development cannot be overstated. Developers must grasp the implementation of this functionality to enhance the overall user experience on their websites.
Beyond its primary function of closing components, the outside-click feature offers diverse use cases. It serves as a trigger to open popups or execute specific functions through the utilization of event listeners.
In essence, mastering outside-click functionality not only contributes to the seamless dismissal of elements but also opens up avenues for creative and interactive design implementations. The versatility of this feature empowers us to create more dynamic and responsive user interfaces, making it a fundamental skill for those aiming to optimize the user journey on their websites. Happy coding!
Gain Debugging Superpowers
Unleash the power of session replay to reproduce bugs, track slowdowns and uncover frustrations in your app. Get complete visibility into your frontend with OpenReplay — the most advanced open-source session replay tool for developers.
Star on GitHub12k