

In this article, you’ll see Nuxt.js layouts in action, understand their roles and significance, learn how to integrate layouts into pages, utilize the default layout, and create custom layouts. Additionally, you’ll see how to dynamically select layouts based on routes.

Discover how at OpenReplay.com.
Understanding Layouts in Nuxt.js
Nuxt.js is an open-source JavaScript framework built on Vue.js. Nuxt.js is designed to simplify and enhance the development of web applications as it comes pre-configured with conventions that prioritize rapid development for web developers. It offers a structured architecture, automated routing based on file structure, and middleware support for tasks like data fetching and authentication.
Although this article is beginner-friendly, it requires basic knowledge of Vue.js.
Without further ado, let’s dive in.
What is Layout?
A “layout” refers to a template or blueprint that determines the overall structure of web pages. It acts as a skeleton for pages, and this helps to maintain a unified look across different pages.
To begin with, let us take a look at some of the benefits layouts offer to us.
- Unified Page Structure: Layouts create a uniform template that makes development easier and guarantees that different website parts have the same appearance and feel.
- Global UI Elements: They enable easy maintenance and a consistent user interface across the program by facilitating the smooth integration of global UI components.
- Middleware Integration: Layouts serve as a gateway for the integration of middleware features, which improves code execution control and extensibility.
- Nested Layouts: Nuxt.js allows for nested layouts, giving users fine-grained control over how various page elements are organized.
- Dynamic Content rendering: Layouts allow for the dynamic rendering of content, which promotes scalability and modularity in web development.
- Adaptability and Responsiveness: Flexibility for responsive design is provided by layouts, which guarantee smooth adaptation to a range of screen sizes and orientations.
When it comes to code organization and management, layouts play a significant role. This will become clearer when we dive into the details later in the article.
Okay, enough talks. Let’s get our hands dirty.
What is a Default Layout?
Simply put, the default layout is automatically applied to all Nuxt.js pages by default. The default layout serves as a base template for web pages within a Nuxt.js application to establish a consistent structure and design across multiple pages.
Let’s get started by creating a Nuxt.js application.
Execute the following code in your command line interface (CLI).
npx nuxi@latest init <project-name>Replace <project-name> with your desired project name. Executing the code above will create a Nuxt.js application, and we are now set to start creating our layouts. You can follow this link to see other ways of creating a Nuxt.js application.
I’ll begin by creating three pages: home, about, and products. The home and about pages will utilize the default layout, while a custom layout will be developed for the products page.
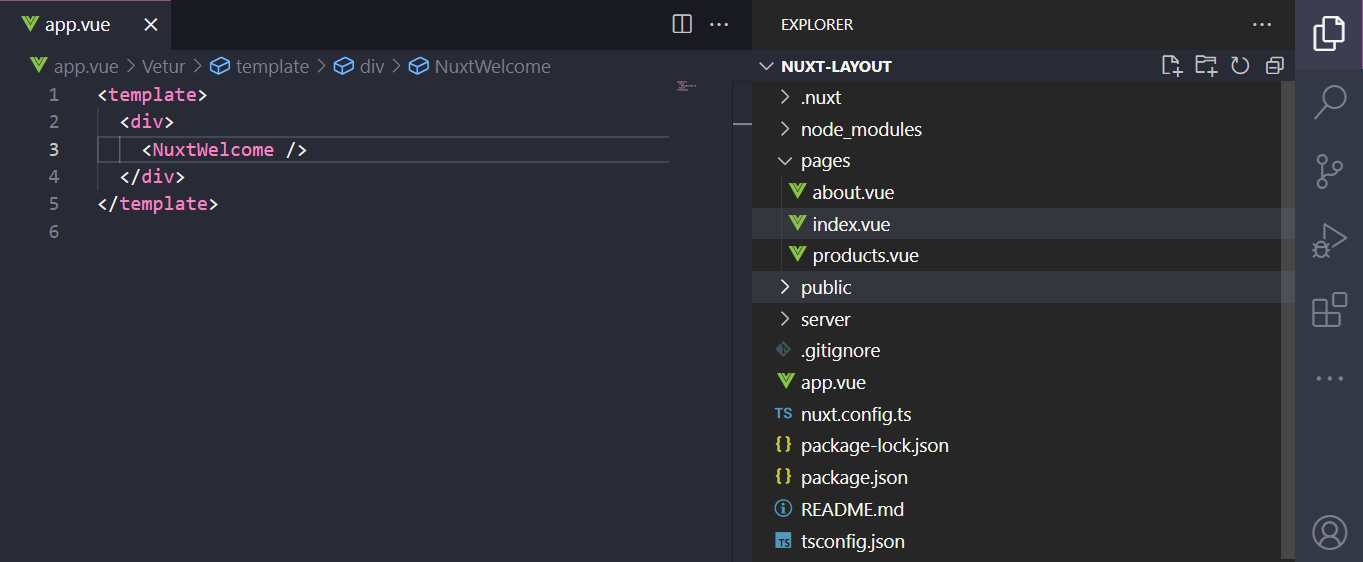
Ensure that you have the file structure in the screenshot above. The index.vue file serves as the home page, the about.vue as the about page, and so forth. Also, ensure you update the code in the app.vue file to the following:
<template>
  <div>
    <NuxtPage />
  </div>
</template>
<NuxtPage> allows the rendering of pages, whether at the top level or nested, and are situated within the pages/ directory. NuxtPage /> is a built-in component that comes with Nuxt and does not require additional import. Having updated the app.vue file, you can run the development server to see the application in the browser by executing `npm run dev’.
To create our default layout, we will first create the layout directory at the root level of our application. We can do this manually or employ nuxi, a Nuxt.js CLI, to generate both the layouts folder and the default.vue file for us.
Below is the command to run.
npx nuxi add layout defaultYou can follow this link to see everything you can use nuxi to do.
Let us update and examine the template in the generated default.vue file. Remember that whatever code structure you have in this file as the layout will be inherited by all the pages by default.
<script lang="ts" setup></script>
<template>
<main>
<header>This will hold header contents</header>
<slot>This is where individual page contents will be rendered.</slot>
<footer>This will hold footer contents</footer>
</main>
</template>
<style scoped>
header {
background: #c4c2c2;
padding: 1rem 2rem;
display: flex;
justify-content: space-between;
align-items: center;
}
footer {
padding: 1rem 0;
text-align: center;
background: #999393;
}
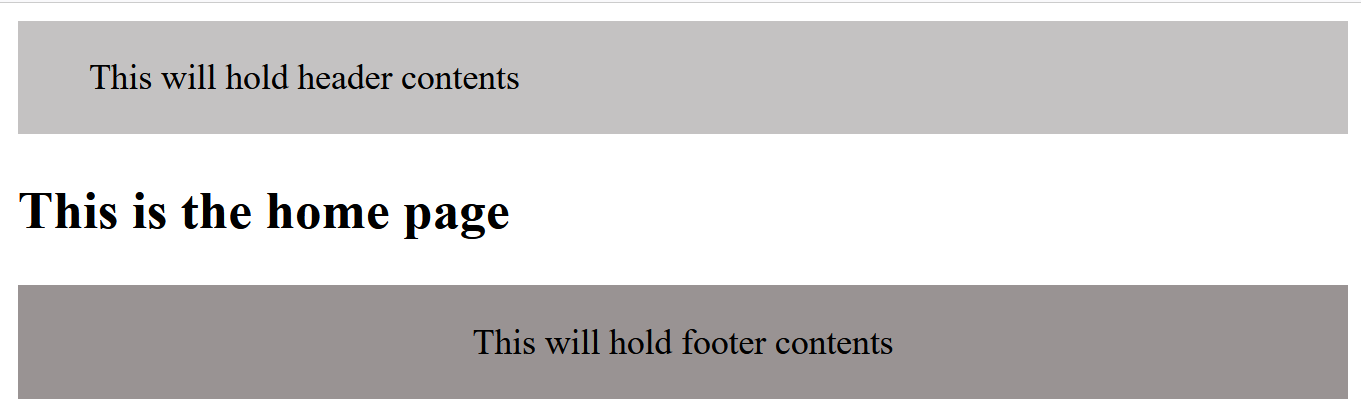
</style>In the updated code snippet above, the <template> section defines the structure of the layout. It consists of a <main> element containing a <header>, a <slot>, and a <footer>.
The <slot> element is a placeholder for the content of individual pages. When you use this layout on different pages, the content of each page will be injected into this slot. I won’t go into great detail on slots in this article. But it’s crucial to remember that slots are a powerful tool in Nuxt.js and essential to making layout functionality possible.
As of right now, our layout isn’t rendered when you try to view our code output in the browser. This is because we haven’t told Nuxt.js to use layouts yet, which we will do immediately.
I have updated the code in the app.vue file, as seen in the code snippet below. The <NuxtLayout> is a crucial built-in component that acts as a container for the layout structure of your application. It wraps around <NuxtPage, and the absence of <NuxtLayout> in our code was why the layouts were not rendered earlier.
<template>
  <div>
    <NuxtLayout>
      <NuxtPage />
    </NuxtLayout>
  </div>
</template>
And there it is!
I hope you can see that it is the content on the respective pages that is inserted and rendered in the <slot/> element in the default.vue file.
To see the layout apply to the other pages, let’s add navigation links to them.
Here are the revised code snippets for the files:
default.vue file:
<script lang="ts" setup></script>

<template>
  <div class="app">
    <header>
      <div>Logo</div>
      <nav>
        <NuxtLink to="/">Home</NuxtLink>
        <NuxtLink to="/about">About</NuxtLink>
        <NuxtLink to="/products">Products</NuxtLink>
      </nav>
    </header>
    <slot>This is where individual pages contents will be rendered</slot>
    <footer>Footer: @Ojerinde Joel 2023</footer>
  </div>
</template>

<style scoped>.app {
  border: 2px solid darkseagreen;
}

header {
  background: #c4c2c2;
  padding: 1rem 2rem;
  display: flex;
  justify-content: space-between;
  align-items: center;
}

nav {
  flex-basis: 40%;
  display: flex;
  justify-content: space-between;
}

footer {
  padding: 1rem 0;
  text-align: center;
  background: #999393;
}
.router-link-exact-active {
  color: greenyellow;
}
</style>
index.vue file:
<script setup lang="ts"></script>

<template>
  <div>
    <h2>This is the home page</h2>
  </div>
</template>

<style scoped="true"></style>
about.vue file:
<script setup></script>

<template>
  <NuxtLayout name="products-layout">
    <div>
      <h2>This is the about page</h2>
      <p>
        Lorem ipsum dolor, sit amet consectetur adipisicing elit. Nihil ratione,
        magni incidunt aperiam laboriosam vero fuga possimus atque reiciendis?
        Consequuntur laudantium quaerat vitae dicta maiores harum! Maiores
        soluta deserunt natus.
      </p>
    </div>
  </NuxtLayout>
</template>

<style scoped="true"></style>
products.vue file:
<script setup></script>

<template>
  <div>
    <h2>This is the products page</h2>
    <p>Product 1</p>
    <p>Product 2</p>
  </div>
</template>

<style scoped="true"></style>
Here are the results displayed for each page below.
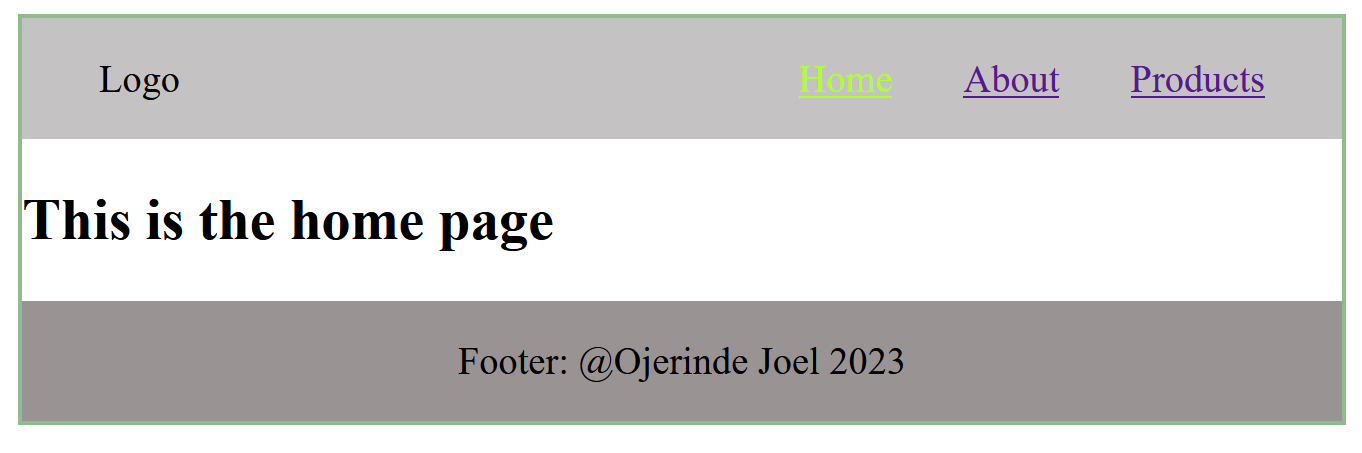
Home Page:
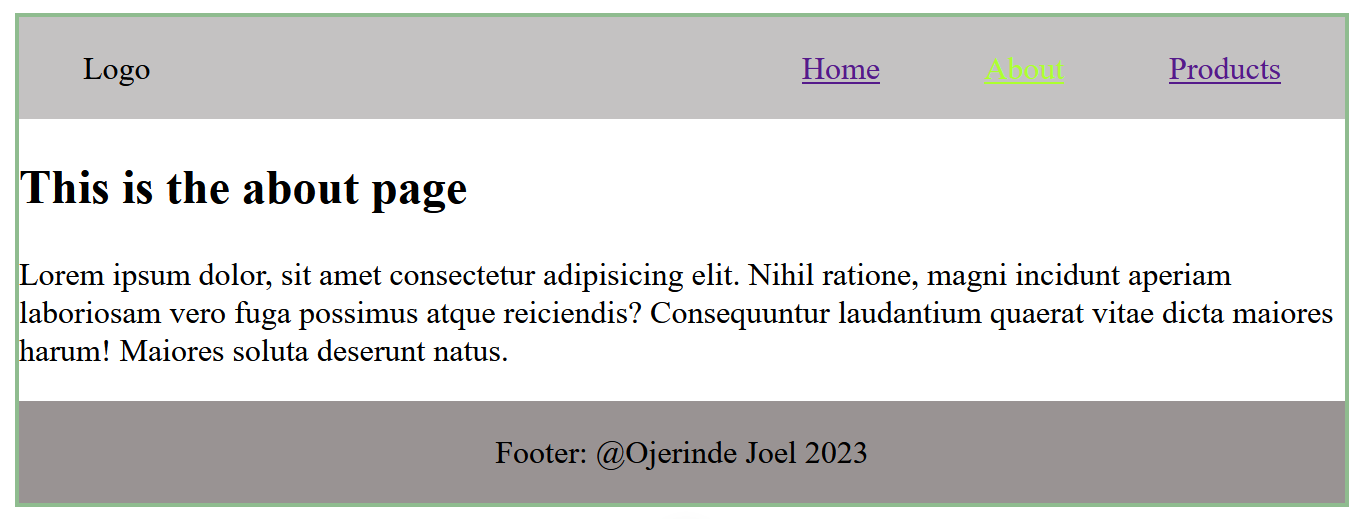
About page:
Products page:
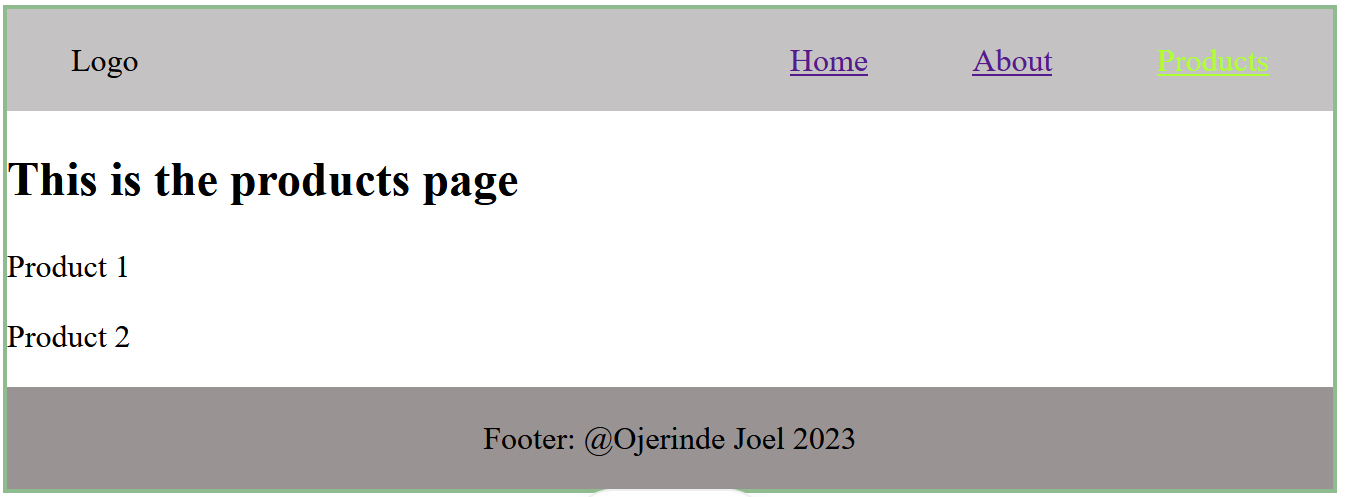
By examining the three screenshots above, it is clear that all the routes or pages utilize the default layout.
How do I create custom layouts?
Creating a custom layout follows a similar process to the default layout. The key distinction lies in how they are applied to individual routes. A default layout is automatically applied to all pages, whereas a custom layout is explicitly linked to the specific route or page it is intended for.
Next, we will create a custom layout by creating a file, which I will call products-layout in the layouts directory. Remember that ‘layout’ does not have to appear in the file name.
Once again, I will use Nuxt CLI, nuxi. Execute the commands below.
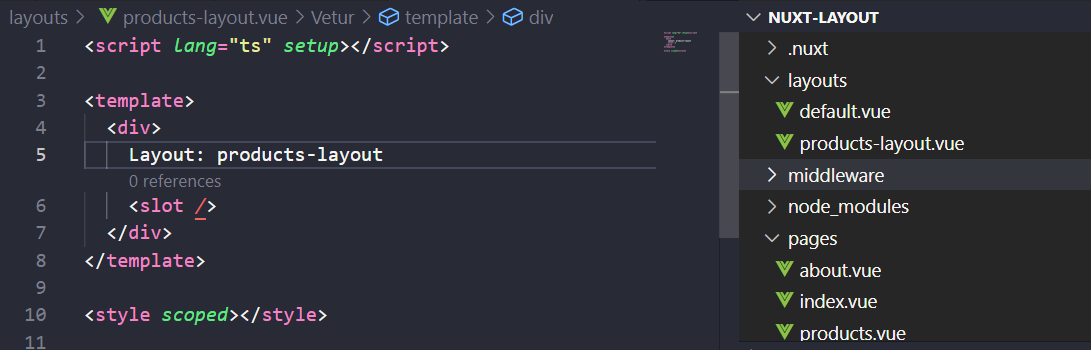
npx nuxi add layout products-layoutThe files in your layout directory should be shown in the screenshot below.
Let’s modify the product-layout file to define the desired structure for the products page.
<script setup></script>

<template>
  <div class="app">
    <header>
      <div>Logo</div>
      <nav class="nav">
        <NuxtLink to="/">Home</NuxtLink>
        <NuxtLink to="/about">About</NuxtLink>
        <NuxtLink to="/products">Products</NuxtLink>
      </nav>
    </header>
    <div class="body">
      <div class="sidebar">
        <h2>Sidebar</h2>
        <p>Phones</p>
        <p>Laptop</p>
        <p>Television</p>
      </div>
      <div class="main-container">
        <slot>This is where products page contents will be rendered</slot>
      </div>
    </div>

    <footer>
      <nav class="footer__nav">
        <NuxtLink to="/">Home</NuxtLink>
        <NuxtLink to="/about">About</NuxtLink>
        <NuxtLink to="/products">Products</NuxtLink>
      </nav>
      <p>Product Layout Footer: @Ojerinde Joel 2023</p>
    </footer>
  </div>
</template>

<style scoped>
.app {
  border: 2px solid darkseagreen;
}
header {
  background: #c4c2c2;
  padding: 0.4rem 2rem;
  display: flex;
  justify-content: space-between;
  align-items: center;
}
.body {
  display: flex;
}
.sidebar {
  flex-basis: 30%;
  background: #f1eeee;
  text-align: center;
}

.nav {
  display: flex;
  justify-content: flex-end;
  gap: 2rem;
}

footer {
  padding: 0.4rem 0;
  text-align: center;
  background: #999393;
}
.footer__nav {
  padding: 0 2rem;
  text-align: left;
  display: flex;
  justify-content: flex-start;
  gap: 2rem;
}
.router-link-exact-active {
  color: greenyellow;
}
</style>
The code snippet above has the structure we want to apply to the products page. The structure differs from the default layout structure, as we will see shortly.
Presently, the layout specified in product-layout.vue is not applied to the products page. To implement this, let’s update the products page file accordingly.
<script setup>
definePageMeta({
  layout: "products-layout",
});
</script>

<template>
  <div>
    <h2>This is the products page</h2>
    <p>Product 1</p>
    <p>Product 2</p>
  </div>
</template>

<style scoped="true"></style>
Looking closely at the revised code above, you will see that I have updated the code to include definePageMeta in the script tag. The definePageMeta takes an object and defines metadata for a page. In this case, definePageMeta is used to specify the layout that should be applied to the page.
Keep in mind that you have the option to explicitly designate the default layout. Although the default layout is automatically applied to all pages that don’t explicitly specify a layout.
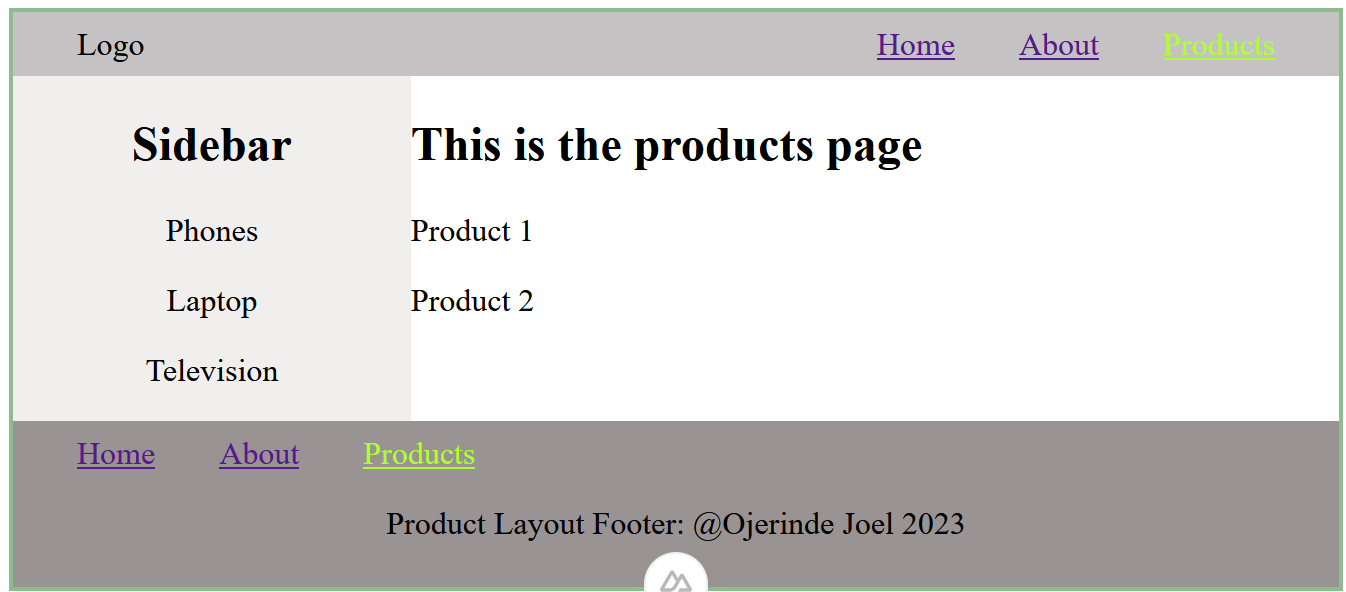
And that is the product-layout in action. As you can see in the screenshot above, we have the navigation menu in both the header and the footer, the sidebar to show all the categories of products, and the main container to show the products under each category. I decided to go with this structure because it has numerous use cases.
By the way, if you navigate to other pages, the default layout will still be applied to them.
How do I render a layout based on routes?
One of the most effective ways to customize your application’s look and feel is to dynamically choose layouts according to routes.
This can be done by explicitly specifying a page-level layout property, which we have been doing in this article.
Let us also examine how selecting a layout based on the full route path works. To do this, I have updated the code in the about.vue file, as seen below.
<script setup>
const route = useRoute();
console.log(route);
definePageMeta({
  layout: false,
});
const layout = route.fullPath;
</script>

<template>
  <NuxtLayout name="products-layout">
    <div>
      <h2>This is the about page</h2>
      <p>
        Lorem ipsum dolor, sit amet consectetur adipisicing elit. Nihil ratione,
        magni incidunt aperiam laboriosam vero fuga possimus atque reiciendis?
        Consequuntur laudantium quaerat vitae dicta maiores harum! Maiores
        soluta deserunt natus.
      </p>
    </div>
  </NuxtLayout>
</template>

<style scoped="true"></style>
In the <script setup> block of the provided code:
-
The
useRoutefunction is invoked to access the current route information. -
The automatic layout for the page is disabled using
definePageMeta({ layout: false }). -
The layout name is dynamically set based on the route’s full path and stored in the
layout_namevariable.
In the <template> block:
- The
NuxtLayoutcomponent is utilized, and the:nameattribute is dynamically bound to thelayout_namevariable from the<script>.
This dynamic binding allows flexible and route-dependent layout selection.
Conclusion
In this article, we’ve covered layouts and why they matter in web development. We discussed the default layout, which is like a universal template applied to all pages, and we also explored how to create custom layouts for specific pages in your project.
Understanding layouts is crucial for keeping a consistent look and structure across your Nuxt.js application. To dive deeper into these concepts, check out Nuxt’s documentation for more details. And don’t forget, the best way to get the hang of it is by trying things out in your projects!
Truly understand users experience
See every user interaction, feel every frustration and track all hesitations with OpenReplay — the open-source digital experience platform. It can be self-hosted in minutes, giving you complete control over your customer data.
Star on GitHub12k