Managing State in Vue with Pinia ORM
Add ORM-features to Pinia for better state management in Vue.


State management is an important part of building any web application. While Vue provides techniques for managing simple states, handling states may become more challenging as the application grows in complexity. This is why libraries like Pinia are created to enhance Vue’s basic state management capabilities. However, using Pinia in large-scale applications may present challenges, which is why ORM libraries are recommended to deal with the complexity of state management in large projects.
The Pinia ORM package helps prevent single-tree state drawbacks by effectively working with the Vue state. This tutorial will explore Pinia ORM features and how to use them in your Vue application.
As a prerequisite to this tutorial, I assume you are familiar with Vue.js and Pinia and have Node.js installed on your computer.
Overview of Pinia ORM
ORM (Object-Relational Mapping) is a method of managing and organizing state data in a Vue application by treating it as objects in the code rather than handling it manually. It lets you think about your application state in terms of models, bringing the familiarity of typical database CRUD operations to your vue application.
Pinia ORM is an abstraction of the Pinia state management library that allows developers to interact with the Pinia store as a database object rather than a plain state. It allows developers to manipulate and query data in a way that will improve the application’s performance.
Setting up Pinia ORM in a Vue Project
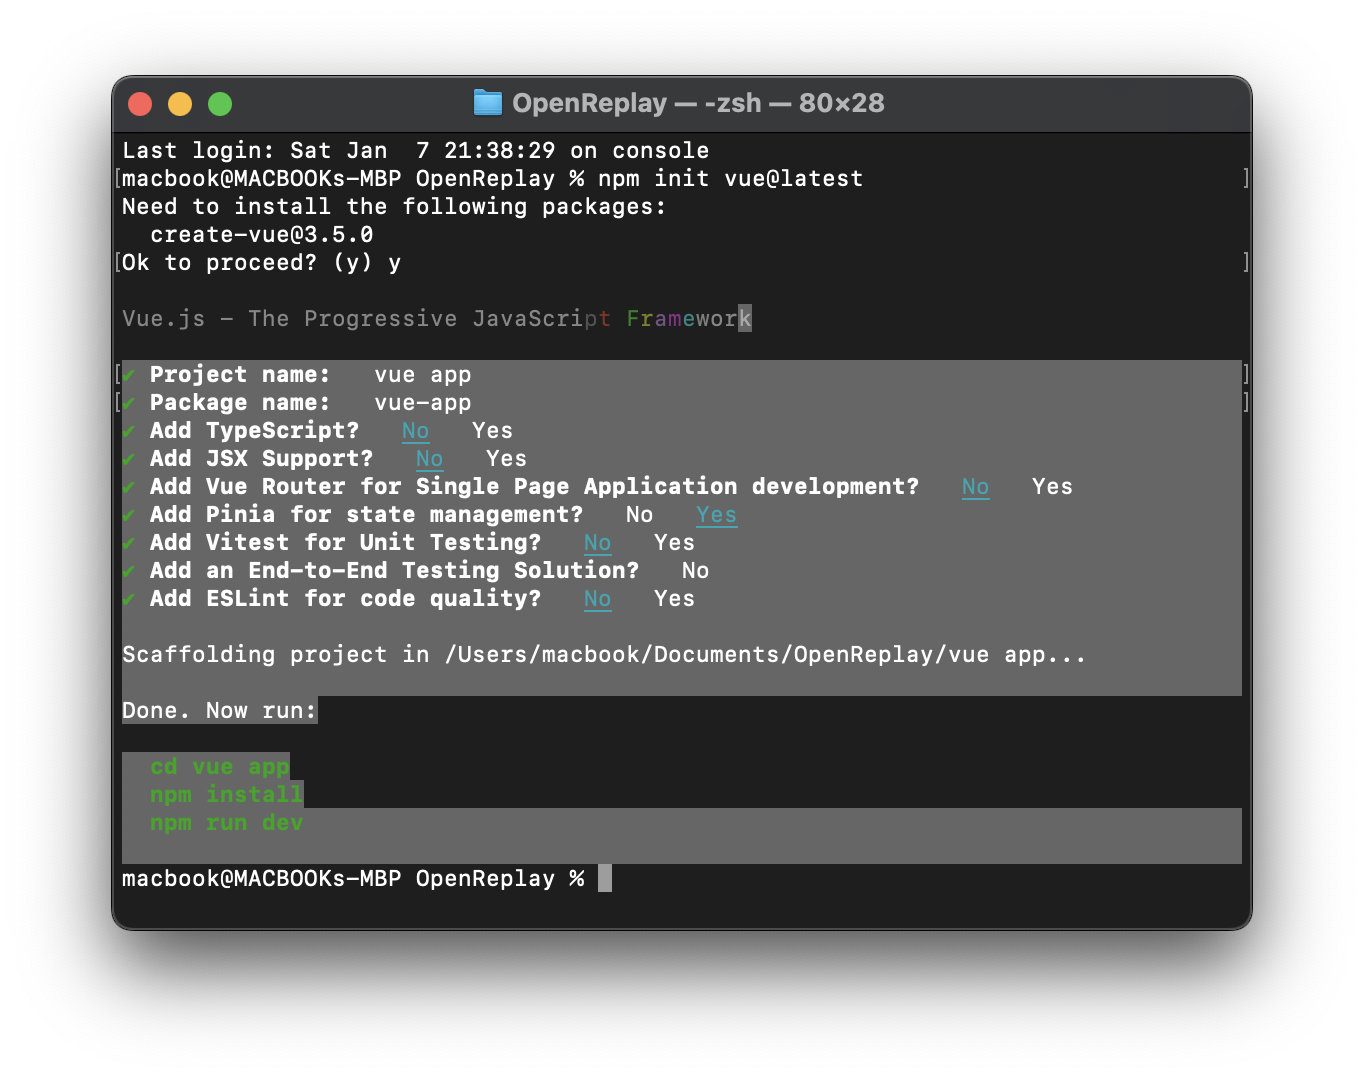
This section will go through configuring Pinia ORM in a new Vue project. Open your terminal, navigate to the directory where you want to install the project, and run the command below.
npm init vue@latestRunning the above command will prompt you to select your application features. I’ll set the application features for this tutorial, as shown in the screenshot below.
 After selecting the application features, enter the following commands.
cd vue-app
npm install
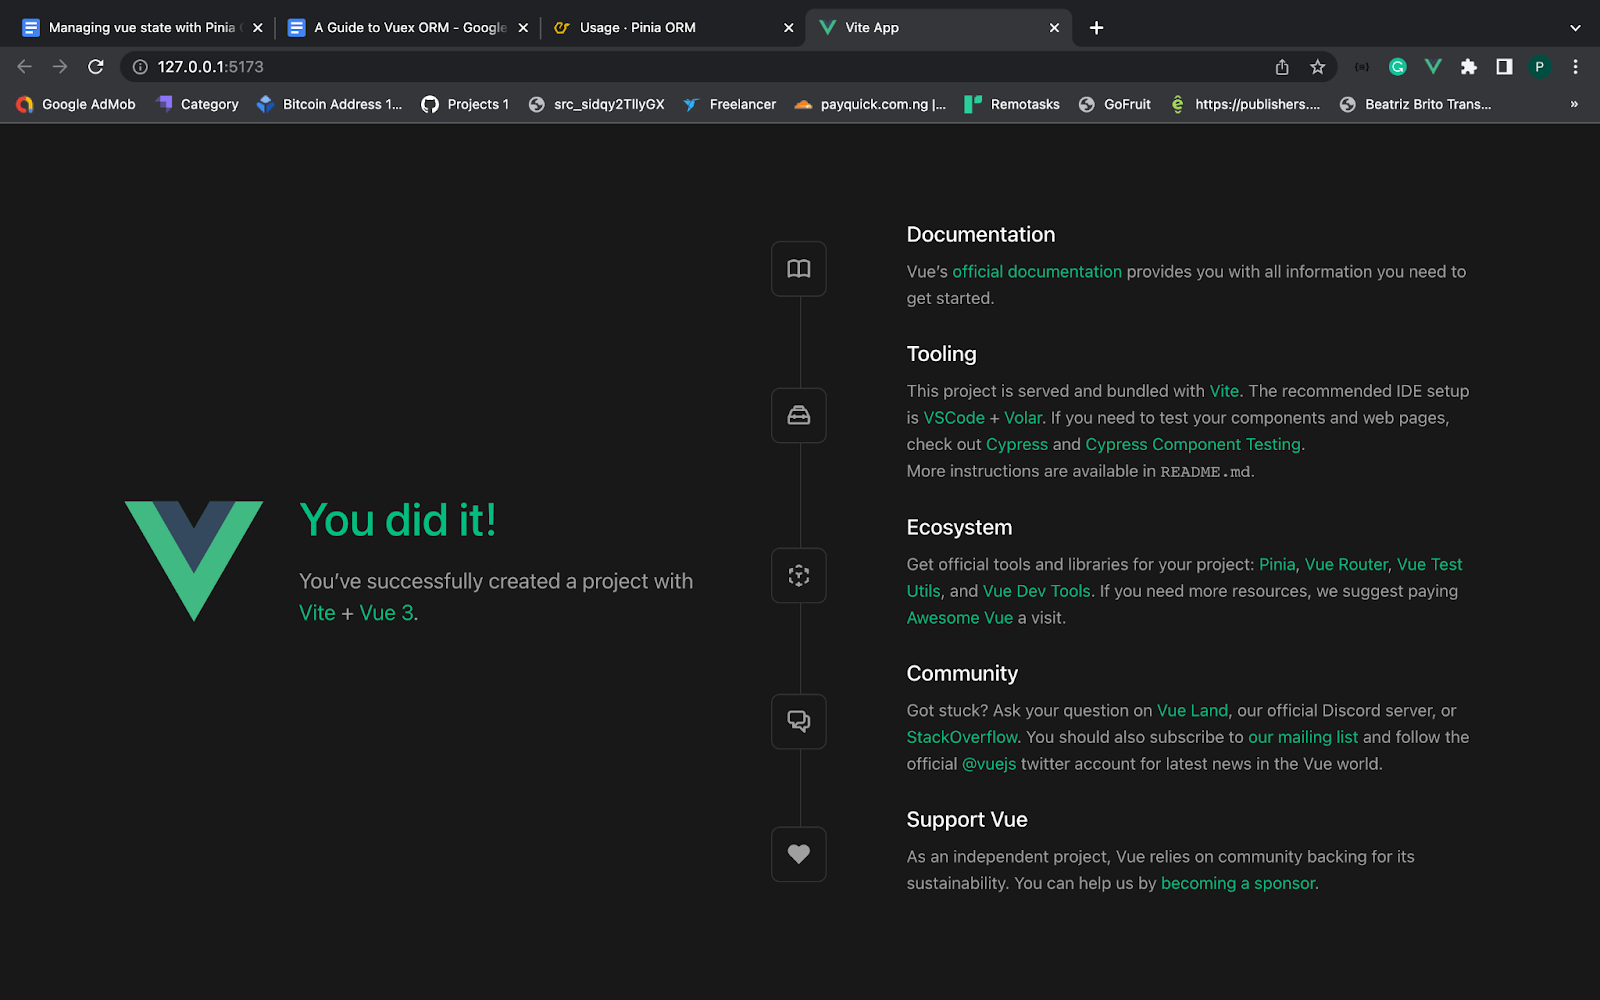
npm run devNow you should have your application up and running, as shown below:
Pinia ORM installation
You can install Pinia ORM using the NPM package. On your terminal, navigate to the project folder and enter the command below to install Pinia ORM.
npm install pinia pinia-orm --saveCreating Pinia Database Model
Pinia ORM model represents application data structure. Models are used to define the database tables and columns along with their initial value and data type.
Let’s demonstrate how Pinia ORM Model works by creating a simple database(friendship). The database will contain one table (friends) and five columns (id, username, fullname, age, and email).
In your project root directory, navigate to the src directory, create a friendship.js file, and add the following code.
// friendship.js
// Friend Model

import { Model } from "pinia-orm";

export default class Friend extends Model {
  // entity is a required property for all models.
  static entity = "friends";

  static fields() {
    return {
      id: this.uid(),
      Username: this.string(""),
      Fullname: this.string(""),
      Age: this.string(""),
      Email: this.string(""),
    };
  }
}
From the code above, the entity is the database table name friends, while the table columns are passed into the fields method.
Pinia ORM database registration
Now that we have successfully created the database’s table, we need to register the database in our component before accessing the Pinia ORM features. Inside the src folder, create a new component in a Myfriends.vue file and add the following code.
// src/components/Myfriends.vue
<script>
  import { useRepo } from "pinia-orm";
  import { createPinia } from "pinia";
  import { createORM } from "pinia-orm";
  import Friend from "../stores/friendship";
  const pinia = createPinia().use(createORM());
  const useRepo1 = useRepo(Friend, pinia);
</script>
In the code above, we imported: useRepo, createPinia, createORM, and Friend. Next, we create an instance of the Pinia ORM and register the database using the useRepo method, which takes two arguments: Friend and Pinia.
Inserting Data into the database
Pinia ORM uses the save() method to add new records to the database table. Pinia ORM save() syntax is as follows:
useRepo(Friend, pinia).save({
   column1: “data 1”,
   column2: “data 2”,
   // ...
   columnN: “data n”,
});
The above code will insert a new record into the table(Friend). If any table columns are omitted, the initial value of the column will be added to the database.
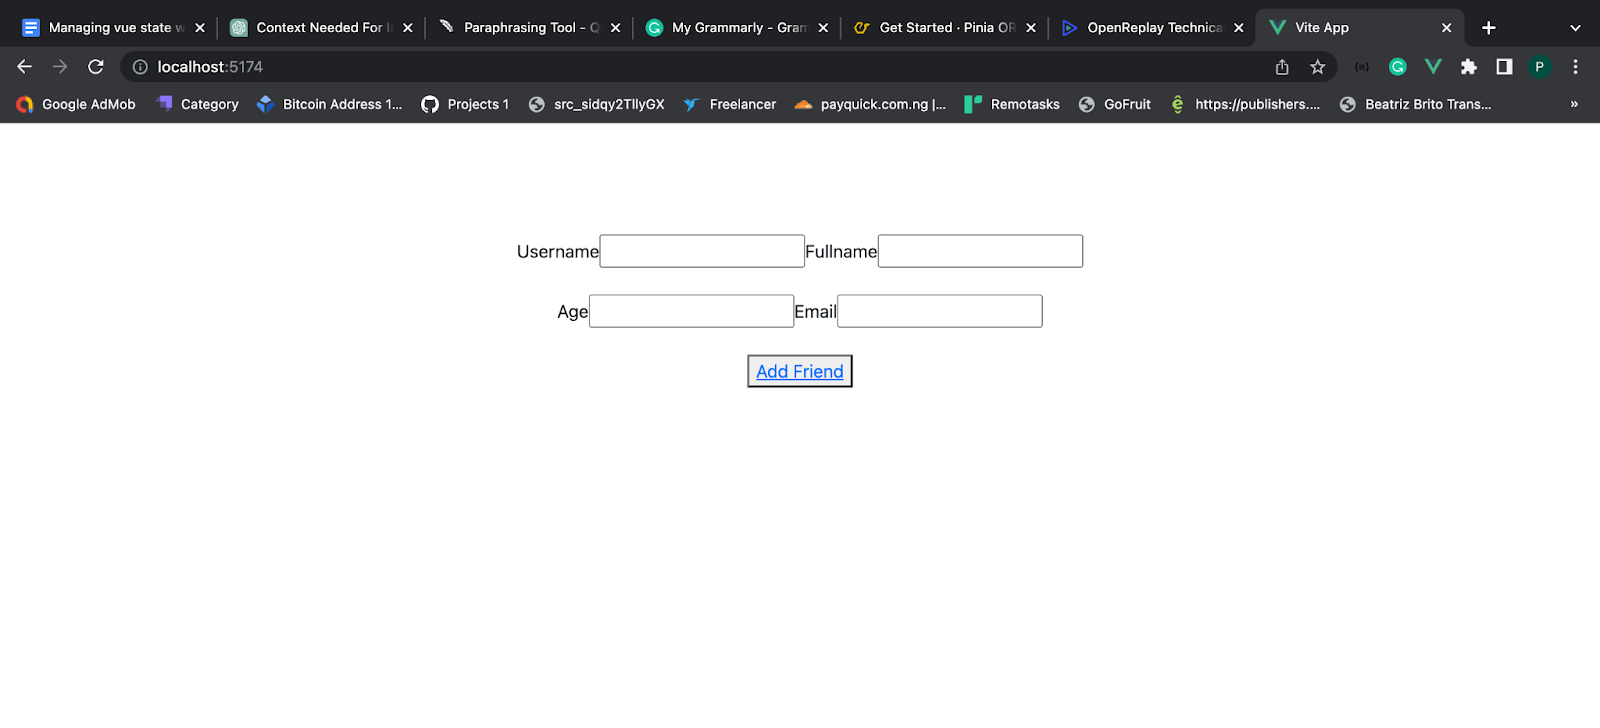
In the Myfriends.vue component, we can ask the users to enter their friend’s details and use the Pinia ORM save() method to save the data into the database. To do that, update Myfriends.vue with the following code.
// src/components/Myfriends.vue
<script>
import { useRepo } from "pinia-orm";
import { createPinia } from "pinia";
import { createORM } from "pinia-orm";
import Friend from "../stores/friendship";
const pinia = createPinia().use(createORM());

const useRepo1 = useRepo(Friend, pinia);

export default {
  data() {
    return {
      form: {
        username: "",
        fullname: "",
        age: "",
        email: "",
      },
    };
  },

  methods: {
    addfriend() {
      useRepo1.save({
        Username: this.form.username,
        Fullname: this.form.fullname,
        Age: this.form.age,
        Email: this.form.email,
      });
      console.log(useRepo1.all());
    },
  },
};
</script>
<template>
  <div>
    <link
      href="https://cdn.jsdelivr.net/npm/bootstrap@5.1.3/dist/css/bootstrap.min.css"
      rel="stylesheet"
    />
    <center>
      <div
        style="
          width: 100%;
          height: 60px;
          margin-bottom: 20px;
          margin-top: 100px;
        "
      >
        <div>
          <label for="">Username</label>
          <input v-model="form.username" />
          <label for="">Fullname</label>
          <input v-model="form.fullname" /> <br />
          <br />
          <label for="">Age</label>
          <input v-model="form.age" />
          <label for="">Email</label>
          <input v-model="form.email" />
          <br /><br />
          <button @click="addfriend" class="btn-link">Add Friend</button>
        </div>
        <br /><br /><br />
      </div>
    </center>
  </div>
</template>
Refresh the application in your browser; you should have the following output:
Session Replay for Developers
Uncover frustrations, understand bugs and fix slowdowns like never before with OpenReplay — an open-source session replay tool for developers. Self-host it in minutes, and have complete control over your customer data. Check our GitHub repo and join the thousands of developers in our community.
Getting Data from the database
Pinia ORM uses the all() method to retrieve data from the database, which will fetch all data from the database. The all() method can be used as follow:
const useRepo1 = useRepo(Friend, pinia).all()The code above will fetch all the records in the database in ascending order. Still, we can use the useCollect from the Pinia ORM module to sort the data and perform some operations on the data, as follows.
import { useCollect } from 'pinia-orm/dist/helpers' //.. const useRepo1 =
useRepo(Friend, pinia).all() // sort the record by 'Username' attributes
useCollect(useRepo1).orderBy('Username') // get the min of the 'age' attribute
useCollect(useRepo1).min('age') // get the max of the 'age' attribute
useCollect(useRepo1).max('age') // get the sum of the 'age' attribute
useCollect(useRepo1).sum('age') // sort by 'age' attribute
useCollect(useRepo1).sortBy('age') // get all values in 'age' attribute
useCollect(useRepo1).pluck('age') // get all primary keys
useCollect(useRepo1).keys()
In Myfriends.vue component, Let’s use the all() method to fetch all the records in the database and display updates in our application interface. Add the following code to Myfriends.vue script:
// src/components/Myfriends.vue
// . . .
export default {
  computed: {
    friend_list: () => useRepo1.all(),
  },
  // . . .
Next, we can display the records by adding the following code to the Myfriends.vue template.
<!-- . . . -->
<div class="container">
  <h2>My Friend List</h2>
  <table class="table table-striped">
    <thead>
      <tr>
        <th>Username</th>
        <th>Fullname</th>
        <th>Age</th>
        <th>Email</th>
      </tr>
    </thead>
    <tbody>
      <tr v-for="friend in friend_list">
        <td>{{ friend.Username }}</td>
        <td>{{ friend.Fullname }}</td>
        <td>{{ friend.Age }}</td>
        <td>{{ friend.Email }}</td>
      </tr>
    </tbody>
  </table>
</div>
Refresh the application in your browser and have the following output.
Deleting Data from the database
Pina ORM provides two methods of deleting records from the database. The first method uses the delete() query, which is used to delete records with a specified condition. The delete() query can be used as follows.
const useRepo1 = useRepo(Friend, pinia)
useRepo1.where('Username', 'John').delete()
The above code will delete the record where the username is John from the table.
The second method uses the destroy() query to delete records from the database; it accepts the record’s ID as a parameter. The destroy() query can be used as follows.
const useRepo1 = useRepo(Friend, pinia)
useRepo1.destroy(1) // delete record id 1
useRepo1.destroy([1,4,5]) // delete record id 2,4,5
Pinia ORM Tables Relationships
Pinia ORM provides a unique method for handling connections between tables in a database, enabling the definition of various relationship types within the database model classes, including one-to-one, one-to-many, and many-to-many.
One To One Relationship
Pinia ORM one-to-one relationship is a type of relationship where each record in a table is associated with one record in another table. This type of relationship is often used when there is a unique constraint or a need to isolate specific data in a separate table.
For example, a Users table might have a one-to-one relationship with a “Profile” table, where each user has a unique profile. Let’s create two tables (Users and Profile) to demonstrate how a one-to-one relationship works.
Inside the store folder, create a User.js file and add the following code.
// User Model
import { Model } from "pinia-orm";
import Profile from "./Profile";
export default class User extends Model {
  // entity is a required property for all models.
  static entity = "users";
  static fields() {
    return {
      id: this.uid(2),
      name: this.attr(""),
      email: this.string(""),
      profile: this.hasOne(Profile, "userID"),
    };
  }
}
In the code above, the one-to-one relationship is defined by passing the Profile class as the first argument and “userID” as the foreign key to the ‘hasOne’ method, creating a unique association between the User and Profile tables, linking the “userID” field in the Profile table to the “id” field in the User table.
Next, let’s Create the Profile table. Inside the stores folder, create a Profile.js file and add the following code.
// Profile Model
import { Model } from "pinia-orm";
export default class Profile extends Model {
    // entity is a required property for all models.
    static entity = "profiles";
    static fields() {
        return {
            id: this.uid(),
            userID: this.attr(""),
            bio: this.attr(""),
            job: this.string(""),
        };
    }
}
Once you register the two databases in your component, you can access the one-to-one relationship record using the following code.
const userinfo = User.query().with('profile').first()One To Many
A one-to-many relationship in an ORM relationship in which a single record in one table is associated with multiple records in another. This type of relationship is often used to model a parent-child relationship, where a single parent can have multiple children.
In our previous example, let’s assume a user can have multiple profiles. We can use a one-to-many relationship to associate the user with the profile records by replacing this.hasOne with this.hasMany, as shown below.
static fields() {
  return {
    id: this.uid(2),
    name: this.attr(""),
    email: this.string(""),
    profile: this.hasMany(Profile, "userID"),
    };
}
Conclusion
Pinia ORM is an essential tool for managing state in Vue applications. It provides a flexible way to handle state, allowing developers to work with data using database models and relationship patterns.
In this tutorial, we learned what Pinia ORM is, how to configure it, and how to use it in Vue Applications. You can learn more about Pinia ORM from their official documentation.
Gain Debugging Superpowers
Unleash the power of session replay to reproduce bugs and track user frustrations. Get complete visibility into your frontend with OpenReplay, the most advanced open-source session replay tool for developers.