

Data grids are a vital feature in most data-driven applications. With them, you can display and edit data in a grid-like format. AG Grid is a rich data grid and charting solution for JavaScript Enterprise Applications. It provides you with all the standard features of a data grid available through simple code configuration to enable a rich and interactive table of data for end-users out of the box, e.g., sorting, filtering, editing, etc. It allows you to focus on building the best application without spending additional time or development budget building and maintaining your data grid or data visualization libraries.
In this article, we will work through a step-by-step guide for building a customizable and highly extensible data grid in your React application with the ag-grid-react library.
To follow this tutorial, you must have a basic understanding of React. If you want to learn more about React, you can review their official documentation, or you can clone the project and follow along.
What is AG Grid?
AG Grid is a rich data grid and charting solution designed for JavaScript. It provides all the standard features of a data grid like filtering, cell-editing, pagination, and sorting through simple code configuration. This enables a rich and interactive data table for end users right away.
AG grid is customizable, highly extensible, and can be used with JavaScript and different JavaScript frameworks like Vue, React, and Angular. It lets you focus on building the best application without spending additional time or money building and maintaining your data grid or visualization library.
Setting up your project
To begin, you must scaffold your project with create-react-app. To do so, run the following command in your terminal:
npx create-react-app aggrid-demo
cd aggrid-demo
npm start
If the installation is successful, the above command will set up a new local project on your computer, and npm start will start the development server and instantly open a web browser pointing to localhost:3000.
After that, you need to add the AG Grid npm packages by running:
npm install --save ag-grid-community ag-grid-react in your terminal. After a few seconds, the ag-grid-react library will be added to your project.
Then, we will install Faker.js, a JavaScript library for generating a massive amount of fake ( but realistic) data for testing and development. To install it, run the following command:
npm install @faker-js/faker --save-dev
Now, you’re ready to start building. Open the src/App.js and replace the code with the following:
import './App.css';
import {UsersGrid} from './usersgrid';

function App() {
    return (
        <UsersGrid />
    );
}

export default App;
The App component described above returns a UsersGrid component that displays information about several cars. You will learn how to create the UsersGrid component shortly.
Now, create a new file named usersgrid.js in your project’s src folder. Open the file, and insert the following code to import React and AG Grid features:
import React, {useState, useEffect} from "react";
import { AgGridColumn, AgGridReact } from "ag-grid-react";

import 'ag-grid-community/dist/styles/ag-grid.css';
import 'ag-grid-community/dist/styles/ag-theme-alpine.css';
After that, you must create the demo data you’ll load into the grid. Start by creating the demo data with a simple array of data like the following (later on in the article, you will fetch the data directly from an API):
const InitialRowData = [
{ first_name: "Marcelo", last_name: "Stanton", email:Mytle_Rogahn@examplemail.com},
{ first_name: "Martine", last_name: "Schmitt", email:Ryeigh_Mitchell@examplemail.com },
{ first_name: "Judge", last_name: "O'Keefe", email:Dominique35@exampleemail.com },
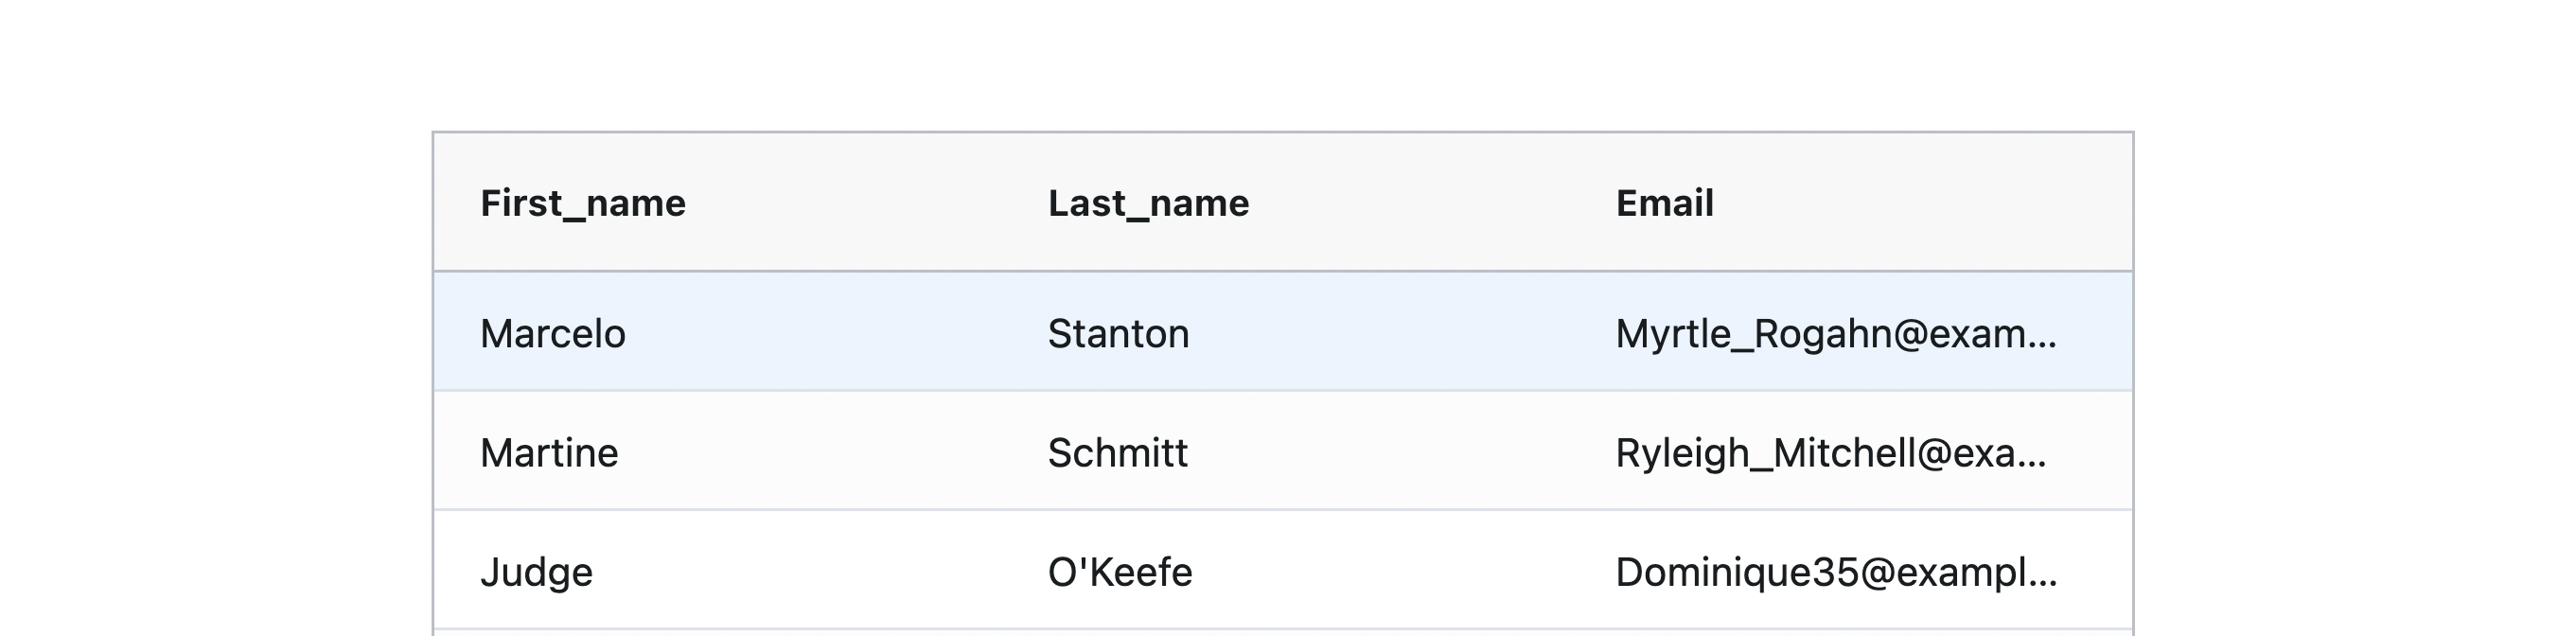
];As stated, AG Grid provides features like in-cell editing, sorting, filtering, and pagination. However, before using these features, you must create demo data as you did above. To do this, you need to set the data to render useState as rowData and return the JSX that renders data using AG Grid:
import React, { useState, useEffect } from "react";
import { AgGridColumn, AgGridReact } from "ag-grid-react";

import "ag-grid-community/dist/styles/ag-grid.css";
import "ag-grid-community/dist/styles/ag-theme-alpine.css";

const InitialRowData = [
  { first_name: "Marcelo", last_name: "Stanton", email:Mytle_Rogahn@examplemail.com},
  { first_name: "Martine", last_name: "Schmitt", email:Ryeigh_Mitchell@examplemail.com },
  { first_name: "Judge", last_name: "O'Keefe", email:Dominique35@exampleemail.com },
];

export function UsersGrid() {
  // set to default data
  const [rowData, setRowData] = useState(InitialRowData);

  return (
    <div
      className="ag-theme-alpine"
      style={{ height: 400, width: 600, margin: 100 }}
    >
      <AgGridReact rowData={rowData}>
        <AgGridColumn field="first_name"></AgGridColumn>
        <AgGridColumn field="last_name"></AgGridColumn>
        <AgGridColumn field="email"></AgGridColumn>
      </AgGridReact>
    </div>
  );
}
With the code above, you now have a basic grid to render data. Open your browser and visit localhost:3000.
In-cell Editing
To make a cell editable, you must change the column definition by adding the attribute editable={true}. For example, to make your price column section editable, set the editable attribute to true like this:
<AgGridColumn field="email" editable={true}></AgGridColumn>Pagination
To add pagination to the grid, you need to enable it with the pagination={true} attribute on the grid. For example, to add pagination, update your code with the following:
<AgGridReact
  defaultColDef={{sortable:true, filter:true}}
  pagination={true}
… 
Filtering and Sorting
To be able to filter and sort a column, you need to add an attribute to the column. To enable filtering, update your code with the following:
<AgGridColumn field="first_name" filter={true}></AgGridColumn>
To enable sorting, use the following code:
<AgGridColumn field="last_name" sortable={true}></AgGridColumn>
Now, you can control each column via individual attributes. However, it’s better to configure all columns to be filterable and sortable simultaneously. To do so, add a default column definition feature from AG Grid on the grid itself by updating your code with the following:
<AgGridReact
  defaultColDef={{sortable:true, filter:true}}
…
Session Replay for Developers
Uncover frustrations, understand bugs and fix slowdowns like never before with OpenReplay — an open-source session replay tool for developers. Self-host it in minutes, and have complete control over your customer data. Check our GitHub repo and join the thousands of developers in our community.
Fetching Data into the Grid with useEffect
To load data thousands of data into your grid, you’ll use the useEffect React hook. We will use the Fakerjs Library to fetch thousands of demo data into the grid. To do that, create a new file named getdata.js and insert the following code:
import {faker} from '@faker-js/faker';

export function getData(rowsToMake) {
    const data = [];
    for (let x = 0; x < rowsToMake; x++) {
        data.push({
            first_name: faker.name.firstName(),
            last_name: faker.name.lastName(),
            email: faker.internet.exampleEmail(),
        });
    }
    return data;
}
Then open usersgrid.js and update it with the following code:
import React, {useState, useEffect, useMemo} from "react";
import { AgGridColumn, AgGridReact } from "ag-grid-react";
import 'ag-grid-community/dist/styles/ag-grid.css';
import 'ag-grid-community/dist/styles/ag-theme-alpine.css';
import {getData} from "./getdata";
export function UsersGrid() {
const [rowData, setRowData] = useState([]);
const colDefs = useMemo(()=> [
{field: 'first_name'},
{field: 'last_name'},
{field: 'email', editable:'true'},
],[]);
useEffect(() => {
setRowData(getData(5000));
},[]);
return (
<div className="ag-theme-alpine" style={{height:400, width:600, margin:200}}>
<AgGridReact
defaultColDef = {{sortable: true, filter: true }}
pagination = {true}
rowData = {rowData}
columnDefs = {colDefs}>
</AgGridReact>
</div>
)
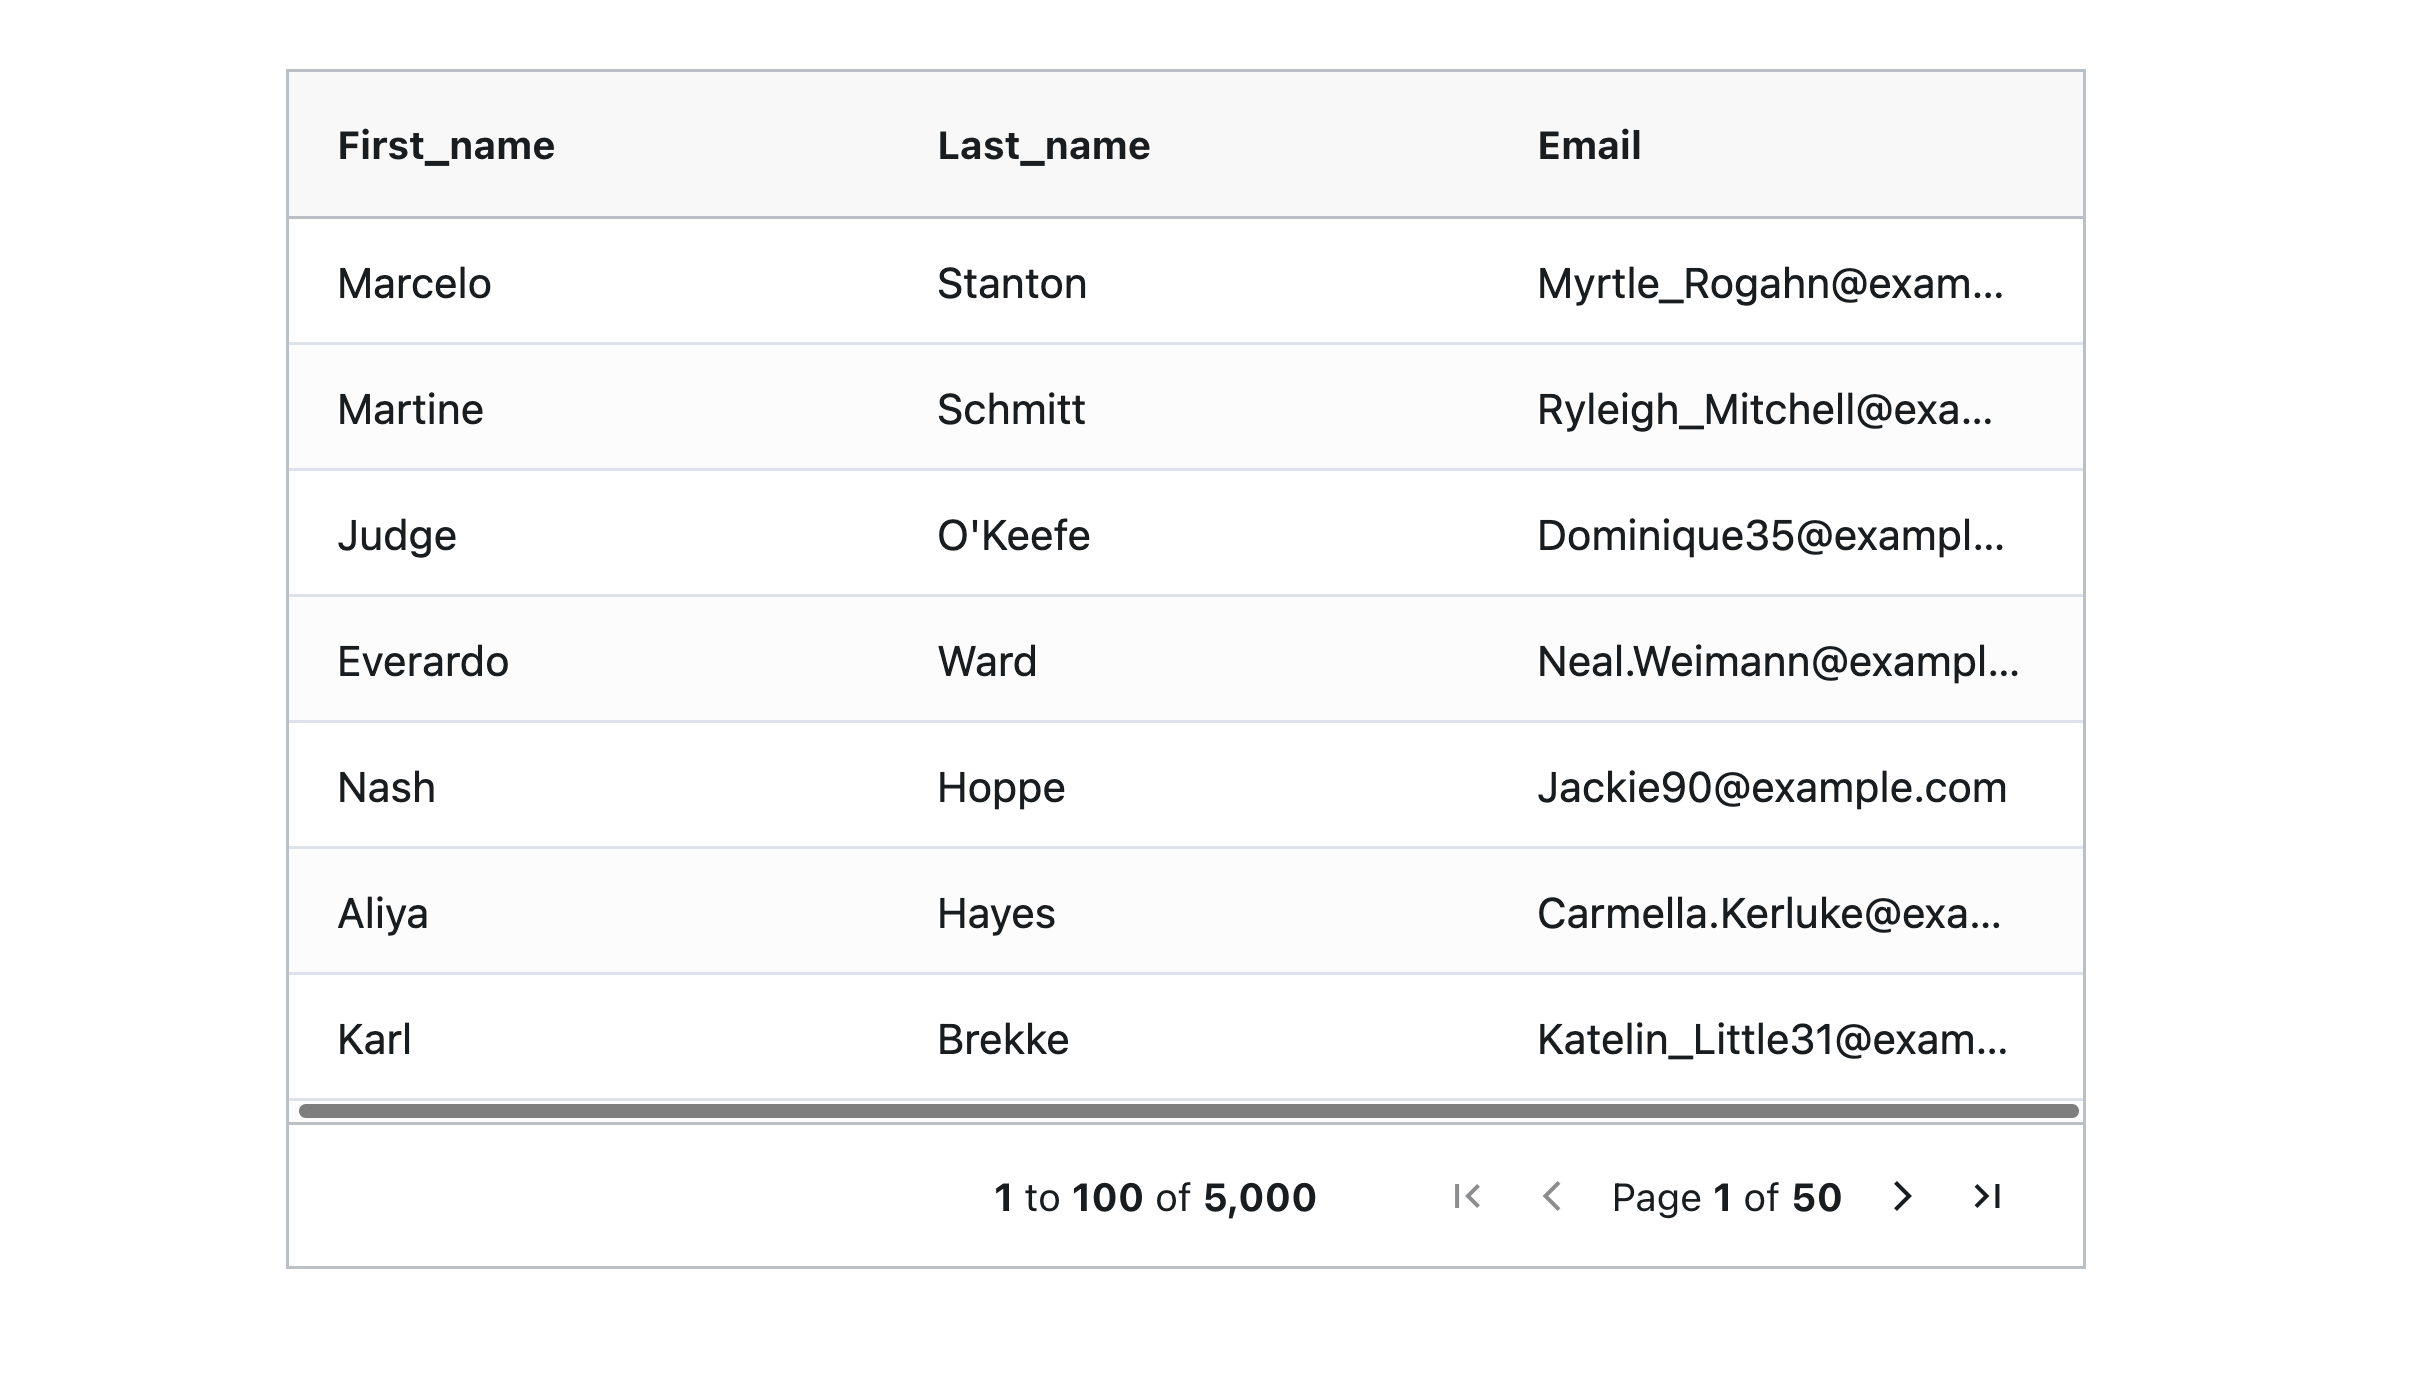
}The return result, rowData, is then used to set the rowData from the state so that the AG Grid automatically loads up:
After implementing the code above, pagination and rendering will happen automatically when you load data into the grid. The grid maintains its position on the page, and filtering and sorting happen quickly.
AG Grid also provides a loading feature. If you amend the initial state to be unassigned, AG Grid will display a loading… message while data is loaded into the grid from the server. To utilize the loading feature, update your code with the following:
const [rowData, setRowData] = useState([]);Your final result should look like this:
AG Grid has many features, especially when building an enterprise application. To learn more, check out React’s Getting Started page.
Conclusion
In this article, you explored how to quickly build a real-time customizable Datagrid in React with AG Grid. AG Grid offers a highly customizable and extensible data grid and charting solution for JavaScript. When you use AG Grid, you can focus on building the best application without spending time and resources on maintaining your data grid or data visualization libraries.
Gain Debugging Superpowers
Unleash the power of session replay to reproduce bugs and track user frustrations. Get complete visibility into your frontend with OpenReplay, the most advanced open-source session replay tool for developers.