PyScript: Python on the Web

If you have been following tech news and updates, you must have heard of PyScript. PyScript is a framework that provides in-browser support for Python through an HTML interface; this means you can use all rich libraries Python has to offer, directly at your HTML interface, without server-side support: in other words, you can code your pages using Python instead of JavaScript!
PyScript provides Python support in the browser using Pyodide (Pyodide makes it possible to install and run Python packages in the browser) and WebAssembly; It allows you to write Python scripts that are compiled into .wasm format that the browser can run. In addition, PyScript enables injecting Python scripts in your HTML file the same way you’d have a JavaScript file or code block. This framework provides a lot of possibilities for web development, ranging from the support for feature-rich .py libraries to bi-direction communication with javascript; this makes PyScript a vital tool/skill for web development.
What Pyscript Offers
In this section, we will look at a broader range of features that PyScript provides with examples:
Browser Support For Python Scripts
PyScripts provides browser support for Python scripts without any server-side configuration. In addition, it allows you to inject Python scripts directly into your HTML interface using the py-script tag:
<html>
...
<py-script>
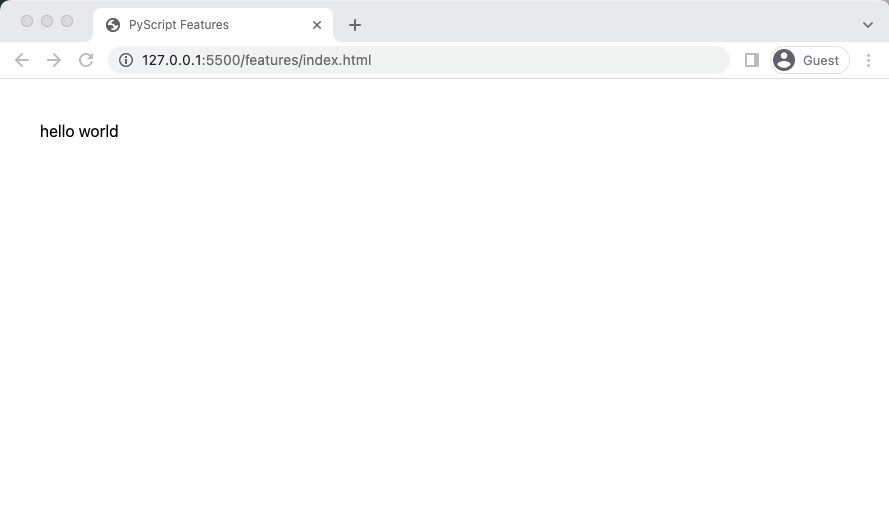
print("hello world")
</py-script>
</html>The code block above will print the string “hello world” in your browser:
PyScript also allows you to inject .py in the HTML interface using a py-script tag.
<html>
...
    <py-script>
        print("hello world")
    </py-script>
    <py-script src="./hello.py">
    </py-script>
</html>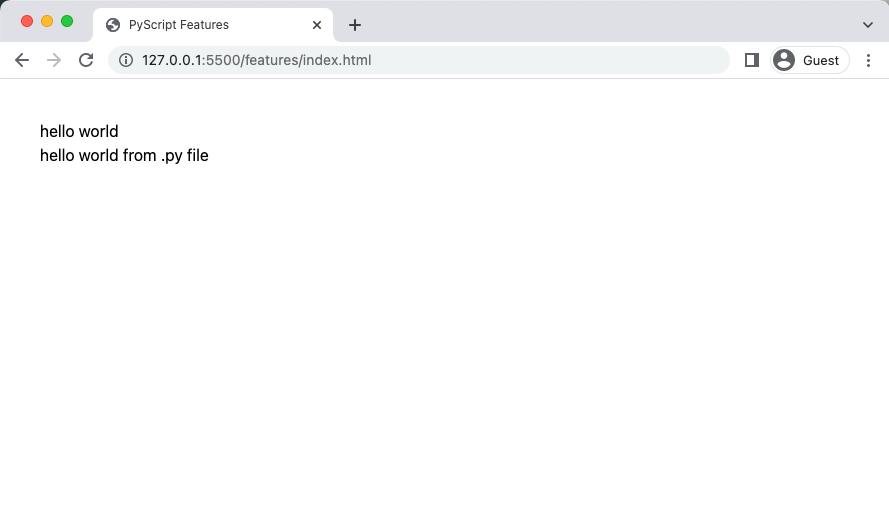
Support for Python libraries
PyScript also supports popular Python libraries and packages (NumPy, panda, etc.); this allows you to leverage the features these packages provide when developing your web pages.
REPL support for Python
PyScript provides a REPL injected into the HTML interface; a REPL is an environment where users can enter evaluated inputs. In this instance, PyScript provides an environment that can evaluate python scripts on the browser using the py-repl tag.
<py-repl auto-generate="true" ></py-repl>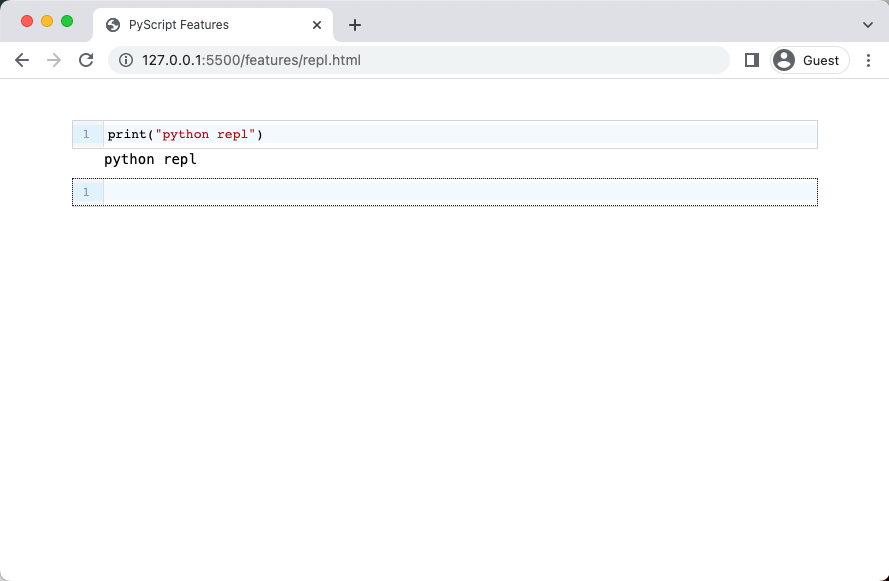
DOM Support
PyScript also allows you to manipulate HTML DOM and elements, as seen below:
<!-- PyScript DOM Support -->
<p id="text"></p>
<py-script>
    Element("text").element.innerText = "Hello from pyscript DOM"
</py-script>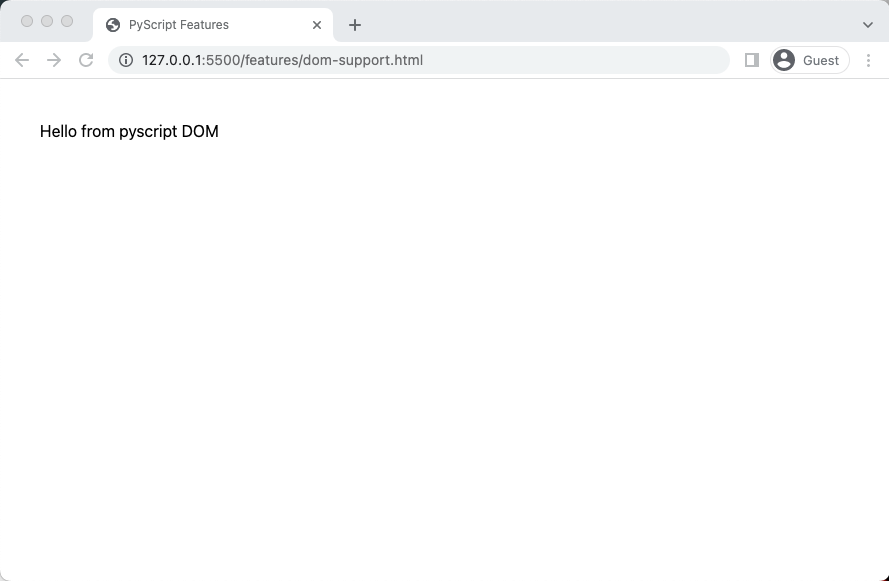
Mixing Python With Javascript
PyScript allows bi-direction communication between Python and JavaScript namespaces; it enables you to use JavaScripts methods in your python script. In this article, we will demonstrate this using the localStorage method:
<html>
...
<body>
    <h1>PyScript Bi-direction Support</h1>
    <!-- PyScript Bi-Direction namespaces -->
    <py-script>
        from js import localStorage
        localStorage.setItem("text", "hello world")
    </py-script>
</body>
</html>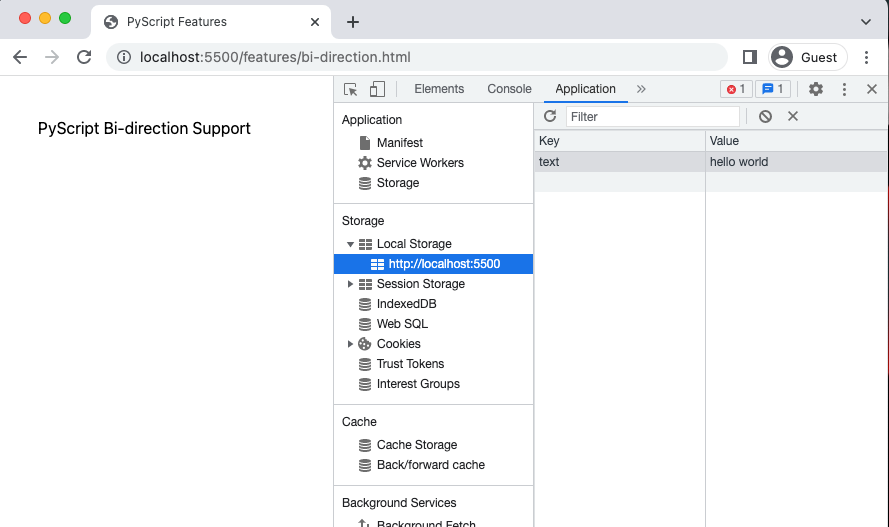
Setting up PyScript
In this section, we will do a walk-through of how to set up a PyScript for your projects; this is a relatively straightforward process using the CDN (Content Delivery Network) link to serve the files. You can find the CDN links for PyScript on the official PyScript website. First, click on the install button on the page and copy the PyScript framework CDN links.

Please copy and paste the link and script tag and paste it into your HTML head tag.
<!DOCTYPE html>
<html lang="en">
<head>
    <meta charset="UTF-8">
    <meta http-equiv="X-UA-Compatible" content="IE=edge">
    <meta name="viewport" content="width=device-width, initial-scale=1.0">
    <!-- PyScript CDN links -->
    <link rel="stylesheet" href="https://pyscript.net/alpha/pyscript.css" />
    <script defer src="https://pyscript.net/alpha/pyscript.js"></script>
    <title>PyScript: Memo</title>
</head>
<body>
</body>
</html>
We can see the PyScript links on line 8 and line 9.
Open Source Session Replay
OpenReplay is an open-source, session replay suite that lets you see what users do on your web app, helping you troubleshoot issues faster. OpenReplay is self-hosted for full control over your data.

Start enjoying your debugging experience - start using OpenReplay for free.
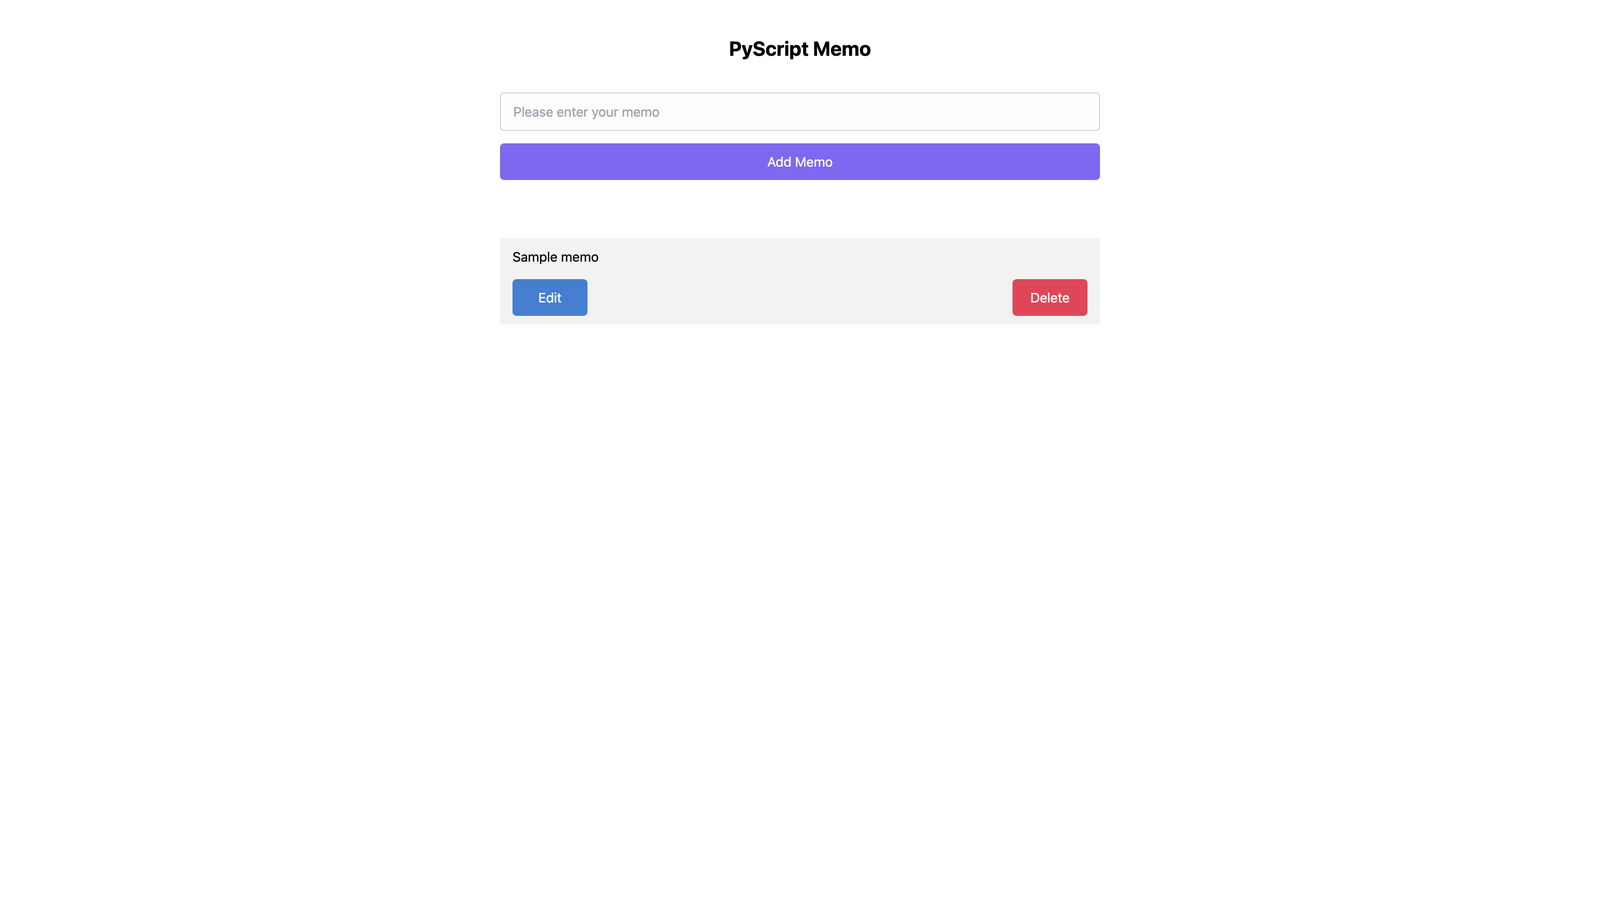
Sample Project Using PyScript
For this article, we will build a memo stored on your browser localStorage using PyScript and Python. The project will allow us to add, read, update and delete memos stored on the browser localStorage. To get started, create a new folder 📂store and an index.html file; repeat the setup process for setting up PyScript from the previous section. The next step will be to create the app.py ****file we will be working with and link the file in index.html.
<!DOCTYPE html>
<html lang="en">
...
<body>
    <!-- PyScrips -->
    <py-script src="./app.py">
    </py-script>
</body>
</html>
We will have the index.html file with styling as seen here: project_memo/index.html
The following process will be to code the functionalities for the app, and we will handle this in the app.py file. The features we will be covering for the project are:
- Add New Memo
- Read Memos
- Update Memo
- Delete Memo
We will first import javascript methods and initialize the global variables used throughout the project.
NB: It is vital to keep track of the indentation on the project file as this can affect code translation in .py files.
from js import document, localStorage, Object
memos = localStorage
new_memo = Element('new-memo')
add_memo_form = Element('add-memo-form')
memo_container = Element('memo-container')
update_memo = Element('update-memo')
edit_memo_form = Element('edit-memo-form')
edit_memo_container = Element('edit-memo-container')
On line 1, we import the JavaScript methods we will be working with; on lines 3-8, we use the PyScript DOM method Element. The Element method accepts the id of an HTML element.
Add New Memo
The first feature will be to add a new memo; to achieve this, we will accept a value keyed into the input with id “new-memo” and add it to the localStorage with a unique key.
def add_new_memo(e):
    e.preventDefault()
    localStorage.setItem(get_next_memo_id(), new_memo.element.value)
    new_memo.element.value = ""
    get_memos()
# Returns an integer that is the next memo id

def get_next_memo_id():
    # declares an empty python dictionary
    memo_dict = dict({})
    next_id = 0
    # function to loop through local storage and add all the key-value pairs to the python dictionary
    def memo_loop(memos_entries, _, __):
        memo_dict[memos_entries[0]] = memos_entries[1]
    Object.entries(memos).map(memo_loop)
    # Check for the max id in the dictionary and assign the value to next_id
    for memo_key in memo_dict:
        if next_id < int(memo_key):
            next_id = int(memo_key)
    return next_id + 1

...

add_memo_form.element.onsubmit = add_new_memo
On line 24 from the code block above, we have an onsubmit event on the add_memo_form element assigned add_new_memo function. The add_new_memo function on line 1 accepts an event parameter. On line 3, we save the memo with a key; We generate the memo key by calling the get_next_memo_id function. On line 10, we declare a new Python dictionary, similar to object literals in JavaScript. You can find additional information on dictionaries here. On line 13, we have the function memo_loop that loops through the memos and add the key-value pair to the dictionary memo_dict. On line 17, we loop through the memos and check for the maximum key, assign the value for the maximum key to the next_id variable, and return the next_id incremented by one as the key for a new memo.
NB: Functions in Python are declared using the def keyword.
We call the get_memos function on line 5, which populates the dom with values from memos.
Read Memos
To read memos and populate the HTML DOM with the memo values, we call the get_memos;
def get_memos():
    # Clean inside the memo container lelement
    memo_container.element.innerHTML = ""
    # loop through all memo to append them to the memo container
    Object.entries(memos).forEach(memo_entries_loop)

def memo_entries_loop(memo_list, _, __):
    key = str(memo_list[0])
    memo = memos.getItem(key)
    # Creates new list element and buttons for editing and deleting memo
    btn_wrapper = document.createElement("div")
    memo_elem = document.createElement('li')
    memo_edit_btn = document.createElement(
        'button')
    memo_del_btn = document.createElement('button')
    # Set classes and id for element
    btn_wrapper.className = "flex"
    btn_wrapper.id = key
    memo_del_btn.className = "delete-btn"
    memo_edit_btn.className = "edit-btn"
    memo_elem.className = "memo-" + key
    memo_edit_btn.innerText = "Edit"
    memo_del_btn.innerText = "Delete"
    memo_elem.innerText = memo
    # Append buttons to list element
    btn_wrapper.appendChild(memo_edit_btn)
    btn_wrapper.appendChild(memo_del_btn)
    memo_elem.appendChild(btn_wrapper)
    # events
    memo_del_btn.onclick = delete_memo
    memo_edit_btn.onclick = open_edit_container
    # append the new memo to the container
    memo_container.element.appendChild(
        memo_elem)
On line 5, we loop through memos with the memo_entries_loop function; on lines 11 through 15, we create the HTML elements that will hold the memo values. Then, on line 18, we assign the key for the btn_wrapper element that appends the edit and delete button on lines 26 and 27. Finally, on line 30, we add an onclick event to the memo_del_btn button with the value delete_memo and assign the open_edit_container function to the onclick event for the memo_edit_btn button. Next, we will append the memo value to the memo_elem element on line 24 and the btn_wrapper on line 28. Following this, we append the memo_elem to the memo_container on line 33.
Update Memo
The edit button from the code block in the previous section triggers open_edit_container;
# Function to toggle the edit container
def open_edit_container(e):
    memo_id = e.target.parentNode.id

    edit_memo_container.element.classList.add("open")
    edit_memo_form.element.className = memo_id
    update_memo.element.value = memos.getItem(memo_id)
This function gets the memo id from the id of the parent element on line 3 and adds the “open” class to the edit_memo_container, triggering the edit modal to be visible. Next, we assign the key for the memo to edit to edit_memo_form on line 6 and assign the memo value to update_memo.
...
def edit_memo(e):
    e.preventDefault()
    memo_id = e.target.classList
    memos.setItem(memo_id, update_memo.element.value)
    close_edit_container()
    get_memos()
...
def close_edit_container():
    edit_memo_form.element.className = ""
    update_memo.element.value = ""
    edit_memo_container.element.classList.remove("open")
...
edit_memo_form.element.onsubmit = edit_memo
From the code block above, we have an onsubmit event for the edit_memo_form element that calls the edit_memo function. Then, on line 4, we assign the memo id to edit from the event target(edit_memo_form) and set the memo to the current value of the update_memo input element, call the close_edit_container function to reset the edit form and input element. Finally, we close the edit_memo_container modal by removing the ‘open’ class and repopulate the DOM with the updated memos by calling the get_memos function.
The close_edit_container is also passed to the modal’s close button using the py-onClick attribute.
<button class="delete-btn w-100" py-onClick="close_edit_container">
    Close
</button>
Delete Memo
To handle deleting a memo, we have the delete_memo function;
# Function to delete a memu using the key passed to parent as id
def delete_memo(e):
    memo_id = e.target.parentNode.id
    memos.removeItem(memo_id)
    get_memos()
On line 3, we get the key for the current memo to be deleted from the parent element id, remove the memo that matches the key from memos/localStorage, and call the get_memos function to update the DOM elements with the updated memos.
Conclusion
PyScript is a good framework with a lot to offer. However, I think PyScript won’t replace JavaScript for web development. You can find the complete code for the project in this GitHub Repository. To play around with the live application, visit https://pyscript-one.vercel.app/.