

Building an efficient site is critical for both user experience and SEO. Unused CSS is one of the most common problems that can negatively impact website performance. This increases the size of the bundle sent to the client. This article will introduce you to PurgeCSS, a tool that can minimize the CSS sent to the browser.
Sending more CSS than needed not only causes delays and bad experience but also negatively affects the Core Web Vitals, which Google uses to evaluate the SEO performance of your site.
At build time, Next.js simply bundles all CSS rules into some optimized files through PostCSS. In other words, it does not automatically remove unused CSS rules. Here is where PurgeCSS comes into play!
Let’s learn what PurgeCSS is, how it works, and how to configure it in a Next.js app to make it automatically remove unused CSS rules.
Why Is Unused CSS a Problem?
Unused CSS occurs when style files sent to the client contain rules that are never used on any page of the site. In a Next.js application, that can cause several issues:
- Increased Bundle Size: Including unused CSS in the frontend application bundle shipped to the client unnecessarily inflates its size. This results in longer loading times and higher bandwidth consumption, affecting initial rendering and page navigation.
- Developer Confusion: When a codebase contains a lot of extra CSS rules, it becomes more difficult to identify and maintain the styles actually in use. This can confuse developers, leading to errors and inconsistencies.
- Impact on Core Web Vitals: Google Lighthouse, a tool for measuring a site’s Core Web Vitals, flags unused CSS as a problem. A low score in those metrics means that Google negatively evaluates the user experience offered by your site, which will result in poor SEO rankings.
It’s time to learn how to address this problem!
What Is PurgeCSS?
PurgeCSS is a tool for removing unused CSS from a web application. It is based on a simple idea. Most sites rely on CSS frameworks like TailwindCSS, Bootstrap, or MaterializeCSS. However, you typically only use a small subset of such frameworks. This means that your application sends much more CSS to the client than required.
PurgeCSS matches the CSS selectors used in your HTML elements with those in stylesheets. Then, it automatically removes all unused rules, producing smaller CSS files. Since the default behavior may produce undesired results, it is highly customizable and supports many options.
The tool is available for several technologies and frameworks, including Vue, React, Next.js, Nuxt.js, Hugo, and WordPress. Let’s now look at how to set it up in Next.js!
The following sections will show you how to configure PurgeCSS in Next.js.
Initializing a Next.js App
First, you need a Next.js application. You can initialize one with the Next Create App command below:
npx create-next-app@latestFollow the procedure and answers all the questions. The default options will do.
√ What is your project named? ... purge-css-next-js-demo
√ Would you like to use TypeScript with this project? ... No / Yes
√ Would you like to use ESLint with this project? ... No / Yes
√ Would you like to use Tailwind CSS with this project? ... No / Yes
√ Would you like to use `src/` directory with this project? ... No / Yes
√ Use App Router (recommended)? ... No / Yes
√ Would you like to customize the default import alias? ... No / Yes
Next, install Bootstrap. In the project folder, run:
npm install bootstrap Import it by adding the following line on top of the src/app/layout.js file:
import 'bootstrap/dist/css/bootstrap.css'If you are not using the Next.js App Router feature, add it to the pages/_app.js file.
Also, remove the globals.css import. You will not need it anymore.
Update your home page component to use a Bootstrap sample layout, as below:
// src/app/page.js
// or if you do not use App Router:
// pages/index.js

export default function HomePage() {
  return (
    <div className="container">
      <div className="row">
        <div className="col-md-6">
          <h1>Welcome to My Website</h1>
          <p>
            Lorem ipsum dolor sit amet, consectetur adipiscing elit. Sed euismod
            vestibulum eros, eu sagittis arcu ullamcorper ut.
          </p>
          <button className="btn btn-primary">Learn More</button>
        </div>
        <div className="col-md-6">
          <div className="card">
            <div className="card-body">
              <h5 className="card-title">Featured Content</h5>
              <p className="card-text">
                Some text describing the featured content.
              </p>
            </div>
          </div>
        </div>
      </div>
    </div>
  );
}
Verify that everything works as expected by launching the local development server with:
npm run dev Visit http://localhost:3000 in the browser, and you should be seeing:
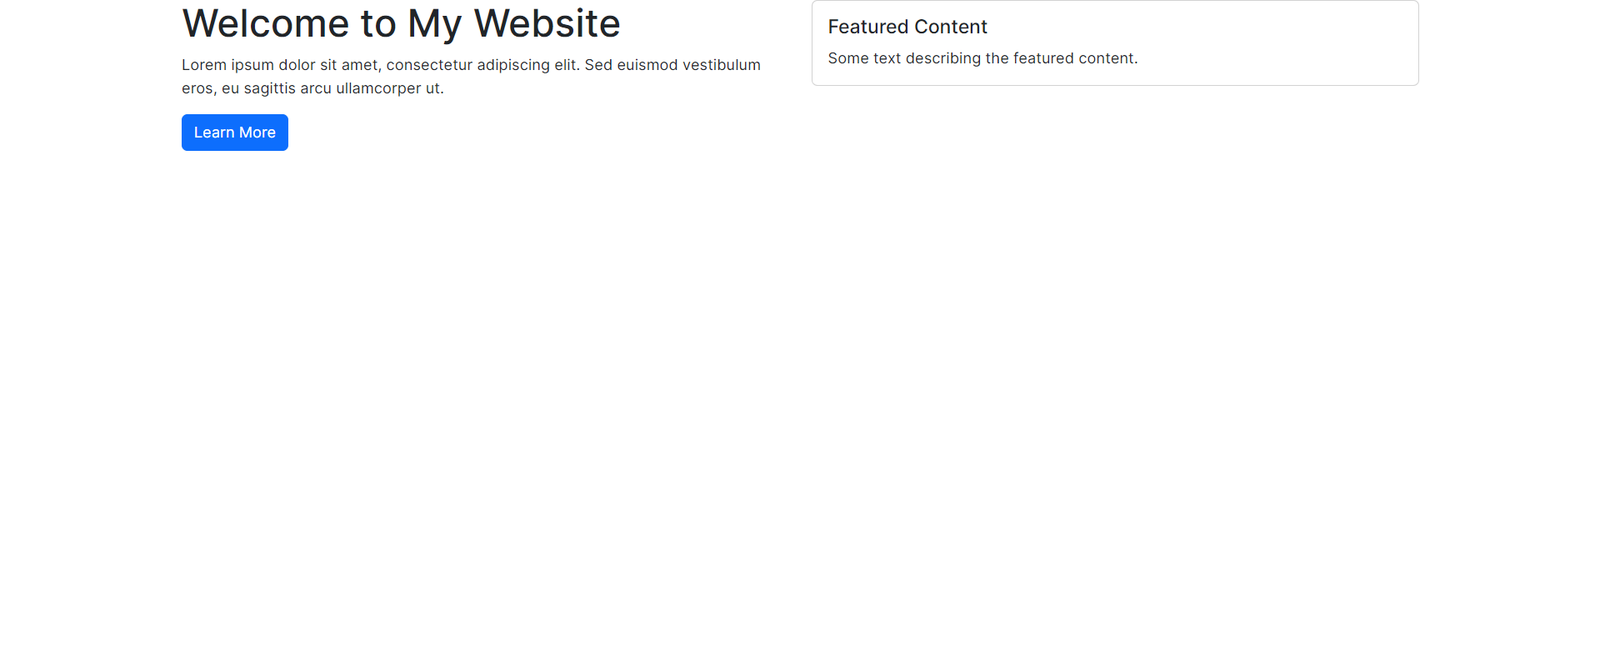
Great! Your Next.js app using Bootstrap as a CSS framework is ready!
Session Replay for Developers
Uncover frustrations, understand bugs and fix slowdowns like never before with OpenReplay — an open-source session replay tool for developers. Self-host it in minutes, and have complete control over your customer data. Check our GitHub repo and join the thousands of developers in our community.
Install PurgeCSS
Next.js relies on PostCSS to produce the bundle stylesheet files. For this reason, the easiest way to configure PurgeCSS is with its PostCSS plugin. Add it to your project’s dependencies with:
npm install --save-dev @fullhuman/postcss-purgecssRemember that when you set up a custom PostCSS configuration file, Next.js completely disables the default behavior. You need to download and configure a couple of plugins to restore that. Install them with the command below:
npm install postcss-flexbugs-fixes postcss-preset-envFantastic! You now have everything required to set up PurgeCSS in PostCSS.
Configure PurgeCSS to Remove Unused CSS
To configure PurgeCSS, create a postcss.config.js file in the root folder of your project as follows:
// postcss.config.js

module.exports = {
  plugins: [
    // restore the Next.js default behavior
    "postcss-flexbugs-fixes",
    [
      "postcss-preset-env",
      {
        autoprefixer: {
          flexbox: "no-2009",
        },
        stage: 3,
        features: {
          "custom-properties": false,
        },
      },
    ],
    [
      // configure PurgeCSS
      "@fullhuman/postcss-purgecss",
      {
        content: ["./src/app/**/*.{js,jsx,ts,tsx}"],
        defaultExtractor: (content) => content.match(/[\w-/:]+(?<!:)/g) || [],
        safelist: {
          standard: ["html", "body"],
        },
      },
    ],
  ],
};
Let’s understand what this configuration file defines by breaking it down into small parts.
First, the postcss-flexbugs-fixes plugin helps to fix various bugs and issues related to Flexbox, ensuring consistent behavior between different browsers.
Then, the postcss-preset-env plugin converts modern CSS into a format compatible with most browsers. It includes autoprefixer, automatically adding vendor prefixes to CSS properties to support different browser versions. Here, the flexbox: "no-2009" option excludes support for the outdated syntax of the flexbox specification.
Finally, @fullhuman/postcss-purgecss removes unused CSS from your Next.js app. It involves the following properties:
content: defines the file paths to be scanned for CSS usage. In this example, it includes all files under the./src/appdirectory and its subdirectories. In particular, PurgeCSS will look for JavaScript, TypeScript, and JSX files and extracts the used CSS selectors from them.defaultExtractor: accepts a function that specifies how PurgeCSS extracts CSS selectors from the content files. It uses a regular expression to match valid selectors and ignores pseudo-elements and pseudo-classes.safelist: specifies a list of selectors that should not be purged even if they are not explicitly used in thecontentfiles. Usually, you want to exclude thehtmlandbodyselectors to ensure they are preserved.
If your project still uses the Next.js Pages Router, you need to adapt the content field accordingly:
 content: [
  './pages/**/*.{js,jsx,ts,tsx}',
  './components/**/*.{js,jsx,ts,tsx}',
]
This way, the PurgeCSS plugin will look for CSS selectors in the right folders.
Sometimes, you may need to dynamically add CSS classes on specific events through JavaScript. In this scenario, the CSS selectors are not directly on the HTML elements in the JavaScript files, and PurgeCSS will not be able to recognize them as in use. Therefore, it will remove those dynamic classes from the resulting bundle CSS files. To avoid this, you can whitelist CSS classes:
safelist: {
  standard: ["html", "body"],
  deep: [
    // whitelist all CSS classes that start
    // with "mt-" and "mb-"
    /^mt-/,
    /^mb-/,
    // whitelist the "highlighted" class
    "highlighted",
  ],
}
Note that the deep array in safeList accepts both strings and regexes.
When using components from external libraries, you also need to add a special path to content as below:
content: [
  // purging CSS in components from React Bootstrap
  "./node_modules/react-bootstrap/**/*.js",

  // remaining paths...
]
Otherwise, PurgeCSS would remove all CSS classes used by library components.
Note that there are many other options and configs available. Explore them in the official doc.
PurgeCSS in Action
Next.js uses this PostCSS configuration during the build process. This means a change to the postcss.config.js file will not trigger a hot reload. Instead, whenever you update the PostCSS config file, you need to stop the local server, delete the .next folder, and relaunch npm run dev.
To analyze the effects of PurgeCSS, build your Next.js app with:
npm run buildIn the .next folder, you will find the build bundle. Specifically, the /static/css folder will contain the global CSS file generated with PostCSS.
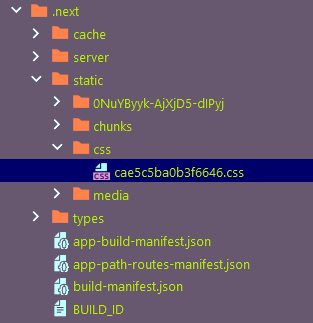
If you open it in Explorer, you will notice its size is 10 KB.
Now, delete the postcss.config.js file and repeat the same procedure. In this case, the CSS files produced by the build operations are two:
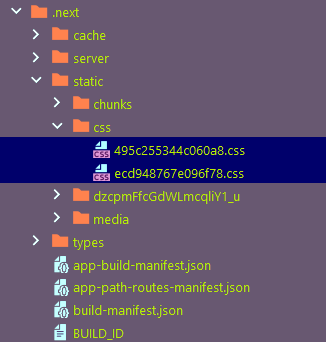
The first is the CSS file with the custom rules defined in the application, and the second is the entire Boostrap. Together, their size is 189 KB.
Summing up, PurgeCSS allows you to 179 KB. On such a simple application, that is a huge difference!
You can look at the entire code in the GitHub repository that supports the article. Clone it and launch it with the following:
git clone https://github.com/Tonel/purge-css-next-js-demo
cd purge-css-next-js-demo
npm run dev
Et voilà! You now know how to use PurgeCSS in Next.js to reduce the bundle size and improve the Core Vitals.
Conclusion
This tutorial is finished! Now you know why unused CSS is a problem for SEO and user experience and how to fix it with PurgeCSS. Here, you saw how to configure PurgeCSS in PostCSS to automatically remove all unused CSS in a Next.js application.
As shown above, removing unnecessary CSS can lead to a significant difference in bundle size. This will result in better download and loading time for the end user!
Gain Debugging Superpowers
Unleash the power of session replay to reproduce bugs and track user frustrations. Get complete visibility into your frontend with OpenReplay, the most advanced open-source session replay tool for developers.