Role-based access in React
Limit access to resources and functionalities based on roles


As web developers, certain projects require limiting access to certain resources, and rights to implement certain effects based on the hierarchy of users in the system. In this article, we’ll look at implementing a role-based access system in a React app using react-router-dom protected routes. Such routes require a user to be authorized to access a page. So, access is denied if a user is not authorized for a specific page. We’ll apply this logic in implementing role-based access in our React app.
To be able to follow through with the rest of the article, you need the following:
- Working knowledge of JavaScript
- Working Knowledge of React
- Basic knowledge of React-router-dom.
- Good understanding of how the Fetch API works
What is Role-based access control?
A Role-based access control (RBAC) is a security approach that assigns permissions to users and restricts access to information or routes based on the user’s role within an organization.
A simple example of a role-based access system is a blog with a set of permissions that allows users to create, edit, read, or delete articles in a writing application. For this blog, we could implement three roles; a Reader, a Writer, and an Admin.
The Reader can only read an article; the Writer has permission to create, edit, delete and read articles; the Admin can add or remove writers. With a role-based system in place, a Reader will not be able to access the writer’s role, and the writer will not be able to carry out the admin’s role.
How does a Role-based access system work?
Role-based access systems rely on every user or entity within a system having a designated role. This role determines their permissions. Here’s how it works;
- When a user creates an account, a role with specific permissions is assigned to the user based on the user’s group.
- This role is then stored alongside other user information in the database.
- When the user attempts to access a protected route, the user’s role and other information are retrieved from the database.
- The user’s role is cross-checked to confirm if the role of the user matches the required role to access the information requested.
- If the user’s role matches the required role, access is granted, else access will be denied.
Advantages of a role-based access system
The following are some benefits of using a role-based access system;
- Security: Coupled with proper authentication processes, e.g. JWT authentication, RBAC enhances overall security as it pertains to privacy, confidentiality, and access management to resources and other sensitive data and systems.
- Reduces susceptibility to cyber attacks: With different groups and departments having separate roles and no one person having sole control of the system, cyber attacks on a single account won’t cause substantial harm to systems.
- Decreases unnecessary user support: In systems where multiple passwords are allocated to a user for different routes and endpoints. The more passwords are assigned to a user, the more likely they forget them. Resetting these passwords will slow down the activity of the IT team when we could be focused on more serious matters. Role-based access control removes the need for multiple passwords and grants access based on the initial role allocated to a user.
- Establishing organizational structures: RBAC makes it easy to determine which user is responsible for each task. This makes it easier to know who did what and uncover the culprit in the case of an information leak or a system problem.
Disadvantages of a Role-based access system
Despite the numerous advantages of a role-based access system, there are certain downsides. Some of these are;
- Role explosion: When a new worker or team is onboarded, and their duties haven’t been adequately outlined, more roles are created, and when a user from a different group requires access to information from another group, a new role is assigned to this user. Role explosion refers to a situation where too many roles have been added, making it difficult to track who has access to what. Role explosion makes the role structure too complex, and the system’s effectiveness is compromised.
- Conflicting combinations: In a role-based access control system, different roles assigned to different users can contain conflicting access. In a situation where a user is given a role that enables him to create an order, and the same user also has the role required to approve the same order, this creates a lot of business threats.
Building our React app
To better understand the concept of role-based access control in React, we’ll be building a simple React app for a company with three distinct roles, which are;
- Software engineering role
- Marketing role
- Human resource personnel’s role
We’ll be implementing the role-based access control on different routes so only the software engineer can access the software engineering route, only a marketer will be able to access the marketing route, and only the human resource personnel will have access to the human resource-protected route.
For this article, we’ll use an already-built server to store our user’s information in the database and respond with the user information and a JWT access token.
To do this, navigate to your desired project directory and run the following command to create our React app :
npx-create-react-app reactrbac- Run this command to access the newly-created directory.
cd reactrbac- Start the development server using the command below
npm startThe default React page will be loaded on your browser.
Creating our Signup page
To create a signup page that we’ll use to add employees to our database, We’ll do the following;
- Create some states to store the form input.
- Using name and password regexes, we’ll check if those fields meet specific requirements for a strong password
- When these criteria are met, our information will is sent to our database.
- After the employee’s information is sent to the database, we’ll redirect them to the sign-in page so they can log in.
To do these, use this code;
import { useState, useEffect } from "react";
import { Link } from "react-router-dom";
import { useLocation, useNavigate } from "react-router-dom";

const Signup = () => {
//regex to make sure the employee's name is above 3 letters
  const USER_REGEX = /^\[A-z\][A-z0-9-_]{3,23}$/;

//to check if the employees password meets certain criterias
  const PWD_REGEX = /^(?=.*[a-z])(?=.*[A-Z])(?=.*[0-9])(?=.*[!@#$%]).{8,24}$/;

  const navigate = useNavigate();
  const location = useLocation();
  const from = location.state?.from?.pathname || "/signin";
  const [name, setName] = useState("");
  const [validName, setValidName] = useState(false);

  //state to store our password
  const [password, setPassword] = useState("");
//state to store the outcome of our regex test
  const [validPass, setValidPass] = useState(false);

//state to store the employee's email
  const [email, setEmail] = useState("");
//state to store the employee's roles
  const [roles, setRoles] = useState("");

  let match;

  const REGISTER_URL = '/register-employee;
  useEffect(() => {
//check if the employees name is valid
    setValidName(USER_REGEX.test(name));
  }, [name]);

  useEffect(() => {
    // check if the password is valid
    setValidPass(PWD_REGEX.test(password));
  }, [password, matchPassword]);

  const handleSubmit = async (e) => {
    e.preventDefault();
    if (validName && validPass) {
      try {
        fetch(`http://localhost:3000${REGISTER_URL}`, {
          method: "POST",
          headers: {"content-Type": "application/json"},
          body: JSON.stringify({
            role: role,
            name: name,
            email: email,
            password: password,
          }),
        });

//once successfully registered the user is navigated to the sign-in page
        navigate(from, { replace: true });
        setName("");
        setEmail("");
        setPassword("");
      } catch (err) {
        if (!err?.response) {
          console.log("no server response");
        } else if (err?.response?.status === 409) {
          console.log("employee already exist");
        } else {
          console.log("registration failed");
        }
      }
    }
  };

  return (
    <div className="App">
      <form onSubmit={handleSubmit}>
        //code for registration form
      </form>
    </div>
  );
};

export default Signup;
With these done, we can now add employees to our database with their respective roles.
Session Replay for Developers
Uncover frustrations, understand bugs and fix slowdowns like never before with OpenReplay — an open-source session replay tool for developers. Self-host it in minutes, and have complete control over your customer data. Check our GitHub repo and join the thousands of developers in our community.
Creating our Sign-in route
In other words, for our employees to access their respective routes, they’ll have to sign in. To create our Sign-in route, we’ll do the following;
- Create some states to store form inputs
- The information stored in the states is sent to the backend
- If our server validates the employee, the employee’s information is stored in a global state called auth.
- After Signing in, our employee is redirected to the home page.
- Our role-based access component will use the information stored in our auth state.
To do these things, use this code;
import { useNavigate, useLocation } from "react-router-dom";
import { useState, useEffect, useContext } from "react";
import AuthContext from "./Context/authProvider";

const Signin = () => {
  const navigate = useNavigate();
  const location = useLocation();
  const from = location.state?.from?.pathname || "/home";
  const { auth, setAuth } = useContext(AuthContext);
//state the name of the employee gotten from the form
  const [name, setName] = useState("");
//state to store password of the employee gotten from the form
  const [password, setPassword] = useState("");

  const handleSubmit = async (e) => {
    e.preventDefault();
    try {
      fetch(`http://localhost:3000/signin`, {
        method: "POST",
        headers: {"content-Type": "application/json"},
        body: JSON.stringify({
          name: name,
          password: password,
        }),
      })
        .then((res) => res.json())
        .then((res) => {
          if (res.name) {
            console.log(res);
            const role = res.role;
            const token = res.token;

              //storing employee information in our Auth state
            setAuth({ role, token, name });
            console.log(auth);
            setName("");
            setPassword("");
            //navigate our employee to the home page
            navigate(from, { replace: true });
          } else {
            console.log("incorrect submission");
          }
        });
    } catch (err) {
      if (!err?.response) {
        console.log("no server response");
      } else {
        console.log("registeration failed");
      }
    }
  };

  return (
    <div className="App">
      <form onSubmit={handleSubmit}>
        //code for signin form.
      </form>
    </div>
  );
};

export default Signin;
You can find the Registration and Sign-in forms code from the repo. With these done, you can now build pages for each group. You can build custom pages or get the code for the test pages used in this article from the repo. After building these pages, we’ll protect these routes with our Role-based access control component.
Building our Role-based access component
To build our Role-based access component, we’ll follow this process;
- When an employee signs in, the employee’s role and JWT token are stored in the Auth state.
- When this employee requests access to a protected route, our role-based access component will access the Auth state and retrieve the employee’s role.
- The employee’s role will then be cross-checked with an array containing the required roles for that route.
- If the user’s role matches the required role, access is granted, else access will be denied.
Here’s the code for this;
import { useLocation, Navigate, Outlet } from "react-router-dom";
import { useContext } from "react";
import AuthContext from "../Context/authProvider";

import React from "react";

const Auth = ({ allowedRoles }) => {
  const { auth } = useContext(AuthContext);
  const location = useLocation();

  return allowedRoles.find((role) => auth.role.includes(role)) ? (
    <Outlet />
  ) : auth?.name ? (
    <Navigate to="/unauthorized" state={{ from: location }} replace />
  ) : (
    <Navigate to="/register" state={{ from: location }} replace />
  );
};

export default Auth;
With this done, we’ll wrap each protected route with this component and pass to this component the required role for each page;
<Routes>
  <Route path="/" element={<Layout />}>
    <Route path="/linkpage" element={<LinkPage />} />
    <Route path="/register" element={<Register />} />
    <Route path="/signin" element={<Signin />} />
    <Route path="/unauthorized" element={<Unauthorized />} />
    <Route path="/home" element={<Home />} />
    <Route element={<Auth allowedRoles={["marketer"]} />}>
      <Route path="/marketers-only" element={<MarketersPage />} />
    </Route>
    <Route element={<Auth allowedRoles={["se"]} />}>
      <Route path="/se-only" element={<SEPage />} />
    </Route>
    <Route element={<Auth allowedRoles={["se"]} />}>
      <Route path="/hr-Only" element={<HRPage />} />
    </Route>
  </Route>
</Routes>;
With these done, every group has access to only their specific route.
Testing our Application
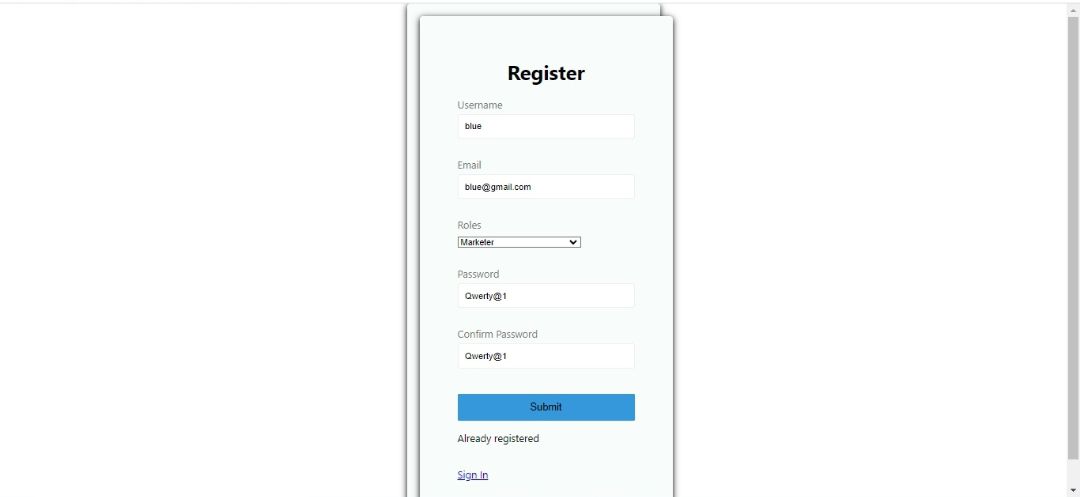
To test our application, we’ll create a demo account for an employee named blue with the role of a marketer.
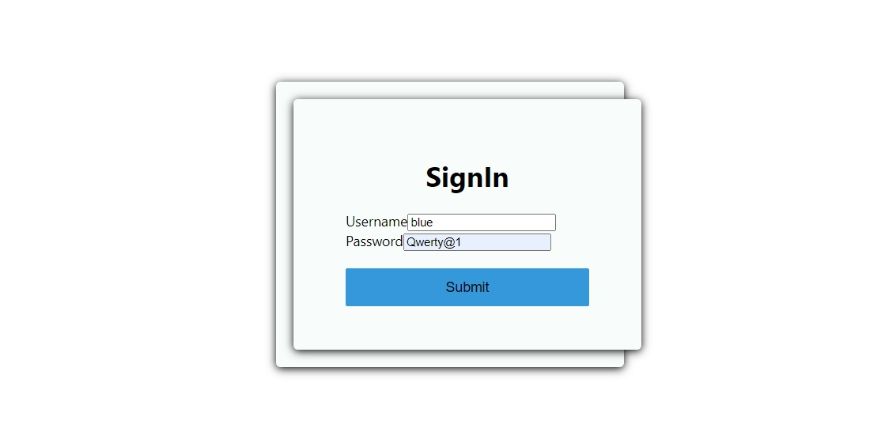
With our employee account created, we are navigated to our sign-in page. Let’s sign in.
After Signing, we are directed to the home page.
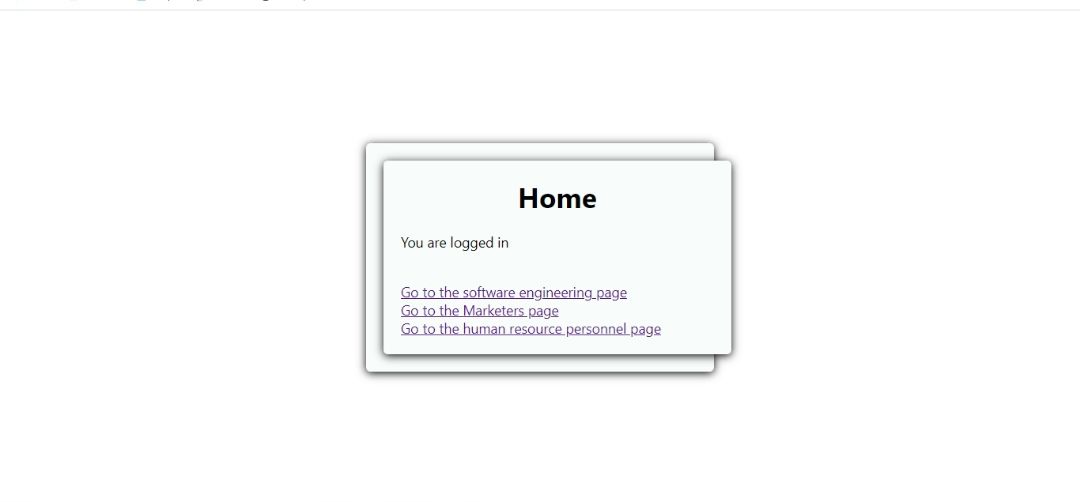
Now let’s try accessing the marketing page.

Because our employee Blue is a marketer, access to the marketing page is granted. Now let’s try accessing the software engineering page with Blue’s account.
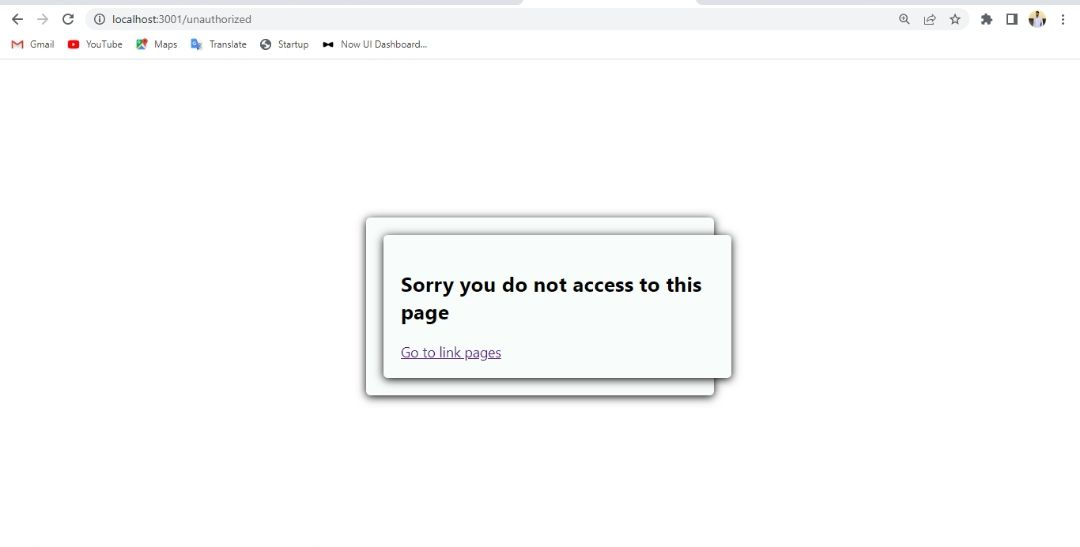
Because Blue does not have access to the software engineers page, we are instantly redirected to the unauthorized page.
The above images show that all our pages work as expected, as our role-based access system is intact.
Certain packages can help us implement role-based access control, some of these are;
The problem with some of these packages is the low level of maintenance and popularity, making it hard to learn how to utilize them properly. Hence the reason for this article.
Conclusion
In this article, we talked about the Role-based access system, its benefits and downsides, and how we can implement a role-based access system in React.
More pages and roles can be added using the same logic. We could have more scrutiny in each department, but that’s up to you. Happy coding!
Resources
Repo for React app Repo for server React router dom Protected route
Gain Debugging Superpowers
Unleash the power of session replay to reproduce bugs and track user frustrations. Get complete visibility into your frontend with OpenReplay, the most advanced open-source session replay tool for developers.