Sending emails from React with EmailJS
Send emails from your front end app using only client-side technologies


EmailJS is a JavaScript library that helps send emails using only client-side technologies. The cool thing about EmailJS is that no servers are required; all you have to do is connect it to one of the supported email services, create an email template, and use EmailJS to trigger an email.
In this article, we will learn how to send emails using React with EmailJS.
How EmailJS works
According to the EmailJS official docs,
EmailJS helps to send emails using client-side technologies only. No server is required – connect EmailJS to one of the supported email services, create an email template, and use our JavaScript library to trigger an email.
Additionally, you can easily add attachments, require CAPTCHA validation, switch between the email services without making code changes, review the history of the email request, and more. You don’t have to worry much about pricing on EmailJS. It is free to sign-up and allows you to send up to 200 emails monthly.
Some of the main features of EmailJS include:
-
Connecting email services: EmailJS does not send emails directly. Instead, EmailJS enables users to link their email services, which will be used to send emails.
-
Auto-Reply: EmailJS allows users to turn on automatic replies for each email sent with their tool. You can check out more about how to use the EmailJS auto-reply feature here.
-
Adding CAPTCHA Verification: If you have ever tried registering for a website, you must have come across CAPTCHA image verification, which requires you to verify that you are a human, by solving image puzzles. In emails, it is a very effective way to prevent spam emails and automated form submissions. EmailJS allows integration with the free reCaptcha service by Google, by asking for a CAPTCHA test to be completed before an email can be sent. You can learn more about how to use this feature here.
-
Creating email templates: Users can create and customize email templates.
Other features of EmailJS include:
-
Collecting contacts: Every email sent using EmailJS can automatically add a new contact (if the contact does not already exist).
-
Embedded images: When sending emails, inserting images into content is frequently necessary for sharing screenshots, displaying logos, etc. You can read more about how to use this feature on EmailJS here.
-
Removing EmailJS footer from the emails: as a user, you can also remove the EmailJS footer from the emails, but this is not free, as you have to upgrade to a paid plan on EmailJS to use this feature.
Setting up Project
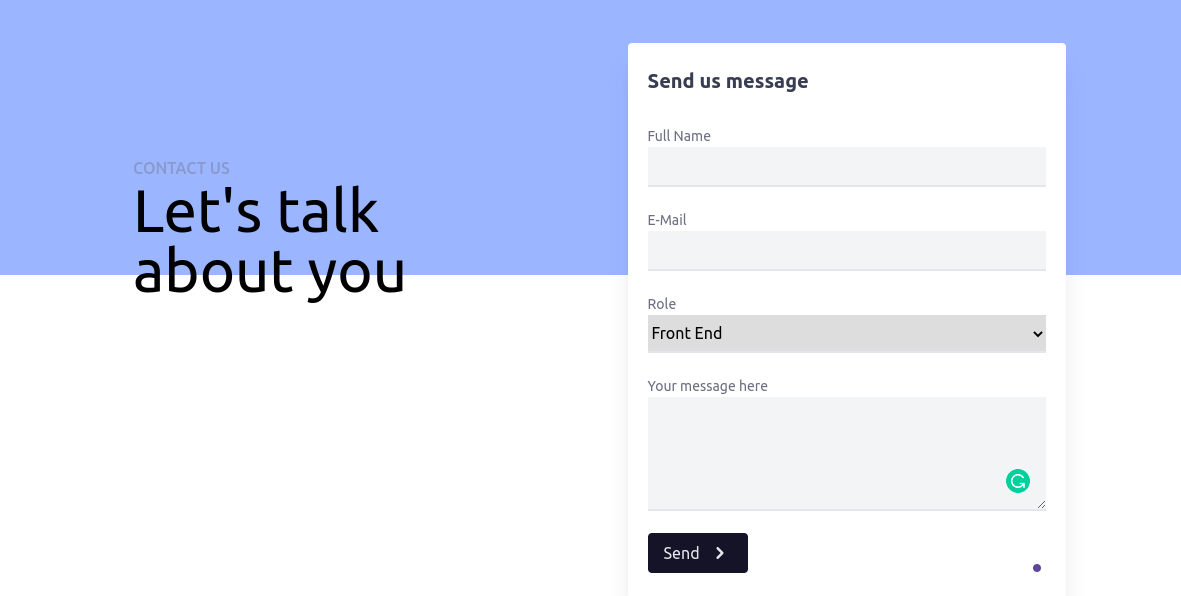
For our project, we created a contact form, which we will use to send emails using EmailJS. This is what our contact form looks like:
To get started with this project, the first thing you need to do is clone the code for our project by running the command below:
git clone https://github.com/ChisomUma/EmailJs-tutorial.gitOnce you are done cloning the project, run the `npm i’ command on your terminal to ensure that all dependencies are installed.
Creating an EmailJS account
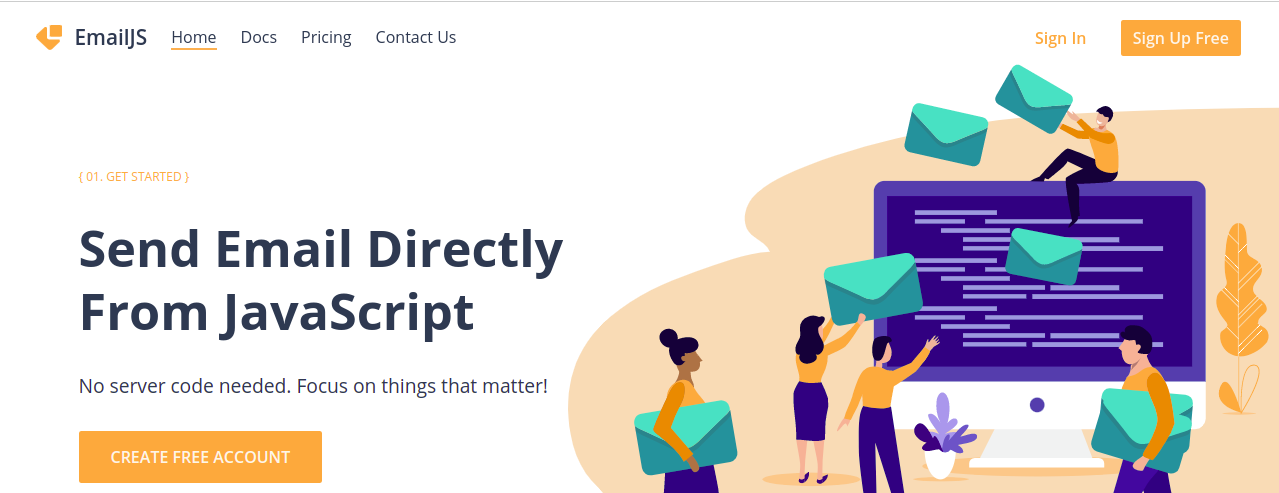
We first want to go to the EmailJS website and Sign up to create your account. The website interface typically looks like this:
Once you click to sign up, you will be taken to the next page to fill out all the required information. This is what the sign-up page looks like:
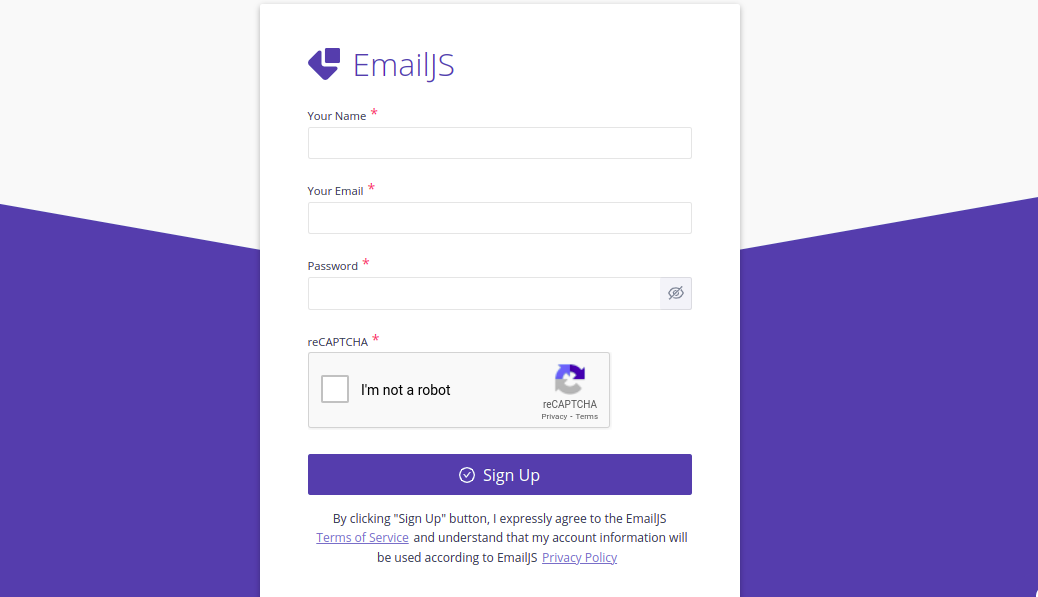
As you can see, the Google reCAPTCHA was used for the EmailJS sign-up page. Once you fill out this page, Hooray! you have successfully created your EmailJS account.
Adding email services
Once you have successfully created your account, you will be taken to your admin dashboard, which will look like this:
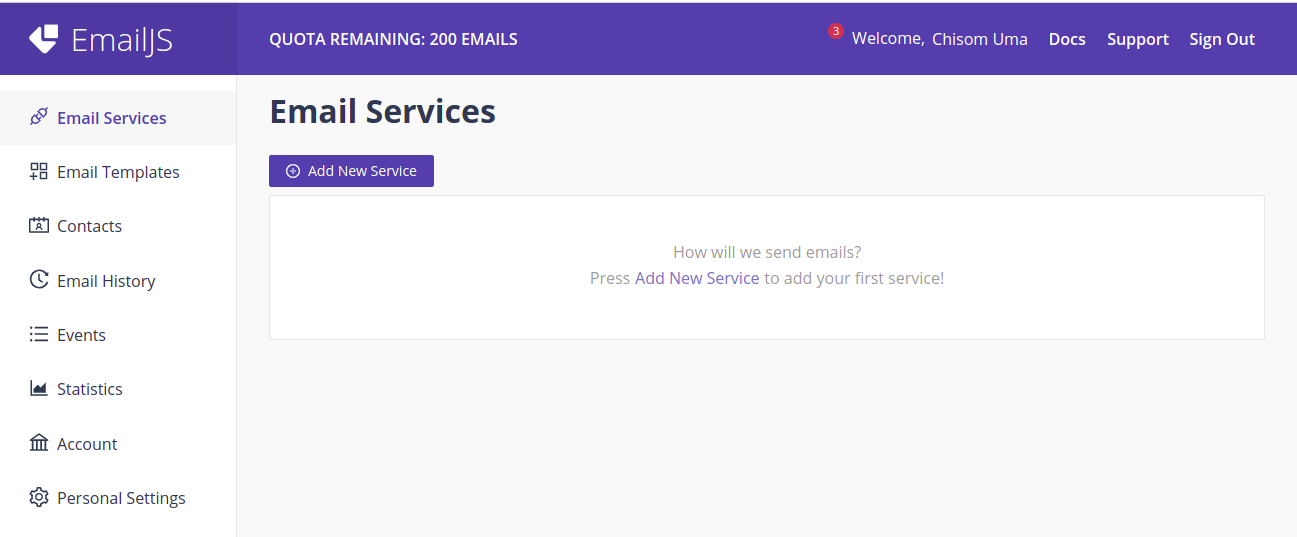
Now, we want to create and add an email service that will be used to send emails. To do this, click on the “Add New Service” Icon.
Once you click on it, a prompt will pop up requiring you to choose the email service you prefer, but for the sake of this article (and of popularity) we will be using Gmail services.
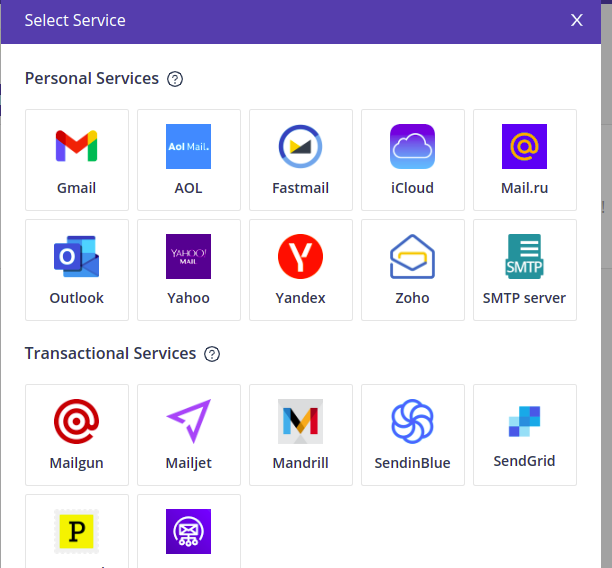
Note that it does not matter what email service you use; they all work the same way.
Once you click on Gmail, you will receive a prompt to connect to the Gmail account that you will use to receive your emails. This is what it looks like:

Once you connect your account, click “Create Service”, and your email service is all set.
Create and customize an email template
Here, we will look at how we can create and customize our email templates on EmailJS.
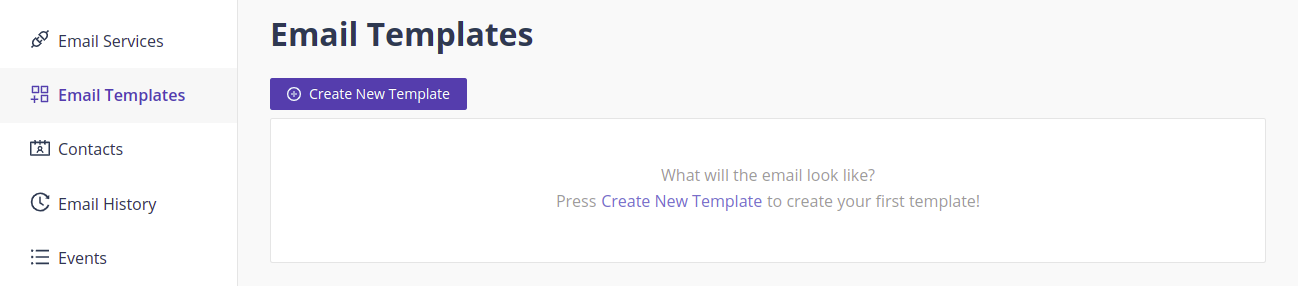
On the left side of your dashboard, click on “Email Templates” and then “Create New Template”. This is what it will look like:
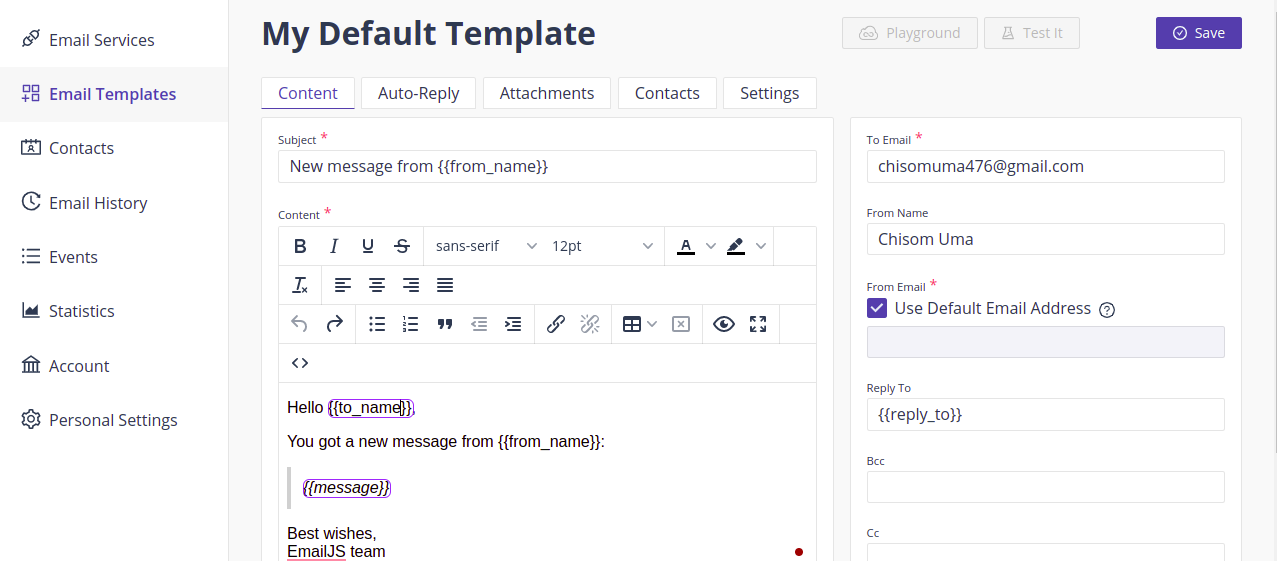
Then we customize our template to look like this:
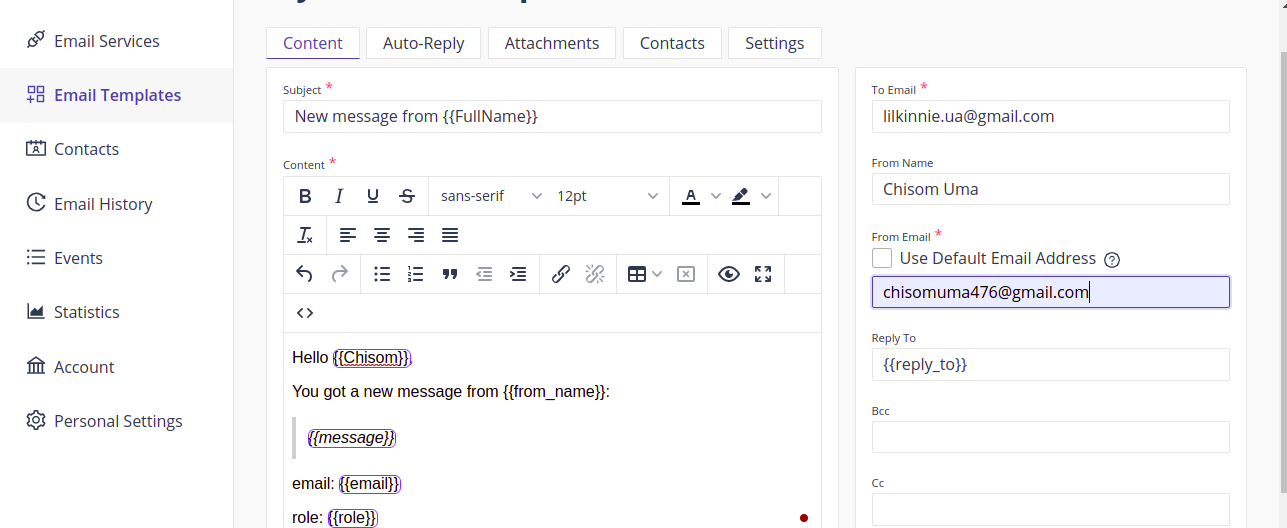
Now, we have created and customized our email template.
Let’s look at the template variables you see whenever you click on “Create New Template”:
{{from_name}}: this has to do with the name of the person sending the email through the contact form.{{to_name}}: this has to do with the receiver’s name. It should be your name if you are the owner of the Gmail account the email is being sent to.{{message}}: this has to do with the sender’s message.
Open Source Session Replay
OpenReplay is an open-source, session replay suite that lets you see what users do on your web app, helping you troubleshoot issues faster. OpenReplay is self-hosted for full control over your data.

Start enjoying your debugging experience - start using OpenReplay for free.
Install and Setup EmailJS for our Project
To get started with installing and setting up EmailJS for our project, the first thing we have to do is go to the EmailJS Docs, scroll down to SDK, and click on emailjs.send, which will look like this:

Let us copy this syntax and head into our ContactForm.js file, and paste it as shown below:
const handleSubmit = (e) => {
    e.preventDefault();
    emailjs.send(serviceID, templateID, templateParams, publicKey);
For the serviceID, head over to your email services and copy the service ID from your created Gmail service. For the templateID, head over to the email templates and copy the template ID from your created template. Then, templateParams should be set to value. Finally, to get your publicKey, head over to the accounts section on your EmailJS dashboard and copy your public key. After everything, your code should now look like this:
const handleSubmit = (e) => {
    e.preventDefault();
    emailjs.send('service_4yeybag', 'template_n2rxxv7', values, 'iRHPtssxLav_FkphK');
The next step is to head over to the Installation section on the EmailJS Docs, copy the installation command, head over to the terminal and run the command below:
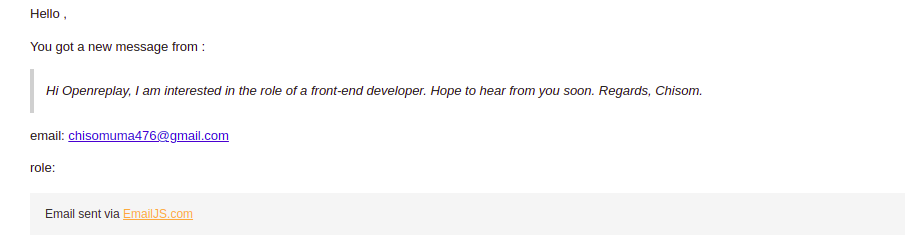
npm install @emailjs/browser --saveOnce you do this, start your project by running the command npm start. Try sending an email to see if everything works fine, as demonstrated below:
This is what the message looks like in the email.
Enabling Auto-reply in EmailJS
Auto-reply is an exciting feature on EmailJS. Sometimes, when you send an email to a person or organization, you immediately get a response that often tells you to wait for a reply. This is the power of auto-reply, and EmailJS offers this feature for free. Here is how you can use it.
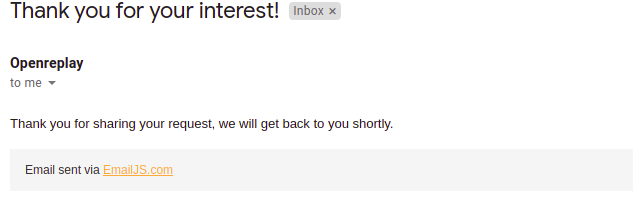
The first step is to open the “Email Templates” section, then navigate to the “Auto-Reply” tab, and click “Enable Auto-Reply Form”. The next thing you want to do is fill out the details of the auto-reply email, as shown in the example below:

Now, save the settings. Whenever you send in an email, you get an automatic response like this:
And that’s it!!
Conclusion
In this article, we looked at the EmailJS tool, and how we can use it to send emails through our React App. We also looked at some of the amazing features EmailJS offers for individuals and organizations.
Here is a link to my GitHub.