Setting up Onboarding Screens in React Native
How to add an introductory set of screens for new users

Onboarding screens are a very effective way to learn how to use an application, facts about the application, and some features of the application can be visually demonstrated to new users. This is possible as it is the first screen the user interacts with just after installing and opening the app.
After the app’s initial launch, the Onboarding Screens aren’t expected to show up. In this tutorial, I will be showing you how to set up onboarding screens for Android and iOS Applications in React Native.
The complete source code of this tutorial is available on Github. To follow this tutorial, basic knowledge of React Native is essential, and you should have React Native set up on your computer. An Android and an iOS simulator should also be set up for testing the application.
Clone Simple Application
You must head to Github and clone the demo project. That is the app I will be using for this tutorial. I have set up React Navigation for the app’s navigation. For more information and how to get started with React Navigation, click here. You can also see how to use React Navigation in your projects by clicking here.
Once you have cloned the project, you should open it with your code editor, and in the terminal, you should run the commands below, which will install the node modules for the project and set up the application for iOS.
npm install

#Setting up iOS
cd ios && pod install

#Navigate back to the main folder
cd ..
After completing this process, you should build the application on your Android and iOS Emulators using the code below.
#Build on Android
npx react-native run-android
#Build on iOS
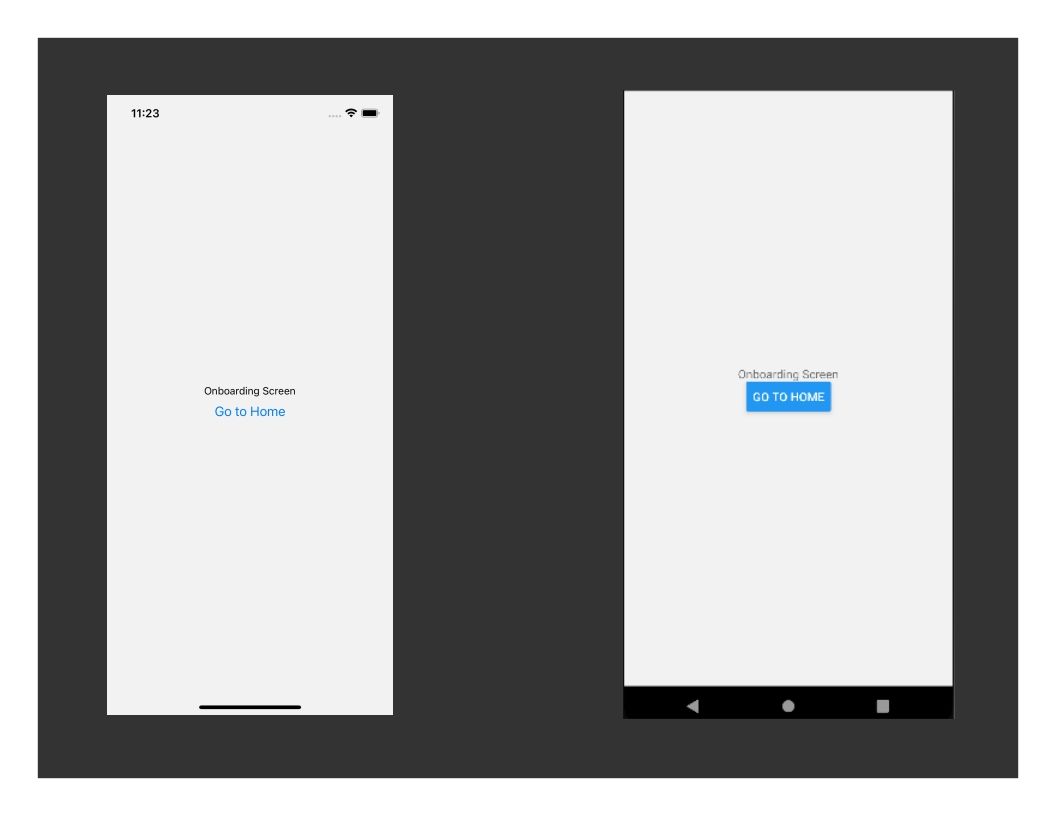
npx react-native run-iosYou should have your application show up like this:
Setting up Onboarding Screens
Now, I will go over installing the library that I will use to demonstrate the implementation of the Onboarding Screens in your React Native project.
The particular library I will be using is the React Native Onboarding Swiper. This React Native library is quite robust and customizable. To move forward, you should install the library using the command below.
npm i react-native-onboarding-swiper
cd ios && pod install
After a library is installed, it’s important that pod install is run to download the necessary files for iOS to function properly.
As soon as you install the library, you should build your Android and iOS apps using the abovementioned command. This is also a very important step that will help you avoid errors resulting from your apps not being in sync with the library you just installed.
When your build is complete, open up the already created screen folder, and in that folder, open OnboardingScreen.js. This is where the Onboarding Swipes will be created.
To create the Onboarding Swipes, there are some required properties the Onboarding component must have. The “pages” component is an array that encloses other required props such as backgroundColor, image, title, and subtitle.
You must create more objects in the pages array to have multiple onboarding swipes.
Creating the Onboarding Swipes
The first thing to do is to create a folder in the project’s root directory, name it assets as it is where the images that will be added to the Onboarding Screen will be located then add some images into the folder. Next, import the React Native Onboarding Swiper into your project using the code below.
import Onboarding from 'react-native-onboarding-swiper';This should be added just below the imports at the top of the page. Within the OnboardingScreen function, remove the view and return the onboarding code below.
<Onboarding
pages={[
{
backgroundColor: '#a6e4d0',
image: <Image source={require('../assets/list.png')} />,
title: 'Welcome',
subtitle: 'Welcome to the first slide of the Onboarding Swiper.',
},
]}
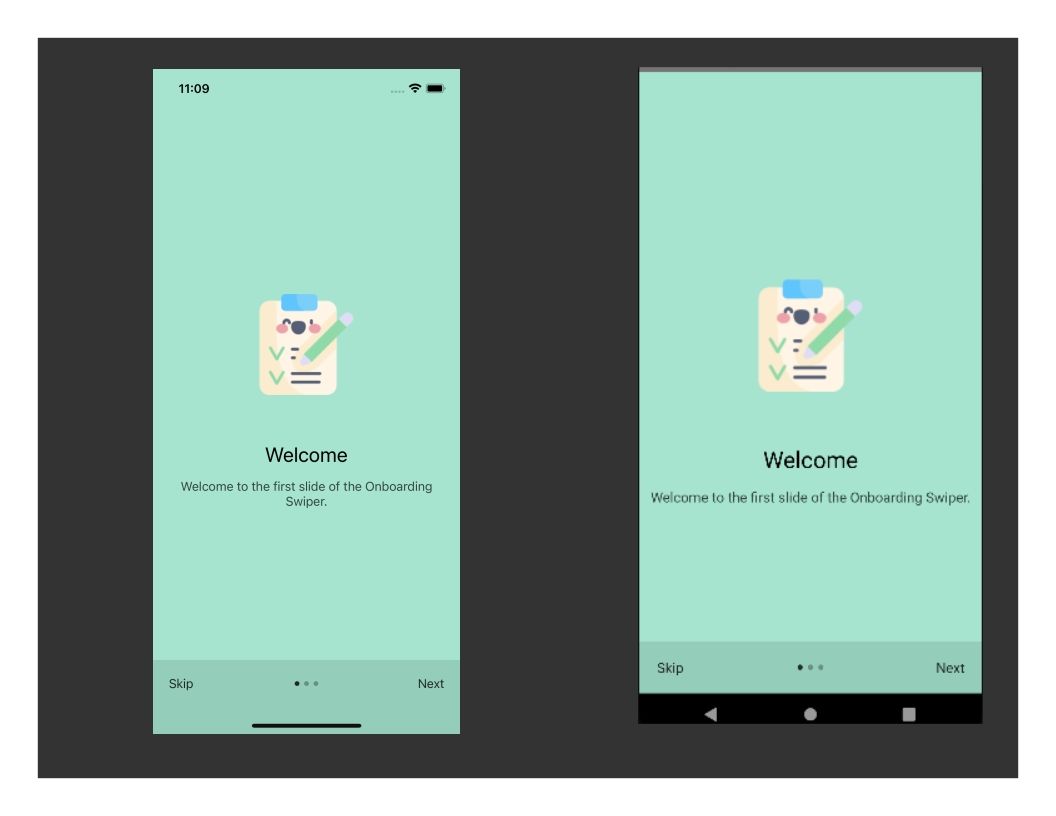
/>You might not have the same image show up as mine, but you should have your apps show up like this on Android and iOS:

To add more screens, you should create more objects in the array. An example of what I did is thus:
pages={[
{
backgroundColor: '#a6e4d0',
image: <Image source={require('../assets/list.png')} />,
title: 'Welcome',
subtitle: 'Welcome to the first slide of the Onboarding Swiper.',
},
{
backgroundColor: '#fdeb93',
image: <Image source={require('../assets/megaphone.png')} />,
title: 'Explore',
subtitle: 'This is the second slide of the Onboarding Swiper.',
},
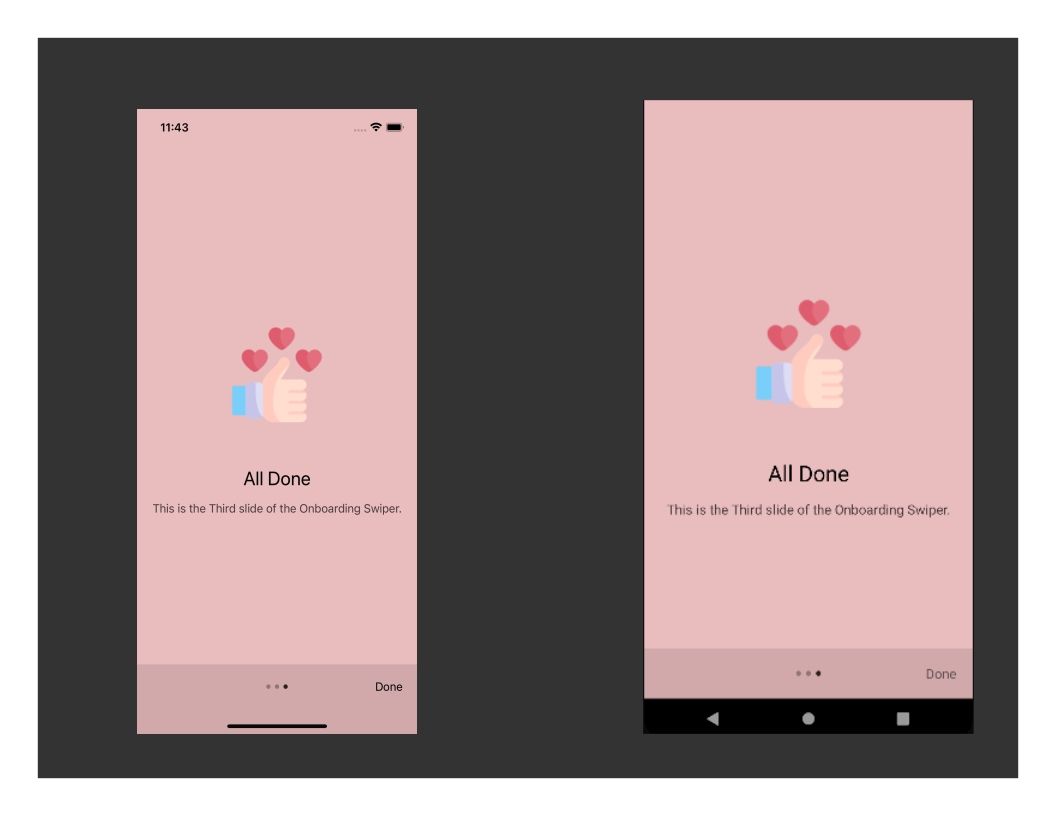
{
backgroundColor: '#e9bcbe',
image: <Image source={require('../assets/like.png')} />,
title: 'All Done',
subtitle: 'This is the Third slide of the Onboarding Swiper.',
},Once you have added this, your app should be able to swipe and show up like this:
If you click on the Skip and Done buttons, you will find that they won’t perform any action, and to fix that, you need to grab the onSkip and onDone props which you will use to navigate the user to the first page if they are clicked. The first page on this demo app is the HomePage; hence, I will be navigating to the HomePage. The code should be added within the Onboarding Component.
<Onboarding
//To handle the navigation to the Homepage if Skip is clicked
onSkip={() => navigation.replace("Home")}

//To handle the navigation to the Homepage after Done is clicked
onDone={() => navigation.replace("Home")}
pages={[
    ...
    ]}
/>
Once that is added, you should try clicking on Skip and Done, which should take you to the Homepage.
You can further customize these swipes using the props stated here. For now, I will do a little customization, such as using text instead of an icon for the Done button. Then, I will change how the swipe indicators show up.
Starting with Done, you should include TouchableOpacity as an import from React Native; then, create a Done function that will be assigned to the DoneButtonComponent prop in the Onboarding component. See the code below:
const Done = ({...props}) => (
    <TouchableOpacity
    {...props}
    >
    <Text style={{fontSize:16, marginHorizontal:20}}>Done</Text>
    </TouchableOpacity>
)
Now inside the Onboarding component, include the code below to assign the just created Done function to the DoneButtonComponent. This will now make the Done button appear as text, not an icon.
<Onboarding
    ...
    DoneButtonComponent={Done}
    pages=[{
        ...
    ]}
/>
This will now make the Done button appear as text, not an icon. You should have your apps show up like this:
The next thing I will customize in this tutorial is the onboarding screen indicator. To do this, I will create another function. This Dot function will transform the square indicators into a rectangular indicator and make the selected slide blue and the other sides black.
const Dots = ({selected}) => {
    let backgroundColor;
    backgroundColor = selected ? 'blue' : 'black'
    return (
    <View
    style={{
        width:24,
        height:6,
        marginHorizontal:3,
        backgroundColor
    }}
    />
    )
}
This code should have your app show up like this:

Open Source Session Replay
OpenReplay is an open-source, session replay suite that lets you see what users do on your web app, helping you troubleshoot issues faster. OpenReplay is self-hosted for full control over your data.

Start enjoying your debugging experience - start using OpenReplay for free.
Creating the User Flow
The Onboarding Screen you have just set up following the tutorial will always show up first as soon as your app is opened, and that is not how the onboarding screen is supposed to flow.
In creating the user flow, you want to set up the onboarding screen to only show up on the first-ever installation of your application, and that is what I will be showing you to do now.
How this will work is that when the user installs or opens your app for the first time, the app shows the user the onboarding screen, and as soon as the user has interacted with the onboarding screens, the app will store a string data on the device. The app will always check for this code; if the code exists, the onboarding screen won’t be displayed; hence, the user will be taken straight to the Homepage. If the app is opened for the first time, the code won’t exist; therefore, the onboarding screen will be displayed.
To have the app save the string data from the app, I will be using AsyncStorage. This package helps store files and makes them accessible offline. You can learn more about AsyncStorage here.
You should install React Native AsyncStorage and rebuild your Android and iOS application. The code to do that is below:
npm i @react-native-async-storage/async-storage

cd ios && pod install
Once this is installed, rebuild your application for Android and iOS using the command stated earlier in this article.
Once that is done, open your app.js. In app.js, you should import the AsyncStorage at the top of the page with the code below.
import AsyncStorage from '@react-native-async-storage/async-storage';I will create a state variable for the app’s first launch and a function to update the firstLaunch using the React useState hook. After that, using the React useEffect Hook I will create an async function that will check for the string item, appLaunched, in AsyncStorage whenever the app is opened. If the string item is null, the app is opened for the first time; the setFirstLaunch function will update the firstLaunch to true, and the onboarding screen will display.
On the flip side, if the string item appLaunched is found in the AsyncStorage, then the setFirstLaunch function will update the firstLaunch state to false, and the onboarding screen will not show; instead, the user will be directed straight to the Homepage. The code is below.
const App = () => {
  const [firstLaunch, setFirstLaunch] = React.useState(null);
  React.useEffect(() => {
    async function setData() {
      const appData = await AsyncStorage.getItem("appLaunched");
      if (appData == null) {
        setFirstLaunch(true);
        AsyncStorage.setItem("appLaunched", "false");
      } else {
        setFirstLaunch(false);
      }
    }
    setData();
  }, []);
  return ...
};
Note that I had to create a function inside the useEffect block because the process needs to run asynchronously hence the need for an async function. However, the async function is called immediately inside the useEffect block to have it perform the stated action.
The final process you should do is to set the app navigation to display the onboarding screen if the firstLaunch state is true, and if the firstLaunch state is false, it should navigate the user to the Homepage. The code is below.
return (
firstLaunch != null && (
<NavigationContainer>
<Stack.Navigator>
{firstLaunch && (
<Stack.Screen
options={{ headerShown: false }}
name="Onboarding"
component={OnboardingScreen}
/>
)}
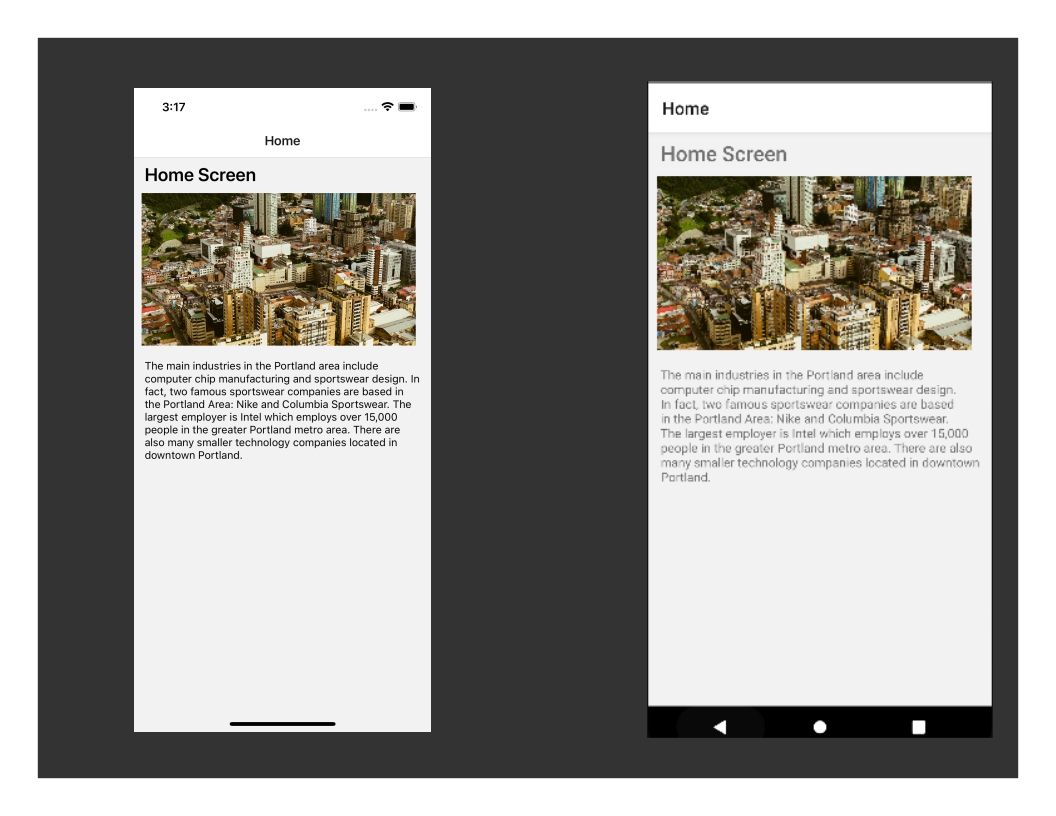
<Stack.Screen name="Home" component={HomeScreen} />
</Stack.Navigator>
</NavigationContainer>
)
);After updating your return block to the above stated, you should test the app. Your app should show you the onboarding screen, and if you click on the Skip or Done buttons, you won’t see the onboarding screen when you re-run the application on Android and iOS.
You should clear the app data on your Android emulator and remove the app from your iOS simulator, then rebuild the app using the npx react-native run-ios and npx react-native run-android. You should see the onboarding screens once; after that, it shouldn’t show up anymore.
Conclusion
Onboarding screens which are a very effective and interesting way to educate new users about key uses of your application, shouldn’t be left out in your development. I have been able to illustrate how possible and straightforward it can be to implement in your React Native application, and I hope what I shared here will help you. Kindly reach out if you face any challenges; I will be very eager to help.
A TIP FROM THE EDITOR: You may want to supplement your onboarding with spoken text, as shown in our Talk to your app with Alan AI article.