
State management in React with MobX


According to the Documentation,
MobX is a battle-tested library that makes state management simple and scalable by transparently applying functional reactive programming (TFRP).
One of the most asked questions between developers in creating modern React applications includes state management. In this tutorial, we will learn how to use MobX as a state management library for React applications. We’ll use it to manage state, which will help us understand the concept and guidelines of using MobX.
What is MobX?
Like other similar libraries (e.g., Redux, Recoil, Hook states), MobX is a state manager, but with simplicity and scalability when it comes to state management.
Mobx distinguishes between the following concepts in an application.
- State
- Actions
- Derivations
State
The State is the data that manages your applications. It contains different data types ranging from arrays, strings, numbers, and objects that MobX allows you to work with. All you have to do is make sure that all properties you want to change over time are observable so MobX can track them. Below is a simple example.
import React from "react";
import ReactDOM from "react-dom";
import { makeAutoObservable } from "mobx";
import { observer } from "mobx-react";

// Model the application state.
class Timer {
  secondsPassed = 0;

  constructor() {
    makeAutoObservable(this);
  }

  increase() {
    this.secondsPassed += 1;
  }

  reset() {
    this.secondsPassed = 0;
  }
}

const myTimer = new Timer();

// Build a "user interface" that uses the observable state.
const TimerView = observer(({ timer }) => (
  <button onClick={() => timer.reset()}>
    Seconds passed: {timer.secondsPassed}
  </button>
));

ReactDOM.render(<TimerView timer={myTimer} />, document.body);

// Update the 'Seconds passed: X' text every second.
setInterval(() => {
  myTimer.increase();
}, 1000);
The TimeView React component wrapped around the observer will automatically detect that rendering depends on the timer.secondsPassed observable, even though this relationship is not defined explicitly.
Every event (onClick/setInterval) invokes an action (myTimer.increase/myTimer.reset) that updates observable state (myTimer.secondsPassed). Changes in the observable state are propagated precisely to all computations and effects (TimeView) that depend on the changes made.
Action
If a state is your data, then an Action is any block of code that can change such data: User events, Backend data, etc. An action is like a person who alters data in the spreadsheet cell. In the Timer code above, we can see increase and reset methods that change the value of secondsPassed. Actions help you structure your code block and prevent you from constantly changing state when you don’t have to. Methods that modify the state are called actions in MobX.
Derivations Whatever that is gotten from the state is known as derivation, and it exists in different forms, but we’ll be looking at the different kinds of derivations of MobX:
- Computed Values
- Reactions
Computed Values These are values that can be derived from the state using a pure function. They will be updated automatically by MobX, and they are suspended when not in use. Below is an example of a Computed Value.
class TodoList {
  @observable todos = [];
  @computed get unfinishedTodoCount() {
    return this.todos.filter((todo) => !todo.finished).length;
  }
}
Reactions
Reactions are like computed values: they react to state changes but instead produce side effects. In React, you can turn stateless function components into reactive components by simply adding the observer function. Observer converts React function components into a derivation of data they render. MobX makes sure the components are always re-rendered when needed but not more than that. Below is an example of how an Observer function can be used:
const Todos = observer(({ todos }) => (
  <ul>
    {todos.map((todo) => (
      <Todoview ... />
    ))}
  </ul>
));
Custom Reactions can be created using autorun, reaction, or when.
//autorun//
autorun(() => {
  console.log("Tasks left: " + todos.unfinishedTodoCount);
});

//reaction//
const reaction = reaction(
  () => todos.map((todo) => todo.title),
  (titles) => console.log("reaction:", titles.join(", "))
);

//when//
async function x() {
  await when(() => that.isVisible);
  // etc...
}
MobX can be installed using any package manager such as npm by using the npm install -- save mobx command.
Why should you consider MobX?
The main goal of MobX is to improve state management for developers and create an easier way of managing Javascript application states with less code and boilerplates. MobX uses observable data, which helps track changes automatically, making life easier for developers.
MobX allows you to manage your application state outside of any framework. This makes code decoupled, portable, and easily testable, which is why it’s termed UNOPINIONATED.
MobX vs. Redux/Recoil/HookState
Unlike other state managers like Redux and Easy Peasy, MobX uses multiple stores to handle the application state. You can separate the stores so all application states will be in a single store like Redux.
One of the top issues about Redux is the amount of boilerplate code that comes with it, and integration with React leads to excess boilerplates, which developers find unappealing. MobX requires little or no boilerplate code and does not require any special tools, making its setup simple and easy.
Redux is more opinionated, leading to pure functions, but MobX wins due to its unopinionated feature when it comes to scalability.
When to use MobX?
Although some developers tend to get confused about when to use which state management library for which project, let’s break it down to understand. If you want to write minimal code, with little or no boilerplate obstructing your view, or if you are trying to update a record field without any special tools, then MobX is what you should be thinking of.
Open Source Session Replay
OpenReplay is an open-source, session replay suite that lets you see what users do on your web app, helping you troubleshoot issues faster. OpenReplay is self-hosted for full control over your data.

Start enjoying your debugging experience - start using OpenReplay for free.
Building a React application with MobX.
We’ll be building a Todo Application for note keeping, and beautifying our Todo App with Framer-Motion library. We’ll be using Mobx as a state manager in our Todo App. We’ll create a store that will have a class, and that class will have a data constructor that will make the class observable to changes in state.
First, we’ll set up our environment by creating our react application with the following command on your terminal.
npx create-react-app todo-app --template typescript
Then we change our directory and install the needed dependencies before creating our components and state.
cd todo-app
npm install -s mobx mobx-react-lite
npm install framer-motion
npm install react-icons
npm start
Create a Store Component
We’ll be creating our store.ts component in our root folder, and we are using Mobx with React Context API to make our store available to all the components.
//store.ts//

import { createContext, useContext } from "react";
import todoStore from "./store/TodoStore";

const store = {
  todoStore: todoStore(),
};

export const StoreContext = createContext(store);

export const useStore = () => {
  return useContext<typeof store>(StoreContext);
};

export default store;
Create a TodoStore Component
The TodoStore.ts carries our state component. First, we create a function todoStore, which returns makeAutoObservable (from MobX) with a list with a title and id.
//TodoStore.ts//

import { makeAutoObservable } from "mobx";

const todoStore = () => {
  return makeAutoObservable({
    list: [] as { title: string; id: number }[],
  });
};

export default todoStore;
Create a TodoForm Component
We’ll have to build a TodoForm.tsx component for Creating Todos.
//TodoForm.tsx//

import { motion } from "framer-motion";
import { GoPlus } from "react-icons/go";
import { action } from "mobx";
import { FormEvent } from "react";
import { useStore } from "../stores";

const TodoForm = () => {
  const { todoStore } = useStore();
  const handleSubmit = action((e: FormEvent) => {
    e.preventDefault();
    const formData = new FormData(e.target as HTMLFormElement);
    const value = formData.get("title")?.toString() || "";
    todoStore.list.push({
      title: value,
      id: Date.now(),
    });
  });

  return (
    <form className="addTodos" action="#" onSubmit={handleSubmit}>
      <input name="title" placeholder="add text" className="todo-input" />

      <motion.button
        whileHover={{ scale: 1.1 }}
        whileTap={{ scale: 0.9 }}
        className="add-btn"
      >
        <GoPlus />
      </motion.button>
    </form>
  );
};

export default TodoForm;
Create a TodoList Component
To list all our input Todo’s, we’ll have to create a TodoList.tsx component.
//TodoList.tsx//

import { AnimatePresence } from "framer-motion";
import { observer } from "mobx-react-lite";
import { useStore } from "../stores";
import { motion } from "framer-motion";

const TodoList = () => {
  const { todoStore } = useStore();

  return (
    <motion.li
      whileHover={{
        scale: 0.9,
        transition: { type: "spring", duration: 0.2 },
      }}
      exit={{
        x: "-60vw",
        scale: [1, 0],
        transition: { duration: 0.5 },
        backgroundColor: "rgba(255,0,0,1)",
      }}
      className="displaytodos"
    >
      {todoStore.list.map((l) => (
        <h3 className="card" key={l.id}>
          {l.title}
        </h3>
      ))}
    </motion.li>
  );
};

export default observer(TodoList);
Create TodoDetails Component
The TodoDetails.tsx file has little: our TodoForm and TodoList components.
//TodoDetails.tsx//

import React from "react";
import TodoForm from "./TodoForm";
import TodoList from "./TodoList";

function TodoOverview() {
  return (
    <>
      <TodoForm />
      <TodoList />
    </>
  );
}

export default TodoOverview;
Create Main.css Component
The main styling is as follows.
@import url("https://fonts.googleapis.com/css2?family=RocknRoll+One&display=swap");

html {
  line-height: 1.15;
}

* {
  box-sizing: border-box;
  margin: 0;
  padding: 0;
  font-family: "RocknRoll One", sans-serif;
}

body {
  background: linear-gradient(
    190deg,
    rgb(134, 123, 205) 0%,
    rgb(106, 90, 171) 100%
  );
  background-repeat: no-repeat;
  background-size: cover;
  background-attachment: fixed;
  color: #222;
  overflow: hidden;
}

.App {
  margin-top: 3rem;
  display: flex;
  flex-direction: column;
}

.App h1 {
  display: inline;
  text-align: center;
  margin-bottom: 2rem;
  color: #e1ebfd;
  text-shadow: 0 0 5px #433aa8, 3px -1px 5px #271c6c;
}

.addTodos {
  display: flex;
  justify-content: center;
}

.todo-input {
  min-width: 15rem;
  width: 40vw;
  max-height: 2.5rem;
  background-color: #e1ebfd;
  border: none;
  border-radius: 5px;
  padding: 0.5rem 1rem;
  align-self: center;
}

.todo-input:focus {
  outline: none;
  border: 2px solid rgb(67, 58, 168);
}

.add-btn {
  margin-left: 1rem;
  background-color: #271c6c;
  color: #e1ebfd;
  border-radius: 50%;
  border: 2px solid #e1ebfd;
  font-size: 1.5rem;
  width: 3.2rem;
  height: 3.2rem;
  cursor: pointer;
  box-shadow: 2px 4px 10px #271c6c;
  display: flex;
  justify-content: center;
  align-items: center;
}

.add-btn:focus {
  outline: none;
}

.displaytodos {
  margin-top: 3rem;
  display: flex;
  flex-direction: column;
  align-items: center;
}

.card {
  display: flex;
  flex-direction: column;
  text-align: center;
  background: rgb(180, 182, 218);
  background: radial-gradient(
    circle,
    hsla(237, 34%, 78%, 0.9) 0%,
    hsla(219, 88%, 94%, 0.9) 100%
  );
  margin: 0 1rem 1rem 0;
  height: 4rem;
  width: 18rem;
  border-radius: 0.5rem;
  padding: 1rem;
  position: relative;
}

@media Screen and (max-width: 640px) {
  .displaytodos {
    overflow: hidden;
    margin-top: 2rem;
  }
  .displaytodos ul {
    display: flex;
    flex-direction: column;
    align-items: center;
    margin-left: 0;
    align-self: center;
  }
  .card {
    margin-right: 0;
  }
}
Implementing Framer-Motion
Implementation of Framer-Motion (for animations controlled by motion components ) in the App.tsx needs this code.
import React from "react";
import TodoDetails from "./components/TodoDetails";
import "./css/main.css";
import { motion } from "framer-motion";

function App() {
  return (
    <div className="App">
      <motion.h1
        initial={{ y: -200 }}
        animate={{ y: 0 }}
        transition={{ type: "spring", duration: 0.5 }}
        whileHover={{ scale: 1.1 }}
      >
        Todo App
      </motion.h1>
      <motion.div
        initial={{ y: 1000 }}
        animate={{ y: 0 }}
        transition={{ type: "spring", duration: 1 }}
      >
        <TodoDetails />
      </motion.div>
    </div>
  );
}

export default App;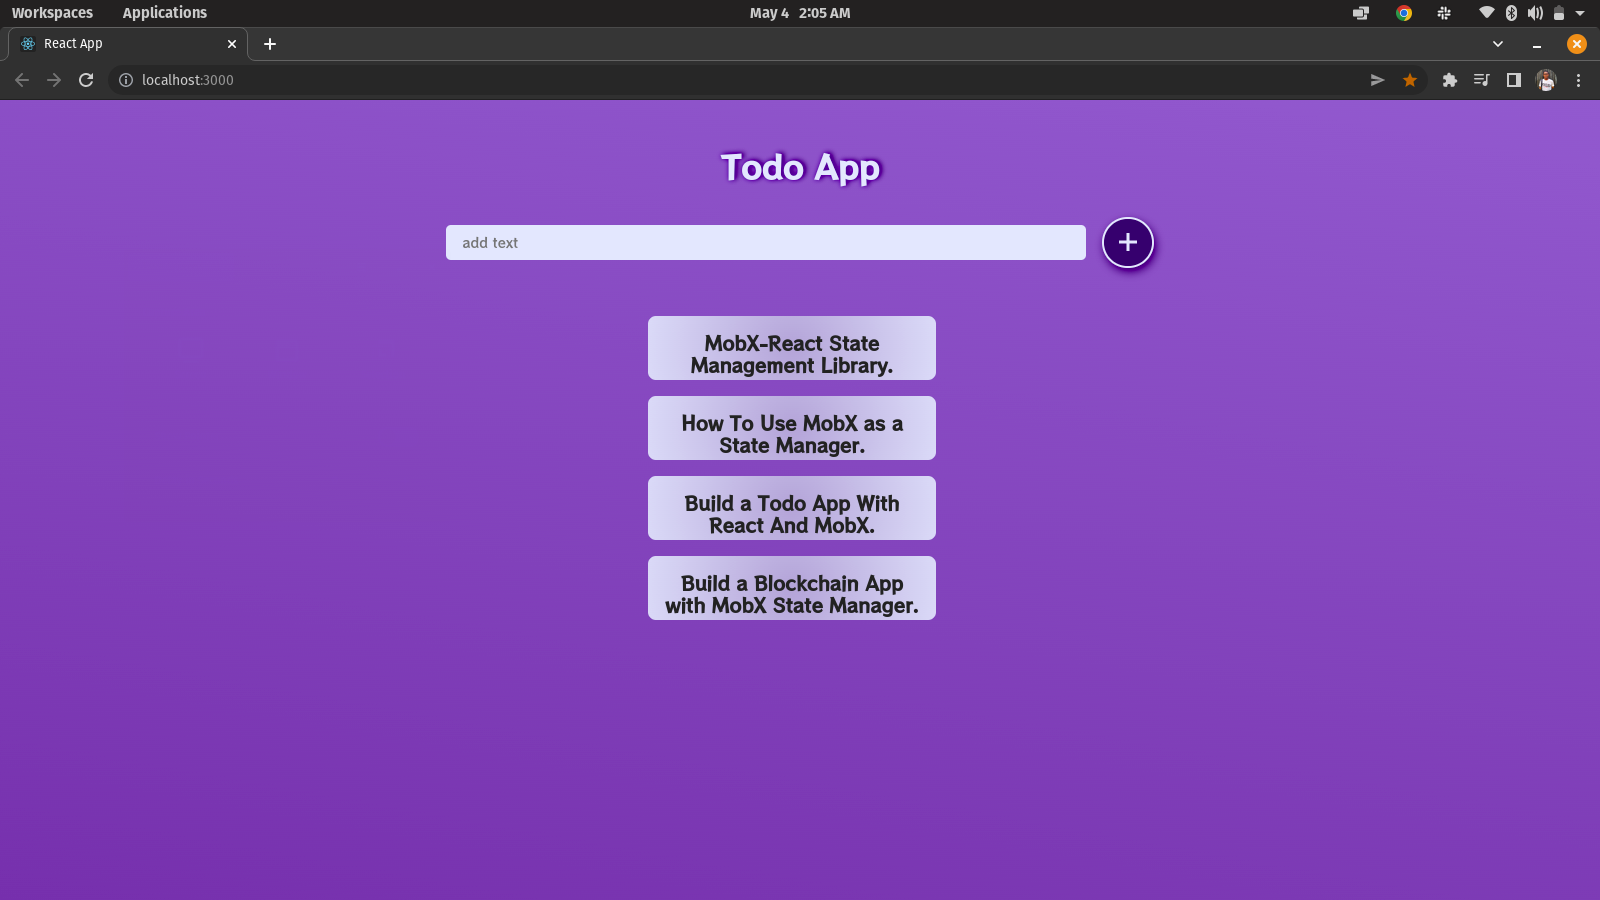
And our Todo App seems to be working very fine, handling its inner state with MobX.
Summary
In this article, we took a tour of MobX as a React State Management library. We also learned how to use the reactive state of MobX to manage the state of an application, which was quite interesting. We integrated it with our code and Framer-Motion for animations.
Resources
The Github Repo for our Todo App can be found here, and it’s deployed on Vercel.