Step by step: build and deploy a serverless React app with AWS Amplify


Serverless applications are becoming increasingly popular due to their scalability, cost-effectiveness, and ease of deployment. AWS Amplify is a great tool for building serverless apps. With its announcement in November 2017 as an open-source library for developers who want to develop cloud-based applications with JavaScript on the web or mobile platforms, AWS Amplify provides a comprehensive set of tools and services for building scalable, secure, and highly available cloud-powered applications.
The AWS platform enables developers to easily create and deploy cloud-based applications in minutes with no server-side code by providing a comprehensive set of tools, including authentication, analytics, data storage, and more, to help developers quickly build and deploy apps.
There are many benefits to building a serverless architecture. First, it eliminates the need for servers and other infrastructure, which results in a reduction in cost and maintenance.
The architecture allows for faster scaling of services and increased reliability and availability. Additionally, serverless architecture provides developers with faster development cycles and more flexibility.
Finally, serverless architecture helps to promote better collaboration and communication between development teams with its more manageable components.
Overview of the involved steps
In this article, I will walk you through how to build and deploy a React.js application using AWS Amplify.
We will be:
- Setting up the development environment: Here, we will install and configure the necessary tools and libraries to build the
Reactapplication. - Creating and setting up a new
AWS Amplifyproject: This step involves using theAmplify CLIto create a new project, configure theback end services, and set up theauthenticationandauthorization. - Building the
Reactapplication: This involves writing thefront-end codefor the application usingReactand integrating it with the back end services provided byAWS Amplifyand testing the application locally. - Deploying the application: This involves using the
Amplify CLIto push the changes to thecloud, where the application is automatically built and deployed to a scalable, secure, and highly available infrastructure.
Install Node.js first if you do not already have it downloaded and installed, as this is important to deploy your React app. Second, create your AWS account if you don’t have one yet, as you will need it to run AWS Amplify.
Install and Set up Amplify CLI
To install the Amplify CLI, run these commands.
npm install -g @aws-amplify/cli
amplify configure
After successfully installing and configuring the amplify CLI, an AWS console will open in your tab; ensure that you are logged in under the correct account and as an admin user. If you do not have an account yet, you can sign up.
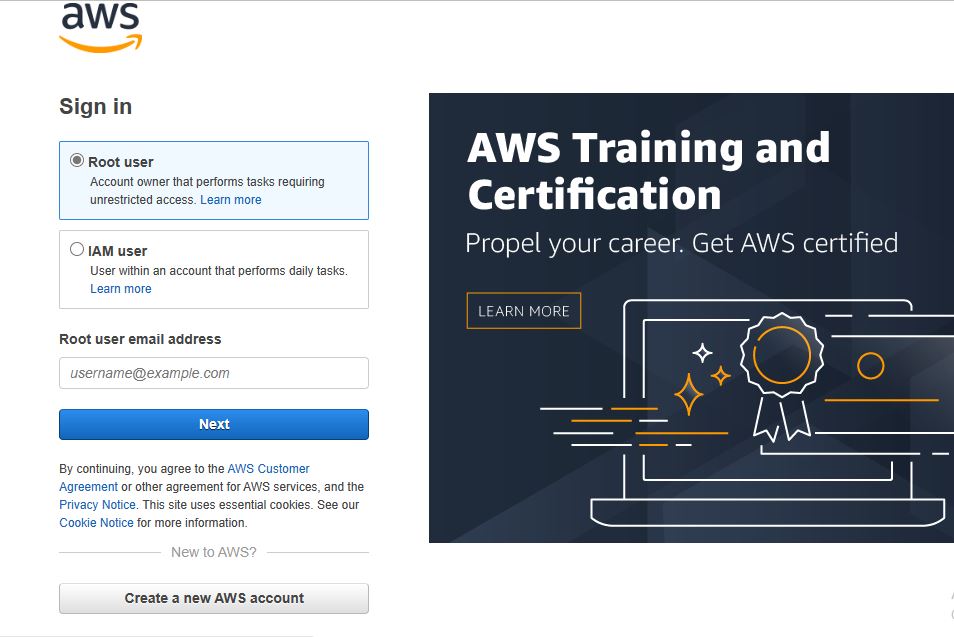
Once you are signed in to AWS Console, Amplify CLI will ask you to create an AWS IAM user:
Specify the AWS Region
? region:  # Your preferred region
Specify the username of the new IAM user:
? user name:  # User name for Amplify IAM user
Complete the user creation using the AWS console
You’ll be redirected to an interface where you will complete the wizard and create a user with AdministratorAccess in your account to provide AWS resources. Once the user is created, Amplify CLI will ask you to provide accessKeyId and secretAccessKey to connect Amplify CLI with our created IAM user:
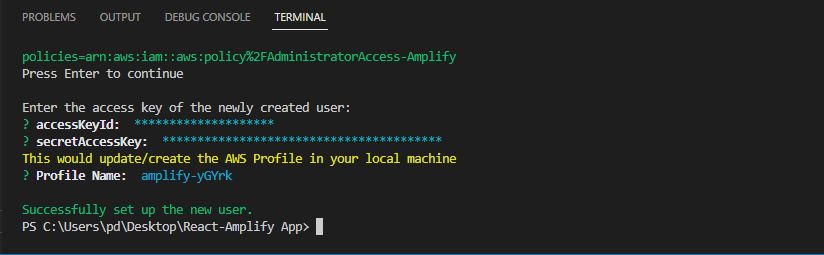
Congratulations! You have fully set up and configured your AWS amplify.
Session Replay for Developers
Uncover frustrations, understand bugs and fix slowdowns like never before with OpenReplay — an open-source session replay tool for developers. Self-host it in minutes, and have complete control over your customer data. Check our GitHub repo and join the thousands of developers in our community.
Creating a React App
We will develop a simple “Welcome to OpenReplay” react application.
To get started, we will create a new React app using the create-react-app boilerplate. Open your terminal and run the command below. You can run npm I -g create-react-app first if you don’t already have it installed.
npx create-react-app amplify-react-demo-app
cd amplify-react-demo-app
Then run the command npm start to start our React App.
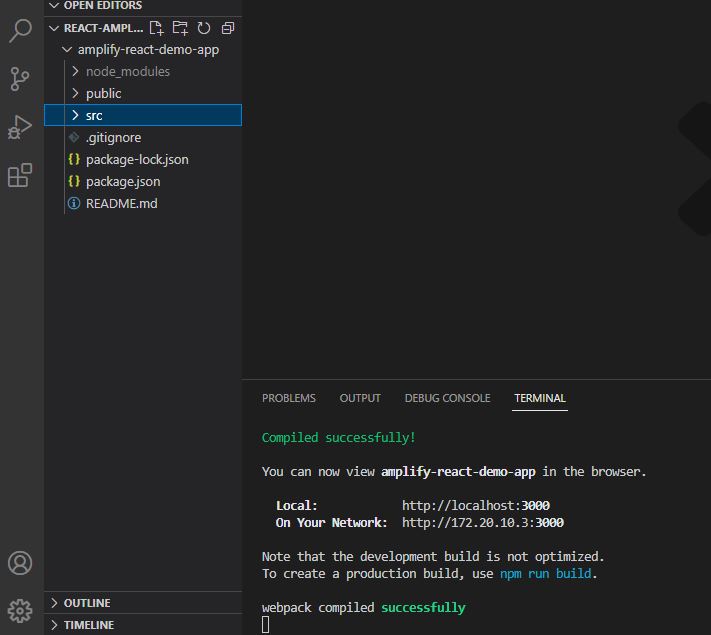
Now that you have created a react app, open the ./src folder and edit your code.
import "./App.css";
import { withAuthenticator, AmplifySignOut } from "@aws-amplify/ui-react";

function App() {
  return (
    <div>
      <Welcome to OpenReplay />
    </div>
  );
}

export default withAuthenticator(App, true);
After successfully setting up the React app, it’s time to initialize Amplify for our project. Run the command below from the root of the project. This command will set up our AWS configuration from scratch and generate a configuration file for our application’s root directory.
$ amplify initThis command will prompt some information about the app and make the selections according to your config:
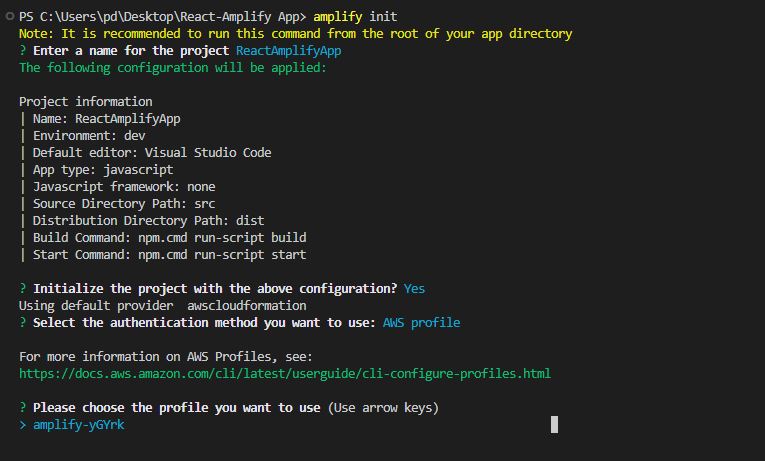
As soon as a new Amplify project is launched, the CLI:
- created a file called
aws-exports.jsin the src directory that holds all the configuration for the services we create with Amplify - created a top-level directory called
Amplifythat contains our back end definition - modified the
.gitignorefile and added some generated files to the ignore list
It will also create a new cloud project in the AWS Amplify Console, which can be accessed by running amplify console.
Now that the initialization is complete, here are some important amplify commands and workflows needed for your project:
Amplify status: This will display everything you have added already and show if it’s already configured or deployed locally.Amplify push: This will update your cloud resources after you have made your category updates. This command will create localback endresources and provision them in thecloud.Amplify Console: This command will launch the browser directing you to your cloud project in theAWS Amplify Console,and you can view your project status.Amplify Publish: This command will build and publish both the back end and the front end of the project.Amplify <category> add: This command will add a category’s resources to the cloud; you can easily add features like user login or aback-end API.
Configuring Our React App
To configure our React application, we must install AWS Amplify packages in our React app. To do this, run the command below in your app repository.
$ sudo npm install aws-amplify @aws-amplify/ui-reactAuthentication
To add more control to our React application, let’s add an authentication function to our application.
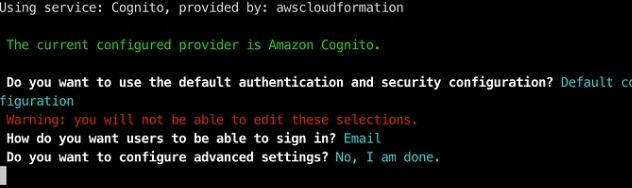
$ amplify add authRun the code above to add authentication; this will prompt some questions, then select according to your configuration.
The authentication module is currently set up for our application. The deployment of this configuration to our AWS account is still required. Fortunately for us, the Amplify CLI also handles this.
Time to push the configuration. To do this, run the command below.
$ amplify push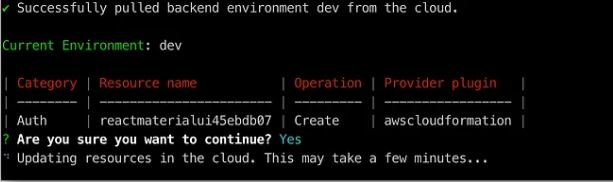
After pushing this configuration, the changes required to support our authentication module will be created in our AWS account and then deployed.
Also, a configuration file called aws-exports.js will be created in our configured source (./src) directory.
Configuring Amplify in Our React App
Now we want to add amplify authentication service to our React app.
In your IDE, open your React app folder and edit the index.js file by adding the code below to the header.
import amplify from ‘aws amplify’;
import aws config from './aws-exports`;

Amplify.configure(awsconfig);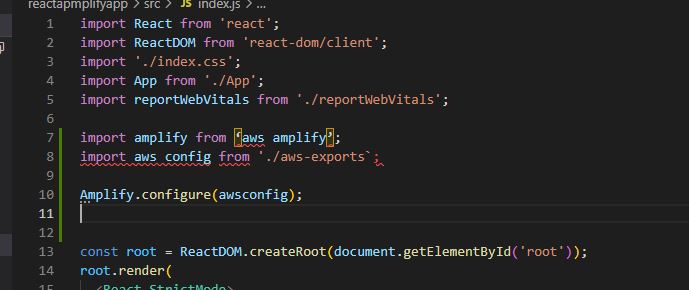
Next is to add the Amplify Authenticator. Open the App.js file in the ./src. folder and import withAuthenticator and wrap it into the React app.
import { withAuthenticator, AmplifySignOut } from "@aws-amplify/ui-react";
...
export default withAuthenticator(App);
It’s great! Now time to test our app. We will Run the application using the following:
npm run startThe browser will launch with a secure page to sign in. Your app is now protected by Amplify.

Create a new account.
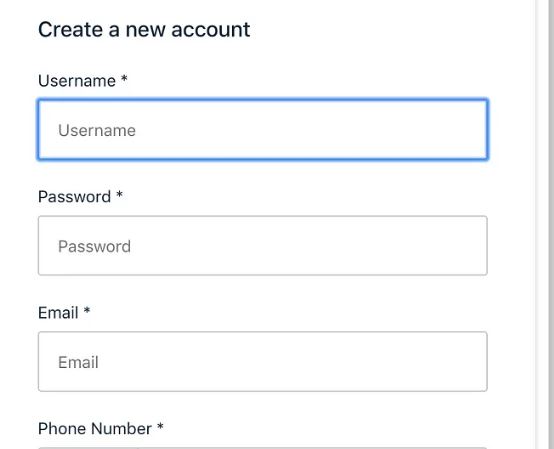
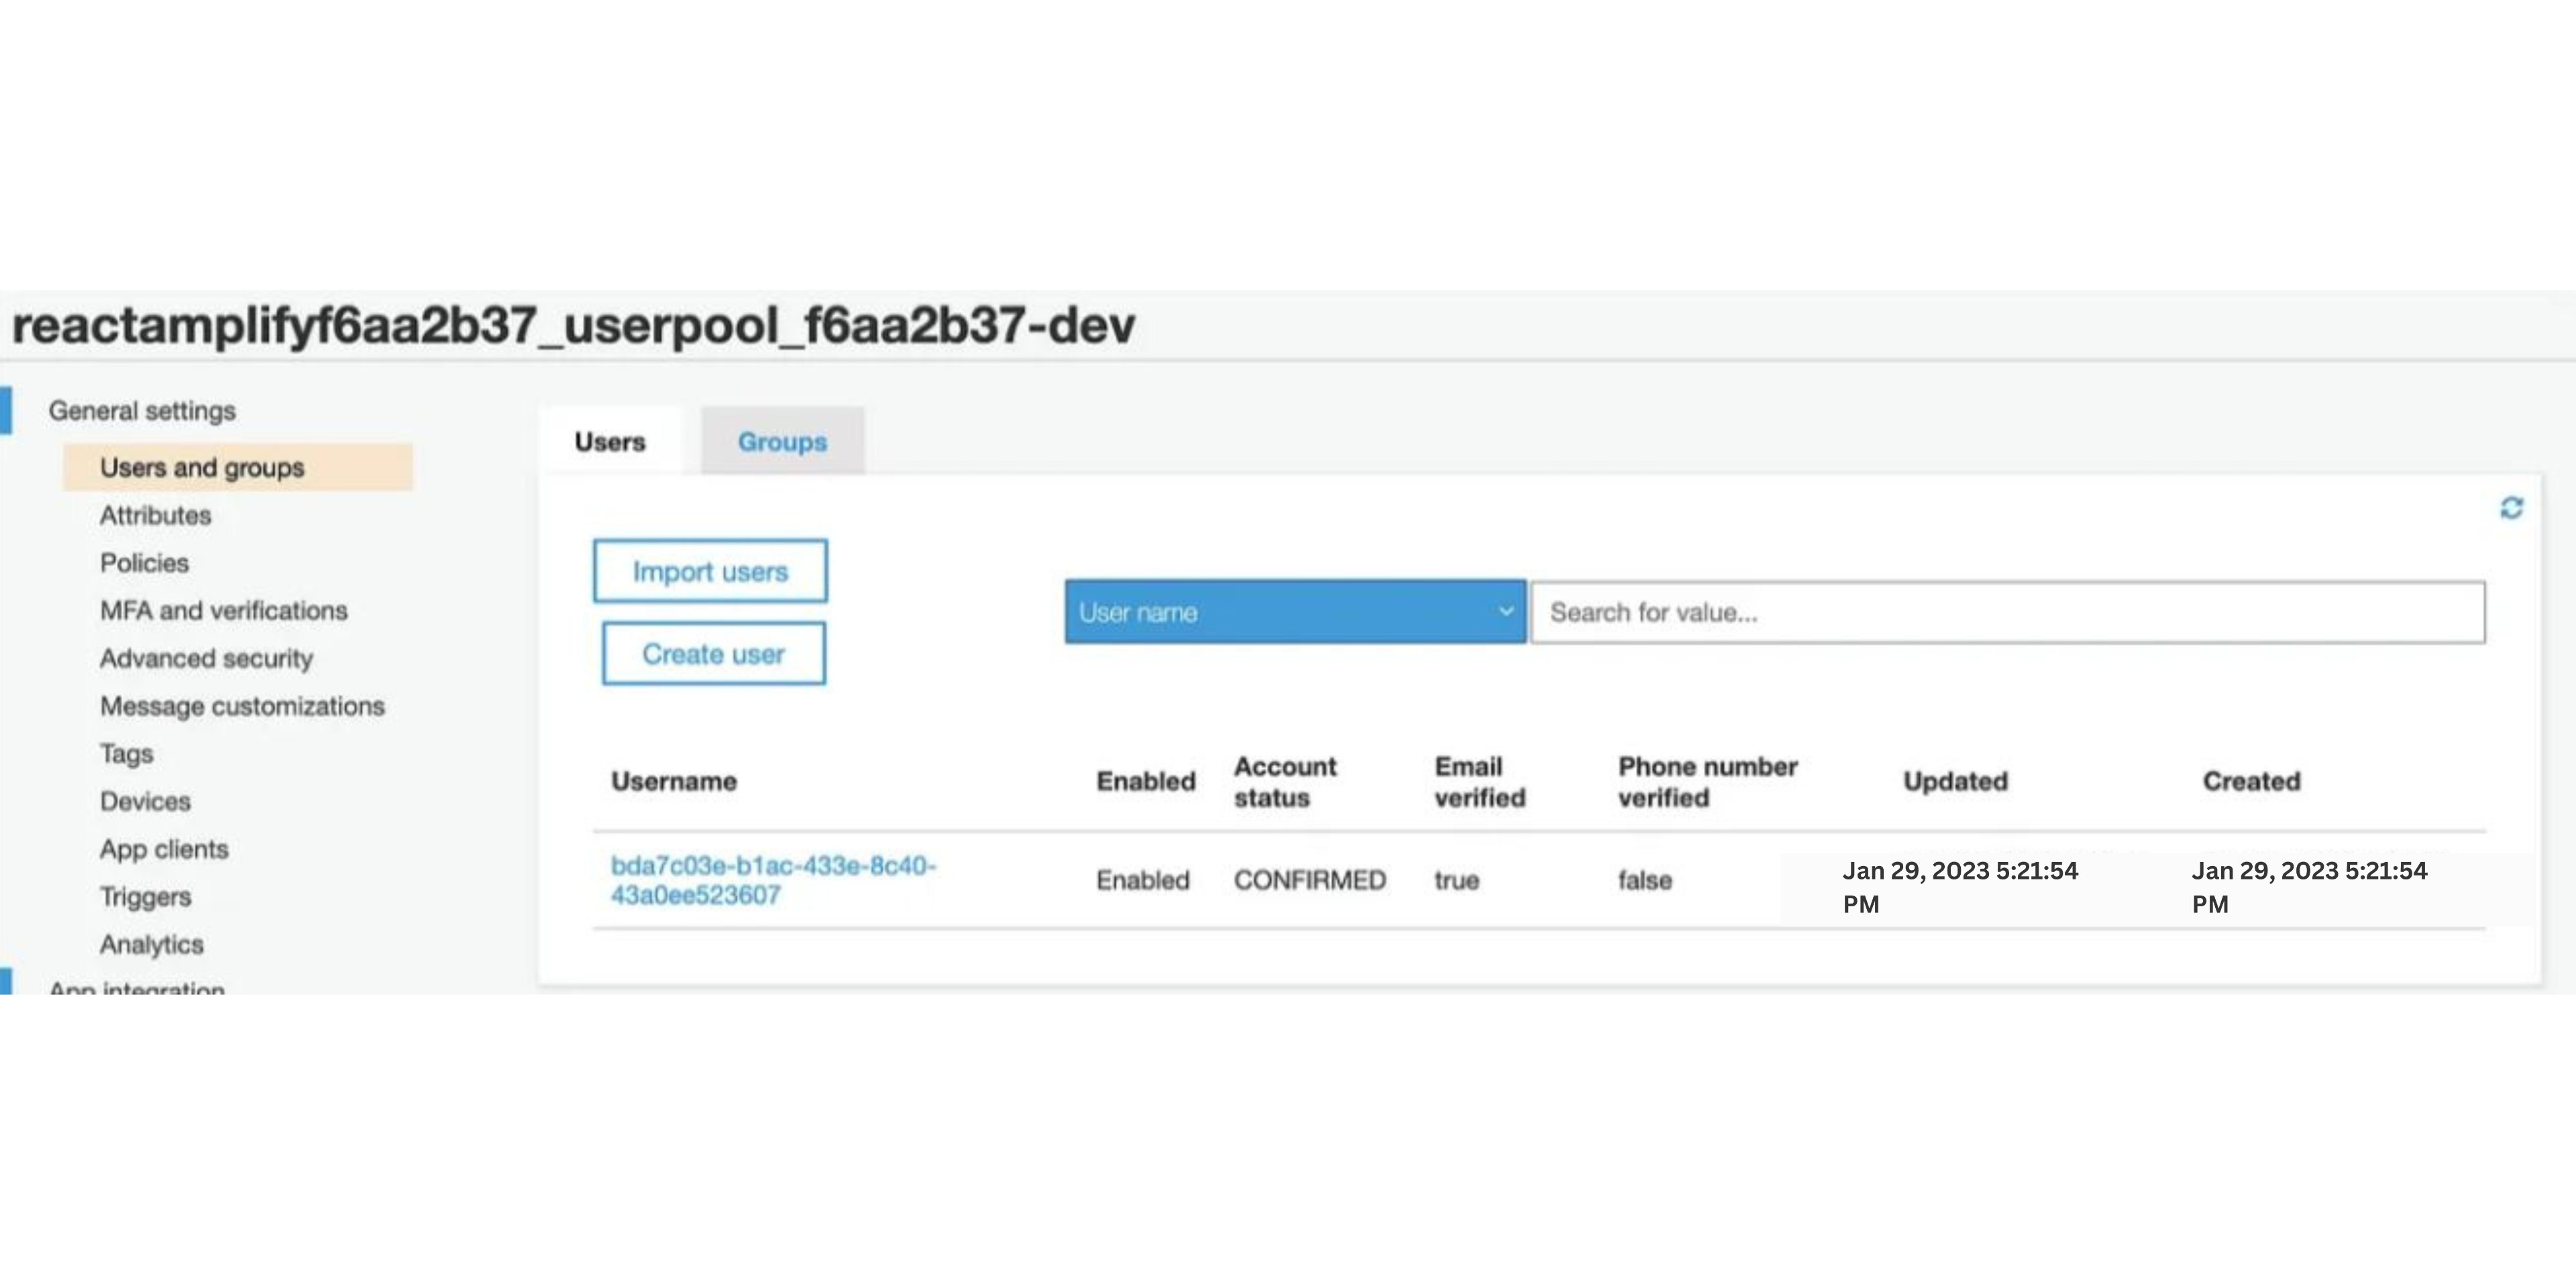
You will receive an email with the confirmation code. Enter your verification code, and your account is now created.
Log in now, and welcome to our secure React app.

Conclusion:
In conclusion, building and deploying a Serverless React application using AWS Amplify can be a straightforward process with the right guidance. Following the step-by-step guide outlined in this article, you can leverage the power of AWS Amplify to create a robust, scalable, cost-effective application that meets your business needs. With the knowledge gained from this guide, you can take the first steps toward building and deploying a successful Serverless React application.
Resources:
Gain Debugging Superpowers
Unleash the power of session replay to reproduce bugs and track user frustrations. Get complete visibility into your frontend with OpenReplay, the most advanced open-source session replay tool for developers.