
Using the Pen Tool in Figma


Figma has illustration tools that allow you to design buttons, icons, logos, or illustrations. With these tools, you do not need to switch between Figma and other applications but use Figma all through. To achieve this, you need to know about vector networks and the fantastic possibility of designing logos, icons, buttons, or illustrations with a pen tool and creating vector points from existing ones.
All developers eventually will need some graphic element, and by using the pen tool, they may create it by themselves and provide a better look to their web pages; let’s see how this is done!
What is a pen tool, and what is it for?
You will need to understand a vector network to know a pen tool. A vector network is an advancement on vector paths, and Figma uses it to handle vector shapes. It allows you to create lines and curves that connect two or more points, unlike vector paths which form a single unbreakable chain. Rather than joining different paths, a vector network allows you to create web-like paths which you can draw from existing vector points and join together. Pen tools create vector lines and complex shapes. Instead of drawing with a freehand pen tool enables you to connect vector points. In addition, most pen tools usually have defined directions and tend to reconnect original points to draw paths in a loop.
There are several things you can do with the Figma’s pen tool, and they include:
- You can draw different shapes.
- You can merge two shapes by positioning one inside the other.
- You can manipulate existing points and create additional points.
- You can apply rounded corners to vector networks.
- You can apply strokes by using the design strokes.
Why should you use this tool? The reasons include:
- It is user-friendly.
- It makes it easy to create complex shapes that are useful in designing but not in the shape tool.
- It always creates a vector path whenever you use it.
- You can make precise edits when you combine shapes by adding or removing fill from each component.
- You can draw more instead of merging or grouping 2D shapes, enabling you to draw 3D forms just like you do on paper.
Designing with the pen tool on Figma
To design on Figma using the pen tool, you need to open your Figma account, open your design file, and create a new frame for the design you want to make. There are tools you can make use of while using the pen tool, and they include:
- The bend tool helps you make curves by changing the vector points and converting them to a curve on a point or creating an adjusted curve path. This tool is to the right of the pen tool, and you can also activate it by pressing CTRL when on vector mode.
- The bucket tool helps add or remove fills when in vector mode. It is at the toolbar to the right of the bend tool, and you can also activate it by pressing B when in vector mode.
- Ensure to Press Done at the toolbar beside the bucket tool when you are through drawing with the pen tool. You can also use Enter key or Esc key or double-clicking a space on the canvas to exit the vector mode.
To locate Figma’s pen tool, you will see it in the toolbar or by pressing P.

How to create a vector network with the pen tool on Figma
After creating a frame, you are ready to start making a vector network in the design file. Once you activate the pen tool by locating it on the toolbar or pressing P, you enter the vector mode. In the vector mode, you can create shapes for your preferred design and manipulate vector points using the pen tool. We will look at several things we can create with the pen tool on Figma.
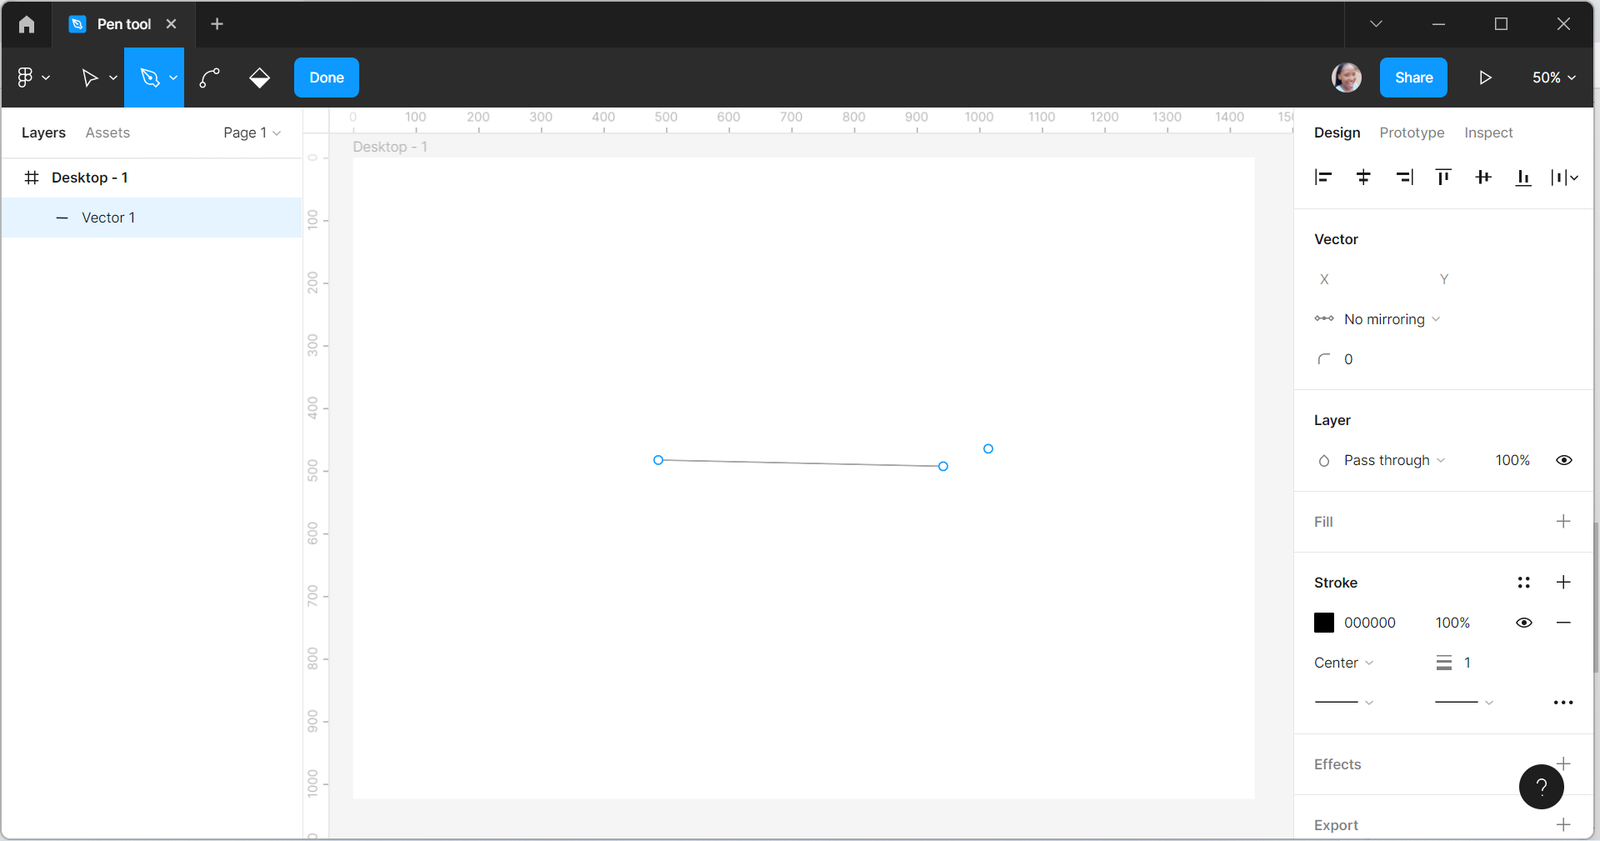
Creating lines
You can create lines on Figma using the pen tool and join these lines as you desire.
- Create a desktop frame by pressing F and selecting the device you want.
- To create a line, press P
- Start by making a click to create point A,
- Then, draw the line
- Complete it by making a click at point B, then press Done
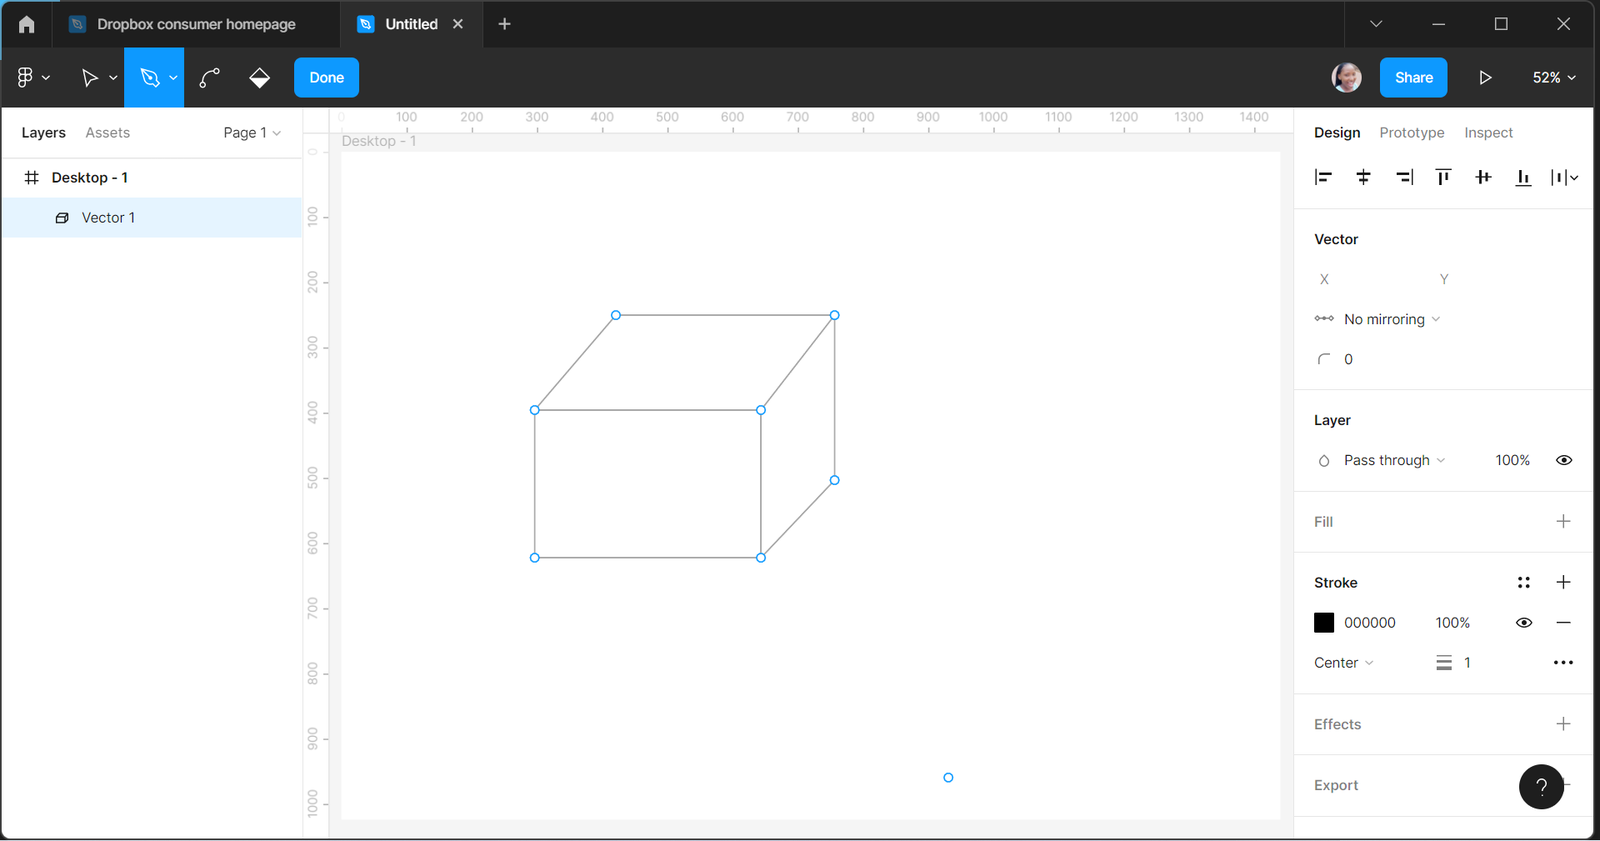
Let us create a box by joining different lines
- Press P, draw a line, and continue joining lines by clicking and drawing.
- Once you get to the starting point, you join it.
Creating curves
You can create curves with the pen tool. A handle with two lines appears when you drag a point. The handle determines the degree of the curve. The upper line on the handle controls the curve, while the one below controls the upcoming curve.
- To create a curve, click point A and move to point B
- If you want a smooth curve, use two handles.
- To move the handle, hold the Alt key and drag
- You can bend the handle, remove the handle and also bring the handle back with the Alt key.
- Holding the Shift key while moving will snap your points to 45 degrees.
Also, you can turn a straight line into a curved line using the bend tool.
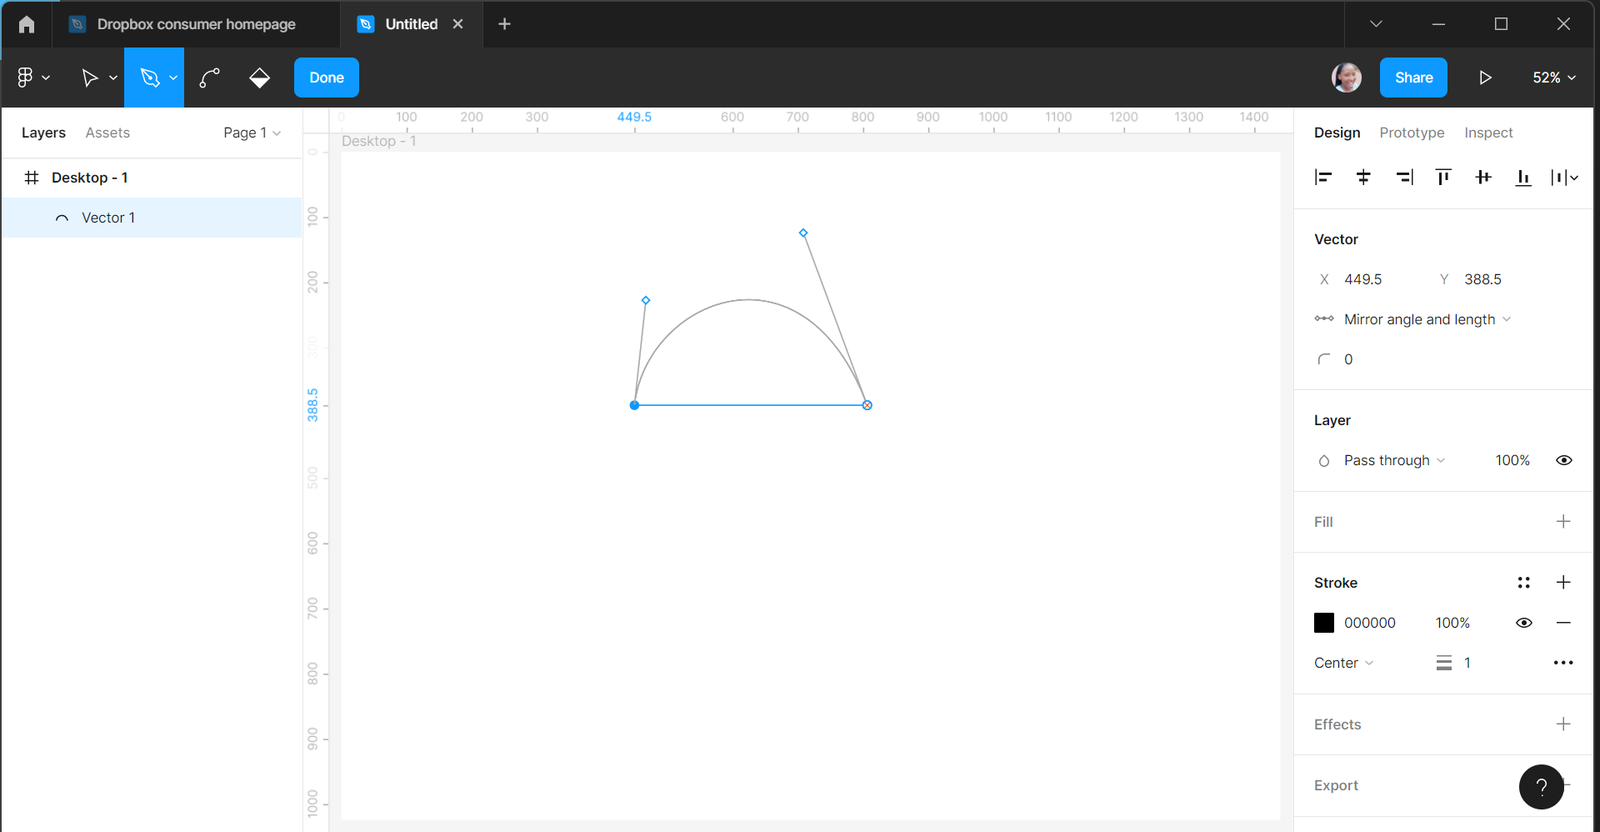
Let us create a semicircle using the bend tool.
- Draw points A and B, creating a straight line
- Click the line and press Enter
- Select the Bend tool
- Allow the cursor to hover around the area of the line you intend to bend
- Then, drag it in the direction you want to form a semicircle.
It could be tricky creating curved lines, so Figma has a free game you can experiment with to master the process.
Editing a vector network
You can adjust or change the characteristics of single points, lines, or the whole vector network on Figma.
- To enter vector editing mode, select the area to edit, then double-click or press the Edit object button and the Enter or Return key.
- You can remove a point or path after selecting it by pressing Delete or Backspace.
- When you want to retain an underlying path but delete a point, hold the Shift key + Delete or Backspace while clicking.
- To exit vector editing mode, press the Done button, Enter or Esc key.
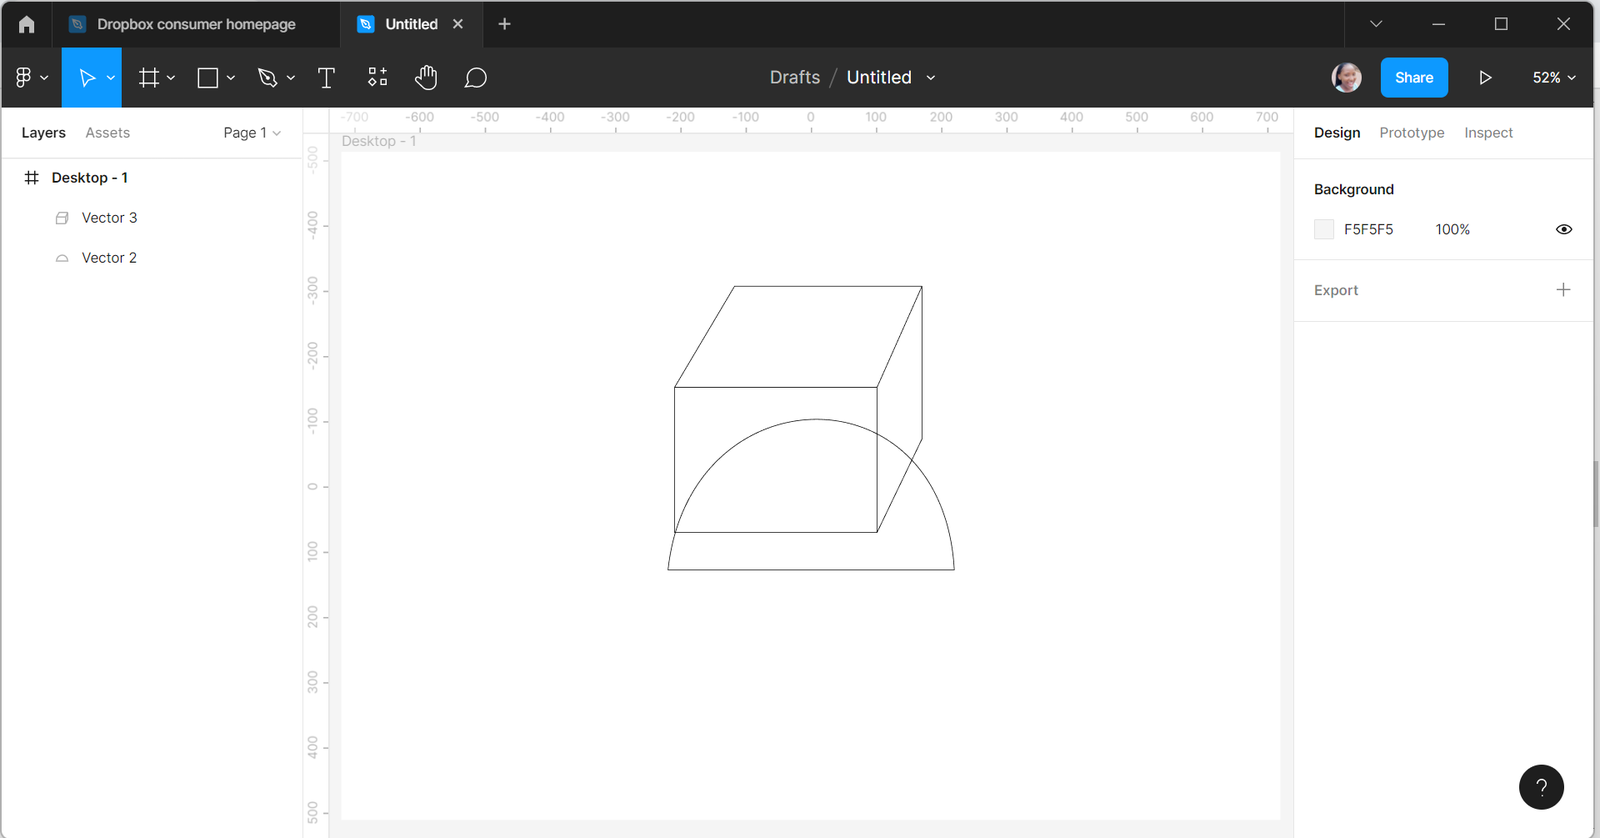
Merging shapes
When you create different shapes with the pen tool, you can merge different shapes you can merge them. Let us merge the box and the semicircle.
- To merge the box on top of the semicircle,
- Click the box
- Then, drag the box into the semicircle
- You can adjust the shape that stays on top to your choice.
Adding fills to a vector design
You can fill a vector network with color. To do this;
- Select the drawing by clicking on it.
- Then press B to activate the bucket tool.
- Fill inside the selected area with the desired color by accessing the fill option at the right sidebar.
- Or use the fill option at the right sidebar to fill the drawing with the desired color.
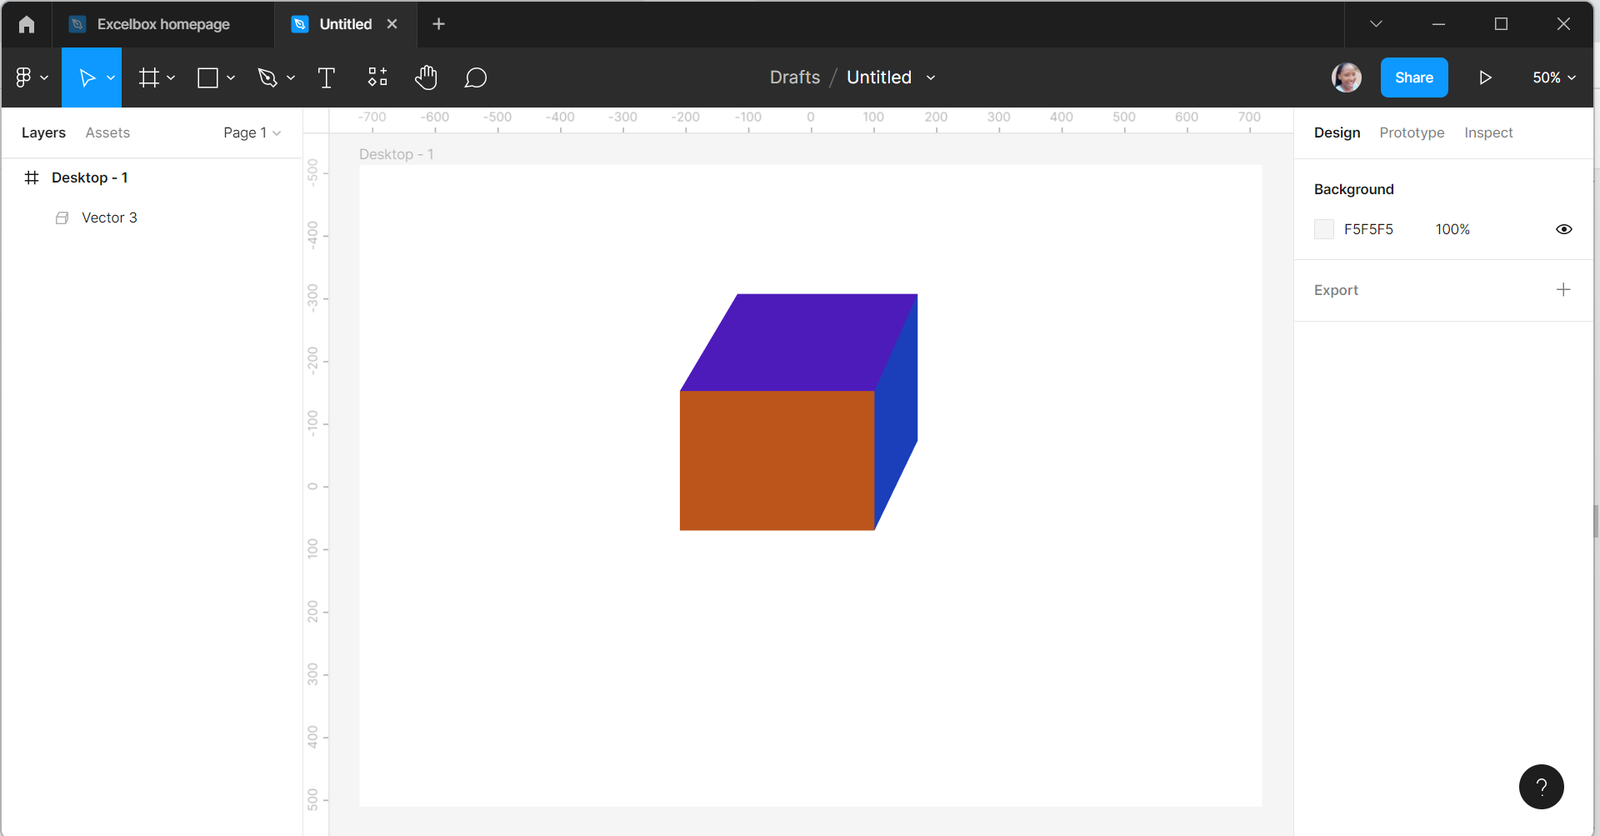
Let us add different colors to the various segments of the box using the explanation above.
Changing the color to a vector line
You can change the color of vector lines if you are not okay with the default black color.
- Select the line or shape by clicking on it.
- Use the stroke option at the right sidebar to change the color to your choice.
- You can also adjust how the stroke appears by increasing the thickness or where the stroke appears.
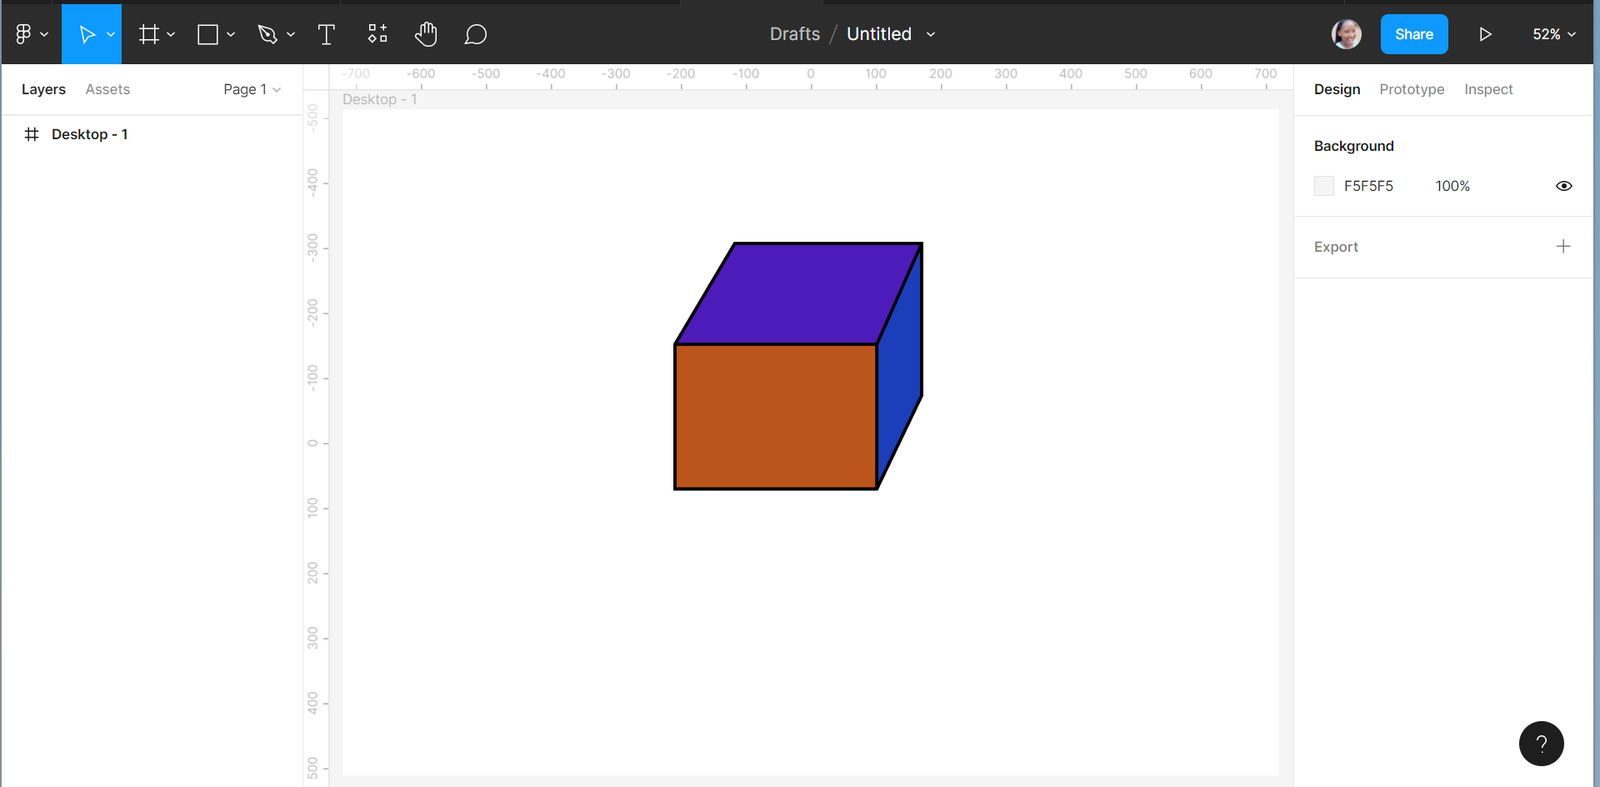
Let us add colors to the lines of the box by using the stroke options. Give the stroke a thickness of 5.
Scaling your design
You can resize your drawing, and this is how;
- Double click the area you want to resize
- A box will cover it
- Then resize it to your choice by dragging the box’s corners.
Open Source Session Replay
OpenReplay is an open-source, session replay suite that lets you see what users do on your web app, helping you troubleshoot issues faster. OpenReplay is self-hosted for full control over your data.

Start enjoying your debugging experience - start using OpenReplay for free.
Creating a design using the pen tool
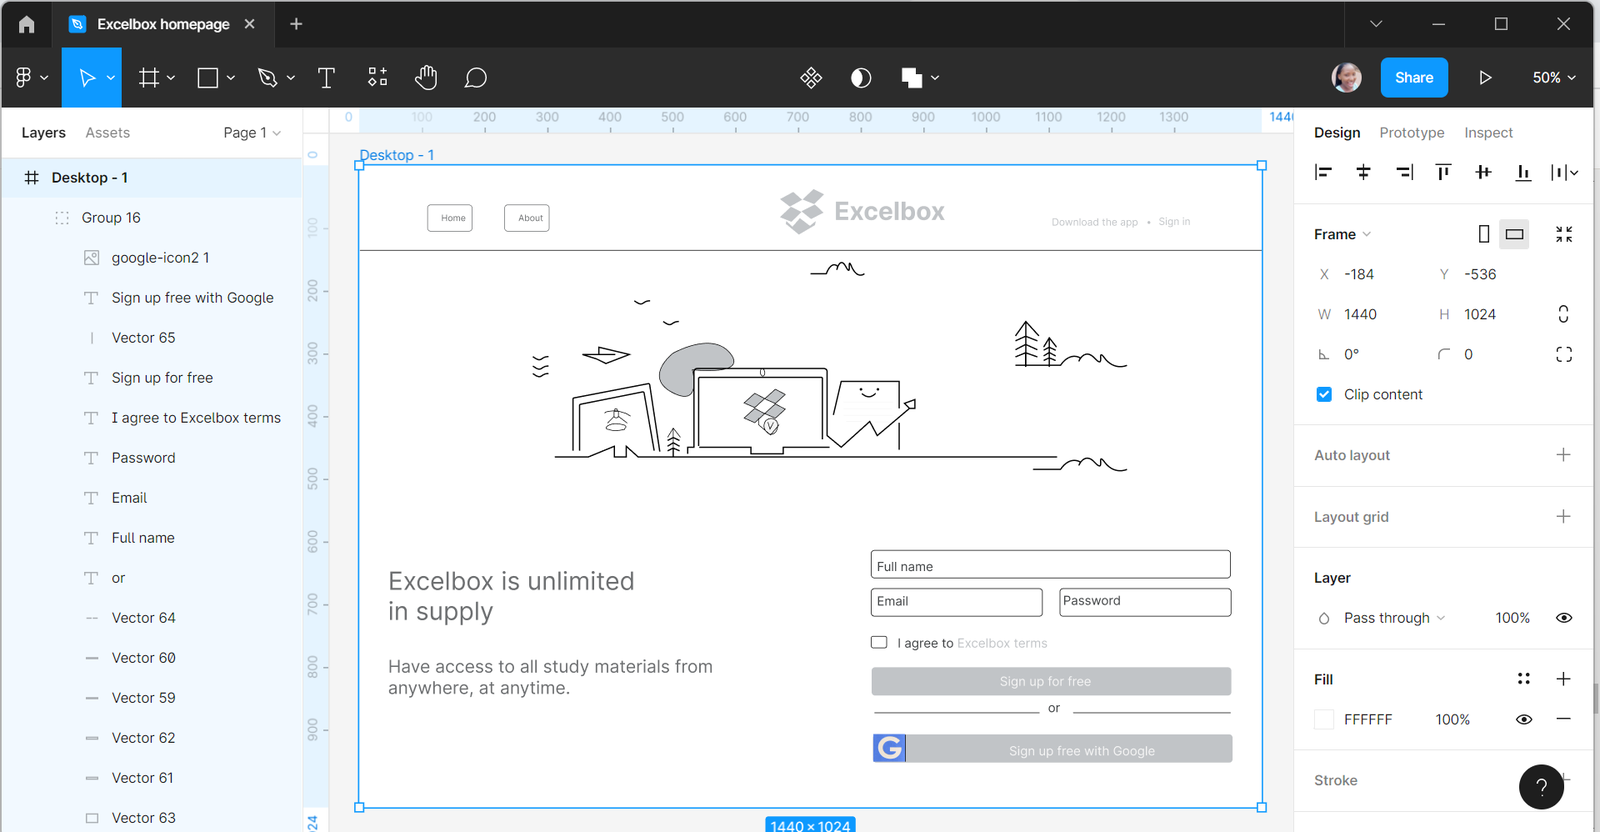
Let us use the pen tool and create a design similar to the Dropbox consumer homepage:

- Look at the design and see the areas requiring straight and curved lines.
- Go further to check the placement of the logo, icons, and buttons.
- Observe the areas that need merging, filling with colors and strokes.
You can start drawing the different segments of the design.
-
Create a desktop frame on your Figma design file by pressing F
-
At the top, let us create the navigation and logo.
-
Instead of the bigger box by the top left side, let us draw small boxes for Menu and About by connecting points A, B, C, and D.
-
Use text to write Download the app and Sign in buttons.
-
Draw the logo by creating a diamond shape with points A, B, C, and D in four places, then draw a diamond shape with extensions by the side.
-
Draw a line to separate the upper part from the rest of the design
-
Arrange the upper part and group them.
-
Now, draw different characters on the homepage.
-
Draw the login boxes and add text.
-
Add texts by the left.
-
Fill the necessary areas with color.
-
Add strokes where applicable.
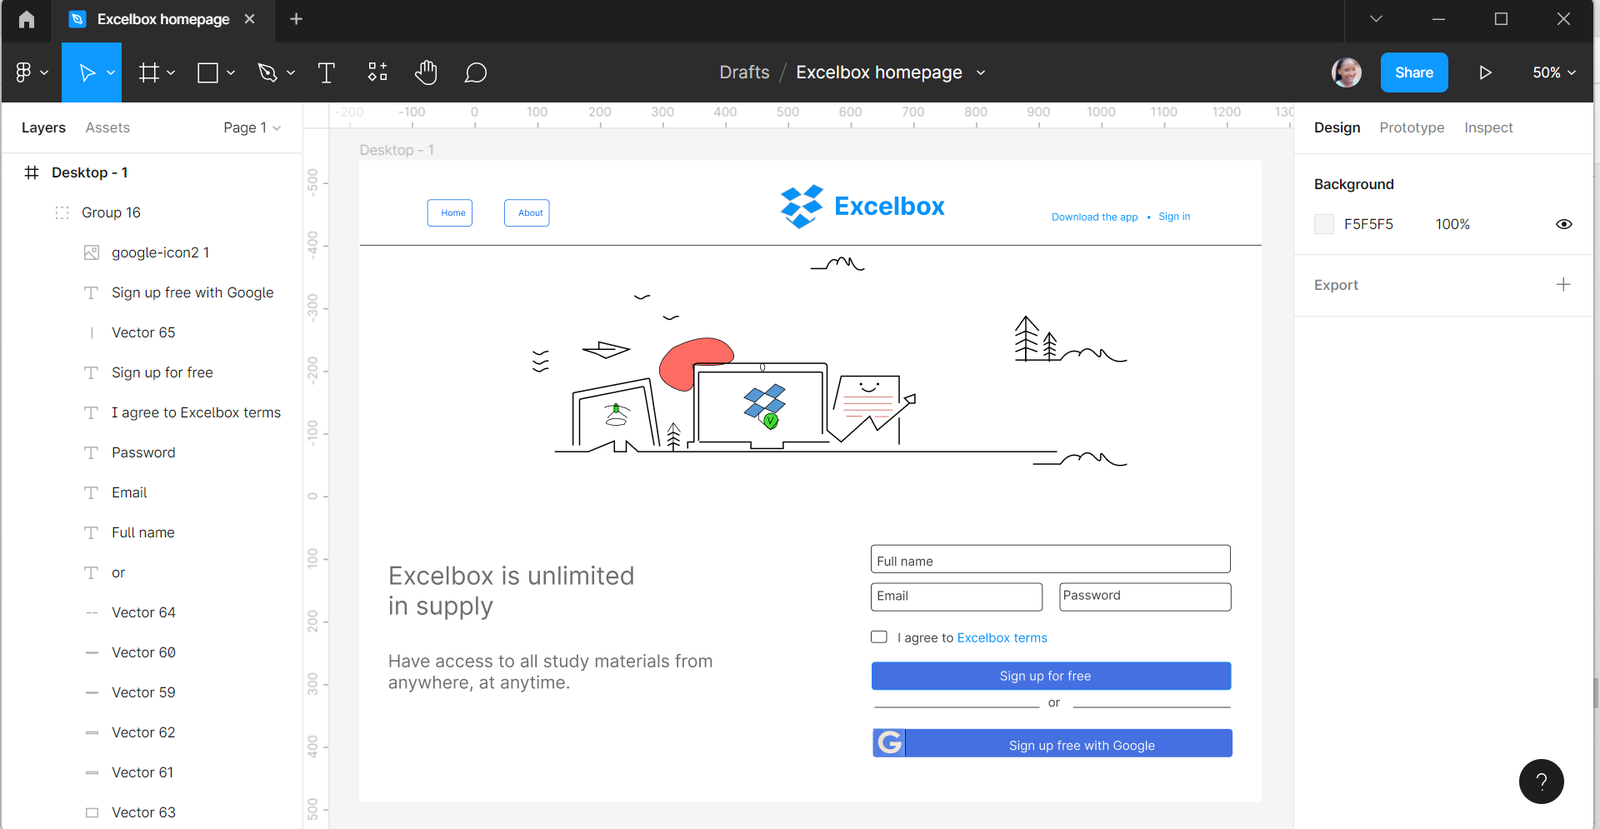
Note that everything was designed with the pen tool except texts and the google icon. This is just a tip of the amazing things you can do with the pen tool.
Adding the design on the HTML page
Website designs on Figma are prototypes and do not work as they do not contain code. As we have designed a website’s homepage, we need the HTML code for it to work. Take these steps to convert your Figma designs to HTML.
-
Login to your Figma account
-
Then, open your design file.
-
Choose the element you want to convert and right-click on it.
-
Now click on Copy/Paste as
-
Then click on Copy as SVG
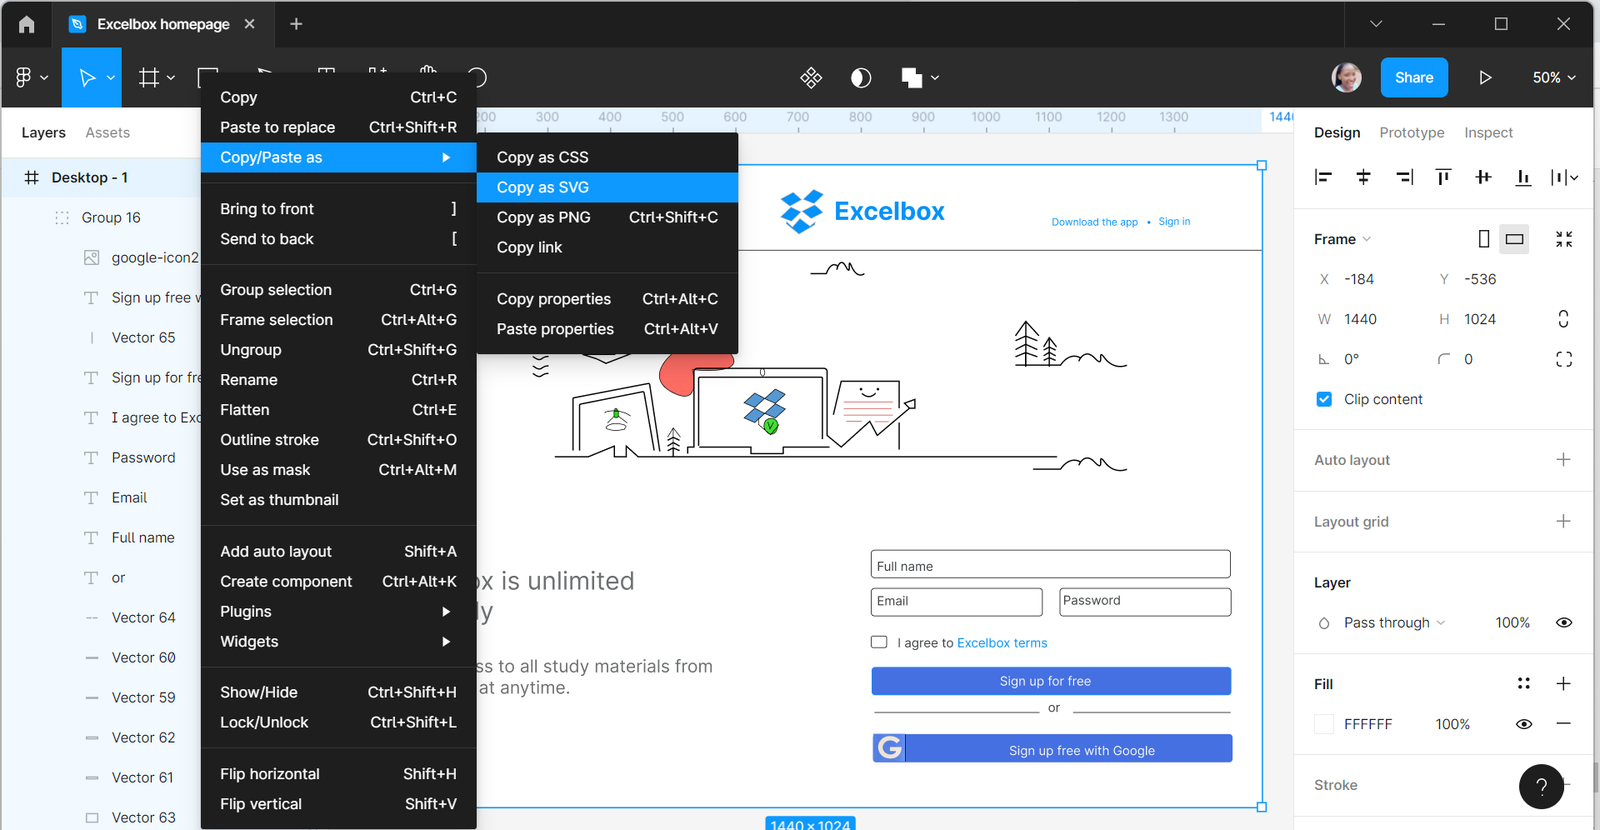
-
The SVG copies
-
You can directly paste the SVG code on your HTML file to view your design.
Conclusion
It is possible to design complex shapes with the help of the pen tool. However, it gets easier when you brainstorm ideas and constantly practice how to create different logos, Icons, and buttons. Play around with the pen tool to have a better understanding! To view my design, check here.
A TIP FROM THE EDITOR: Figma can also be used to plan your whole UI: check out Plan your User Interface with Figma for this!