5 Projects You Need to Build to Get Started with Reactjs

The age-old question of “how do I get started with X?” is not an easy one to answer. Not because there is no information available, but exactly because there is, or rather, there is way too much. So how do you know which one is useful for a novice developer looking to pick up a new framework and which one isn’t?
It’s tough isn’t it? And on top of that, you have tutorials, videos, courses and projects to work on. The term “analysis paralysis” comes to mind for these situations, and I’m sure you’ve been there as well.
The secret to breaking free from that paralysis is to start doing something, it doesn’t matter what, and here you can find a list of 5 interesting projects you can build and learn something from in the process.
1. Build a Twitter sidebar clone
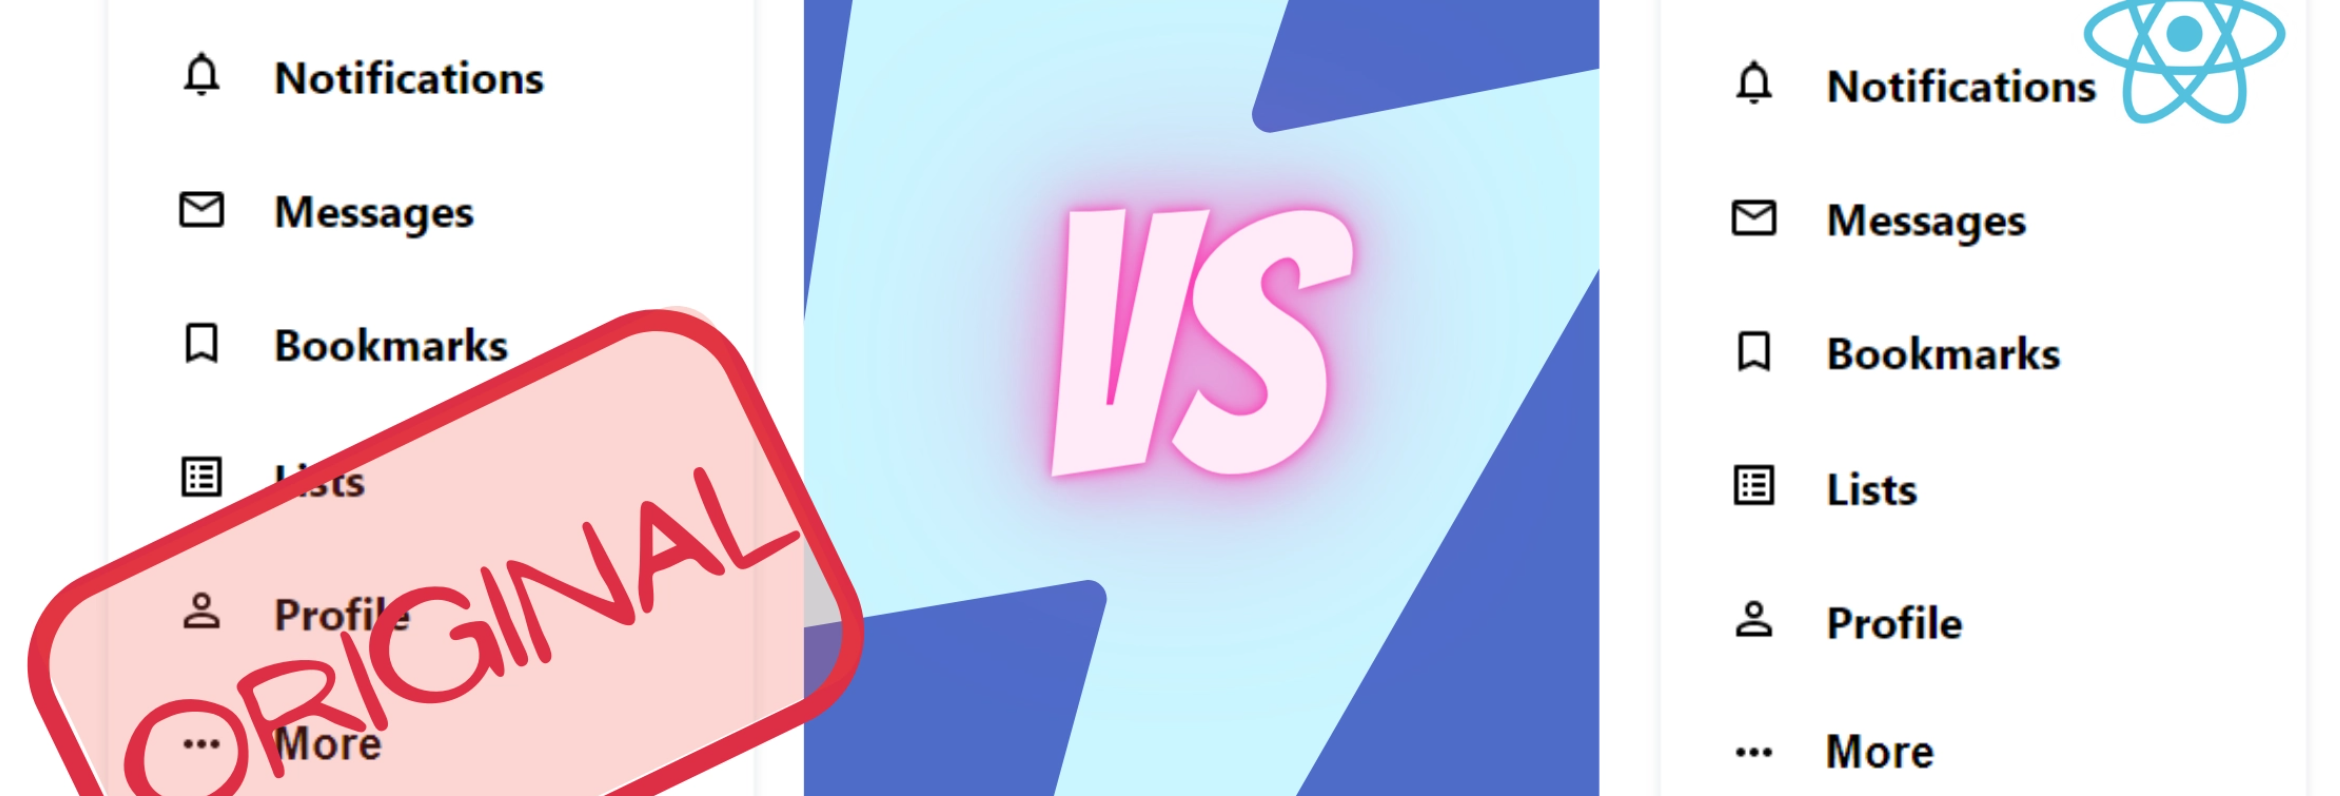
I always say that the best type of projects to build are the ones that have already been done. That way you forget about the pressure of coming up with something new and original, instead you worry about figuring out how to copy something that’s already been done (thus you know it can be done).
In this particular tutorial, you’ll create a clone of Twitter’s sidebar. It’s merely a test project, since you can’t really do anything with it by itself, however, you’ll be able to learn the basics around React without worrying about tasks such as data fetching. Those will come later.
This is a great first tutorial if you’ve only done one or two projects with React, because it’ll cover topics such as:
- Creation of a new React project using
create-react-app - Styling of your components using MaterialUI
- You’ll learn about hooks and how to use them.
- You’ll also learn what Higher Order components are and what you can do with them.
Check it out first, or skip it if these topics are already something you’ve covered.
2. Build a blog
This is one of the classics, next to the To-Do app, the blog is a bit more complex, yes, but it also covers some other interesting activities, such as having multiple sections and having to navigate between them.
In this tutorial, you’ll not only practice that, but you’ll also use the knowledge gained from the previous project about hooks to understand how custom hooks from 3rd party libraries can be used.
In fact, there is a full section about react-router-dom a library that helps you bind the React Router module inside web applications.
As part of this tutorial you’ll work on:
- Cloning and working with an existing project.
- React Router and how to use it to add navigation to your application.
- Using custom hooks from 3rd party libraries.
- Setting up a 404 page and what it means.
This is a great second tutorial because it’s not overly complex and it slowly adds new concepts by showing you some practical examples.
3. Start interacting with 3rd party APIs
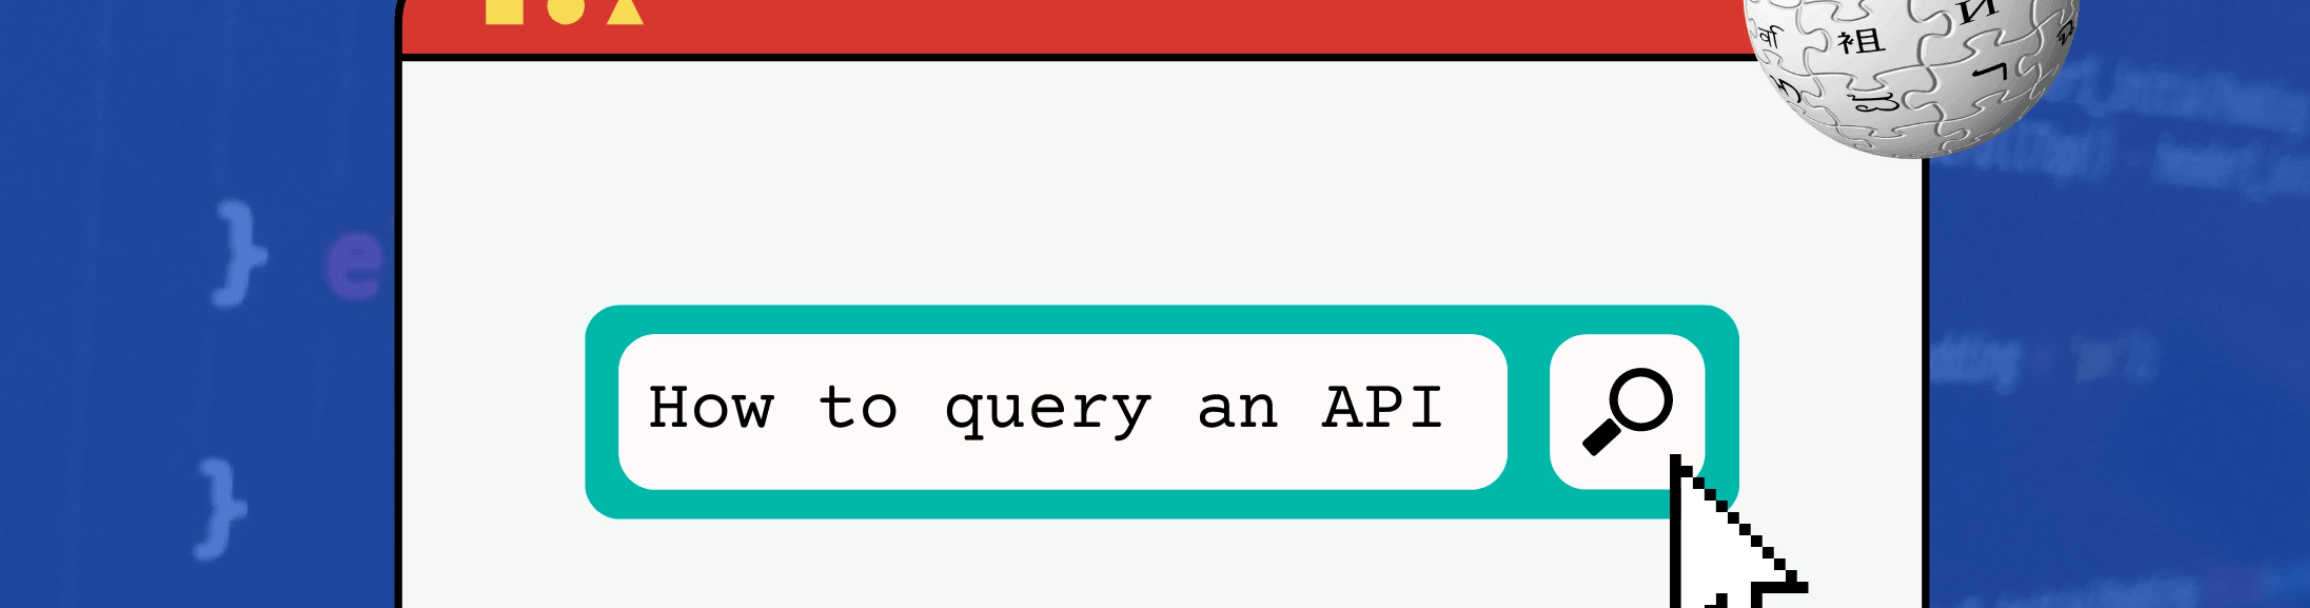
One big topic you’ll have to learn how to work with, is requesting data from 3rd party libraries. It’ll eventually become a common task, something you’ll be doing as an afterthought, but to get there, you have to start somewhere right? This tutorial shows you how to interact with Wikipedia’s public REST API and build a search engine around it.
As part of the concepts you’ll work with, are everything you’ve done so far with the previous 2 plus you’ll start learning about fetch which will become one of the major tools in your React toolbelt.
The concepts you’ll learn and practice by following this tutorial are:
- Making API requests using Fetch.
- Dealing with external results and showing them on your application.
They’re not that many concepts, but they’re a bit advanced, so it’s good to start slowing down at this point and focus on less, but more complex things.
Careful though, do not try to run before you know how to crawl. If you haven’t done much with React before, make sure you try #1 and #2 before this one, since in this tutorial some level of knowledge is expected.
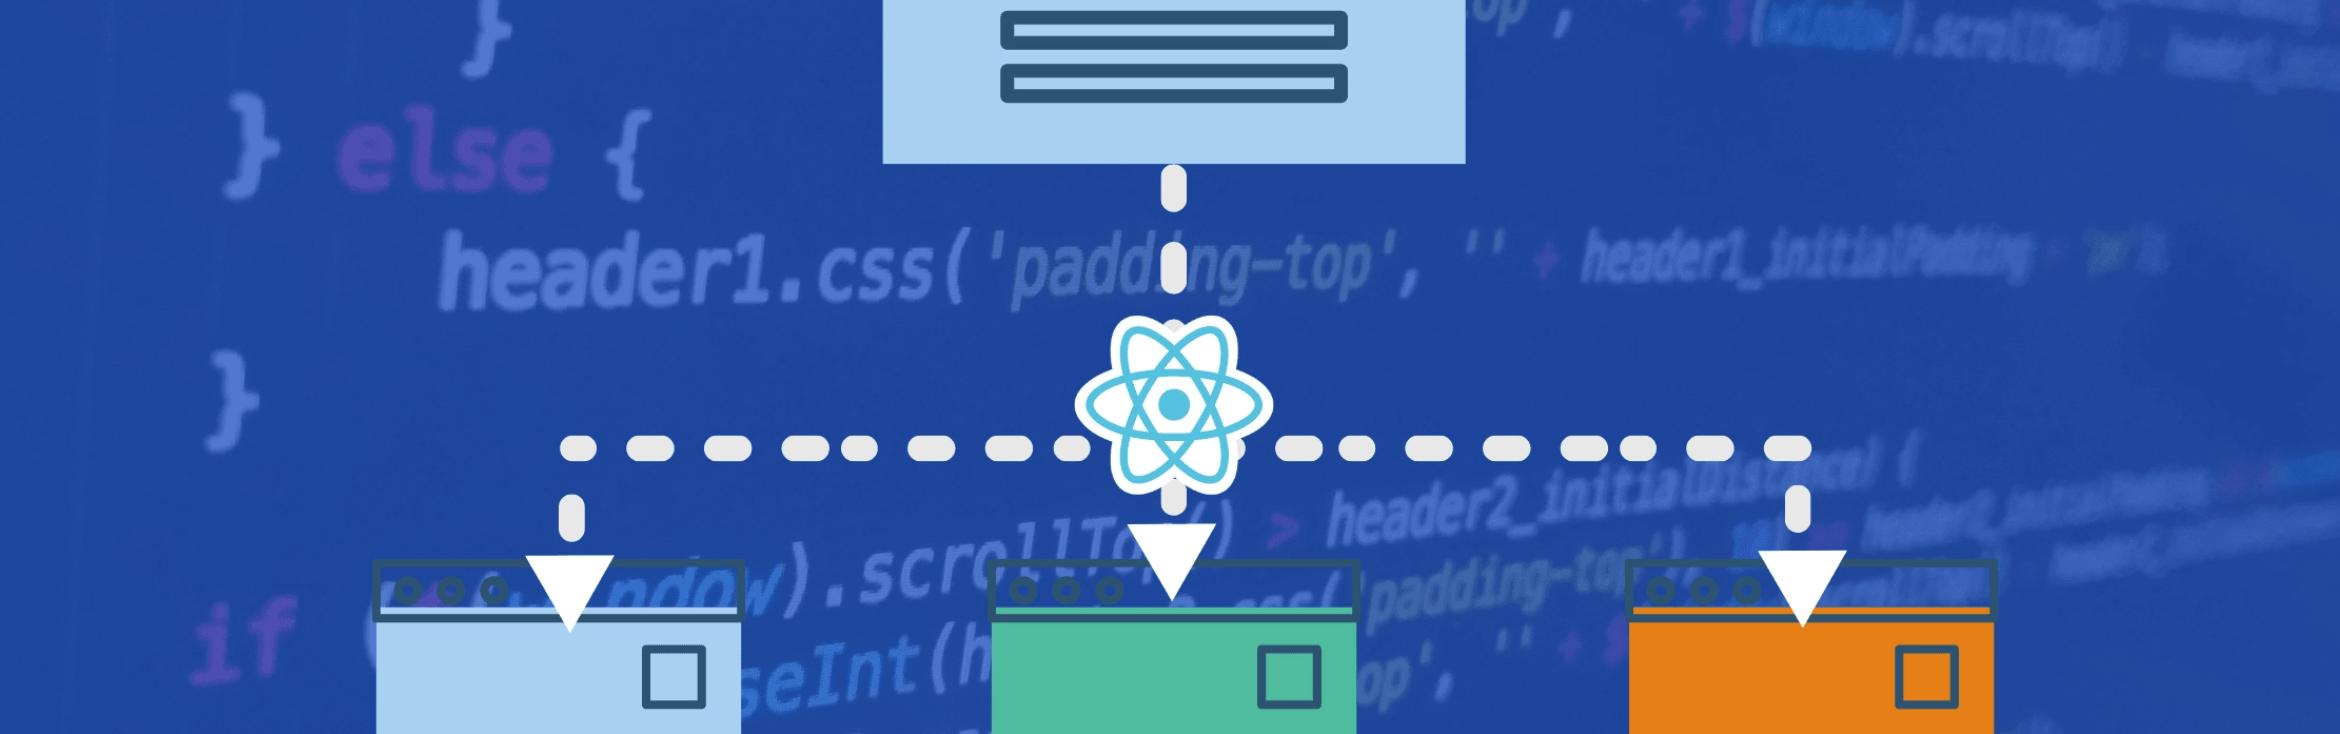
4. Handling your own application state
Continuing with the line of “don’t run before you know how to crawl”, application state is one big topic for React developers. Knowing how to keep state for a component is one thing, but then starting to share that state between multiple ones or even pass it along from parent components to children components is not trivial and can potentially lead to some bad practices.
So in this tutorial, you’ll learn about multiple ways to deal with application state before jumping into a big library such as Redux.
Why you ask? Because these libraries tend to hide some concepts from the user to “simplify” their lives. That’s a nice thought, but if you don’t know about the things they’re hiding from you, you’ll never be able to learn them. That’s the key. Go through this tutorial, and try to use it for your next project. After that you can try and read about Redux, Recoil or any other of the alternatives out there.
Once you finish reading through this tutorial, you’d have read about:
- Memoizing (and you can read further about that topic here)
- Reducers for state management.
- Using context
This is definitely a high-level tutorial and you’ll have multiple questions after reading it. But that’s the whole point! It’ll open up several doors, it’s up to you then to learn more about them.
Open Source Session Replay
OpenReplay is an open-source, session replay suite that lets you see what users do on your web app, helping you troubleshoot issues faster. OpenReplay is self-hosted for full control over your data.

Start enjoying your debugging experience - start using OpenReplay for free.
5. Throwing Next.js into the mix

The final step here, would be to put everything together and include one of the major frameworks used to build React applications: Next.js.
This framework will give you the tools you need to create your application for both, the front-end and the back-end. In this tutorial you’ll be building a Music Entertainment Application. You’ll be using things like:
- Next.js as the main framework.
- Algolia as the main search service.
- Cloud Storage for Firebase.
- Firestore database
You’ll also tackle topics such as external service communication and CSS styling. As the final 5th tutorial, I highly recommend you check out this article to give you everything else you needed to get started.
By the end of this list, you should have a very good basic understanding of how to create Web applications using ReactJS. Not only that, but you would’ve also seen other topics that are not specific for ReactJS, which is a fantastic plus if you ask me. For your next step, try to think of some missing features any of the above tutorials have on their applications and implement them yourself!