How to Add Authentication to an Electron App
Add authentication to an Electron app with OAuth 2.0 PKCE, system browser login, deep links or loopback redirects, and safeStorage token storage.

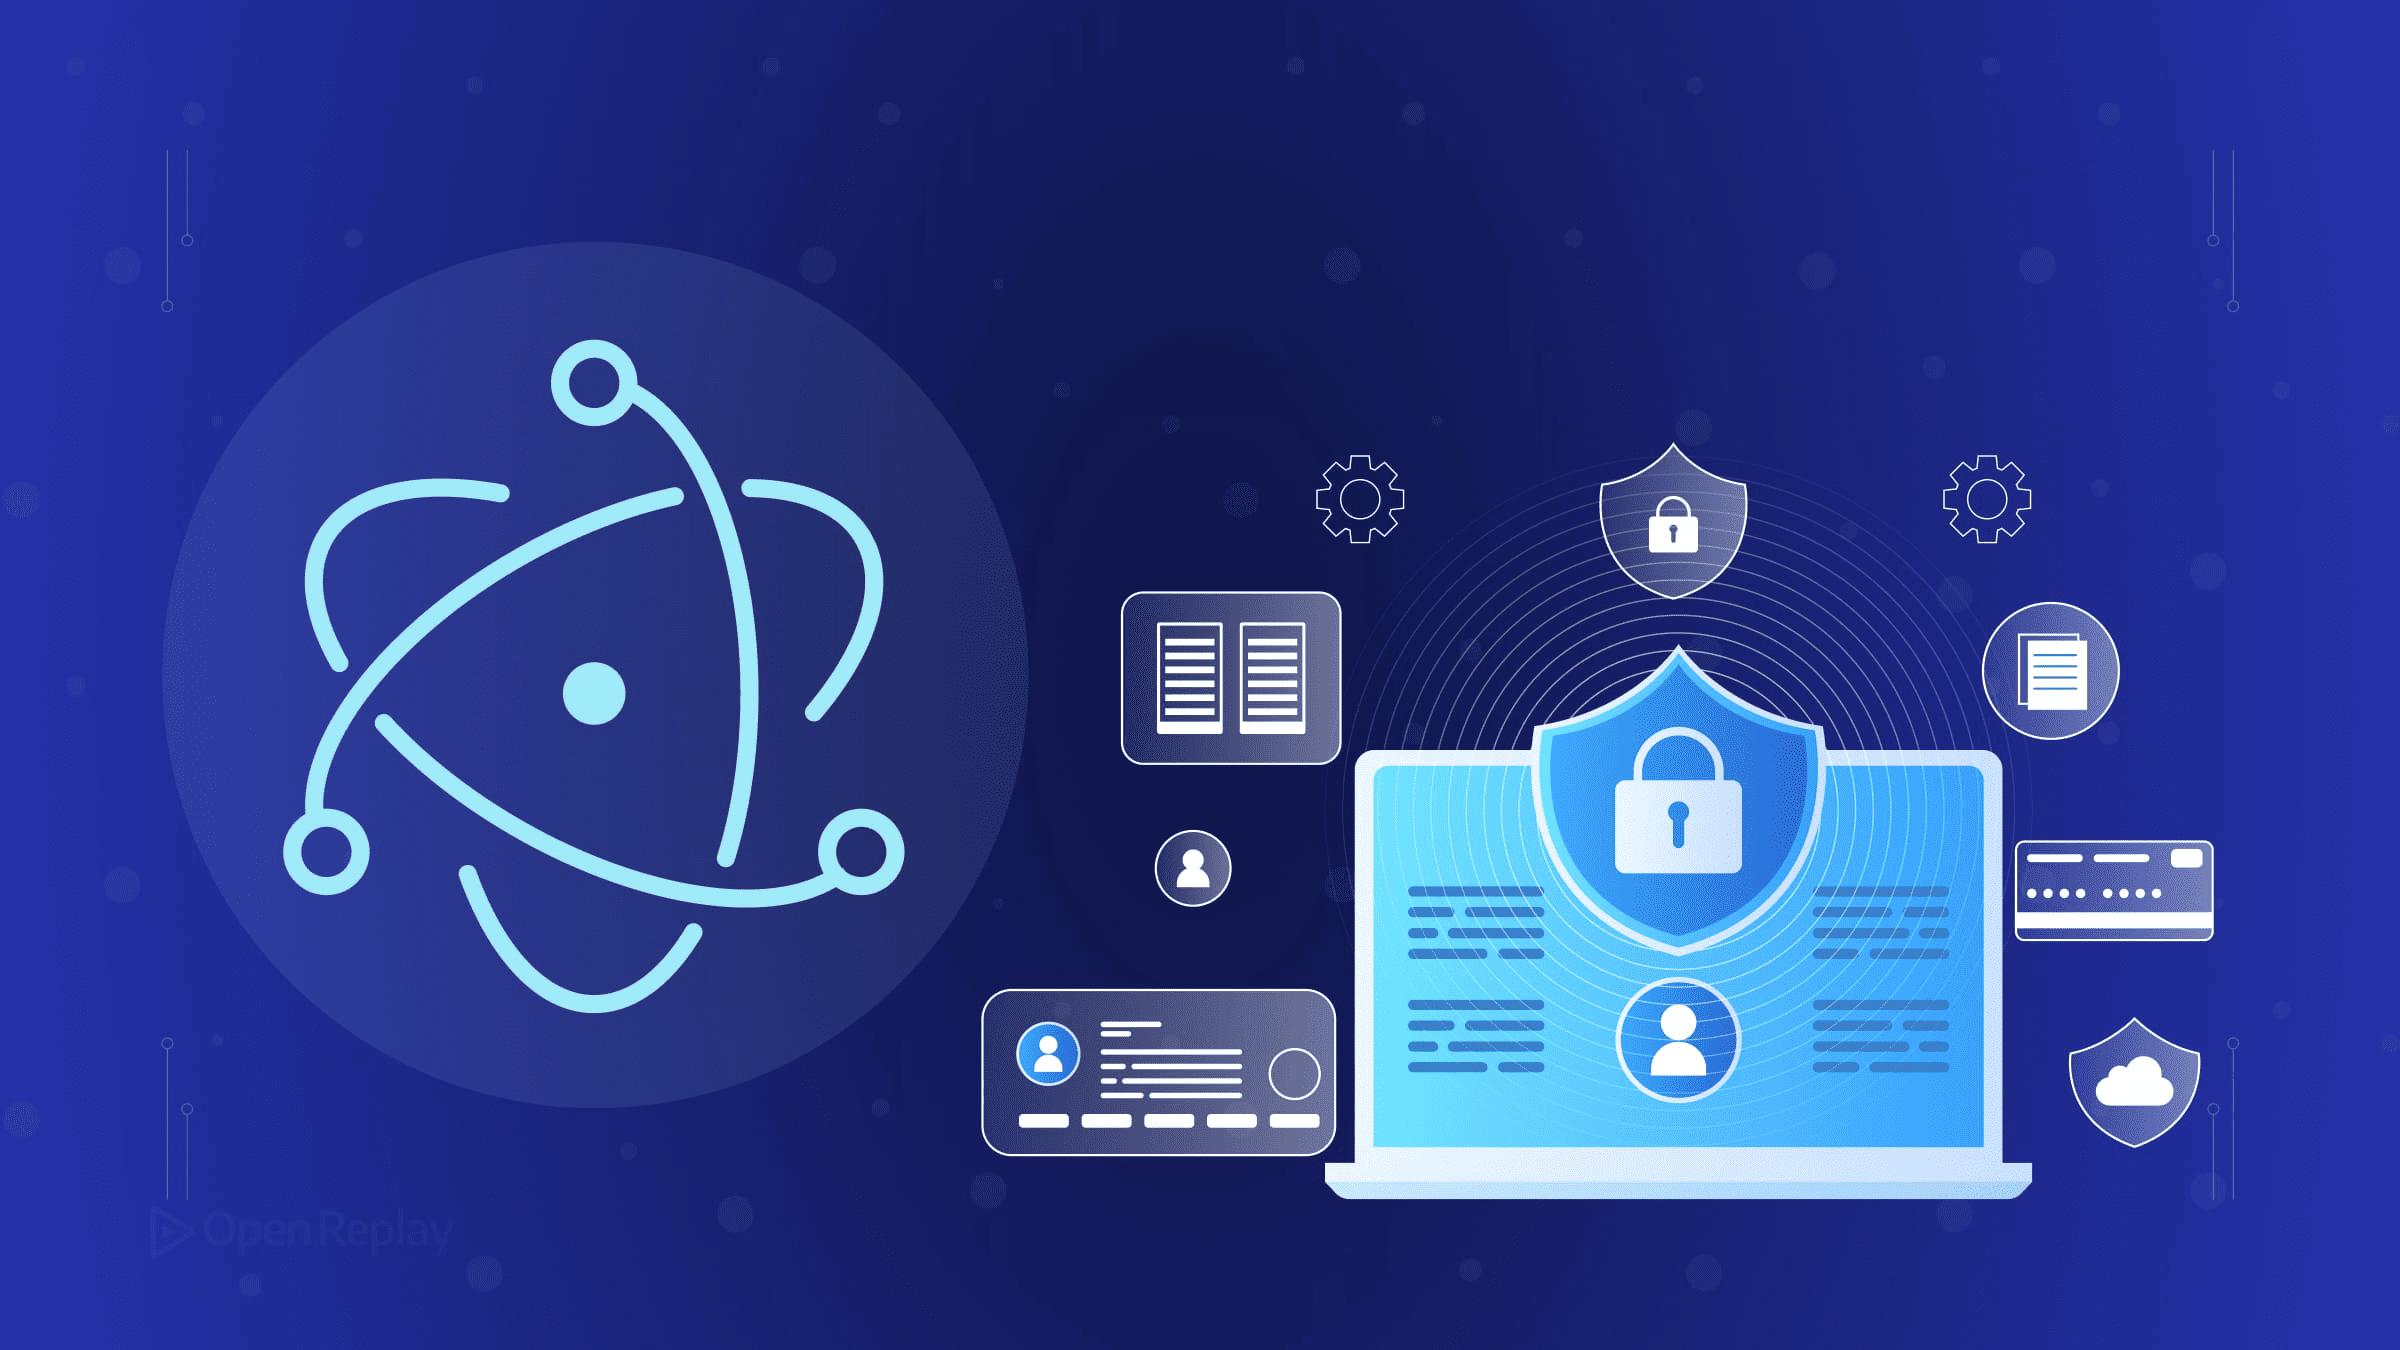
If you’ve searched for how to add authentication to an Electron app, you’ve probably found tutorials that open a BrowserWindow to display a login form, intercept the OAuth callback inside Electron, and store tokens in plain text. That approach is outdated, insecure, and conflicts with how OAuth 2.0 for native apps actually works today.
This article explains the correct architecture: Authorization Code Flow with PKCE, login through the system browser, and a deep link or loopback redirect to return tokens to your app.
Key Takeaways
- Embedded
BrowserWindowlogin flows violate RFC 8252 and expose users to credential interception. Use the system browser instead. - PKCE (Proof Key for Code Exchange) replaces the client secret, which Electron apps cannot store safely.
- Deep linking with a custom URI scheme or a loopback redirect returns the authorization code back to the main process.
- Store refresh tokens with
safeStorage, which leverages OS-level key management (Keychain, DPAPI, libsecret). - Isolate the renderer process with
contextIsolation: trueand expose only narrow IPC methods throughcontextBridge.
Why Electron Auth Is Different from Web Auth
Electron apps run on a user-controlled machine. There is no backend to hide a client secret, and there is no browser sandbox isolating your app from the operating system. This changes the threat model significantly.
RFC 8252, the OAuth 2.0 standard specifically written for native and desktop apps, is explicit: do not use embedded web views for OAuth login flows. An embedded BrowserWindow can silently intercept credentials, and the user has no way to verify they are talking to a legitimate identity provider. Use the system browser instead.
The Correct Architecture: OAuth 2.0 PKCE with Deep Linking
The recommended flow looks like this:
- User clicks “Log In” in your Electron app.
- Your app opens the system browser with an authorization URL.
- The user authenticates with your identity provider (Auth0, Clerk, Firebase Authentication, AWS Cognito, or any OpenID Connect-compatible provider).
- The provider redirects to a custom URI scheme like
myapp://auth/callbackor a loopback address likehttp://127.0.0.1:PORT/callback. - Your Electron main process intercepts that redirect and exchanges the authorization code for tokens.
- Tokens are stored securely using
safeStorage.
Because Electron apps cannot keep a client secret safe, PKCE (Proof Key for Code Exchange) replaces the secret entirely. Before the flow starts, your app generates a random code_verifier, hashes it into a code_challenge, and sends the challenge with the authorization request. When exchanging the code for tokens, you send the original code_verifier. The authorization server verifies they match. No secret ever leaves your app.
Setting Up Deep Linking for the OAuth Callback
Register a custom protocol handler in your main process:
// main.js
const { app } = require('electron');
const path = require('path');

if (process.defaultApp) {
  if (process.argv.length >= 2) {
    app.setAsDefaultProtocolClient('myapp', process.execPath, [
      path.resolve(process.argv[1]),
    ]);
  }
} else {
  app.setAsDefaultProtocolClient('myapp');
}

// macOS: handle the deep link callback
app.on('open-url', (event, callbackUrl) => {
  event.preventDefault();
  handleAuthCallback(callbackUrl); // parse code, exchange for tokens
});

// Windows and Linux: deep links arrive via second-instance
const gotTheLock = app.requestSingleInstanceLock();
if (!gotTheLock) {
  app.quit();
} else {
  app.on('second-instance', (event, argv) => {
    const callbackUrl = argv.find((arg) => arg.startsWith('myapp://'));
    if (callbackUrl) handleAuthCallback(callbackUrl);
  });
}
On Windows and Linux, the second-instance event delivers the deep link as a command-line argument. On macOS, open-url is the correct event. For packaging, configure your protocol in electron-builder:
{
  "protocols": {
    "name": "myapp",
    "schemes": ["myapp"]
  }
}
Note: On macOS and Linux, deep linking generally only works reliably in packaged apps because the protocol handler must be registered with the operating system. Always test deep linking against a packaged build, not just with
electron ..

Discover how at OpenReplay.com.
Storing Tokens Securely with Electron safeStorage
Never store tokens in localStorage, plain files, or electron-store without encryption. Use safeStorage, which encrypts data using OS-level key management (Keychain on macOS, DPAPI on Windows, libsecret on Linux):
const { app, safeStorage } = require('electron');
const fs = require('fs');
const path = require('path');

const TOKEN_PATH = path.join(app.getPath('userData'), 'refresh.enc');

async function saveRefreshToken(token) {
  if (!safeStorage.isEncryptionAvailable()) {
    throw new Error('Encryption is not available on this system');
  }

  const encrypted = await safeStorage.encryptStringAsync(token);
  fs.writeFileSync(TOKEN_PATH, encrypted);
}

async function loadRefreshToken() {
  if (!fs.existsSync(TOKEN_PATH)) return null;

  const encrypted = fs.readFileSync(TOKEN_PATH);
  return await safeStorage.decryptStringAsync(encrypted);
}
Always check safeStorage.isEncryptionAvailable() before encrypting, especially on Linux where the OS keyring may not be configured. On some Linux systems, Electron can fall back to a basic_text backend if no secure keyring is available. You can inspect the active backend with safeStorage.getSelectedStorageBackend() and warn users appropriately.
Keeping the Renderer Process Isolated
Your renderer process should never touch tokens directly. Use contextIsolation, nodeIntegration: false, and expose only what the renderer needs through a narrow contextBridge:
// preload.js
const { contextBridge, ipcRenderer } = require('electron');

contextBridge.exposeInMainWorld('auth', {
  login: () => ipcRenderer.invoke('auth:login'),
  logout: () => ipcRenderer.send('auth:logout'),
  getProfile: () => ipcRenderer.invoke('auth:get-profile'),
});
The main process handles all token operations. The renderer only calls named IPC methods. This limits the blast radius if a renderer is ever compromised by malicious content.
Choosing an Identity Provider
The architecture above works with any OpenID Connect-compatible provider. Popular choices for Electron apps include Auth0, Clerk, Firebase Authentication, and AWS Cognito. Register your app as a Native or Desktop application type in whichever provider you choose, and configure your custom URI scheme as an allowed redirect URI.
The Pattern to Avoid
Many tutorials still show this pattern:
// ❌ Do not do this
const authWindow = new BrowserWindow({ /* ... */ });
authWindow.loadURL(authorizationUrl);
authWindow.webContents.session.webRequest.onBeforeRequest(
  { urls: ['http://localhost/callback*'] },
  ({ url }) => { /* intercept tokens */ }
);
This embeds the login flow inside Electron, which violates RFC 8252 and removes the user’s ability to verify the identity provider. Avoid it regardless of how many tutorials still recommend it.
Conclusion
The right way to add authentication to an Electron app is straightforward: open the system browser, use OAuth 2.0 with PKCE, handle the callback through deep linking or a loopback redirect, and store tokens with safeStorage. Keep the renderer process isolated from all token logic. This architecture is what RFC 8252 recommends, and it is what modern providers like Auth0 and Clerk expect when you register a native application.
FAQs
Can I use a loopback redirect instead of a custom URI scheme?
Yes. A loopback redirect uses a local HTTP server on 127.0.0.1 with a random port to receive the OAuth callback. It avoids OS-level protocol registration and works well during development. The trade-off is that you must start and stop the server for each login, and some providers require explicit configuration of loopback URIs in their dashboard.
Do I still need PKCE if my identity provider gives me a client secret?
Yes. Even if your provider issues a client secret, you should not embed it in an Electron binary because users can extract it. PKCE protects the authorization code exchange regardless of whether a secret exists. Register your application as a native or public client so PKCE is required and the secret is not expected.
How should I refresh access tokens in an Electron app?
Store only the refresh token with safeStorage. When the access token expires, the main process sends the refresh token to the provider's token endpoint and receives a new access token. Keep access tokens in memory in the main process, never in the renderer. If the refresh token is revoked or expired, prompt the user to log in again through the system browser.
Why does deep linking fail when I run my app with electron .
Custom protocol handlers must be registered with the operating system, and that registration usually happens when the app is installed or packaged. Running electron . launches the Electron binary directly, so the OS does not know your app handles the myapp:// scheme. Always test deep linking against a packaged build produced by electron-builder or a similar tool.
Gain Debugging Superpowers
Unleash the power of session replay to reproduce bugs, track slowdowns and uncover frustrations in your app. Get complete visibility into your frontend with OpenReplay — the most advanced open-source session replay tool for developers.
Star on GitHub12k