Build a CRUD app with React and Firebase
Create a complete app, front- and back-end, with React and Firebase


Sometimes, it is hard for front-end developers to create a project as APIs are needed to be consumed. As front-end developers, they shouldn’t be worrying about creating their back-end. This is where Firebase comes in; it allows people to easily create APIs or back end.
Firebase version 9 SDK initiates an API surface that follows a modular approach. This leaves us in the chain of studying how to execute CRUD operations in our database. In this article, we will build a to-do app with Firebase that will be able to read, edit, and delete Todos.
Application Demo
Create, Read, Update, and Delete is referred to as CRUD. Pages and endpoints are the typical building blocks of CRUD applications. Most internet-deployed programs are at least partially CRUD programs, and many are CRUD programs solely.
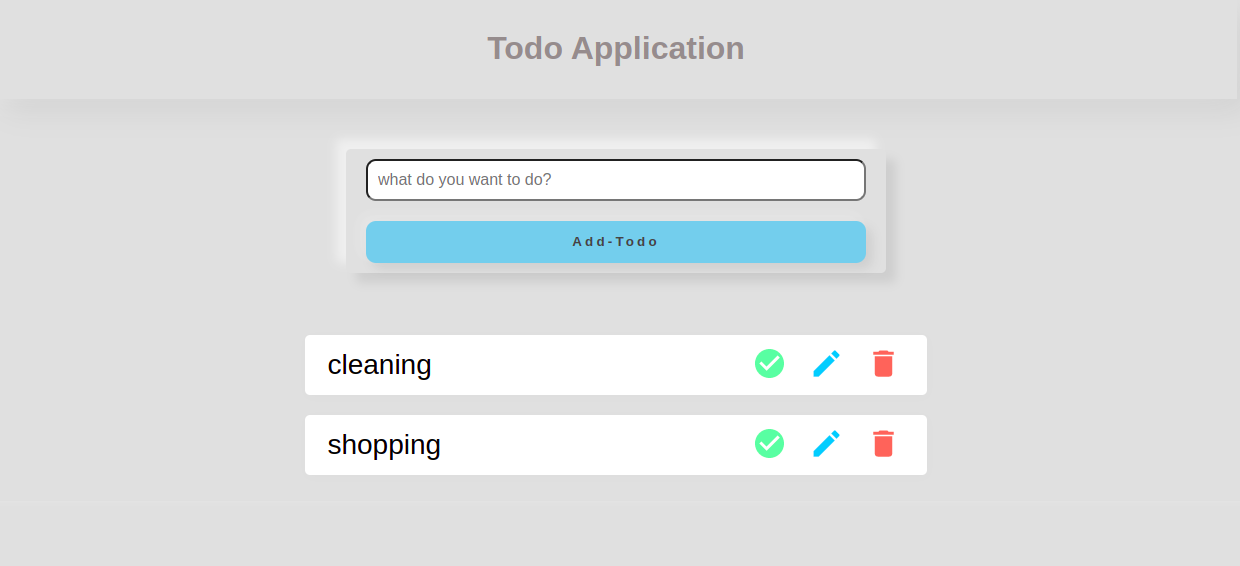
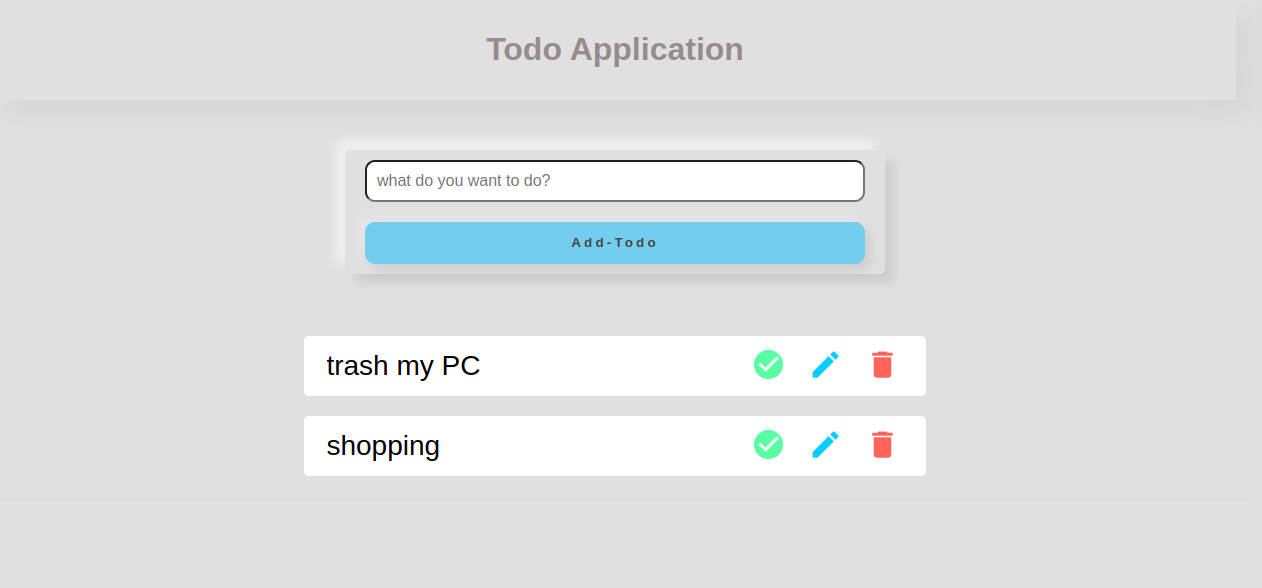
At the end of this tutorial, our application should resemble the gif below:
In the course of this tutorial, you will be able to execute CRUD operations, such as:
- Create:
- To perform a Create operation, i.e., to add a todo to the listing, you click on the “Add-Todo” button.
- Once you click on the Add-Todo button you have successfully created a Todo
- Read:
- The onSnapshot() function enables you to listen to a document from the database.
- Update:
- To Update a todo, i.e., to edit or complete an already created todo. You have to click the Edit and complete icon.
- Delete:
- To Delete a todo, click on the bin icon on the right side of the pencil icon.
Setting Up The Project
The steps below are straightforward; feel free to follow them:
- Go to the Firebase console
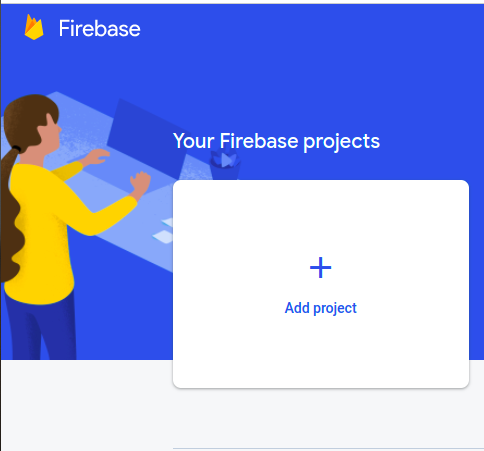
- Click Add Project:
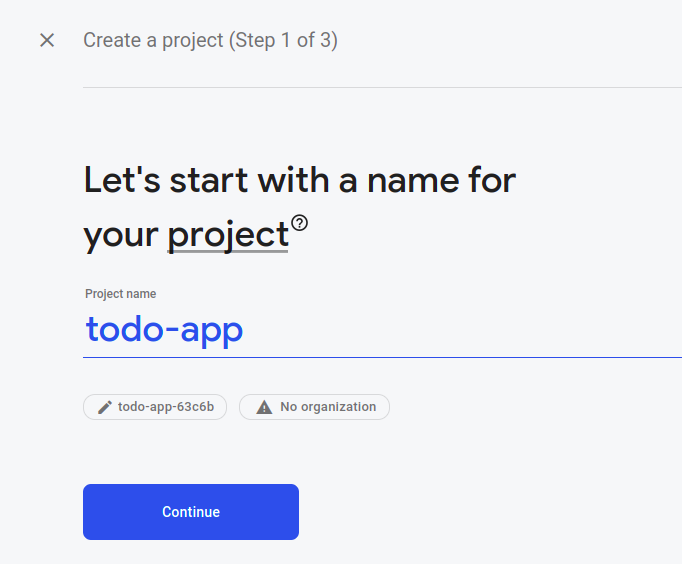
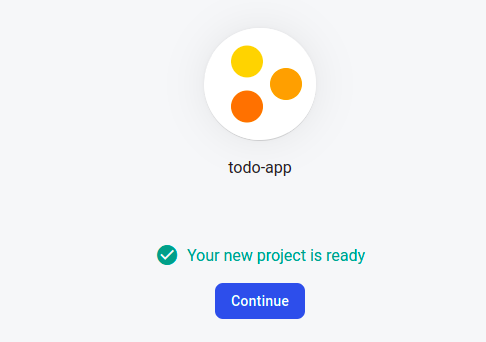
- Give your project a name and click continue:
- You can choose to use Google Analytics or not; I choose not to. Your project will be generated, which will take some time. Then click continue.
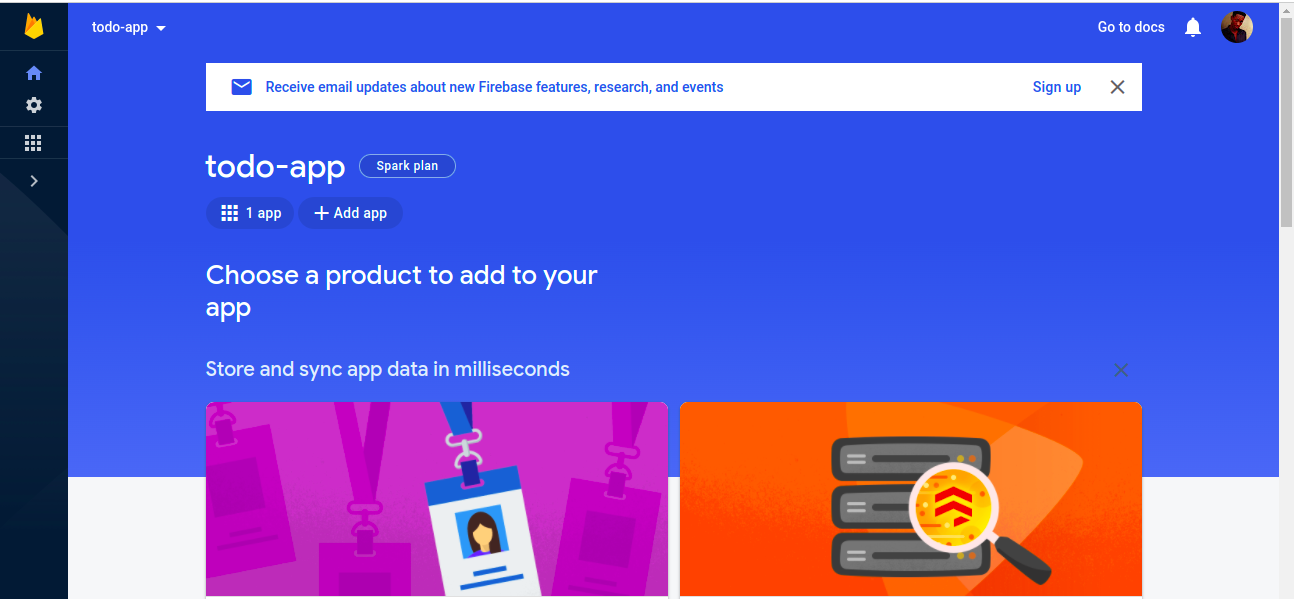
- The dashboard below pops up once project creation is done.
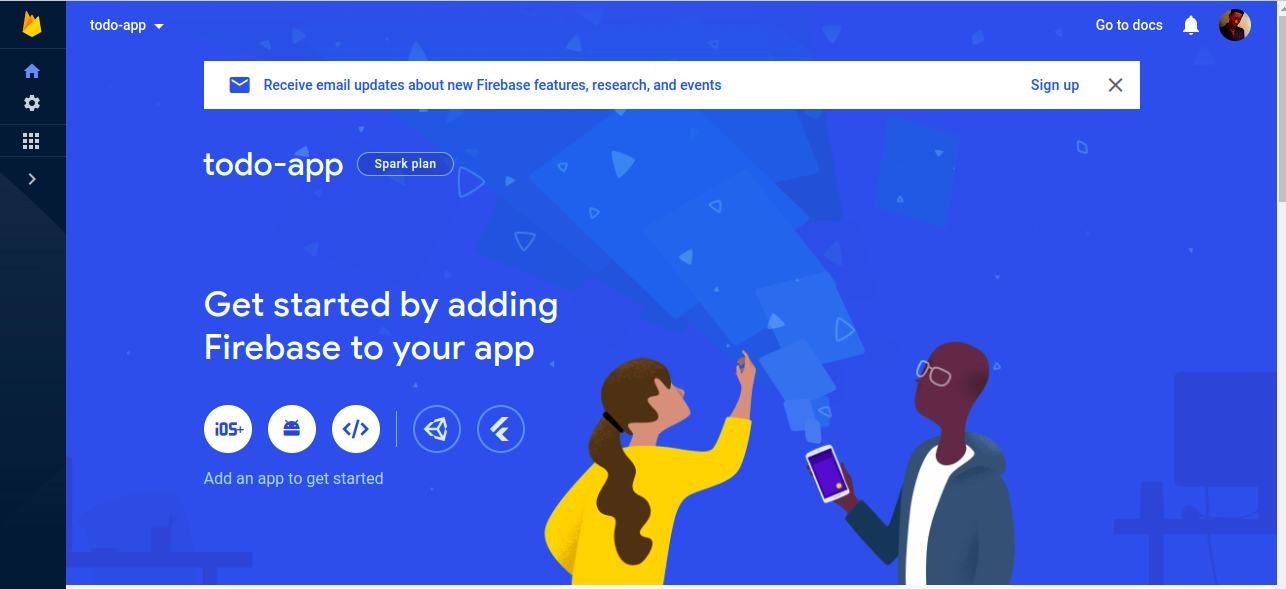
- Click on the web app icon.

- After naming the web application, click the register app button below to access Firebase.
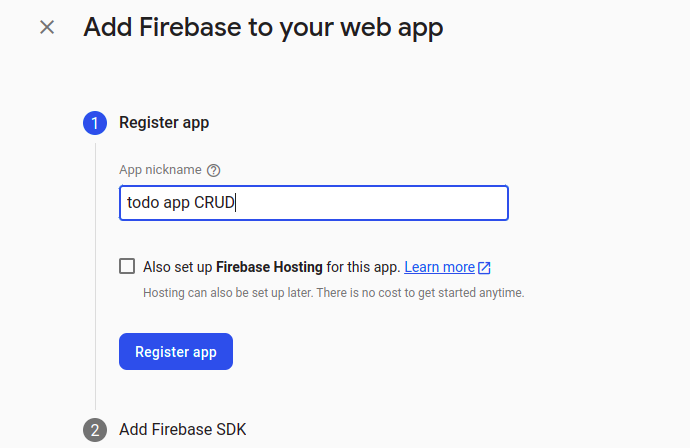
- Afterwards, click continue to console.
- The dashboard pops up. Go to the project settings:

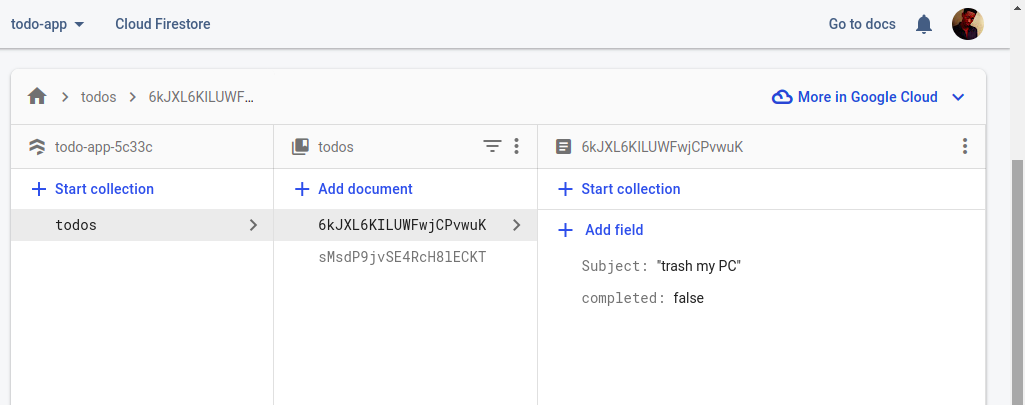
- In the General tab, click on config and copy the Firebase config; it will be used to communicate to Firebase. Go to the Firestore database section, click Create Database, then this pop-up will show up:
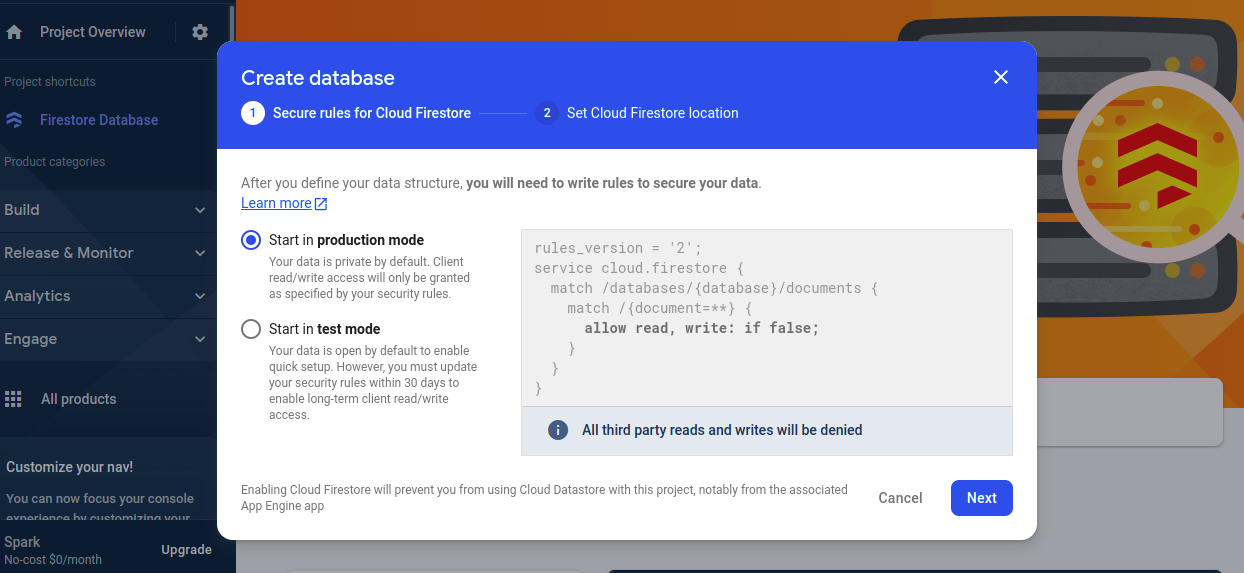
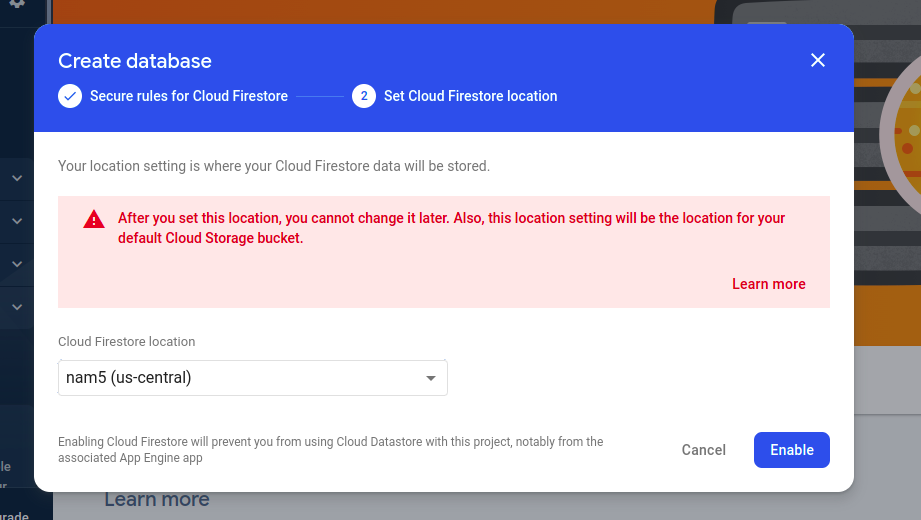
- Click Next, choose the database location, and click enable.
- Once created, you should see this type of dashboard:
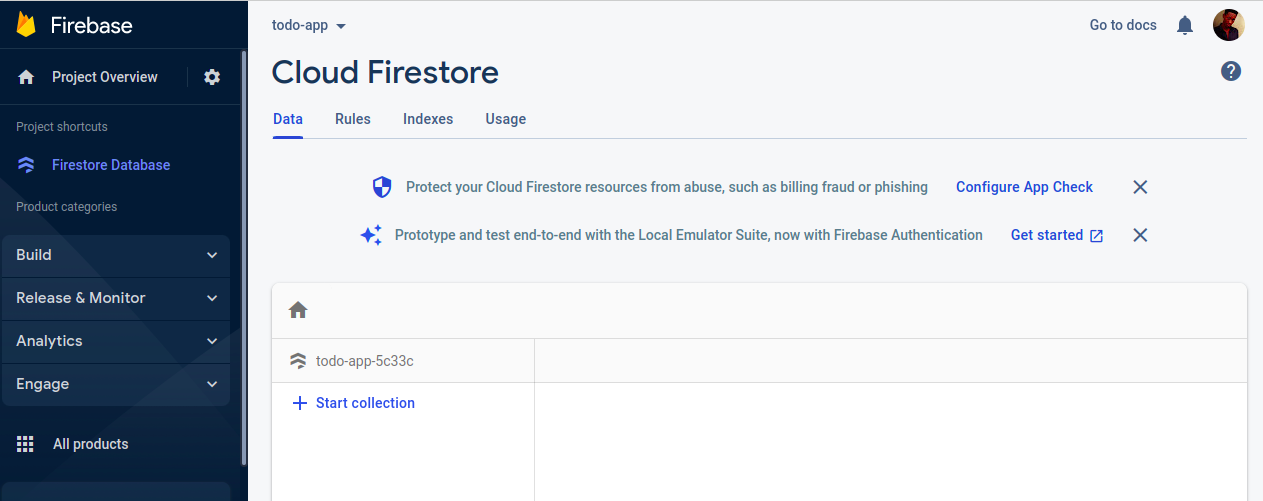
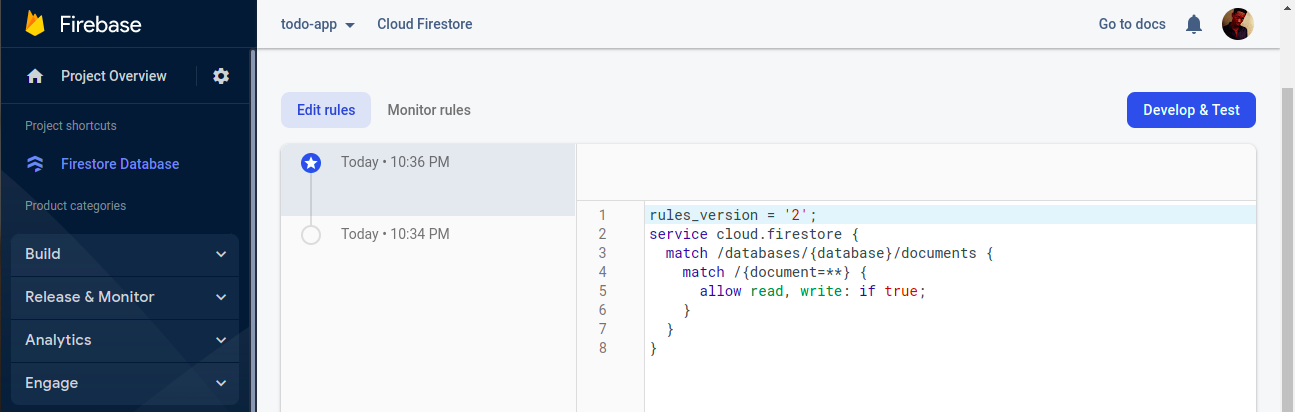
- Go to the rules and change false to true, then publish.
If the stages above are difficult to understand, you can use this for clarification.
Go to your text editor, Vs-code, or whatever, open your terminal, and enter these commands to install the needed tools for development:
npx create-react-app todo-app
cd todo-app
npm install @mui/icons-material
npm install @emotion/styled
npm install @emotion/react
npm i firebase@9.8.4
npm start
Session Replay for Developers
Uncover frustrations, understand bugs and fix slowdowns like never before with OpenReplay — an open-source session replay tool for developers. Self-host it in minutes, and have complete control over your customer data. Check our GitHub repo and join the thousands of developers in our community.
Firebase Integration
Create a new file in the source folder named Firebase.js, and let us code:
First, import dependencies from Firebase/APP and Firebase/firestore like this;
import { initializeApp } from "firebase/app"
import { getFirestore } from "firebase/firestore"
Now place the Firebase config, which was previously copied. After that, initialize Firebase using initialize app function and Firebase config as the parameter. Then, initialize Firestore using the getFirestore function and the app variable as the parameter. Lastly, export db so it can be accessed in other files;
const app = initializeApp(firebaseConfig)
const db = getFirestore(app)

export {db}
Create a new folder called Components and create a file called TodoSubject.js. This file will be used to display the name of our application. First, import React. You should have something like this:
    import React from 'react';

    function TodoSubject(props) {
        return (
            <div className='Subject'>
                <h1>Todo Application</h1>
            </div>
        );
    }
    export default TodoSubject;
After styling, you should have this:
Create
By creating a to-do, we will have a component in the folder named Createtodo.js. Inside this component, import React, and {db} from Firebase.js,
import {db} from './firebase';
import {collection, addDoc} from 'firebase/firestore';
We imported {db} above which is a Firestore instance, and addDoc() method which takes two arguments: collection()
and data{}. Collection() is used to pass database and collection name references as arguments. While data {} is used for the data we want to add to a collection as one of its documents.
After the imports, create a state named Subject(i.e., the todos to be added). Our component should look like this:
import React, {useState} from 'react';
import {db} from './firebase';
import {collection, addDoc} from 'firebase/firestore';

function CreateTodo(props) {
const [Subject, setSubject]=useState("");

    return (
        <div>

        </div>
    );
}
export default UpdateTodo;
Here, we will use the imported function to create the functionality of adding new Todo’s to Firebase. An asynchronous function was created to add a new document to a todos collection using addDoc.
import React, { useState } from 'react';
import { db } from './firebase';
import { collection, addDoc } from 'firebase/firestore';
function CreateTodo(props) {
const [Subject, setSubject] = useState("");
const handleSubmit = (e) => {
e.preventDefault();
if (Subject !== "") {
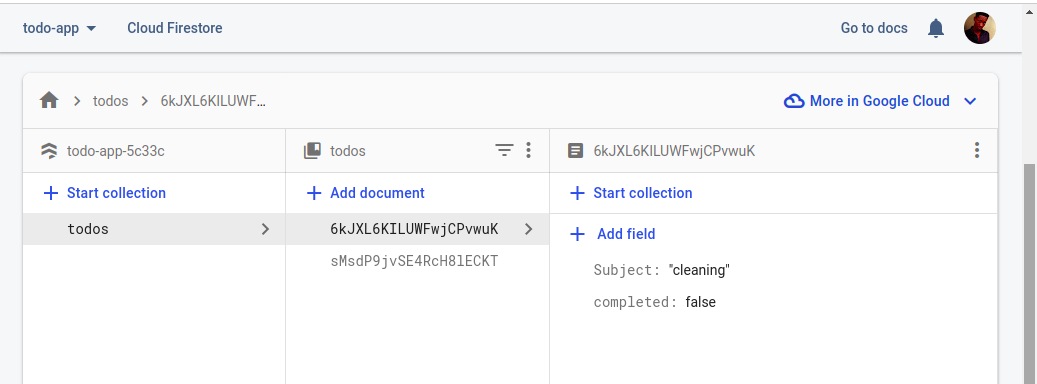
await addDoc(collection(db, "todos"), {
Subject,
completed: false,
});
setSubject("");
}
}
return (
<form onSubmit={handleSubmit}>
<div className="input-container">
<input type="text"
placeholder='what do you want to do?'
value={Subject}
onChange={(e) => setSubject(e.target.value)}
/>
</div>
<div className="btn-container">
<button>Add-Todo</button>
</div>
</form>
);
}
export default UpdateTodo;Code-explanation: In our async function, we had event as an argument. We used e.preventDefault to prevent the page from reloading, then addDoc() was used to store data in Firebase. We created an input field for the inputs; the input field’s value is the Subject state, which enables us to store it in the database.
After completing the component, you can import it in App.js and try adding a todo:
Read, Update, and Delete Data
Now let’s create a component named Todo.js. This component will be used to display, edit and delete todos:
import React, { useState } from "react";
import CheckCircleIcon from "@mui/icons-material/CheckCircle";
import EditIcon from "@mui/icons-material/Edit";
import DeleteIcon from "@mui/icons-material/Delete";
export default function Todo({
  todo,
  toggleComplete,
  handleDelete,
  handleEdit,
}) {
  const [newTitle, setNewTitle] = useState(todo.Subject);

  const handleChange = (e) => {
    e.preventDefault();
    if (todo.complete === true) {
      setNewTitle(todo.Subject);
    } else {
      todo.Subject = "";
      setNewTitle(e.target.value);
    }
  };
  return (
    <div className="todo">
      <input
        style={{ textDecoration: todo.completed && "line-through" }}
        type="text"
        value={todo.Subject === "" ? newTitle : todo.Subject}
        className="list"
        onChange={handleChange}
      />
      <div>
        <button
          className="button-complete"
          onClick={() => toggleComplete(todo)}
        >
          <CheckCircleIcon id="i" />
        </button>
        <button
          className="button-edit"
          onClick={() => handleEdit(todo, newTitle)}
        >
          <EditIcon id="i" />
        </button>
        <button className="button-delete" onClick={() => handleDelete(todo.id)}>
          <DeleteIcon id="i" />
        </button>
      </div>
    </div>
  );
}
Code explanation: After importing React, we gave this component its props. These props will be created in our main app.js component later. We have built a title state that will be used to store the to-do title. Afterward, we have our onChange function and our styles below.
style={{ textDecoration: todo.completed && "line-through" }}
this line indicates that a strike-through text effect will appear once the task is finished.


value={todo.Subject === "" ? newTitle : todo.Subject}
this line states that a new title will appear if the to-do title is empty.


    <button className="button-complete" onClick={() => toggleComplete(todo)}>
    <CheckCircleIcon id="i" />
  </button>
Toggle complete will change false to true and vice versa.
<button className="button-edit" onClick={() => handleEdit(todo, newTitle)}>
  <EditIcon id="i" />
</button>
<button className="button-delete" onClick={() => handleDelete(todo.id)}>
  <DeleteIcon id="i" />
</button>
The handle edit and delete button function will be written in our main app.js component.
Read
Inside the App.js component, we will perform our READ operation. To read data, we need Firebase packages imported. They are listed below alongside the todo component.
import Todo from './Component/Todo';
import {
  collection,
  query,
  onSnapshot,
  doc,
  updateDoc,
  deleteDoc,
} from "firebase/firestore";
import {db} from './Firebase';
Todos obtained from the database will be stored in a state that will be created. Under the imports, insert the following line of code:
const [todos, setTodos] = React.useState([]);Add a useEffect now, and when the component is mounted, it will call the onSnapshot function. Declare a temporary array to hold each to-do item. Push each item into a temporary array. Then, update the to-do state.
The onSnapshot method allows you to listen to a document. The current contents of the single document are immediately captured in a document snapshot created by an initial call using the callback you supply. Then, another function refreshes the document snapshot each time the content changes.
React.useEffect(() => {
  const q = query(collection(db, "todos"));
  const unsub = onSnapshot(q, (querySnapshot) => {
    let todosArray = [];
    querySnapshot.forEach((doc) => {
      todosArray.push({ ...doc.data(), id: doc.id });
    });
    setTodos(todosArray);
  });
  return () => unsub();
}, []);
In the code above, the querySnapshot mapped and saved in the todos state is returned by the onSnapshot method after the query was supplied to it.
A new function named query is exposed in Firebase version 9 and allows users to select which documents they want to get from a collection or collection group.
Update
Todo’s can be updated in our app in two different ways. One is by changing the todo’s name or description, and the other is by clicking the check icon next to a todo that denotes completion.
The updateDoc function from Firestore will be used in this case. With the help of this function, we can edit a few fields in a document without replacing the entire thing. It accepts two arguments: the first is a reference to the document being updated, and the second is a list of the document fields that need to be modified.
const handleEdit = async (todo, Subject) => {
  await updateDoc(doc(db, "todos", todo.id), { Subject: Subject });
};
const toggleComplete = async (todo) => {
  await updateDoc(doc(db, "todos", todo.id), { completed: !todo.completed });
};
The handle edit function will update the todo using the updateDoc function, while the toggle complete function will update if the todo is completed or not. Since the props are now created, we can pass them to the Todo component.
<Todo
  toggleComplete={toggleComplete}
  handleEdit={handleEdit}
/>
If we click on the edit icon, we will be able to edit todos in the database, and for the complete icon, when it is clicked a strike-through effect goes over the todo’s, and data in Firebase changes from false to true.
Delete
We’ll utilize the deleteDoc function, which is relatively straightforward to use to perform the delete action. All we need to do to make this function work; is supply a reference to the document we wish to delete and pass it as props to the Todo component.
const handleDelete = async (id) => {
  await deleteDoc(doc(db, "todos", id)); }
Passing this as props:
<Todo
  handleDelete={handleDelete}
/>
When you click the todo delete button in our app, it gets deleted from the Firestore. We have now completed the CRUD application and everything ought to operate flawlessly.
Conclusion
In this tutorial, we learned how to use Firebase V9 and React to perform CRUD operations. Firebase Hosting is compatible with all Firebase services out of the box, including Cloud Functions, Authentication, Realtime Database, Cloud Firestore, and Cloud Messaging. Utilizing these additional Firebase capabilities, you may create robust microservices and web applications.
A TIP FROM THE EDITOR: For more on Firebase, do not miss our Firebase Cloud Storage For React Apps article.
Gain Debugging Superpowers
Unleash the power of session replay to reproduce bugs and track user frustrations. Get complete visibility into your frontend with OpenReplay, the most advanced open-source session replay tool for developers.