Build Skeleton Screen Animations with CSS


Recently, the web underwent advantageous changes for both users and developers. User experience is a broad topic that goes beyond current measures because new strategies for improving user experiences continue to develop.
One element of user experience improvement is skeleton displays. This tutorial explains what skeleton loaders are, why they’re important, and how to make one for your website using React and basic CSS.
Skeleton displays are one component of UX improvement. The purpose of skeleton loaders, their significance, and how to create one for your website using React and basic CSS are all covered in this post.
What is a Skeleton Screen?
While data is being loaded, a website’s design is simulated by an animated placeholder known as a “skeleton screen.” Additionally, and more importantly, they let the user know whether an image, text, card, or other information is loading while also letting them know that some content is loading.
This gives the user the impression that the page is loading more rapidly since they know the type of content loading before it manifests. We’re referring to perceived performance here.
Here are some illustrations of skeleton displays from Youtube and Facebook:
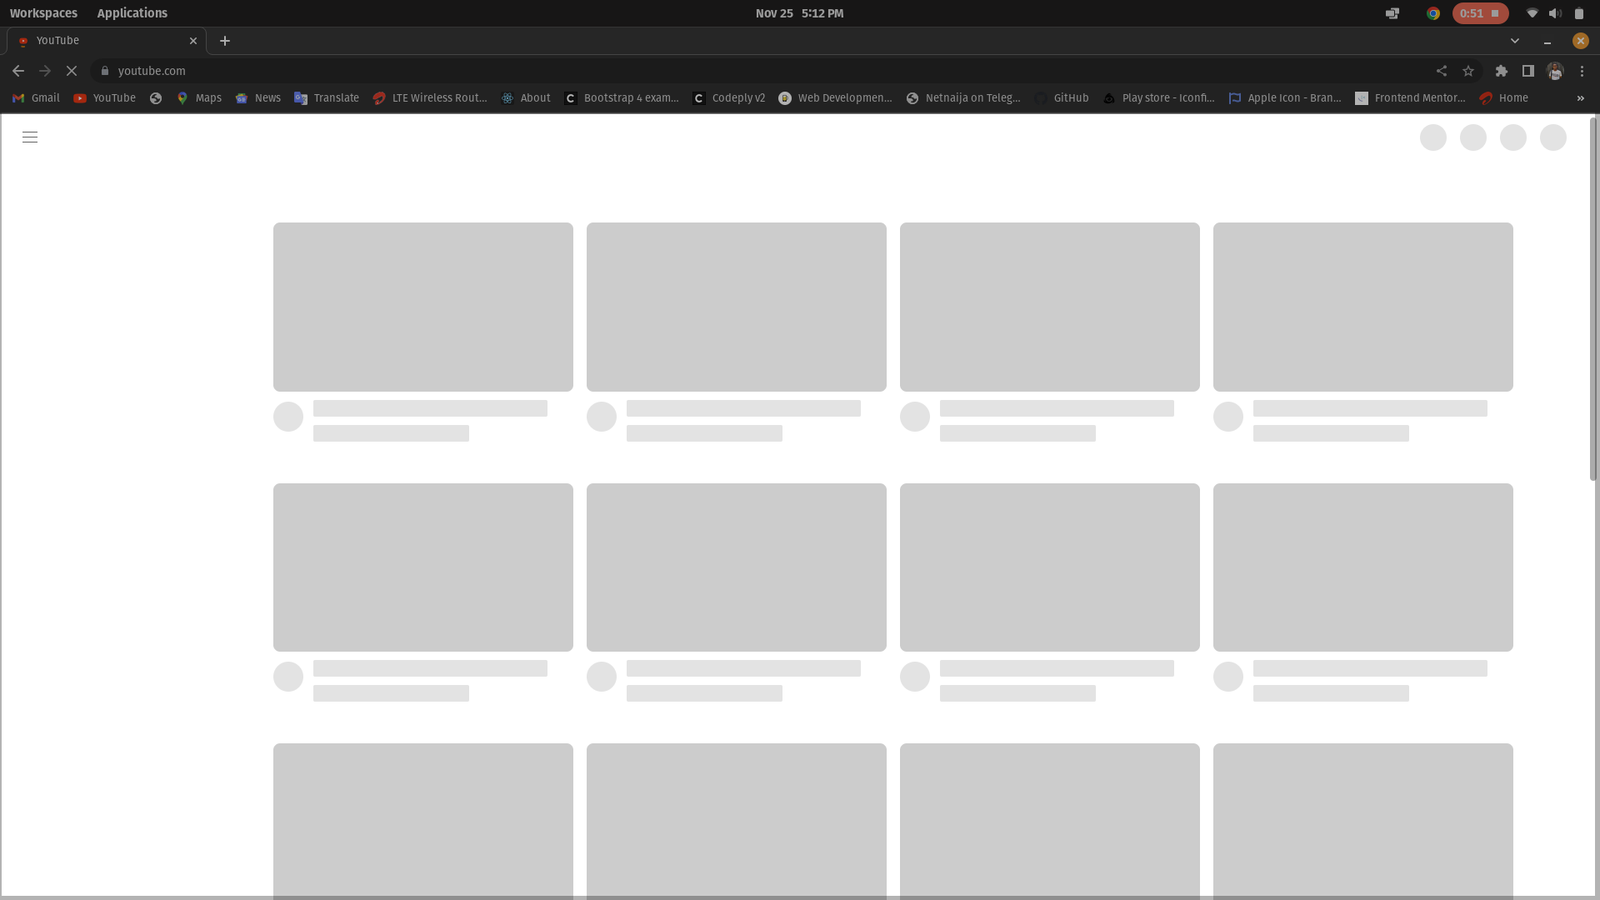
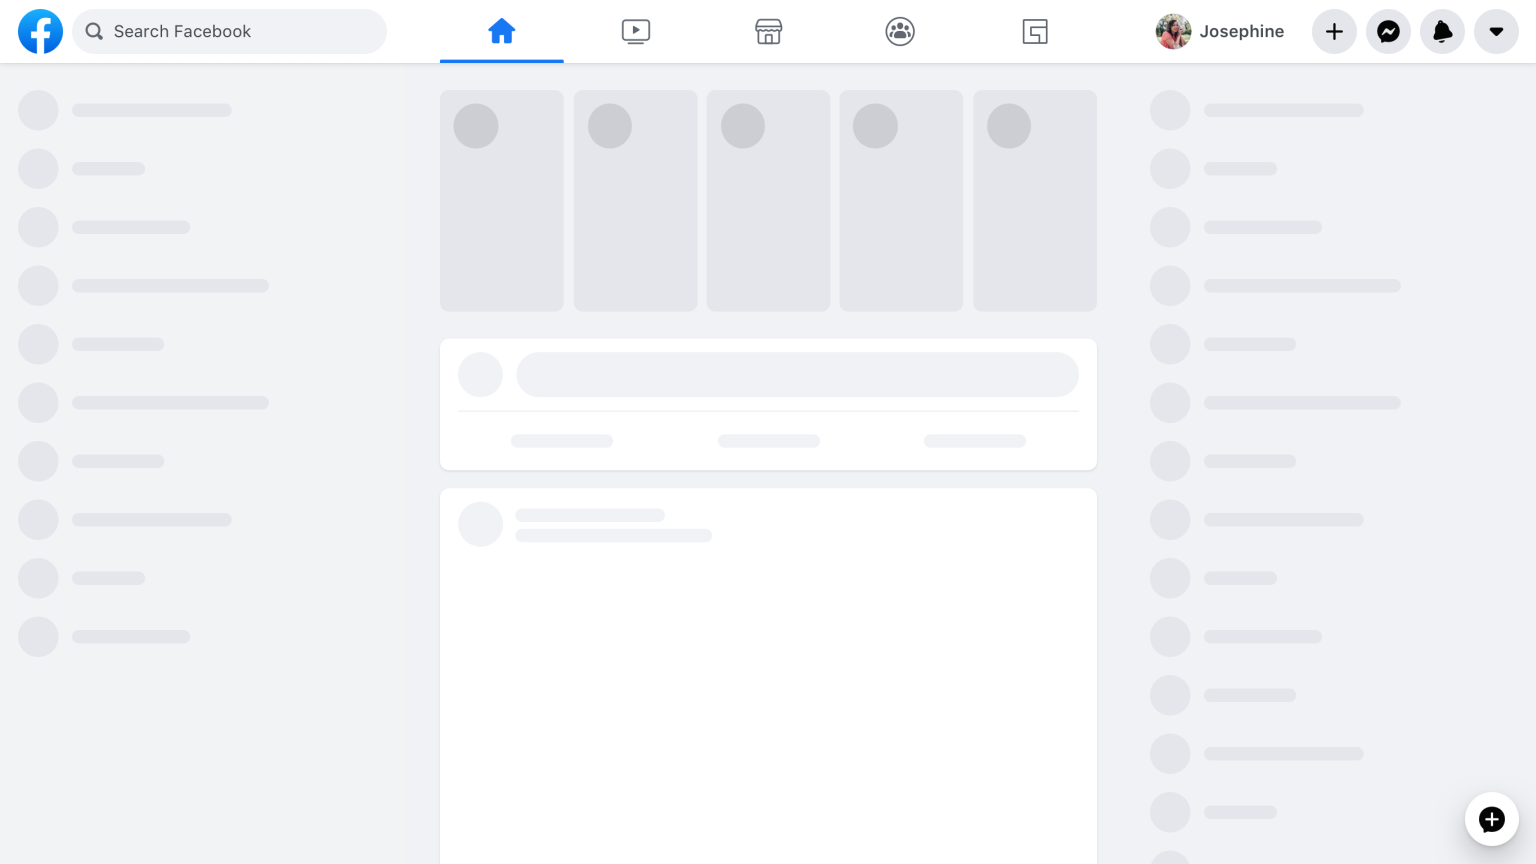
You can see the gray shapes representing how the data will be displayed after loading it. Once the server’s data arrives, the screen’s gray forms are replaced.
Skeleton loaders rarely increase productivity or loading speed. Their primary purpose is to give website visitors something to look at and the impression that the website is loading more rapidly.
Why are skeleton pages better, then?
- They appear to move faster and are simpler to use, and improved perceived performance offers a better user experience and higher conversion rates.
- The issue with spinners and loaders is that we have no idea what is loading or how long it will take.
- Using spinners or loaders places the user in a condition of uncertainty because the load time is unknown.
- Users are more interested in progress than they are in passing the time on skeleton screens.
- It provides the impression of being speedy and loading quickly.
And when should we use them?
- When numerous elements are loading at once, utilize to notify users that something is loading.
- When loading times for data exceed three seconds.
- When you have a popular website.
- When there is a drawn-out or background process.
Build a Skeleton Loader with React
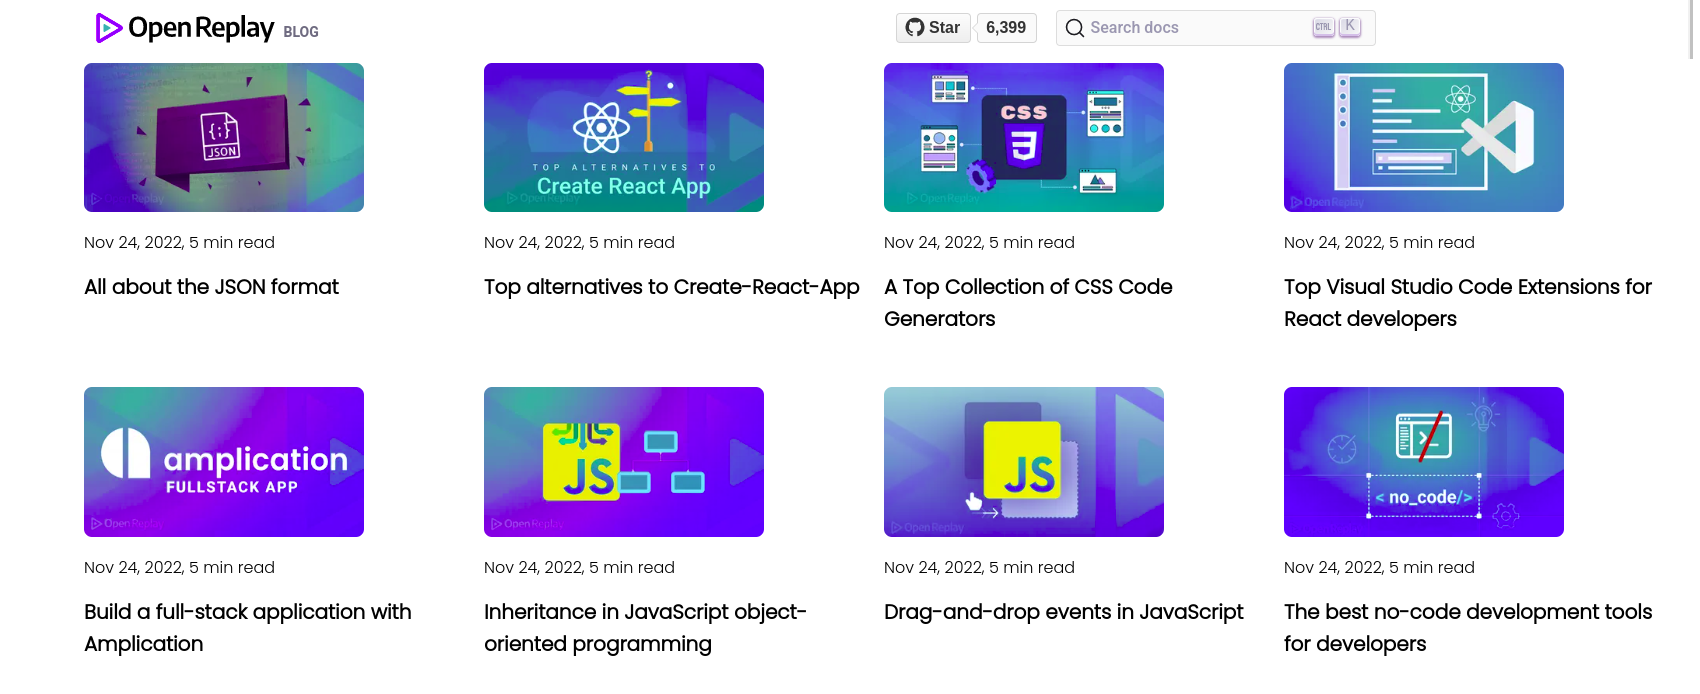
For the tutorial in this post, we’ll create a simple page that lists articles for a certain blogger as cards. The finished item will look like this.
The Skeleton Loader Screen:

The Actual Site After Loading:
Setting up React Project
We’ll begin by putting up a React project with the code below to set up a skeleton loader in our React application:
npx create-react-app skeleton-reactWith the following code, the working directory is changed to the folder created by the preceding command:
cd skeleton-reactOpen the folder in the text editor of your choice. Our app is now configured; therefore, it’s time to add and delete any extraneous boilerplate. We want to create a components folder in the src folder and a server folder in the root directory.
We have a server folder because we’re going to build something that looks like a database to store data regarding the blogs. Don’t worry; we won’t be accessing any backend. We’ll construct a fake REST API using JSON Server.
As a result, let’s create a file called db.json or data.json in the /server folder and fill it with various data that you may commonly find on a blog, like a thumbnail, name avatar, title, description, and author.
Our db.json file should have the following information in it:
N/B: Due to its vast size, the data is different from what I used in this article, but you are free to modify it as much as you like.
//db.json

{ "blogs" :
[
    {
        "title" : "All about the JSON format",
        "thumbnail" : "https://blog.openreplay.com/assets/hero_25gs97.webp",
        "description" : "Nov 24, 2022, 5 min read"
    },
    {
        "title" : "Top alternatives to Create-React-App",
        "thumbnail" : "https://blog.openreplay.com/assets/hero_Z1VLsJY.webp",
        "description" : "Nov 24, 2022, 5 min read"
    },
    {
        "title" : "A Top Collection of CSS Code Generators",
        "thumbnail" : "https://blog.openreplay.com/assets/hero_DRmM0.webp",
        "description" : "Nov 24, 2022, 5 min read"
    },
    {
        "title" : "Top Visual Studio Code Extensions for React developers",
        "thumbnail" : "https://blog.openreplay.com/assets/hero_Z8migj.webp",
        "description" : "Nov 24, 2022, 5 min read"
    },

    {
        "title" : "Build a full-stack application with Amplication",
        "thumbnail" : "https://blog.openreplay.com/assets/hero_Z5C3BB.webp",
        "description" : "Nov 24, 2022, 5 min read"
    },
    {
        "title" : "Inheritance in JavaScript object-oriented programming",
        "thumbnail" : "https://blog.openreplay.com/assets/hero_Q0pgi.webp",
        "description" : "Nov 24, 2022, 5 min read"
    },
    {
        "title" : "Drag-and-drop events in JavaScript",
        "thumbnail" : "https://blog.openreplay.com/assets/hero_Z1t0Y5y.webp",
        "description" : "Nov 24, 2022, 5 min read"
    },
    {
        "title" : "The best no-code development tools for developers",
        "thumbnail" : "https://blog.openreplay.com/assets/hero_14pmEO.webp",
        "description" : "Nov 24, 2022, 5 min read"
    }
]
}
We need to watch the above file using the JSON Server package so that we can add endpoints to it and conduct operations like POST, DELETE, GET, etc.
Launch a new terminal and type npx json-server -watch server/db.json --``port 8000 to accomplish that. The terminal should launch the server on port 8000 and monitor any changes if it runs correctly. The JSON file has been hosted on localhost, as can be seen if you open http://localhost:8000 in a browser. You should also visit http://localhost:8000/blogs to view the blog’s resources.
Session Replay for Developers
Uncover frustrations, understand bugs and fix slowdowns like never before with OpenReplay — an open-source session replay tool for developers. Self-host it in minutes, and have complete control over your customer data. Check our GitHub repo and join the thousands of developers in our community.
Create a Fetch Function in App.js
Let’s get the information from our local server first. Once the data has been successfully retrieved and any fetch problems have been handled, the data will be displayed using a template we will produce.
In our app.js
import { useState, useEffect } from 'react';
import Blogs from './components/blogs';
import Skeleton from './components/skeleton';
const App = () => {
    const [blogs, setBlogs] = useState(null);
    const [error, setError] = useState(false);
    const [loading, setLoading] = useState(true);
    useEffect(() => {
        setTimeout(() => {
            fetch(' http://localhost:8000/blogs')
            .then(response => {
                if(!response.ok){
                    throw Error('Sorry, some error occurred while fetching your blogs.');
                }
                return response.json();
            })
            .then(data => {
                setBlogs(data);
                setLoading(false);
                setError(false);
            })
            .catch(err => {
                console.log(err.message);
                setError(true);
            })
        }, 4000)
    })
    return(
        <div>
            <img src='/src/assets/open3.png'></img>
            {blogs && <Blogs blogs = {blogs} /> }
            <div className="container">
                {loading && [1,2,3,4,5,6,7,8,9,10,11,12].map((n) => <Skeleton key={n}/>)}
            </div>
            {error && <div className='container'><span className='error'>Error connecting to the server. Connection failed.</span></div>}
        </div>
    )
}
export default App;
Create Blog and Skeleton Components
In the blogs, we will develop the blogs.jsx and skeleton.jsx components. We pass blogs as a prop and then generate templates for its various properties, such as blog.description and blog.title. In the Skeleton components, we developed a function that returns a div that arranges our blog post, avatar, title, author, and other elements to appear in the proper order.
//blogs.js
const Blogs = ({blogs}) => {
    return(
        <div className="container">
            {blogs.map(blog => (
                <div className="blog">
                    <main className="image">
                        <img src={blog.thumbnail} alt="black screen with code over it" />
                    </main>
                    <footer>
                        <p className="text">{blog.date}</p>
                        <p className="title">{blog.title}</p>
                    </footer>
                </div>
            ))}
        </div>
    );
}
export default Blogs;
//skeleton.js
const Skeleton = () => {
return(
<div className="skeleton-blog">
<main className="skeleton-image">
</main>
<footer className="skeleton-footer">
</footer>
</div>
);
};
export default Skeleton;Style our Skeleton Card
You can view the whole files and directories here. We removed the styling from index.css to replace it with our own CSS style.
This typeface is nothing more than a grid arrangement. Our blog site should now display as follows when the Blog component is imported inside the App component:
Conclusion
We now know what skeleton loading is, how it benefits users by providing the impression that data is loading quickly, and how to use it. You can access the source code for the tutorial here. It is open to modification, customization, and code improvements.
Resources
A TIP FROM THE EDITOR: On the topic of measuring performance, do read our Top Metrics You Need to Understand When Measuring Front-end Performance and A Practical Guide To Optimizing Performance On The Web articles.
Gain Debugging Superpowers
Unleash the power of session replay to reproduce bugs and track user frustrations. Get complete visibility into your frontend with OpenReplay, the most advanced open-source session replay tool for developers.