Creating QR Codes with React Native

Quick Response codes, commonly known as QR codes, have been highly efficient in storing data that can be extracted by scanning. This technology can perform better than barcodes as it can take on more data due to its dimensions.
In this tutorial, I’ll discuss and demonstrate how to set up a QR code generator App for Android and iOS in React Native that can take custom values and have the generated image saved to the device’s storage. Kindly refer to my Github repo for the source code of this tutorial.
This tutorial will require a basic knowledge of React Native, and you should have completed the React Native Environment setup on your computer; thus, you have React Native running on your computer and An Android and an iOS simulator readily available for the testing of the apps in this tutorial. If you still need to complete this setup, kindly head over here.
Initializing our React Native Project
In this tutorial, the first step is initializing a bare React Native project. This React Native project will be called QRProject. To initialize it, you will need to run some commands in your terminal to create a bare React Native project, download the necessary iOS dependencies and build the default project on your emulators. Note that you should execute each command in the order below. The commands to run are as follows:
#Initialize React Native Project
npx react-native init QRProject
# Navigate to the ios folder and Install iOS dependencies
cd ios && pod install
#Navigate back to Project root folder
cd ..
#Run on Android Emulator
npx react-native run-android
#Run on iOS Simulator
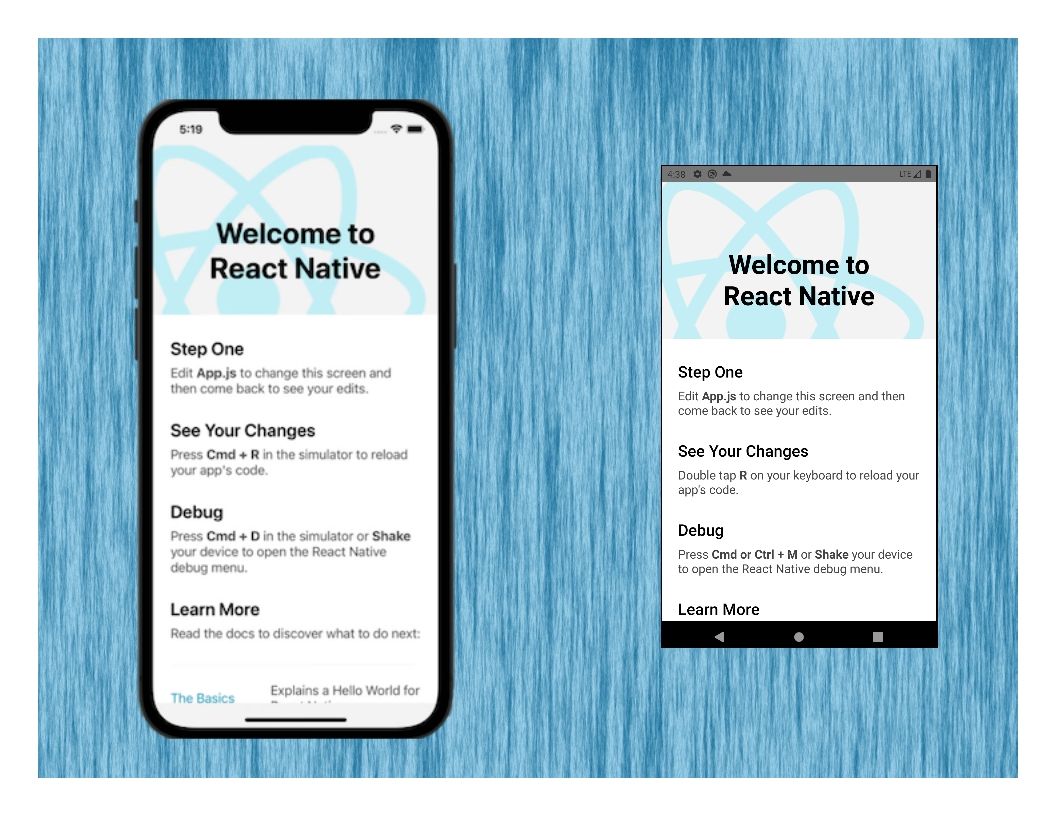
npx react-native run-iosAfter running these commands, the default React Native project should be installed, and you have your Android and iOS emulators show up like this:
Project Setup
Now that the project has been initialized, what to be done next is to install the dependencies that will be used for the QR code generation, saving to device storage and sharing.
The dependencies I will be working with in this tutorial are react-native-qrcode-svg, react-native-svg, react-react-native, and rn-fetch-blob.
All these dependencies have their peculiar functionalities.
- react-native-qrcode-svg: The dependency will handle the QR code generation and addition of custom data in this project. This dependency was built based on the react-native-svg; therefore, it will only work if the react-native-svg is installed.
- rn-fetch-blob: This dependency makes file access and transfer more efficient; thus, it will be used to save/download the generated QR code to the device’s storage.
- react-native-share: This library provides file-sharing functionality. It can be used to share texts, images, etc., from a React Native app.
Having established all this, let us install these dependencies. The commands are below:
npm i react-native-qrcode-svg react-native-svg rn-fetch-blob react-native-shareAfter these dependencies have been installed, navigate to the ios folder and run pod install so that necessary ios dependencies will be installed.
To complete this project setup, you need to set permissions for writing on the device’s storage for Android and iOS.
Set up Android Permissions
Navigate to QRProject/Android/app/src/main/AndroidManifest.xml and add the permission below:
<uses-permission android:name=" android.permission.WRITE_EXTERNAL_STORAGE"/>
<uses-permission android:name=" android.permission.READ_EXTERNAL_STORAGE"/>


<application
...
android:requestLegacyExternalStorage="true">
Set up iOS Permission
Navigate to QRProject/ios/RNDigitalSig/info.list and add the permission below:
    <key>NSPhotoLibraryAddUsageDescription</key>
    <string>This app would like to save images to your device.</string>
    <key>NSPhotoLibraryUsageDescription</key>
    <string>This app would like to save images to your device.</string>
Once you’ve set the above up on Android and iOS, build the project on your emulators. Note that the commands for this build are already stated above.
Setting up the Project
After installing the required dependencies and setting the permissions, it’s time to set up the QR code generator. To do this, open your app.js file and import the dependency at the top of the page with the code below:
import QRCode from 'react-native-qrcode-svg'Next, a QRcode component should be created within the app component. The code is below.
return (
<QRCode
value= "This is the value in the QRcode"
/>
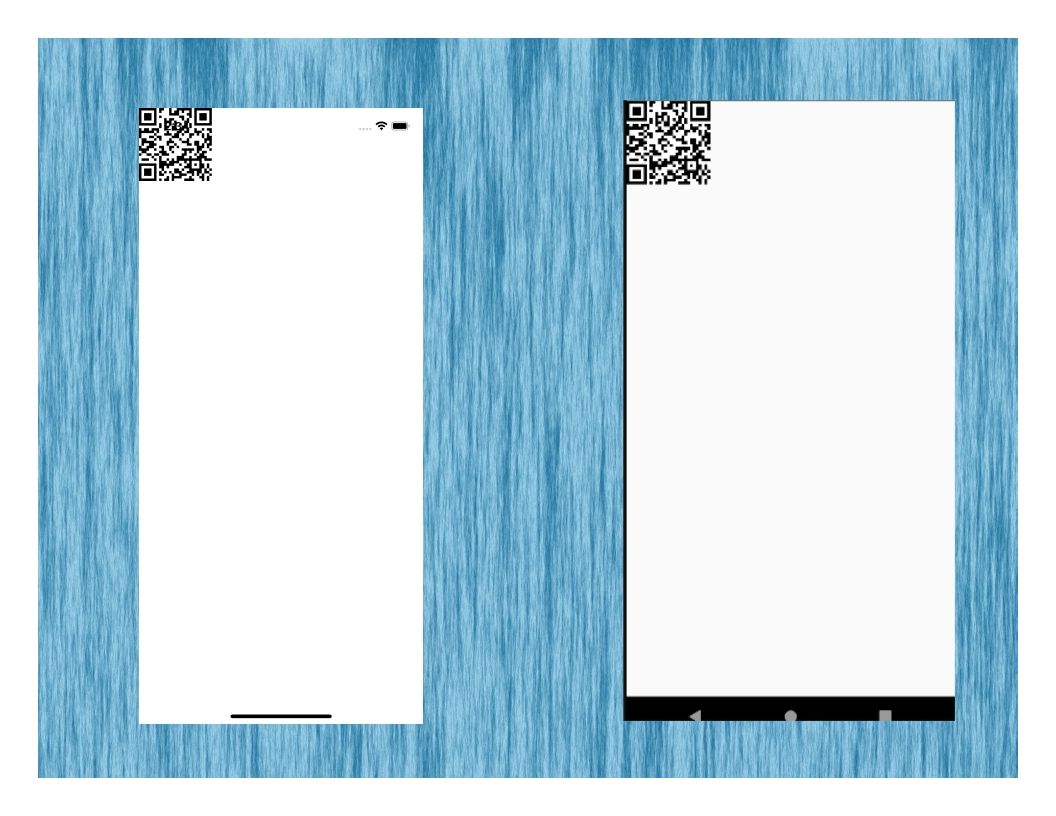
);After adding the code above, your Android and iOS emulators should show up like this:
This renders the QR code component in the most basic form. Moving forward, I need to establish some details.
The react-native-qrcode-svg works alongside some props, which will be used to style, update, and extract the base64 image data from the QR code component. As seen above, the value prop carries the data stored in the QR code. There are some more props, and I will work with a few of them in this tutorial. Kindly take note of them and how they work.
Improving the QR Code Component
The QR code component has been implemented. To demonstrate adding custom values to the component, adding a logo, styling the component, etc., I will create an input that will update the state and the value of the QR code. Also, to add a custom logo to the QR code, I will create an input field that will receive a URL to an image used as the custom logo.
To implement the above, update your app component with the code below:
const [QRvalue, setQRValue] = React.useState('');
const [QRLogo, setQRLogo] = React.useState('');
const [QRImage, setQRImage] = React.useState('');
const ref = React.useRef();

return (
  <SafeAreaView>
    <View style={styles.sectionContainer}>
      <Text style={styles.sectionTitle}>Generate QRCode</Text>
      <View style={styles.row}>
        <TextInput
          placeholder= "Add Value to QRCode"
          style={styles.textInput}
          autoCapitalize="none"
          value={QRvalue}
          onChangeText={setQRValue}
        />
        <TextInput
          placeholder= "Add Logo URL"
          style={styles.textInput}
          autoCapitalize="none"
          value={QRLogo}
          onChangeText={setQRLogo}
        />
        </View>
    <QRCode
    size={350}
    value={QRTextValue ? QRTextValue : 'NA'}
    logo={{uri: QRLogoImage}}
    logoSize={60}
    logoBackgroundColor='transparent'
    getRef={ref}
  />
  </View>
  </SafeAreaView>
Do well to add the following styles to your stylesheet.
const styles = StyleSheet.create({
  sectionContainer: {
    marginTop: 32,
    paddingHorizontal: 24,
  },
  sectionTitle: {
    fontSize: 24,
    fontWeight: '600',
    textAlign: 'center',
  },
  highlight: {
    fontWeight: '700',
  },
  row: {
    flexDirection: 'row',
    marginTop: 10,
    },
  textInput: {
    paddingVertical: 10,
    paddingHorizontal: 10,
    textAlign: 'center',
    marginRight: 20,
    marginVertical: 20,
    borderRadius: 20,
    width: 162,
    borderWidth: 1,
    borderStyle: 'solid',
  },
});
The useState hook is used to get the values from the input fields and applies the same values to the QR code component. Also, the useRef hook is used to persist the value of the QR code component but doesn’t cause a re-render.
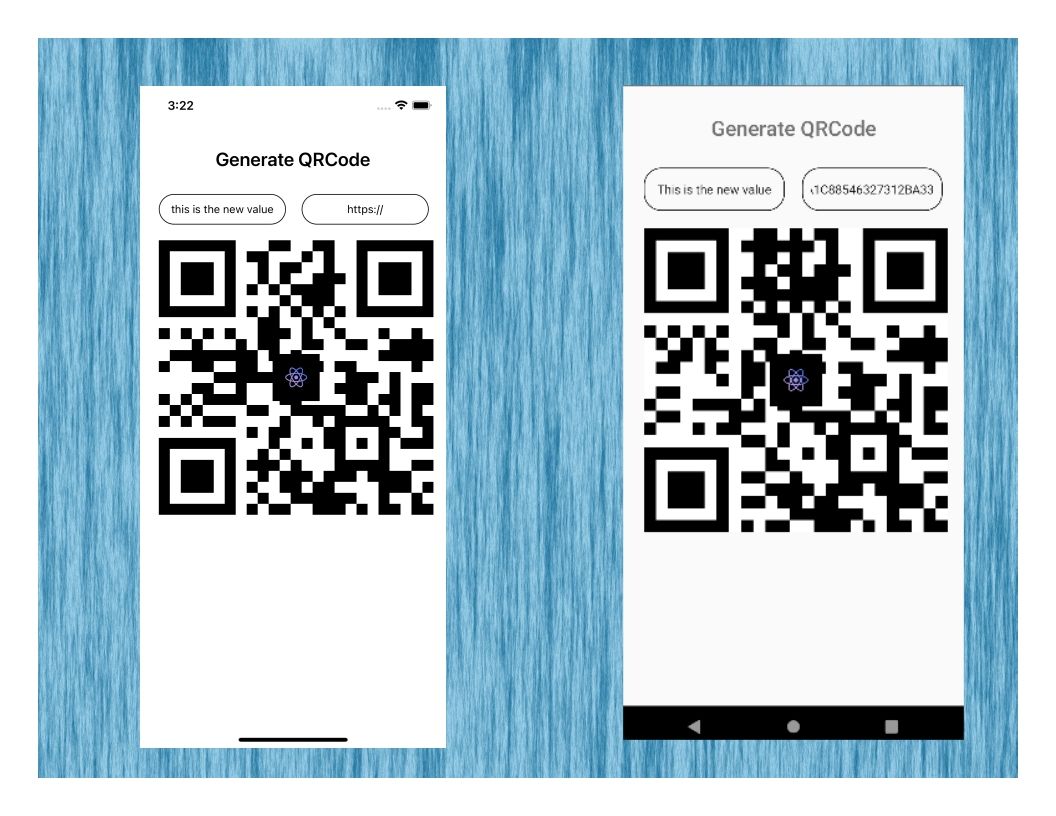
Now, you can add custom data to the QR code, and a logo too. From the above, I have been able to style and structure the QR code with the accompanying props. You can also style it further using the backgroundColor prop, color, and any of your choice. See a complete list of the props here.
Session Replay for Developers
Uncover frustrations, understand bugs and fix slowdowns like never before with OpenReplay — an open-source session replay tool for developers. Self-host it in minutes, and have complete control over your customer data. Check our GitHub repo and join the thousands of developers in our community.
Saving the Generated QR code Image to Device’s Storage
So far, I have demonstrated how you can implement a QR code generator. The next thing is to get this QR code image and save it to the device’s memory as an image.
You will recall that among the dependencies listed to be installed earlier in this tutorial, rn-fetch-blob was installed as it will be used to get this QR code image and save it to the device’s memory. Also, permissions have already been set up. If you skipped that part, you will need to go back and implement it as I directed.
The code below will add a Generate button, Save QR button, and Share QR button. Add it below the QR code component.
  ...
  <View style={styles.sectionContainer}>
    <TouchableOpacity
    style={styles.newButton}
    onPress={()=>GenerateQR()}>
      <Text style={[styles.sectionDescription,{color: '#fff', fontWeight: '900'}]}>Generate QR</Text>
    </TouchableOpacity>
    </View>
    <View style={styles.row}>

    <TouchableOpacity
    style={styles.Button}
    onPress={()=>handleShare()}>
      <Text style={[styles.sectionDescription,{color: '#fff', fontWeight: '900'}]}>Share QR</Text>
    </TouchableOpacity>
    <TouchableOpacity
    style={styles.Button}
    onPress={()=>handleSave()}>
      <Text style={[styles.sectionDescription,{color: '#fff', fontWeight: '900'}]}>Save QR</Text>
    </TouchableOpacity>
    </View>
    </View>
    </SafeAreaView>
  );
};
Also, add the following styles:
    ...
      sectionDescription: {
        marginTop: 8,
        fontSize: 18,
        fontWeight: '400',
      },
      newButton: {
        backgroundColor: 'deepskyblue',
       marginHorizontal: 10,
       paddingVertical: 10,
       paddingHorizontal: 75,
       borderRadius: 20,
       paddingBottom: 17,
      },
      Button: {
       backgroundColor: 'deepskyblue',
       marginTop: 32,
       marginRight: 50,
       paddingVertical: 10,
       paddingHorizontal: 35,
       borderRadius: 20,
       paddingBottom: 17,
      },
      ...
Your Android and iOS emulators should show up like this:
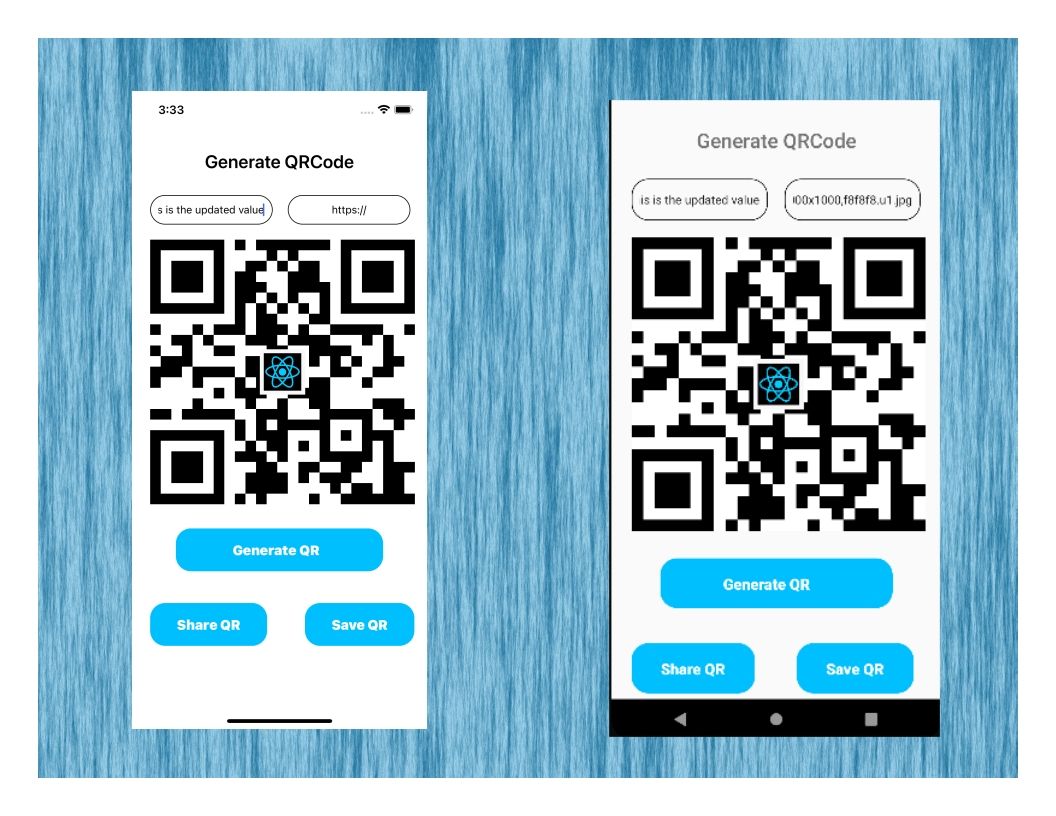
Now, import the following dependencies into your app.js file. Endeavor to add them at the top of the page.
import RNFetchBlob from 'rn-fetch-blob';
import Share from 'react-native-share';
Next, I will create a generateQr function which will be fired when the Generate Qr button is clicked. This function basically gets the QR code base64 image string and saves it to the QRimage state. The function is below:
const GenerateQR=() => {
  ref.current.toDataURL((data) => {
  setQRImage('data:image/png;base64,'+data)
  })
}
Then, I will create another function, handleSave. This function will be fired when the Save QR button is clicked. It will retrieve the base64 image string from the QRImage state and process the saving of the image. The code is below:
const handleSave = async () => {
  if (Platform.OS === 'android') {
  var isReadGranted = await PermissionsAndroid.request(
      PermissionsAndroid.PERMISSIONS.WRITE_EXTERNAL_STORAGE,
    );
  }
  if (isReadGranted === PermissionsAndroid.RESULTS.GRANTED) {
    const dirs = RNFetchBlob.fs.dirs
    var qrcode_data = QRImage.split('data:image/png;base64,');
    const filePath = dirs.DownloadDir+"/"+'QRCode'+new Date().getSeconds()+'.png'
    RNFetchBlob.fs.writeFile(filePath, qrcode_data[1], 'base64')
    .then(() =>  console.log("Saved successfully"))
    .catch((errorMessage) =>console.log(errorMessage))
    }
    if (Platform.OS ==='ios') {
    const options={
      title: 'Share is your QRcode',
      url: QRImage,
    }
  try {
    await Share.open(options);
  } catch (err) {
    console.log(err)
  }
  }
}
Notice that for Android, I used the rn-fetch-blob library to handle the file access and storage, but for iOS, I used the react-native-share library to handle the file storage. This is because rn-fetch-blob couldn’t handle the storage of the QR code image on iOS but was successful on Android.
Sharing Generated QR code Image to Device’s Storage
Having already imported react-native-share, I will create a function to handle sharing the QR code image. The code is below:
const handleShare =async ()=>{
      const options={
        title: 'Share is your QRcode',
        url: QRImage,
      }
    try {
      await Share.open(options);
    } catch (err) {
      console.log(err)
    }
  }
The way react-native-share works, you will have to add the file to be shared with the URL prop, but if you want to share a message, you will need to use the message prop. You can learn more about react-native-share here.
After implementing as shown, you should have your QR code generator set up for Android and iOS and work as shown:
Conclusion
It’s a wrap, and I have been able to answer the question, How can I set up a QR code generator in React Native? How do I save the generated image to the storage, or how can I share it? It’s all in here right now. If you follow through or have followed through, you will be able to do it just like I did. If you encounter any challenges, do well to share, and I will like to help.
A TIP FROM THE EDITOR: For more on creating QR codes, do not miss the QR Codes Generation With React article!
Gain Debugging Superpowers
Unleash the power of session replay to reproduce bugs and track user frustrations. Get complete visibility into your frontend with OpenReplay, the most advanced open-source session replay tool for developers.