
Cross-platform development using Ionic+Capacitor

Given the requirement for businesses to distribute their software to audiences across multiple platforms, the product must be designed to be simple to manage and capable of being ported to different platforms. As a result, cross-platform development emerged.
This type of software development entails creating or designing software so that it can be easily distributed to different platforms without losing functionality. Developers can use cross-platform development to create applications that can run on multiple platforms from a single code base.
For this kind of development, there are a lot of frameworks available, such as Ionic.js-Capacitor.js (Javascript), Xamarin (C#), Kivy (Python), Flutter (Dart), and React-Native (Javascript). However, we’ll examine cross-platform development with Ionic+Capacitor in this tutorial.
Why Ionic+Capacitor
Ionic+Capacitor is the combination of Ionic.js and Capacitor.js, which are distinct JavaScript packages. It provides a mobile platform application development alternative for JavaScript developers. Because of its use of JavaScript, many web developers already well-versed in JavaScript can quickly build cross-platform apps.
Ionic.js is a UI toolkit that allows developers to create high-quality, cross-platform mobile apps with a single code base, whereas Capacitor.js is a native runtime that allows developers to create cross-platform applications with JavaScript, HTML, and CSS. It supports Javascript frameworks such as Vue.js, React.js, Angular.js, and many others, and because it uses Node.js, other npm packages can be used to facilitate the app’s development.
Capacitor.js is based on the native system’s WebViews at its core. This Webview allows native Android and iOS to render web components. Since web performance has recently improved significantly, the development of applications running on the webview has greatly improved. It outperforms React Native and other cross-platform solutions regarding UI rendering. Also, regarding raw JavaScript performance, Capacitor.js gives you access to the fastest JavaScript engines available on mobile. Capacitor.js uses V8 (JIT) on Android and Nitro on iOS.
Brief comparison with other cross-platform frameworks
-
Ionic+Capacitor VS Flutter: Flutter is a cross-platform framework developed by Google that uses Dart as its primary programming language. Flutter has its rendering engine so that expressive designs can be delivered quickly. Ionic+Capacitor, unlike Flutter, renders components using the webview to ensure UI consistency.
-
Ionic+Capacitor VS Xamarin: Xamarin has been around for a long time as a cross-platform framework. As a result, it offers a much more stable and community-supported development platform. Xamarin is available for free with some restrictions, but the learning curve is much steeper due to the programming language it employs. Ionic+Capacitor.js, on the other hand, Ionic+Capacitor.js is a relatively new cross-platform framework that uses one of the most popular and simple-to-learn programming languages. It has a smooth learning curve compared to Xamarin. Ionic+Capacitor can be used by developers who have learned how to build web apps in the same way that any other JavaScript package can.
-
Ionic+Capacitor vs Kivy: Kivy is a cross-platform development framework built in Python. It has been around for a while but has yet to have widespread community support. Compared to Ionic+Capacitor, its UI system feels non-native and has a steep learning curve.
Next, we’ll demonstrate how to build apps with Ionic+Capacitor by building a music play.
Getting Started with Ionic+Capacitor
To start using Ionic+Capacitor, we need to install the ionic CLI using the command.
npm install -g @ionic/cliNote: Sometimes, it may be necessary to use a sudo command to install this tool.
We are given access to ionic commands once the installation is complete. This gives us access to the start command, which is then used to create a new Ionic app.
After that, we execute the command.
ionic start music-player blank --type vueThis will prompt some information to be entered:
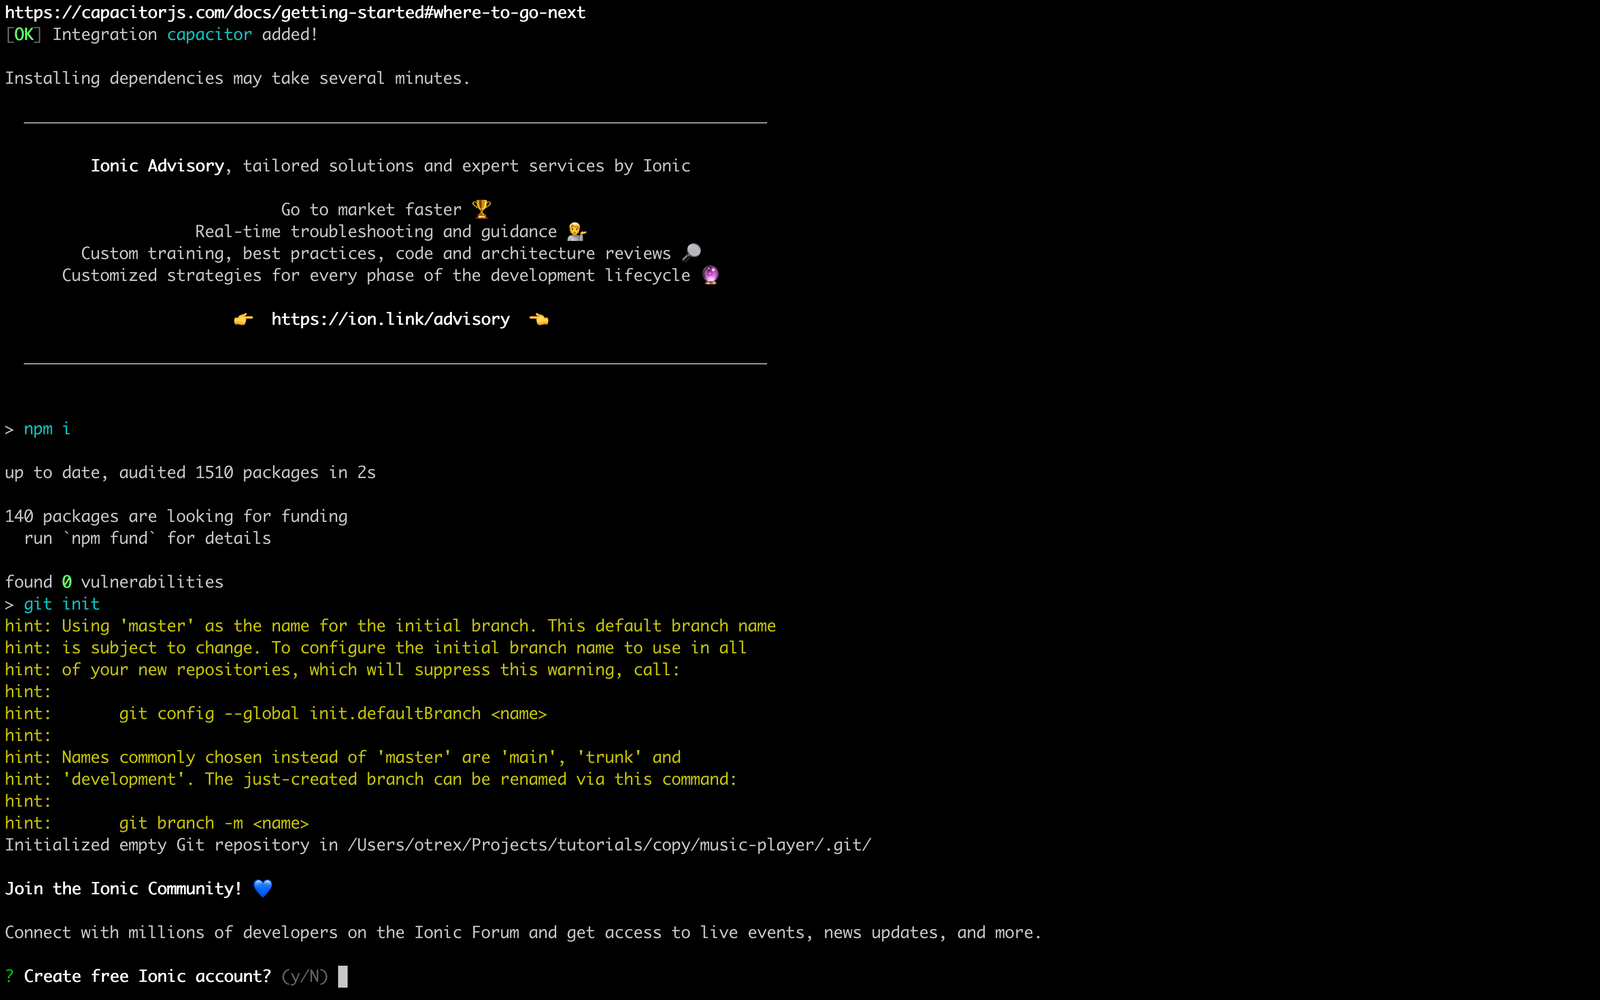
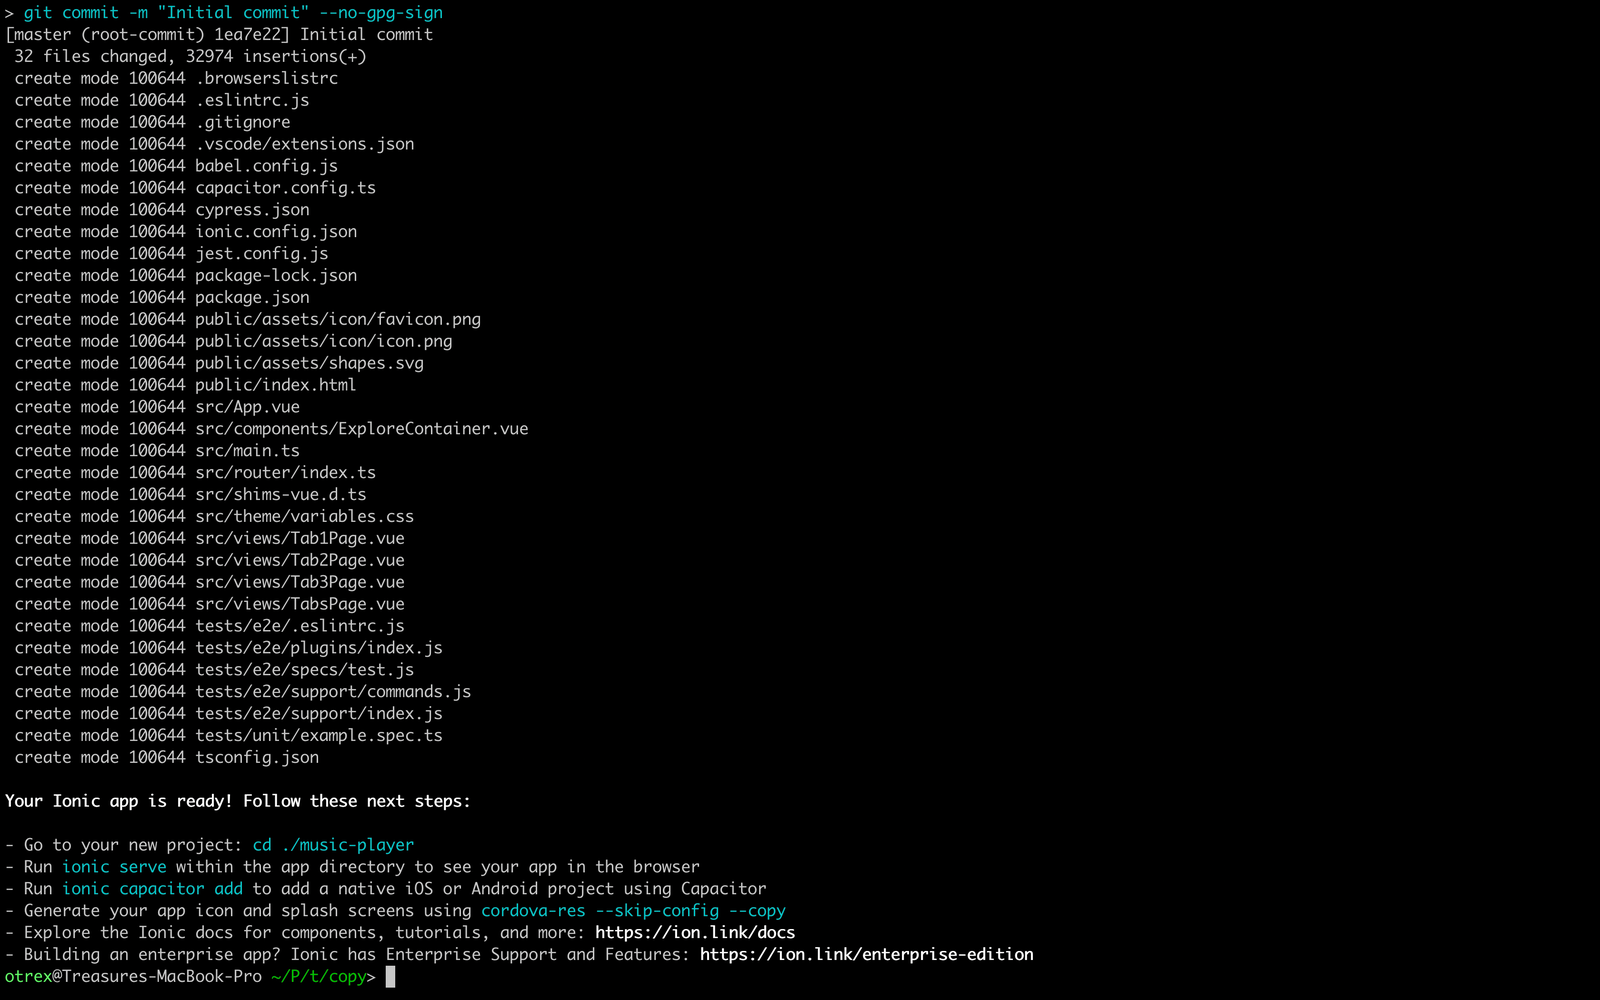
Using the command below, we can access our project’s directory after the project has been successfully set up.
cd music-playerInstallation of project’s dependencies
We have only one dependency: the capacitor’s file system plugin. To install this plugin, we use the following command:
npm install @capacitor/filesystem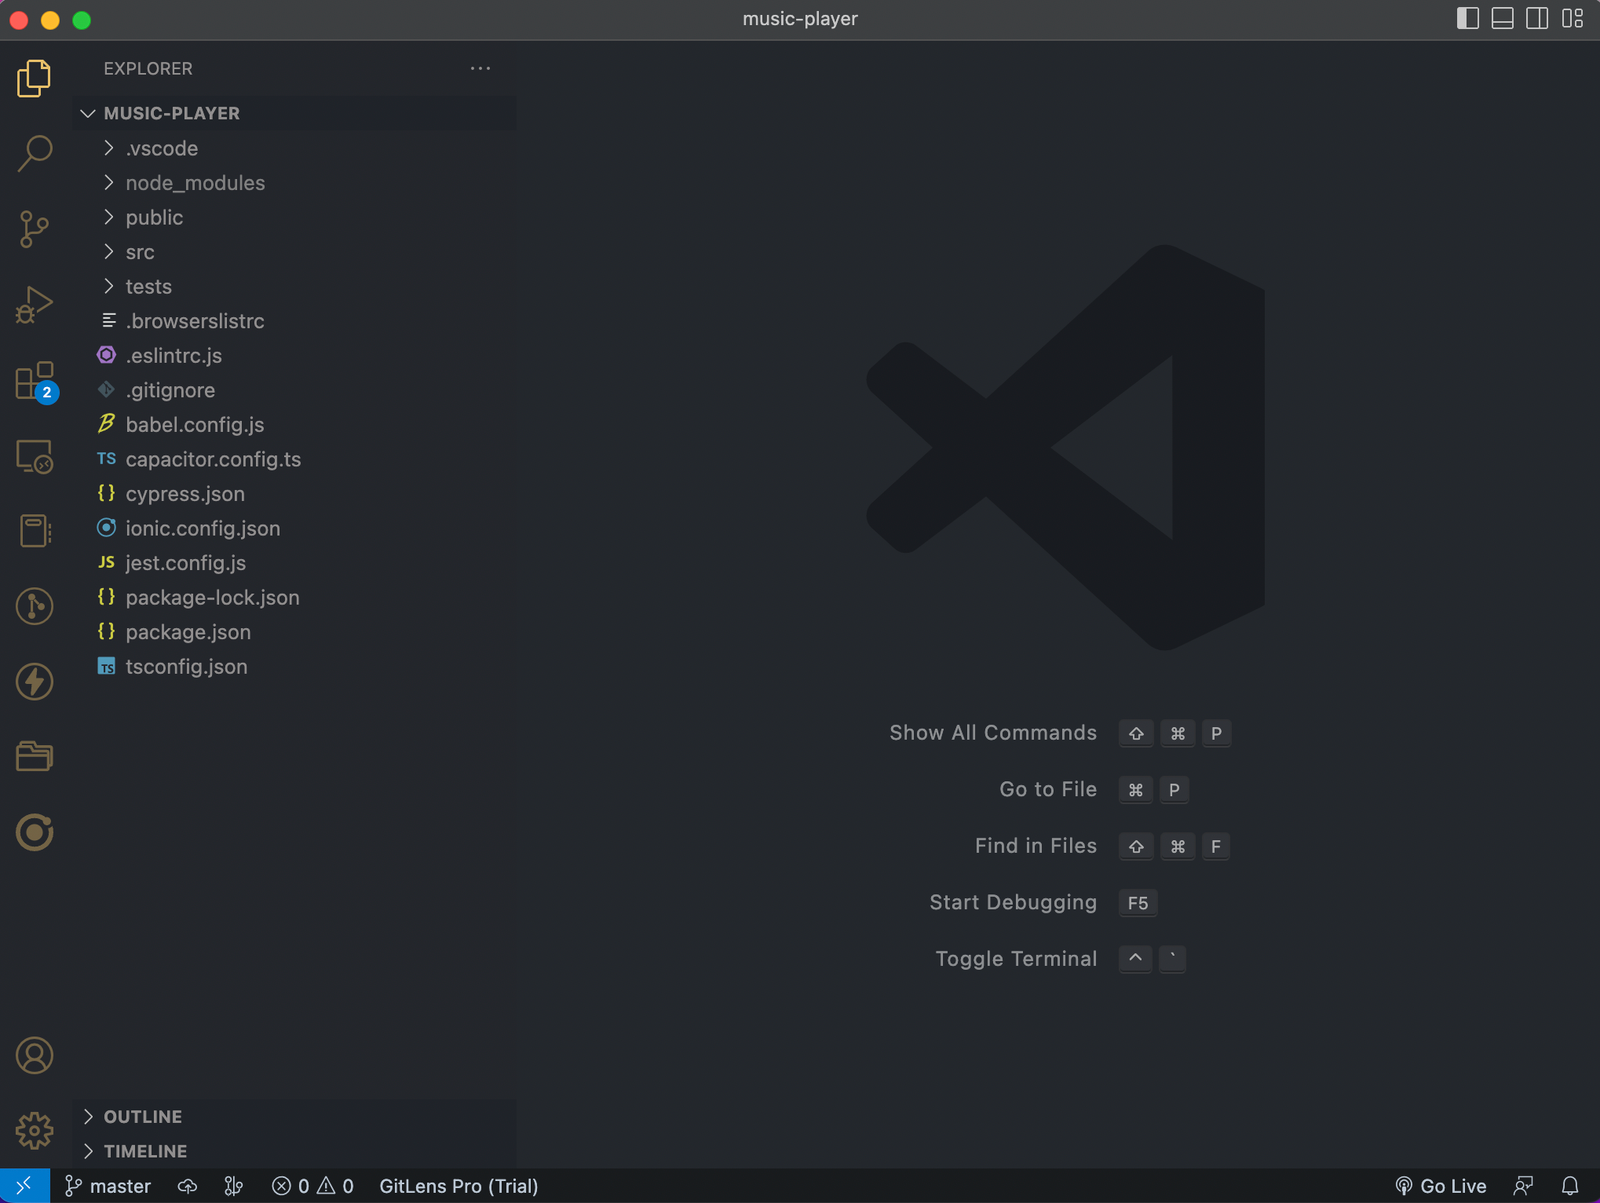
Next, we’ll add the user interface for our music app.
Adding code to the project
At this point, open the HomePage.vue file in the src/views directory and paste the code below. (There will be some content in HomePage.vue, and you are free to remove them).
<template>
<ion-page>
<ion-header :translucent="true">
<ion-toolbar>
<ion-title>
<div class="flex-row-center space-between">
<div>Music Player</div>
<button @click="isOpen = true">Playlist</button>
</div>
</ion-title>
</ion-toolbar>
</ion-header>
<ion-content :fullscreen="true">
<ion-header collapse="condense">
<ion-toolbar>
<ion-title size="large">Songs</ion-title>
</ion-toolbar>
</ion-header>
<div id="container">
<div class="boom-box">
<div
:class="['boom-track-circle', selectedSong?.isPlaying && 'grad']"
></div>
</div>
<div v-if="selectedSong">
<div>
<h2>{{ selectedSong?.artist }}</h2>
<p>{{ selectedSong?.songTitle }}</p>
</div>
<div class="pad-top">
<button @click="changeSong(-1)">Prev</button>
<button
v-if= "selectedSong.isPlaying"
@click="pauseSong(selectedSong?.idx)"
>
Pause
</button>
<button v-else @click="playSong(selectedSong?.idx)">Play</button>
<button @click="changeSong(1)">Next</button>
</div>
</div>
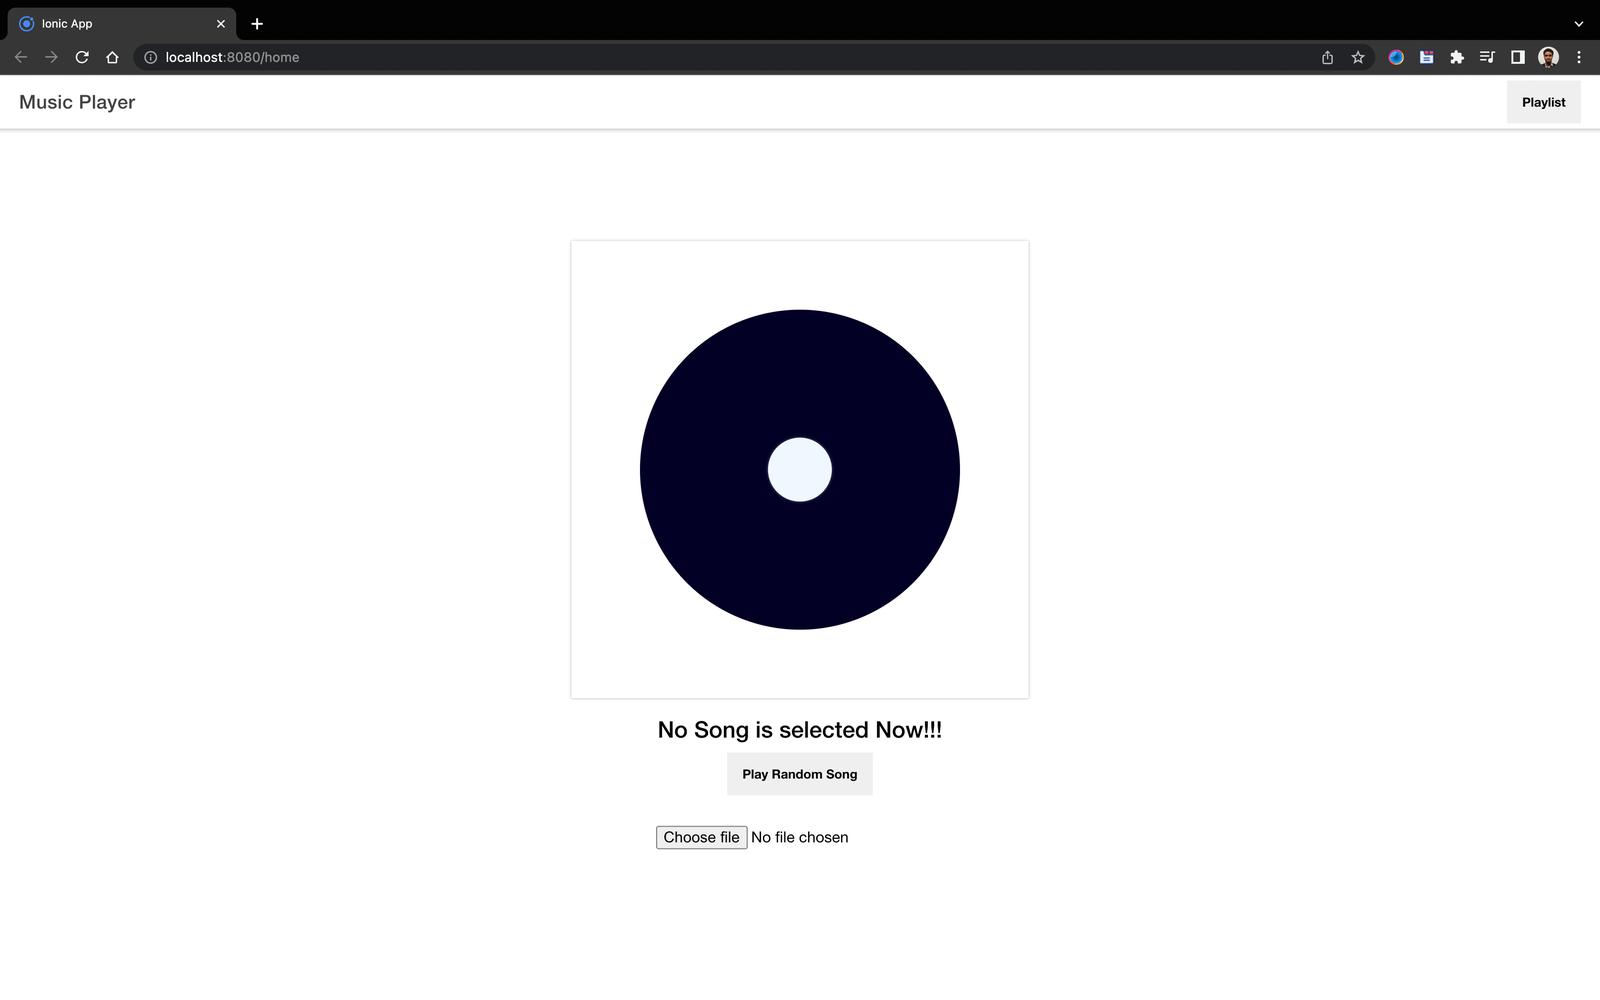
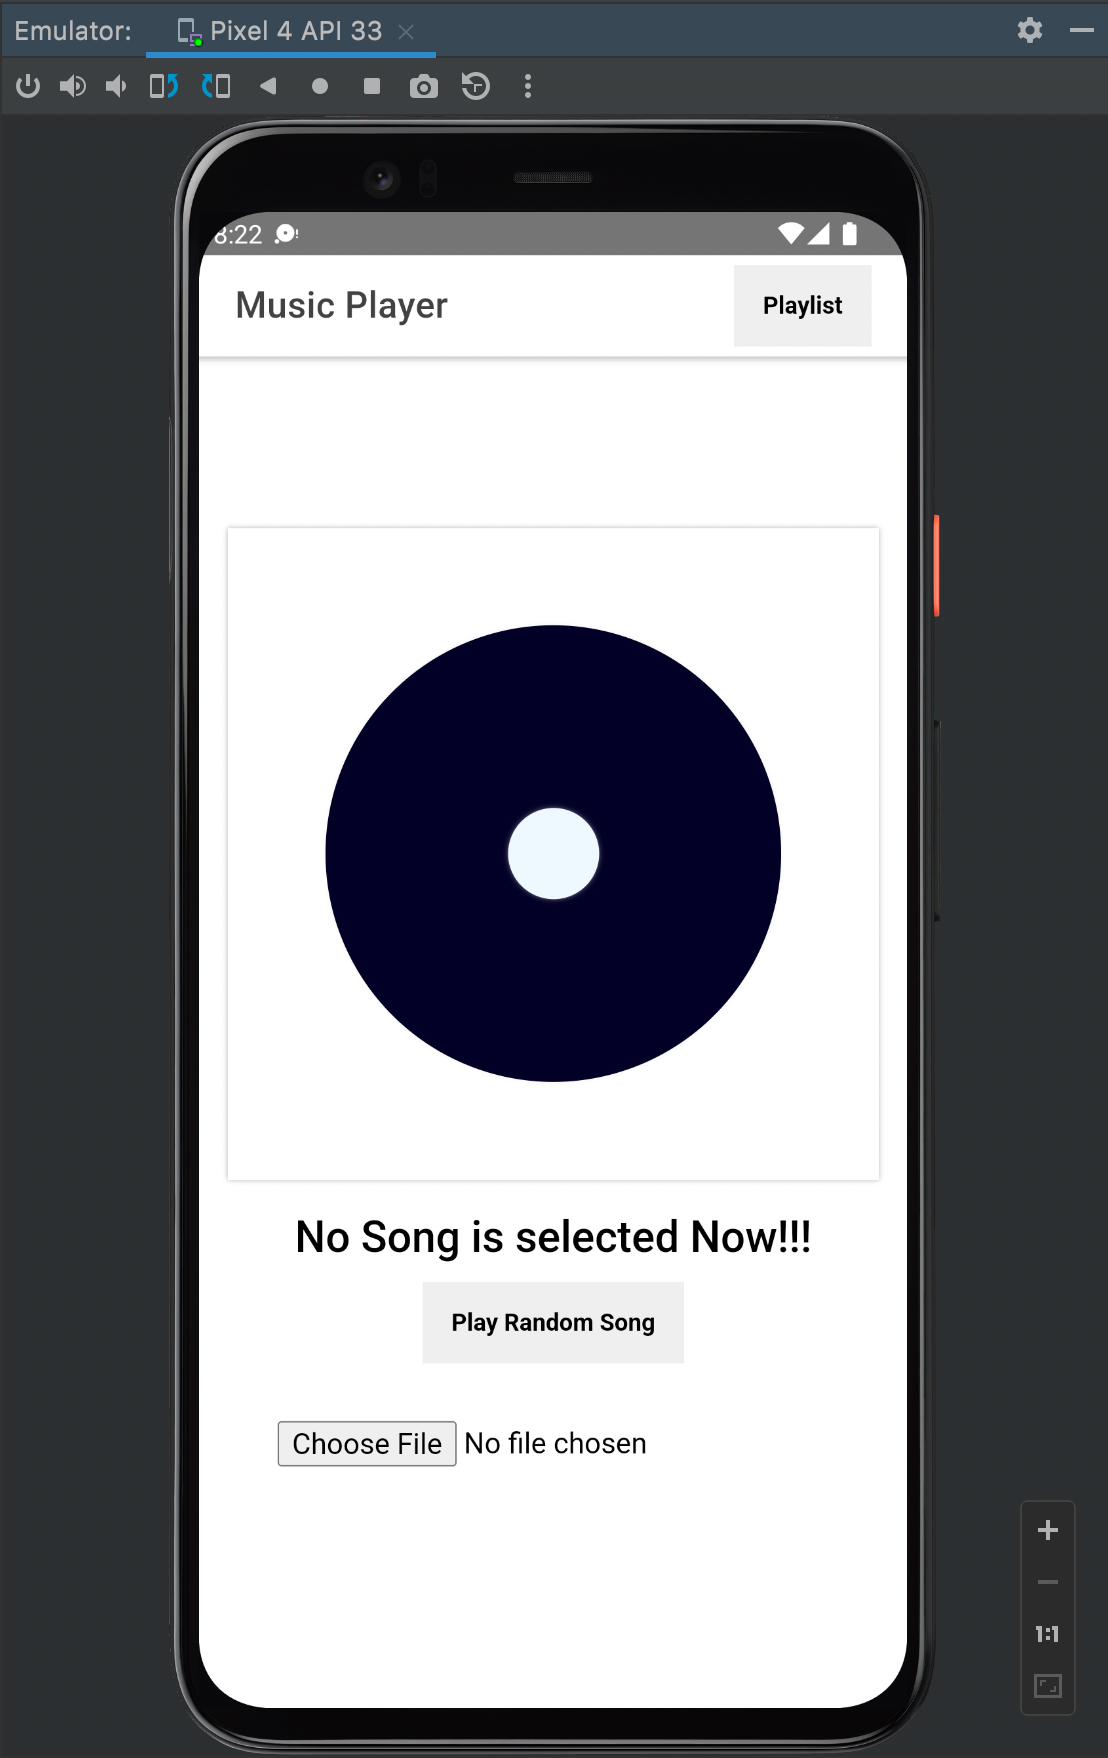
<div v-else>
<h2>No Song is selected Now!!!</h2>
<button @click="selectSongFromList">Play Random Song</button>
</div>
<div class="pad-top">
<input type="file" ref="file" @change="changeFile" />
</div>
</div>
<!-- MODAL GOES HERE -->
</ion-content>
</ion-page>
</template>Components ion-toolbar, ion-title, ion-header, ion-content, and ion-page are provided by the Ionic UI toolkit. The ion-page represents a mobile Webview page, the ion-header represents the app’s status bar, and the ion-content represents the app’s content.
Adding the Songlist Modal for displaying all songs
Then we replace <!-- MODAL GOES HERE --> with the code below.
<ion-modal :is-open="isOpen">
  <ion-header>
    <ion-toolbar>
      <ion-title>Song List</ion-title>
      <ion-buttons slot="end">
        <ion-button @click="isOpen = false">Close</ion-button>
      </ion-buttons>
    </ion-toolbar>
  </ion-header>
  <ion-content class="ion-padding">
    <template v-for="song in songList" :key="song.idx">
      <div class="flex-row-center space-between tab">
        <div>
          <p class="header">{{ song.artist }}</p>
          <p>{{ song.songTitle }}</p>
        </div>
        <div>
          <button v-if=" song.isPlaying" @click="pauseSong(song.idx)">
            Pause
          </button>
          <button v-else @click="playSong(song.idx)">Play</button>
        </div>
      </div>
    </template>
  </ion-content>
</ion-modal>
This handles the displaying of songs on the user’s device’s file system.
Adding scripts
Then we can add the script.
<script lang=" ts" setup>
import {
  IonContent,
  IonModal,
  IonHeader,
  IonPage,
  IonTitle,
  IonToolbar,
} from "@ionic/vue";
import { Directory, Filesystem, ReadFileOptions } from "@capacitor/filesystem";
import { computed, onBeforeMount, ref } from "vue";

const isOpen = ref(false);
const audioplayer = ref<HTMLAudioElement>(new Audio());
const songList = ref<
  Array<{
    songTitle: string;
    isPlaying: boolean;
    selected: boolean;
    artist: string;
    idx: number;
  }>
>([]);
const selectedSong = computed(() => {
  return songList.value.find((e) => e.selected);
});
onBeforeMount(async () => {
  readMusicFiles();
  audioplayer.value.onended = () => {
    changeSong(1);
  };
});
function blobToBase64(blob: Blob): Promise<string> {
  return new Promise((resolve, reject) => {
    const reader = new FileReader();
    reader.onerror = reject;
    reader.onload = (e: any) => {
      resolve(e.target.result as any);
    };
    reader.readAsDataURL(blob);
  });
}
async function changeFile(evnt: any) {
  const blobfile = evnt.target.files[0];
  if (!blobfile) return;
  const data = await blobToBase64(blobfile);
  await Filesystem.writeFile({
    path: `Music/${blobfile.name}`,
    data: data,
    directory: Directory.Documents,
  });
  readMusicFiles();
}
async function readMusicFiles() {
  try {
    await Filesystem.mkdir({
      path: "Music",
      directory: Directory.Documents,
    });
  } catch (err) {
    const dir = await Filesystem.readdir({
      path: "Music",
      directory: Directory.Documents,
    });
    songList.value = dir.files.map((e, idx) => {
      return {
        idx,
        artist: e.name.replace(".mp3","  "),
        songTitle: e.name,
        ...e,
        isPlaying: false,
        selected: false,
      };
    });
    resetList();
    audioplayer.value.pause();
  }
}
function selectSongFromList() {
  if (songList.value.length) {
    songList.value[0].selected = true;
  }
}
function resetList() {
  songList.value.forEach((e) => {
    e.isPlaying = false;
    e.selected = false;
  });
}
function getSongLocationOnLoadedList(idx: number) {
  const songIdx = songList.value.findIndex((e) => e.idx === idx);
  if (songIdx === -1) {
    alert("song not found");
    return null;
  }
  return songIdx;
}
const readFile = async (params: ReadFileOptions) => {
  const file = await Filesystem.readFile(params);
  const str = file.data.replace("data:application/octet-stream;base64,", "");
  return `data:audio/mpeg;base64,${str}`;
};
async function playSong(idx: any) {
  audioplayer.value.pause();
  const index = getSongLocationOnLoadedList(idx);
  if (index === null) return;
  const data = await readFile({
    path: `Music/${songList.value[index].songTitle}`,
    directory: Directory.Documents,
  });
  resetList();
  songList.value[index].isPlaying = true;
  songList.value[index].selected = true;
  audioplayer.value.src = data;
  audioplayer.value.play();
}
function pauseSong(idx: any) {
  const index = getSongLocationOnLoadedList(idx);
  if (index === null) return;
  resetList();
  songList.value[index].isPlaying = false;
  songList.value[index].selected = true;
  audioplayer.value?.pause();
}
function changeSong(incValue: number) {
  if (!selectedSong.value) {
    selectSongFromList();
    return;
  }
  const idx = selectedSong.value.idx + incValue;
  if (idx < 0 || idx >= songList.value.length) {
    alert("no more songs left");
    return;
  }
  if (selectedSong.value.isPlaying) {
    playSong(idx);
    return;
  }
  resetList();
  const song = songList.value.find((e) => e.idx === idx);
  if (!song) return;
  song.isPlaying = false;
  song.selected = true;
}
</script>
The script includes functions for pausing and playing songs, as well as those for retrieving songs from the file storage.
To demonstrate, we created the refs, songList, isOpen, and audioplayer, to handle the state of the song list, the modal’s open-close state, and the HTML audio track player.
We set the songList data structure to an array of objects in the form:
Array<{
  songTitle: string;
  isPlaying: boolean;
  selected: boolean;
  artist: string;
  idx: number;
}>
The isPlaying property (ref) tracks the current audio track, the selected property tracks which song has been loaded to be played, and idx is a unique identifier for each song on the songlist.
The selectedSong function returns the selected song from a list of songs. The readMusicFiles function uses the capacitor plugin to retrieve song tracks from the device the app is running on’s storage.
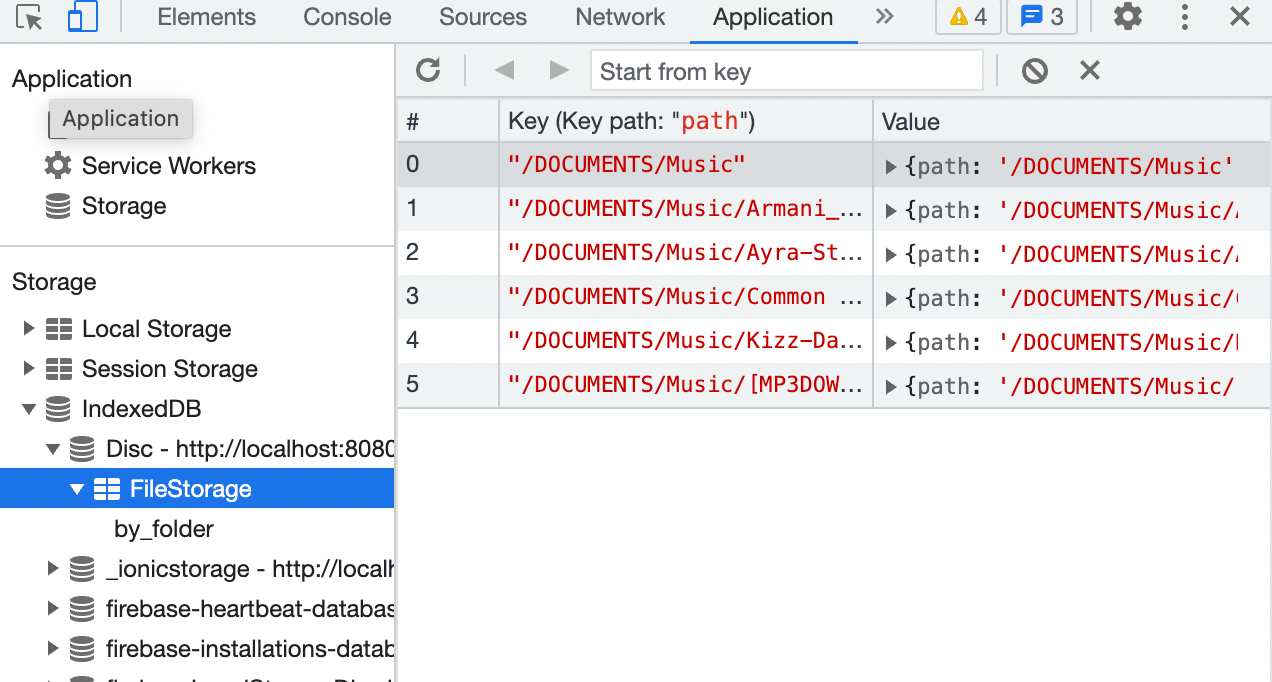
await Filesystem.mkdir({
  path: "Music",
  directory: Directory.Documents,
});
The snippet above attempts to create a folder Music in the Documents directory of the platform (e.g., Android, IOS, or web). On the web, it creates the folder in the IndexDB > Disc > FileStorage.
We assume the folder “Music” already exists if the creation process fails. Then we attempt to read the directory to retrieve its content, load the songList, and stop all currently playing tracks.
The resetList, as the name implies, resets the selected and isPlaying value of each song on the songList to false.
Several other functions are present, such as uploading music to the created file. To save the music, it must be in string format. The blobToBase64 function accomplishes this by converting the blob file into a base64 string.
The changeFile function handles an onchange event on the file input. It gets the file as a blob and saves it to file storage using the API provided by capacitor filesystem.
The playSong is a function that takes the unique identifier idx to locate the song object in the song object from the list, sets the isPlaying and selected to true, reads the song file from memory, loads it up to the HTML audio player and triggers’ play’.
The pauseSong also takes the idx, locates the song, sets the isPlaying to false, and pauses all playing sounds for the HTML audio player.
Adding our Styles
At this point, we can then add our styles to make our application look better. To do this, navigate to the HomePage.vue below the </script> tag and paste the following code.
<style scoped>
#container {
text-align: center;
position: absolute;
left: 0;
right: 0;
top: 50%;
transform: translateY(-50%);
padding-left: 1rem;
padding-right: 1rem;
}
#container p {
font-size: 16px;
line-height: 22px;
color: #8c8c8c;
margin: 0;
}
p,
.header {
margin: 0 !important;
}
p.header {
font-weight: bold;
}
button {
padding: 1rem;
font-weight: bold;
}
button:hover {
background-color: #8c8c8c;
}
.tab {
border-top: 1px solid rgba(100, 100, 100, 0.461);
padding: 1rem;
}
.boom-box {
margin: 1rem auto;
max-width: 30rem;
display: flex;
align-items: center;
justify-content: center;
aspect-ratio: 1/1;
box-shadow: 0px 0px 3px rgba(0, 0, 0, 0.3);
}
.boom-track-circle {
width: 70%;
aspect-ratio: 1/1;
border-radius: 50%;
/* background: rgb(2,0,36); */
background: radial-gradient(
circle,
rgba(2, 0, 36, 1) 75%,
rgba(9, 9, 121, 1) 92%,
rgba(0, 212, 255, 1) 100%
);
position: relative;
box-shadow: 0px 0px 3px rgba(231, 231, 231, 0.5);
}
.boom-track-circle::after {
content:" ";
position: absolute;
top: 50%;
left: 50%;
transform: translate(-50%, -50%);
width: 20%;
aspect-ratio: 1/1;
box-shadow: 0px 0px 3px rgba(231, 231, 231, 0.5);
border-radius: 50%;
background-color: aliceblue;
}
.flex-row-center {
display: flex;
flex-direction: row;
align-items: center;
}
.space-between {
justify-content: space-between;
}
.pad-top {
padding-top: 2rem;
}
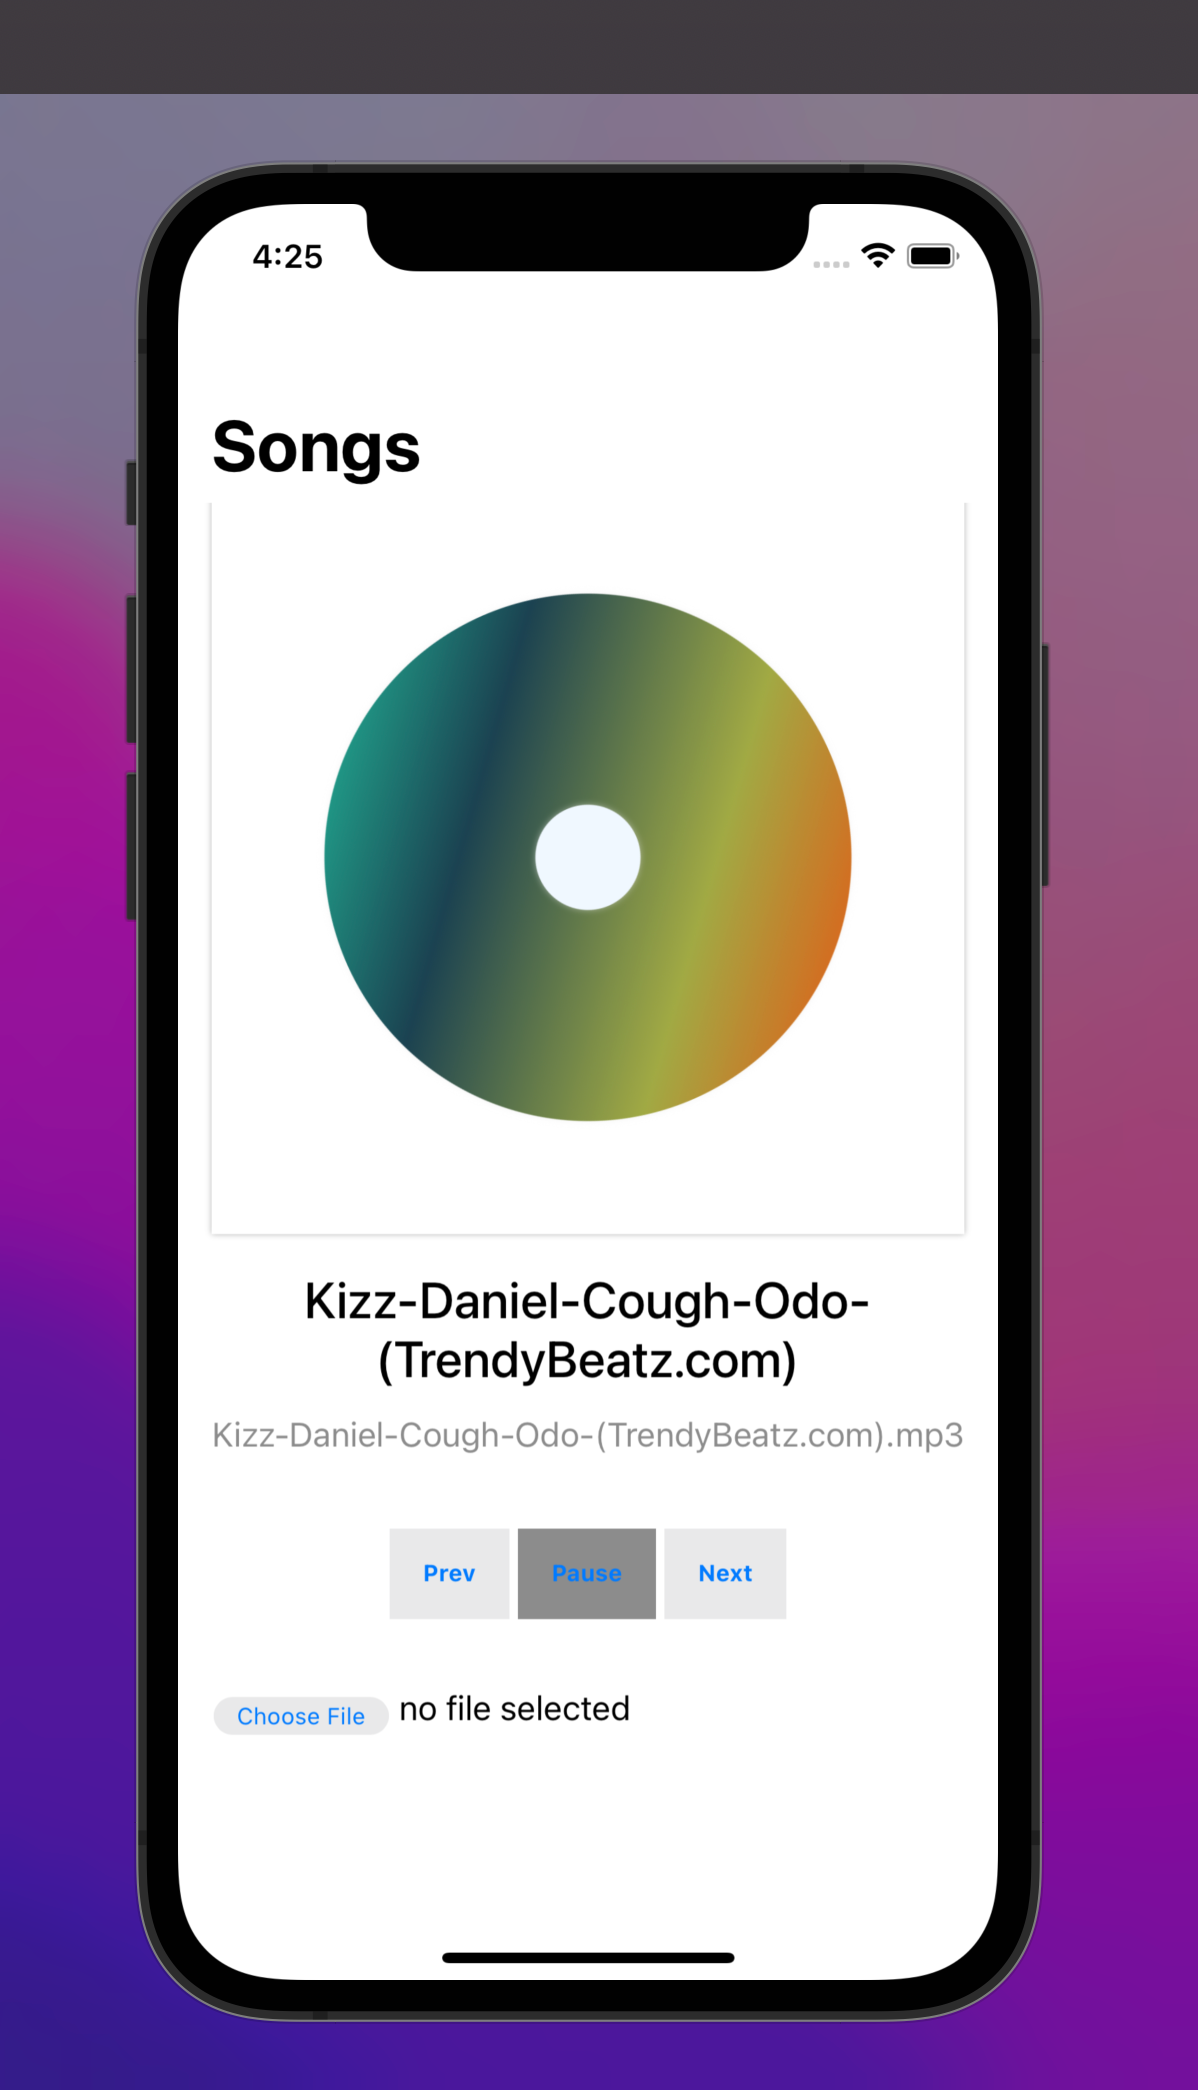
.grad {
background: linear-gradient(
-50deg,
#fa3f06,
#a1aa44,
#1b4251,
#23d5ab
) !important;
background-size: 400% 400%;
animation: gradient 10s ease infinite;
}
@keyframes gradient {
0% {
background-position: 0% 50%;
transform: rotate(0deg);
}
50% {
background-position: 100% 50%;
}
100% {
background-position: 0% 50%;
transform: rotate(360deg);
}
}
</style>This would make the application much better.
Next, we’ll see how we can build for the Android platform.
Session Replay for Developers
Uncover frustrations, understand bugs and fix slowdowns like never before with OpenReplay — an open-source session replay tool for developers. Self-host it in minutes, and have complete control over your customer data. Check our GitHub repo and join the thousands of developers in our community.
Building For Android
To build our project to work on the Android platform, we’ll first run the following command:
npx ionic cap add androidThis command creates the android directory, which contains all of the files needed to run on an Android device.
Since we used the [Directory.Documents](https://capacitorjs.com/docs/apis/filesystem#directory) and added the capacitor filesystem package, the following permissions must be added to your AndroidManifest.xml.
To do this, we navigate to the android > src > main folder in the project root directory, open the AndroidManifest.xml and add the following to the <!-- Permissions --> line.
...
<!-- Permissions -->
<uses-permission android:name="android.permission.READ_EXTERNAL_STORAGE"/>
<uses-permission android:name="android.permission.WRITE_EXTERNAL_STORAGE" />
This requests file access permissions for the Android device. After doing that, we then run the command:
npx ionic cap sync androidThis command builds the Vue.js application and prepares the app to be executed on the android platform. After the command’s execution is completed, we can open our Android app in Android studio. If the Android studio was installed as defined here, we can use the following command to run our code.
npx ionic cap open androidThis opens the project in Android studio, with the android directory at the project’s root.
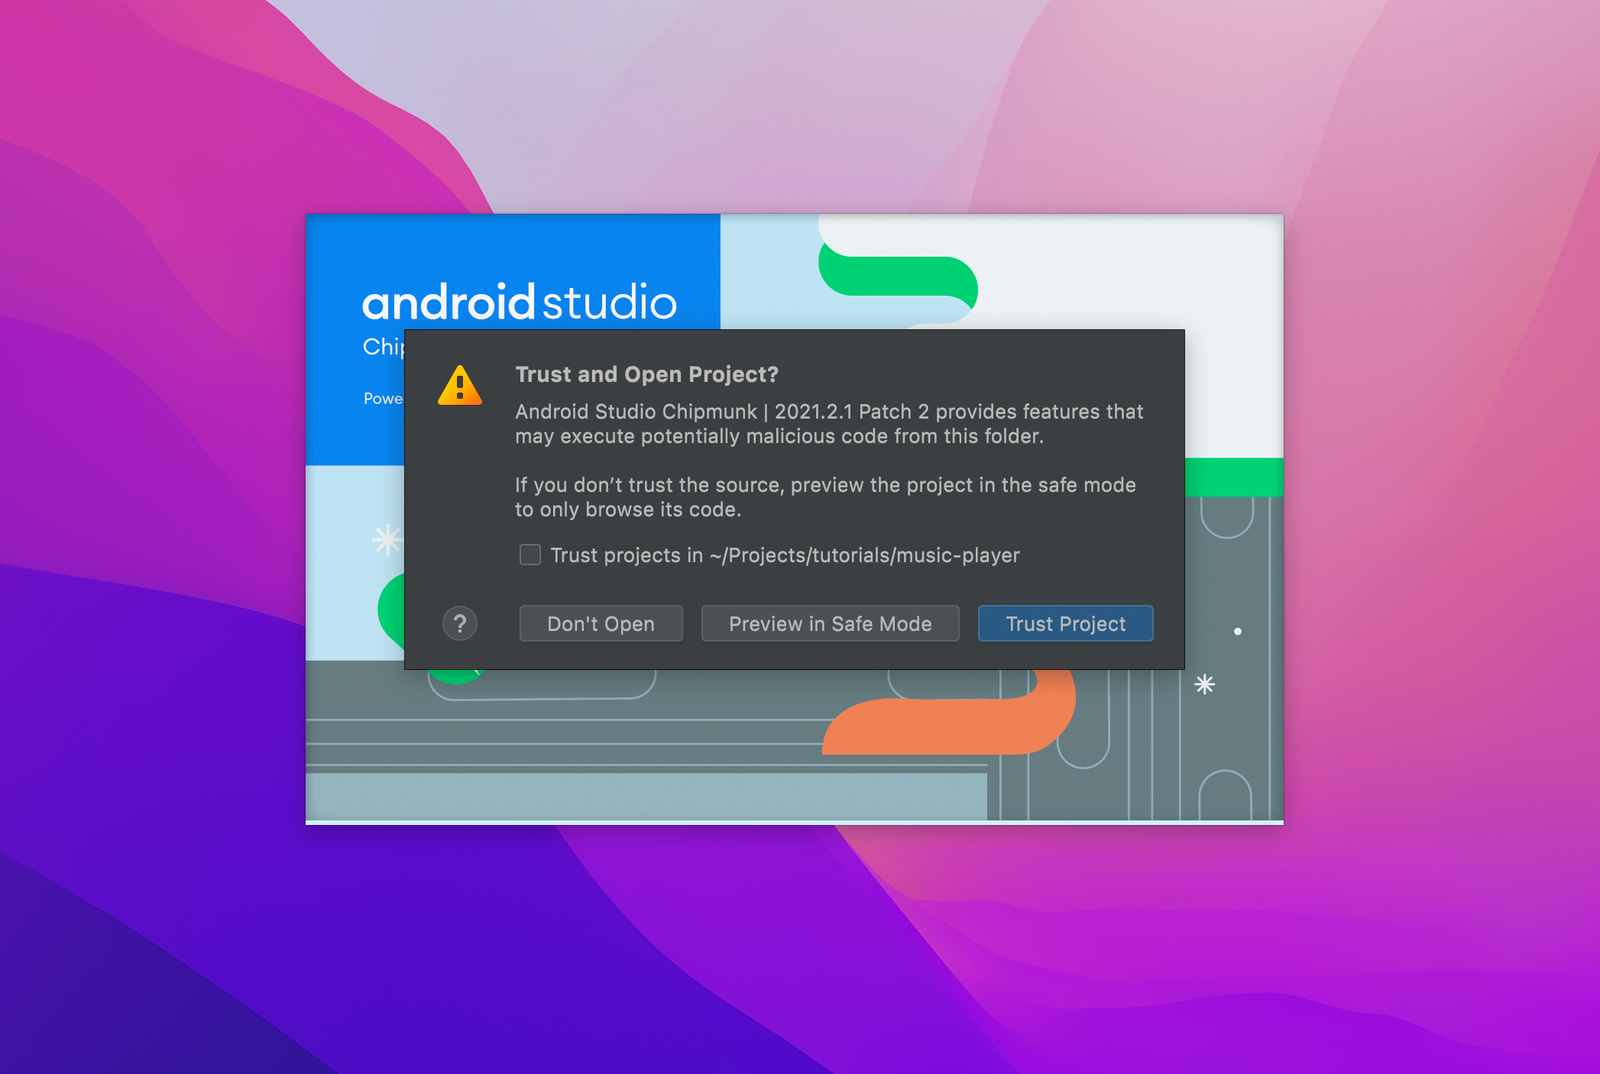
Trust the project and open it.
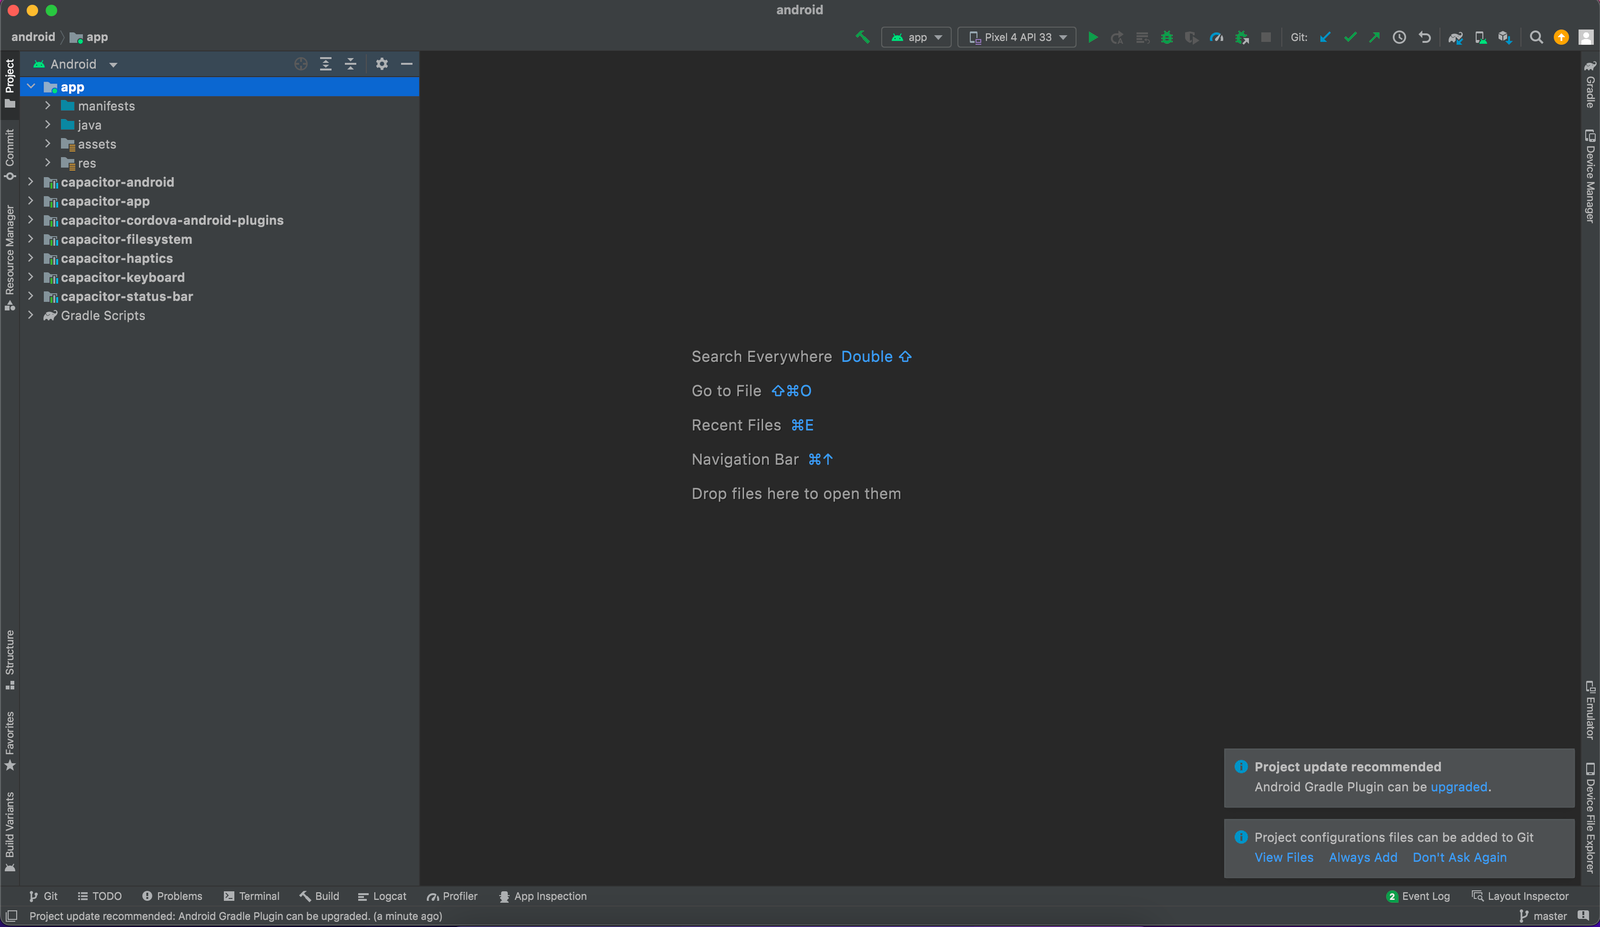
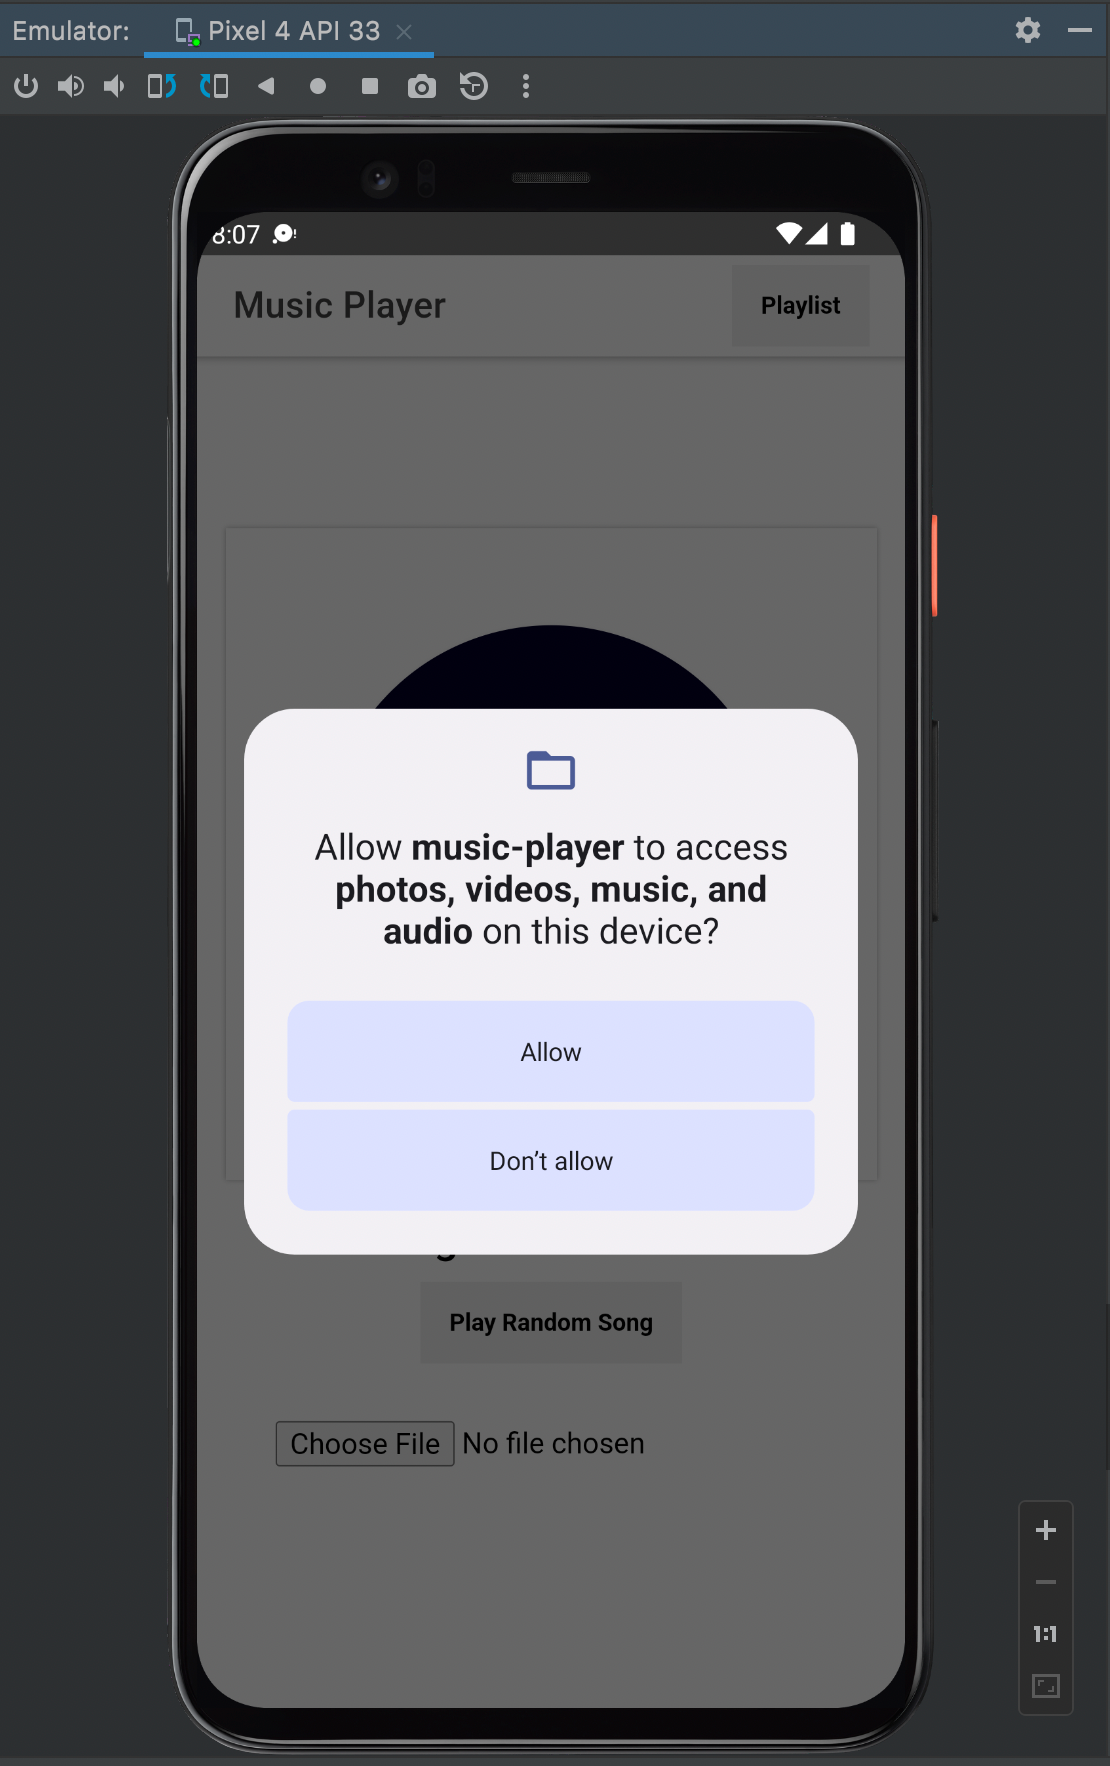
Click allow to permit our app to access and create files in the Documents directory.
Next, we’ll test our application on our emulator.
Testing for Android
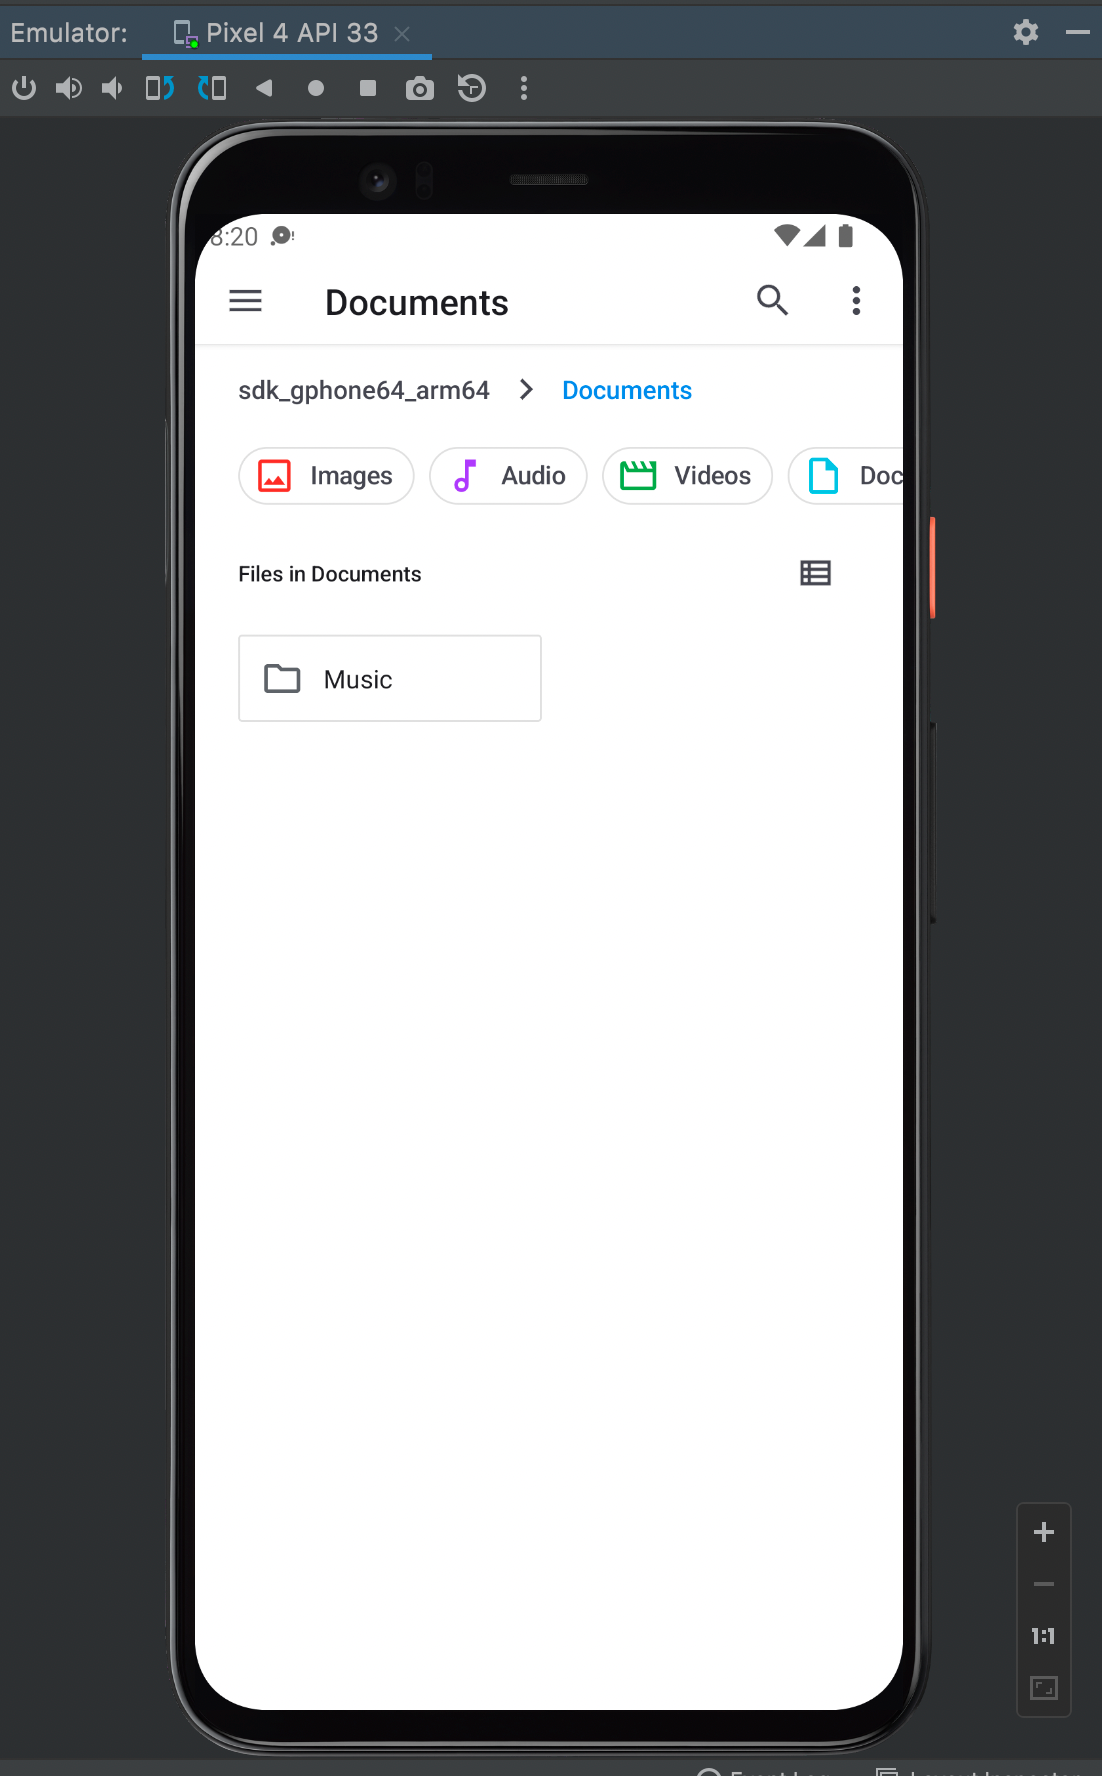
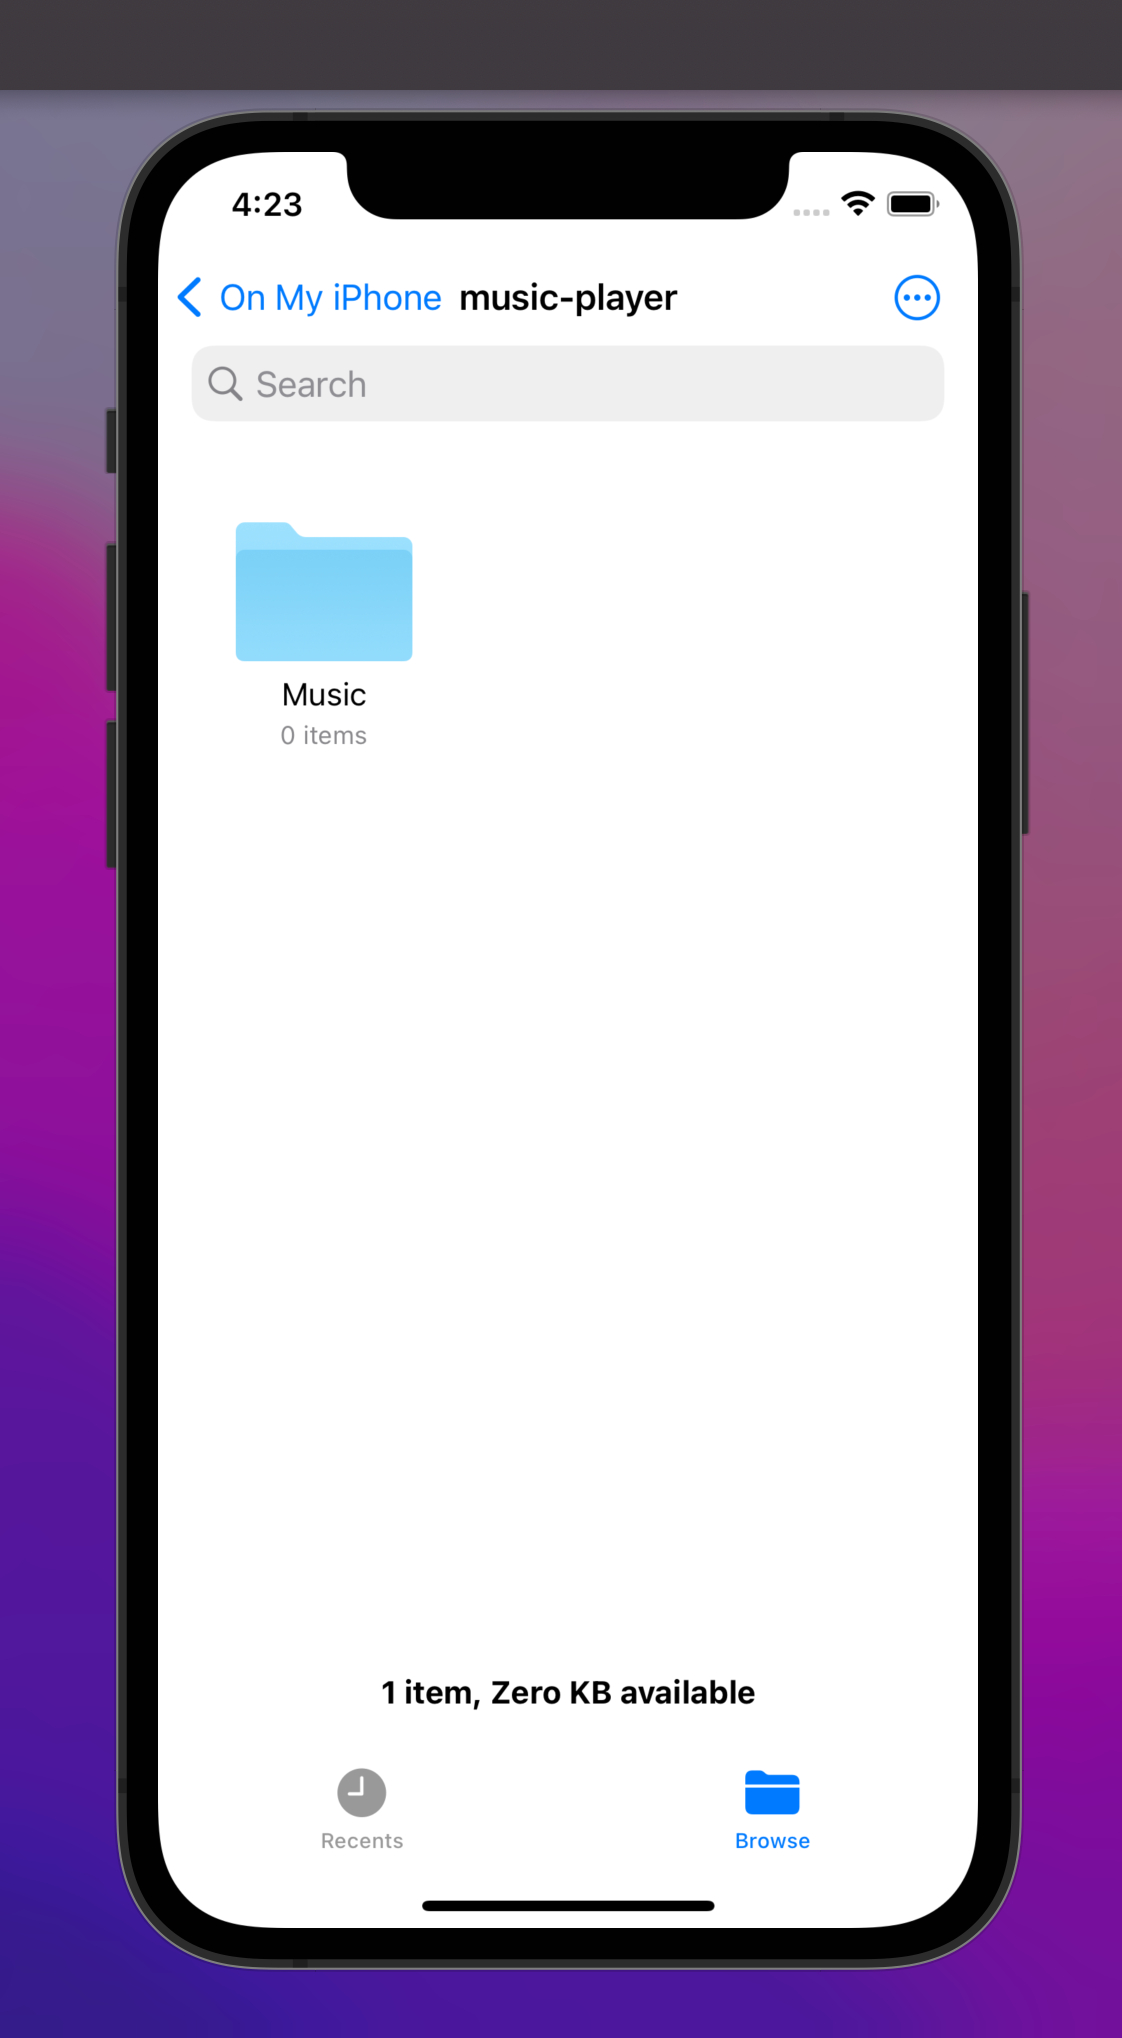
Make sure you have installed an emulator for testing. To install, check here. Then download a song to the emulator device. You can choose to copy the mp3 file to the Music folder in the Documents directory of the emulated device or copy the file input to copy files to that directory.
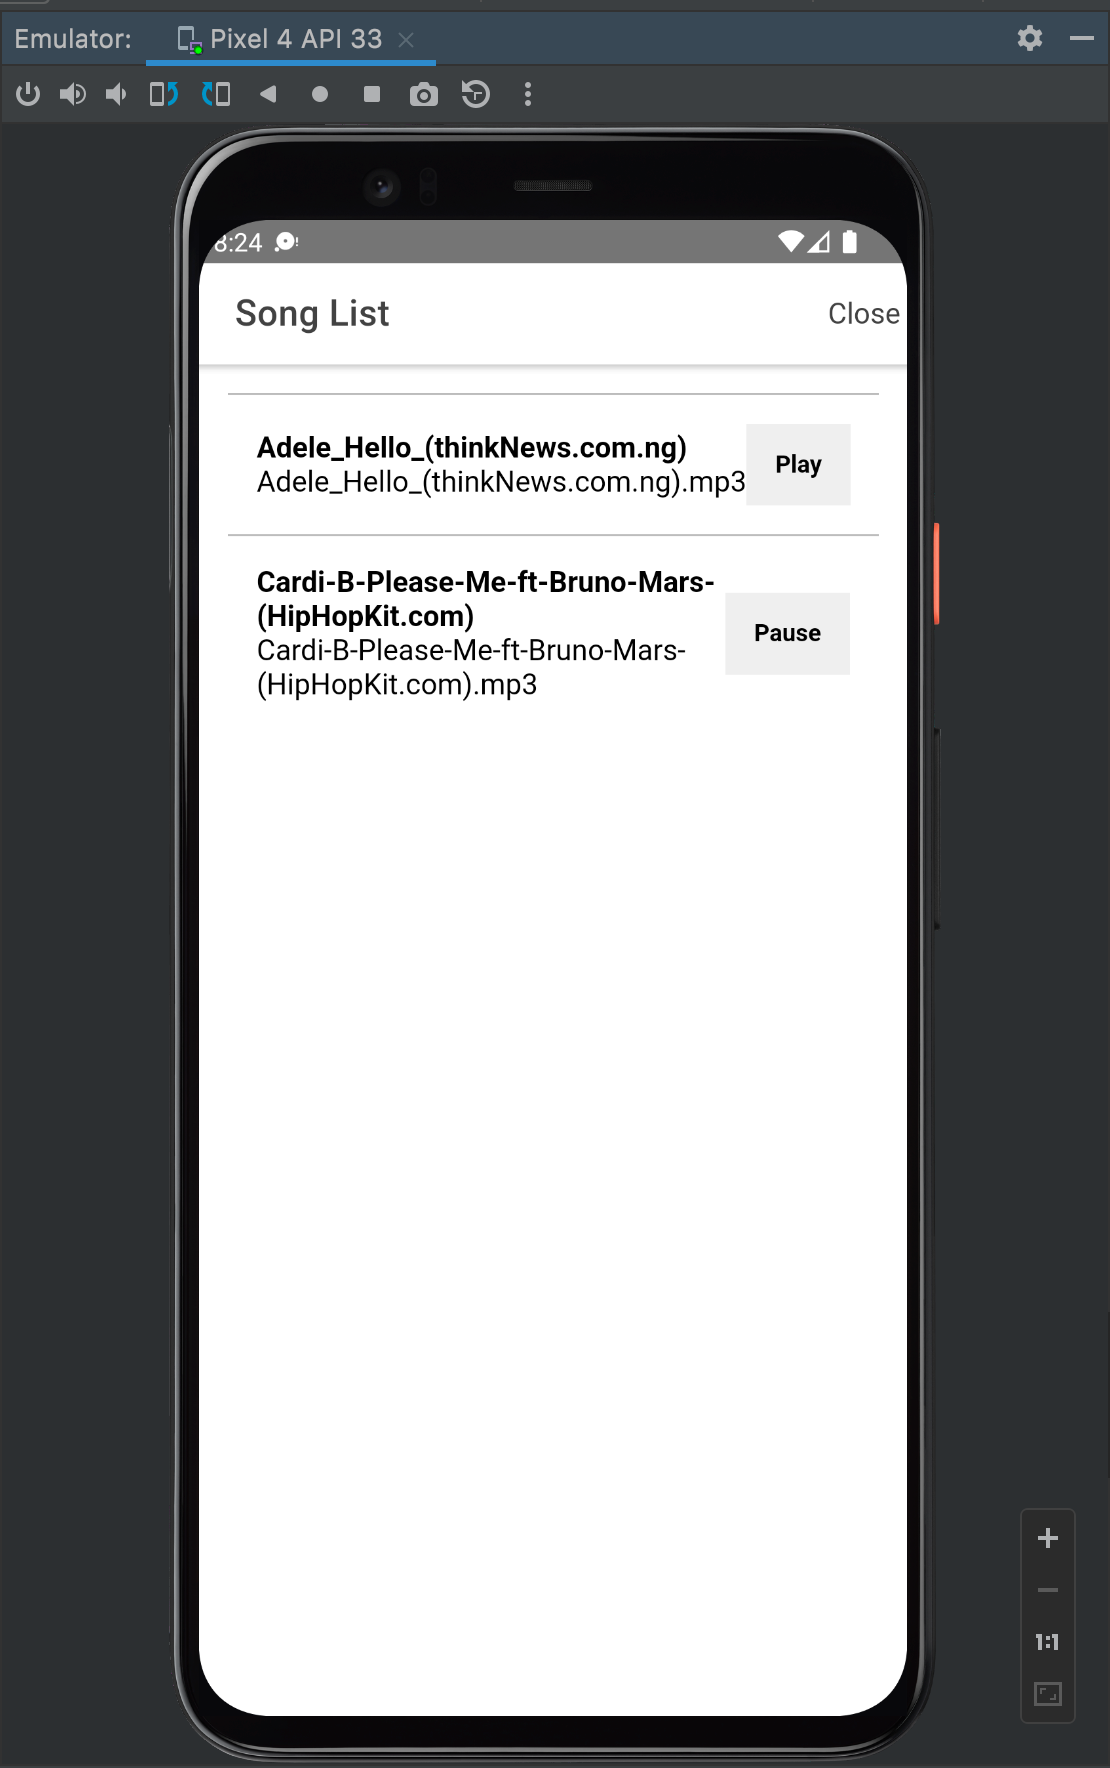
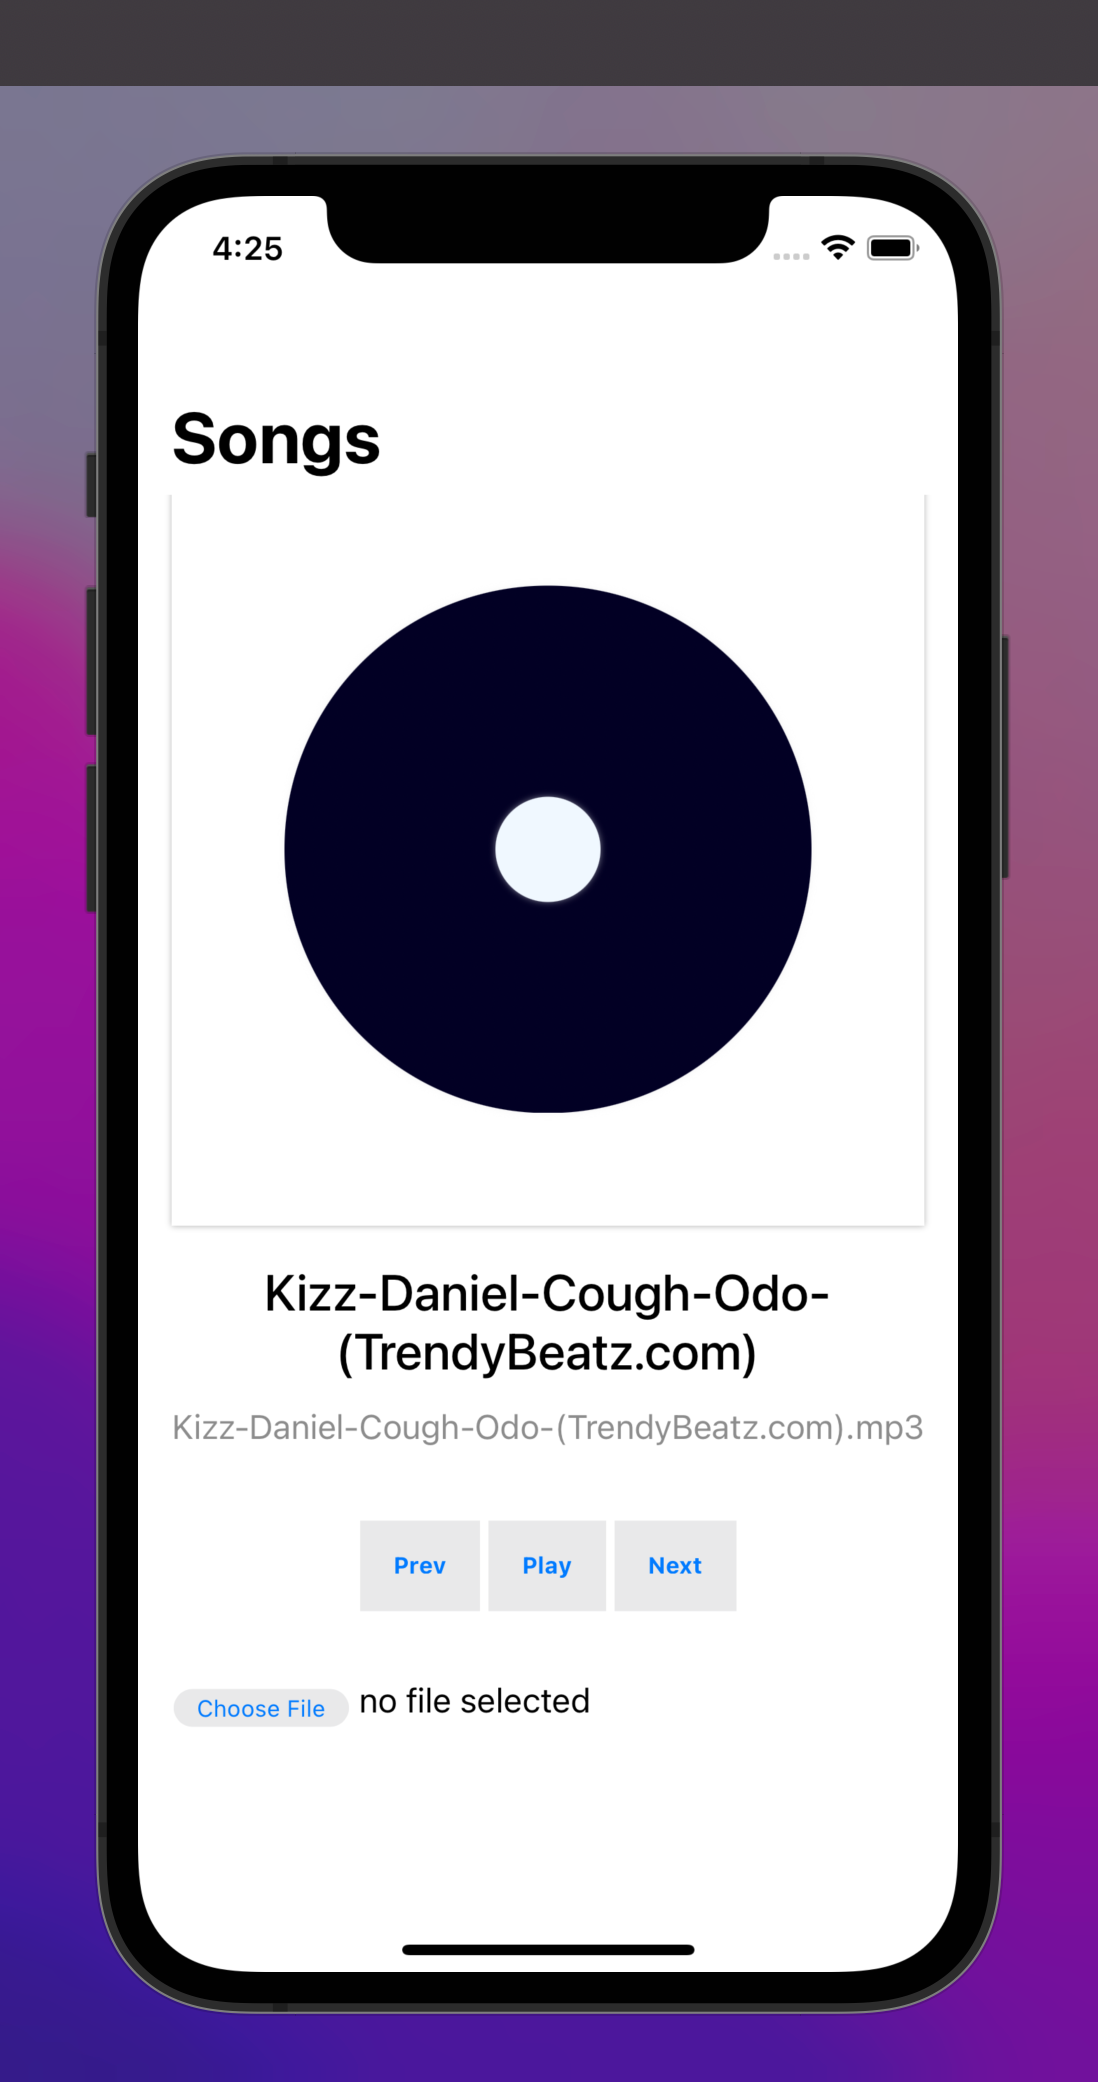
Once you have music in the directory, you can reopen the app and click on Playlist to view the songs.
Then you can select and play any one of your choices.


Building For IOS
Note: To test and build for IOS, we must first have Xcode installed and configured, followed by installing one of the IOS simulators via Xcode.
To build for IOS devices, we use the following command:
npx ionic cap add ios
Similar to Android, it creates the necessary files and folders required to build for IOS. We also need to add the Permissions for file access, as we did with Android. To do this, We set the following keys:
UIFileSharingEnabledLSSupportsOpeningDocumentsInPlace
in the ios > App > App > info.plist, value to YES.
Then we change the directory to the ios/App directory using:
cd ios/AppThen run the command:
pod installwhich installs all the necessary IOS dependencies.

Then we run the command:
npx ionic cap open ios
This command opens the project with Xcode, an editor for developing iOS applications.

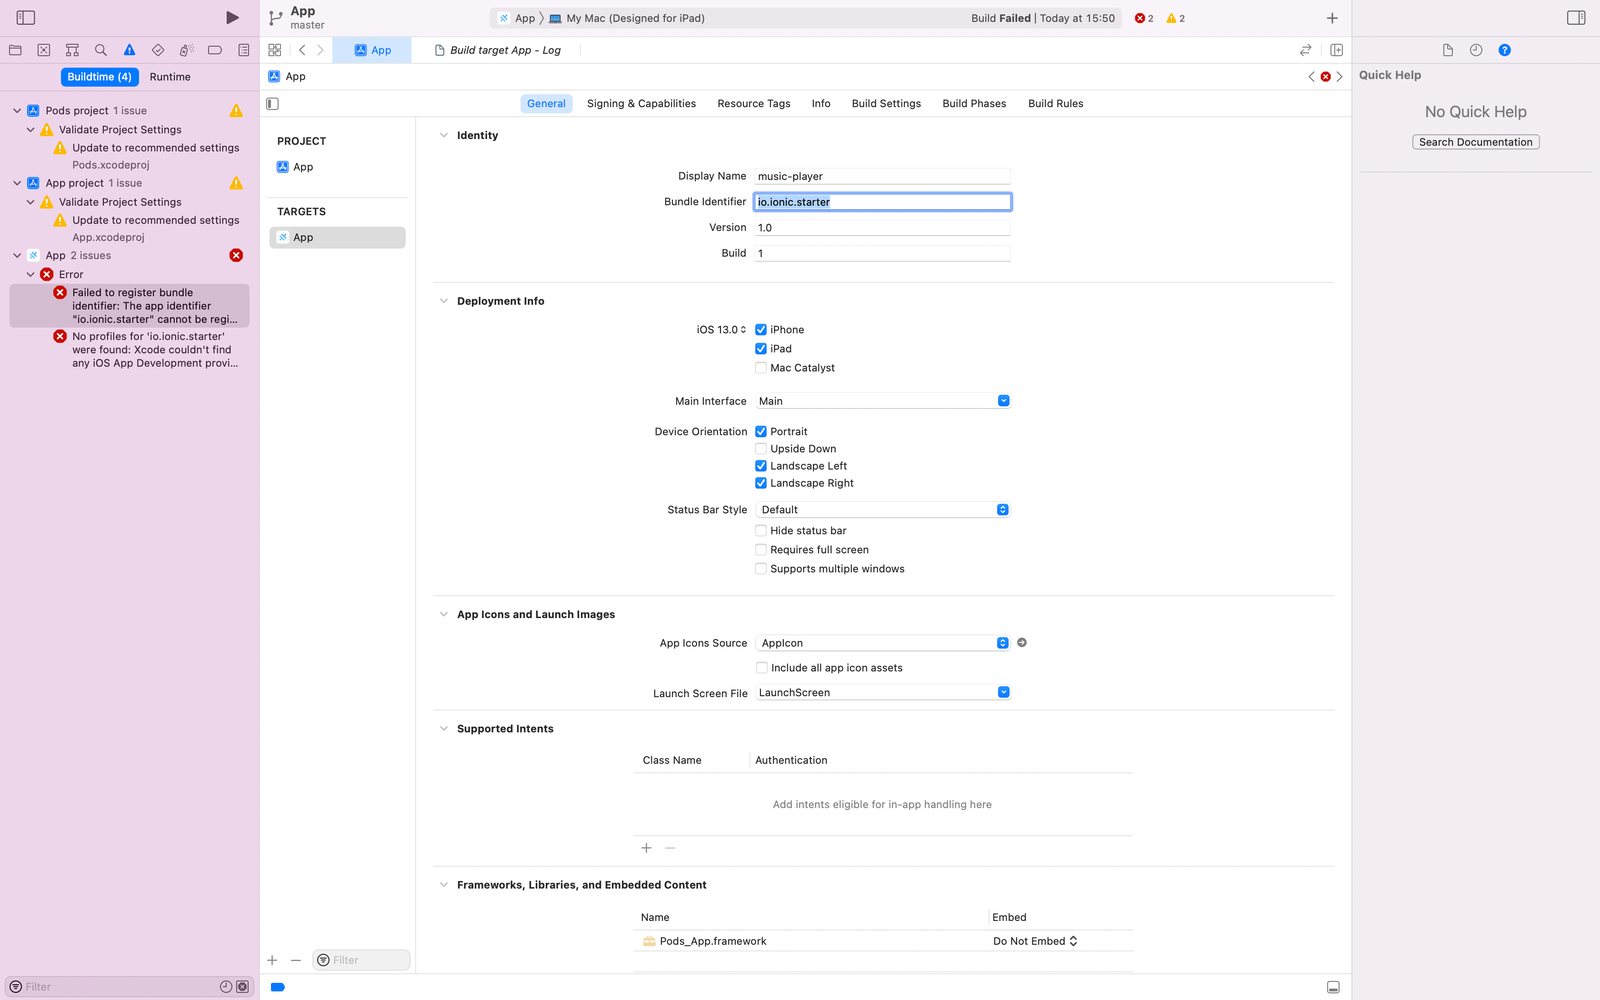
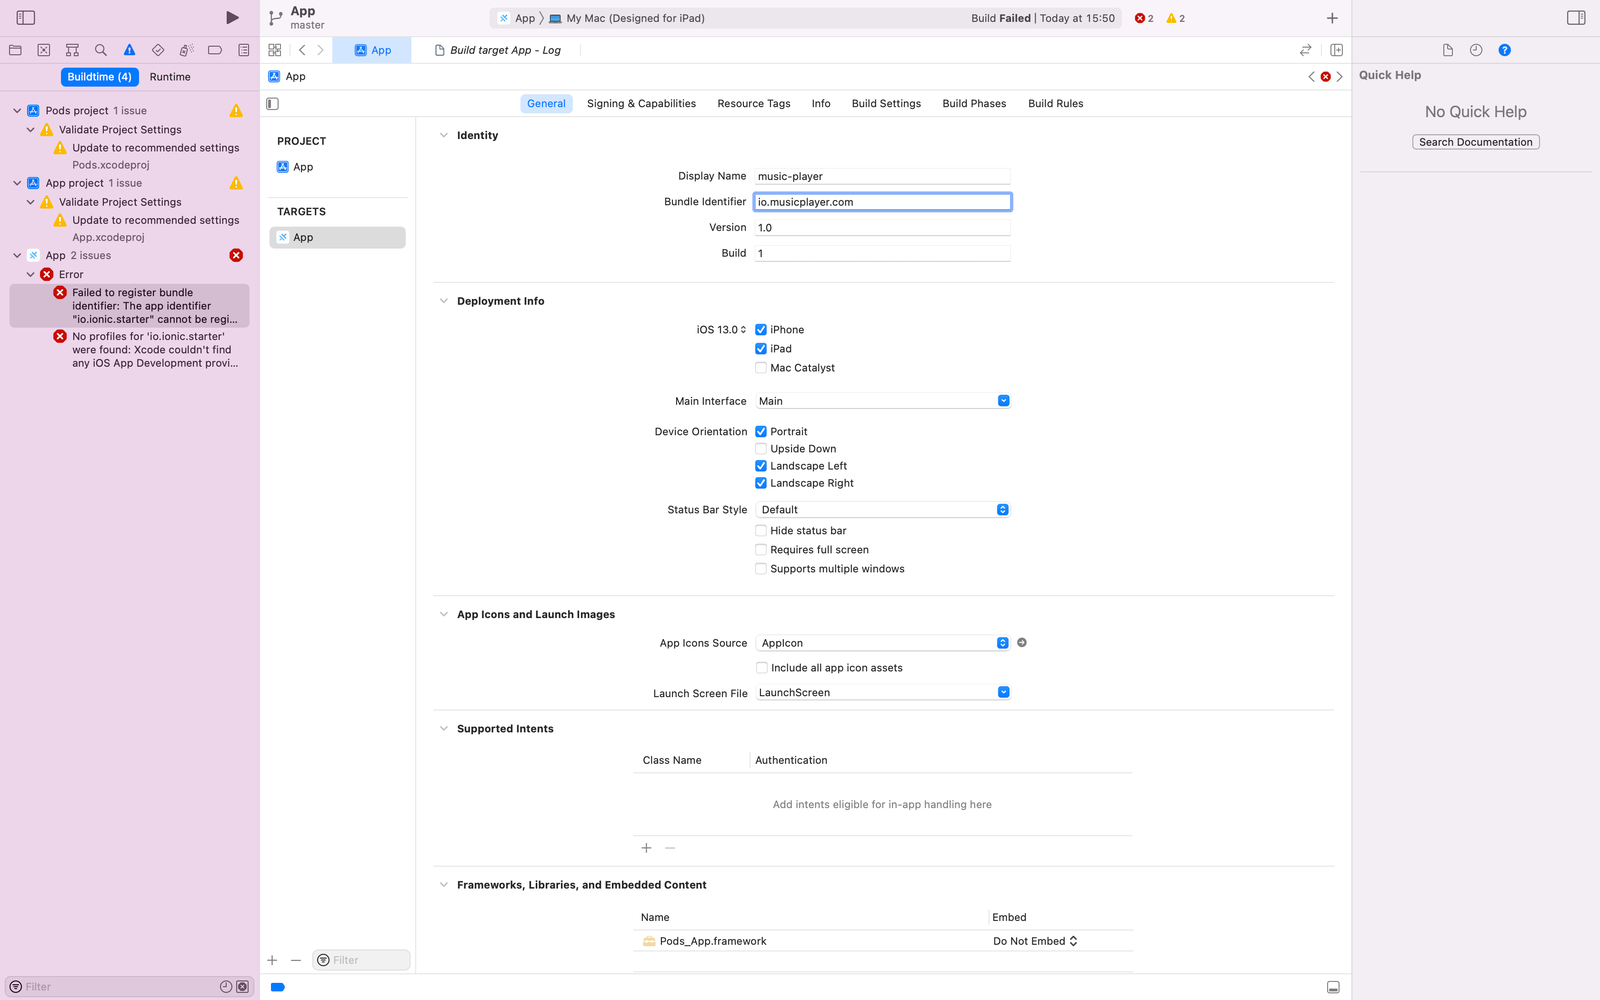
Once this has opened, we need to change the bundle identifier to io.musicplayer.com because the initial value of this bundle ID is not valid and would prevent the app from building.
This can be done via clicking on App below the TARGET to display the general configuration, then replace the value of the bundle Identifier.
Then we move to update the Signing and Capabilities.
Methods on how to add signing capabilities can be found here.

After we have completed these steps, we can start building our app. To build our app, we will click the button indicated below.
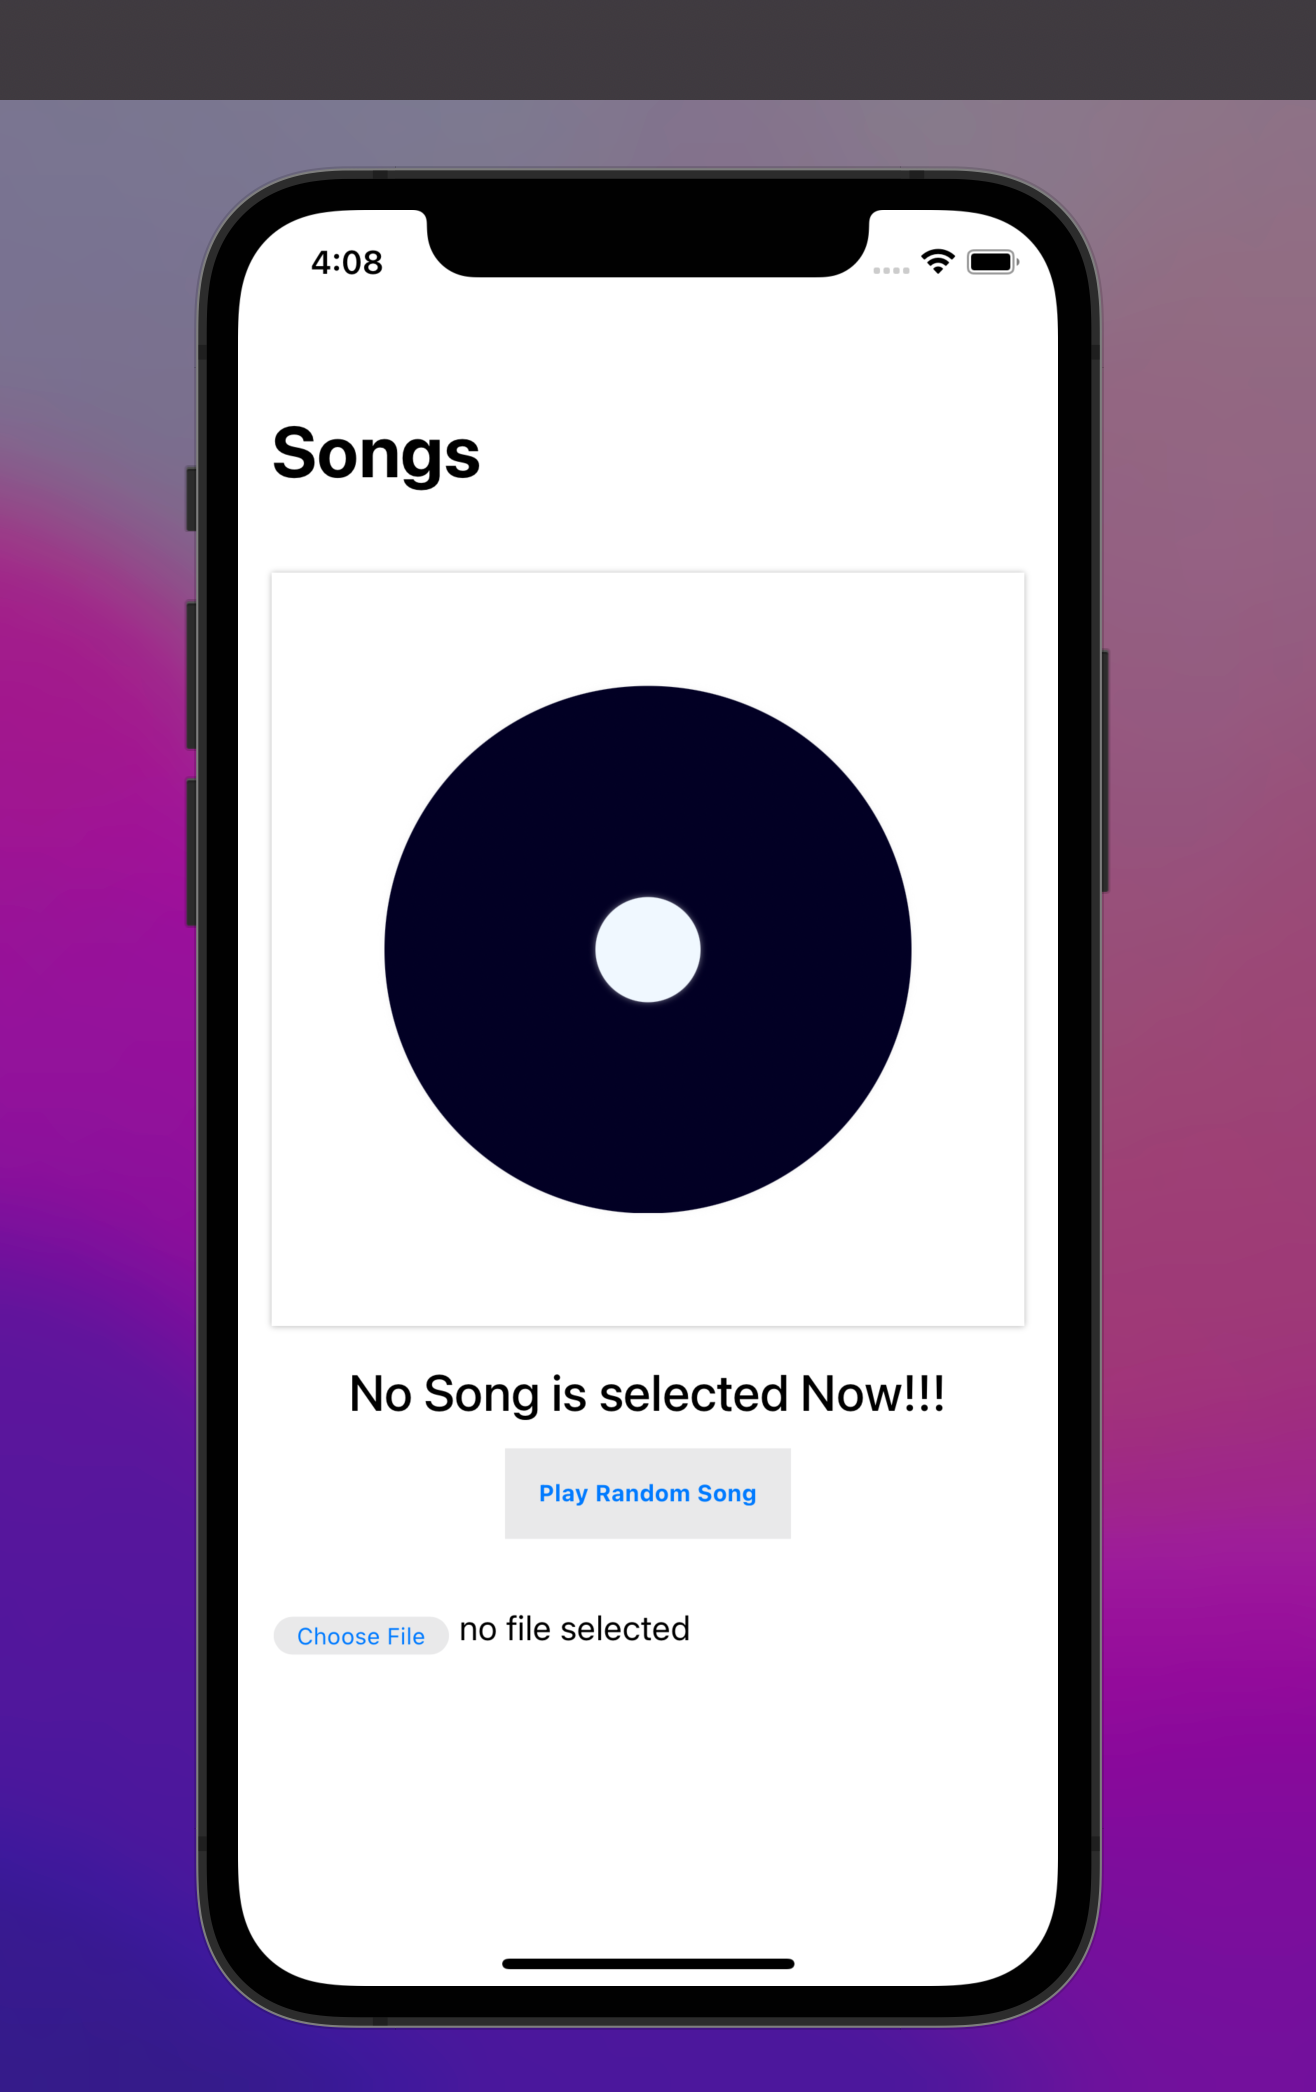
After the build process is completed, a simulator with our app running opens up.
Testing For IOS
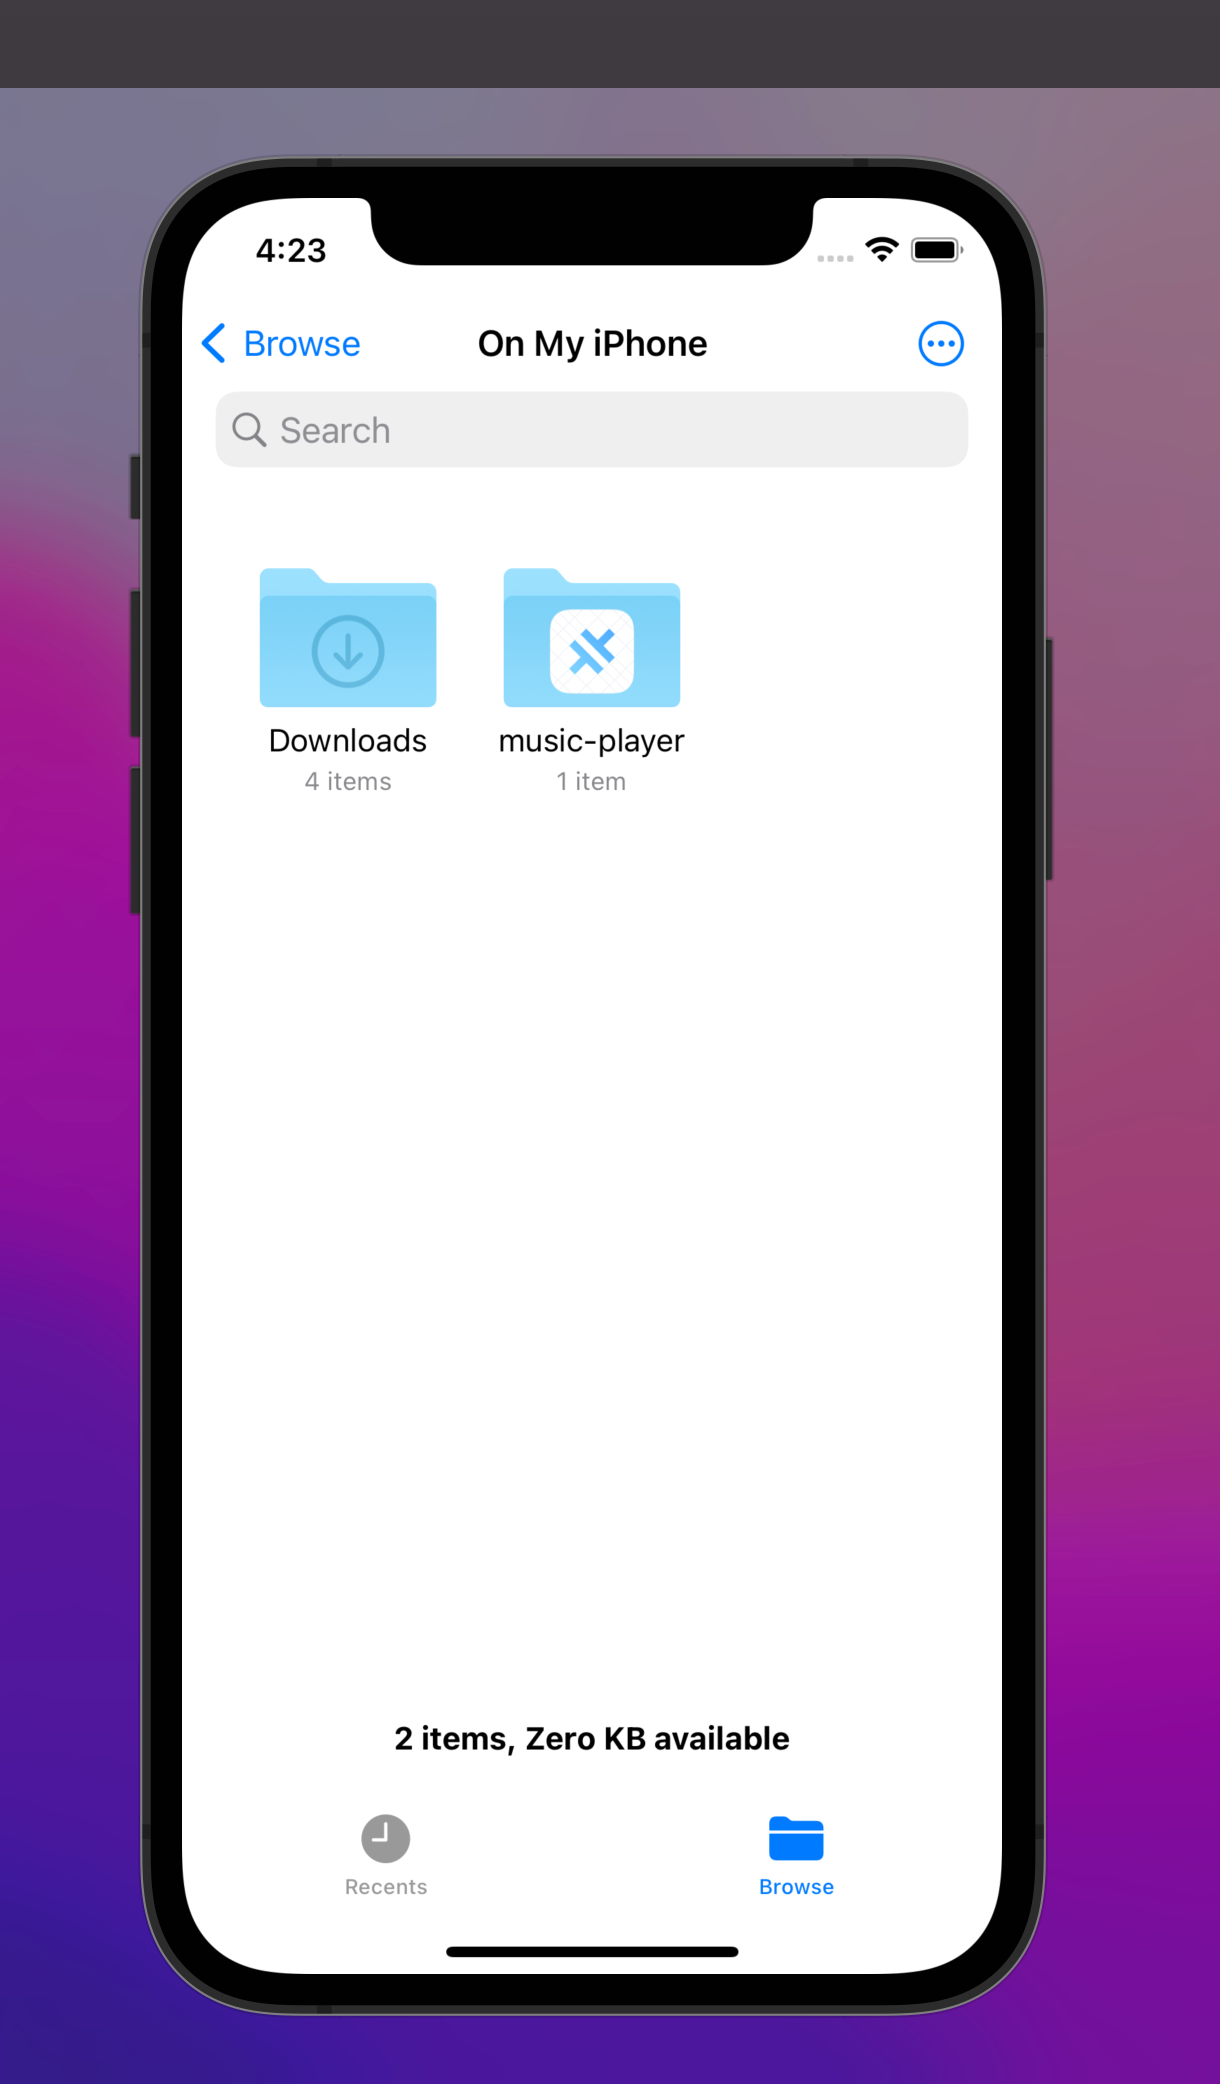
To test, we download songs to our simulated devices, move them to the music-player/music directory the reopen our app to load up the songs.
Conclusion
We discussed cross-platform development and built a music player to demonstrate how we can build cross-platform apps with Ionic, Vue.js, and Capacitor.js.
We’ve also shown that Ionic+Capacitor is a simple-to-use combination. Also, because of the knowledge and experience with JavaScript tools, Web developers can easily transition to building apps for a variety of other platforms.
A TIP FROM THE EDITOR: For another way of building mobile apps, don’t miss our Building A Mobile App Using HTML, CSS, And JavaScript article!
Gain Debugging Superpowers
Unleash the power of session replay to reproduce bugs and track user frustrations. Get complete visibility into your frontend with OpenReplay, the most advanced open-source session replay tool for developers.


