
Data Fetching Techniques with React


Many web applications rely on data from external sources in order to deliver a good user experience. Knowing about the different data fetching techniques in React will enable you make informed decisions on the best use case for your application.
In this article, we will explore various techniques of fetching data in web applications built with React. We will focus on using Hooks introduced in React 16.8 to fetch data from the popular JSON Placeholder API to be displayed in a React application.
Getting Started
Open a terminal and run the command below to create a react application
# using npm
npx create-react-app project_name

# using yarn
yarn create react-app project_name
The command above bootstraps a React application using the create-react-app tool.
Navigate to the project directory
cd project_nameStart the application
# using npm
npm start

# using yarn
yarn start
Fetch API
The Fetch API is a promise-based Web API that allows you to make network requests in web applications. It is very similar to XMLHttpRequest (XHR) but improves on it by making it easier to make asynchronous requests. It is also better at handling responses.
The fetch API is relatively easy to get started with. Below is an example of using the fetch API to get data:
fetch('http://jsonplaceholder.typicode.com/posts')
  .then(response => response.json())
  .then(data => console.log(data))
  .catch(error => console.log(error));
In the example above we are fetching data from JSON Placeholder API and outputting it to the console. The fetch takes the location of the resource as an argument and returns a promise as response. We use the response.json() function to convert the response received from the API into JSON. The response can also be converted into other formats as needed by your application. If the promise is rejected due to an error the catch block is executed.
To integrate the fetch API into the React application we created earlier navigate to the src directory and create a directory called components, this folder will hold all the React components. Create a Notes.js file in the components directory, this file is responsible for displaying the data gotten from an external API. Open the file and paste the code below into the file
import React from 'react';
const Notes = ({ data }) => {
  return (
    <div>
      <ul>
        {data && data.map((item, index) => <li key={index}>{item.title}</li>)}
      </ul>
    </div>
  );
};
export default Notes;
Create another file called FetchDemo.js and paste the code below
import React, { useState, useEffect } from 'react';
import Notes from './Notes';
const FetchDemo = () => {
  const [notes, setNotes] = useState([]);
  const [isLoading, setIsLoading] = useState(false);
  const [isError, setIsError] = useState(false);
  const fetchData = () => {
    fetch('http://jsonplaceholder.typicode.com/posts')
      .then((response) => response.json())
      .then((data) => {
        setIsLoading(false);
        setNotes(data);
      })
      .catch((error) => {
        setIsLoading(false);
        setIsError(true);
        console.log(error);
      });
  };
  useEffect(() => {
    fetchData();
  }, []);
  if (isLoading) {
    return <div>Loading...</div>;
  }
  return (
    <div>
      <h1>Fetch Example</h1>
      {notes && <Notes data={notes} />}
      {isError && <div>Error fetching data.</div>}
    </div>
  );
};
export default FetchDemo;
In this component, we’ve created a fetchData function that is responsible for getting a list of notes from JSON Placeholder. The response gotten from the data is then stored in the notes state which is passed as props {notes && <Notes data={notes} />} to the Notes component we created earlier for displaying the notes. If there is an error encountered when fetching the data we modify the isError state and display an error message to the user {isError && <div>Error fetching data.</div>}. We also have a state isLoading which we use to display a loading message to the user while we wait for the response from the network request made.
The fetchData function is called in the useEffect hook which runs once when the component is mounted (for more on useEffects check here).
Go to the App.js file and replace the existing code with the code below
import React from 'react';
import FetchDemo from './components/FetchDemo';
function App() {
return (
<div className="App">
<h1>Posts</h1>
<FetchDemo />
</div>
);
}
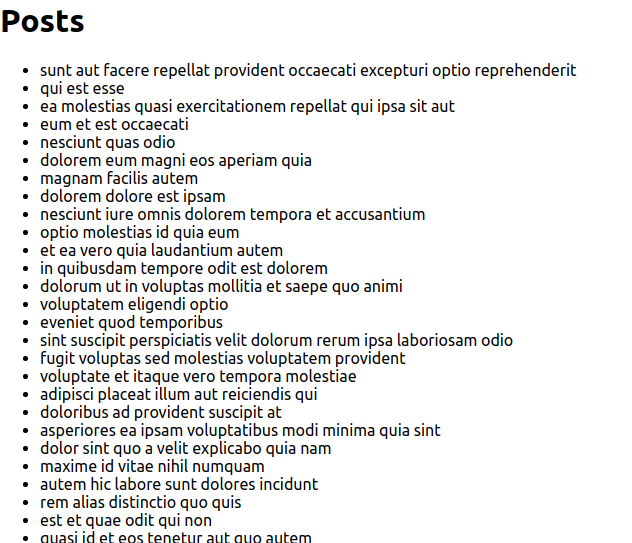
export default App;What we’ve done here is to import the FetchDemo component we created and render it in the App component. Save the file and see the results in your browser, the results should be similar to the screenshot below:
Open Source Session Replay
OpenReplay is an open-source, session replay suite that lets you see what users do on your web app, helping you troubleshoot issues faster. OpenReplay is self-hosted for full control over your data.

Start enjoying your debugging experience - start using OpenReplay for free.
Axios
Axios is a promise-based lightweight HTTP client for the browser and Node.js. It is similar to the Fetch API as it is also used in making network requests. Unlike fetch, it transforms all responses to JSON.
Below is an example of using the fetch API to get data
axios.get('http://jsonplaceholder.typicode.com/posts')
  .then(response => console.log(response))
  .catch(error => console.log(error));
This example is very similar to fetch as Axios is also promise-based. The major difference as mentioned earlier is we don’t have to convert the responses to JSON as Axios does that automatically. Some other features of Axios include:
- Intercept request and response
- Transform request and response data
- Cancel requests
- Client-side support for protecting against XSRF
To integrate Axios into a React application open a terminal in the applications root directory and run the code below
# using npm
npm install axios

# using yarn
yarn add axios
The above commands installs Axios into a React application.
Create a file called AxiosDemo.js in the components directory and paste the code below
import React, { useState, useEffect } from 'react';
import axios from 'axios';
import Notes from './Notes';
const AxiosDemo = () => {
  const [notes, setNotes] = useState([]);
  const [isLoading, setIsLoading] = useState(false);
  const [isError, setIsError] = useState(false);
  const fetchData = () => {
    axios
      .get('http://jsonplaceholder.typicode.com/posts')
      .then((response) => {
        setIsLoading(false);
        setNotes(response.data);
      })
      .catch((error) => {
        setIsLoading(false);
        setIsError(true);
        console.log(error);
      });
  };
  useEffect(() => {
    fetchData();
  }, []);
  if (isLoading) {
    return <div>Loading...</div>;
  }
  return (
    <div>
      <h1>Using Axios</h1>
      {notes && <Notes data={notes} />}
      {isError && <div>Error fetching data.</div>}
    </div>
  );
};
export default AxiosDemo;
The code above shows how to fetch data using Axios. The first step was importing the Axios library we installed import axios from 'axios' the Axios library is then utilized in the fetchData function where we make a request to get data from the JSON Placeholder library. We store the response gotten in the notes state and if we encounter any error, we render an appropriate error message to the user.
Go to the App.js file and replace the existing code with the code below
import React from 'react';
import FetchDemo from './components/FetchDemo';
import AxiosDemo from './components/AxiosDemo';
function App() {
return (
<div className="App">
<AxiosDemo />
</div>
);
}
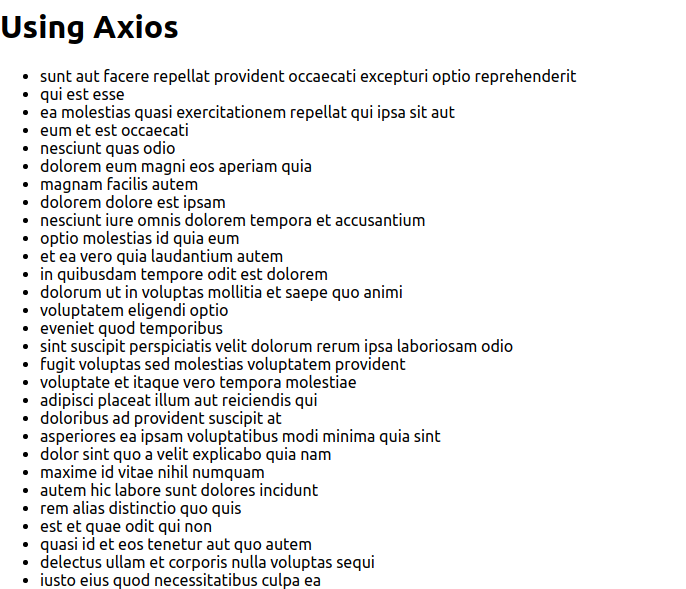
export default App;In the App component we’ve rendered the AxiosDemo component. Save and open the application in a browser
Fetching data with Async/Await
“async/await” makes asynchronous programming easier in JavaScript. It provides a way of writing promises cleanly and concisely and takes away all .then() blocks. There are two parts to “async/await”:
async: Theasyncis a keyword placed before a function declaration which makes the function return a promise. For example:
async function hello() {
  return "hello";
}
hello().then(console.log) //helloawait: Theawaitkeyword is used in anasyncfunction and makes the function wait for a promise to be resolved.
let value = await promise;“async/await” is less of a data fetching technique and more of a better way of using the existing data techniques mentioned earlier. We can refactor the existing Axios network call using promises in the previous section from the code below
axios
  .get('http://jsonplaceholder.typicode.com/posts')
  .then((response) => {
    setIsLoading(false);
    setNotes(response.data);
  })
  .catch((error) => {
    setIsLoading(false);
    setIsError(true);
    console.log(error);
  });
to:
try {
  const response = await axios.get(
    'http://jsonplaceholder.typicode.com/posts'
  );
  setIsLoading(false);
  setNotes(response.data);
} catch (error) {
  setIsLoading(false);
  setIsError(true);
  console.log(error);
}
This makes the code less complex and easier to read.
Custom Data Fetching Hooks
According to the React docs:
A custom Hook is a JavaScript function whose name starts with ”use” and that may call other Hooks
Custom hooks allow you to extract component logic into reusable functions that can then be used in different components. For example, if we have to fetch data across different components instead of having the data fetching logic in each of these components we can abstract that logic into a custom hook which can then be reused across the different components.
We will be creating a useAxios hook that takes away the data fetching logic from the AxiosDemo component we created earlier. Navigate to the src directory and create a hooks directory. Now go to the hooks directory and create a file called useAxios.js. Open the file and paste the code below:
import { useState, useEffect } from 'react';
import axios from 'axios';

const useAxios = (url) => {
  const [data, setData] = useState([]);
  const [isLoading, setIsLoading] = useState(false);
  const [isError, setIsError] = useState(false);
  const fetchData = async () => {
    try {
      const response = await axios.get(url);
      setIsLoading(false);
      setData(response.data);
    } catch (error) {
      setIsLoading(false);
      setIsError(true);
      console.log(error);
    }
  };
  useEffect(() => {
    fetchData();
  }, []);
  return { isLoading, isError, data };
};
export default useAxios;
In the code above we’ve extracted the states and data fetching logic needed from the AxiosDemo component, we’ve also added a parameter for url. What this means is we can use this hook in any component that needs to fetch data from anywhere not necessarily JSON Placeholder and return a response back to the component that needs the data.
Now let us refactor our AxiosDemo component to use the useAxios hook. Open AxiosDemo.js file and replace the existing code with the code below:
import React from 'react';
import useAxios from '../hooks/useAxios';
import Notes from './Notes';

const AxiosDemo = () => {
  const { isLoading, isError, data: notes } = useAxios(
    'http://jsonplaceholder.typicode.com/posts'
  );
  if (isLoading) {
    return <div>Loading...</div>;
  }
  return (
    <div>
      <h1>Using Axios</h1>
      {notes && <Notes data={notes} />}
      {isError && <div>Error fetching data.</div>}
    </div>
  );
};

export default AxiosDemo;
We’ve imported the useAxios hook into the AxiosDemo component. We use the hook by passing the url argument:
const { isLoading, isError, data: notes } = useAxios("http://jsonplaceholder.typicode.com/posts");Once the data is fetched the hook returns an object which we have destructured to be used in the AxiosDemo component.
Concurrent Mode and Suspense
Concurrent mode and Suspense are experimental features introduced in React 16.6 to handle data fetching in React applications. To get started with concurrent mode, open a terminal in the root of your application and run the code below:
# using npm
npm install react@experimental react-dom@experimental

# using yarn
yarn add react@experimental react-dom@experimental
Go to index.js and replace the existing code with the code below:
import ReactDOM from 'react-dom';

// If you previously had:
//
// ReactDOM.render(<App />, document.getElementById('root'));
//
// You can opt into Concurrent Mode by writing:

ReactDOM.unstable_createRoot(
  document.getElementById('root')
).render(<App />);
Concurrent mode is a set of new features that helps React apps stay responsive while waiting for the result of an operation, this includes Suspense which is a component that lets you specify a loading state while you wait for some code action to be done executing.
// show a loading message while waiting for notes to be loaded
const notes = fetchData()
<Suspense fallback={<div>Loading...</div>}>
  <Notes data={notes} />
</Suspense>
In the example above we are displaying a loading message while waiting for the data from our API to be loaded. You might wonder how this differs from using a loading state as we’ve used in previous sections.
if (isLoading) {
  return <div>Loading...</div>;
}
As an application gets bigger we might have to depend on different loading states when each component has to make a different asynchronous request which makes our code get messy. Since Suspense knows when our data is fetched it saves us a lot of time in boilerplate code and having to listen for loading state changes in our application.
To be clear Concurrent mode and Suspense is still experimental and shouldn’t be used in production-ready applications. It is also good to note that Suspense is not a data fetching mechanism but rather a way to delay the rendering of components while you wait for unavailable data. Dan Abramov gave a great demo on how Suspense works check it out here.
Conclusion
In this article we’ve looked at different data fetching techniques for React applications, while the approaches are similar it is left for you to choose the best approach to suit the use case of your application.