Dockerizing Full-Stack React apps
How to create a whole environment for React apps, with Node and MySQL containers

As a Developer, setting up local development environments can take time and effort. Take a React application as an example. Creating your application becomes even more complex when you need a backend and database to serve data to your application. Using infrastructures such as Docker and Containers gives a developer an upper hand to quickly set up and deploy applications.
Containers are lightweight operating systems that run as a form of virtualization. They let you package your applications and run them in isolated containerized environments. This gives you the power to quickly run powerful applications from different computing environments. This way, you have a standardized and light method to deploy your application to diverse infrastructures. In addition, you get a wide range of infrastructures that you can optionally choose to run your applications. In summary, containers are suitable for the following:
- Dependencies isolation.
- Portability between different infrastructures and platforms. The container is self-contained within the container and will run on any host you ship.
- Code compatibility that eliminates differences in computer environments.
- Resources efficiency that is easy to scale up, allowing you to run powerful apps as lightweight and fast.
- They’re great for shipping codes of any kind.
- DevOps thrives, and they enhance team collaboration, thus ensuring continuous delivery of applications and services to the user.
One of the great tools to containerize your application is Docker. It allows developers to package and run applications along with their runtime dependencies in isolated environments that containers offer. With Docker, teams can develop, ship, and run applications separately from their infrastructure. The team can build the app as a collection of microservice, and you are allowing them to create independently deployable services to deliver software faster.
In this guide, we will run a full-stack React app in Docker. We will leverage Docker to run containers as a microservice. This way, we can serve a Node.js API, run MySQL as DBaaS, and consumer the data to a React backend within Docker. To follow along with this guide, it is essential to have the following:
- Node.js installed on your computer.
- Docker Engine installed and running on your computer
- A MySQL database correctly installed and running on your computer. This goes hand in hand will MySQL Workbench, a unified visual tool for SQL databases such as MySQL.
- Postman for testing API endpoints
Cloning the Starter Code
To accomplish the goals of this guide, we need a running full-stack React, Node.js, and MySQL application. If you dint have one ready, you can go ahead and clone the following repository and have the code ready on your computer:
git clone https://github.com/kimkimani/react-fullstack-with-Nodejs-and-Mysql.gitOnce you have successfully cloned the above code template, let’s run it locally and ensure everything is working as expected before deploying the whole stack on Docker.
Setting up the Database
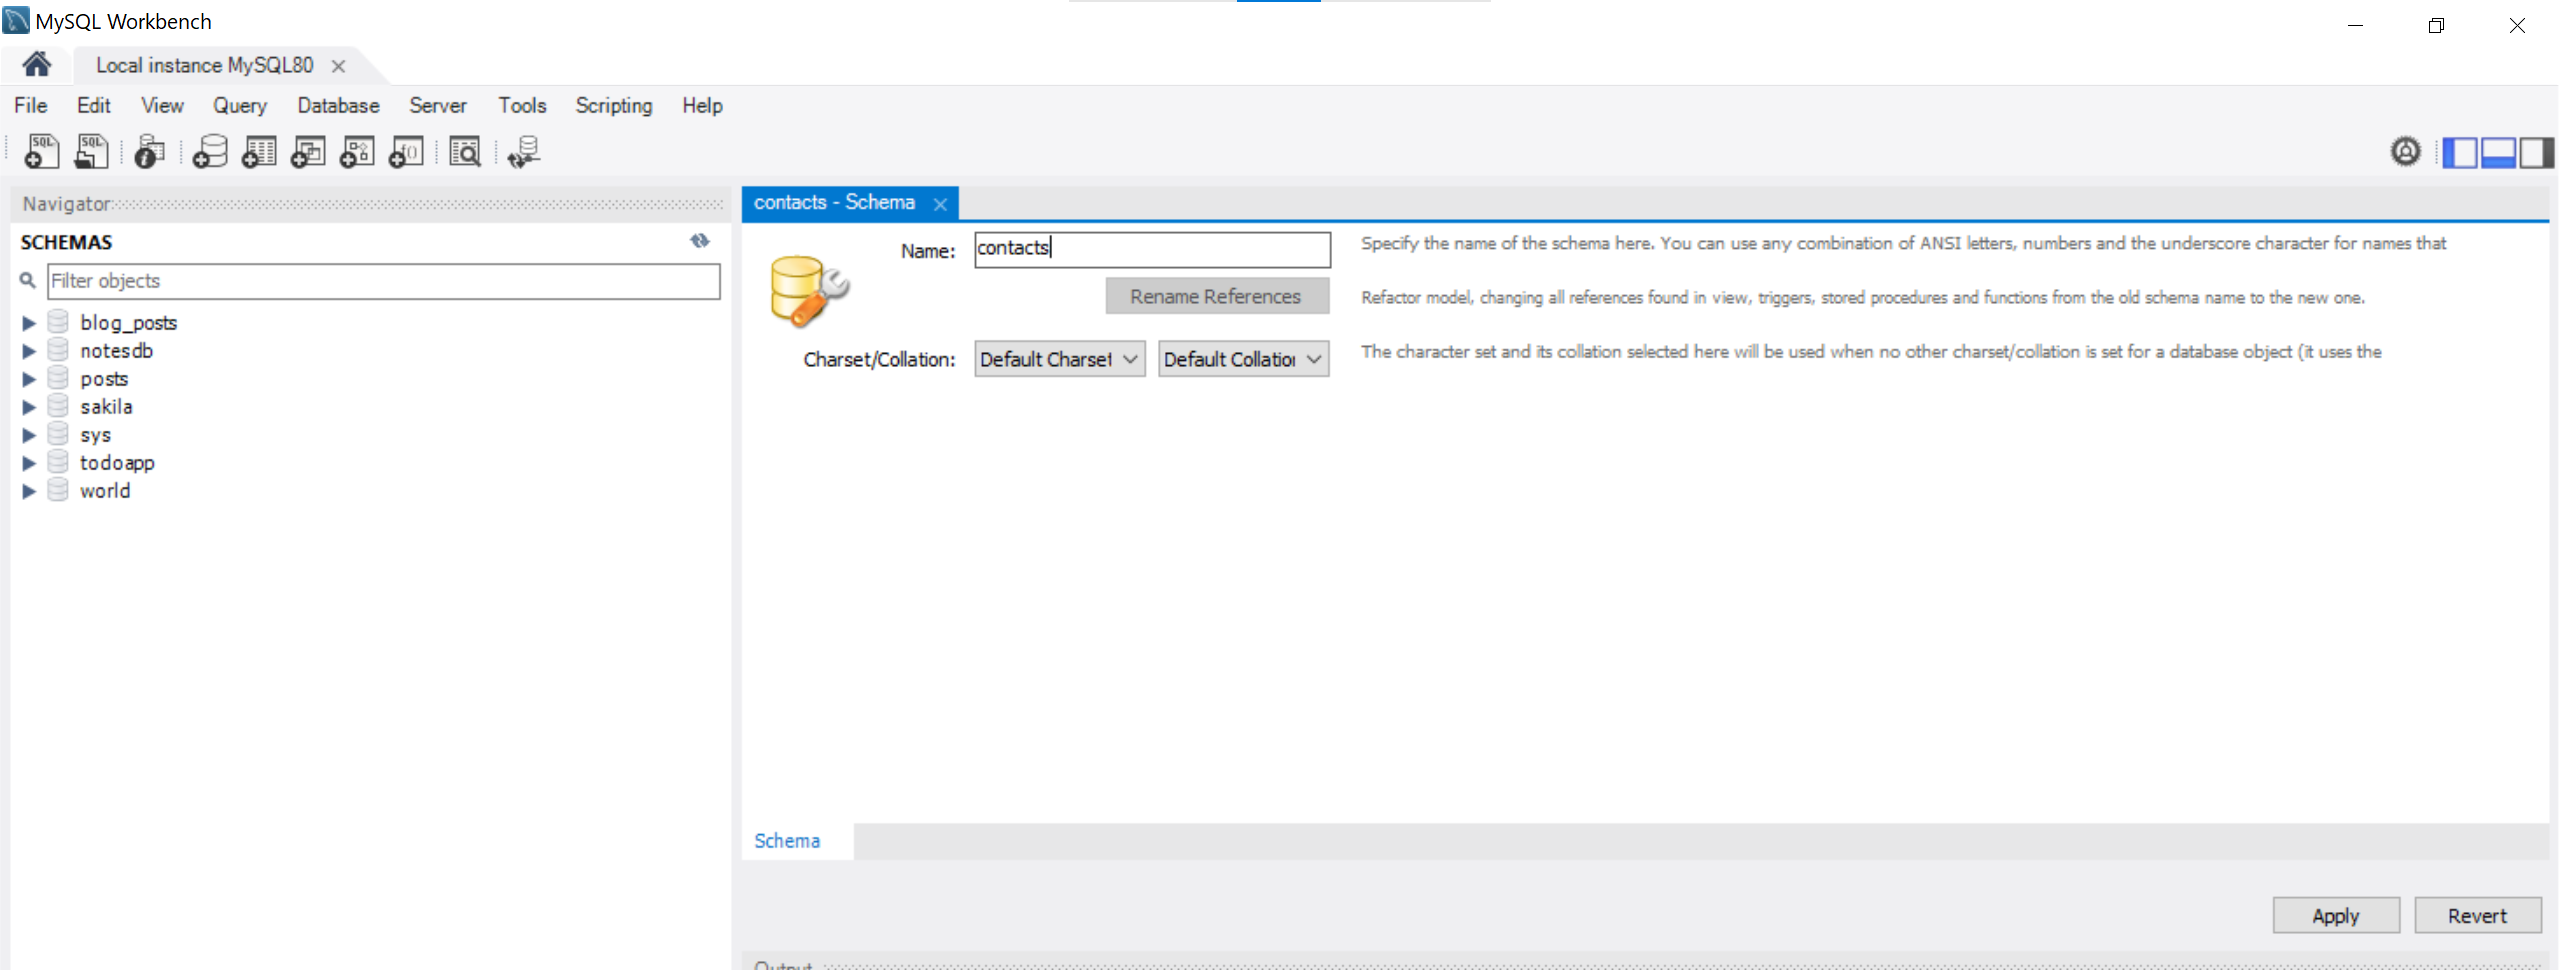
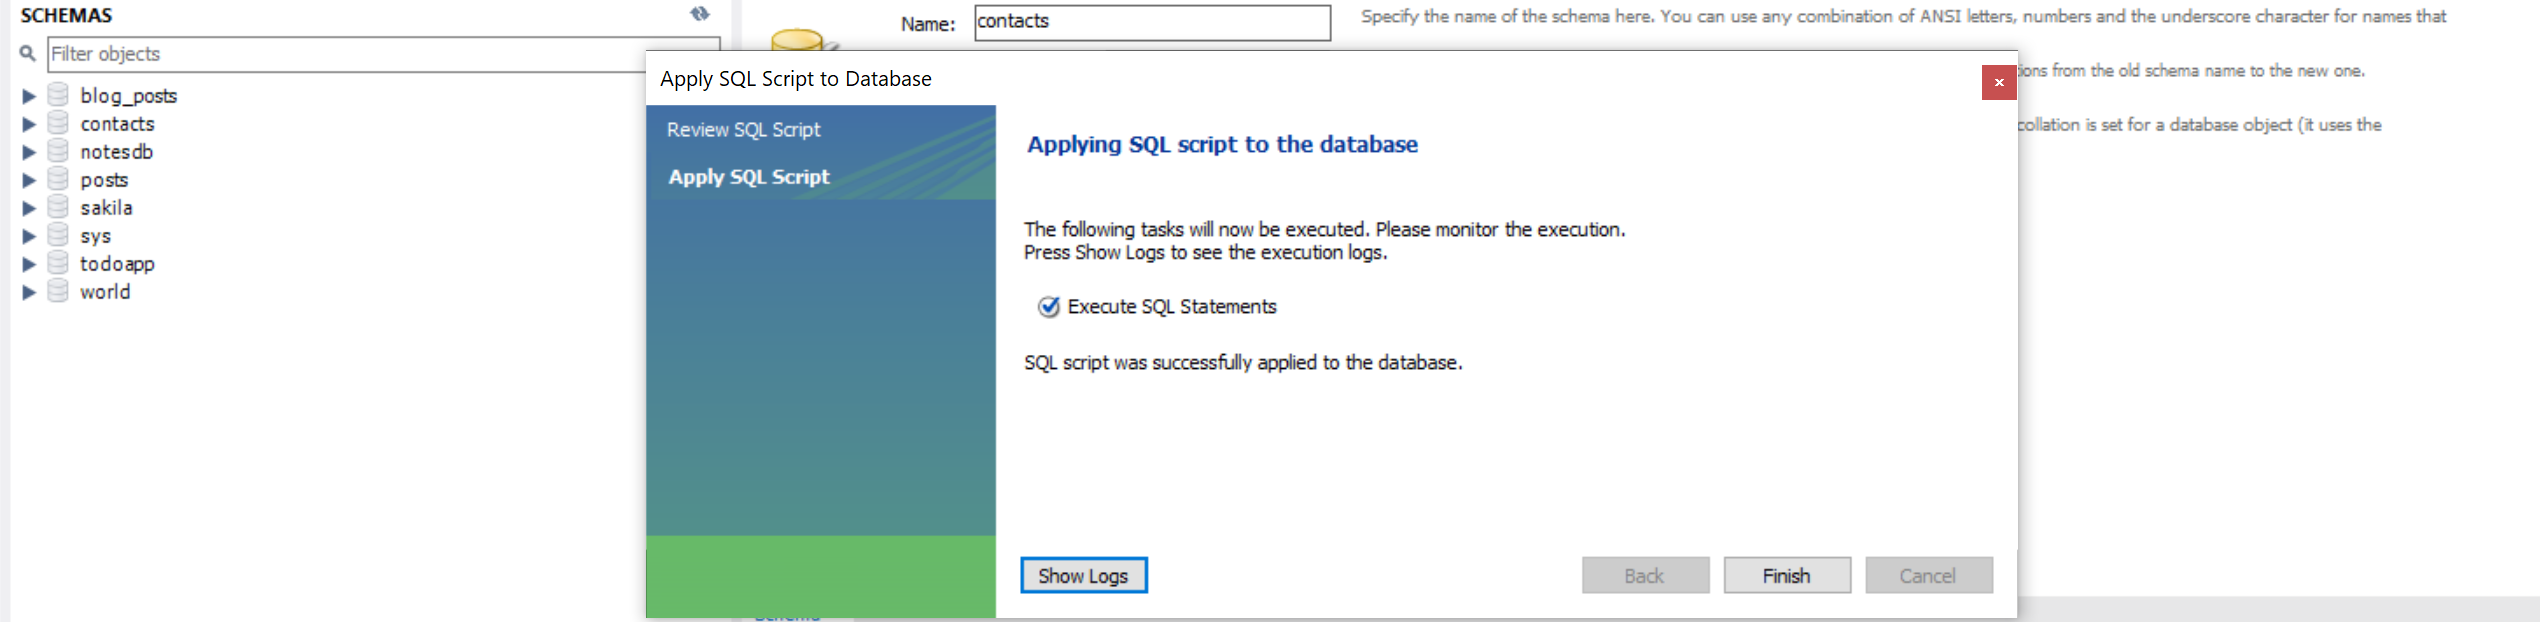
This API will run a basic contact server. We must create a contacts database to persist the data to MySQL. Within your MySQL Workbench, create a contacts as follows:
In the result Pop-ups, first click Apply:
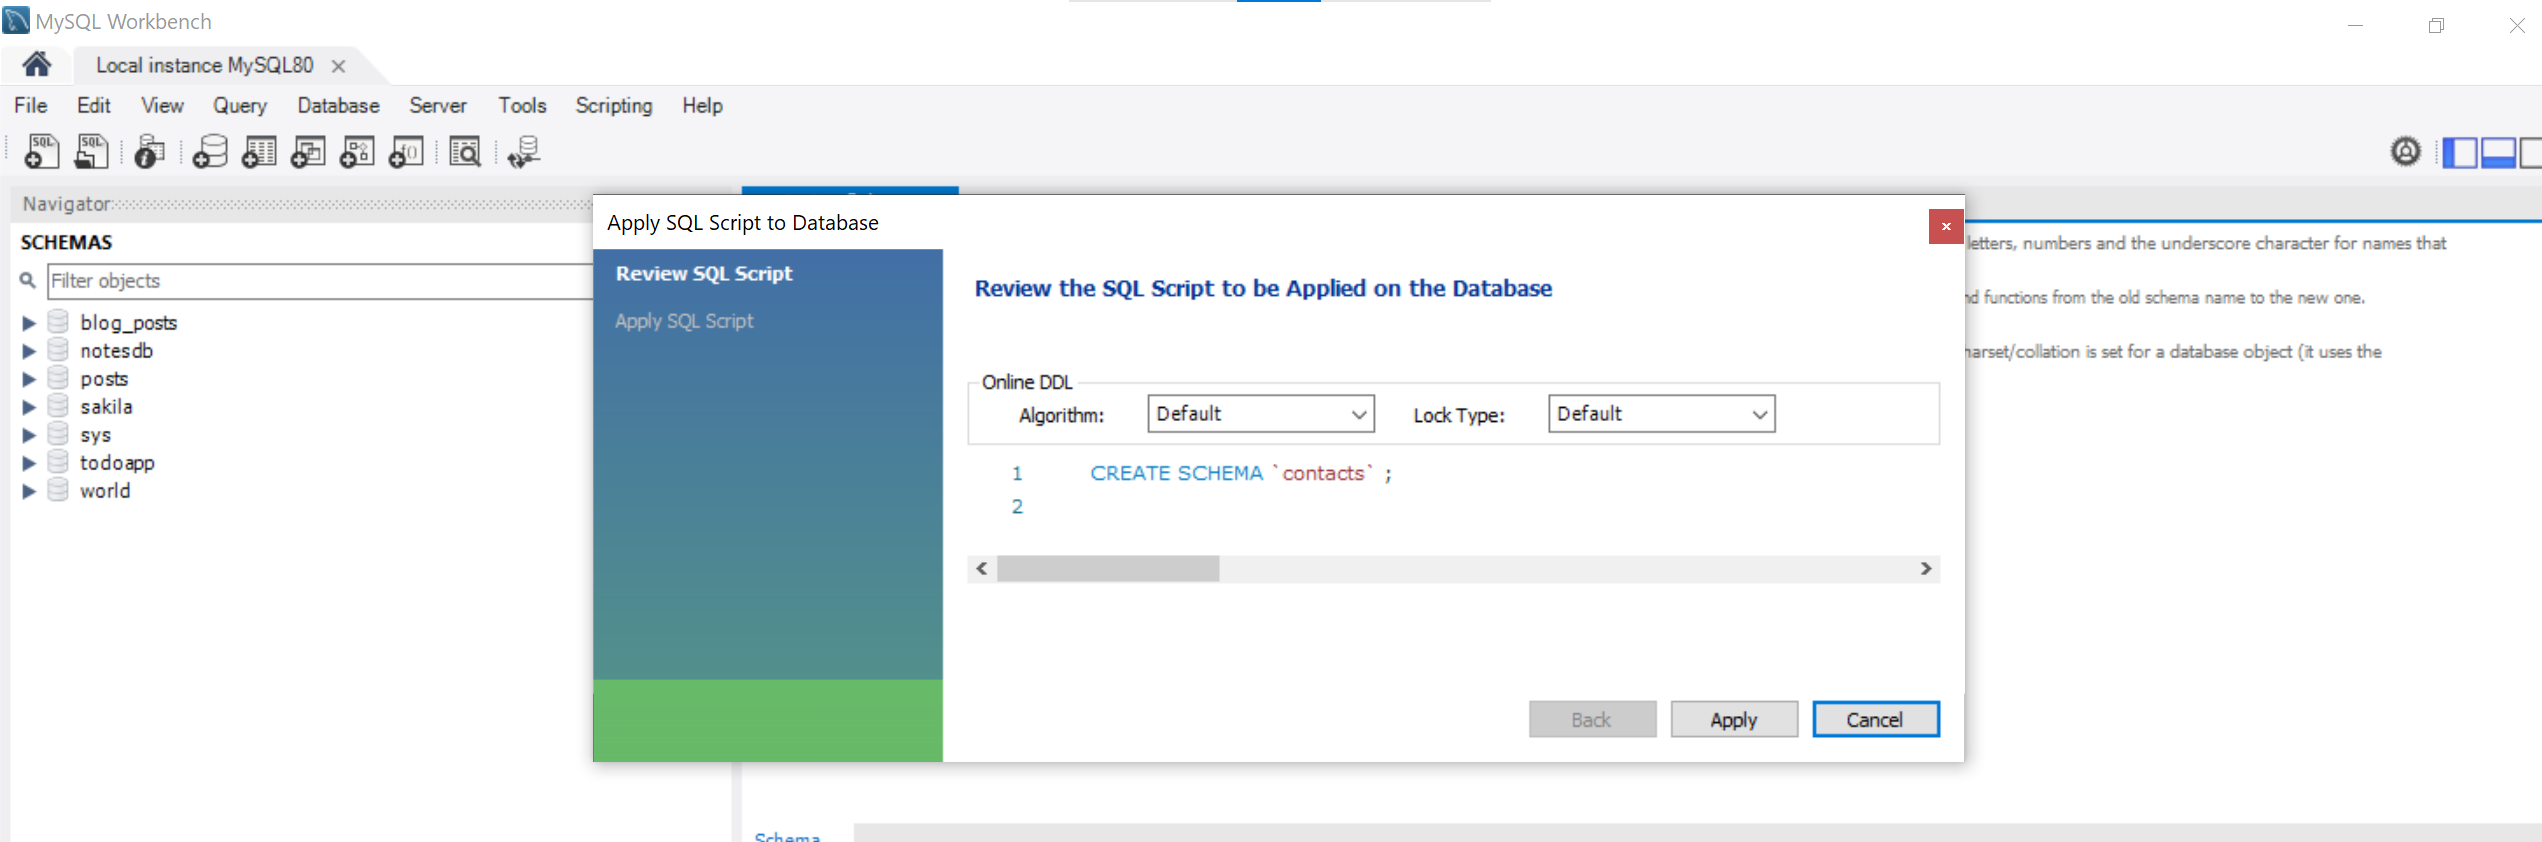
Then click Finish to save the changes.
Testing the Node.js MySQL Backend
Within your cloned project, change the directory to the api folder:
cd apiThis contains all code we need to run the backend. Go ahead and install the required dependencies:
npm installRun the server using the following command:
npm run startThis will expose the server on port 5000 and connect to the MySQL database.
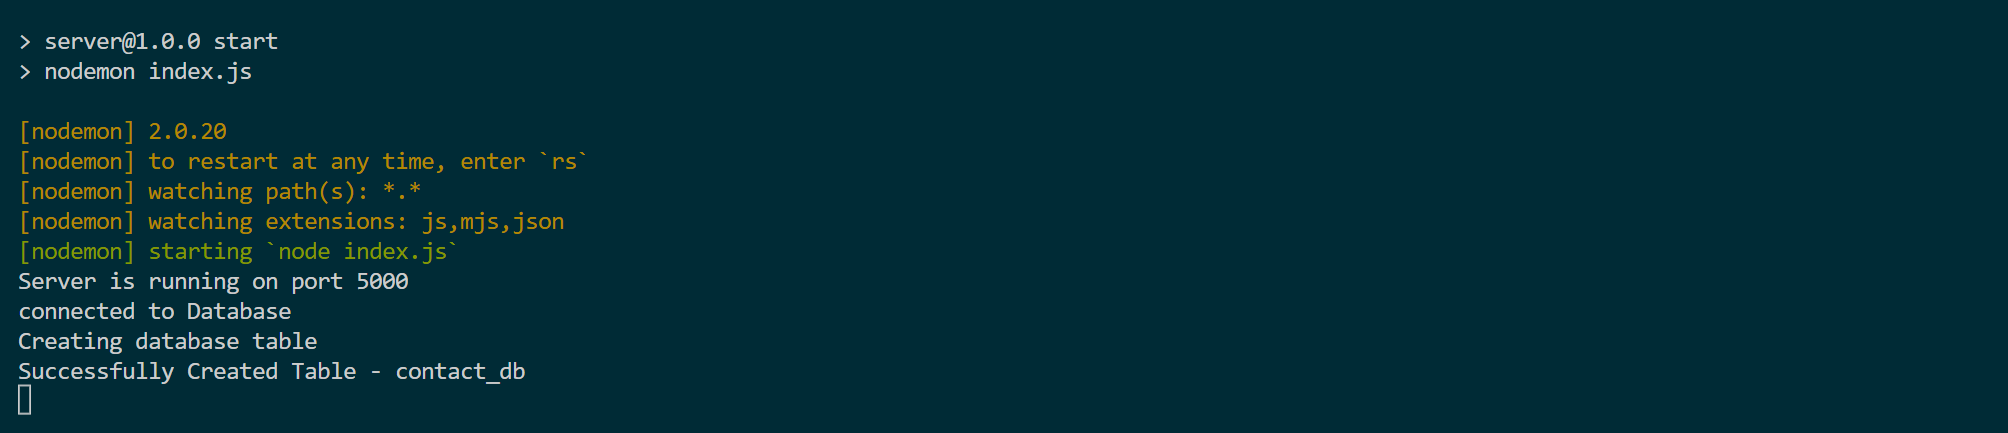
Run an SQL query to set up the database table and its associated fields.

You can test the API endpoints using tools such as Postman to verify everything works perfectly.
Testing the React Front end
Within your cloned project, change the directory to the web folder:
cd webThis contains all code we need to run the React front end. Go ahead and install the required dependencies:
npm installRun the server using the following command:
npm start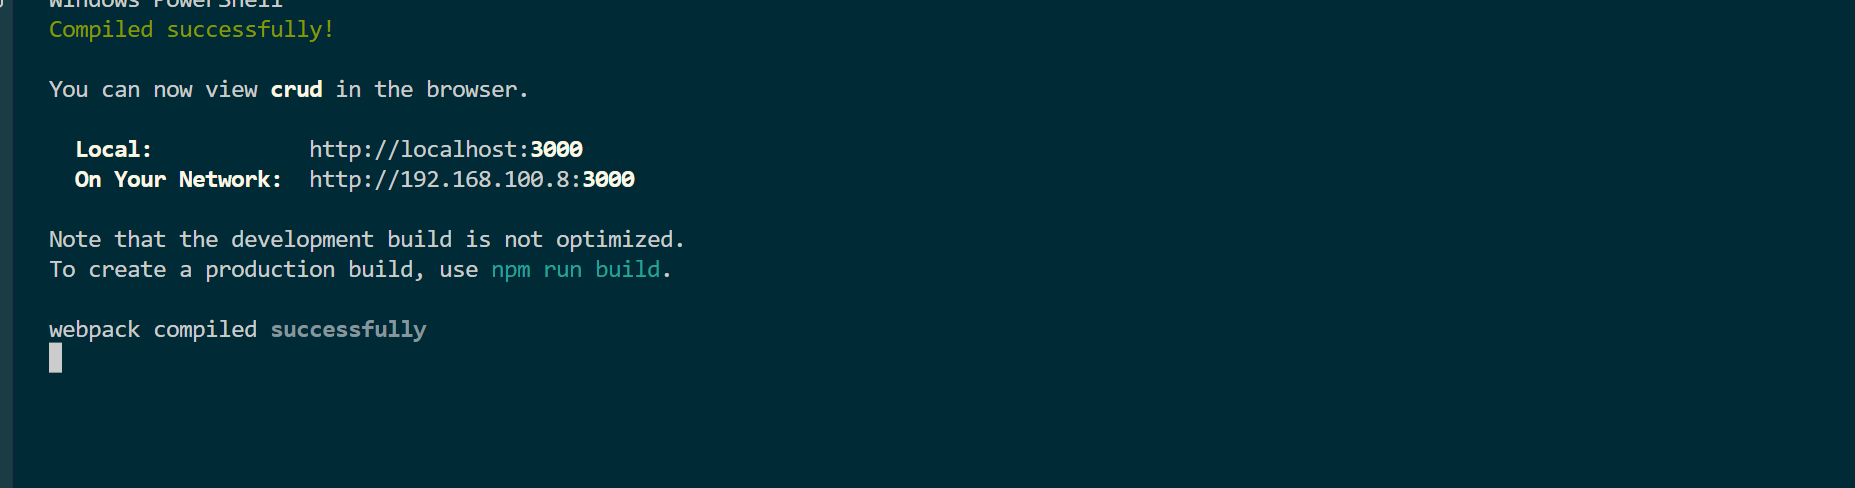
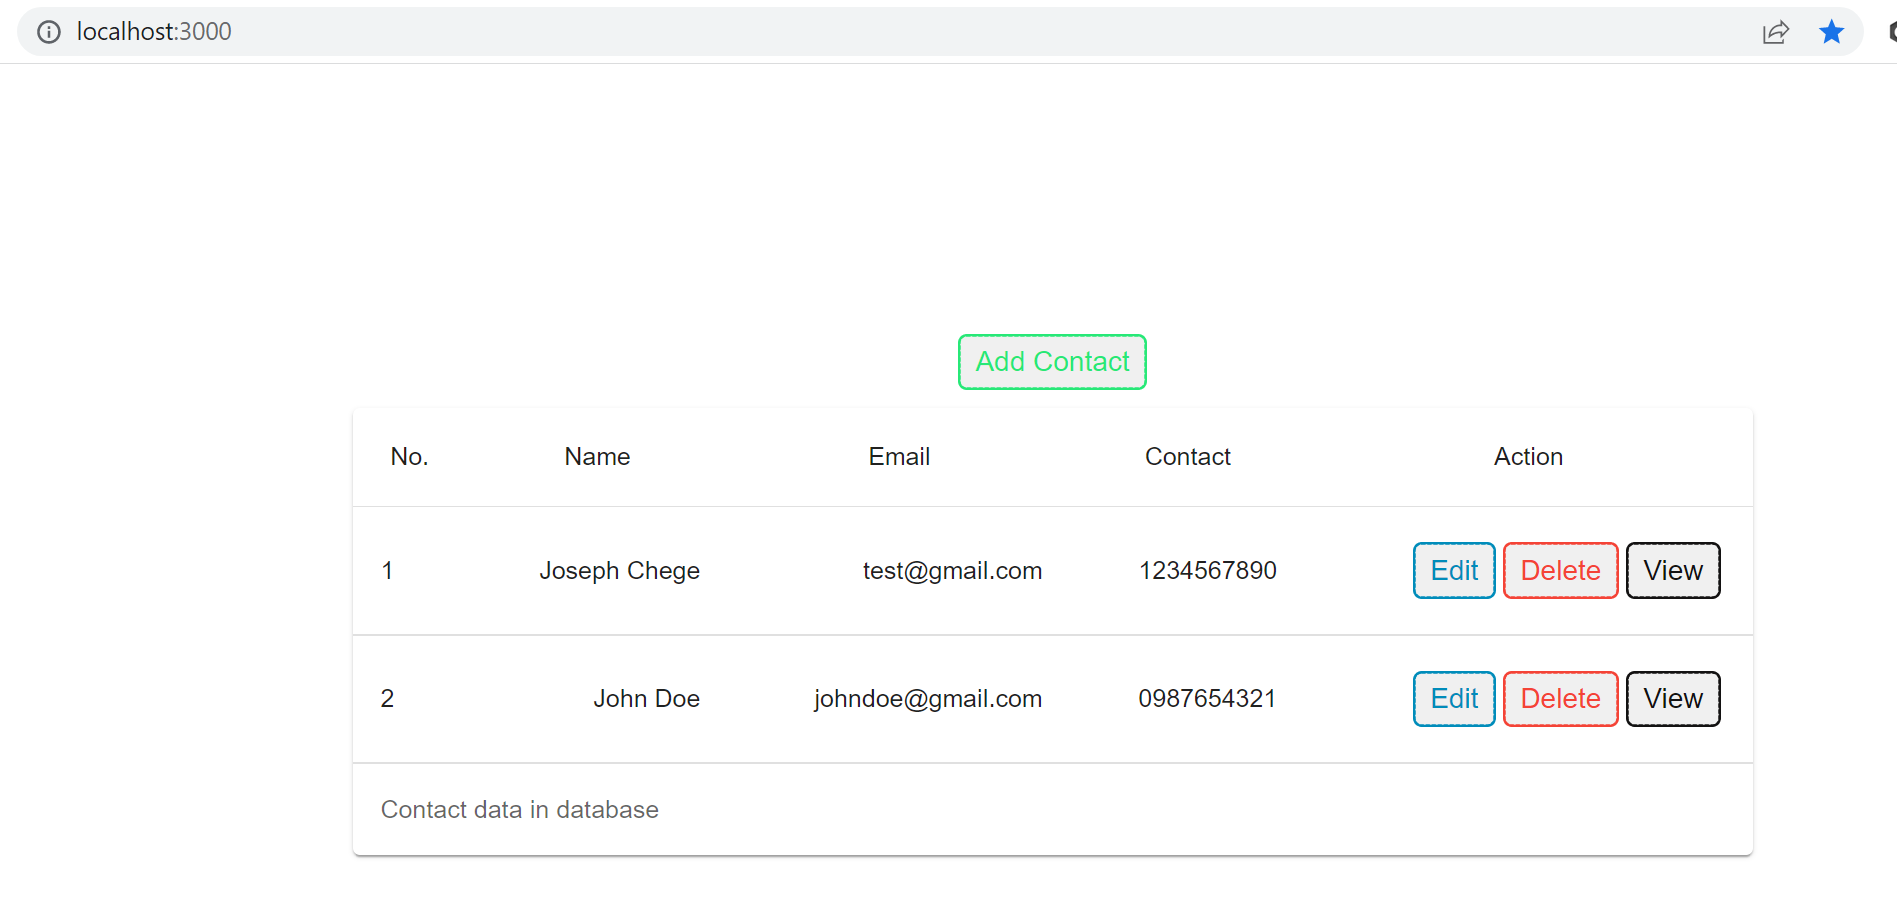
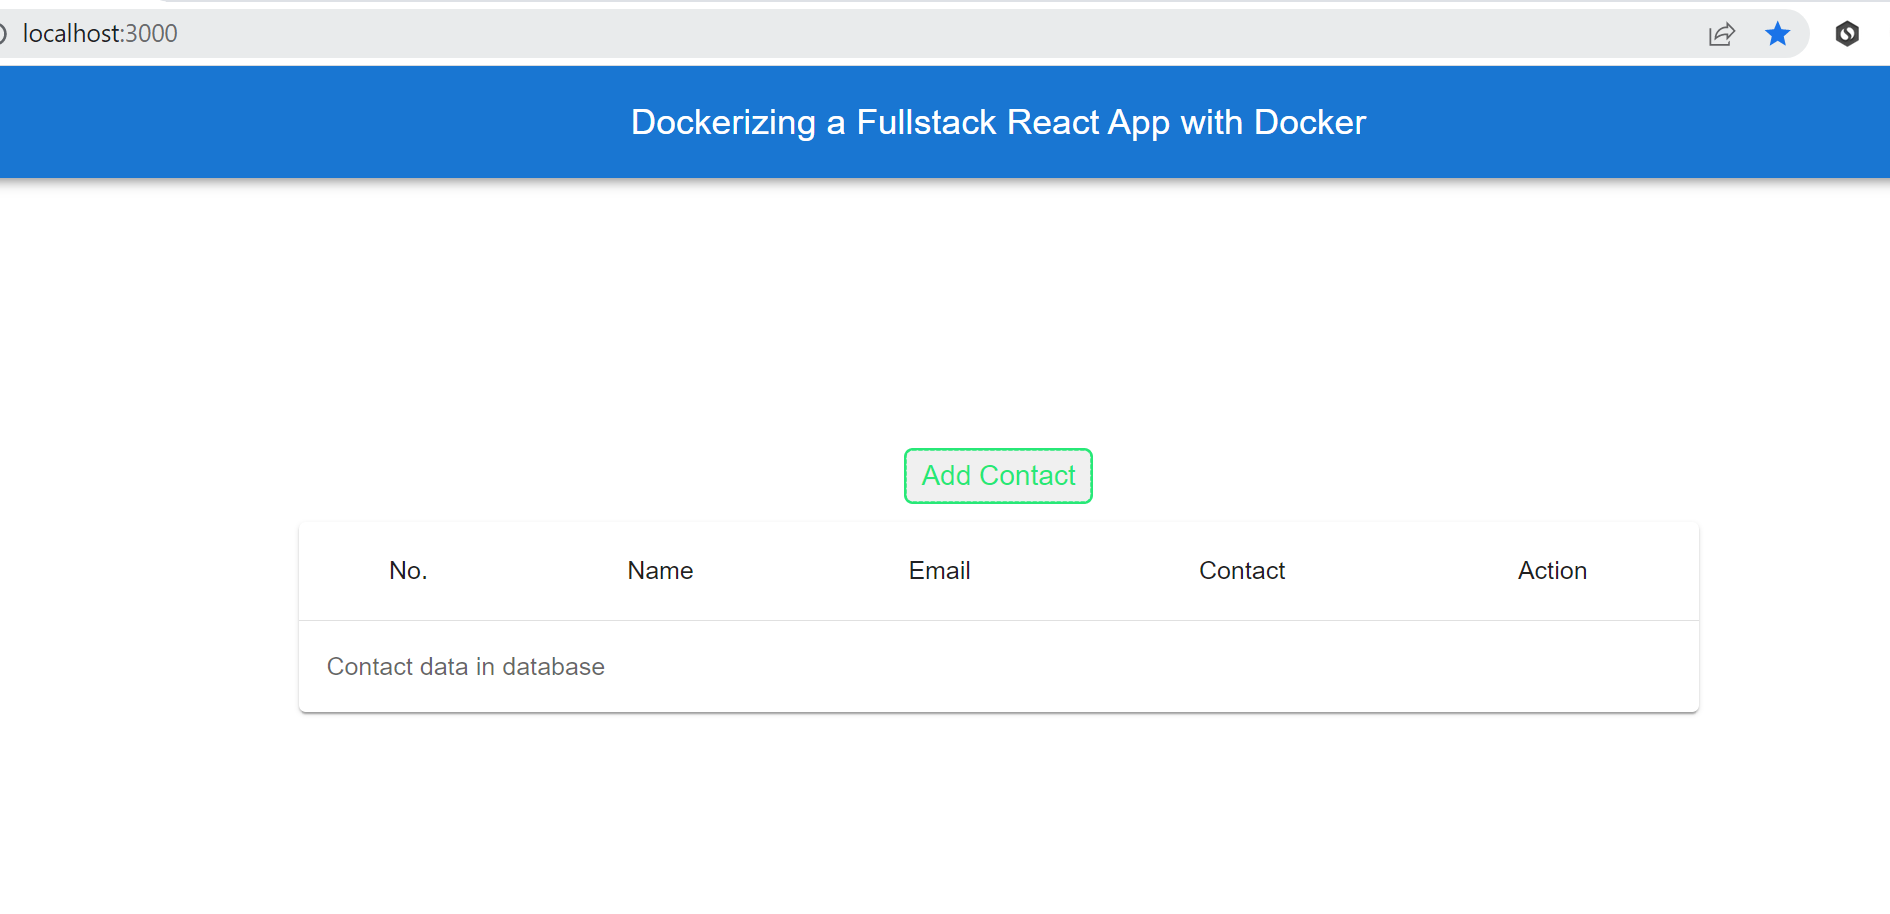
This will serve the application on port 3000. Open http://localhost:3000 on the browser to view the application.

You can start interacting with the application and perform the Node.js CRUD operations on a React front end.
You can confirm these changes on the MySQL database as well:

The whole application is working correctly on the local computer. Let’s now get everything running on Docker.
Dockerizing with Dockerfiles
Dockerfile is a text file that contains instructions to build a Docker image. The images you create using a Dockerfile are then used to run a Docker container.
Alternatively, you can pull images from the Docker registry and build a container. However, to build your images containing the code for your application, you need to write instaurations that will tell Docker how to build your application image.
A Dockerfile contains commands such as:
- FROM - runs the base image of your application. If you are running an application that requires Node.js, you need to run Node.js as the base image on top of your application.
- WORKDIR - creates a working directory within your application image.
- COPY - a copy command that gest files and folders from your local computer to Docker. It copies these files to the working directory you create using the
WORKDIRcommand. - RUN - execute commands that build your application. For example, when using Node.js, you install packages using
npm install. Such commands are executed withRUNwhen using Docker. - EXPOSE - takes the port number parameter that sets the port number your application will be exposed to with the Docker image.
- CMD - it executes commands for starting your application. For example,
npm start.
We have two sets of applications here. Let’s now dive in and write Dockerfiles to build an image for each application.
Writing the Node.js API Dockerfile
Navigate to the api directory and create a dockerfile file. Proceed and create an image for the Node.js api using the following instructions:
- Pull the Node.js base image from the Docker registry:
FROM node:latest- Set up the working directory within the Docker image:
WORKDIR /api- Copy the
package.jsonandpackage-lock.jsonfiles to access the dependencies for the application:
COPY package*.json ./- Run an install command to install the dependencies within Docker:
RUN npm install- Copy all the project files to the working directory within the Docker image:
COPY ./ ./- Expose the API on port 5000:
EXPOSE 5000- Execute the command for running the application image within Docker:
CMD ["npm", "start"]When executing the COPY command, you must ensure you only copy the necessary files to Docker. In this example, we have a node_modules created once you run the npm install command. Since we are running this command, we don’t need to copy node_modules to Docker. To avoid copying or executing such files and directories, create a .dockerfile inside the api folder and add node_modules to this file. This way, Docker will ignore this folder when executing your application image.
Once you have the above instructions on your api/dockerfile, let’s run it on Docker. Within your api folder, run the following command:
docker build -t node-api .In this case, node-api will be the name assigned to the image. Note that there is a . at the end of the command. This specifies the path location of the api/dockerfile.
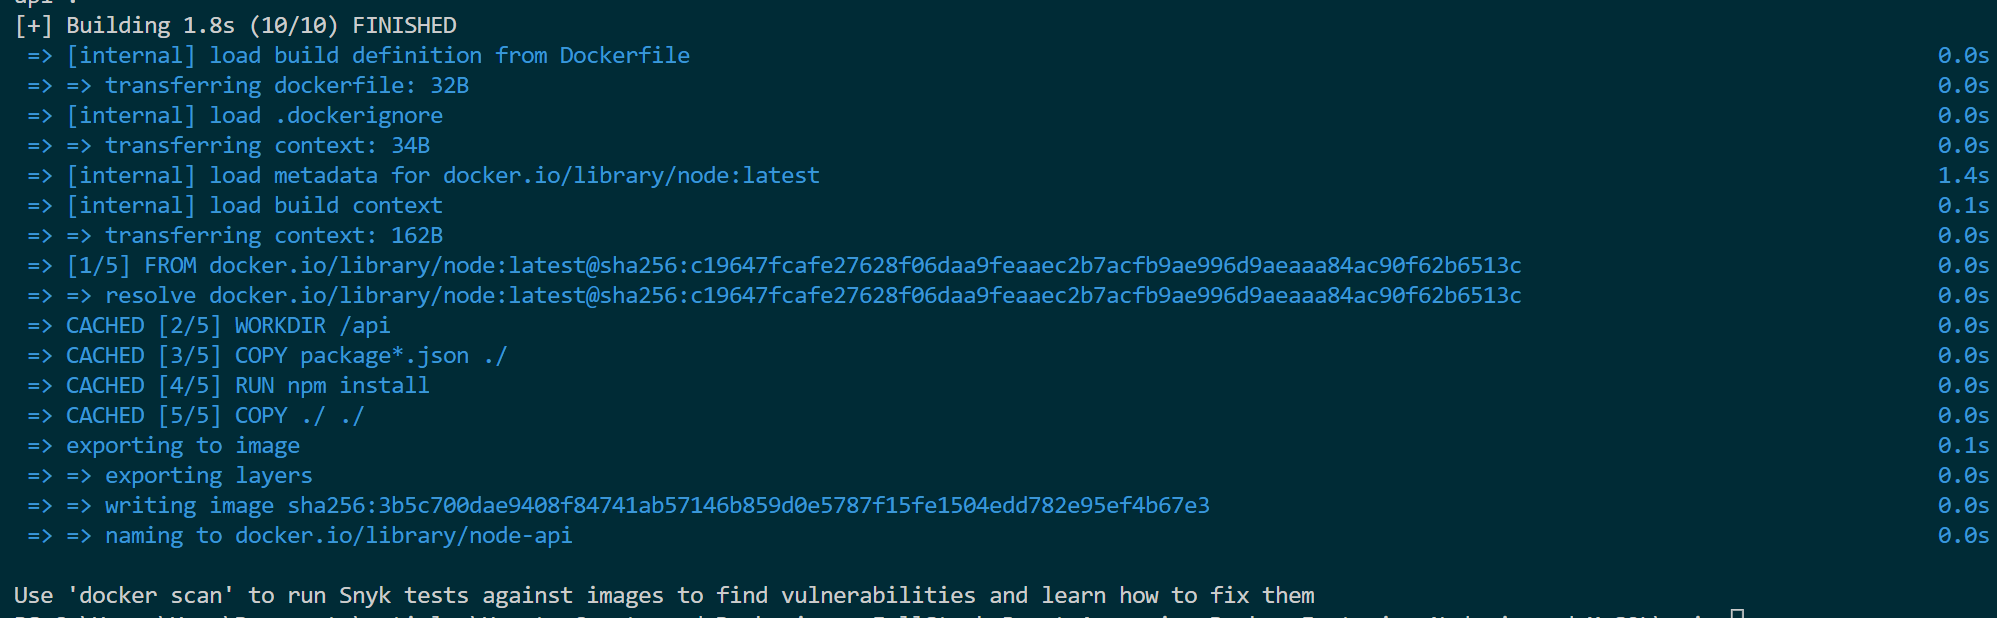
This will build the application and create the images on Docker.
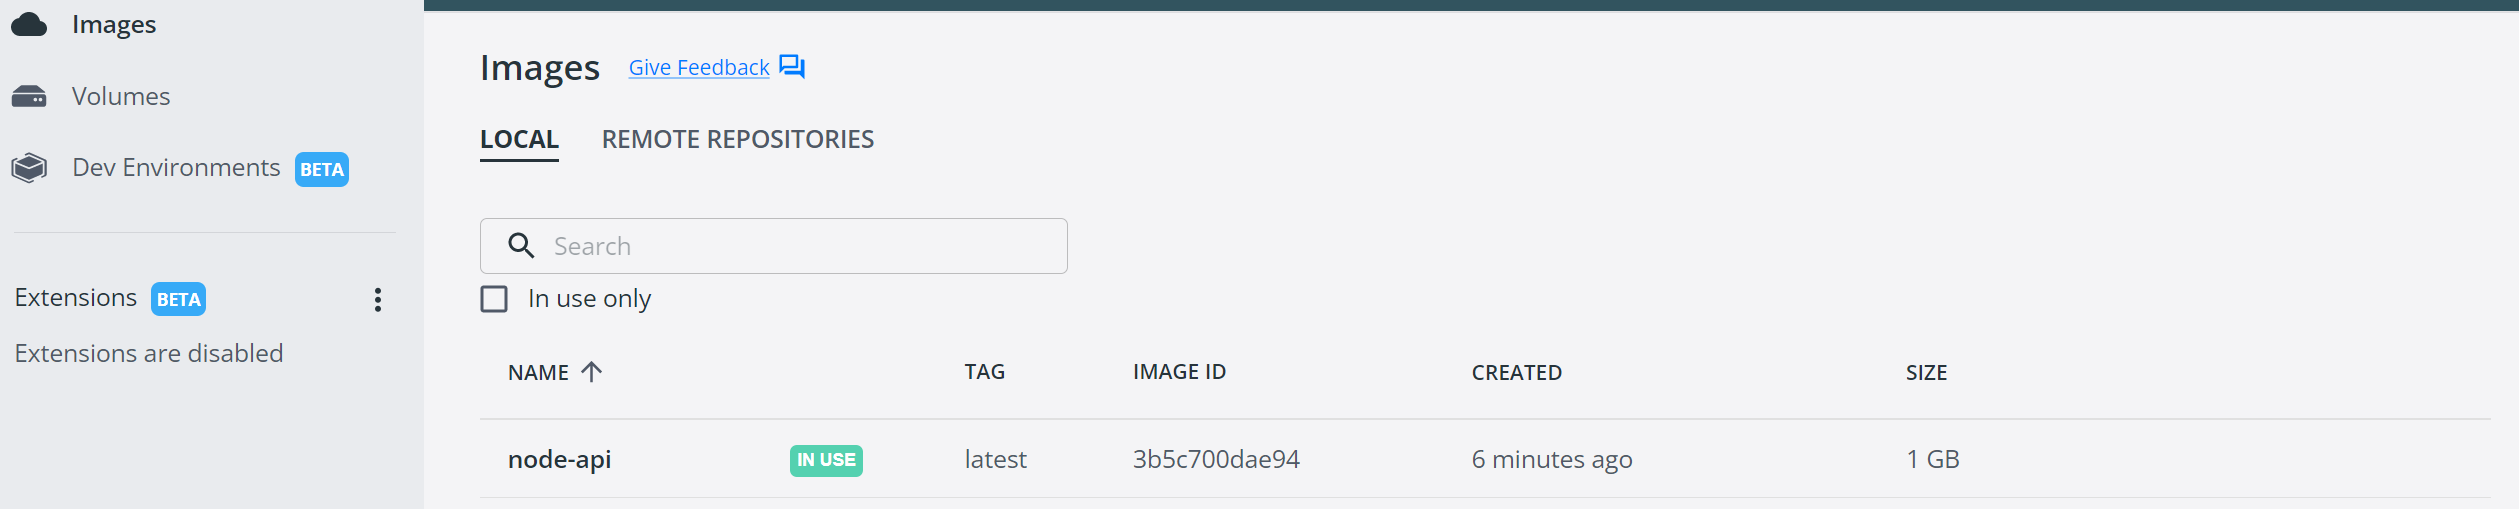
Let’s test if this image is working correctly. To do that, we will create a container to execute the above image using the following command:
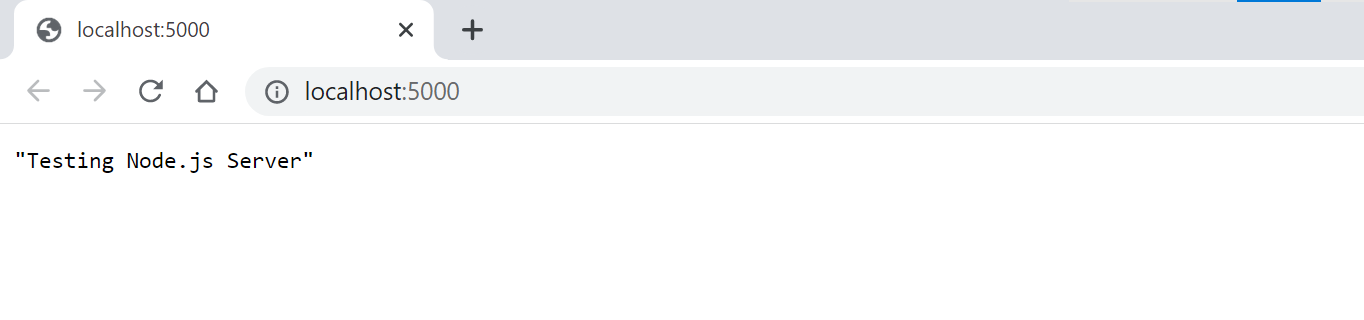
docker run -d -p 5000:5000 node-apiThis will expose the application on port 5000 externally. The node-api specify the image name the container will use. Open http://localhost:5000/ on the browser. This will execute a simple GET request that shows the application is ready and working within Docker.
Creating the React app Dockerfile
Navigate to the web directory and create a dockerfile file. We will use this file to run a React app image. In this case, we have built React application that runs in development mode, increasing the bundle size and making the app run slower. When deploying this application, we need to build a production-ready application. The production build generates assets that are optimized, lightweight resource maps, and minified packages.
To create a production build, run the following command inside the web folder:
npm run buildCreate the Docker command to run the React production build inside the web/dockerfile as follows:
FROM nginx:stable-alpine

COPY build/ /usr/share/nginx/html
We will run the React application using Nginx, an open-source web server. Once you copy the React build, it will be accessible to Nginx, which can serve the app.
To run the React app image, run the following command within your web folder:
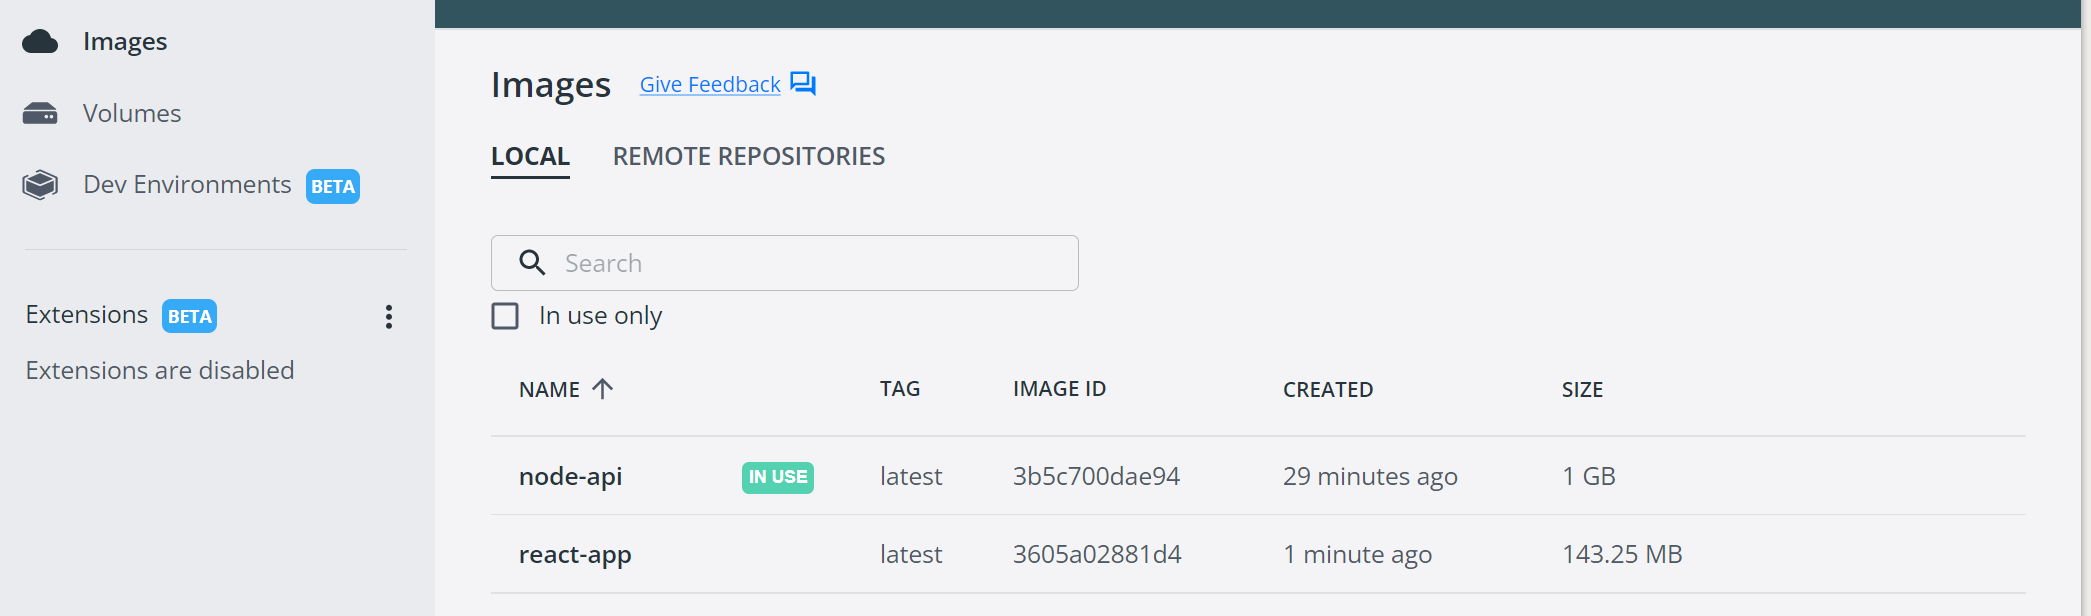
docker build -t react-app .This will create a react-app image to execute the above application.

The image should be available in your Docker engine as well.
To test if the image is working, execute a container within Docker as follows:
docker run -d -p 3000:80 react-appThis will expose the application on port 3000 externally. To access the application, open http://localhost:3000/ on your browser.
Session Replay for Developers
Uncover frustrations, understand bugs and fix slowdowns like never before with OpenReplay — an open-source session replay tool for developers. Self-host it in minutes, and have complete control over your customer data. Check our GitHub repo and join the thousands of developers in our community.
Running the Fullstack on Docker-compose
Great! We have the application images working correctly on Docker. However, we can’t interact with them at the moment. These two are running as microservices on Docker. To run them as one application, we will create a Docker-compose file and create a Multi container to run them. In this file, we will also add the database that the server needs to persist the data. To view the saved data, we will create a phpMyAdmin container that provisions MYSQL UI on Docker.
Within your project directory, create a docker-compose.yml file and add the following services:
Setting up MySQL on Docker-compose
Inside the docker-compose.yml file, create a service to execute a MySQL container as follows:
version: '3.8'
services:
  mysql_srv:
    image: mysql:8.0
    container_name: mysql_ctr
    stdin_open: true
    restart: always
    environment:
      MYSQL_DATABASE: contacts
      MYSQL_ROOT_PASSWORD: root
    ports:
      - "3307:3306"
    volumes:
      - ./data:/var/lib/mysql
      - ./conf:/etc/mysql/conf.d
      - ./logs:/logs
Let’s quickly digest what is happening here. We have the following lines of code:
- version: ‘3.8’ - This is always the first thing to specify in your
docker-compose.ymlfile. It tells Docker the version it should use to run your application - services - It contains all the services you want to run with Docker. Each service executes an image and creates a container for that image. Going with our example, we will create four services here.
- mysql_srv - the first service will execute the MySQL database. This service will be named
mysql_srv.
The above service will execute the following parameters:
- image: mysql:8.0 - The official image for MySQL. Always check out the version that you want to run your MySQL with.
- container_name: mysql_ctr - the name Docker will use to create a MySQL container
- restart: always - tells Docker to always restart the container regardless of its current status
- environment -To execute MySQL, we will pass some environment variables. They will be executed alongside the MYSQL container creation.
- MYSQL_DATABASE: contacts - creates the initial database for the application (Notes this is the database name we used alongside the Node.js server)
- MYSQL_ROOT_PASSWORD: root - The password for accessing the MySQL root username.
- ports: - To execute this container, we need to expose it using ports. Here we are creating two ports:
- 3307 - Exposes MySQL outside Docker. This port is used to access the container within the machine but outside Docker.
- 3306 - Expose MySQL inside Docker.
- volumes - We will use the following volumes to save the MySQL persistent data:
- ./data:/var/lib/mysql - for saving database data.
- ./conf:/etc/mysql/conf.d - for saving MYSQL configuration files.
- ./logs:/logs - for saving MySQL log files.
That’s all we need to create and run MySQL as DBaaS with Docker. Once you understand the above instructions, diving into and implementing the following services is straightforward.
Adding phpMyAdmin for MySQL Management
Create a service to create phpMyAdmin as follows:
phpmyadmin_srv:
  depends_on:
    - mysql_srv
  image: phpmyadmin/phpmyadmin
  container_name: phpadmin_ctr
  restart: always
  environment:
    PMA_HOST: mysql_srv
  ports:
    - 8080:80
Note that we are adding a depends_on: parameter. A phpmyadmin_srv will create a container to execute phpMyAdmin, which depends on MySQL. Therefore, we need to specify that here and refer to the MySQL service created within Docker to do that.
Node.js on Docker-compose
The database service is ready. Let’s now consume them using the Node.js server.
backend_srv:
  build:
    context: ./api
  depends_on:
    - mysql_srv
  environment:
    MYSQL_HOST_IP: mysql_srv
    MYSQL_USER: root
    MYSQL_DATABASE: contacts
    MYSQL_PASSWORD: root

  ports:
    - 5000:5000
  volumes:
    - ./api:/api
To create a Node.js service, we will first run a build that will execute the dockerfile that specifies how to create the Node.js app image inside the api directory. This app will depend on the MySQL database. Therefore, we need to add depends_on: - mysql_srv. This will tell Docker that Node.js need MySQL to run the backend_srv.
Docker will expose this app on two ports:
- 5000 - This will expose Node.js outside Docker within the local machine.
Note: This port must be identical to the port used to run the Node.js server. React will look to this port to access the server on localhost (within your machine).
- 5000 - will be exposed within Docker
Within the backend_srv, we add some environment variables to access the database. All these parameters are added inside the api/index.js as follows:
let db = mysql.createConnection({
    host: "localhost",
    user: "root",
    // password of your choice
    // must be the same as the MYSQL_PASSWORD
    password: "root",
    database: "contacts",
});
However, it’s good to note that the server is establishing a connection to MySQL on localhost. This won’t work with Docker, and the Node.js server is accessing MYSQL within Docker and not on your computer localhost. Therefore, we need to make some changes as follows (Ensure you save these changes):
let db = mysql.createConnection({
    host: "mysql_srv",
    user: "root",
    // password of your choice
    // must be the same as the MYSQL_PASSWORD
    password: "root",
    database: "contacts",
});
We are adding mysql_srv as the host. This way, Node.js will be able to access MySQL within Docker.
For Node.js to access them as expected, we create these environment variables within the backend_srv service as follows:
MYSQL_HOST_IP: mysql_srv
MYSQL_USER: root
MYSQL_DATABASE: contacts
MYSQL_PASSWORD: root
React on Docker-compose
Everything looks great. Let’s now wrap it with the React app as follows:
frontend_srv:
  build:
    context: ./web
  ports:
    - 3000:80
  volumes:
    - ./web:/web
To create a React service, we will first run a build that will execute the dockerfile that specifies how to create the React app image inside the web folder. Port 5000 will expose React outside Docker within the local machine. This way, we can have access to the React host on Docker.
Finally, add a volume block to persist the application volumes within Docker.
volumes:
  mysql_srv:
    driver: local
At this point, your configuration file should look as follows:
version: '3.8'
services:
  mysql_srv:
    image: mysql:8.0
    container_name: mysql_ctr
    stdin_open: true
    restart: always
    environment:
      MYSQL_DATABASE: contacts
      MYSQL_ROOT_PASSWORD: root
    ports:
      - "3307:3306"
    volumes:
      - ./data:/var/lib/mysql
      - ./conf:/etc/mysql/conf.d
      - ./logs:/logs

  phpmyadmin_srv:
    depends_on:
      - mysql_srv
    image: phpmyadmin/phpmyadmin
    container_name: phpadmin_ctr
    restart: always
    environment:
      PMA_HOST: mysql_srv
    ports:
      - 8080:80

  backend_srv:
    build:
      context: ./api
    depends_on:
      - mysql_srv
    environment:
      MYSQL_HOST_IP: mysql_srv
      MYSQL_USER: root
      MYSQL_DATABASE: contacts
      MYSQL_PASSWORD: root
    ports:
      - 5000:5000
    volumes:
      - ./api:/api

  frontend_srv:
    build:
      context: ./web
    ports:
      - 3000:80
    volumes:
      - ./web:/web

volumes:
  mysql_srv:
    driver: local
Running the Infrastructure on Docker
We have everything we need to get the on ready on Docker. To do this, run the following command ensuring the command line paint to the location of your docker-compose.yml file:
docker-compose up --buildThe flag --build will allow Docker to print the logs on your container. This way, you can keep track of the running services and know when something goes wrong.
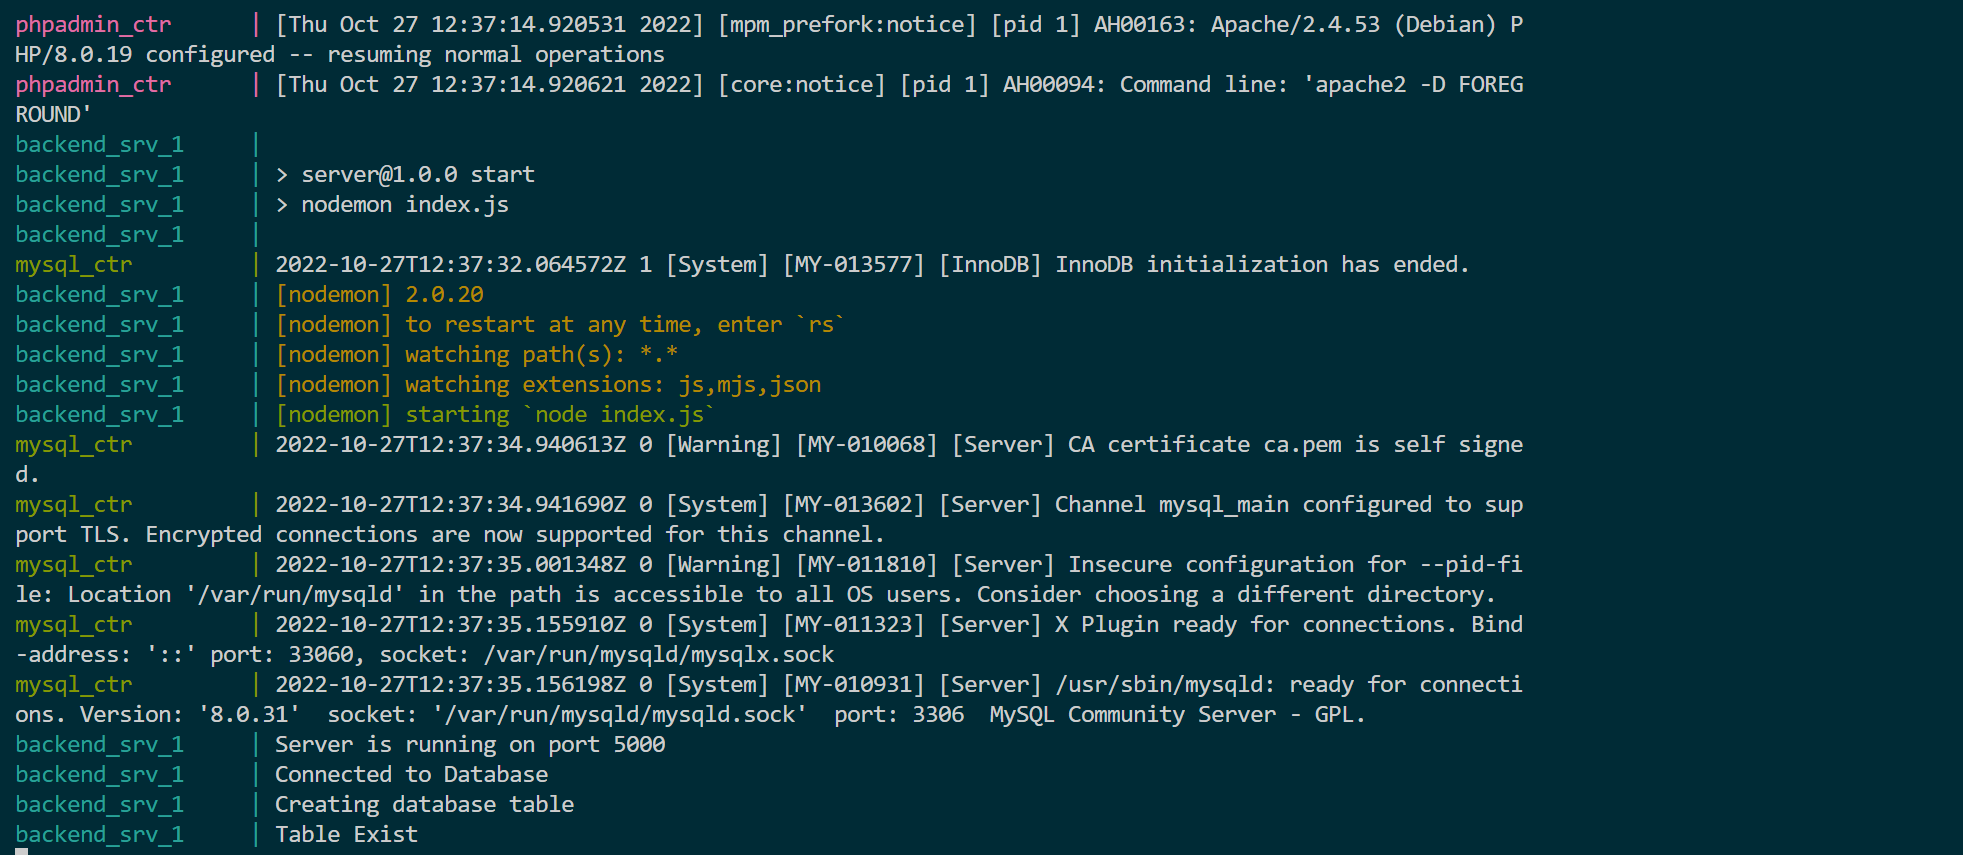
This command will build the required images and container services. As an example, you can see the server is correctly set up, as shown by the following docker logs:
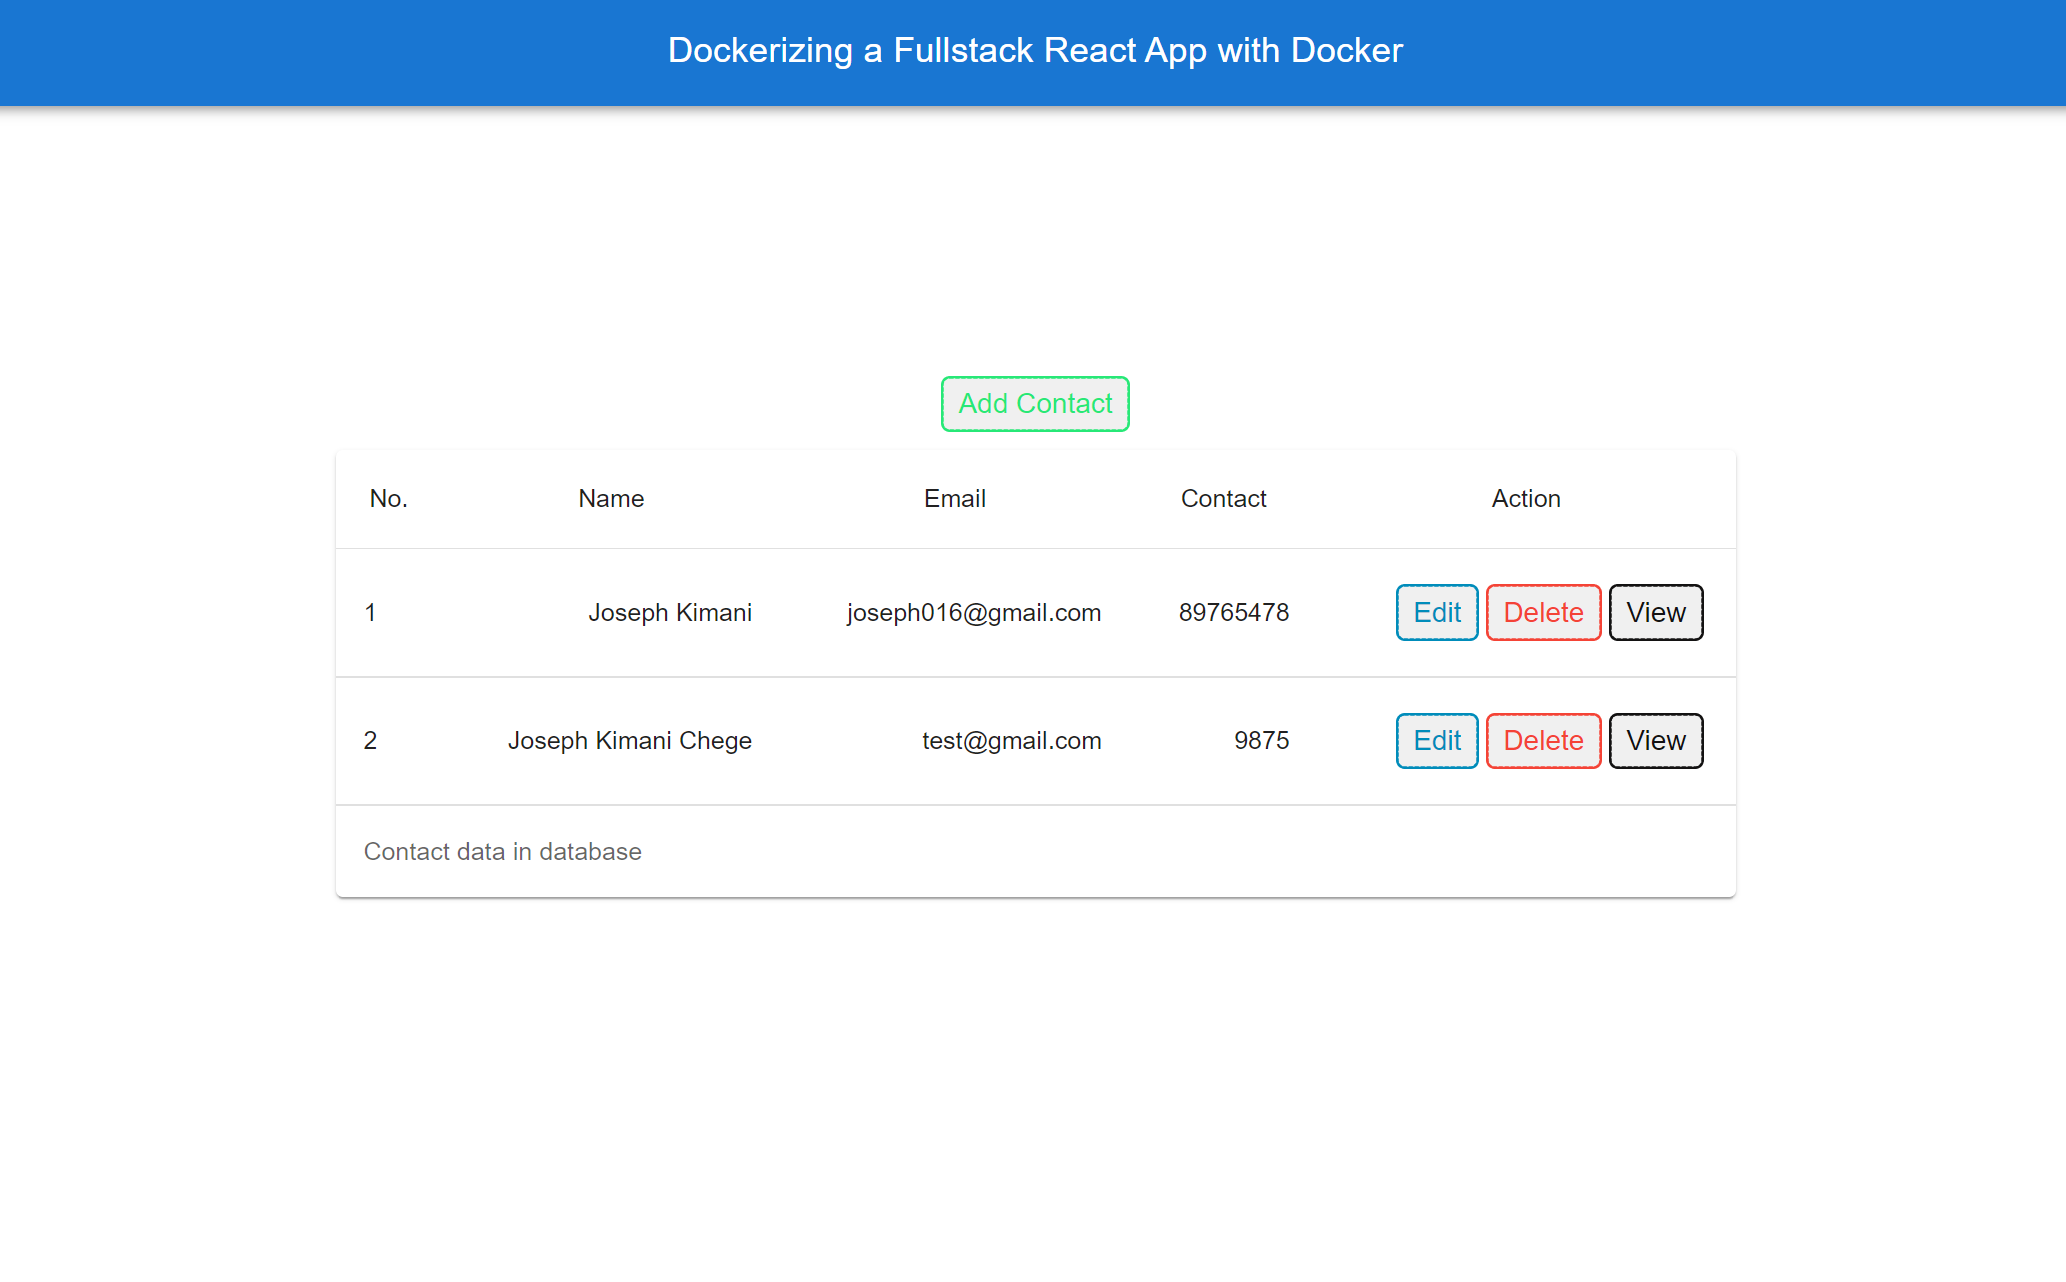
Now, let’s dive in and test the application. Open http://localhost:3000/. You will be served with the same full-stack application we had at the beginning of this guide. You can now interact with the application and test out all functionalities:
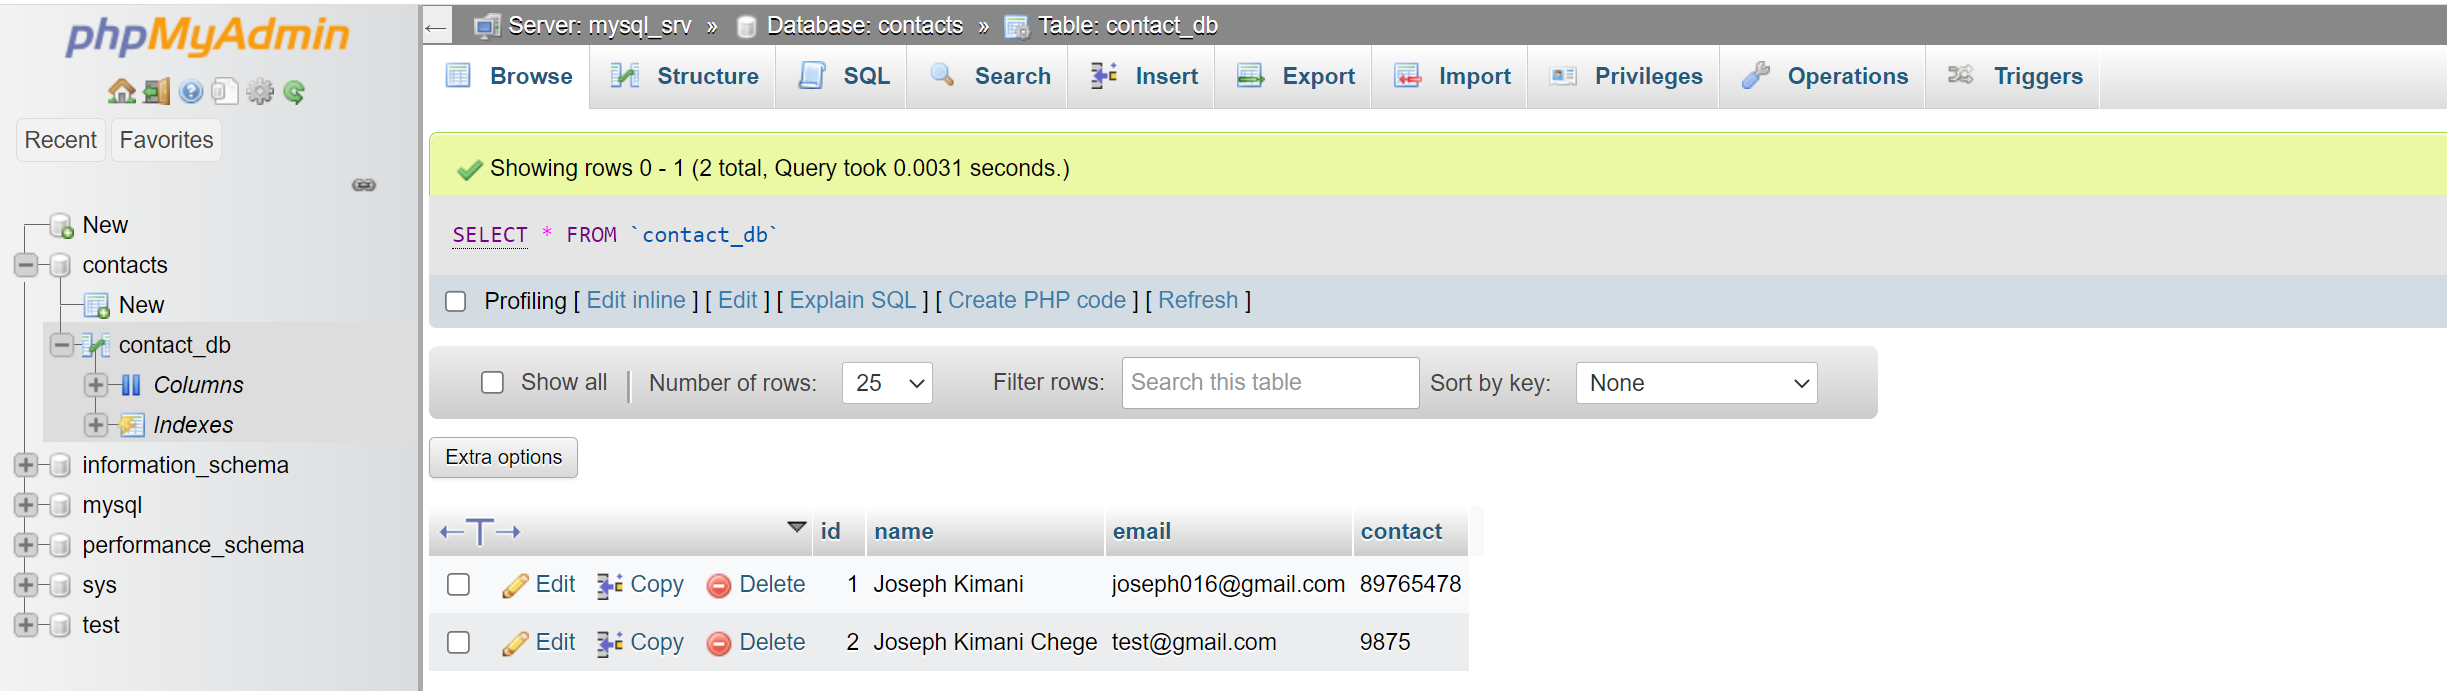
Likewise, these changes should reflect to the MySQL database as such. Let’s test that out using phpMyAdmin. Open http://localhost:8080/. Provide the login details. These details should be the variables you use to run your MySQL database. In this case:
- Password:
root - Username:
root
Once you log in successfully, you should have your database, table, and data as such:
Conclusion
Congratulations! You now have a Fullstack React application served by Node.js and MySQL backend running a containerized Docker infrastructure. For any Docker code reference, check out this GitHub repository.
I hope you found this guide helpful. Happy coding!
A TIP FROM THE EDITOR: For a way to develop without needing actual servers, consider the ideas in the Mocking APIs With Mirage article.
Gain Debugging Superpowers
Unleash the power of session replay to reproduce bugs and track user frustrations. Get complete visibility into your frontend with OpenReplay, the most advanced open-source session replay tool for developers.