
Getting started with Cypress Studio


There have been lots of Cypress features over the years, from the Cypress Test Runner feature, which allows you to see all your test files and also to see which browsers are available for you to run your test, to the Cypress code coverage feature, which allows you to measure code coverage to know which parts of your code have been tested.
In this blog post, we will look at one of Cypress’ experimental features, Cypress Studio. We will learn about it, how to create and modify tests with it, and some of its limitations.
What is Cypress Studio
Cypress Studio is an experimental Cypress feature that allows you to develop automated tests with minimal coding. It does this by recording your interaction with the application to be tested. With Cypress Studio, you can rapidly create assertions. Most activities necessary to interact with your application, including clicking buttons, checking radio buttons, and selecting options from a drop-down menu, are automated.
Cypress Studio works by capturing your interactions with the application being tested. This means that you can demonstrate to Cypress exactly how to test using Cypress Studio. Cypress then creates test code to reflect your actions as you click around in the DOM. Simple and effortless.
Cypress Studio is built on top of a Selector Playground, which aids in locating the appropriate selector for your application without using the element panel in chrome developer tools.
Cypress Studio and Cypress V10
With Cypress version 10, the support for Cypress studio has been discontinued. A few reasons for the removal is the cost of refactoring Cypress Studio to ship with the latest version of Cypress is too high. Another is that it would have drastically prevented the Cypress team from meeting the community expectations for the latest version of Cypress. However, there are still plans in the works to allow Cypress Studio to make a reappearance in a future release.
Installing Cypress
This section will cover how to install Cypress and get Cypress Studio working so you can begin testing with it. In your preferred code editor, open the application you wish to test. Next, open a terminal, navigate to the project and type in the command below to install Cypress:
npm install --save-dev cypress@9.7.0The above command saves Cypress as a dev-dependency and will add a bunch of Cypress-related folders to your app.
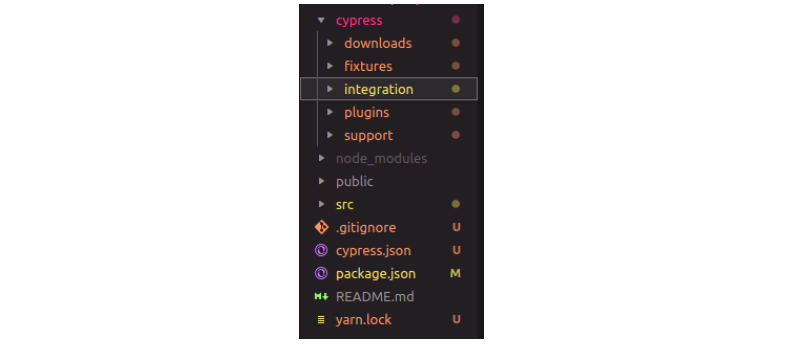
Inside the cypress/integration/ folder in your project, create a new test file with any name of your choice, but it has to end with .spec.js. This is where you write your files, telling Cypress to look at that file for your tests when it runs. Next, we will enable a placeholder test. This tells Cypress the location where we want it to record the test steps. You can create a basic describe test block, or you can copy the one below:
describe('Task tracker', () => {
  it('loads successfully', () => {
    cy.visit('http://localhost:3000');
  });
});
With that done, we run the command below to access Cypress.
npx cypress openAlternatively, add it to your package.json file as an additional npm script.
Getting started with Cypress Studio
Please make sure the version of Cypress that you installed is between version 6.3.0 and version 9.7.0. This is because Cypress Studio was released in Cypress version 6.3.0 and was removed in Cypress version 10. So check that the installed version of Cypress is between the aforementioned ranges; else Cypress studio won’t work

Cypress Studio is still in the experimental phase, meaning you only need a minimal configuration to get it working. Navigate to the cypress.json file and paste the line below inside.
{
"experimentalStudio": true
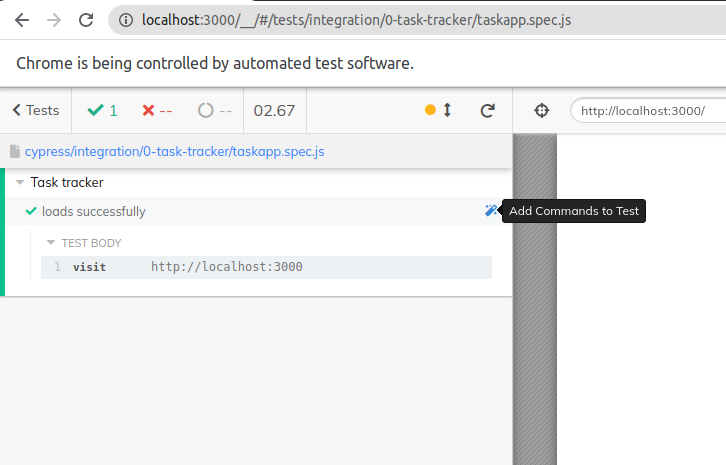
}This is all the configuration needed to get Cypress Studio working. A Cypress Studio symbol will appear in your test runner, and this indicator displays only when you hover over the test name.
Open Source Session Replay
OpenReplay is an open-source, session replay suite that lets you see what users do on your web app, helping you troubleshoot issues faster. OpenReplay is self-hosted for full control over your data.

Start enjoying your debugging experience - start using OpenReplay for free.
How to create a simple test with Cypress Studio
As soon as you click on the icon, the test runner will go into “recording mode,” allowing you to begin using your app. Clicks, keystrokes, and checking or unchecking checkboxes will all be recorded. You can undo an unintentional action that you unintentionally perform.
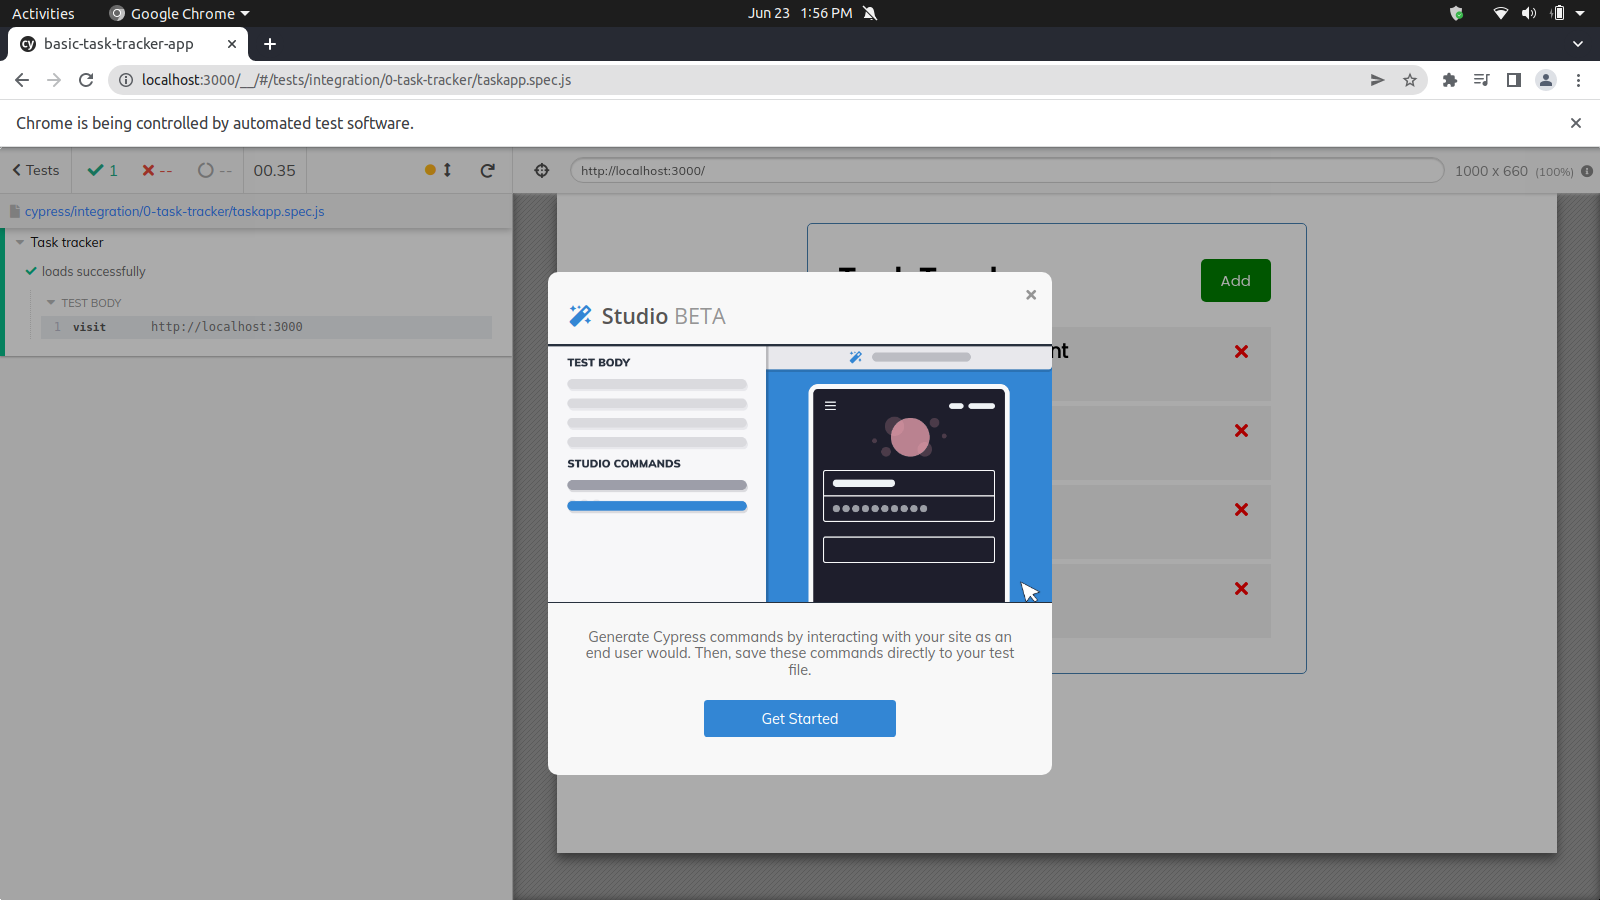
Once you click on get started, you interact with your application as you normally would. As you interact with the application, some tests will get generated on the studio command view, as seen in the image below:
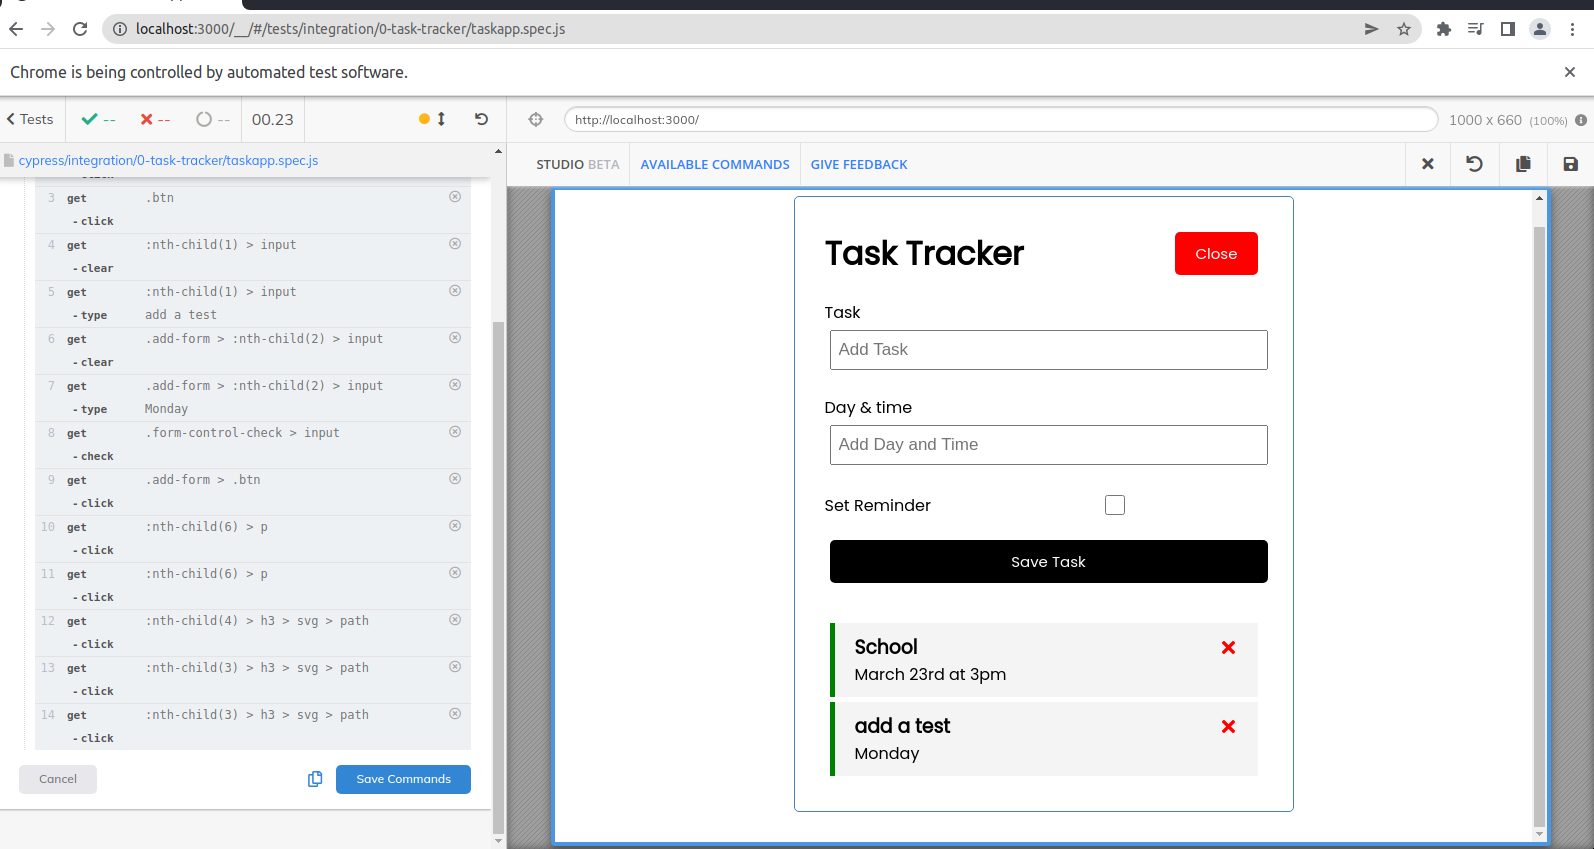
You have the option of either copying or saving these commands. If you save them, the commands will be included in your test file. This is very helpful if you only need to quickly and easily verify a functionality. Navigate to your test file, which ends in .spec.js, and you will see the saved commands there.
describe('Task tracker', () => {
  it('loads successfully', () => {
        cy.visit('http://localhost:3000');
        /* ==== Generated with Cypress Studio ==== */
        cy.get(':nth-child(2) > h3').click();
        cy.get(':nth-child(3) > h3').click();
        cy.get('.btn').click();
        cy.get(':nth-child(1) > input').should('be.visible');
        cy.get(':nth-child(3) > h3').click();
        cy.get('.form-control-check > input').check();
        cy.get(':nth-child(3) > p').click();
        cy.get('.form-control-check > input').check();
        cy.get('.form-control-check > input').uncheck();
        cy.get('.container').click();
        cy.get('.add-form > :nth-child(2) > input').type('Monday');
        cy.get('.form-control-check > input').check();
        cy.get('.add-form > .btn').click();
        cy.get(':nth-child(4) > h3 > svg > path').click();
        /* ==== End Cypress Studio ==== */
    });
});
Cypress Studio does not record any assertions, so bear that in mind. For your test to actually test something, even if you’re building a fantastic automation flow, you need to add some assertions. If you want to perform assertions, you can right-click on the element you wish to assert and then select from the pre-generated assertions that Cypress Studio can identify. Now, when you test the code that Cypress Studio automatically generated for you, you will see that it passed without fail.
Some last thoughts about Cypress Studio
We have seen how superb Cypress studio is at simplifying and automating tests, but we can’t expect it to test everything a developer wants. You can fill in those gaps by adding more tests to check for various scenarios and assertions to get a more comprehensive test.
Cypress Studio might not look amazing for people who can already navigate through Cypress and other testing/automation tools, but that doesn’t take away from its awesomeness. Cypress Studio is terrific for beginners taking the first step into test automation and even shaving off loads of time for developers familiar with test automation.
Like all record and playback tools, some limitations come with using Cypress Studio when writing tests. One of which is that Cypress Studio only supports the following commands in addition with assertions: .click() .type() .check() .uncheck() .select(). Another is that it is not possible to construct more elaborate tests where you might need to stub some API requests or intercept network connections.
Cypress is a fantastic tool for quickly producing code for your automated tests. Feel free to try this if you want to rapidly check the functionalities of your website but don’t want to create any code. You can also visit the official documentation for Cypress Studio here to learn more details about this feature.