Getting started with Îles


îles is a newly released JavaScript framework whose purpose is to combine the ease of use and development experience of building a site with Vue while effortlessly shipping a zero JS site.
In this article, we are going to explore more what it is, how to create an application with it, and what to be concerned about and what not to be concerned about when working. Without much ado, let’s get started right away by defining îles.
What is îles, and why use it?
îles is a static-site generator that provide support for partial hydration. It facilitates the usage of MDX for website development and may be utilized with the Vue framework. With îles, the page is pre-rendered just like in server-side rendering, but JS is automatically added for the interactive bits. îles allows you to define which components should remain interactive in the production build.
Wondering what does “îles” mean? Just “islands”, in French.
The goal of this project is to ease the use and development experience of building a site with Vue while effortlessly shipping a zero JS site as if you were using Jekyll or eleventy.
îles is not only limited to Vue. Components from frameworks like the following can also be used or embedded in Vue and MDX files in îles.
Installation
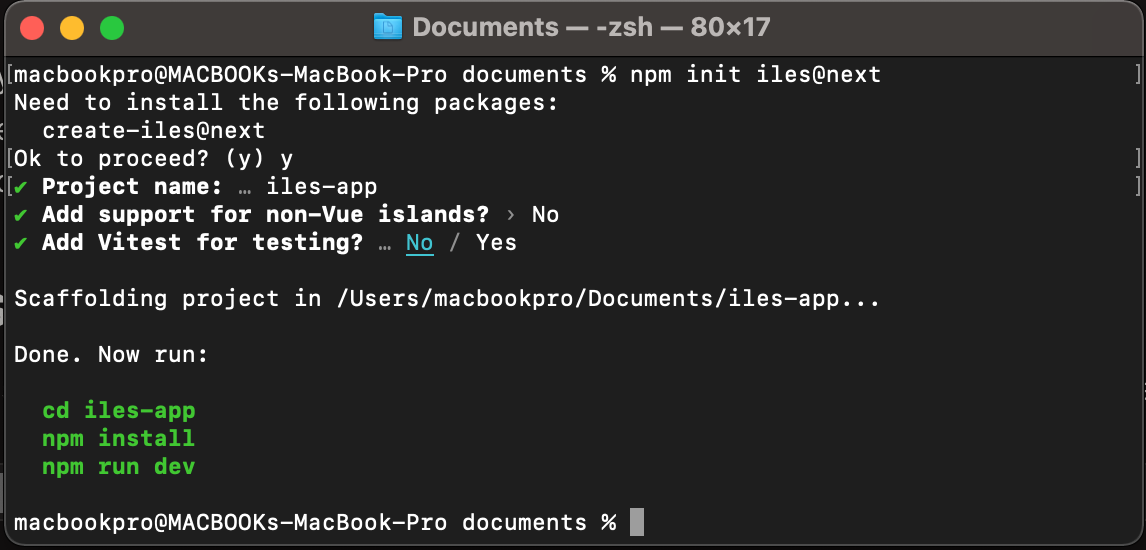
Let’s look at how to make a new îles project. To create a new project, use the following command:
npm init iles@nextThe command above will prompt you to enter your project details before generating an îles project, as shown in the screenshot below.
After running the preceding command, the îles executable provides the following commands for usage within an îles project. You can validate it in your project’s package.json file.
- iles serve: Starts the development server
- iles build: Creates a production build of the site
- iles preview: Preview the site after building
Scripts are included in the package.json file.
"scripts": {
    "dev": "iles dev --open",
    "build": "iles build",
    "preview": "iles preview --open --port 5050",
    "typecheck": "vue-tsc --noEmit"
  },
These commands are meant to:
- npm run dev: Starts the development server
- npm run build: Creates a production build of the site
- npm run preview: Preview the site after building
Once you execute the command npm run dev to start the development server, it will give us access to port localhost:3000.
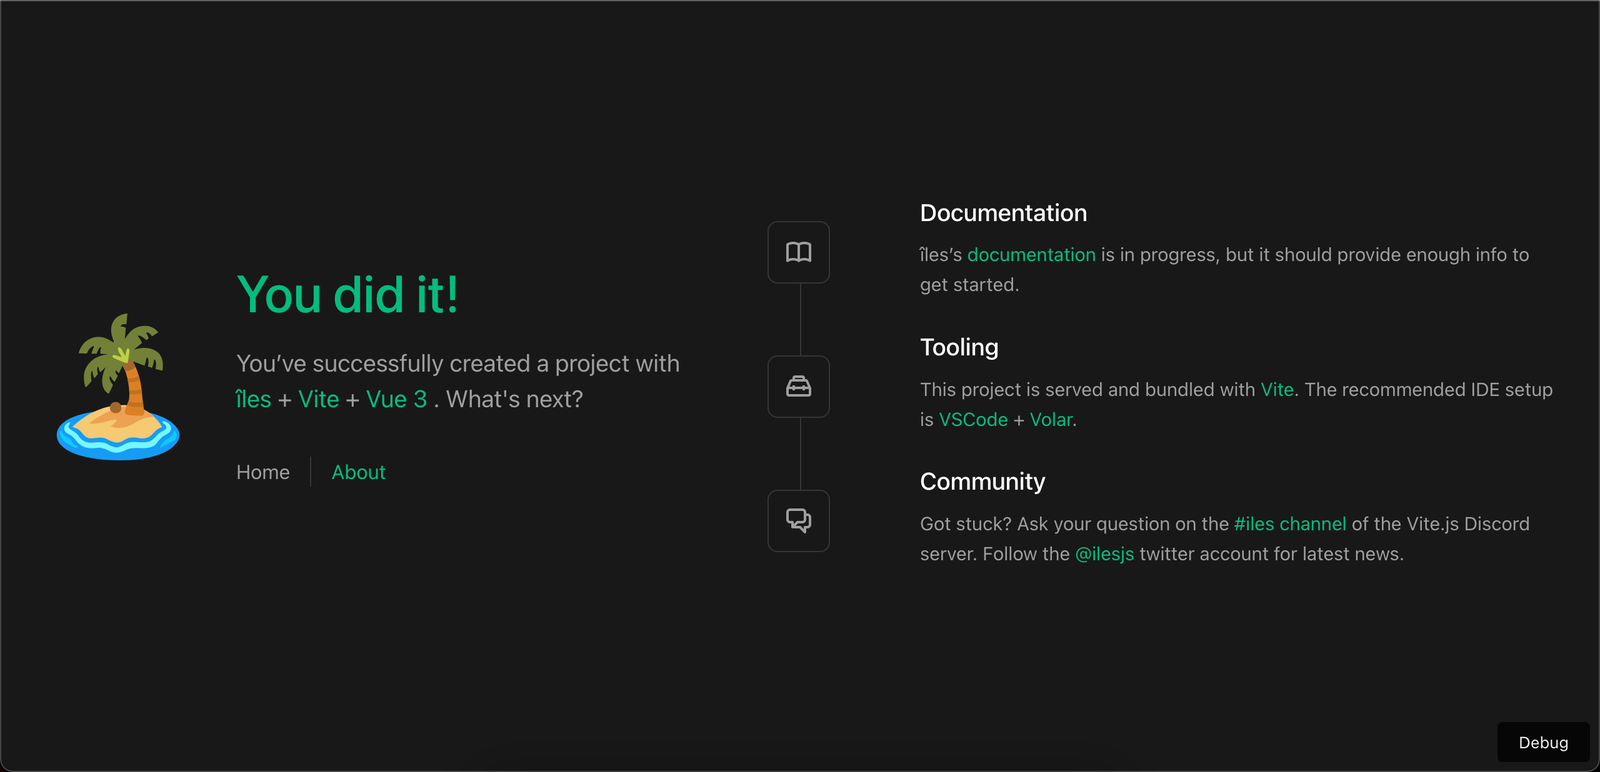
You will see the image above when you use the dev command to preview the development server. On the development page, you’ll notice a debug button. The debug button is used for debugging your îles project, although you may still utilize Vue DevTools to debug your îles project.
Open Source Session Replay
OpenReplay is an open-source, session replay suite that lets you see what users do on your web app, helping you troubleshoot issues faster. OpenReplay is self-hosted for full control over your data.

Start enjoying your debugging experience - start using OpenReplay for free.
App structure
We will look at the structure of an îles project. So, first, open the produced project in your choice of code editor (I use VSCode). When we look at the project structure, we see something like this:
src/
├── components/
│    ├── ReadingTime.vue
│    └── Author.vue
│
├── layouts/
│    ├── default.vue
│    └── post.vue
│
├── pages/
│    ├── posts/
│    │    ├── intro.mdx
│    │    └── goodbye.mdx
│    ├── about.vue
│    └── index.mdx
│
├── app.ts
└── site.ts
Components
Components is a folder where you can write reusable parts of code that are then imported into the pages that require them. However, for the îles project, components in the src/components directory are auto-imported on demand using unplugin-vue-components.
This means that when a component is built in the component folder, it becomes a global component that may be used everywhere in the project. Look for the file components.d.ts to see where these components have been imported. This file can be found outside of the src folder.
declare module 'vue' {
  export interface GlobalComponents {
    CommunityIcon: typeof import('./src/components/icons/CommunityIcon.vue')['default']
    DocumentationIcon: typeof import('./src/components/icons/DocumentationIcon.vue')['default']
    EcosystemIcon: typeof import('./src/components/icons/EcosystemIcon.vue')['default']
    FrameworkLink: typeof import('./src/components/FrameworkLink.vue')['default']
    HelloWorld: typeof import('./src/components/HelloWorld.vue')['default']
    Island: typeof import('./node_modules/îles/dist/client/app/components/Island.vue')['default']
    SupportIcon: typeof import('./src/components/icons/SupportIcon.vue')['default']
    ToolingIcon: typeof import('./src/components/icons/ToolingIcon.vue')['default']
    Welcome: typeof import('./src/components/Welcome.vue')['default']
    WelcomeItem: typeof import('./src/components/WelcomeItem.vue')['default']
  }
}
As you can see from the code above, all of the components built with the îles project are defined in the components.d.ts file.
Pages
The files in the pages folder represent the application’s path. When a file is created in the pages folder, the route for that file is auto-generated, just like Nuxt.js. We don’t need to create a route folder like Vue.js, but you may configure all pages using the extendFrontmatter and extendRoute hooks.
A page can be a .vue component or an MDX file, and you can utilise a component within an MDX file to access any properties defined in the frontmatter, as seen below.
---
title: You did it!
---
<main>
  <Welcome title={title}/>
</main>
Layouts
As the name implies, it comprises layouts that are exposed to the entire project, such as headers and footers. We can save and call the header, footer, or sidebar code here. Components in the [src/layouts](https://iles-docs.netlify.app/guide/development#layouts) directory will be available as layouts for the îles project, and they should include a default slot.
<template>

  <header>
    <img alt="Vue logo" class="logo" src="@/assets/logo.svg" width="125" height="125" />
    <div class="wrapper">
      <HelloWorld :msg="$frontmatter.title" />
      <div id="nav">
        <router-link to="/">Home</router-link>
        <router-link to="/about">About</router-link>
        <router-link to="/contact-us">contact-us</router-link>
      </div>
    </div>
  </header>

  <slot />

</template>
You can see the header and the slot above.
Site.ts
Site information such as title, description, etc. can be provided through [src/site.ts.](https://iles-docs.netlify.app/guide/development#site)
export default {
  title: 'îles',
  description: 'Islands of interactivity with Vue in Vite.js'
}
App.ts
Within the app.ts file is where pages that are defined in the site.ts file are loaded.
import { defineApp } from 'îles'

export default defineApp({
  head ({ frontmatter, site }) {
    return {
      meta: [
        { property: 'author', content: site.title },
        { property: 'keywords', content: computed(() => frontmatter.tags) },
      ]
    }
  },
Key folders and files
When working on an îles project, the most important things you should focus more on are the folders and the files stated below:
├── components/
├── layouts/
├── pages/
├── app.ts
└── site.ts
These files and folders are the building blocks of the îles application since they are the things we need to grasp well for you to be able to develop a static website. However, you should not be concerned about the following:
components.d.ts
composables.d.ts
These files are equally important, but you won’t use them frequently (and sometimes not at all) depending on what you build.
Routing
îles supports file-based routing powered by @islands/pages, thus you don’t have to define routes for your components with îles because they are built automatically based on your pages.
- src/pages/about.vue -> /about
- src/pages/index.vue -> /
Hydration
Hydration is a client-side JavaScript technique that changes a static HTML web page into a dynamic web page by attaching event handlers to the HTML components. Furthermore, in programming, hydration lets you specify which parts of your code should remain interactive on the production server. Without the client: directives, no JS is shipped or hydrated unless you use a hydration strategy.
îles provides great support for partial hydration. This means you can determine which components should stay hydrated or interactive in the production build by using client: directives in your components when working with JavaScript files. Numerous hydration options are available.
-
Client:load - As soon as the page loads, this technique hydrates any component with JavaScript. This implies that when the page is loaded, all of the javascript in that component gets fetched.
-
Client:idle - As soon as the main thread is free, this strategy hydrates each component it’s binding. This means that when the user does not interact with the component, it hydrates it. For example, you may use the
client:idlestrategy to discover how many hours or seconds a user spent on your website without interacting with it. -
Client:visible - This technique hydrates any component to which it’s binding as soon as the element in that component with JavaScript reaches the viewport of the user. Working with a lazy-load component is one example.
-
Client:media - When the browser meets the supplied media query, this technique hydrates any component to which it’s binding. An example is when toggling between mobile view, tablet view, desktop view, scaling images, and so on.
There are further partial hydration strategies supported by the îles framework that were not mentioned above, and you can find them in their documentation.
Deployment
The first step in deploying is to run the build command, as seen below.
npm run buildWhen the build is complete, it generates a dist/ folder outside the src folder. The following step is to run the command below to preview the project in production mode to ensure everything is working correctly.
npm run previewOnce you execute the above command to start the production server, it will give us access to port localhost:5050.
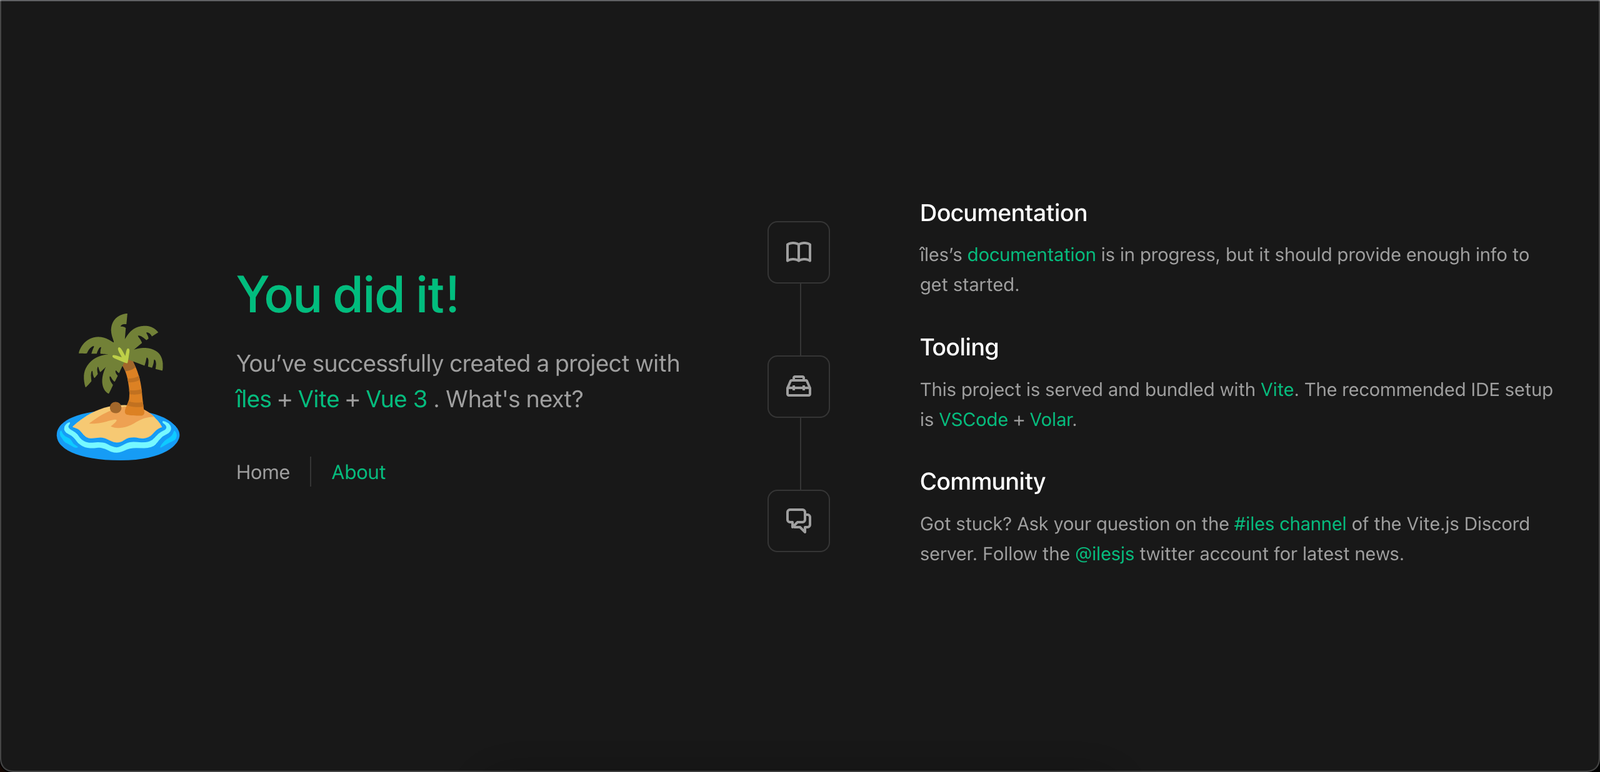
The image above is what you will see when you preview your site after it has been built. There is no debugger button on the preview page, as you may have seen on the development preview. As I previously stated, the debug button is used for debugging your îles project.
Hosting
I use Vercel for hosting, and that is what I will be discussing. To host an îles app there, create a vercel.json file and paste the following code:
{
  "cleanUrls": true,
  "trailingSlash": false
}
The next step is to push your code to Github and link your project repo to Vercel. Vercel will build your project and generate a URL for you to test your app.
Conclusion
In this post, we discussed what îles is and how to develop a frontend web project with the îles framework. Based on what you’ve learned, îles is an excellent tool for building online apps that are easy to use. There are a lot of îles concepts that were not addressed in this post; you can learn more about them by visiting their documentation.