

Vite (the French word for “quick”, pronounced /vit/, like “veet”) is a build tool that aims to provide a faster and leaner development experience for modern web projects. It consists of two major parts:
-
A dev server that provides rich feature enhancements over native ES modules; for example, extremely fast Hot Module Replacement (HMR).
-
A build command that bundles your code with Rollup, pre-configured to output highly optimized static assets for production.
Vite is opinionated and comes with sensible defaults out of the box, but it is also highly extensible via its Plugin API and JavaScript API with full typing support.
Vite serves your code via native ES module imports during development, allowing you to develop Vue.js single file components without a bundle step. While Vite is primarily designed to work with Vue 3, it can also be used with other frameworks, including React. Vite, by design, is a lightning-fast cold server start and offers instant hot module replacement and true on-demand compilation.
JavaScript build tools have changed and shaped the way we build things that run on the web. Build tools are an integral part of any development workflow, and they include (but are not limited to) task runners, transpilers, module bundlers, linters, package managers, and development servers.
These tools help developers build efficiently and simplify development processes (although configuring them can get complicated). In this article, we will look at a build tool called Vite. We will see what it is, why we need it, how it might improve our development workflow, and how to get started.
What is Vite, and why use it?
Vite was initially intended as a development server specifically for Vue single file components (SFCs), but it has evolved and is now a no-bundle JavaScript development server.
According to its official documentation:
Vite is an opinionated web dev build tool that serves your code via native ES Module imports during development and bundles it with Rollup for production.
Before ES modules were available in browsers, developers had no native mechanism for authoring JavaScript in a modular fashion. This is why we are all familiar with “bundling”: using tools that crawl, process, and concatenate our source modules into files that can run in the browser.
Over time we have seen tools like Webpack, Rollup, and Parcel, which significantly improved the development experience for frontend developers.
However, as we build more and more ambitious applications, the amount of JavaScript we are dealing with is also increasing dramatically. It is not uncommon for large-scale projects to contain thousands of modules. We are starting to hit a performance bottleneck for JavaScript-based tooling: it can often take an unreasonably long wait (sometimes up to minutes!) to spin up a dev server, and even with Hot Module Replacement (HMR), file edits can take a couple of seconds to be reflected in the browser. The slow feedback loop can significantly affect developers’ productivity and happiness.
Vite aims to address these issues by leveraging new advancements in the ecosystem: the availability of native ES modules in the browser and the rise of JavaScript tools written in compile-to-native languages.
Even though native ESM is now widely supported, shipping unbundled ESM in production is still inefficient (even with HTTP/2) due to the additional network round trips caused by nested imports. To get the optimal loading performance in production, it is still better to bundle your code with tree-shaking, lazy-loading, and common chunk-splitting (for better caching).
Ensuring optimal output and behavioral consistency between the dev server and the production build isn’t easy. This is why Vite ships with a pre-configured build command that bakes in many performance optimizations out of the box. It has these amazing features:
- Instant server start
- Lightning-fast HMR
- Rich features
- Optimized build
- Universal plugins
Migration to Vite from Webpack Reasons:
- Development speed
- Less complex than Webpack
- Good support and documentation
- Growing ecosystem
Scaffolding a project with Vite
This tutorial assumes the reader has the following:
- Node.js 10x or higher
- Yarn / npm 5.2 or higher installed on their PC
- Basic knowledge of JavaScript and how frameworks work
If you have all the requirements checked, let’s go ahead and scaffold our first Vite project. Run the command below.
With yarn
yarn create viteWith NPM
npm create vite@latest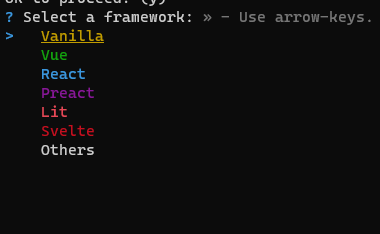 Select the js framework of your choice and click enter. In my case, I’ll be using Vue. You’ll be navigated to another section where you’ll choose whether you want to work with JavaScript or Typescript.
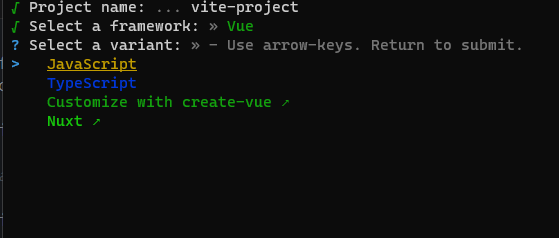
After you have selected your preferred language, press enter again, and your project is set!
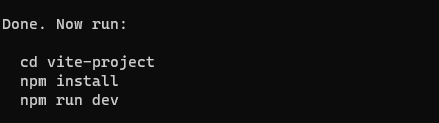
Congratulations! If you successfully got to this point, navigate to your project directory by typing this command in your terminal.
cd' project name'When you are in your project directory, it’s time to install the required dependencies.
yarn
or
npm install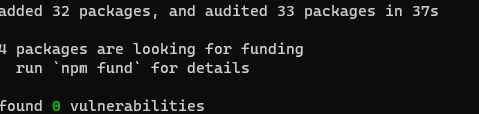
Once that is done, you can now go ahead and start our development server. Run the command below to get your server running.
yarn dev

or

npm run dev
That should spin up in a couple of seconds.
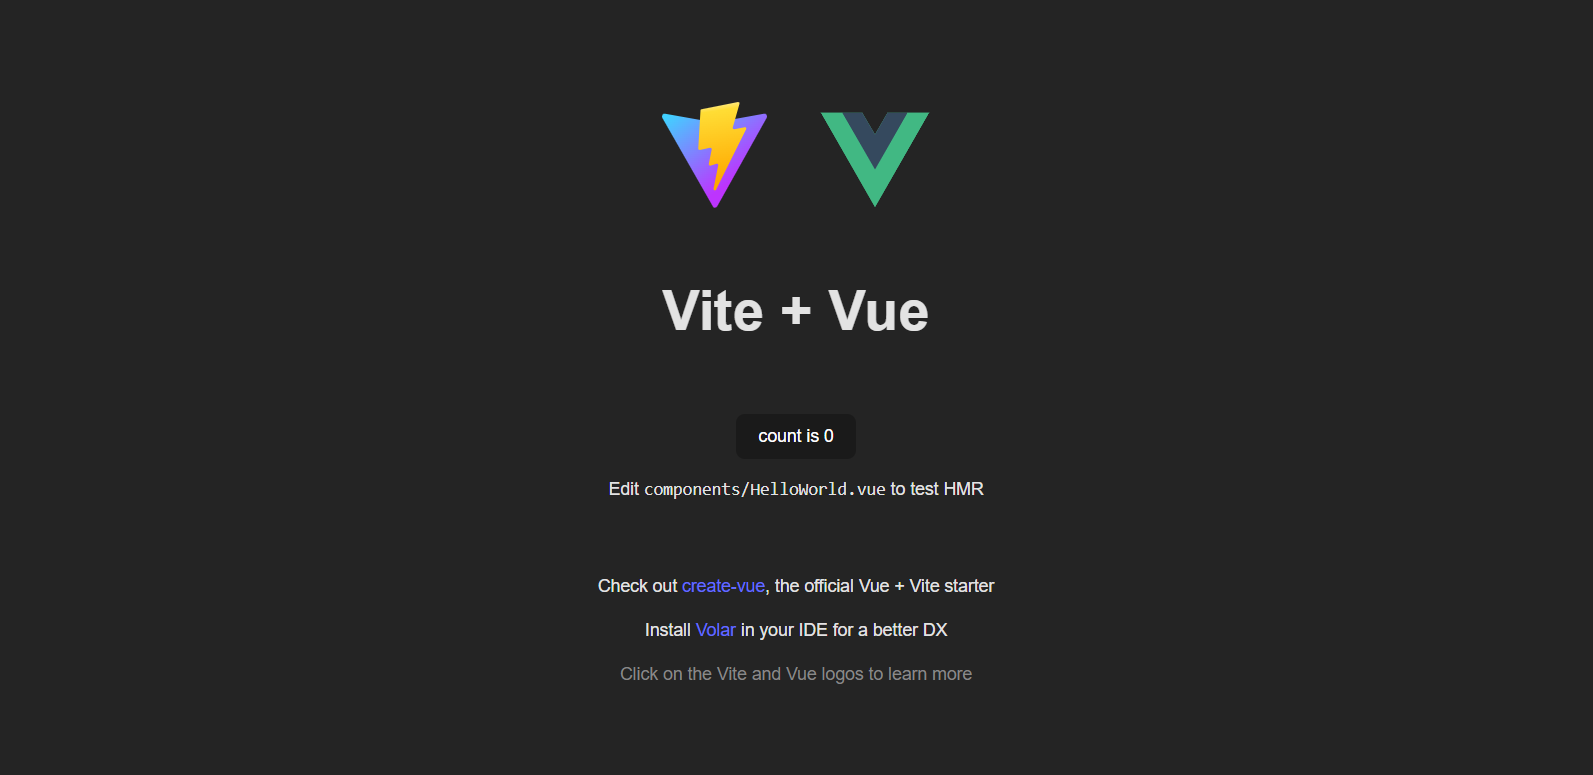
Congratulations on successfully setting up your project with Vite!!
You can also directly specify the project name and the template you want to use via additional command line options. For example, to scaffold a Vite + Vue project, run:
# npm 6.x
npm create vite@latest my-vue-app --template vue

# npm 7+, extra double-dash is needed:
npm create vite@latest my-vue-app -- --template vue

# yarn
yarn create vite my-vue-app --template vue

# pnpm
pnpm create vite my-vue-app --template vue
See create-vite for more details on each supported template: vanilla, vanilla-ts, vue, vue-ts, react, react-ts, preact, preact-ts, lit, lit-ts, svelte, and svelte-ts.
Session Replay for Developers
Uncover frustrations, understand bugs and fix slowdowns like never before with OpenReplay — an open-source session replay tool for developers. Self-host it in minutes, and have complete control over your customer data. Check our GitHub repo and join the thousands of developers in our community.
Static Asset Handling
Importing Asset as URL
import imgUrl from './img.png'
document.getElementById('hero-img').src = imgUrl
For example, imgUrl will be /img.png during development and become /assets/img.2d8efhg.png in the production build.
The behavior is similar to Webpack’s file loader. The difference is that the import can either use absolute public paths (based on project root during dev) or relative paths.
- url() references in CSS are handled the same way.
- If using the Vue plugin, asset references in Vue SFC templates are automatically converted into imports.
- Common image, media, and font file types are detected as assets automatically. You can extend the internal list using the assetsInclude option.
- Referenced assets are included as part of the build assets graph, will get hashed file names, and can be processed by plugins for optimization.
- Assets smaller in bytes than the assetsInlineLimit option will be inlined as base64 data URLs.
- Git LFS placeholders are automatically excluded from inlining because they do not contain the content of the file they represent. To get inlining, download the file contents via Git LFS before building.
The public directory
If you have assets that are:
- Never referenced in source code (e.g.,
robots.txt) - Must retain the exact same file name (without hashing).
- …or you simply don’t want to have to import an asset first just to get its URL
Then you can place the assets in a special public directory under your project root. Assets in this directory will be served at the root path / during dev and copied to the root of the dist directory as-is.
The directory defaults to <root>/public but can be configured via the publicDir option.
Note that:
- You should always reference public assets using the absolute root path - for example,
public/icon.pngshould be referenced in the source code as/icon.png. - Assets in public cannot be imported from JavaScript.
Building your app for Production with Vite
When it is time to deploy your app for production, run the Vite build command. By default, it uses <root>/index.html as the build entry point and produces an application bundle suitable to be served over a static hosting service.
npm run build

yarn build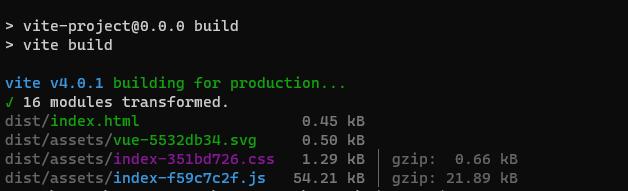
Not this will create a dist folder in your project root folder, which contains all your project files, images everything you have used to make your beautiful website ready for deployment.
Deploying Vite App
For this tutorial, we’ll be deploying on Netlify
After you have built your app, you can head over to netlify and sign in with your GitHub account or any other sign-in option
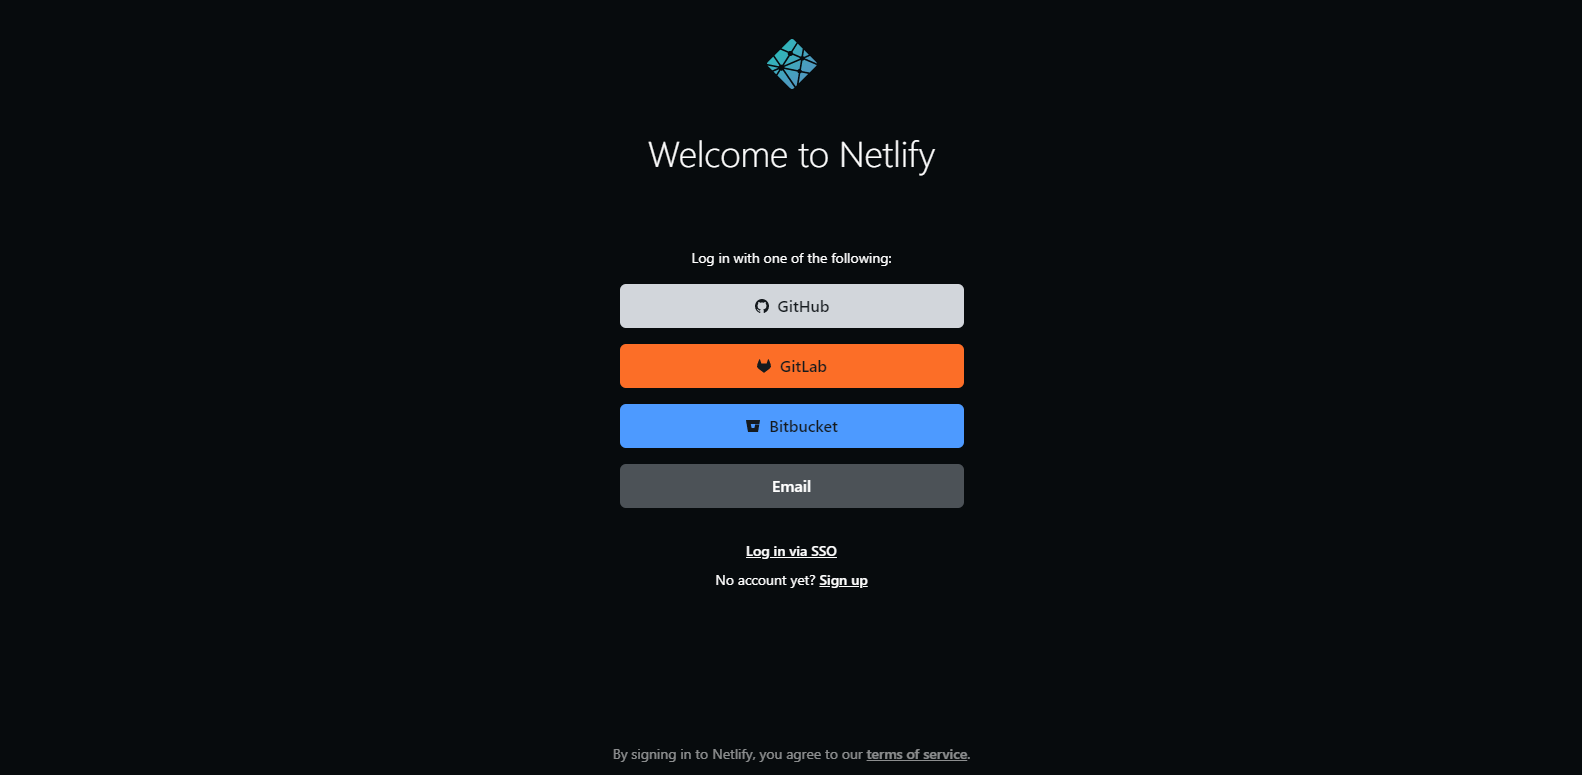
After successfully signing in, you’ll be redirected to your dashboard.
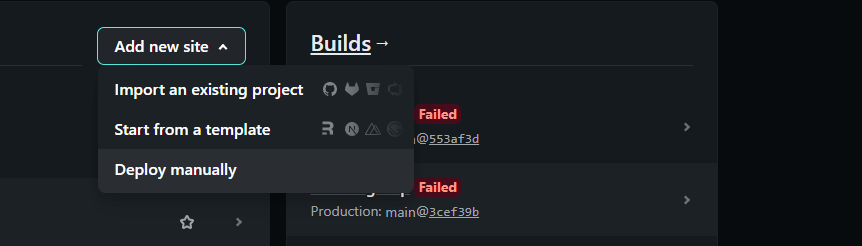
Click on the add new site button again and Deploy manually.
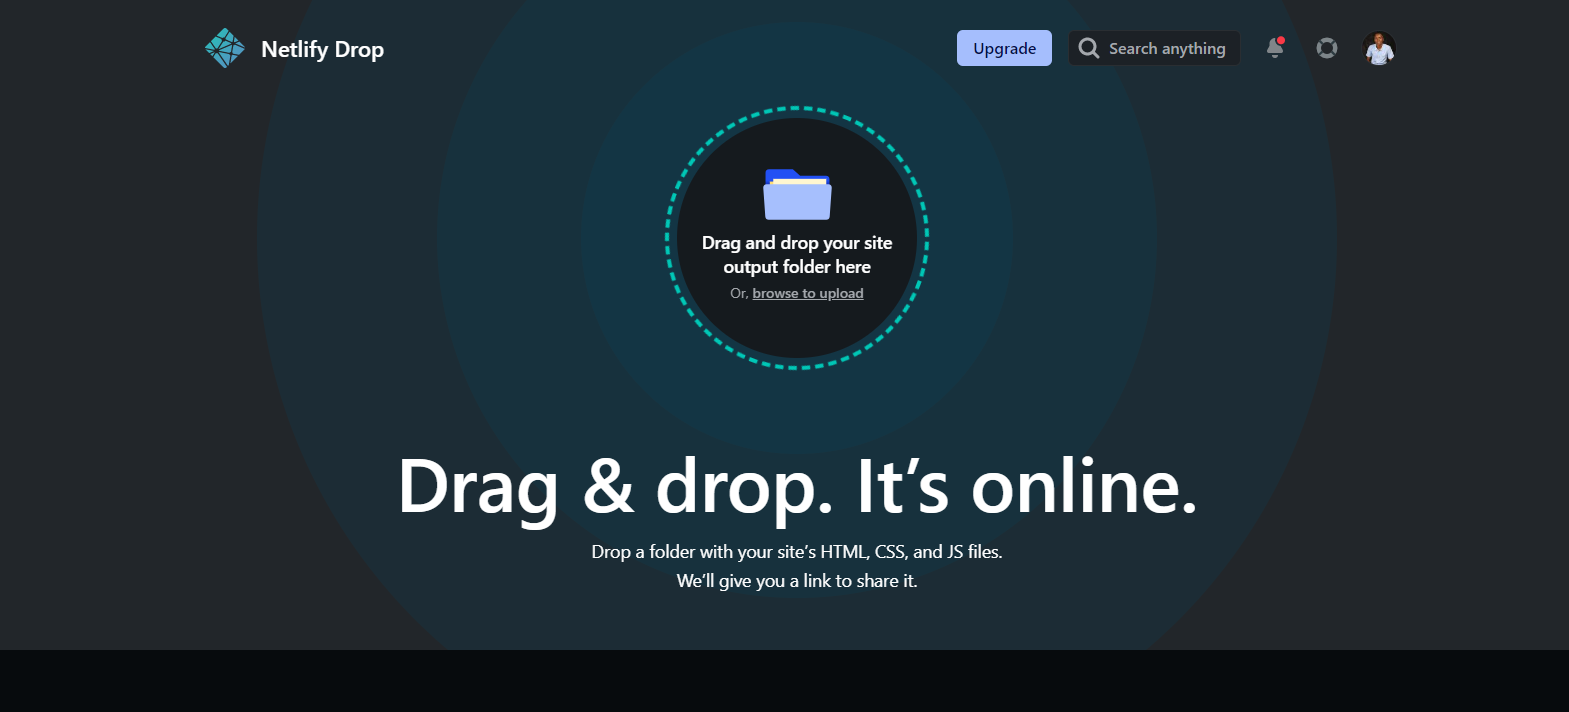
You’ll be redirected to this page where you can drag and drop your project folder, Drag the dist folder from our project folder on your computer, and your Vite app will be deployed. Alternatively, you can deploy using Git here. You don’t need to build your app; just follow the steps below, and you are good to go.
- Push your code to a git repository (GitHub, GitLab,
- BitBucket, Azure DevOps).
- Import the project to Netlify.
- Choose the branch and output directory, and set up environment variables if applicable.
- Click on Deploy.
- Your Vite app is deployed!
After your project has been imported and deployed, all subsequent pushes to branches other than the production branch, along with pull requests will generate Preview Deployments, and all changes made to the Production Branch (commonly “main”) will result in a Production Deployment.
Conclusion
With Vite, you have a very fast development server that would improve your development workflow and increase productivity.
The results of your file changes are instantaneous in the browser, and you can bundle your app for production using Rollup.
To learn more about Vite’s speed and features, you can check out the official documentation here
A TIP FROM THE EDITOR: If you want to use Vite with React instead of Vue, we can help you out: check out How To Build Your React.Js App Using Vite and Building a React Application with Vite for that!
Gain Debugging Superpowers
Unleash the power of session replay to reproduce bugs and track user frustrations. Get complete visibility into your frontend with OpenReplay, the most advanced open-source session replay tool for developers.