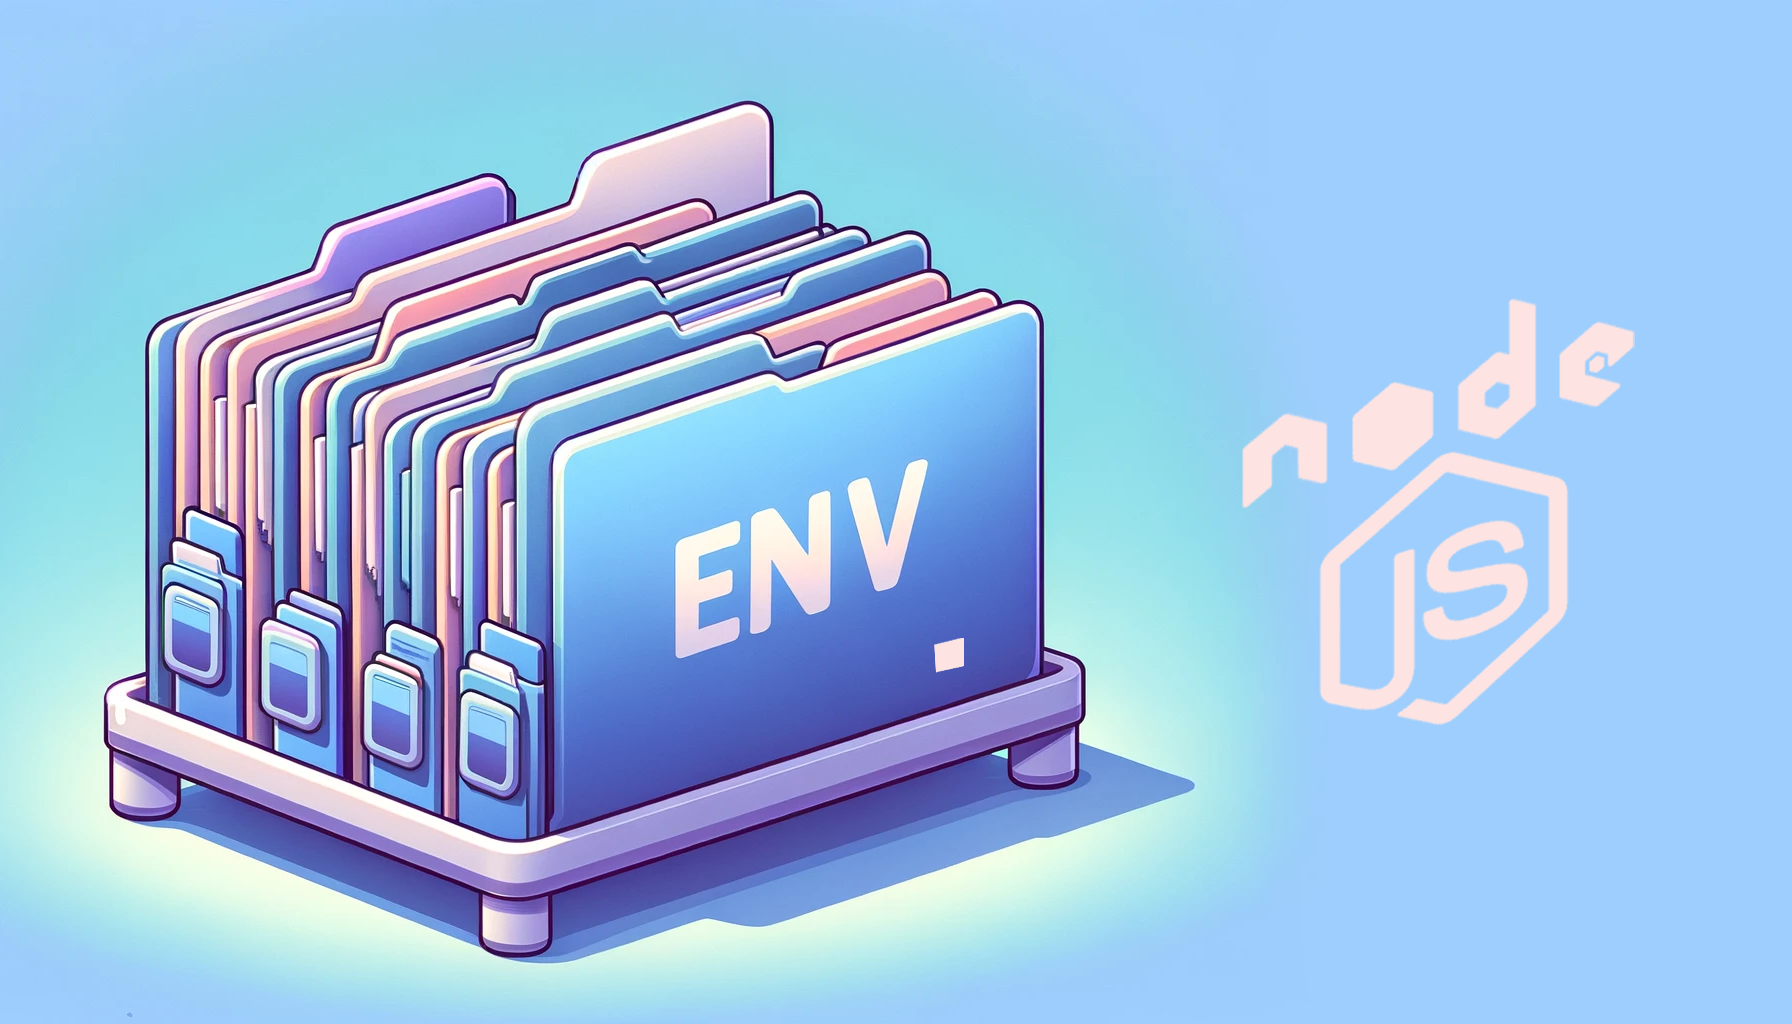
The Node.JS team released several versions recently; among these is the v20.6.0, which comes with built-in support for env files. In this article, you’ll learn about env files, how they were handled before, and how you can now handle env files in the latest releases.

Discover how at OpenReplay.com.
Environment files (“env files”) safely store environment variables, which serve a purpose in your code but have to be kept separate from your code.
These variables could be API keys, database configurations or some other secret that should be hidden from the user.
These variables are stored in key-value pairs. The code below is an example of a key-value pair.
MY_SECRET_KEY=my-secret-valueIn this example, MY_SECRET_KEY is the key while my-secret-value represents the value.
To use an environment variable, the key is specified in the code while the value is safely hidden in an env file. The value is then accessed at runtime using the process.env variable.
Runtime: Runtime refers to the period within which your code executes in an environment, from when it starts running to when it stops. The runtime environment for Javascript is Node.JS.
Env files are important because they keep env variables and other private information from falling into the wrong hands while providing easy access when the variables are needed.
Interestingly, Node.JS doesn’t have built-in support for env files in Node.JS versions earlier than v20.6.0. This means projects using those Node versions would need to handle env files using other means.
How env files were handled with Node.JS
Before the recent Node.JS releases, env files were handled using third-party packages. A prevalent package to handle env files is the dotenv package - a npm package that loads environment variables from env files in your project. As of writing, the dotenv package has over 35m weekly downloads on npm - showing its popularity and reliability regarding handling env files.
To load env files in your Node.JS project using the dotenv package, you would need to do the following things:
- Install the
dotenvpackage using
npm install dotenvor if you use yarn
yarn install dotenv- Create a
.envfile and add your variable(s)
YOUR_SECRET_KEY=your-secret-value- Import the package at the top level of your Node.JS projects and call its
config()function
require("dotenv").config();- Load the variable into your code using
process.env.YOUR_KEYNow, Node v20.6.0 and above will load env variables from env files without needing a different package.
Node.JS new handling of env files
Handling env files in the new Node.JS releases is similar to the dotenv package, except you don’t need to import any package. You just need to do the following:
- Add a
.envfile to your folder and define your key-value pair(s). - Use
process.envto access the variable in your env file. - Start or restart your Node.JS application using the
nodecommand and the--env-fileflag.
A necessary prerequisite for these actions is to have the appropriate version of Node.JS installed on your device, and you can check the Node.JS version you have by typing node -v in your terminal.
If you have a Node version earlier than v20.6.0, you must upgrade it.
You can upgrade your Node version using either the nvm package or by downloading and installing a new Node.JS version from the Node.JS website.
Using env files in a Node.JS app
In this section, we’ll connect to a Mongodb database from a Node.JS application and use an env file to store our database connection string.
Setting up a Node.JS server
First, we need a Node.JS server:
- Start a new Node.JS application using
npm init -yThis will create a default package.json file in your directory.
- Create an
index.jsfile in your root folder; your code will be in this file. Your folder structure should look like the one below
|-- index.js
|-- package.json
Now add this code to your index.js file
//index.js
const http = require("node:http");
const hostname = "127.0.0.1";
const port = 3000;

const server = http.createServer((req, res) => {
  res.statusCode = 200;
  res.setHeader("Content-Type", "text/plain");
  res.end("Hello world");
});

server.listen(port, hostname, () => {
  console.log(`Server running at http://${hostname}:${port}/`);
});
The code above creates a basic Node.JS server using the http protocol. It uses the http protocol to create a server and serve a “Hello world” response on port 3000.
Setting up the Mongo database
Install MongoDB using,
npm install mongodbthen, at the top level of the index.js file import MongoClient and ServerApiVersion.
const { MongoClient, ServerApiVersion } = require('mongodb');Next, add the Mongo boilerplate for connecting to your database
const client = new MongoClient(uri, {
  serverApi: {
    version: ServerApiVersion.v1,
    strict: true,
    deprecationErrors: true,
  },
});

async function run() {
  try {
    // Connect the client to the server (optional starting in v4.7)
    await client.connect();
    // Send a ping to confirm a successful connection
    await client.db("admin").command({ ping: 1 });
    console.log(
      "Pinged your deployment. You successfully connected to MongoDB!",
    );
  } finally {
    // Ensures that the client will close when you finish/error
    await client.close();
  }
}
run().catch(console.dir);
Using environment variables
To connect to MongoDB you will need a connection string. You can get this string when you create an account and a database for your project.
Below is an example of a connection string.
mongodb+srv://<YOUR_NAME>:<YOUR_PROJECT_NAME>.mongodb.net/?retryWrites=true&w=majorityThis string grants read/write access to your database so it’s something you can not expose in your code.
You can store this connection string by doing the following,
-
Create a
.envfile at the root of your folder -
In the
.envfile, add your secret; the secret for this example will be theMongoDBconnection string.
MONGO_DB_URI = YOUR_MONGO_STRING_HERE- Create a
.gitignorefile in the root of your project, giving you a folder structure like the one below
|-- node_modules
|-- index.js
|-- package-lock.json
|-- package.json
|-- .env
|-- .gitignore
A gitignore file keeps the specified file from getting pushed to Github. Inside the .gitignore file, you just need to type .env, and your .env file will be kept from Github.
- Now, go to the
index.jsfile and add this just below the imports
const uri = `${process.env.MONGO_DB_URI}`;Your connection string has now been assigned to the variable URI, which gives MongoClient access to your database. You don’t need to do anything else since uri has already been used in MongoClient in the boilerplate
const client = new MongoClient(uri, {
  //rest of the code here
});
Starting the server
Now here’s something interesting, if you start the server using node index.js you will get an error in your console
MongoParseError: Invalid scheme, expected connection string to start with "mongodb://"
or "mongodb+srv://"
This error is because you haven’t used the -env-file flag to tell Node to watch the .env file where you have the connection string.
So, to properly restart the server you need to use,
node --env-file=.env index.jsNow, Node knows to watch the .env file for environment variables, and process.env makes the env variable available at runtime.
If you check your console, you should see,
Server running at http://127.0.0.1:3000/After a second or two you should also see a database connection success message.
Pinged your deployment. You successfully connected to MongoDB!Now your server is securely connected to your database without needing a third-party package like dotenv.
Loading multiple env files
There may be times when you’ll have different env files for a production environment and a local environment. This means you’ll have two env files in a project, a .env file, and a .env.local file.
Node allows watching multiple env files, so if you want to watch two env files like .env.local and .env together, you just need to do it like so,
node --env-file=.env.local --env-file=.env index.jsNote that if you have environment variables with the same key in both env files, the variable in the latter env file will override the former. Here’s a basic example:
.env.local
SECRET_KEY=a-secret-key
.env
SECRET_KEY=another-secret-keyThe two env files have the same key, SECRET_KEY; if you load them together using the command above, Node.JS will not treat them as separate env variables. Instead, the env variable for .env will override the variable for .env.local.
If you change the order and type it like,
node --env-file=.env --env-file=.env.local index.jsThe variable in .env.local will override that of the .env file.
While this can be frustrating if you type the flags in an incorrect order, it could also be helpful if you cannot or do not want to change the secrets in a certain env file, and you need to load other variables in that file. This way you can override a single variable without changing the file.
Conclusion
This article has talked about what env files are, how env files used to be handled in Node.JS using the dotenv package, and how the Node.JS new releases now support env files.
You can check the Node.JS release docs to see other features that came out in the recent releases and how they can help you build better Node.JS applications.
Gain Debugging Superpowers
Unleash the power of session replay to reproduce bugs, track slowdowns and uncover frustrations in your app. Get complete visibility into your frontend with OpenReplay — the most advanced open-source session replay tool for developers.
Star on GitHub12k