How to Measure Performance in JavaScript Applications

Measuring the time it takes to execute a function is always a good idea to prove that some implementation is more performant than the other. It’s also a good way to ensure that performance didn’t suffer after some change and to track down bottlenecks.
Good performance contributes to a good user experience. And a good user experience makes users come back. This research for example shows, 88% of online consumers are less likely to return after a poor user experience due to performance issues.
That’s why it’s important to be able to recognize bottlenecks in your code and measure the improvements. Especially when developing JavaScript for the browser it’s important to be aware that every line of JavaScript you write can potentially block the DOM since it’s a single-threaded language.
In this article, I will explain how you can measure the performance of your functions and what to do with the results, you get from them.
The functions I mention here are good for debugging JavaScript functions at a low level. If you want to make sure that your application stays fast, even after more features get added, consider the implementation of a performance budget.
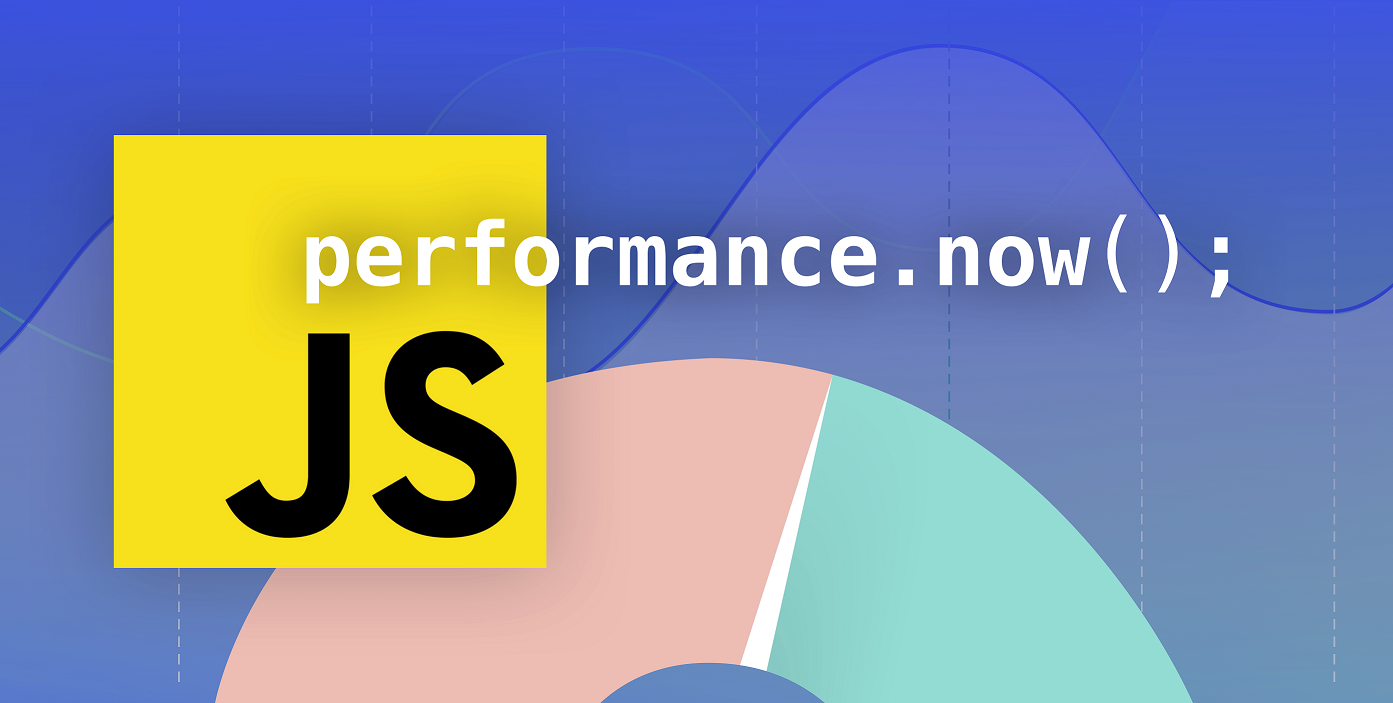
Performance.now
The performance API provides access to the DOMHighResTimeStamp through its function performance.now(), which returns the time passed since the page loaded in milliseconds, with a precision of up to 5µs in the fractional.
So in practice you need to take two timestamps, save them in a variable and then rest the second from the first one:
const t0 = performance.now();
for (let i = 0; i < array.length; i++)
{
  // some code
}
const t1 = performance.now();
console.log(t1 - t0, 'milliseconds');
Output (Chrome):
0.6350000001020817 "millisecondsOutput (Firefox):
1 millisecondsHere we can see that the result in Firefox is quite different from Chrome. This is because Firefox, as of version 60, is reducing the precision of the performance API to 2ms. You can find more information about this at the end of this post.
The performance API offers much more functionality than only returning a timestamp. It’s able to measure navigation timing, user timing, or resource timing. Check this article out which explains it more in detail.
For our use-case, however, we only want to measure the performance of a single function so a timestamp will be enough.
Isn’t that the same as Date.now?
Now you could think, hey, I could also use Date.now for that.
Yes you can, but that has drawbacks.
Date.now returns, in milliseconds, the time passed since the Unix epoch (1970-01-01T00:00:00Z) and depends on the system clock. This doesn’t only mean that it’s not as precise, but it’s also not always incrementing. Here’s how a WebKit engineer (Tony Gentilcore) explains it:
“Perhaps less often considered is that Date, based on system time, isn’t ideal for real user monitoring either. Most systems run a daemon that regularly synchronizes the time. It is common for the clock to be tweaked a few milliseconds every 15-20 minutes. At that rate about 1% of 10 second intervals measured would be inaccurate.”
Performance.mark and Performance.measure
Besides the Performance.now function, there are a few others that enable us to measure time across different parts of our code and use them as custom metrics in performance testing tools like Webpagetest.
In this part of the article, I explain the endpoints Performance.mark, Performance.measure and Performance APIs that allow us to collect the results, like for example Performance.getEntriesByName, or Performance.getEntriesByType.
Performance.mark
Like the name already tells us, with this function we can set marks in our code. These marks create timestamps in the performance buffer, which we can use later on to measure the time certain parts of our code took to execute.
To create a mark, we need to call the function with a string as the only parameter, which we will use to identify the mark.
The precision of this function, just like of Performance.now, is of up to 5µs in the fractional.
performance.mark('name');A mark will be stored in the buffer with the following fields (as a performance entry object):
entryType: In this case it’s always set tomark.name: The value we set when calling the function.startTime: The timestamp of when the mark function has been called. Same value ascalling performance.now().duration: Always set to 0
Performance.measure
This function either measures the time between navigation start and a mark, the time between two marks or the time between a mark and the performance.measure() timestamp.
It can be used with one, two, or three arguments. The first one is always the name of the measure, while the remaining ones are the names of the marks we want to measure.
The result will be stored in the buffer as a performance entry with the following fields:
entryType: Set tomeasure.name: The value we set when calling the function.startTime: The timestamp of when the function has been called.duration: Result of the measure.
Here’s how we can use it:
From navigation start to measure
performance.measure('measure name');From navigation start to mark
performance.measure('measure name', undefined, 'mark-2');From mark to mark
performance.measure('measure name', 'mark-1', 'mark-2');From mark to now
performance.measure('measure name', 'mark-1');Collecting the Measures
In the functions above, I always mentioned that the result is being stored in the performance entry buffer. Until now, we’ve only added measures to it, but how can we access what’s in there?
The performance API has 3 functions we can use for this:
performance.getEntries() - Returns everything stored in the performance entry buffer, like marks or measures.
performance.getEntriesByName('name') - Only returns entries that match the given name.
performance.getEntriesByType('type') - Only returns entries of a specific type (like measure or mark).
A full example, using all those functions together, might look something like this:
 performance.mark('mark-1');
  // some code
  performance.mark('mark-2')
  performance.measure('test', 'mark-1', 'mark-2')
  console.log(performance.getEntriesByName('test')[0].duration);
Console.time
This API is really easy to use. Simply put console.time before and console.timeEnd after the code you want to measure, calling the function with the same string argument. You can use up to 10,000 timers simultaneously on one page.
The precision is the same as of the performance API but this again depends on the browser.
console.time('test');
for (let i = 0; i < array.length; i++) {
  // some code
}
console.timeEnd('test');
This automatically generates a human-readable output like the following:
Output (Chrome):
test: 0.766845703125msOutput (Firefox):
test: 2ms - timer endedThe outputs here are again very similar to the performance API.
console.time has the advantage that it is easier to use since it doesn’t require calculating the difference between two timestamps manually.
Reduced Time Precision
If you measure your function with the APIs mentioned above in different browsers you might notice that the results vary.
This is due to browsers trying to protect users against timing attacks and fingerprinting, which can be used by hackers to identify users if the timestamp is too accurate.
Browsers like Firefox, for example, try to prevent this by reducing the precision to 2ms (version 60).
Things to Keep in Mind
Now you have the tools you need to measure how fast your JavaScript functions are. But there are some pitfalls that are better to be avoided:
Divide and Conquer
You noticed something is slow when filtering some results but you don’t know where the bottleneck is.
Instead of making wild guesses what part of the code is slow, you can use these above-mentioned functions to measure it.
To trace it down first place your console.time statements around the block of code that is slow. Then measure how different parts of them perform. If one is slower than the others, continue there and go deeper every time until you find the bottleneck.
The less code you have between those statements, the less likely it is that you’re tracking something you’re not interested in.
Be Aware of the Input Values
In a real-world application, the input values of a given function can change a lot. Just measuring the speed of the function for any random value doesn’t give us any valuable data we can actually use.
Be sure to run your code with the same input values.
Run the Function Multiple Times
Let’s say you have a function that iterates over an array, does some calculations with each of its values and returns an array with the results. You want to find out whether forEach or a simple for loop is more performant.
Those are the functions:
function testForEach(x) {
  console.time('test-forEach');
  const res = [];
  x.forEach((value, index) => {
    res.push(value / 1.2 * 0.1);
  });

  console.timeEnd('test-forEach')
  return res;
}

function testFor(x) {
  console.time('test-for');
  const res = [];
  for (let i = 0; i < x.length; i ++) {
    res.push(x[i] / 1.2 * 0.1);
  }

  console.timeEnd('test-for')
  return res;
}
And you test them like this:
const x = new Array(100000).fill(Math.random());
testForEach(x);
testFor(x);
If you run the above functions in Firefox you’ll get an output similar to this:
test-forEach: 27ms - timer ended
test-for: 3ms - timer ended
Looks like forEach is way slower, right?
Let’s have a look if we run the same functions twice, using the same input:
testForEach(x);
testForEach(x);
testFor(x);
testFor(x);
test-forEach: 13ms - timer ended
test-forEach: 2ms - timer ended
test-for: 1ms - timer ended
test-for: 3ms - timer endedIf we call the forEach test a second time it performs just as well as the for loop. It’s probably not worth using forEach anyway, given the slower initial value.
…and in multiple browsers
If we run the above code in Chrome the result suddenly looks different:
test-forEach: 6.156005859375ms
test-forEach: 8.01416015625ms
test-for: 4.371337890625ms
test-for: 4.31298828125ms
That’s because Chrome and Firefox have different JavaScript engines have a different kind of performance optimizations. It’s good to be aware of these differences.
In this case, Firefox is doing a better job of optimizing the use of forEach with the same input.
for performs better on both engines so it’s probably better to stick to the for loop.
This is a good example of why you should measure in multiple engines. If you only measured in Chrome you might have come to the conclusion that forEach is not so bad in comparison to for.
Throttle your CPU
Those values don’t seem like much. Be aware that your development machine is usually much faster than the average mobile phone that your website is being viewed on.
To get a feeling of how this looks like, browsers have a feature that lets you throttle your CPU performance.
With this those 10ms or 50ms quickly become 500ms.
Measure Relative Performance
These raw results actually don’t only depend on your hardware but also on the current load on your CPU and your JavaScript thread. Try to focus on the relative improvement of your measurements since these numbers can look very different the next time you restart your computer.
Conclusion
In this article, we have seen some JavaScript APIs we can use to measure performance and then how to use them in the “real world”. For simple measurements, I find that it’s easier to use console.time. If you want to integrate your measurements with performance measurement tools, you probably need to use performance.mark and performance.measure.
I feel like many frontend developers don’t give enough thought to performance on a daily basis, even though it has a direct impact on revenue.
How do you make sure that you don’t forget about performance in daily business? Feel free to send me an email or tweet with your ideas :)