Implementing 3D graphics in React


3D is an exciting area in computer science, and it could range from creating 3D shapes, vectors, and graphics. In this article, we will see how to do the goal of creating 3D graphics in React.
In React, there are different libraries for rendering 3D. In this article, we will focus on how to use the Three.js Library, React Three Fiber library, and the React Three Drei library for creating 3D objects.
We have three questions to consider.
- What is 3D Rendering? 3D rendering is the process of using data and models to represent a three-dimensional interface or surface. Its use is to create scenes, vectors, graphics, and planes that look like real-world scenarios. Its use is in game creation and most engineering fields for simulation. Some new website UI now incorporates animations and 3D graphics to make the website look nice. For example, on GitHub, if you look to the right of the site, you will see an image model of the Earth rotating along its x-axis, from left to right.
- How to Achieve 3D Rendering in React? Achieving 3D Rendering in React is not difficult because you do not need to start calculating the X, Y, and Z axis. There are libraries to help you to create 3D in React.
- What Processes are there for 3D Rendering? There are different processes when it comes to rendering 3D images in React, and we’ll be considering a trio here. We will use the following libraries: Three.js, React Three Fiber, and React Three Drei.
Three.js
Three.js is a JavaScript library that helps to create 3D graphics. You can find their website and documentation using the link: Three.js. Using it in React is simple all you have to do is:
npm install threeYou have to do that in your React app directory.
React Three Fiber
React Three Fiber is a React library that helps to render 3D graphics in React. When you create or generate the 3D model using Three.js, you will need to use the React Three Fiber to tell the React app how or to render the 3D model. You can find their site and documentation here: React Three Fiber. It is also simple to use the React Three Fiber library in React; all you have to do is:
npm install @react-three/fiberReact Three Drei
React Three Drei is a 3D library with different functions that help to render 3D React Three Fiber. To install it, you can use the following:
npm install @react-three/dreiAnd with all that known, let’s start learning and creating some 3D models.
3D Rendering
We’ll work our way through a series of progressively more complex examples.
Rendering Geometric Shapes
First, let’s try to create a geometric shape. A geometric shape is a figure that represents an object. It could be a 2D object on a plane like a square, triangle, or circle with an X and Y axis. It could also be a 3D object like a sphere or cone with an X, Y, and Z axis. To start:
- let’s create our React app;
npx create-react-app test-3d- Let’s install our 3D libraries - I prefer installing them one by one to avoid errors, but you can also install them in a single step.
npm install three
npm install @react-three/fiber
npm install @react-three/drei

...or...

npm install three @react-three/fiber @react-three/drei-
In your source folder, create a components folder.
-
Create a file named Sphere.js in your components folder, and write the following code.
import React from 'react'
function Sphere() {
  return (
    <mesh >
        <sphereBufferGeometry attach='geometry' args={[2,32]}/>
    </mesh>
  )
}

export default Sphere- In your App.js file, import and write the following code.
import React from 'react';
import './App.css';
import Sphere from './components/Sphere';
function App() {
  return (
    <div className="App">
      <Canvas className='canvas1'>
        <Sphere/>
      </Canvas>
    </div>
  );
}

export default App;
Then run the code on your browser. When you run the code, you get a plane circle with black color, like in the image below.
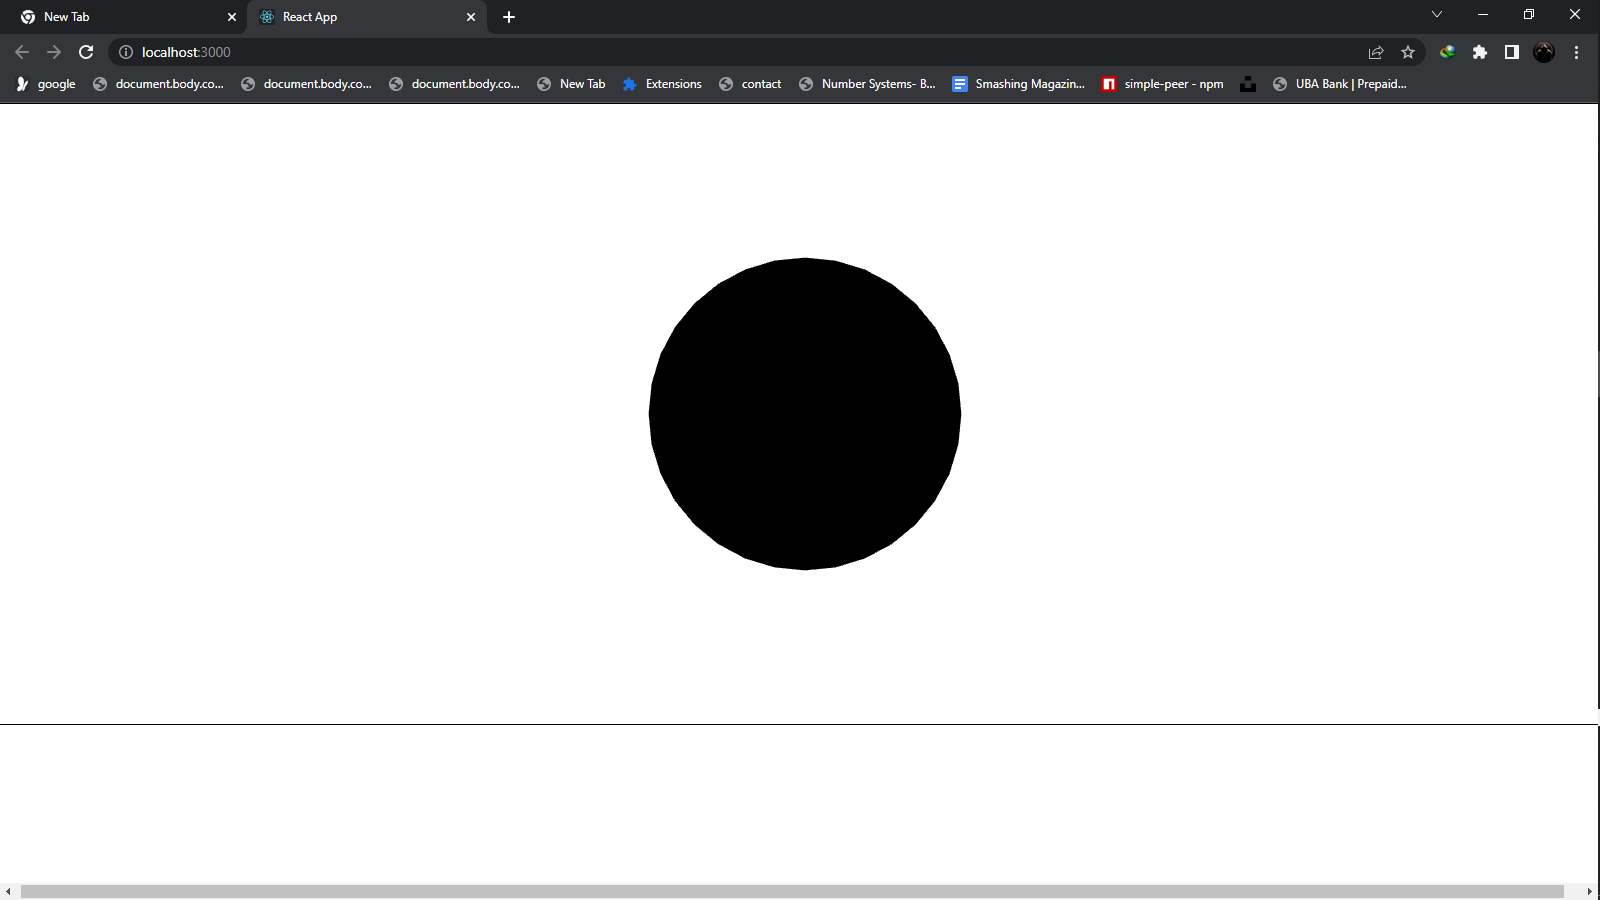
But it does not look like 3D. First, let us understand what the code does.
After installing and importing the needed libraries, we create a component file for our 3D circle. In the component file, we create a sphere geometry or shape; you will observe that the code is in a mesh tag. Because when creating a 3D shape, you don’t use a div. The mesh tag represents the THREE.Mesh() in React, which is a Three.js function. Also, in the following line of code <sphereBufferGeometry attach='geometry' args={[2,32]}/> targets to create a geometric shape, you have to give an attach='geometry' attribute to create the shape the args attribute targets to set the dimensions of the geometric shape.
In step 5, we imported the file component <Sphere/> into App.js and used the Canvas element.
The Canvas element is used instead of a div element to wrap 3D mesh elements. The element targets rendering 3D Shapes or models representing the scene.
Before going further, it’s important to note that when rendering 3D objects, you need to know the four essential elements. They are:
- Scene
- Geometry
- Texture
- Light
In the codes above, we used two elements: Scene and Geometry.
Creating Materials
In this section, we will focus on the two remaining elements: texture and light.
In the image above, you will observe that it looks dark, and that is because there is no light. There are two types of light to add: Ambient light and Directional light.
The ambient light adds light to the 3D object, while the directional light adds light to the edges to make them visible.
To use them, inside your App.js code, write the following;
import React from 'react';
import './App.css';
import Sphere from './components/Sphere';
function App() {
  return (
    <div className="App">
      <ambientLight intensity={0.5}/>
      <directionalLight position={[-2,10,2]} intensity={1}/>
      <Canvas className='canvas1'>
        <Sphere/>
      </Canvas>
    </div>
  );
}

export default App;
You will get this image.
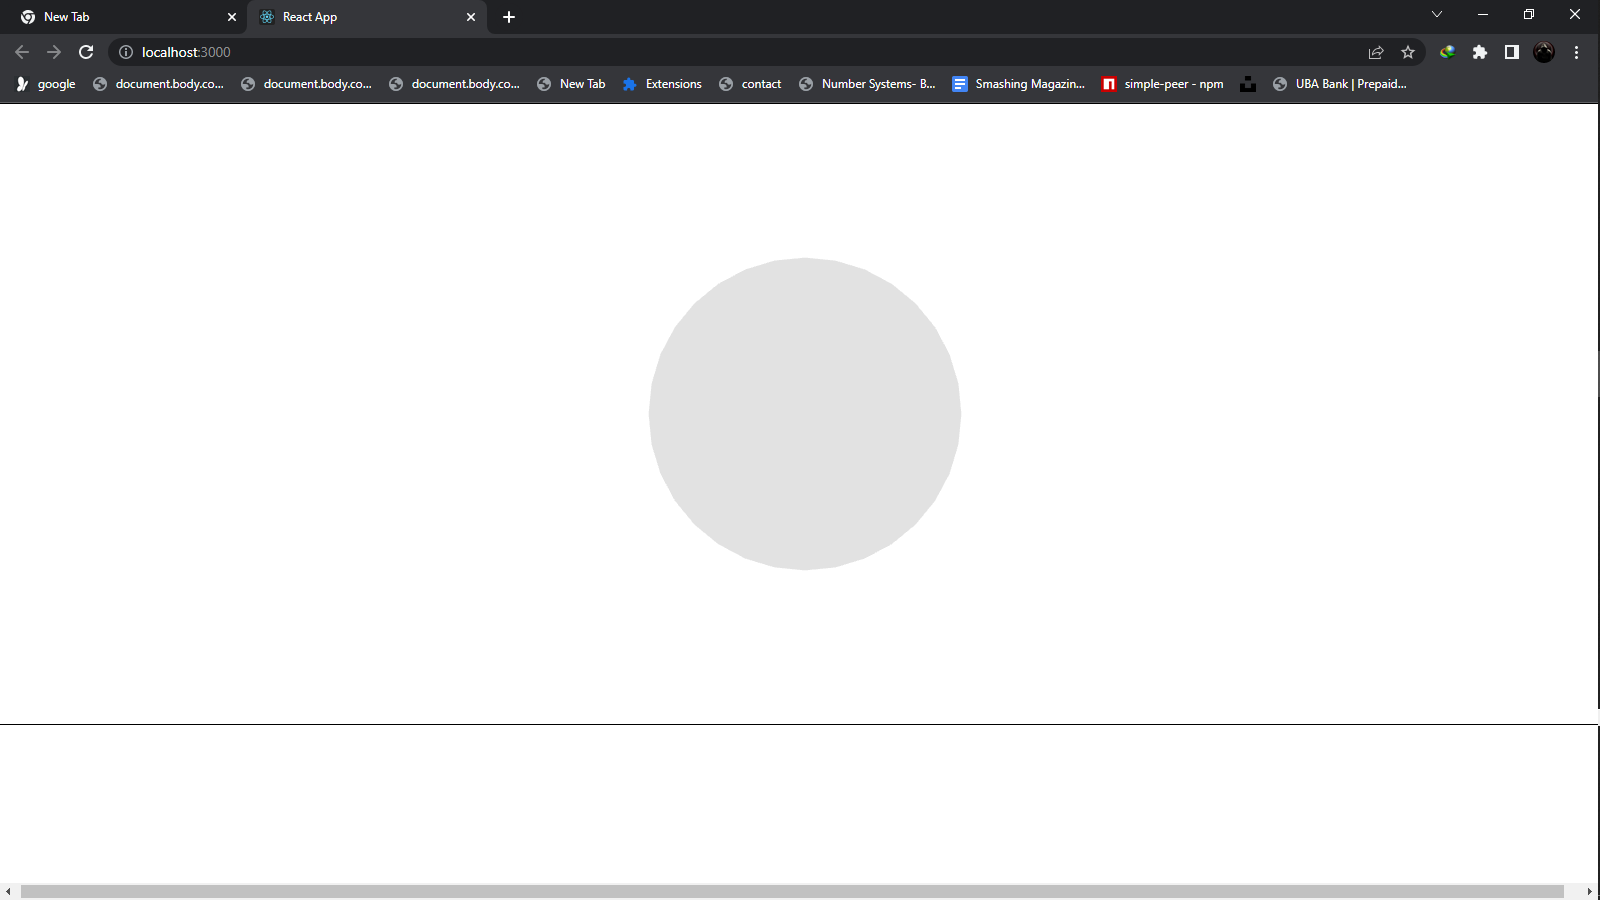
Now the image has a light, and it’s no longer dark.
In the code above, you will notice an intensity and position attribute. We used the intensity to set the brightness of the light, while the position is an array used to set the positions the directional Light will touch.
With the light added, we can add materials to the Sphere.js component. The materials can be the texture, color, distortion, etc.
We use a meshLambertMaterial to add materials in our Sphere.js component.
import React from 'react'
function Sphere() {
  return (
    <mesh >
        <sphereBufferGeometry attach='geometry' args={[2,32]}/>
        <meshLambertMaterial attach='material' color='red'/>
    </mesh>
  )
}

export default Sphere
There are different types of materials in Three.js, but I’ll focus on this one for now.
In the meshLambertmaterial I used the attributes attach='material' and color='red'.
The attach='material' tells React Three Fiber to use the attributes set in the mesh material object as the property of the geometric shape, like the color, distort.
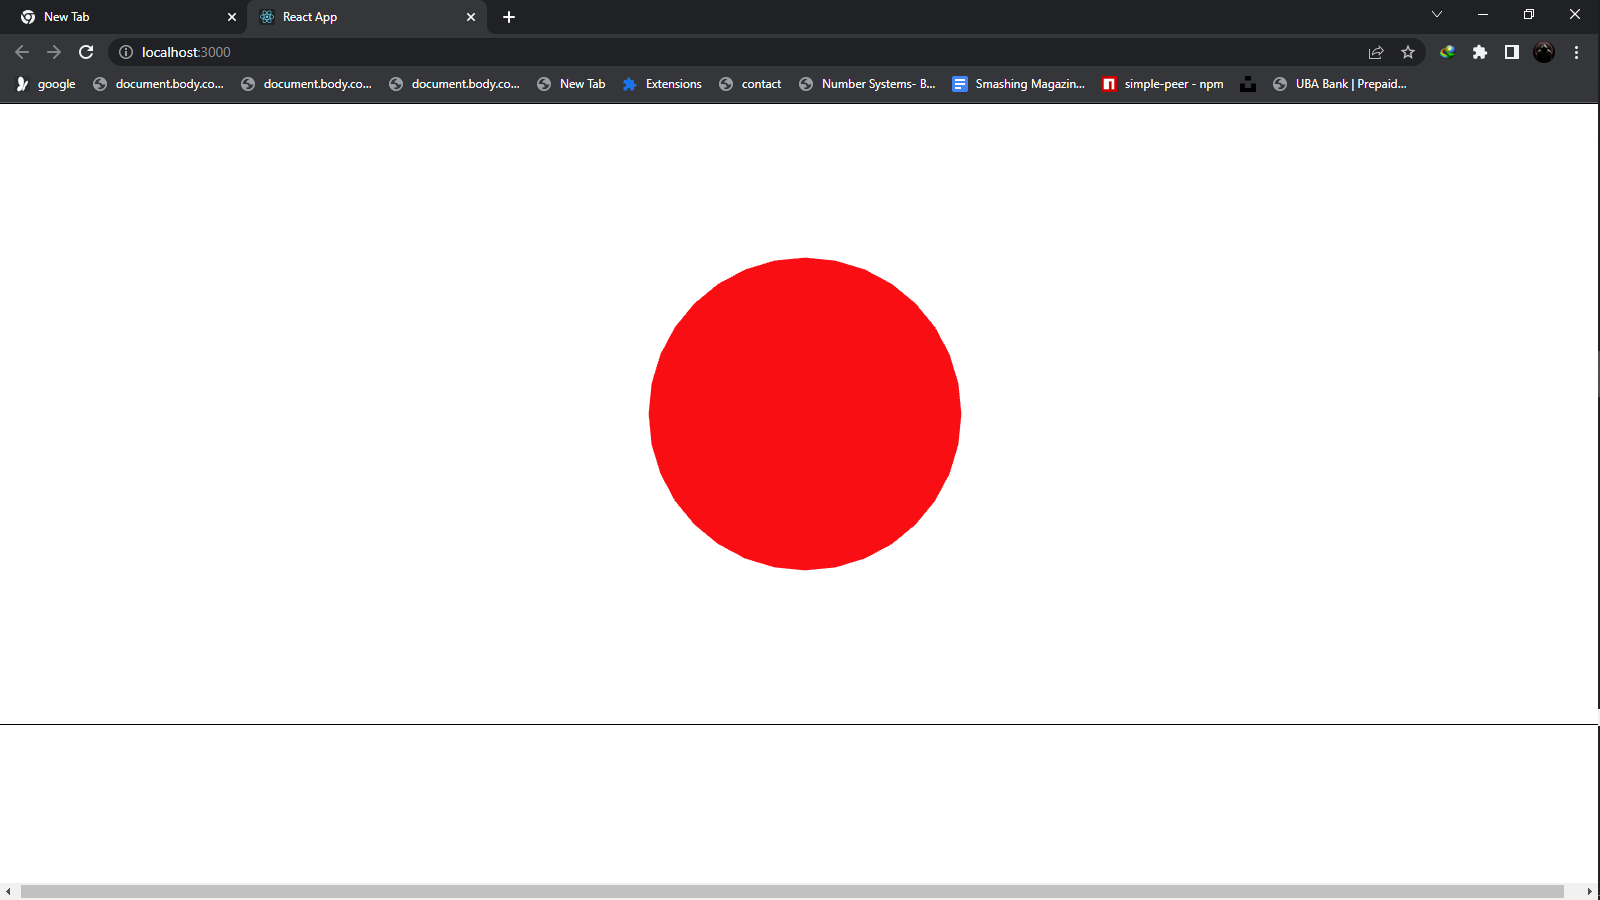
That’s what our geometric object will look like when we add a material. Now let’s add texture. To do so, let’s do the following:
- In our Sphere.js component, we import
useLoaderanduseFramefrom React Three Fiber.
import {useLoader, useFrame} from '@react-three/fiber'- Import
TextureLoaderfrom Three.js.
import { TextureLoader } from 'three/src/loaders/TextureLoader'-
Go to textures.com to download free textures images.
-
After downloading, create an
Imagesfolder in your source or SRC folder, and rename and copy the image into it. -
Import the image from the Image.js file as a texture.
import React,{useRef} from 'react'
import {useLoader, useFrame} from '@react-three/fiber'
import { TextureLoader } from 'three/src/loaders/TextureLoader'
import texture from '../Images/Texture.jpg'
function Sphere() {
  const textureMap= useLoader(TextureLoader, texture);
  return (
    <mesh >
        <sphereBufferGeometry attach='geometry' args={[2,32]}/>
        <meshStandardMaterial map={textureMap}/>
    </mesh>
  )
}
export default Sphere
In the code above, a meshStandardMaterial was used, and it has a map attribute.
The meshStandardMaterial adds texture to a 3D object, while its map attribute adds the texture it will use and takes the constant variable as its parameter.
In the code, a useLoader and TextureLoader were imported and passed the texture image using the texture map.
The image above shows the circle with the texture image passed to it. Let’s try to make a plane surface for our object. In your App component, add the following code.
<group>
        <mesh rotation={[-Math.PI / 2, 0, 0]} position = {[0, -3, 0]>
          <planeBufferGeometry attach='geometry' args={[100, 100]}/>
          <meshStandardMaterial attach='material' color='green'/>
        </mesh>
</group>
The plane geometry is separate from the sphere geometry, so the group element was used to note its children. The mesh uses a rotation and position to put the plane below the geometry to indicate its surface.
After that, add orbit controls to move the object. We must import a 3D function from React Three Drei to do so.
So in your App.js import;
import { OrbitControls } from '@react-three/drei';import React from 'react';
import './App.css';
import Sphere from './components/Sphere';
function App() {
return (
<div className="App">
<OrbitControls enableZoom={false} />
<ambientLight intensity={0.5}/>
<directionalLight position={[-2,10,2]} intensity={1}/>
<Canvas className='canvas1'>
<Sphere/>
</Canvas>
<group>
<mesh rotation={[-Math.PI / 2, 0, 0]} position = {[0, -3, 0]>
<planeBufferGeometry attach='geometry' args={[100, 100]}/>
<meshStandardMaterial attach='material' color='green'/>
</mesh>
</group>
</div>
);
}
export default App;You can also disable zoom to allow you to freely move the geometric object around its axis. Lastly, you can add an auto rotation on the object by adding the following code to the sphere component file.
import React,{useRef} from 'react'
import {useLoader, useFrame} from '@react-three/fiber'
import { TextureLoader } from 'three/src/loaders/TextureLoader'
import texture from '../Images/Texture.jpg'
function Sphere() {
  const mesh =useRef(null);
  useFrame(() => (mesh.current.rotation.x = mesh.current.rotation.y += 0.01));
  const textureMap= useLoader(TextureLoader, texture);
  return (
    <mesh ref={mesh}>
        <sphereBufferGeometry attach='geometry' args={[2,32]}/>
        <meshStandardMaterial map={textureMap}/>
    </mesh>
  )
}
export default Sphere
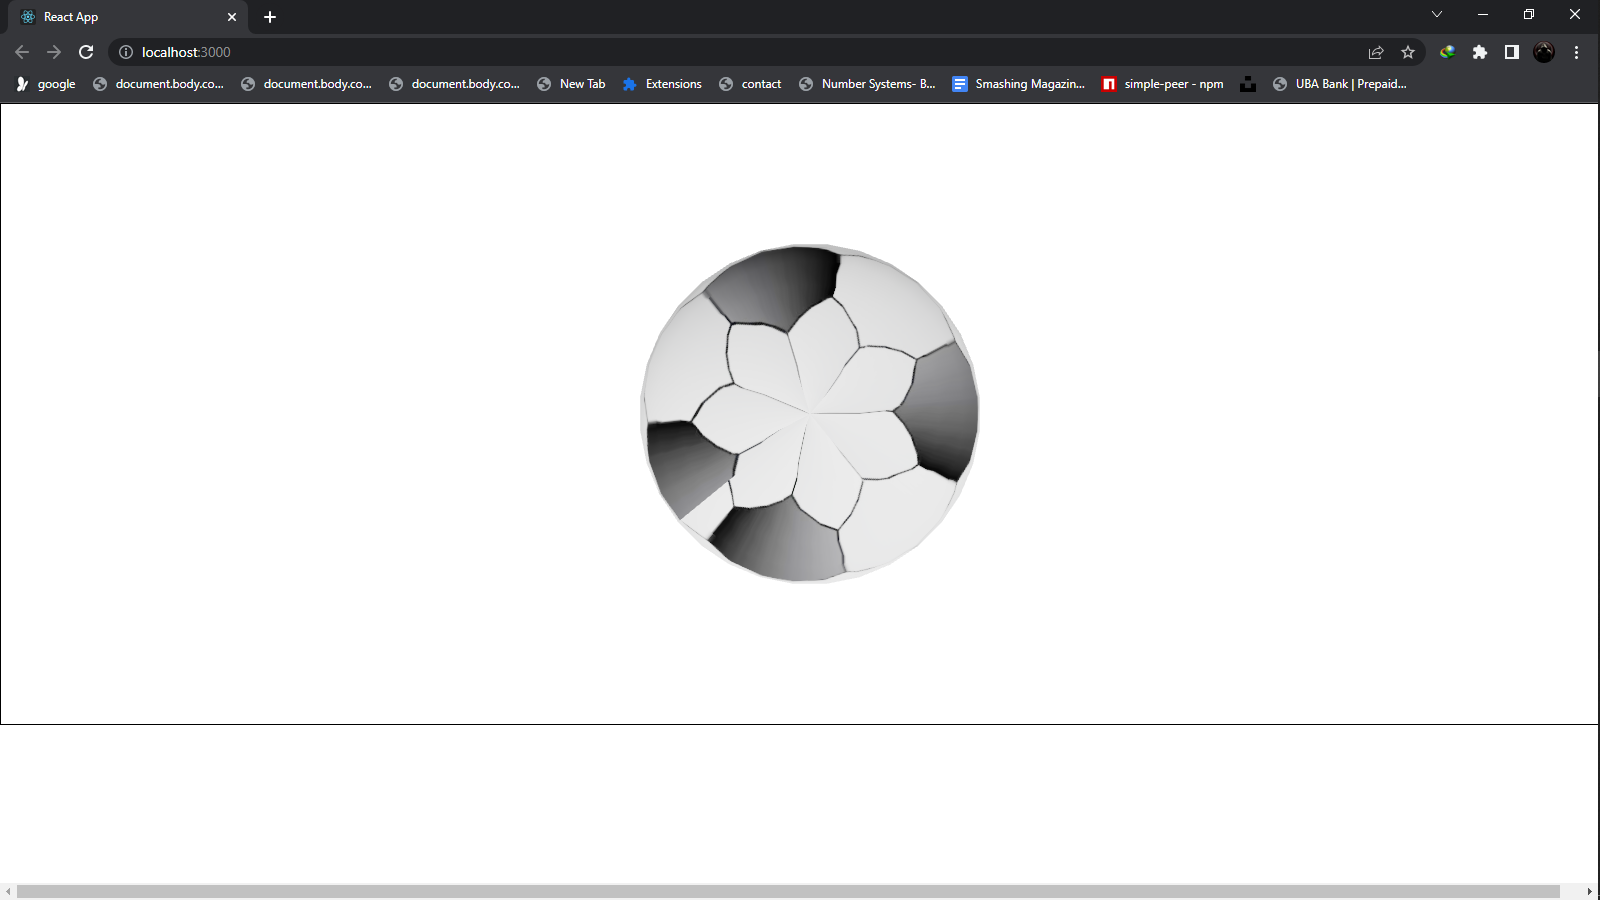
The screencast above shows a demo of the code above when you run it. I used a texture image that looks like a football. The code from lines 6 to 7 in our sphere component file is what enables our ball to spin. Let’s try another geometric shape, and this one will be a cone. To do it:
-
Create a component called
Cone.jsin your React app. -
In the file, write the following code:
import React from 'react'
function Cone() {
  return (
    <mesh>
        <coneGeometry attach='geometry' args={[2,5]} />
        <meshNormalMaterial attach='material'/>
    </mesh>
  )
}

export default Cone- In the
App.jsfile, write the following code;
import React from 'react';
import './App.css';
import Cone from './components/Cone';
import { Canvas } from '@react-three/fiber';
import { OrbitControls } from '@react-three/drei';
function App() {
  return (
    <div className="App">
      <Canvas className='canvas2'>
      <ambientLight intensity={0.5}/>
      <directionalLight position={[-2,10,2]} intensity={1}/>
      <OrbitControls enableZoom={false}/>
      <Cone/>
      </Canvas>
    </div>
  );
}

export default App;
Then run it.
The image above is what you get when you run it.
In step 2, we used different mesh material <meshNormalMaterial attach='material'/>. The material releases different colors on each side of the geometric shape based on light reflecting on its surface. Also, observe the lines on each cone edge due to the directional Light.
Let’s create a cuboid and add a different material. This time, we will get them from React Three Drei. In your React app, create the following:
-
Cuboid.jscomponent file. -
Write the following code;
import React, {useRef} from 'react'
import {useLoader, useFrame} from '@react-three/fiber'
import { MeshWobbleMaterial } from '@react-three/drei'
function Cuboid() {
  const mesh =useRef(null);
  useFrame(() => (mesh.current.rotation.x = mesh.current.rotation.y += 0.01));

  return (
    <mesh castShadow ref={mesh}>
        <boxBufferGeometry attach='geometry' args={[1,2,1]}/>
        <meshWobbleMaterial attach='material' distort={0.5} color='red' />
    </mesh>
  )
}
export default Cuboid- Next, we work on our App.js component file. In the App.js component file, write the following code.
import React, {Suspense} from 'react';
import './App.css';
import Cuboid from './components/Cuboid';
import { Canvas } from '@react-three/fiber';
import { OrbitControls} from '@react-three/drei';
function App() {
    return (
    <div className="App">
      <Canvas className='canvas1'  shadowMap camera={{ fov: 120 }}>
        <OrbitControls enableZoom={false} />
        <ambientLight intensity={0.5}/>
        <pointLight position={[-10, 0, -20]} intensity={0.5} />
        <pointLight position={[0, -10, 0]} intensity={1.5} />
        <directionalLight
          position={[-2,5,3]}
          intensity={1.5} />
        <group>
          <mesh rotation={[-Math.PI / 2, 0, 0]} position = {[0, -3, 0]}>
            <planeBufferGeometry attach='geometry' args={[100, 100]}/>
            <meshStandardMaterial attach='material' color='green'/>
          </mesh>
        </group>
        <Suspense fallbak={null}>
          <Cuboid/>
        </Suspense>
      </Canvas>
    </div>
  );
}
export default App;
The point light in the code above is used to set the light at different points of the 3d object. The image below shows our cuboid.
Session Replay for Developers
Uncover frustrations, understand bugs and fix slowdowns like never before with OpenReplay — an open-source session replay tool for developers. Self-host it in minutes, and have complete control over your customer data. Check our GitHub repo and join the thousands of developers in our community.
Importing Modules
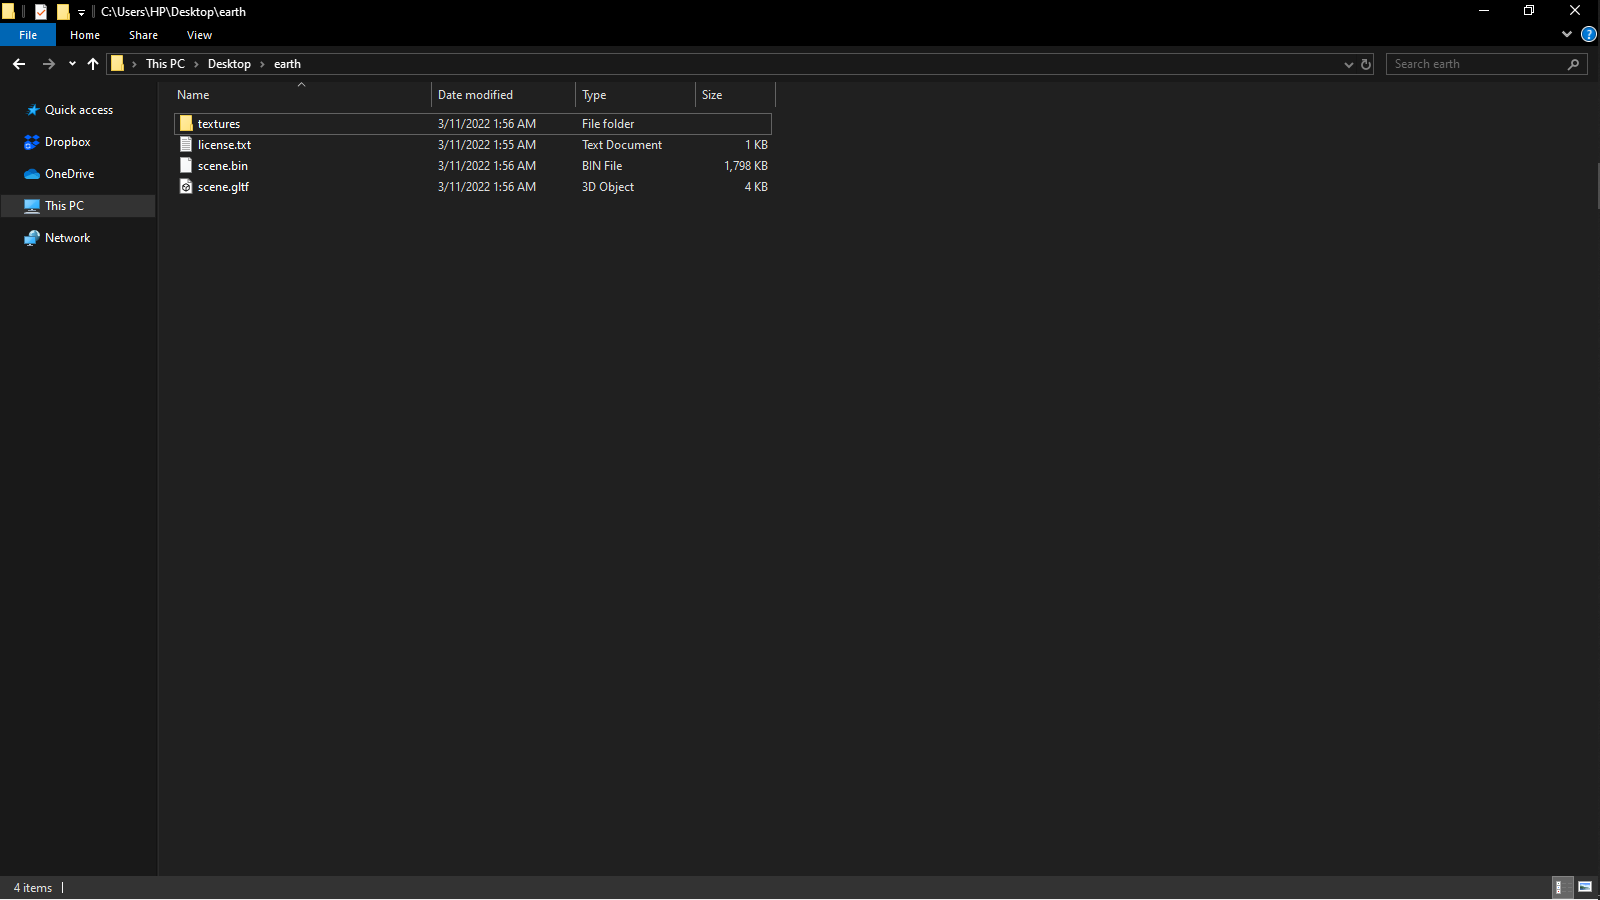
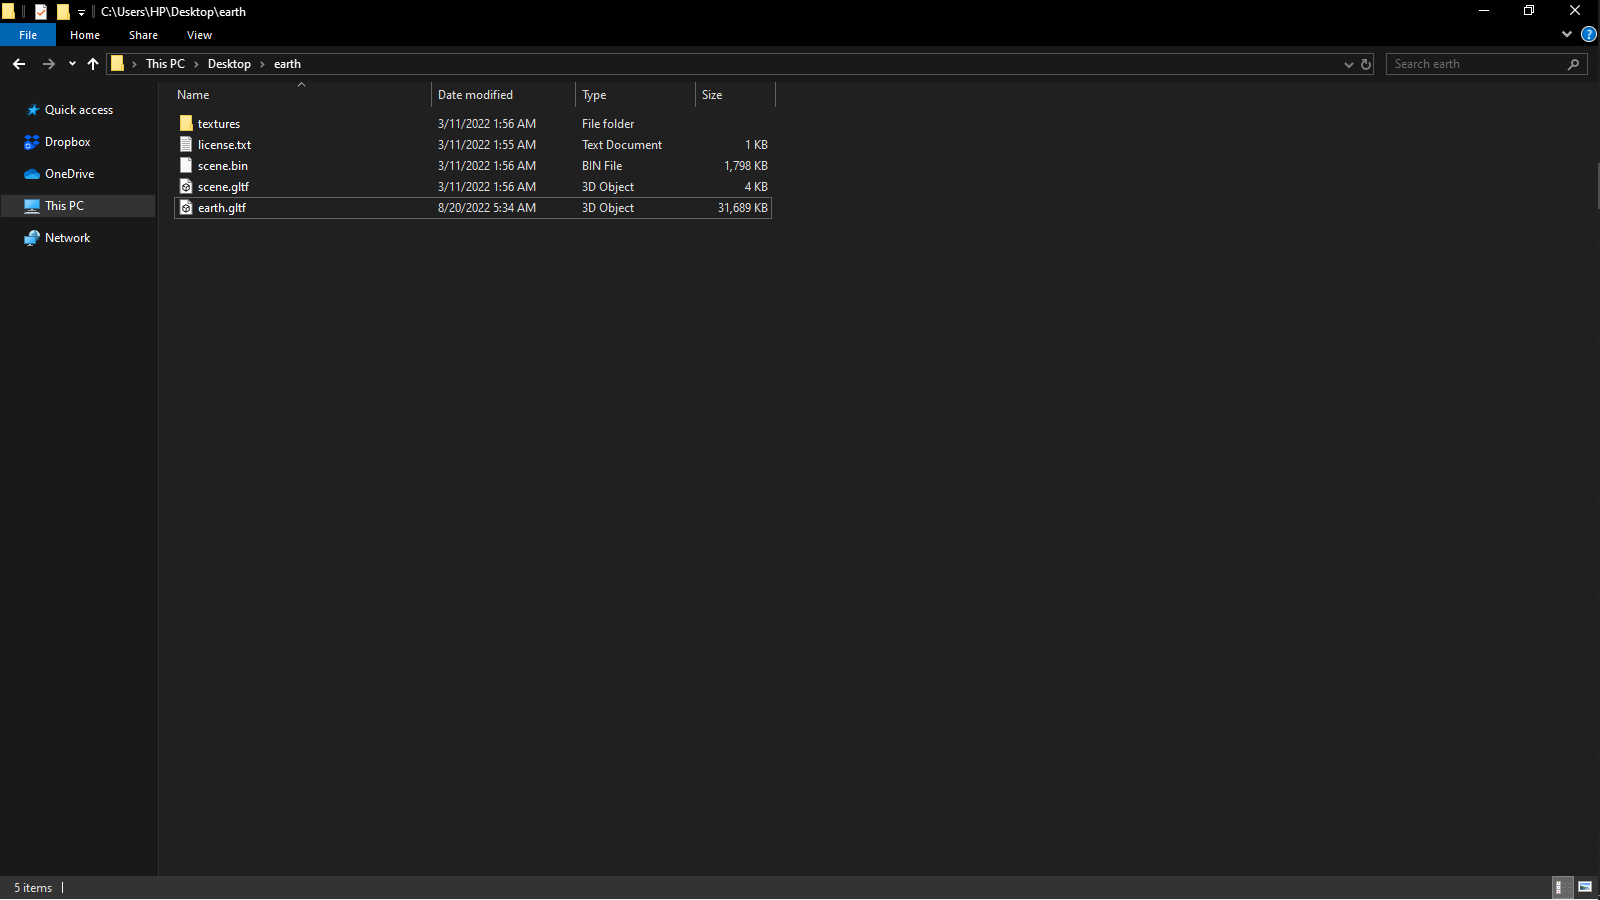
Creating geometric shapes is fun, but we can also create 3D models using applications like Blender, Maya, Sketchfab, and TurboSquid. In this section, we will run a 3D model using an already-created model from Sketchfab. We will use the GLTF file model. We will also use the GLTF pipeline, and GLTFJSX packages to convert the GLTF file to Draco GLTF and then to a React JSX file. To start first;
- Head to Sketchfab and download a free 3D model or a paid one. Note: when downloading the 3D model, select the GLTF format. The file will download as a zip file; you must extract it. The image below shows the contents of the
GLTFmodel file.
-
After downloading, open your terminal using the
cmdcommand and install the GLTFpipelineusingnpm install -g gltf-pipelineto install it globally. -
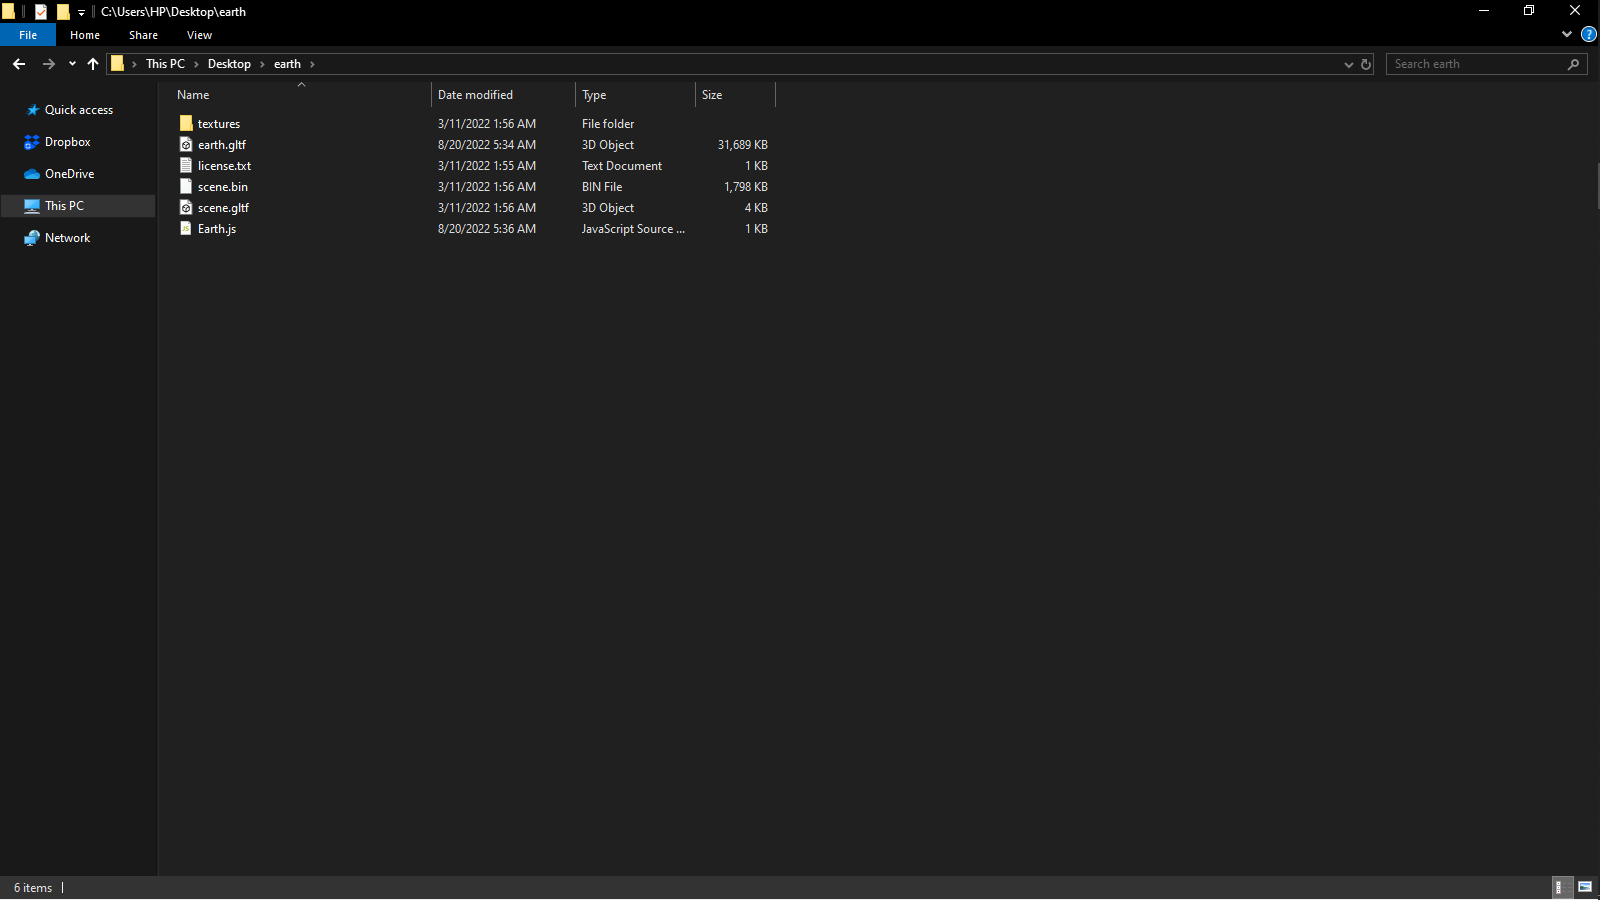
Next, open the 3D model you downloaded in your terminal and convert the
GLTFfile to a Draco filegltf-pipeline -i scene.gltf -o model.gltf -d'. Thescene.gltfis in the content of the 3D model, and you have to change themodel.gltfto the name of the model you want. In my case, I usedearth.gltf`.
Now it adds the Earth.gltf file to the file contents as in the image above.
- We must convert the GLTF file to a React JSX file. To do that, use the command npx gltfjsx earth.gltf. After that, you get a React JSX file like in the image I get an Earth.js component file.
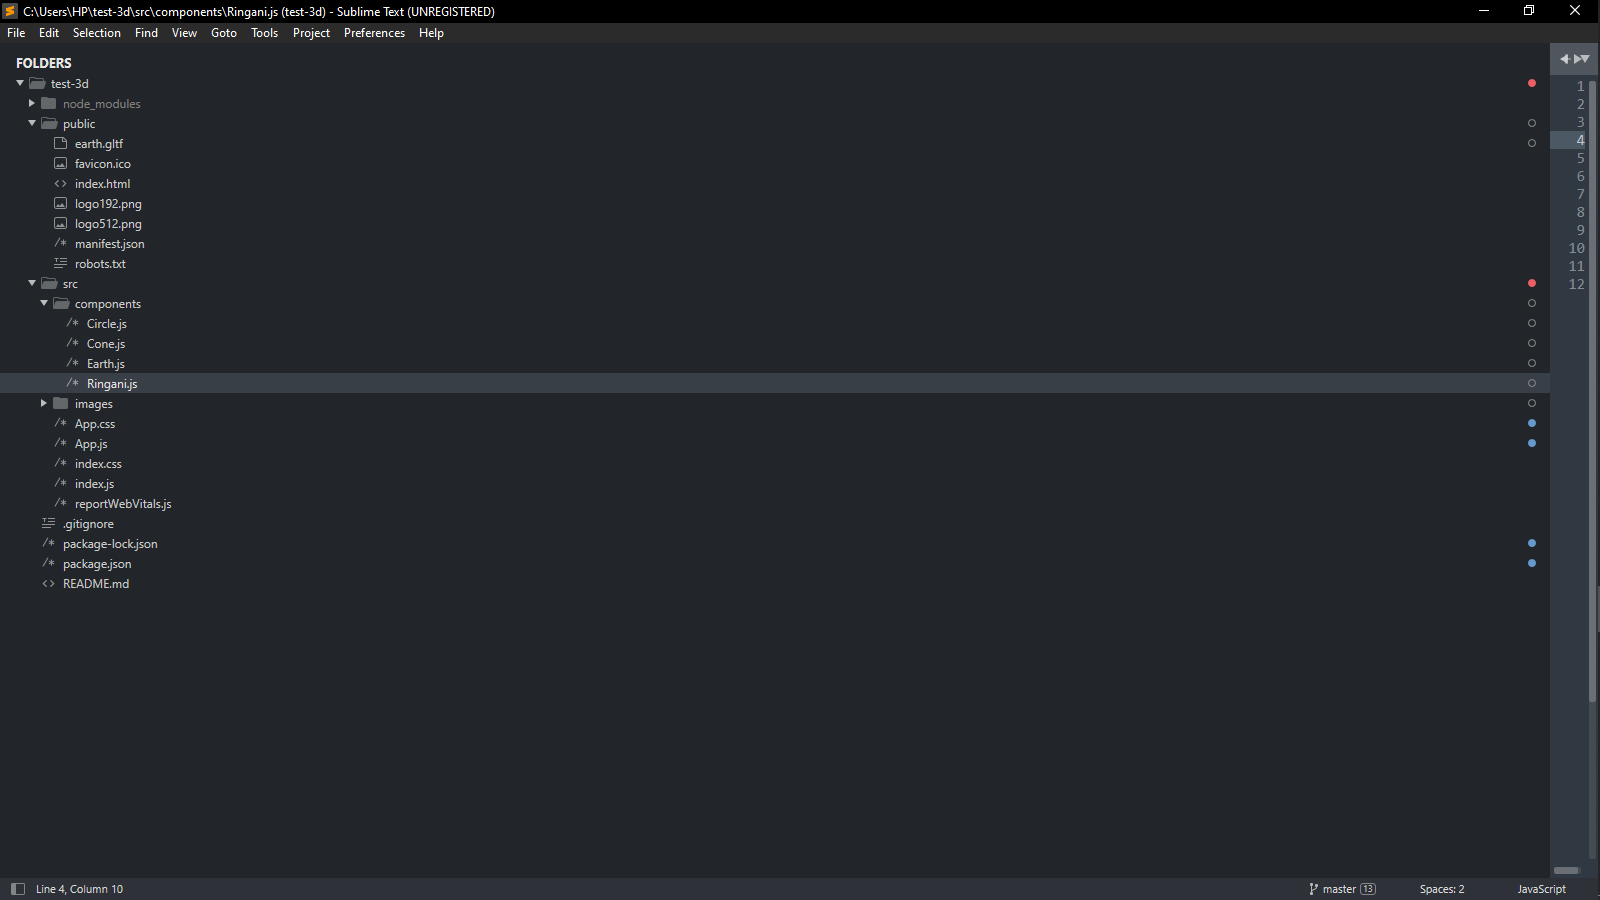
- Next, we have to copy the Draco GLTF file to the public folder in your React app and the React JSX file to the components folder, as in the image below.
- Depending on the 3D model you use, if you open the copied JSX file, you get a code almost like the one below. It will contain a
groupand ameshgeometry and material. It also imports theuseGLTFfunction from React Three Drei. There is a license for the person that created the 3D model, so you have to give credit to the person.
/*
Auto-generated by: https://github.com/pmndrs/gltfjsx
author: PatelDev (https://sketchfab.com/PatelDev)
license: CC-BY-4.0 (http://creativecommons.org/licenses/by/4.0/)
source: https://sketchfab.com/3d-models/earth-f7a76c63ff1846afb2d606e5c8369c15
title: Earth
*/

import React, { useRef } from 'react'
import { useGLTF } from '@react-three/drei'
import {useFrame} from '@react-three/fiber'
export default function Model(props) {
  const { nodes, materials } = useGLTF('/earth.gltf')
  const mesh =useRef(null);
  useFrame(() => (mesh.current.rotation.x = mesh.current.rotation.y += 0.01));
  return (
  <mesh ref={mesh}>
    <group {...props} dispose={null}>
      <group rotation={[-Math.PI / 2, 0, 0]}>
        <group rotation={[Math.PI / 2, 0, 0]}>
          <group scale={2.50}>
            <mesh geometry={nodes.Object_4.geometry} material={materials['Scene_-_Root']} />
          </group>
        </group>
      </group>
    </group>
  </mesh>
  )
}

useGLTF.preload('/earth.gltf')- Next, in our App.js file, to run the code, we write the following;
import React, {Suspense} from 'react';
import './App.css';
import Earth from './components/Earth'
import { Canvas } from '@react-three/fiber';
import { OrbitControls } from '@react-three/drei';
function App() {
  return (
    <div className="App">
      <Canvas className='canvas4'>
      <OrbitControls enableZoom={false} />
      <ambientLight intensity={0.5}/>
      <directionalLight position={[-2,5,3]} intensity={1}/>
        <group>
            <mesh receiveShadow rotation={[-Math.PI / 2, 0, 0]} position = {[0, -3, 0]}>
              <planeBufferGeometry attach='geometry' args={[100, 100]}/>
              <meshStandardMaterial attach='material' color='green'/>
            </mesh>
        </group>
      <Suspense fallbak={null}>
        <Earth/>
      </Suspense>
      </Canvas>
    </div>
  );
}

export default App;
Then run the app.

The Screencast shows what my 3D model looks like when I run it. So that’s it; you can try out many more 3D models to create web apps or games with them.
Conclusion
Creating 3D graphics in React is fun, and it has many uses to learn about and applications. This article aimed to show some basic knowledge or implementation of how to create 3D models and graphics.
Here are the links for reference;
- Three.js documentation link: Three.js.
- React Three Fiber documentation link: React Three Fiber.
- React Three Drei documentation link: React Three Drei.
- The three.js material link: Three.js material.
- Textures.com Link: textures.com.
- Sketchfab Link: Sketchfab.
- The GLTF-Pipeline documentation link: GLTF pipeline.
- GLTFJSX documentation link: GLTFJSX.
A TIP FROM THE EDITOR: If 3D is too much, try 2D as in our 2D Sketches With React And The Canvas API article.
Gain Debugging Superpowers
Unleash the power of session replay to reproduce bugs and track user frustrations. Get complete visibility into your frontend with OpenReplay, the most advanced open-source session replay tool for developers.