Implementing Email validation and verification on our website
Add validation and verification of users via email to your webpage


Many email addresses entered into checkouts and signup forms are invalid. Wrong emails defeat the purpose of communicating with clients or customers via email. This is the reason for analyzing and confirming that these emails are correct and reachable. In this article, we’ll look at how we can validate our emails and verify that these emails belong to an entity.
What is Email validation?
Email validation is a process that checks if an email address is valid. It runs a quick check that catches typos, whether they are honest mistakes or deliberate misdirections. Email validation ensures that the email received has the correct syntax. Every email consists of 3 parts, which are:
- The local part: This is the username indicating a unique name for the mailbox.
- The @ symbol connects the domain and the person who owns the email address.
- The domain name: This indicates the name of the organization.
For example, ‘talk2king.aj@gmail.com’, “talk2king.aj” is the local part, and “gmail.com” is the domain name. Without these parts, an email is invalid.
Email validation is used for two primary purposes:
- To prevent users from submitting emails with typos.
- To limit the registration to a certain group of users. For instance, you can’t sign up for a school’s library with a personal email domain; you need an “edu” domain account.
What is Email verification?
Email verification is a process that ascertains if there is an existing user on the receiving end of the email address received. Unlike email validation, email verification involves both the front-end and back-end to work. To verify an email address, an activation link/code is sent to that email. Then the end user will activate the account from their inbox.
Why carry out Email verification?
- To avoid the wastage of money on inactive or falsified email addresses.
- Prevents deliverability issues.
- Protects Sender’s Reputation.
- Provides a reliable database for your sales teams.
And how does it work?
- Email validation is done on the email gotten from the user.
- After the email is validated, it is sent to the back end.
- An activation link is then sent to the user’s email.
- Until the activation link is clicked, the account remains inaccessible.
Implementing email validation in React.js
There are tons of libraries to manage forms in React, such as Formik, React Final Form, Uniform, React Form, Simple React Validator, etc. You can also create a library for this purpose. In this article, we’ll look at two ways to implement email validation in React.
Email validation using Regex
A regex (“regular expression”) is a pattern used to match character combinations in strings. Validation regex is used in all React form validation libraries. An email validation regex would look like this;
/^[a-zA-Z0-9.!#$%&'*+/=?^_`{|}~-]+@[a-zA-Z0-9-]+(?:\.[a-zA-Z0-9-]+)*$/Here’s an example of email validation in React using Regex.
import {useState, useEffect} from 'react'

//state to store result of regex testing
const [validEmail, setValidEmail] = useState(false);

//state to store email input
const [email, setEmail] = useState('');
useEffect(() => {
    setValidEmail(EMAIL_REGEX.test(email));
}, [email]);

<form action="sign-up_submit" method="get" accept-charset="utf-8">
    <div>
    <label>Email address</label>
    <input
    name= "email-address"
    id= "email-address"
    autoComplete='off'
    onChange={(e) => {setEmail(e.target.value)}}
    value = {email}
    required
    type= "email"
    placeholder="name@example.com"/>
    </div>
    <button
    disabled={!validEmail}>
        Submit
    </button>
</form>
Above is a simple form that uses the email regex to validate the email gotten from the form. In the form above, we are doing the following;
- Regex.test the email gotten from the form and returns true for an email with the right syntax or false for an email that doesn’t follow the right syntax
- This value is then stored in the ‘validEmail’ state.
- Until validEmail is true (meaning the email has correct syntax), the button for submission is disabled.
Email validation using the Validator module.
The validator module gives us a straightforward way to validate emails in React. Here’s an example of email validation in React using the Validator module. Install the validator module;
npm install validatorThen use it:
import React, { useState } from "react";
import { render } from "react-dom";
import validator from "validator";

export default function App() {
    const [message, setMessage] = useState("");
    const validateEmail = (e) => {
    const email = e.target.value;

    return (
    <div>
        <form>
        <h2>Email validation</h2>
        <label>Email address</label>
        <input
            type= "text"
            id= "userEmail"
            onChange={(e) => validateEmail(e)}
        ></input>
        <button
            disabled={validator.isEmail(email) ? true : false}
        >
            Submit
        </button>
        </form>
        </div>
    );
Implementing Email verification on our website
After carrying out Email validation on emails received from users, we find that some users follow the correct syntax but input non-existent email addresses, hence the need for email verification. For this article, we’ll start with building our server that will receive validated emails from the front end and send out verification links to these emails.
We’ll be building our server with node.js and using nodemailer to send out the verification emails. You can learn how to use node mailer here.
For this project, we’ll use some dependencies and packages:
- dotenv: This package loads environmental variables from a env file into Node’s process.env object.
- bcrypt: This is used to hash our passwords and other sensitive information before sending them to the database. This will protect us against a breach of our database.
- body-parser: This is used to parse incoming data from the request body and attaches the parsed value to an object which can then be accessed by Express middleware.
- jsonwebtoken: This represents claims transferred between two parties, ensuring that the information transferred has not been tampered with by an unauthorized third party.
- express: This makes building APIs and server-side applications with Node effortless, providing us with useful features such as routing, implementing middleware, etc.
- Mongoose: Helps us connect with our database and provides features such as schema validation, managing relationships between data, etc.
- Nodemailer: Package for sending out emails from our server.
npm i jsonwebtoken mongoose bcrypt body-parser express dotenv nodemailerCreating our Sign up route
Whenever a user signs up, we want to do the following;
- Retrieve the information that has already been validated from the front end and send out an email with the verification. To send out an email using node mailer, we have created a .env file holding two variables:
AUTH_EMAIL- Senders email address.AUTH_PASSWORD- Password for the email address.
Note: For Gmail users, account passwords will not work. In place of your account password, generate an app password. You can learn how to do that here.
- Now, we’ll create a transporter that will be used to connect to the host.
let transporter = nodemailer.createTransport({
    service: "gmail",
    auth: {
        user: process.env.AUTH_EMAIL,
        pass: process.env.AUTH_PASSWORD
    }
})
//transporter code block- With that done, we can now create our mail options, which will contain Sender’s email address, the Receiver’s email address, and the Message to be sent in the email.
const {_id, email} = result;
const currentURL = "https://enigmatic-meadow-80878.herokuapp.com/";
const uniqueString = uuidv4() + _id;

const mailOptions = {
    from: "talk2ajur@gmail.com",
    to: email,
    subject: "Verify your email",
    html: `<p>Verify your email address to complete
            your signup</p>
            <p>This link <b> expires in 6 hours</b>.</p>
            <p> Click <a href =${currentURL+"user/verify/"+_id+"/"+uniqueString}> here</a>
            to proceed.</p>`
}
Now we can send the mail using the following code;
transporter.sendMail(mailOptions)Let’s test our server with Postman.
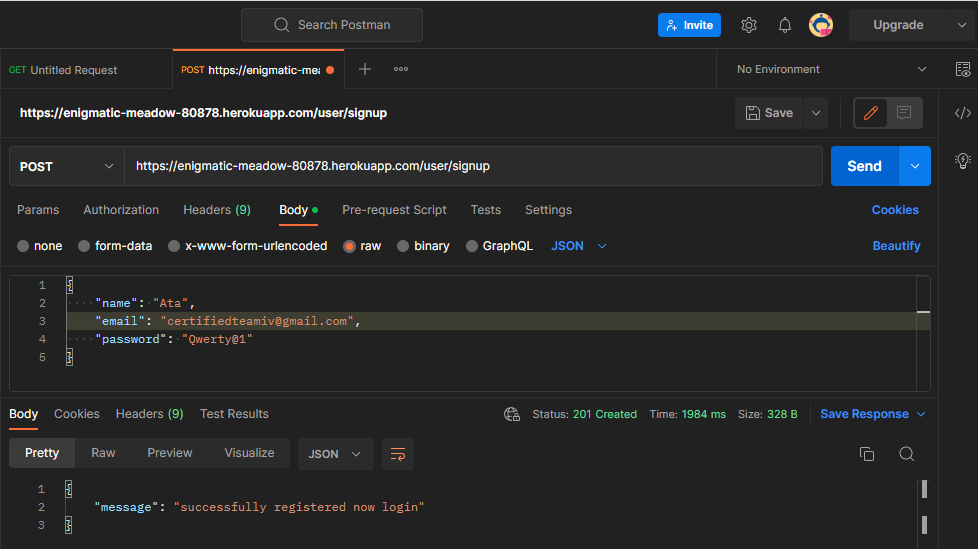
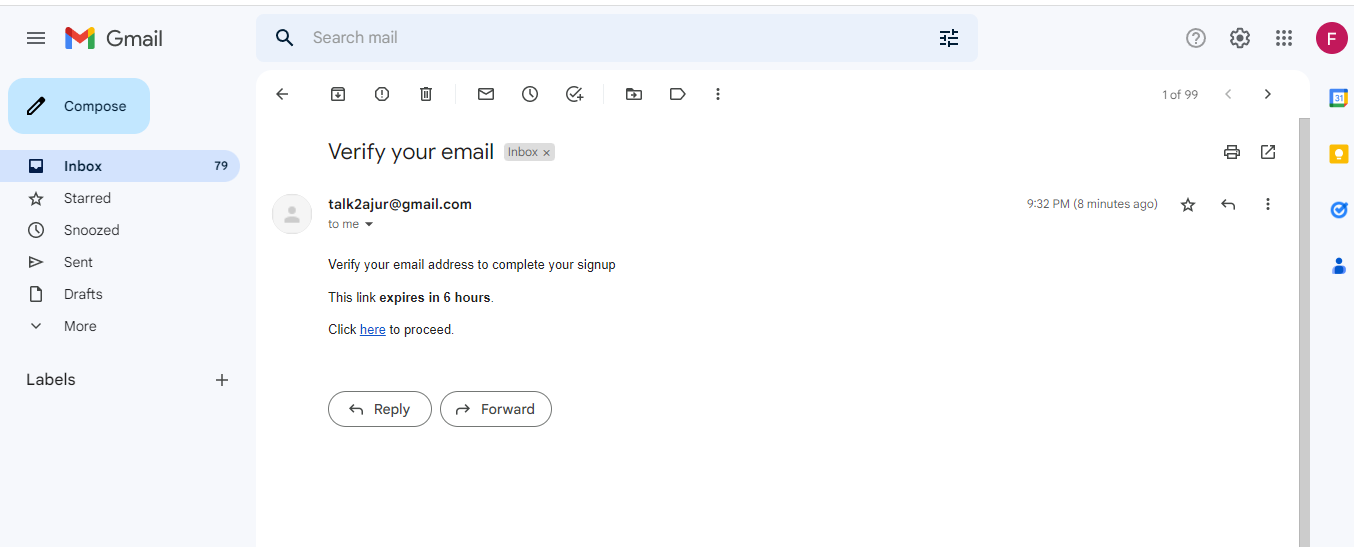
Here’s the email received from our server.
Email Verification controller
After the user sign’s up, the email verification link is sent to the user’s email. When this link is clicked, we want to do the following;
- Get the user’s id from the URL
- Verify the unique strong we sent; this ensures that the link comes from the right source.
- Retrieve the user’s information from the database and update the verified column to true.
const verifyCredentials = (userid, uniqueString, res) => {
//retrieve users information from database
emailVerification.findOne({userid})
.then(async (result) => {
//verify unique string
    let unique = await bcrypt.compare(uniqueString, result.uniqueString)
    if(unique){
        if(result.userid) {
            const {expiresAt} = result;
            if(expiresAt < Date.now()){
                emailVerification.deleteOne({userid})
                .then(async () => {
                let verify = await user.updateOne({_id: userid}, {$set: {verified: true}});
                    let message = "thanks for verifying your email please sign in";
                    res.redirect(`http:localhost:3000/verify/:error=false/:message=${message}`)
                })
            }else{
            user.deleteOne({_id: userid})
                let message = "Link has expired, please signup again";
                res.redirect(`http:localhost:3000/verify/error=true&message=${message}`)
            }
        }
        else{
            let message = "Account record doesn't exist or has been verified, try signing in or signup"
            res.redirect(`http:localhost:3000/verify/error=true&message=${message}`)
        }
    }else{
        let message = "Account record doesn't exist please signup"
            res.redirect(`http:localhost:3000/verify/error=true&message=${message}`)
    }

})
.catch((error) => {
    console.log(error);
    let message = "an error occurred while checking for existing user verification record";
    res.redirect(`http:localhost:3000/verify/error=true&message=${message}`)
})
}
With all these done, when the user clicks the link, the verified column will be set to true.
Session Replay for Developers
Uncover frustrations, understand bugs and fix slowdowns like never before with OpenReplay — an open-source session replay tool for developers. Self-host it in minutes, and have complete control over your customer data. Check our GitHub repo and join the thousands of developers in our community.
Login route
Whenever a user tries to log into an account, we want to do the following;
- Check if the user exists.
- If the user exists, we’ll check if the user is verified.
- If the user is verified, access is granted.
const login = async(req, res) => {
    const { name, email, password } = req.body;
        console.log(password);

//checking for existing user
    let existingUser = await user.findOne({name});
    console.log(existingUser);
    if(!existingUser){
        return res.status(403).json({
            message: 'user details not found'
        })
    }

//check if user is verified
    if(!existingUser.verified){
        return res.status(403).json({
            message: "please verify your account",

        })
    }
    let verify = await bcrypt.compare(password, existingUser.password)
    if(verify){
        return res.json({
            message: `wecome ${name}`,
            login: "successful"
        })
    }else{
        return res.status(403).json({
            message: 'invalid credentials'
        })
    }

}
Building the front-end
With the back-end work done, we need to build the front end to validate our email and send it to our server.
Building our Signup page
For our signup page, we’ll have the following:
- A few states to store the input from the form.
- Our email validation function.
- Our form.
import {useState, useEffect} from 'react'
import { Link } from 'react-router-dom';
import {useLocation, useNavigate} from 'react-router-dom'

const Signup = () => {
    const USER_REGEX = /^\[A-z\][A-z0-9-_]{3,23}$/;
    const PWD_REGEX = /^(?=.*[a-z])(?=.*[A-Z])(?=.*[0-9])(?=.*[!@#$%]).{8,24}$/;
    const EMAIL_REGEX =  /^[a-zA-Z0-9.!#$%&'*+/=?^_`{|}~-]+@[a-zA-Z0-9-]+(?:\.[a-zA-Z0-9-]+)*$/;
    // const navigate = useNavigate();
    // const location = useLocation();
    // const from = location.state?.from?.pathname || "/signin"
    const handleSubmit = async(e) => {
        e.preventDefault();
        if(validName && validPass && matchPassword){
            try {
                fetch(`https://enigmatic-meadow-80878.herokuapp.com/user/signup`, {
                    method: 'POST',
                    headers: {'content-Type': 'application/json'},
                    body:JSON.stringify({
                        name: name, email: email, password: password
                    })
                });     //navigate(from, {replace : true});
                        setName('');
                        setEmail('');
                        setMatchPassword('');
                        setPassword('');
                        console.log('sent to the backend');
            }
            catch(err){
                console.log(err)
            }
        }
    }
    const [name, setName] = useState('');
    const [password, setPassword] = useState('');
    const [matchPassword, setMatchPassword]  = useState('');
    const [checkMatch, setCheckMatch] = useState(false)
    const [email, setEmail] = useState('');
    const [validEmail, setValidEmail] = useState(false);

    useEffect(() => {
    //email validation with email regex
        setValidEmail(EMAIL_REGEX.test(email));
        console.log(validEmail);
        console.log(email);
    }, [email]);

    return (
        <div>
            //code for signup form
        </div>
    )
export default Signup
Building our Sign in page
For our sign-in page, we’ll have the following;
- States to store the form input
- Function to handle the form submission.
import React from 'react'
import { Link } from 'react-router-dom';
import {useLocation, useNavigate} from 'react-router-dom'
import { useState } from 'react';


const Signin = () => {
    const [name, setName] = useState('');
    const [email, setEmail] = useState('');
    const [password, setPassword] = useState('');
    const navigate = useNavigate();
    const location = useLocation();
    const from = location.state?.from?.pathname || "/home"

    const handleSubmit = async(e) => {
        e.preventDefault();
            try {
                await fetch(`https://enigmatic-meadow-80878.herokuapp.com/user/login`, {
                method: 'POST',
                headers: {'content-Type': 'application/json'},
                body:JSON.stringify({
                        name: name, email:email,  password: password
                })
            })
            .then(res => res.json())
                .then(res=> {
                if(res.login){
                    console.log(res);
                setName('');
                setPassword('');
                navigate(from, {replace : true});
                }
                else{
                    console.log('incorrect submission');
                }
                })


                        console.log('working');
            }
            catch(err){
                if(!err?.response){
                    console.log('no server response');
                }
                else {
                    console.log('registeration failed')
                }
            }
        }

    return (
        <div>
            //code for signin form
        </div>
    )
export default Signin
Testing our Application
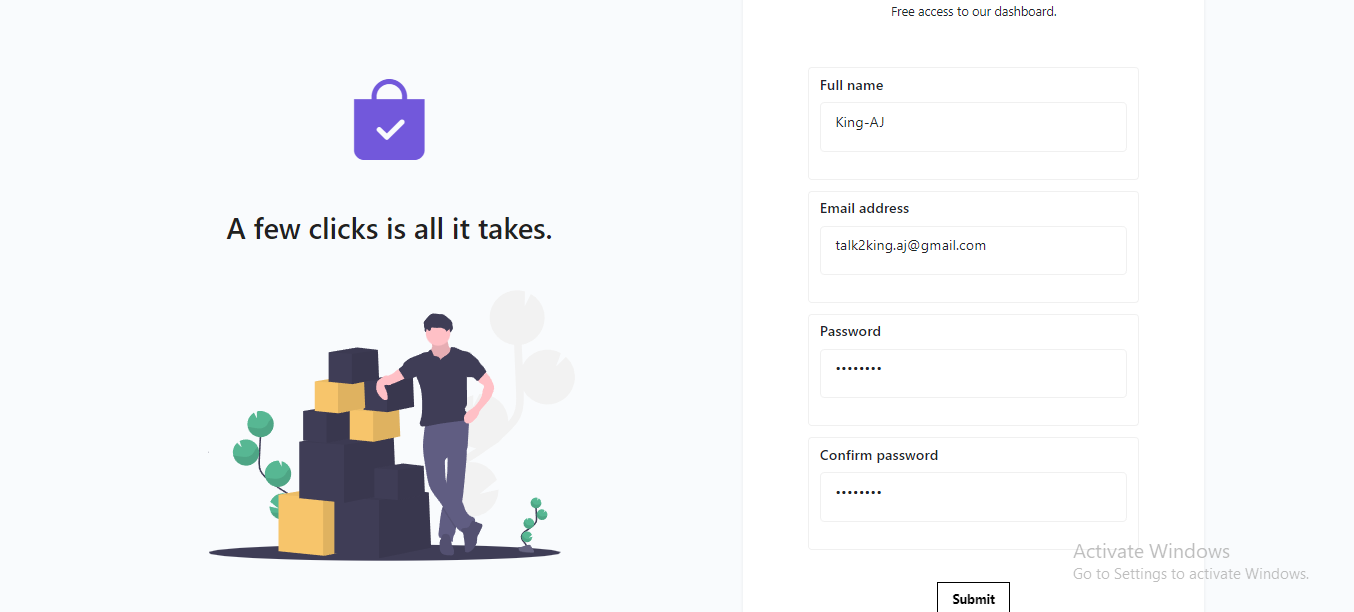
To test our application, we’ll create a demo account with the email talk2king.aj@gmail.com.
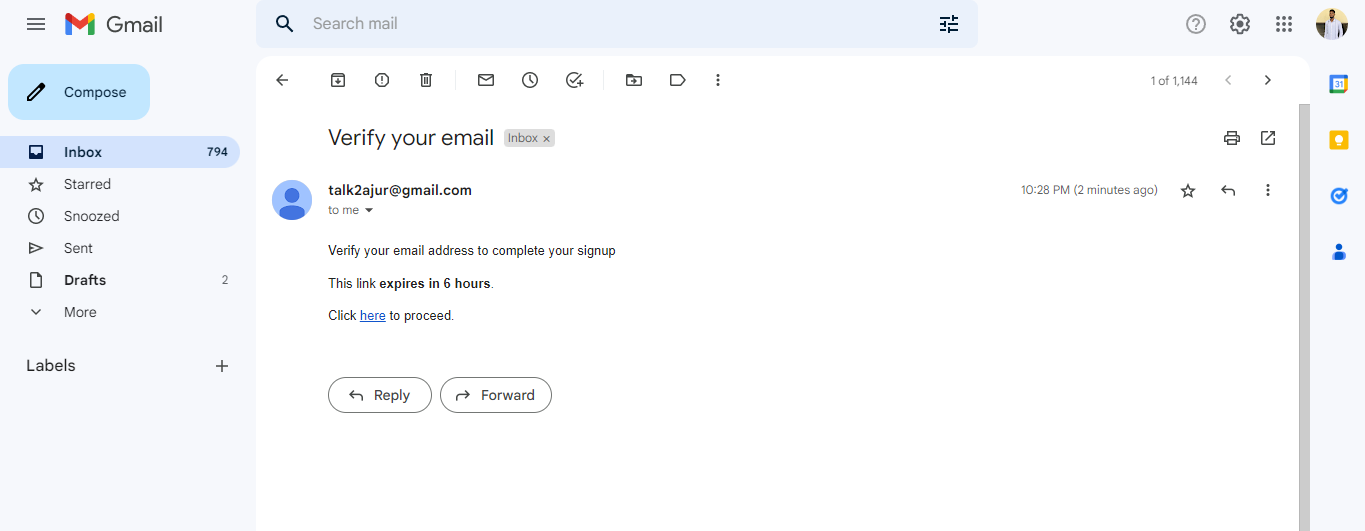
Here’s the email received from our application.
Now let’s verify the account and try signing in.
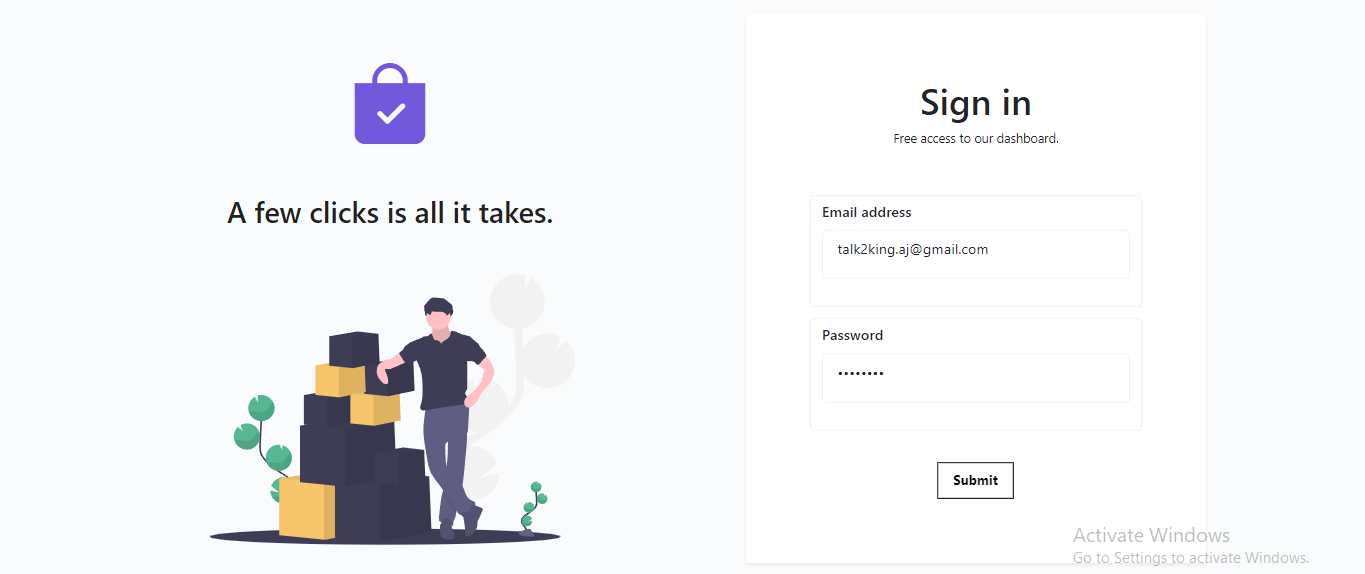
After successfully signing in, we are redirected to our home page.

From the images above, we can see that our application works as expected, and our email validation and verification system is intact.
Conclusion
In this article, we looked at email validation and verification concepts and how to implement them in a React with node.js website. I hope you found this helpful; happy coding!!.
Repo for server. Repo for React app. Nodemailer. Validator module.
Gain Debugging Superpowers
Unleash the power of session replay to reproduce bugs and track user frustrations. Get complete visibility into your frontend with OpenReplay, the most advanced open-source session replay tool for developers.