Implementing reCAPTCHA in React


CAPTCHA (Completely Automated Public Turing test to tell Computers and Humans Apart) is a generated test that allows the application to determine if a human or a Computer bot performed specific actions. One of the standard tools used to implement this scenario is reCAPTCHA.
reCAPTCHA was created by Google. It safeguards your website against spam and abuse. It uses sophisticated risk analysis methods to distinguish between humans and computer-generated bots. reCAPTCHA can be implemented using different use cases. The commonly used reCAPTCHA types are:
- reCAPTCHA v3 - Verifies a user using a score, for example, using arithmetic combinations.
- reCAPTCHA v2 - It uses the “I am not a robot” checkbox and invisible reCAPTCHA badge challenges to determine the legitimacy of the user interaction.
This tutorial will help you implement Google reCAPTCHA v2 in your React.js applications. It is necessary to have Node.js and Postman installed on your computer to follow along with this tutorial.
Setting up the Application
Let’s dive in and scaffold a React App. Proceed to your preferred working directory. Run the following command from the terminal of your text editor to bootstrap a React application:
npx create-react-app recaptcha-appOnce the installation is complete, proceed to the newly created directory:
cd recaptcha-appAlong with the React client app, we will use the following dependencies;
react-google-recaptcha: For integrating Google ReCaptcha with the client application:axios: For sending requests to a Node.js backend.
Install the above packages using the following command:
npm i axios react-google-recaptcha Setting up Google reCAPTCHA
You have a ready React app. However, to add reCAPTCHA, you need to register an application to Google reCAPTCHA. This will allow the application to be assigned to keys that will allow you to interact and verify reCAPTCHA submissions.
At this point, ensure you have signed up to your preferred Google account. From your browser, open this link. This will allow you to Register a new site to which you can send reCAPTCHA tokens.
To register your app, proceed and fill in the form details that Google reCAPTCHA requires. This should be a straightforward step as described below:
Enter the application name, i.e., label, and select reCAPTCHA v2. You will implement a “I’m not a robot” Checkbox. Ensure you fill your sections as such.
Google also requires you to submit a valid domain name that will execute the reCAPTCHA requests validation. Go ahead and provide your appropriate Domain name. Subsequently, if you are running your application on your local computer for development purposes, enter Localhost as the Domain name. The name Localhost is case-sensitive; ensure the letter L is capitalized. Here is what you got up to this point:
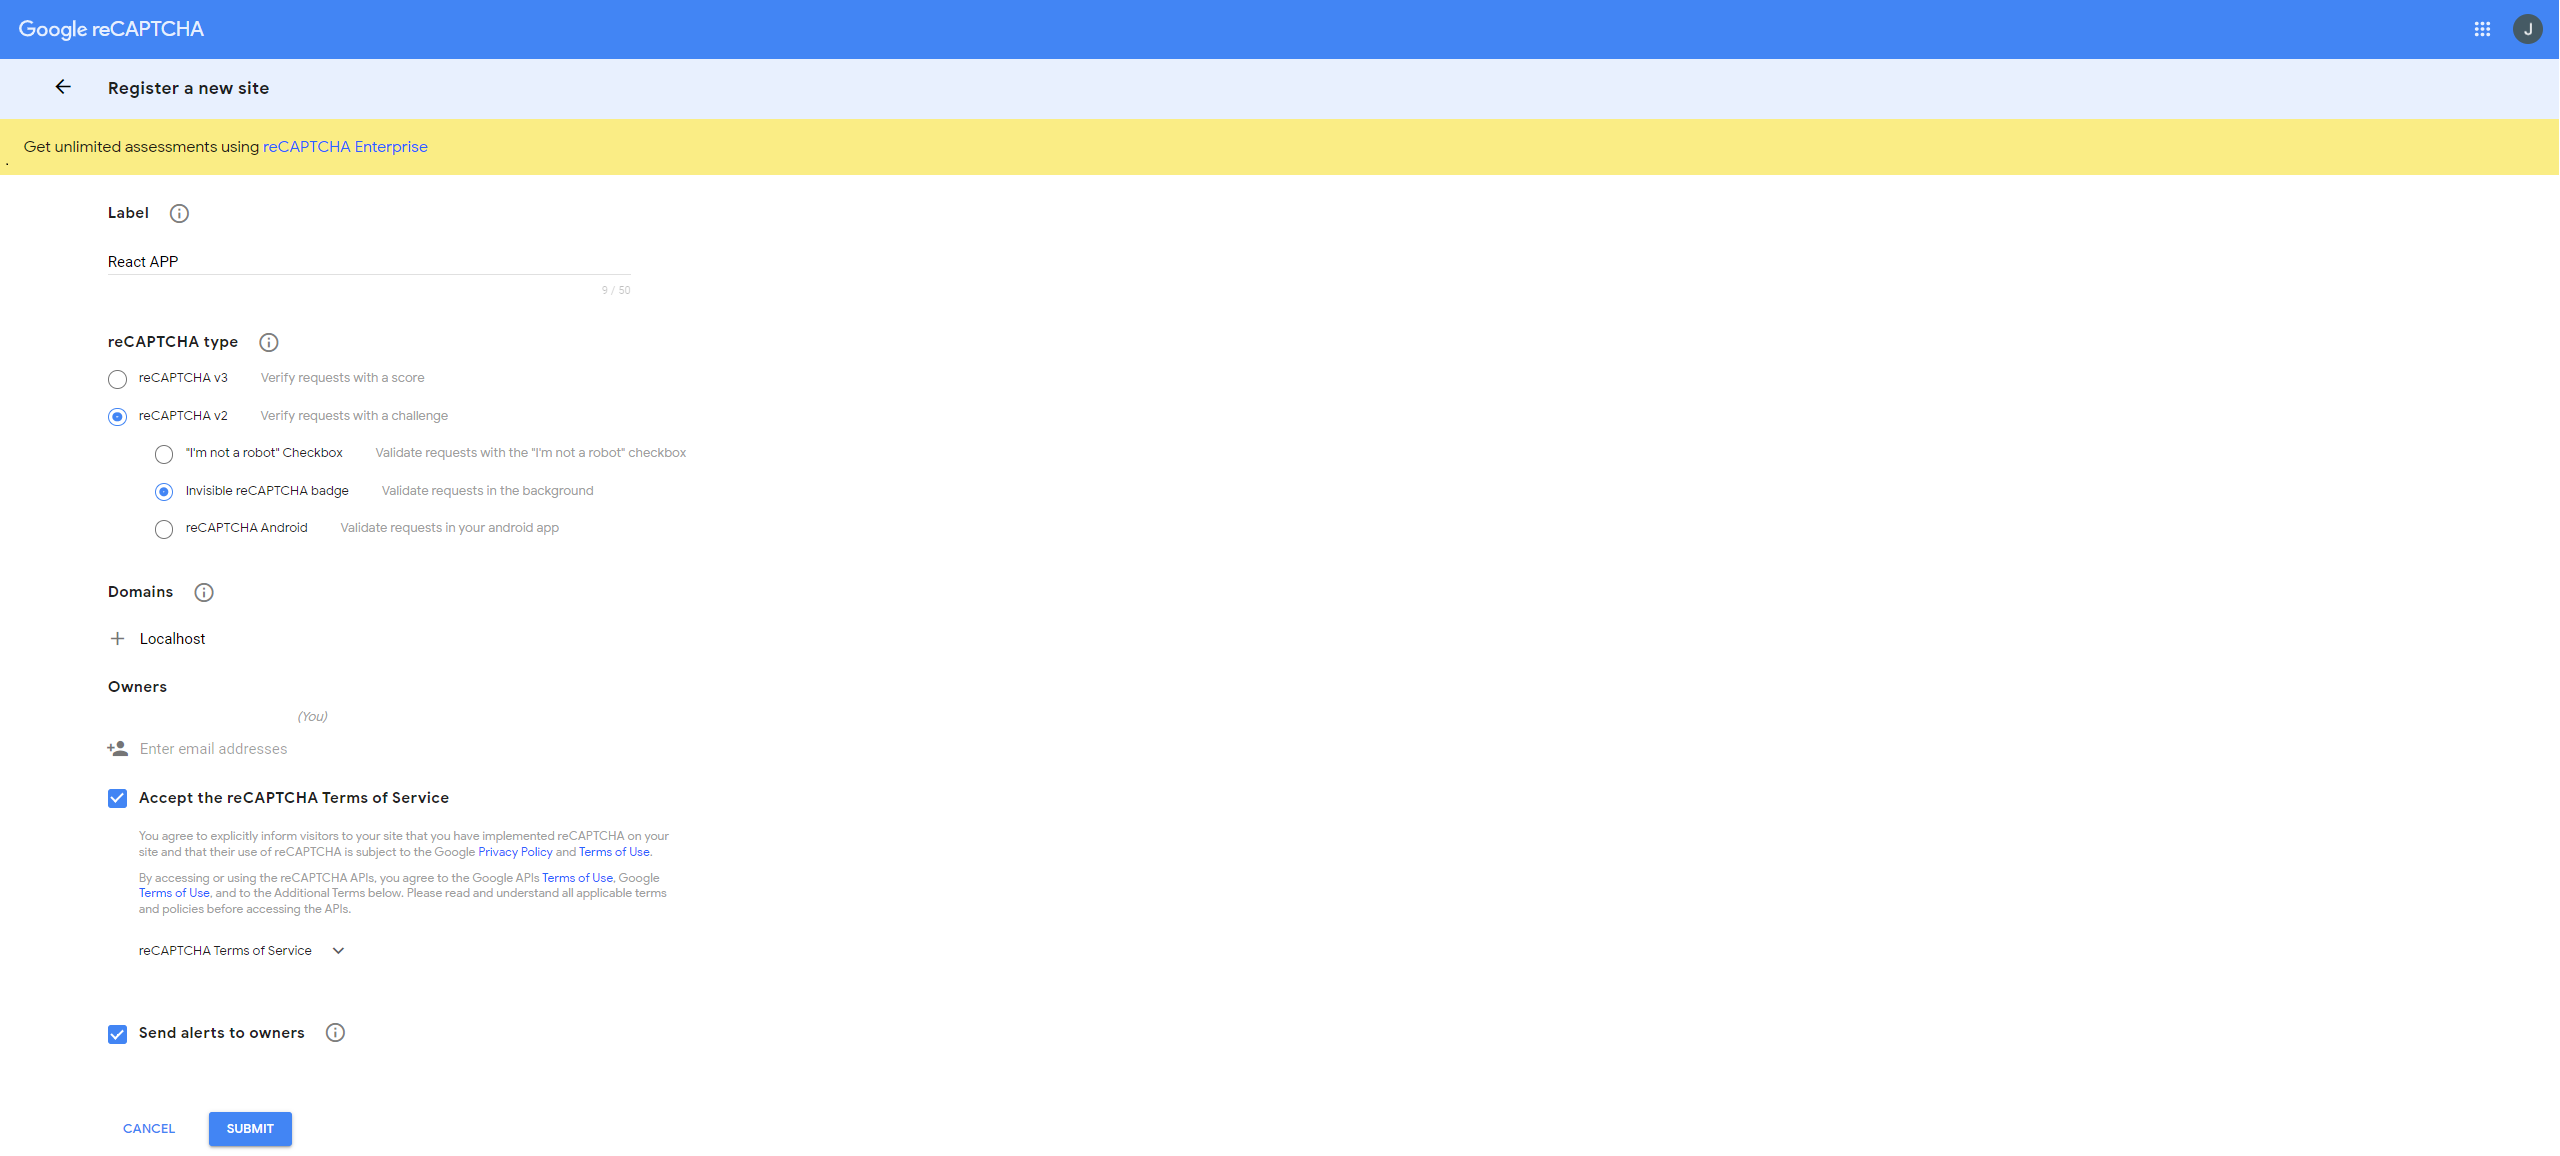
Click Submit once you have the correct details. The app will be successfully registered and ready to add reCAPTCHA to your site. You will also be redirected to a new page that generates your secret key and site key for this specific Domain.
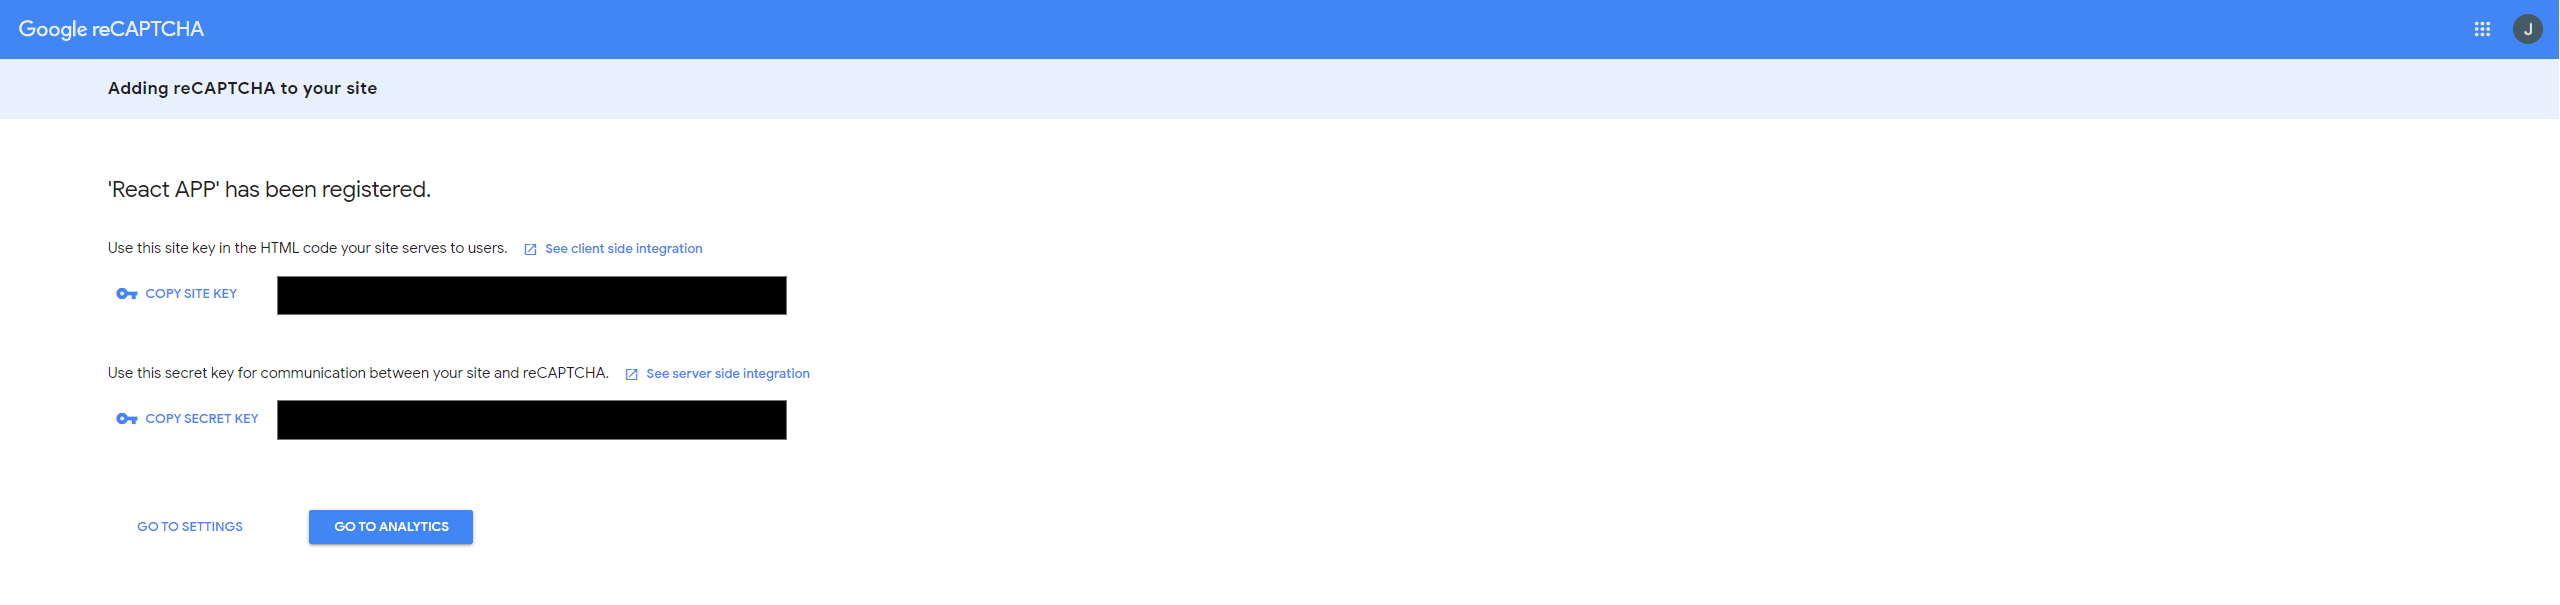
These keys will connect reCAPTCHA to your React application. It’s good to note that there are two keys here:
- Site key - Can only be used for client-side integrations.
- Secret key - This can only be used alongside server-side integrations for security reasons.
Up to this point, you only have a React client app. Therefore, you need to add the Site key here. On your project root directory, create a .env file. In the .env file, paste in the generated credentials/keys as follows:
REACT_APP_SITE_KEY = "your_site_key"Setting up the Form Component
reCAPTCHA is commonly used o verify user inputs and determine if the user is a human or a bot. In this guide, let’s create a React form that will go hand in hand with a reCAPTCHA test.
Edit the src/App.js as follows, step by step:
- Import the necessary packages:
import {useState,useRef} from 'react';The useState() hook will be used to track data entered in the input fields.
These subsequent changes should be executed inside the src/App.js App() function. Ensure you replace the function content will the described changes.
- Set up the state for
firstname,lastname,error, andmessageas follows:
const [first_name,setFirstName] = useState("");
const [last_name,setLastName] = useState("");
const [message, setMessage] = useState("");
const [error,setError] = useState("");- Set up a submit form handler function:
const handleSubmit = e => {
    e.preventDefault();
    setError('');
    setMessage('');
    if(first_name && last_name){
    setMessage("Hurray!! you have submitted the form");
    }else{
    setError("First name and Last name are required");
    }
}
From above, we are checking if the user has entered the first name and last name fields.
- Render the form fields in the render function:
return (
    <div className="App">
    {
        error && <p className='textError'>Error!! {error}</p>
    }
    {
        message && <p className='textSuccess'>Success!! {message}</p>
    }
    <form onSubmit={handleSubmit} className="formContainer">
        <div className='formGroup'>
        <label>First Name</label>
        <input type="text" name="first_name" placeholder='Enter your first name' onChange={e => setFirstName(e.target.value)} />
        </div>
        <div className='formGroup'>
        <label>Last Name</label>
        <input type="text" name="last_name" placeholder='Enter your last name' onChange={e => setLastName(e.target.value)} />
        </div>
        <div className='formGroup'>
        <button type="submit">Submit</button>
        </div>
    </form>
    </div>
);- Edit the
src/App.cssas below to style the newly added form fields:
.App {
width:40%;
margin:10px auto;
}
.formContainer{
width:100%;
margin-top: 10px;
border:1px solid #d4d4d4;
padding: 10px;
}
.formGroup{
width: 100%;
margin-bottom: 10px;
}
.formGroup label{
width: 100%;
display: block;
margin-bottom: 10px;
}
.formGroup input[type="text"]{
width:95%;
padding: 10px;
}
.formGroup input[type="password"]{
width:95%;
padding: 10px;
}
.textSuccess{
color: green;
}
.textError{
color:red;
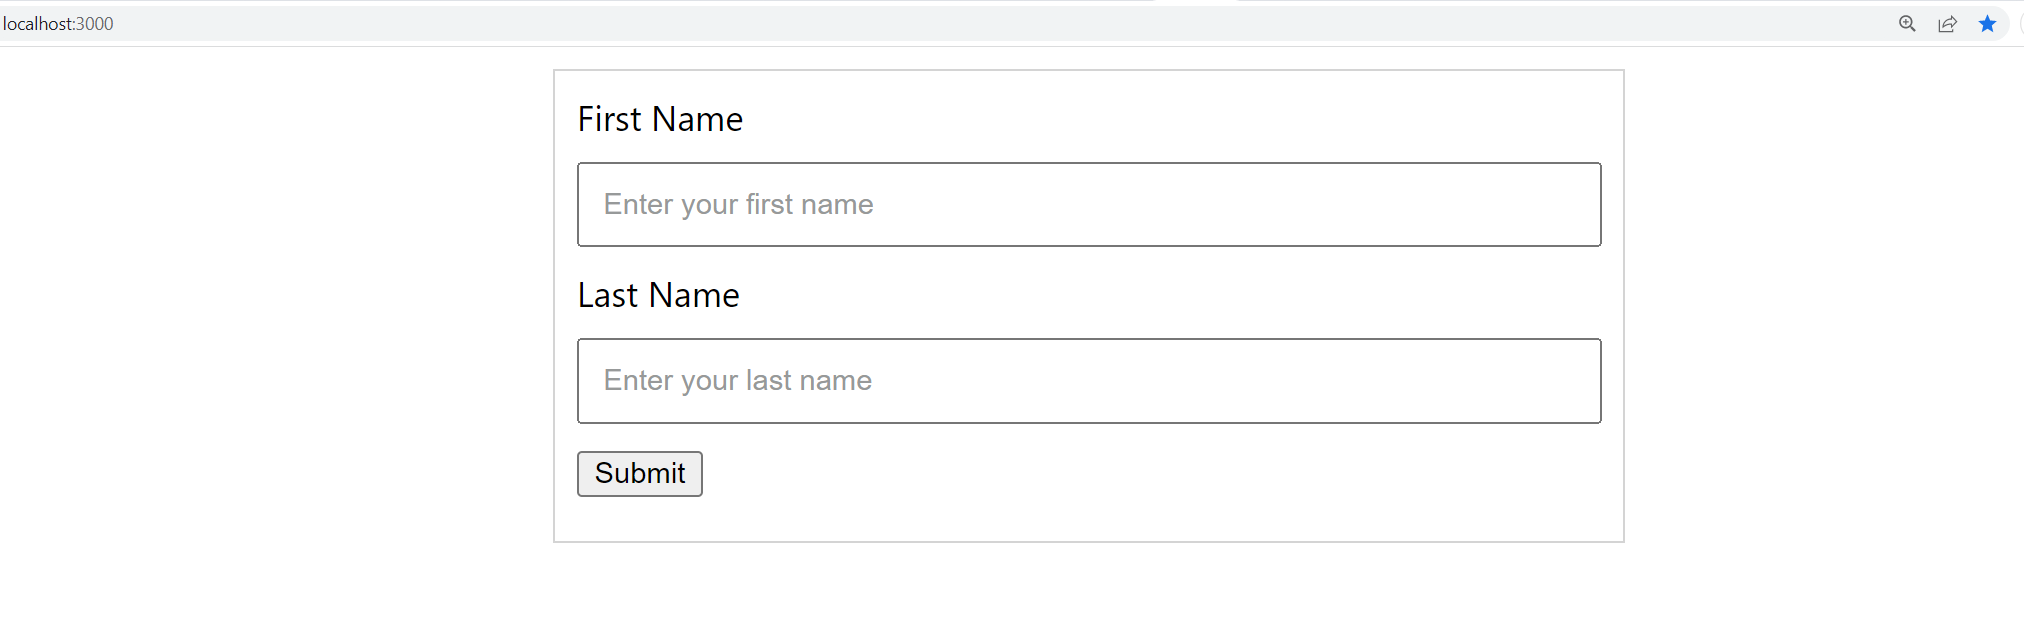
}Start the development environment:
npm run startYour form should be ready. And you can access it at http://localhost:3000/.
Integrating reCAPTCHA to the Form Component
The details submitted through this form can’t be verified if they actually came for a bot or an actual human. That’s now where reCAPTCHA comes in handy. Let’s integrate reCAPTCHA into the form component:
You need additional lines of code to execute reCAPTCHA on the client. Edit src/App.js by adding the following further changes:
- Import the necessary packages:
import ReCAPTCHA from 'react-google-recaptcha';
import axios from 'axios';- Set up the captcha ref:
const captchaRef = useRef(null);- Add a reCAPTCHA to the form component after the first name form field, providing the
sitekeyandrefas follows:
<div className='formGroup'>
  <ReCAPTCHA sitekey={process.env.REACT_APP_SITE_KEY} ref={captchaRef}  />
</div>
This should reflect in your form component as follows:
return (
    <div className="App">
    {
        error && <p className='textError'>Error!! {error}</p>
    }
    {
        message && <p className='textSuccess'>Success!! {message}</p>
    }
    <form onSubmit={handleSubmit} className="formContainer">
        <div className='formGroup'>
        <label>First Name</label>
        <input type="text" name="first_name" placeholder='Enter your first name' onChange={e => setFirstName(e.target.value)} />
        </div>
        <div className='formGroup'>
        <label>Last Name</label>
        <input type="text" name="last_name" placeholder='Enter your last name' onChange={e => setLastName(e.target.value)} />
        </div>
        <div className='formGroup'>
        <ReCAPTCHA sitekey={process.env.REACT_APP_SITE_KEY} ref={captchaRef}  />
        </div>
        <div className='formGroup'>
        <button type="submit">Submit</button>
        </div>
    </form>
    </div>
);- On the handle form submit function, add a check to ensure we have a captcha token:
const handleSubmit = async e => {
   e.preventDefault();
   setError('');
   setMessage('');
   if(first_name && last_name){
   let token = captchaRef.current.getValue();
   if(token){
       let valid_token = await verifyToken(token);
       if(valid_token.success){
       setMessage("Hurray!! you have submitted the form");
       }else{
       setError("Sorry!! Token invalid");
       }
   }else{
       setError("You must confirm you are not a robot");
   }
   }else{
   setError("First name and Last name are required");
   }
}
Once the user clicks the submit button, reCAPTCHA will generate a token to verify the user from the client side.
From above, we get the token and then run it through a verifyToken function to identify whether the token is valid.
- Define the
verifyTokenas below:
const verifyToken = async (token) => {
    try{
    let response = await axios.post(`http://localhost:4000/verify-token`,{

secret:process.env.REACT_APP_SECRET_KEY,
        token
    },console.log(token));
    return response.data;
    }catch(error){
    console.log("error ",error);
    }
}
The above function sends a request to a Node.js service running on port 4000 to verify the token alongside the secret key and the token on the server.
Session Replay for Developers
Uncover frustrations, understand bugs and fix slowdowns like never before with OpenReplay — an open-source session replay tool for developers. Self-host it in minutes, and have complete control over your customer data. Check our GitHub repo and join the thousands of developers in our community.
Verifying reCAPTCHA Token
Now, you can verify using any backend of your choice. In this guide, let’s use Node.js. Configure the service in the following step.
Create a backend directory outside your client’s working directory to host the service. Change the directory to point to backend and run the following command to initialize it:
npm init -yThis server will use the following dependencies:
- Express: For the web server.
- Axios : For sending the request to Google reCAPTCHA.
- CORS : For cross-origin policy.
Run the following command to install them:
npm i express axios corsCreate an index.js in the same directory and add the following:
const express = require('express');
const axios = require('axios');
const cors = require('cors');
const app = express();

const PORT =  4000;

app.use(express.json());
app.use(express.urlencoded({extended:true}));
app.use(cors());

app.post("/verify-token", async (req,res) => {
    try{
        let ,token = req.body;
        // replace APP_SECRET_KEY with your reCAPTCHA secret key
        let response = await axios.post(`https://www.google.com/recaptcha/api/siteverify?secret=${'APP_SECRET_KEY'}&response=${token}`);
        return res.status(200).json({
            success:true,
            message: "Token successfully verified",
            data: response.data
        });
    }catch(error){
        return res.status(500).json({
            success:false,
            message: "Error verifying token"
        })
    }
});

app.listen(PORT,() => console.log(`App started on port ${PORT}`));
Start the development server:
node index.jsRunning and Testing the App
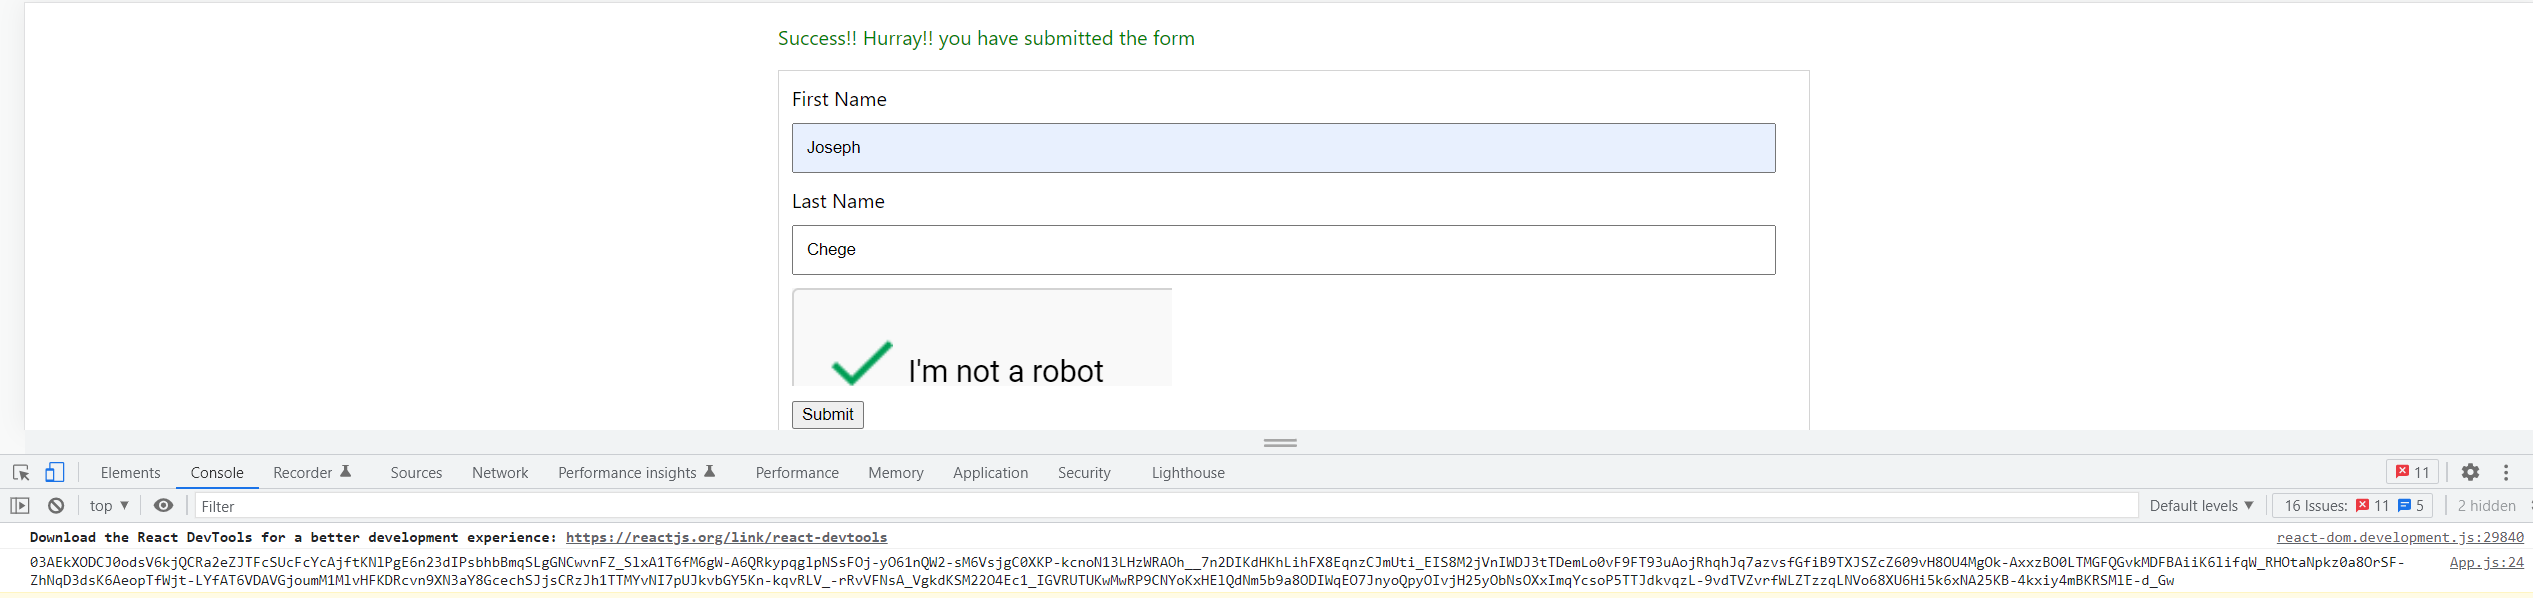
At this point, ensure your development server of the client is up and running and open the application on http://localhost:3000/. Your home page should have the following form component:
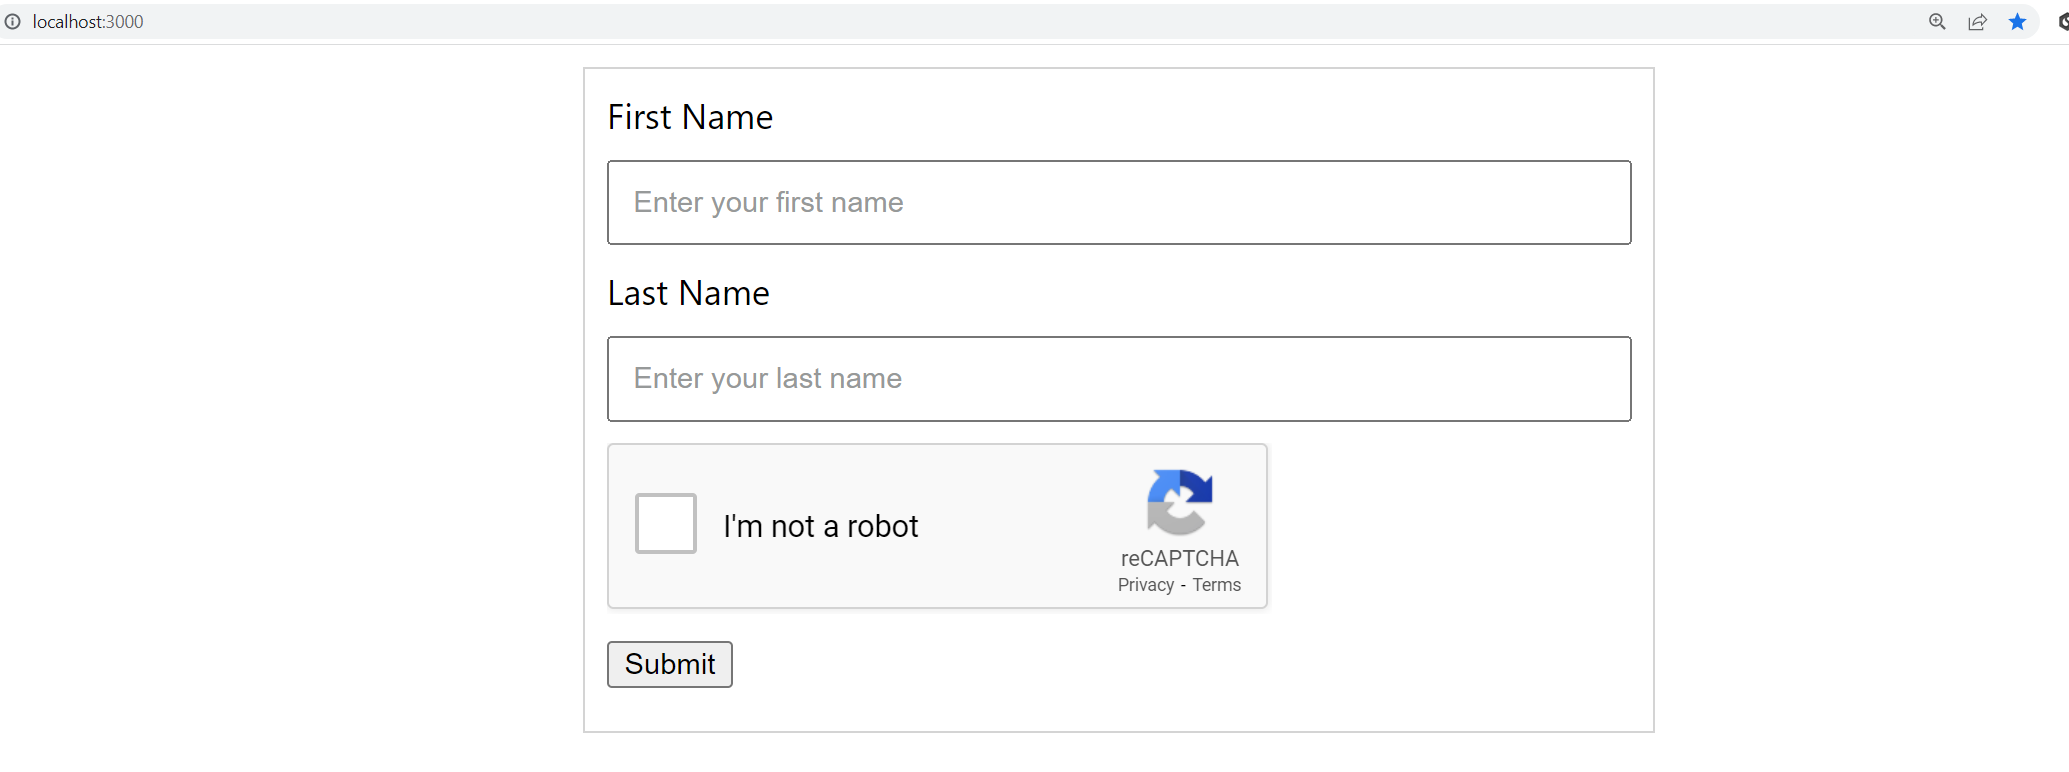
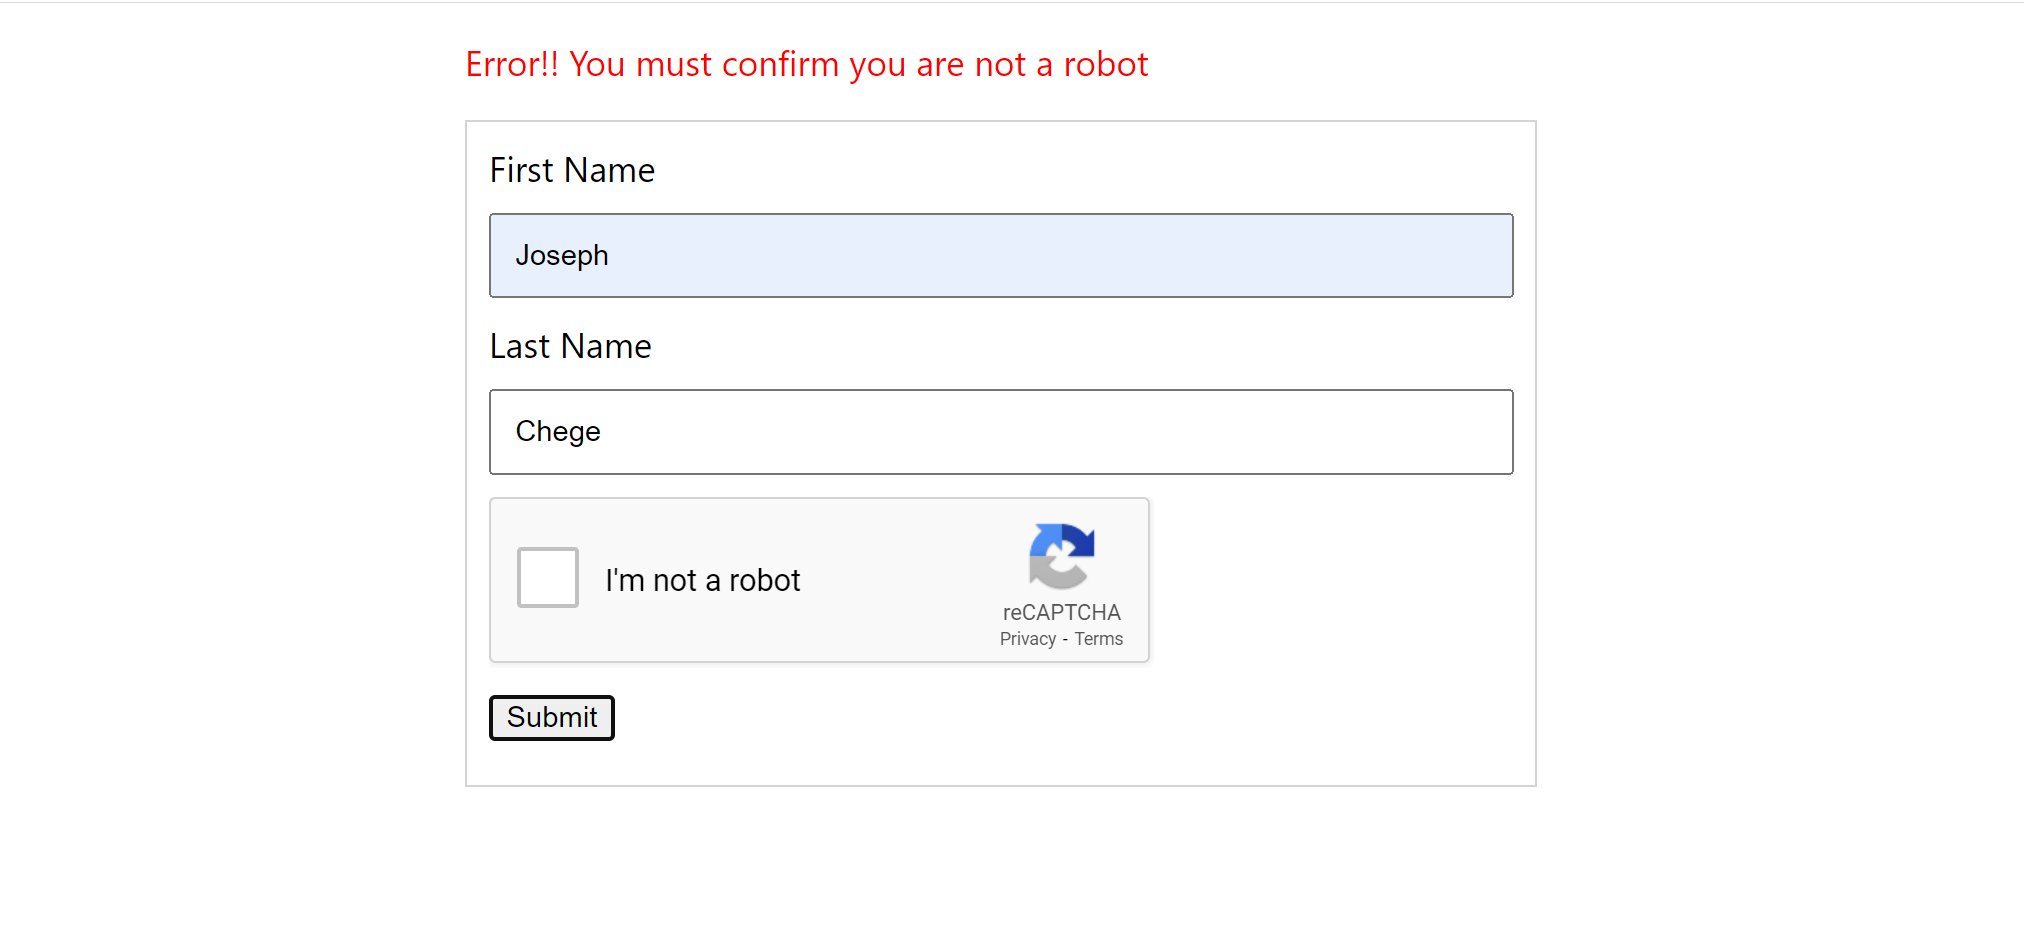
The reCAPTCHA is ready. If you fail to check the reCAPTCHA box, you get an error when submitting the form:
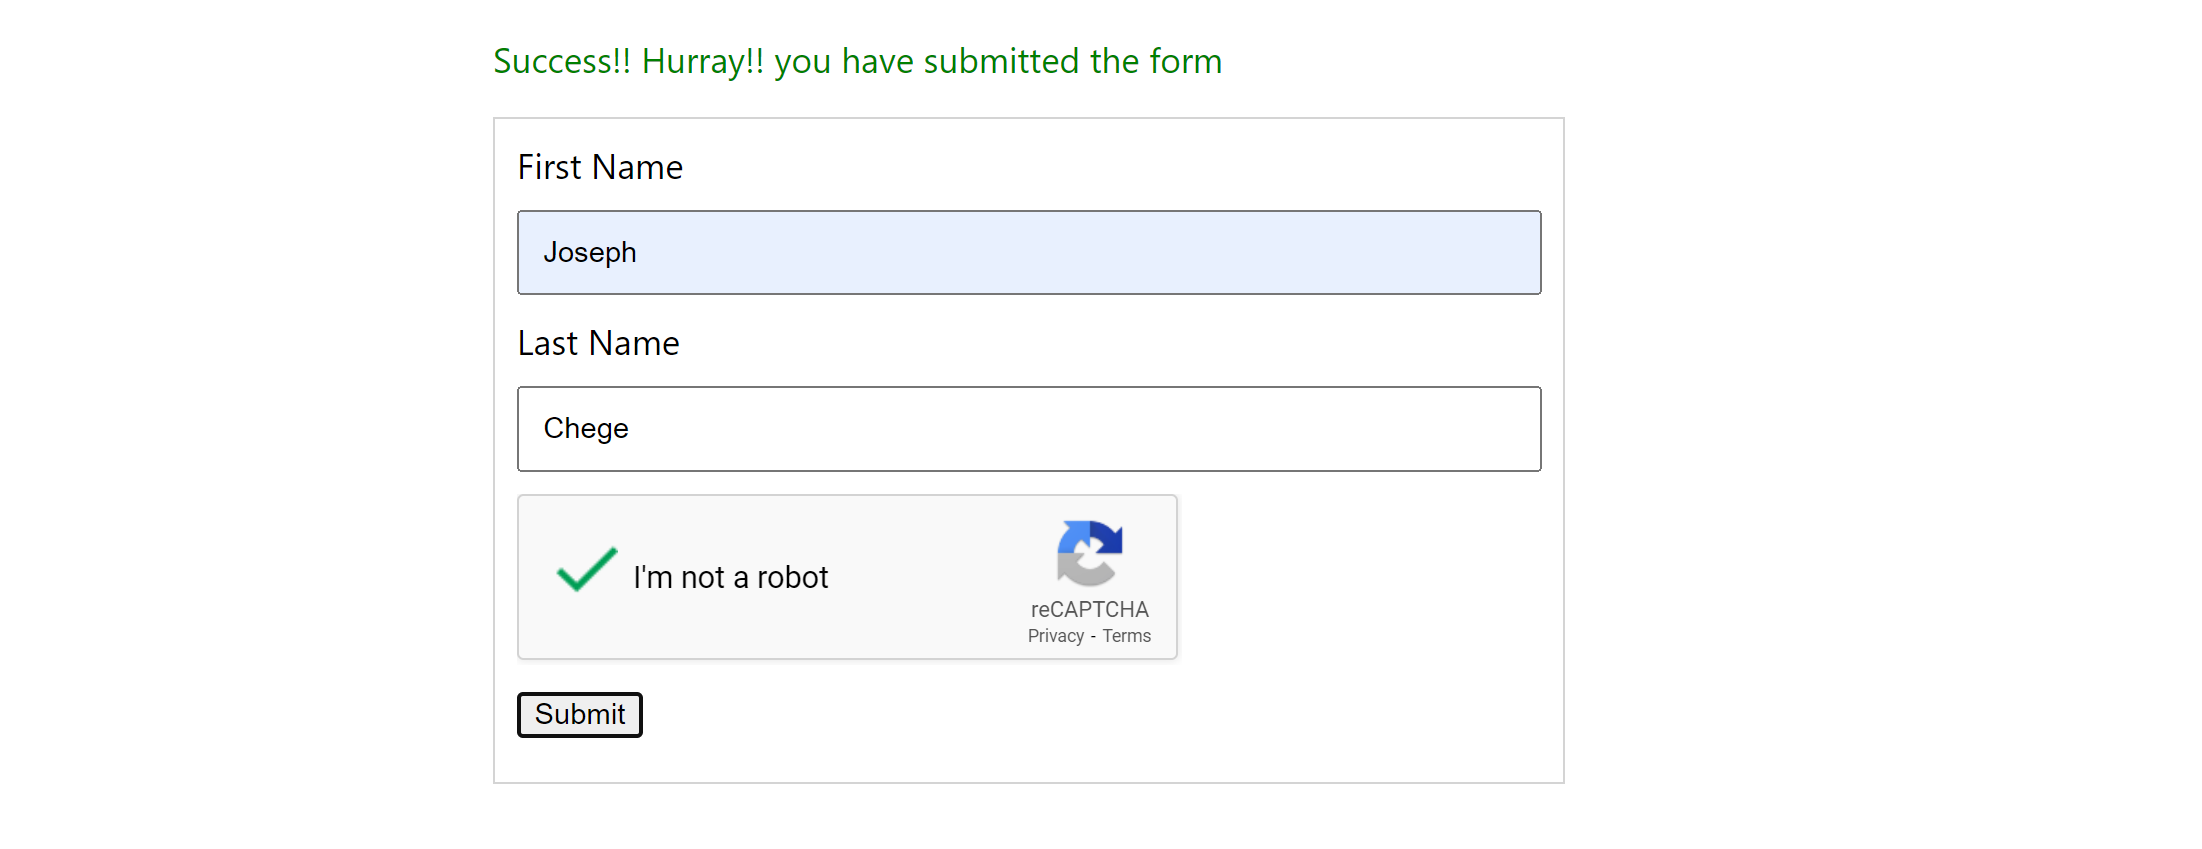
Once you check you are not a bot, you will receive a success message:
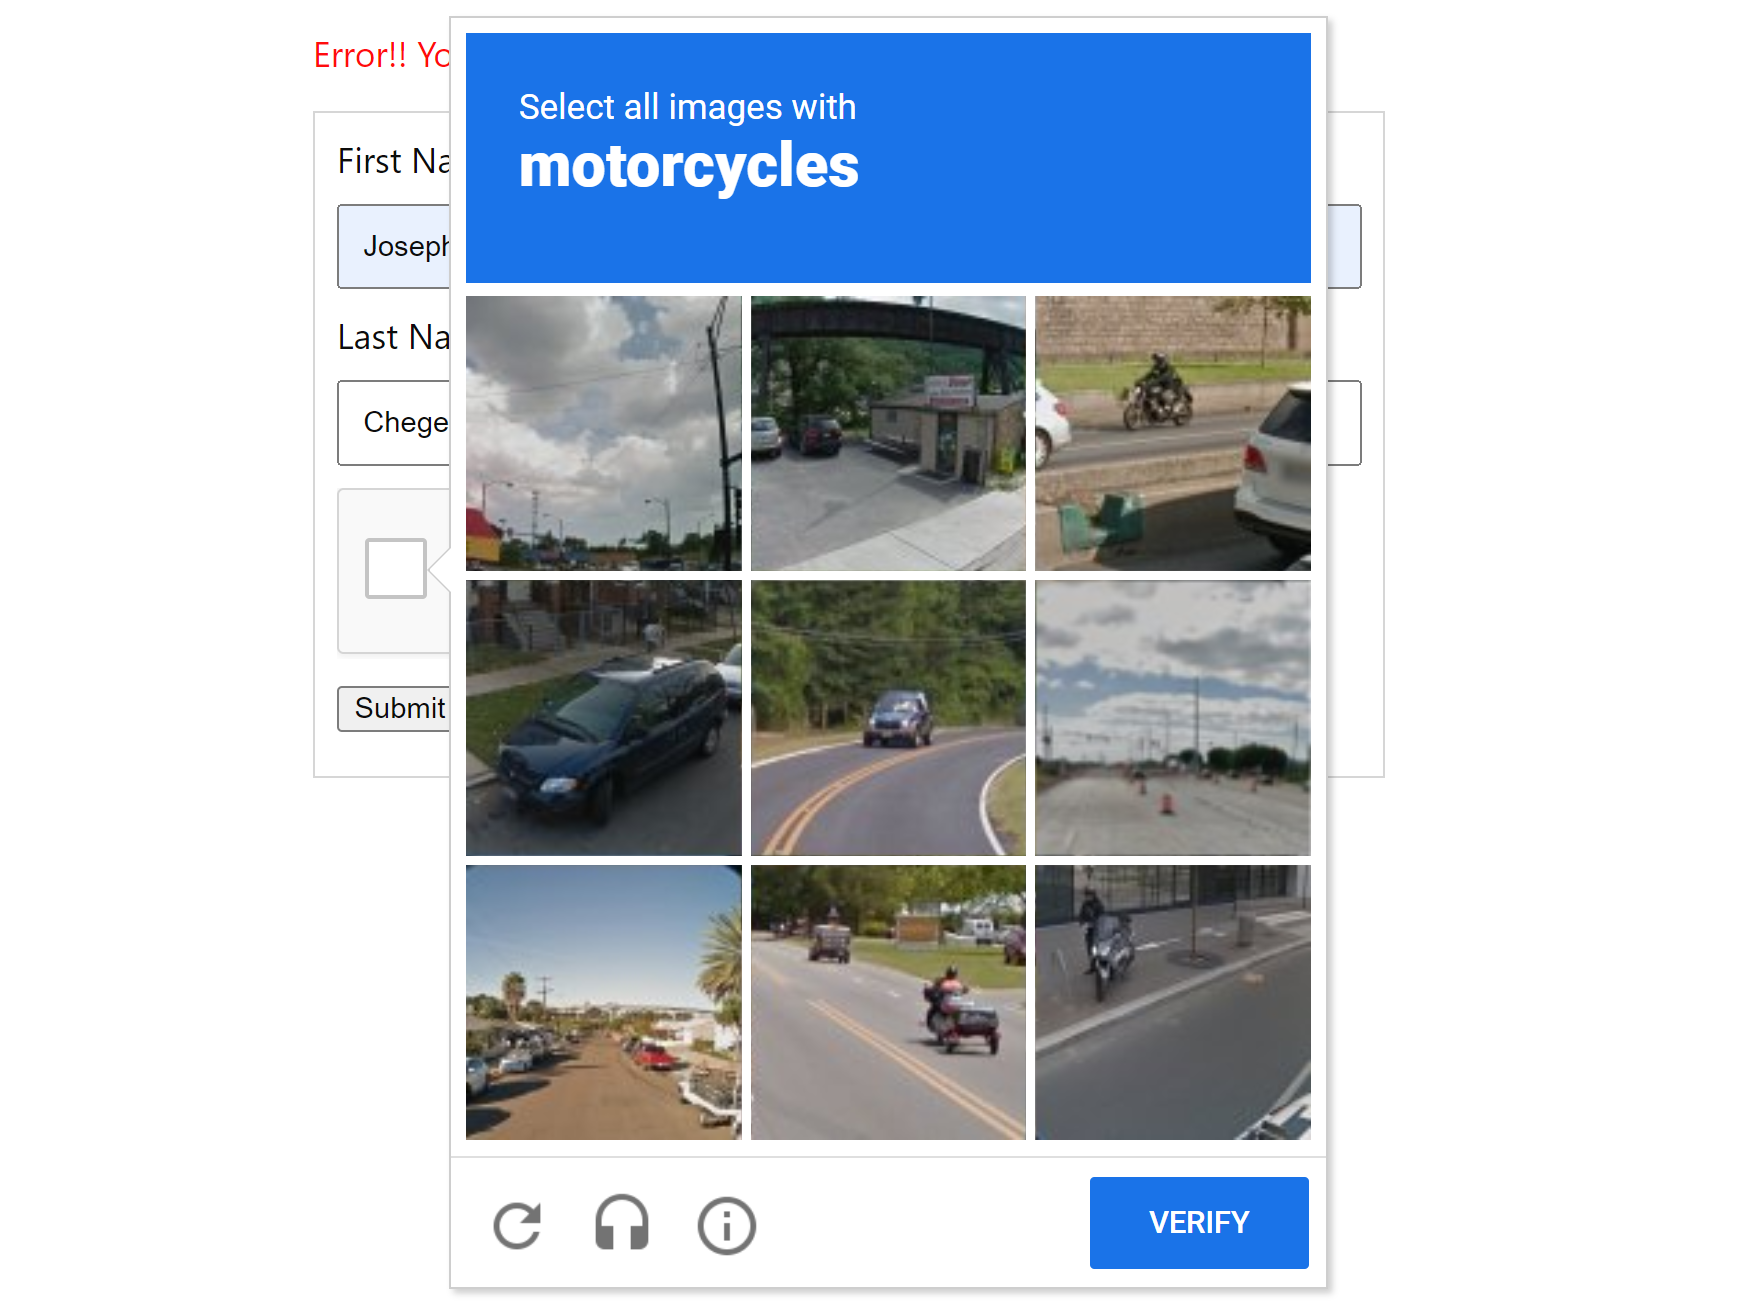
Note that if reCAPTCHA detects that the user can potentially be a bot, an additional check will be triggered as follows:
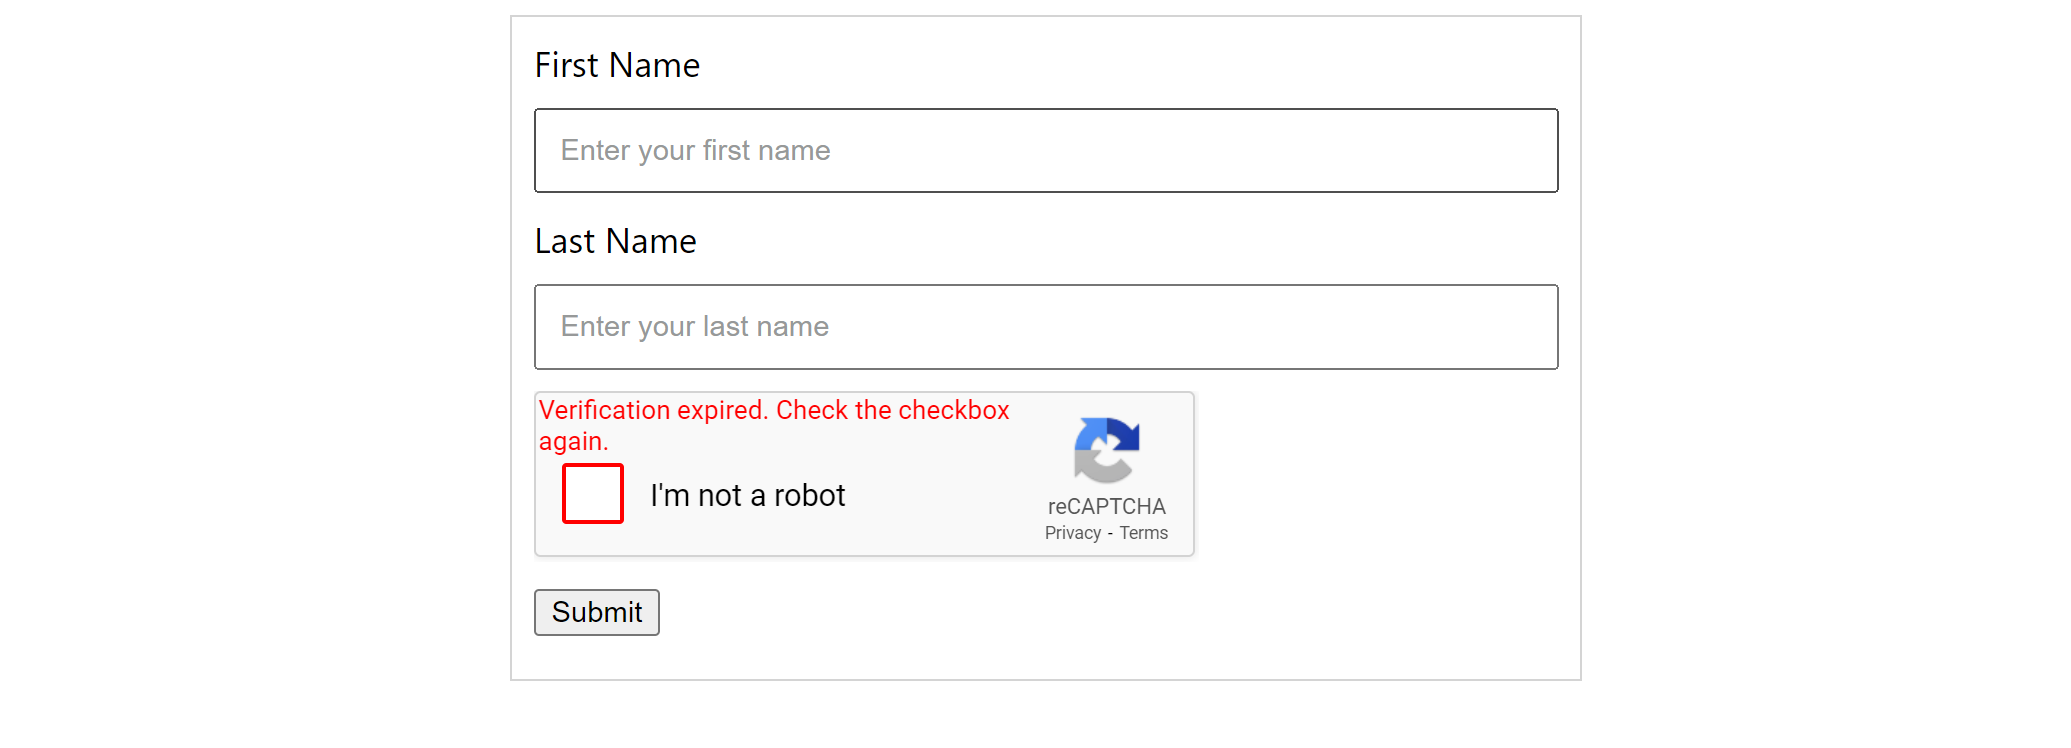
Also note, if the user delay submitting the inputs, Google reCAPTCHA will trigger a timeout that will require the user to check I’m not a robot again:
 g)
g)
When verifying you are not a bot, a token will be generated that the server will use to verify the user. Open inspect tool and check the browser console. You should get the generated token as follows:
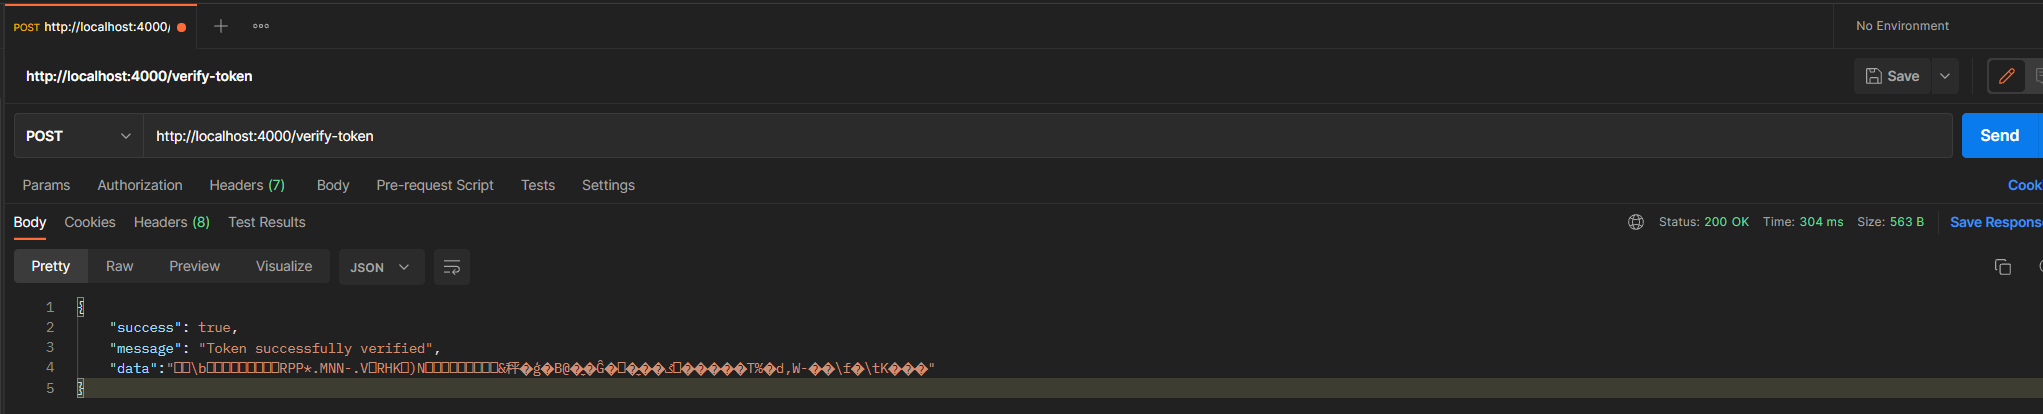
The server can verify this token and confirm that a human generated the token. Launch Postman and send a POST request to the Node.js http://localhost:4000/ server. The token will be verified as such:
Conclusion
This tutorial helped you understand more about it while implementing its functionality in a React.js application. I hope you found this helpful. Happy coding!
A TIP FROM THE EDITOR: For more on the topic of reCAPTCHAS, don’t miss our Prevent Spam And Detect Bots With ReCAPTCHA article.
Gain Debugging Superpowers
Unleash the power of session replay to reproduce bugs and track user frustrations. Get complete visibility into your frontend with OpenReplay, the most advanced open-source session replay tool for developers.