Integrating Bootstrap page templates into our React websites


Creating a React app from scratch can be frustrating if you are new to the framework, with many parts you want to make good-looking; without a level of design knowledge and expertise, it gets infuriating. It gets more challenging when there’s hardly any time to polish things up and ensure that the presentation or project is pixel-perfect, and this is when Bootstrap page templates come to play. Even if you are not particularly design-savvy, Bootstrap page templates provide a simple approach to constructing an aesthetically pleasing interface.
What are Bootstrap page templates?
A template is a shape, form, or pattern used as an outline to create a specific item. High-quality HTML website templates made using the Bootstrap framework are known as Bootstrap page templates. Bootstrap page templates are quick and easy solutions that can help you launch a website. Even if you have very little exposure to web programming, they are entirely programmable. There are various templates available, some for blogs, portfolios, e-commerce websites, and lots more. Here are some examples;
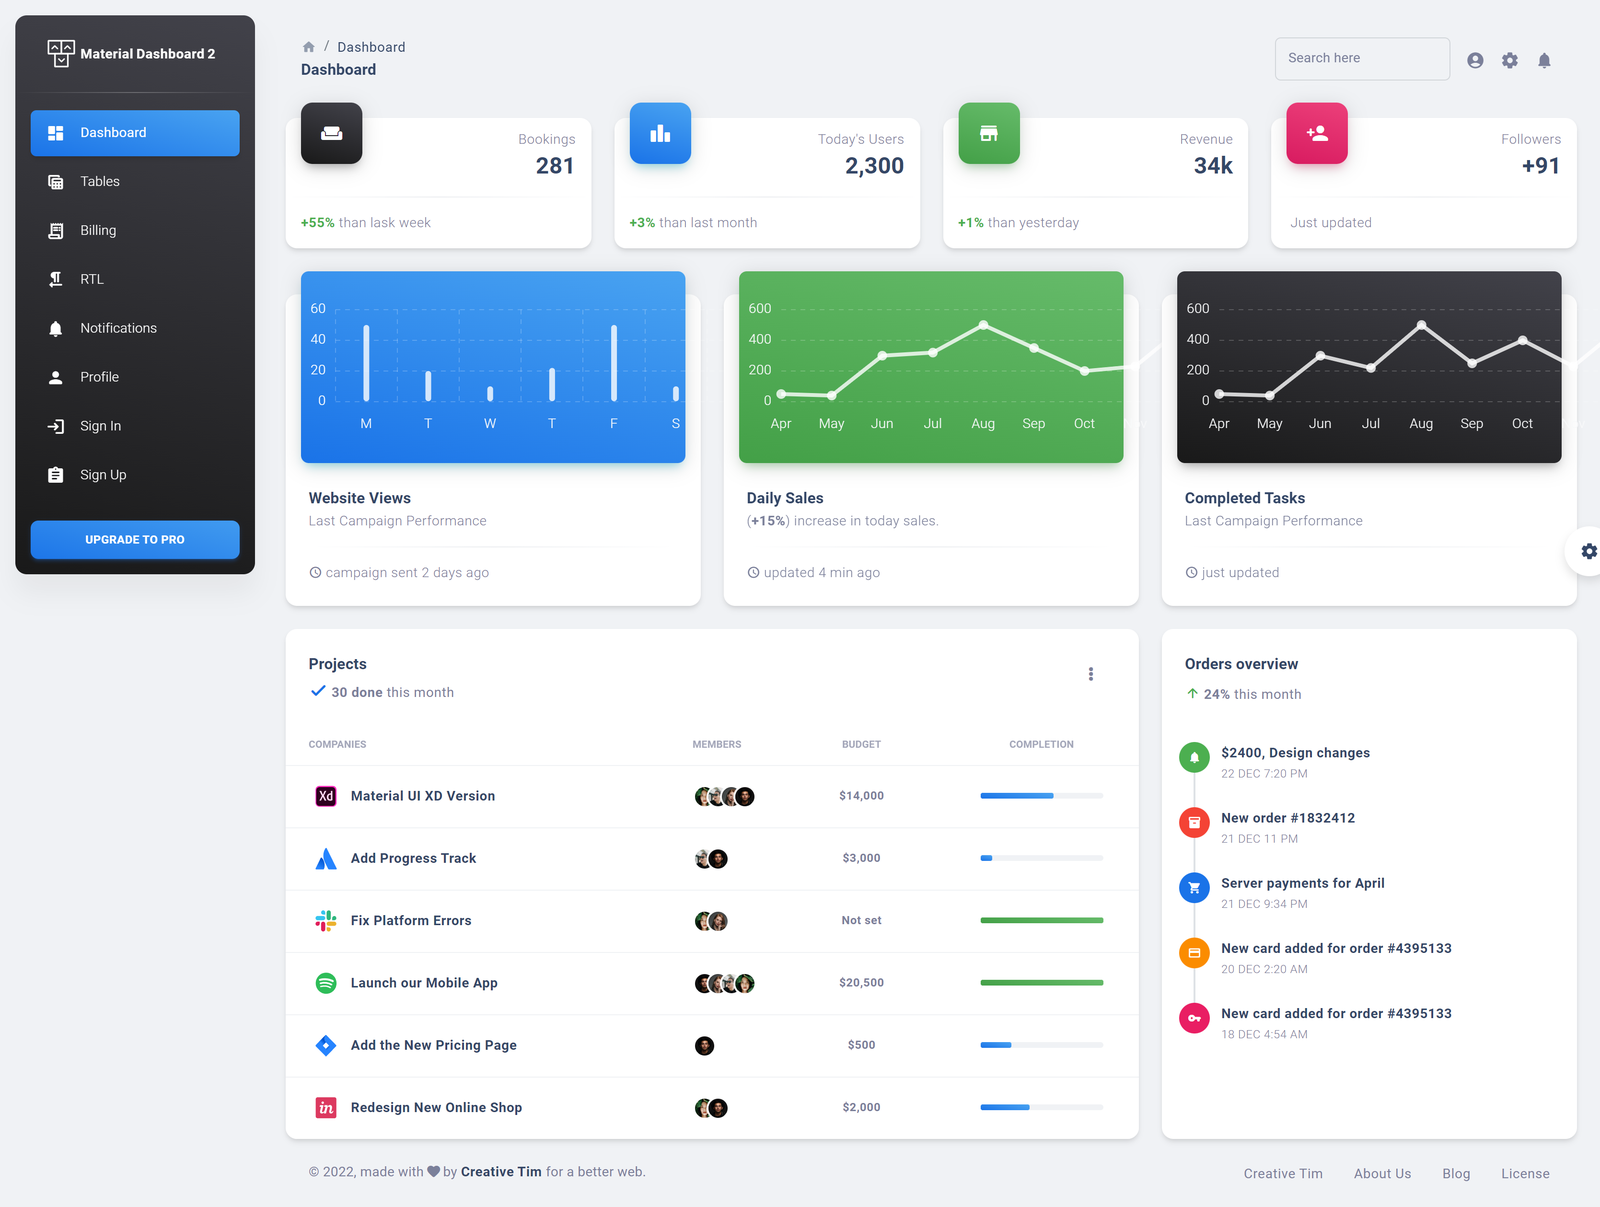
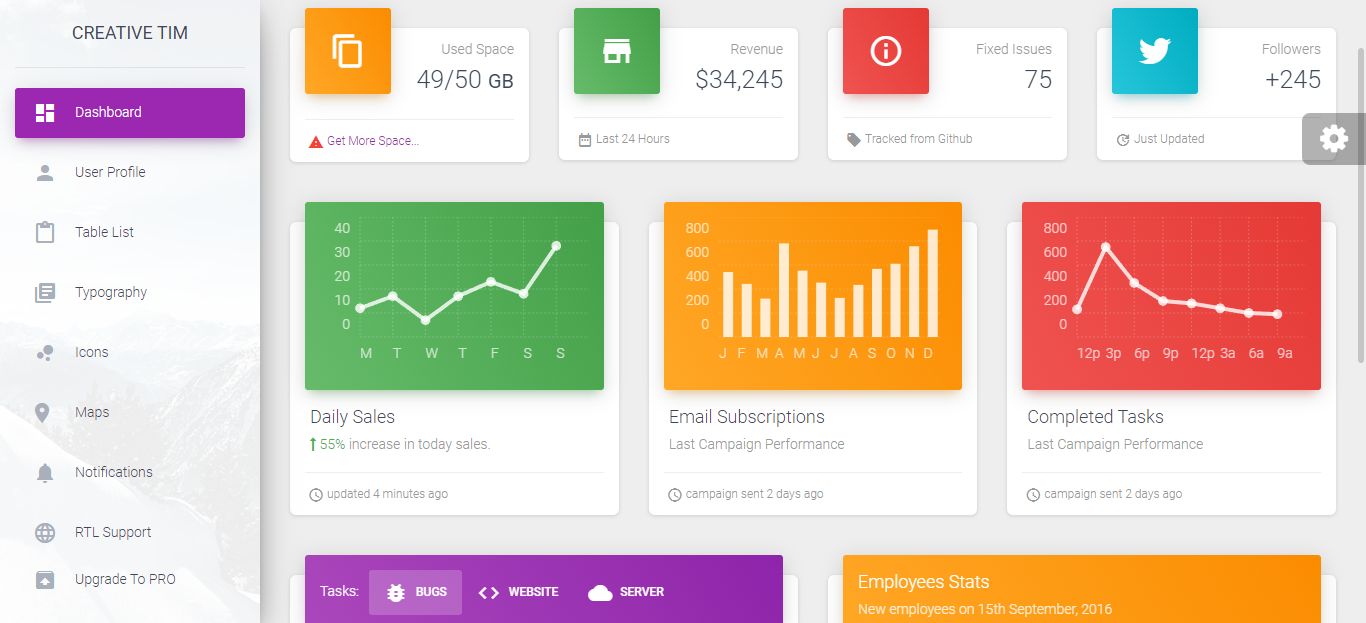
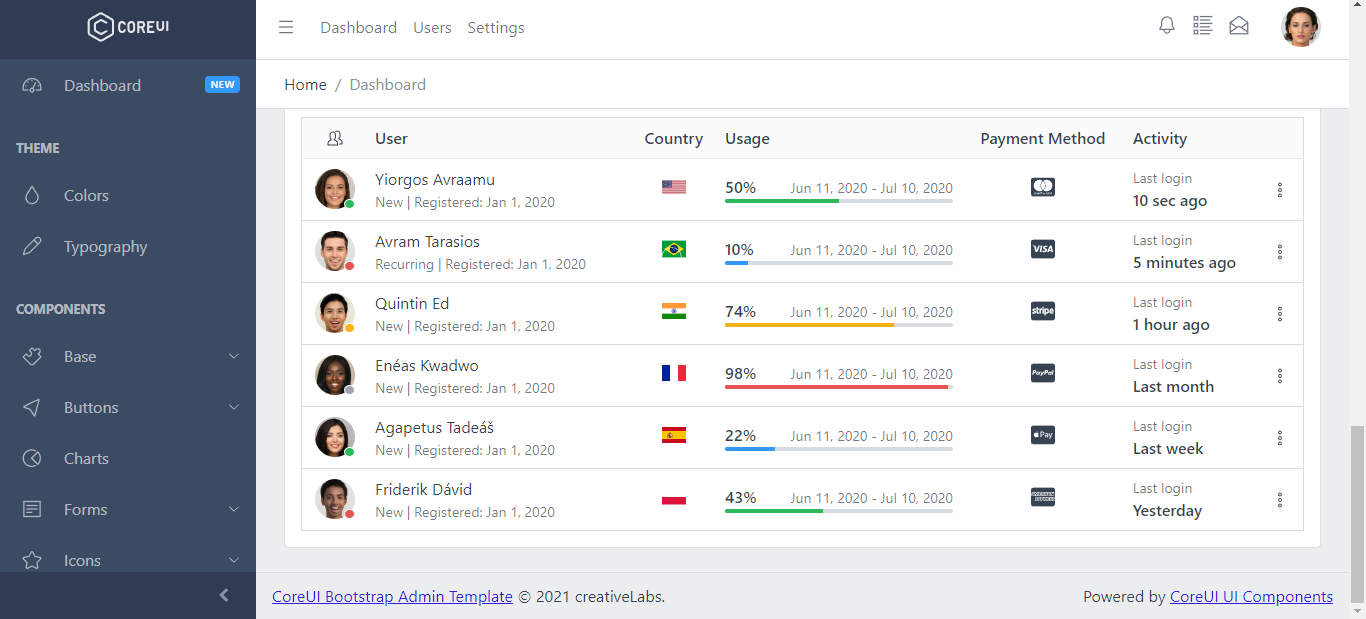
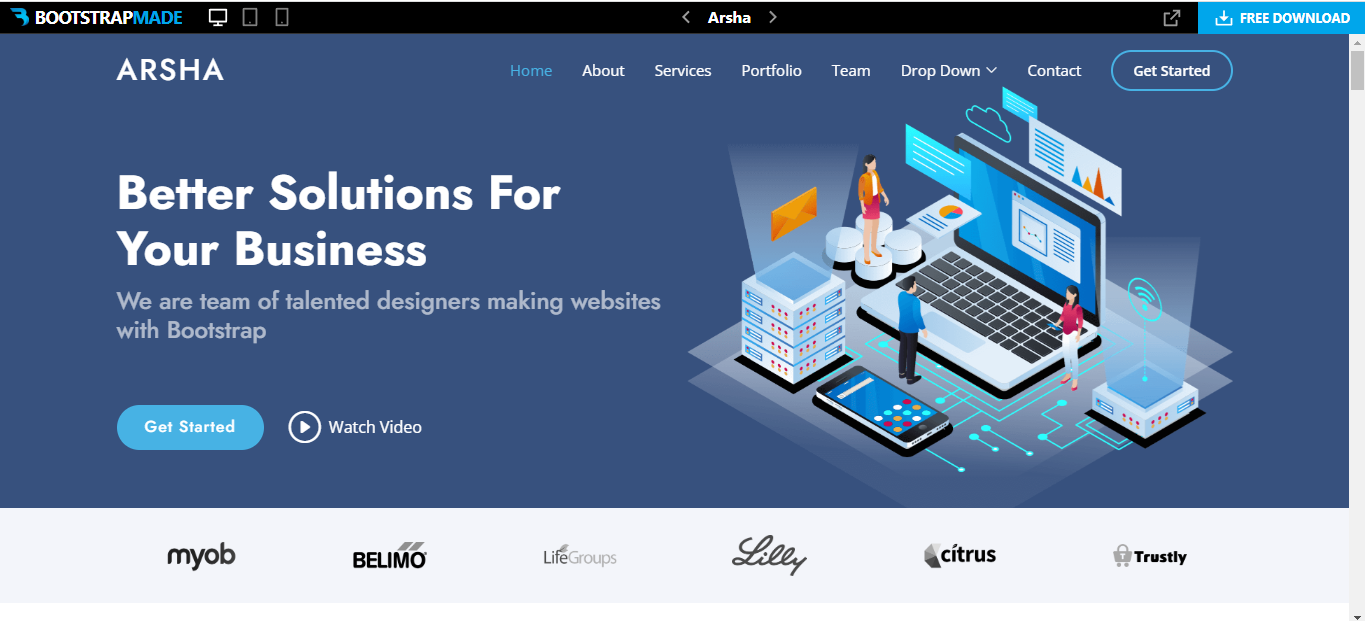
Above are some beautiful Bootstrap page templates we can integrate into our React app. You can get more templates from:
- bootstrapmade.com - Bootstrapmade gives you various page templates for different websites. Some of them are free but not React-specific, requiring editing to suit a React app.
- startbootstrap.com - Startbootstrap gives you different types of UI templates for different types of websites; some of them are free. They do not have React-specific templates but have Angular-specific templates, making them require editing to suit a React app.
- coreui.io - Coreui gives you mainly admin pages and dashboards that can be seamlessly integrated into React, Angular, and Vue.
- creative-tim.com - Creative-tim gives you different UI for React, Angular, Vue, and mobile apps UI. This site also offers docs for each template.
These are the few pages I have checked out; you may research and find others.
Advantages of using Bootstrap page templates
There is no uncertainty that the Bootstrap page template is an excellent remedy for frontend developers. Apart from offering everything needed right out of the box, here are some of the advantages Bootstrap page templates offer:
- No designing skills required: The sweetest advantage Bootstrap page template offers is that you do not need to have any design skills; all it requires is a basic understanding of React, HTML, CSS, and JavaScript to be able to modify the graphical user interface to your taste.
- Takes a very short time to implement: Compared to building a React app from scratch, Bootstrap page templates take a relatively shorter time to implement, making it a good option when you have a very close deadline.
- Fully Customizable: Bootstrap page templates are, by default, a theme folder containing HTML pages that you can easily alter to your taste. You can add your content, CSS files with styles, and a JS folder with the required plugins to customize the theme to your preferences,
- Responsive design: One of the things you don’t have to worry about when using the complete set of Bootstrap page templates is responsiveness. Bootstrap page templates are created to be responsive and device-compatible. You can use the time you would have saved on testing, responsiveness, and device compatibility for some other productive component.
Disadvantages of using Bootstrap page templates
Using Bootstrap page templates come with a lot of advantages that make it an excellent option for frontend developers, but there are certain disadvantages we must consider before using Bootstrap page templates, some of which are;
- Cases of duplicated work: When using Bootstrap page templates, there can be situations where you are not the only one who liked and applied a specific template making your website look like a twin to someone else’s own.
- Doesn’t allow you to follow best practices and style guides: Using Bootstrap template packages most times will not allow you to follow best practices and style guides that have been settled in your team because you are putting content into predefined boxes that may not fit best practices and styles set by your team.
- Can make your app heavy: Bootstrap template packages can be hefty. They can have a lot of DOM elements with a large number of CSS classes in the markup. It is clear that they are there for some reason, but their existence can seriously slow down the DOM. To solve this problem, you should remove unnecessary things and check whether nothing is broken because some dependencies can be hidden deep inside the package.
Open Source Session Replay
OpenReplay is an open-source, session replay suite that lets you see what users do on your web app, helping you troubleshoot issues faster. OpenReplay is self-hosted for full control over your data.

Start enjoying your debugging experience - start using OpenReplay for free.
Integrating Bootstrap page templates into our React UI
For this article, we’ll use a free Bootstrap page template from startbootstrap.com to create a three(3) page UI with a Home, About, and Contact page. To code along, you could get the exact template we are working with here. In other to integrate our Bootstrap page templates into our React app, we’ll follow these subsequent steps;
Step 1: Creating and readying our app
Firstly we’ll have to visit startbootstrap.com, select a bootstrap page template of our choice, download it and unzip the package. We now have to create our React app by entering the following command in our command prompt:
npx create-react-app my-appAfter creating our React app, we have to install react-router-dom for routing on our app. To do that, we’ll run the following commands:
cd my-app
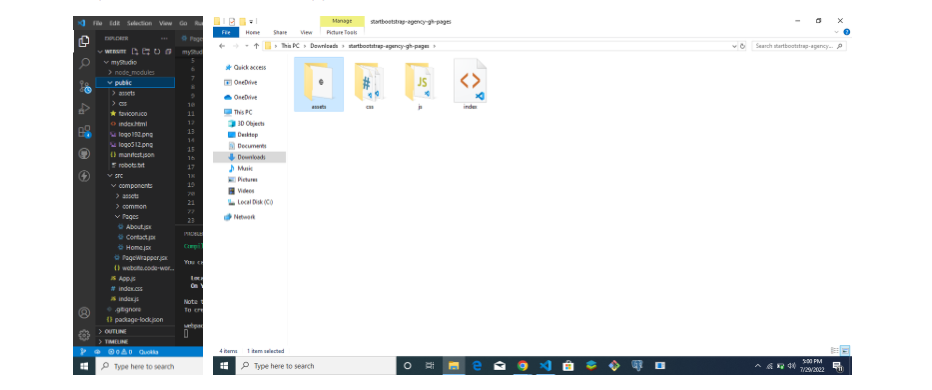
npm i react-router-domFor our React app to access the CSS, images, and JavaScript used to create this template, we have to go to our Bootstrap template folder and copy the assets folder into the public folder in our app.
After making these files available, we have to link them to our app. To do this, we have to copy the stylesheet link tags (at the top) and script tags(at the bottom) of our index.html file in our Bootstrap template into the index.html file of our app.
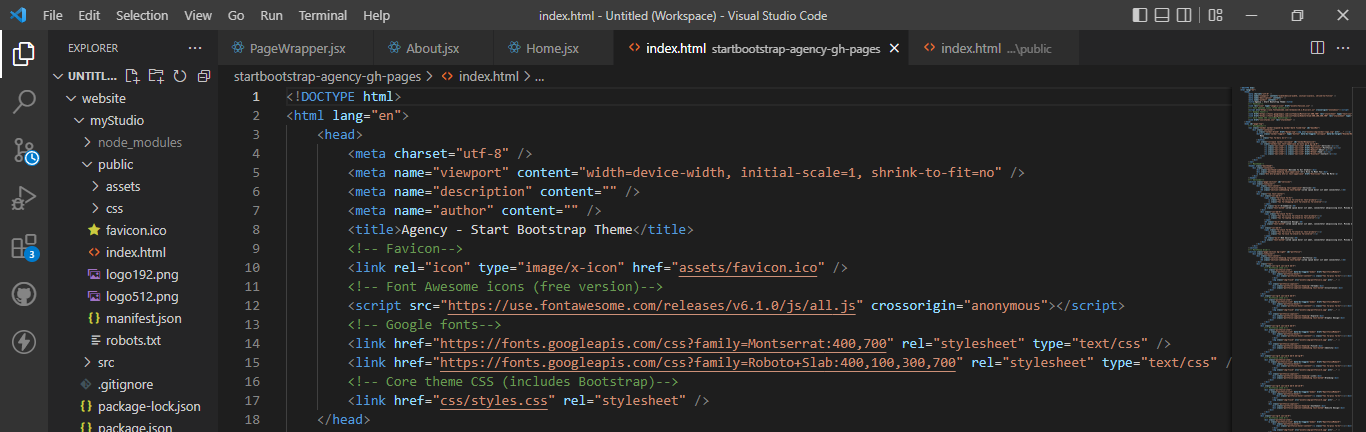
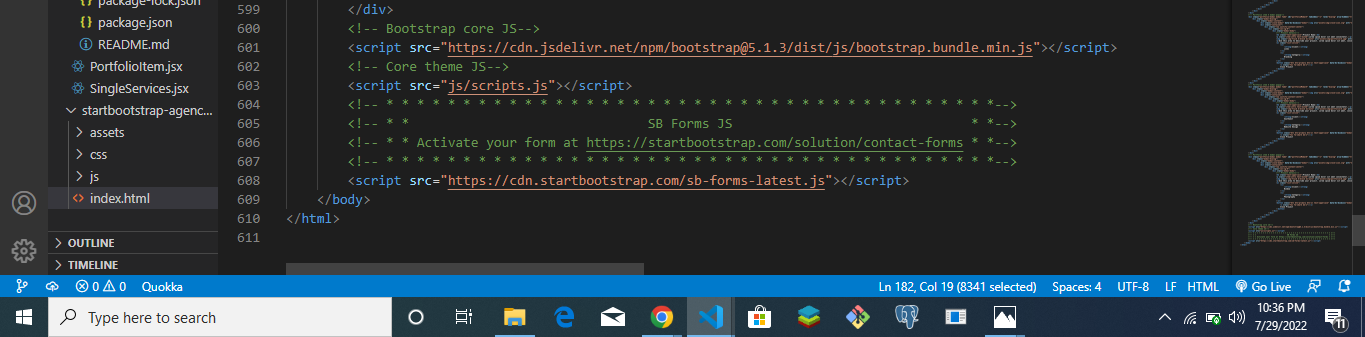
After copying the script and style tags to the index.html file in our app, our index.html will look like this;
<!DOCTYPE html>
<html lang="en">
    <head>
      <meta charset="utf-8" />
      <link rel="icon" href="%PUBLIC_URL%/favicon.ico" />
      <meta name="viewport" content="width=device-width, initial-scale=1" />
      <meta name="theme-color" content="#000000" />
      <meta
          name="description"
          content="Web site created using create-react-app"
          />
      <link rel="apple-touch-icon" href="%PUBLIC_URL%/logo192.png" />
      <link rel="manifest" href="%PUBLIC_URL%/manifest.json" />
      <title>React App</title>
      <link rel="icon" type="image/x-icon" href="assets/favicon.ico" />
      <!-- Font Awesome icons (free version)-->
      <script src="https://use.fontawesome.com/releases/v6.1.0/js/all.js" crossorigin="anonymous"></script>
      <!-- Google fonts-->
      <link href="https://fonts.googleapis.com/css?family=Montserrat:400,700" rel="stylesheet" type="text/css" />
      <link href="https://fonts.googleapis.com/css?family=Roboto+Slab:400,100,300,700" rel="stylesheet" type="text/css" />
      <!-- Core theme CSS (includes Bootstrap)-->
      <link href="%PUBLIC_URL%/css/styles.css" rel="stylesheet" />
    </head>
    </head>
    <body>
      <noscript>You need to enable JavaScript to run this app.</noscript>
      <div id="root"></div>
      <!-- Bootstrap core JS-->
      <script src="https://cdn.jsdelivr.net/npm/bootstrap@5.1.3/dist/js/bootstrap.bundle.min.js"></script>
      <!-- Core theme JS-->
      <script src="%PUBLIC_URL%/js/scripts.js"></script>
      <!-- * * * * * * * * * * * * * * * * * * * * * * * * * * * * * * * * * * * * * * * *-->
      <!-- * *                               SB Forms JS                               * *-->
      <!-- * * Activate your form at https://startbootstrap.com/solution/contact-forms * *-->
      <!-- * * * * * * * * * * * * * * * * * * * * * * * * * * * * * * * * * * * * * * * *-->
      <script src="https://cdn.startbootstrap.com/sb-forms-latest.js"></script>
    </body>
</html>
Step 2: Structuring our files and folders
To get a clean structure for our React app, we’ll need to create two folders within our src folder. The first will be for our reusable components, and will contain the following:
- PageWrapper.jsx will contain both the navigation bar and the footer.
- Header.jsx will receive props from each page to display the header.
The second folder will hold our pages;
- Home.jsx
- ContactPage.jsx
- AboutPage.jsx
Step 3: Integrating Bootstrap page templates
To integrate our template into our app, we’ll have to prepare the pages and components we created above to render HTML:
import React from 'react'
function component name() {
  return (
    <div>

      //This is the area where you paste your HTML code

    </div>
  )
}
export default component name
We’ll be copying the appropriate sections from the Bootstrap page template index.js file into our Components and Pages afterward. Our index.html is made up of different sections, all on one page. These sections are:
- The Navigation section
- The Masthead
- Services
- Portfolio Grid
- About
- Team
- Clients
- Contact
- and Footer
You can find all these sections and their corresponding code labeled in the index.html file of our page template. In other not to render all these sections on one Page, we will divide them into the following components and pages;
- Our PageWrapper component will contain the Navigation and Footer section.
- Our Header component will contain the Masthead section.
- Our Home page will contain the Services, Portfolio Grid, Team, and Clients sections.
- Our About page will contain the About section
- Our Contact page will contain the Contact section.
Select the appropriate sections from the index.html file in our template package, then copy and paste them into their respective components and pages. For these files to work perfectly in our React app, we’ll have to:
- Close all open tags, e.g.
inputandbrtags - Change all instances of the keyword ‘class’ to ‘className’ to specify all CSS classes. You can read up on why we did these here.
With all these done, we have successfully created the components and pages for our web app in our React project. To be able to render these pages, we will have to create routes for them in our App.js file using react-router-dom that we installed earlier;
import { BrowserRouter as Router, Routes, Route } from "react-router-dom";
import PageWrapper from "./components/PageWrapper";
import Home from "./components/Pages/Home";
import About from "./components/Pages/About";
import Contact from "./components/Pages/Contact";

function App() {
  return (
    <div className="App">
      <Router>
        <PageWrapper>
          <Routes>
            <Route exact path="/" element={<Home />} />
            <Route exact path="/about" element={<About />} />
            <Route exact path="/contact" element={<Contact />} />
          </Routes>
        </PageWrapper>
      </Router>
    </div>
  );
}
The PageWrapper component is used to wrap all the components on the page to make the navigation and footer section available on all the pages. With all this done, we have successfully created a simple React UI using Bootstrap page templates. You could get the complete code for all the components and pages from the GitHub repo and check out the React UI we just created here.

Conclusion
Bootstrap page templates have a lot of advantages that make them a reasonable option for some projects. Despite these advantages, we must consider the disadvantages that come with them, which we have covered in this article. We also looked at integrating them into a React app to get a beautiful and responsive frontend user interface.
Resources
A TIP FROM THE EDITOR: For other ways of adding Bootstrap to React, don’t miss our Integrate Bootstrap in your React Projects with these 2 libraries article.