Integrating OpenReplay with GitHub
Generate Github issues directly from the OpenReplay interface

Recreating a user’s journey when they use your application goes a long way in resolving issues and improving the user experience. OpenReplay is a session replay tool that lets you see what your users do while using your application.
In this article, we will be looking at how to integrate OpenReplay with GitHub so you can create issues quickly from errors encountered by users in your application.
To follow along with this article, you’ll need to have a deployed OpenReplay instance. You can follow along with the guides listed here or use the SAAS solution. You’ll also need to have the following:
- Knowledge of JavaScript and React
- Node.js v12 or greater
- npm
- GitHub Account
Creating a Web Application
We will be creating a demo application using Create React App. To get started, open a terminal and run the code below:
npx create-react-app sample-appThe code above creates a React application called sample-app. It is a basic React application. Navigate to the sample-app directory and run the line below to start the application
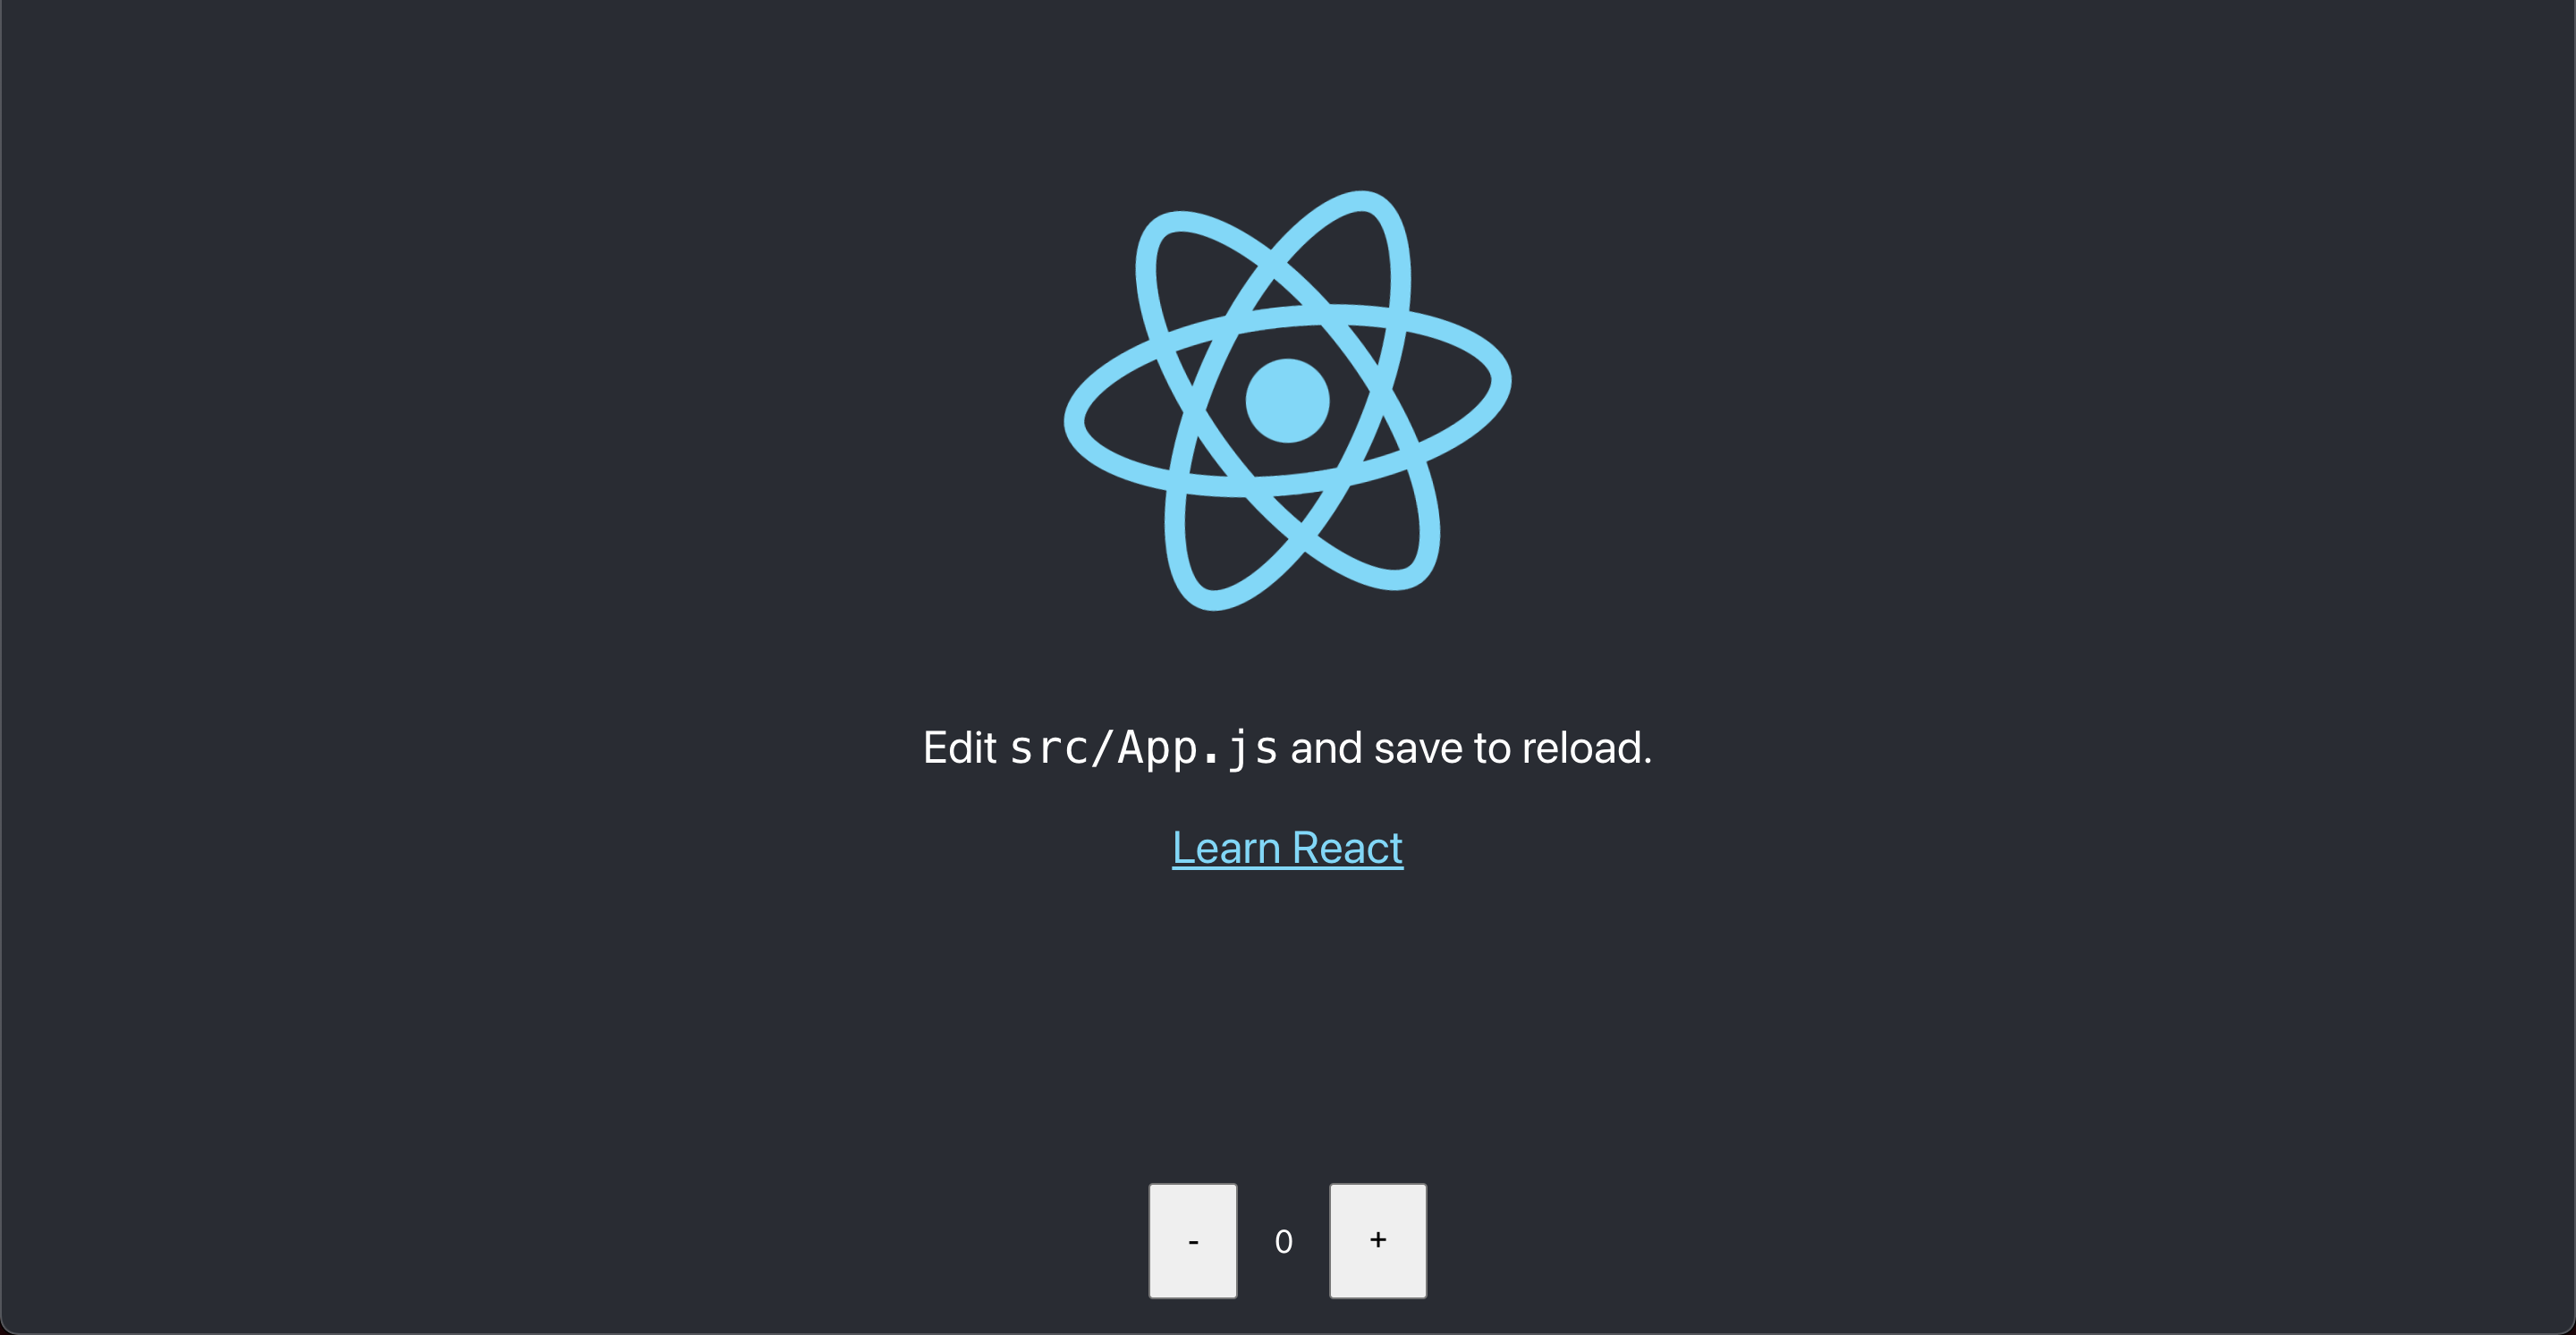
npm startWe will be creating a basic counter application to increase and decrease the value of a number. Open the App.js file and paste the code below:
import { useState } from 'react';
import logo from './logo.svg';
import './App.css';
function App() {
    const [counter, setCounter] = useState(0);
    const handleClick = (operation = '+') => {
        if (operation === '-') {
            if (counter < 0) {
                throw new Error('Number is less than zero');
            }
            setCounter((prevState) => (prevState -= 1));
            return;
        }
        setCounter((prevState) => (prevState += 1));
    };
    return (
        <div className='App'>
            <header className='App-header'>
                <img src={logo} className='App-logo' alt='logo' />
                <p>
                    Edit <code>src/App.js</code> and save to reload.
                </p>
                <a className='App-link' href='https://reactjs.org' target='_blank' rel='noopener noreferrer'>
                    Learn React
                </a>
            </header>
            <main>
                <button onClick={() => handleClick('-')}>-</button>
                <p>{counter}</p>
                <button onClick={() => handleClick()}>+</button>
            </main>
        </div>
    );
}
export default App;
The code above allows a user to increase or decrease the value of a count with a catch. If the user decreases the value of count below zero, it throws an error.
Connecting OpenReplay to an Application
After creating the application, the next step is connecting OpenReplay to the application to start monitoring user events. OpenReplay provides a JavaScript library to help integrate OpenReplay into your web application. Run the code below to install the application:
npm i @openreplay/trackerAfter installation:
-
Go to your deployed OpenReplay instance and click on “Add New Project”
-
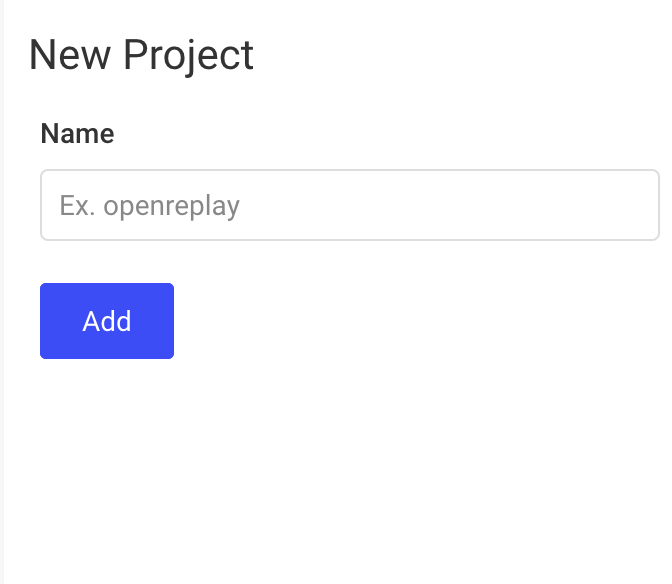
Enter the name of the project in the modal that comes up and click on Add to create the project
-
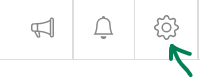
Click the Settings icon to go to Preferences
- Select Projects
- Click on the “Tracking code” button for the Project created
- Copy the code in the usage section
- Open the
App.jsfile and paste the copied code before the begininning of theAppfunction
Our App.js file should now look like the code below
import { useState } from 'react';
import logo from './logo.svg';
import './App.css';
import Tracker from '@openreplay/tracker';
const tracker = new Tracker({
    projectKey: 'O6Q7rBQdbxGMWgIeL7rd',
    ingestPoint: 'https://app.openreplaytutorial.ga/ingest',
});
tracker.start();
function App() {
// rest of the original code
OpenReplay doesn’t work in dev environments, so you’ll need to push your code to a repository and deploy it to a server for the tracking to work. I recommend platforms like Netlify and Vercel (here is a quick tutorial on deploying your app on Netlify).
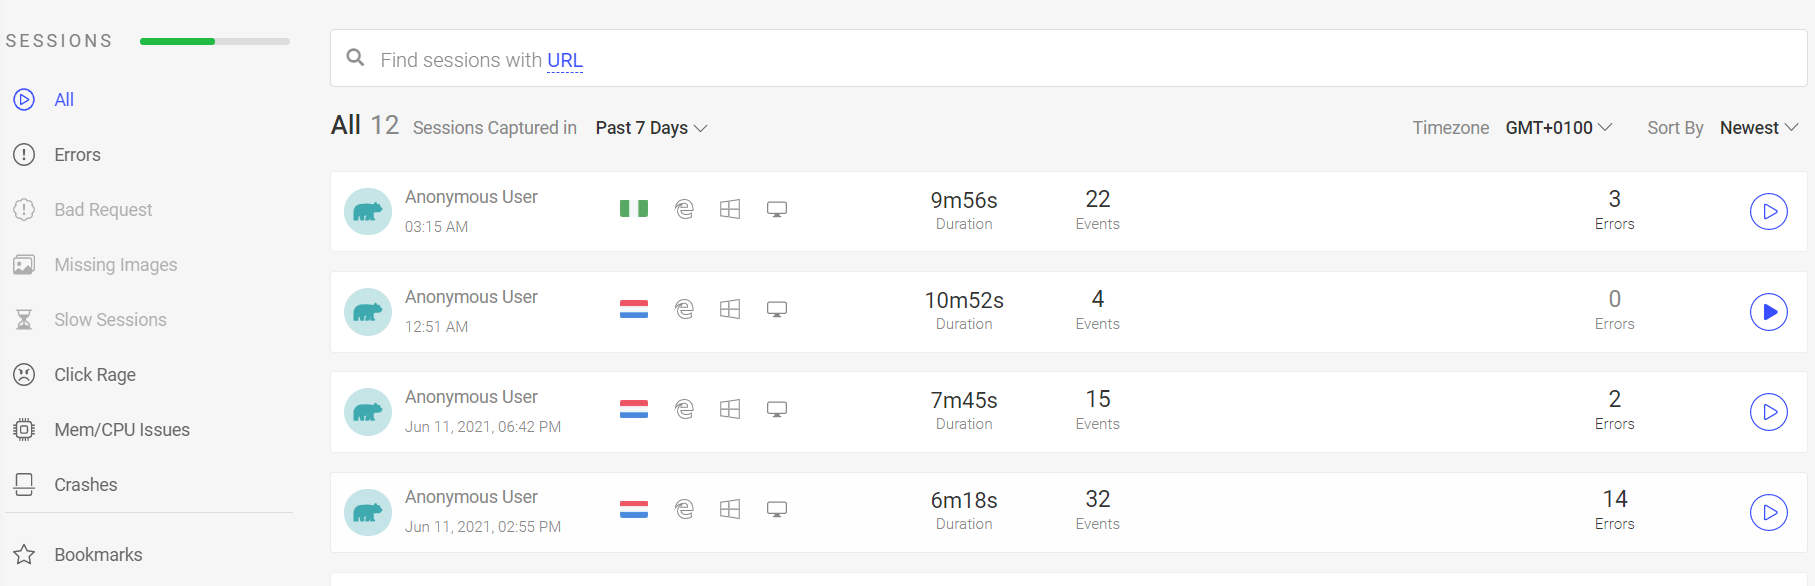
After a successful deployment, visit your deployed application and perform operations for a session to be recorded. Close the browser tab when done to stop recording the session. Visit your OpenReplay instance dashboard to view the recorded session afterwards. Note that after terminating a session, it usually takes about 4 minutes to reflect on the OpenReplay dashboard, so be patient if you don’t see the recorded session immediately.
Integrating OpenReplay with GitHub
You should be able to view a session recording on your OpenReplay Dashboard at this point. In this section, we will be looking at how to create a Github issue for a session recording.
-
Go to Github and login
-
After Authentication, go to Personal Access Tokens
-
Enter a note for remembering the use of the token
-
Select an expiry date
-
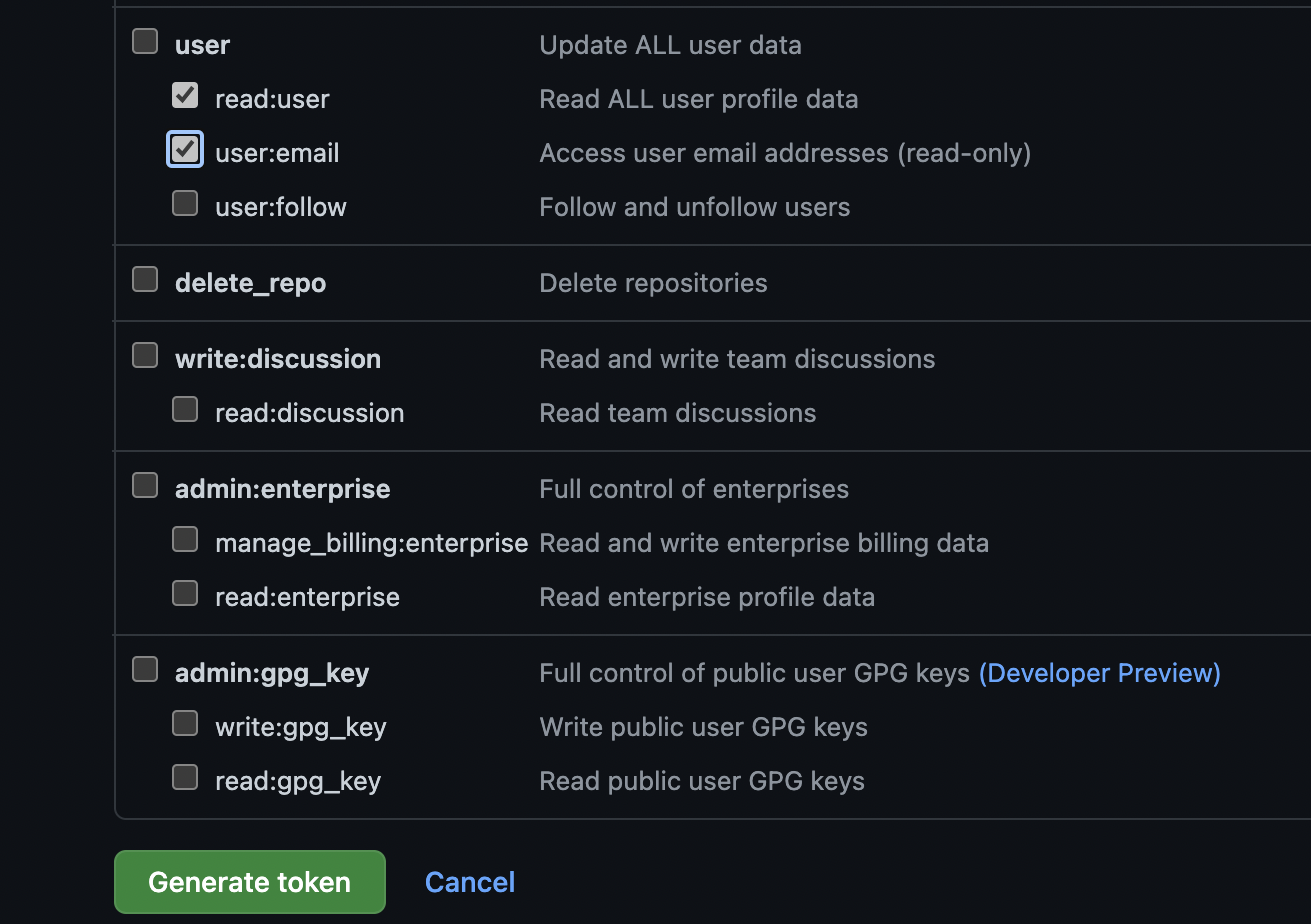
Select
repo:status,repo_deployment,public_repo,read:user, anduser:emailscopes
-
Click on Generate token
-
Copy the generated token to your clipboard
-
Go to your OpenReplay dashboard then ‘Preferences > Integration’
-
Click on Github
-
Paste the copied generated token in the modal that opens up
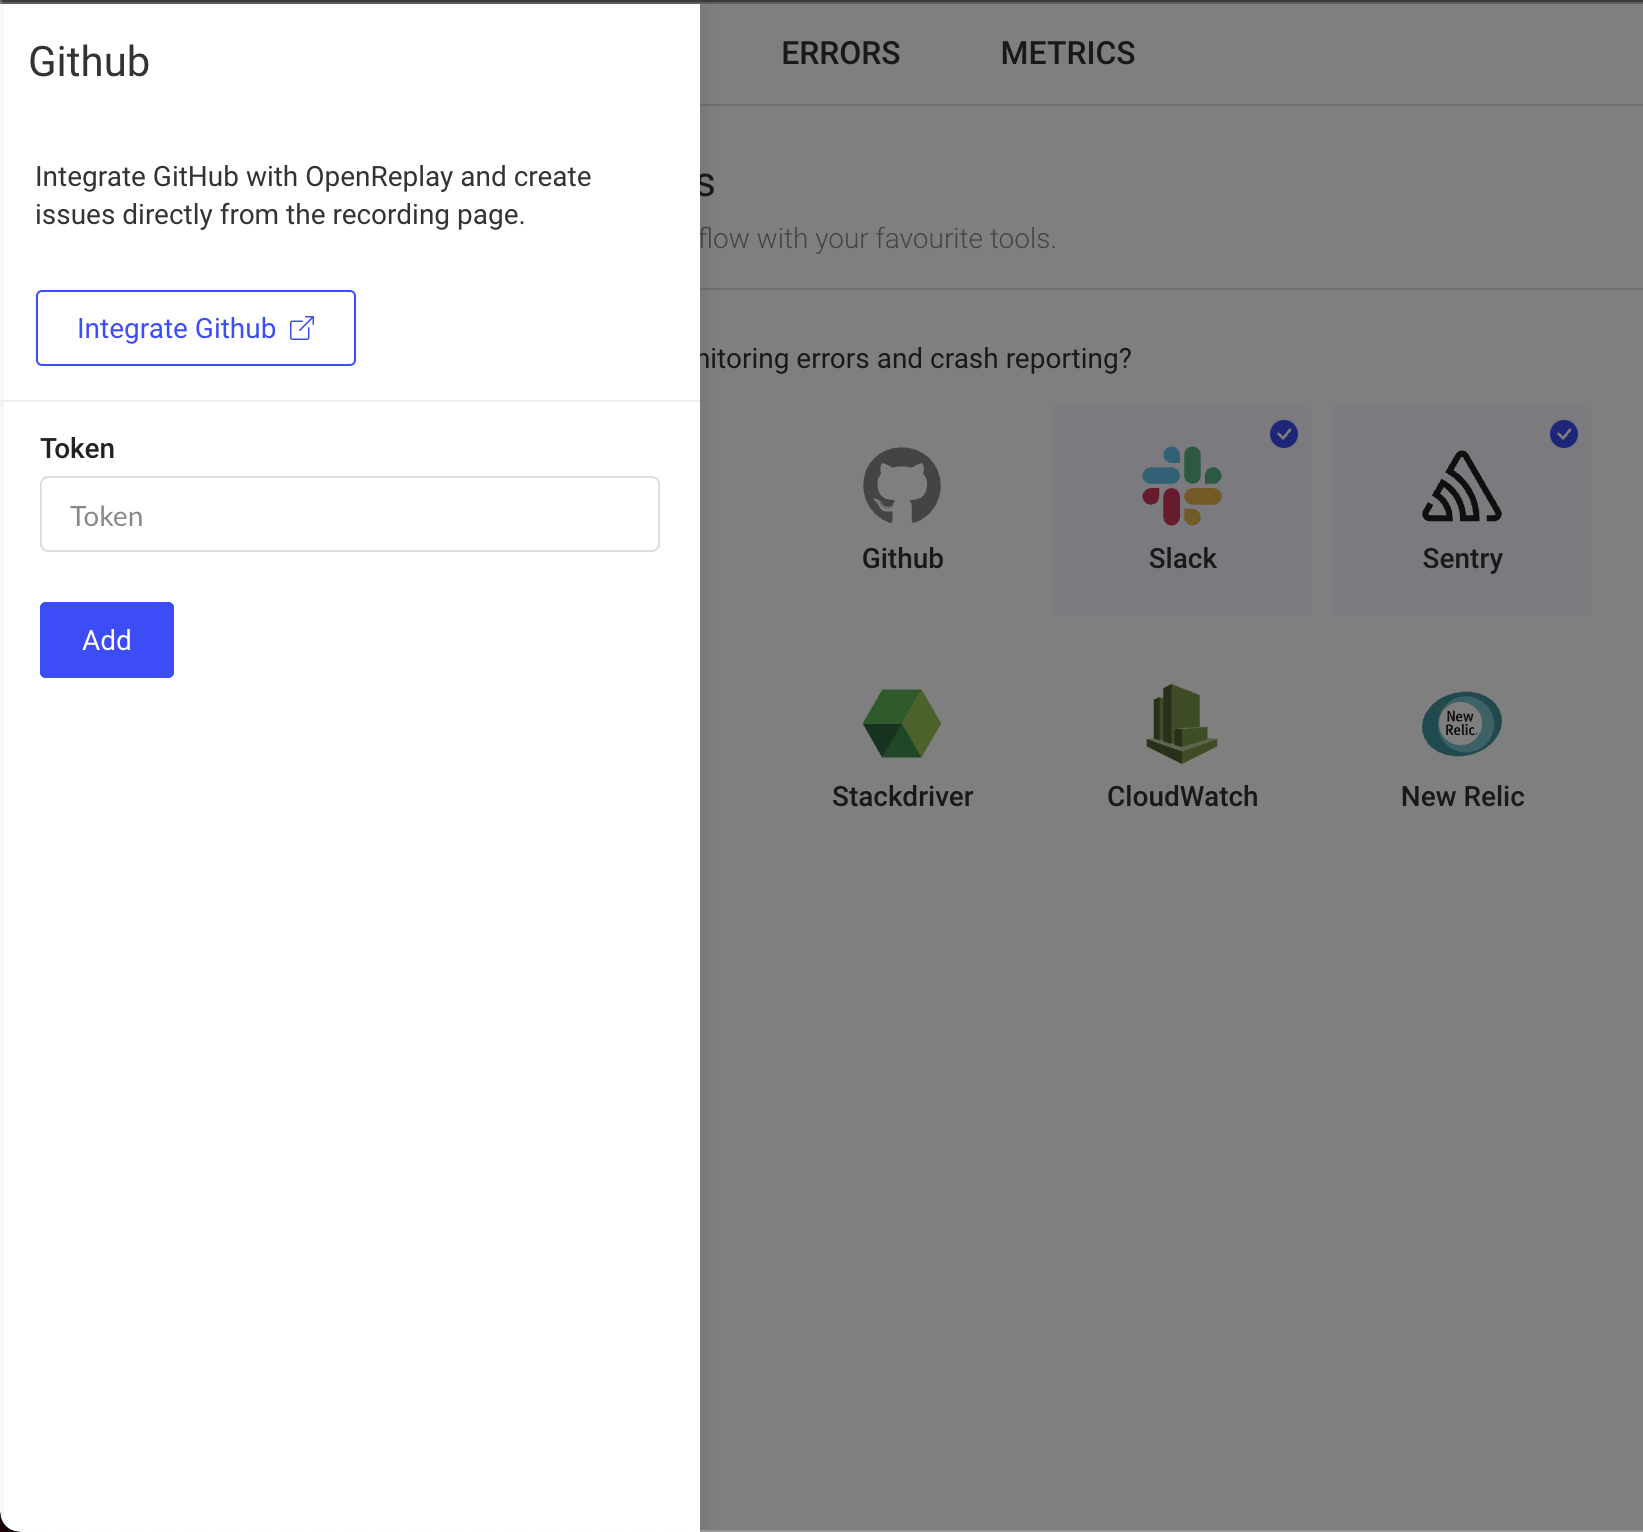
We’ve successfully integrated Github into OpenReplay!
The next step is creating an issue from a recorded session.
-
Go to your OpenReplay dashboard
-
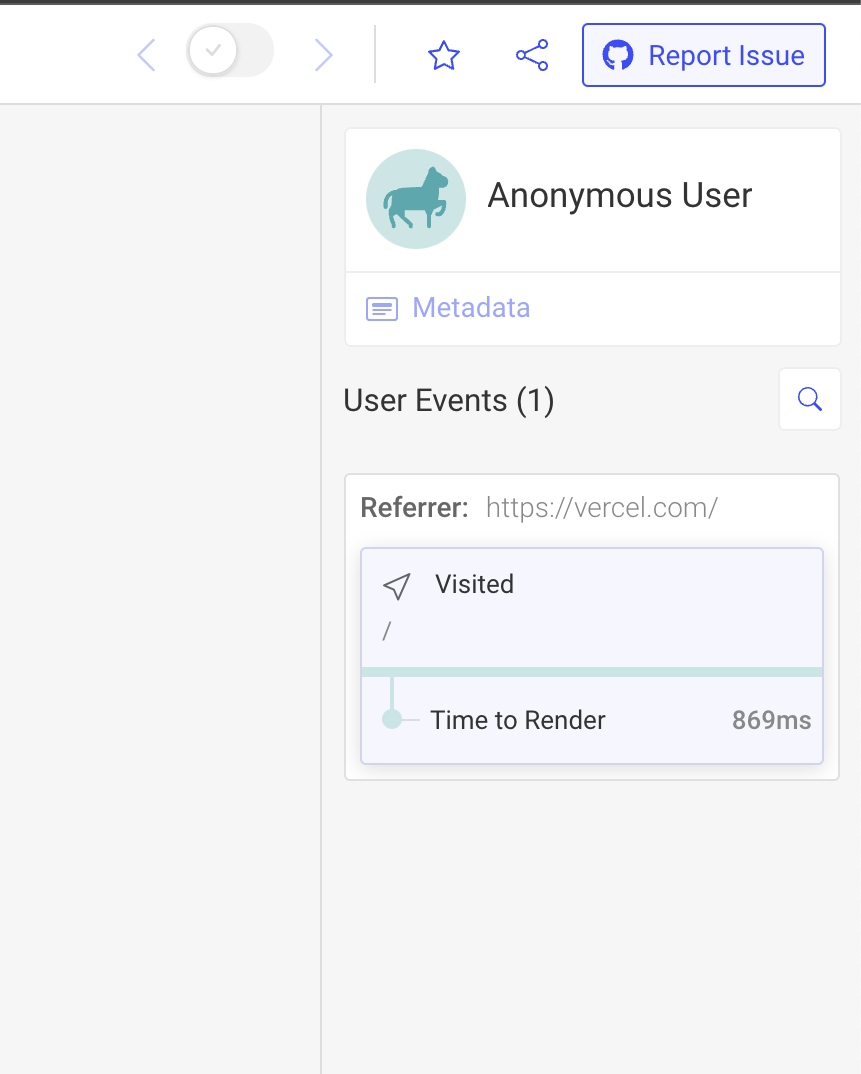
Click on a recorded session
-
Click on the Report issue button on the top right corner of the page.
-
Fill the details on the modal that opens
-
Click on Create
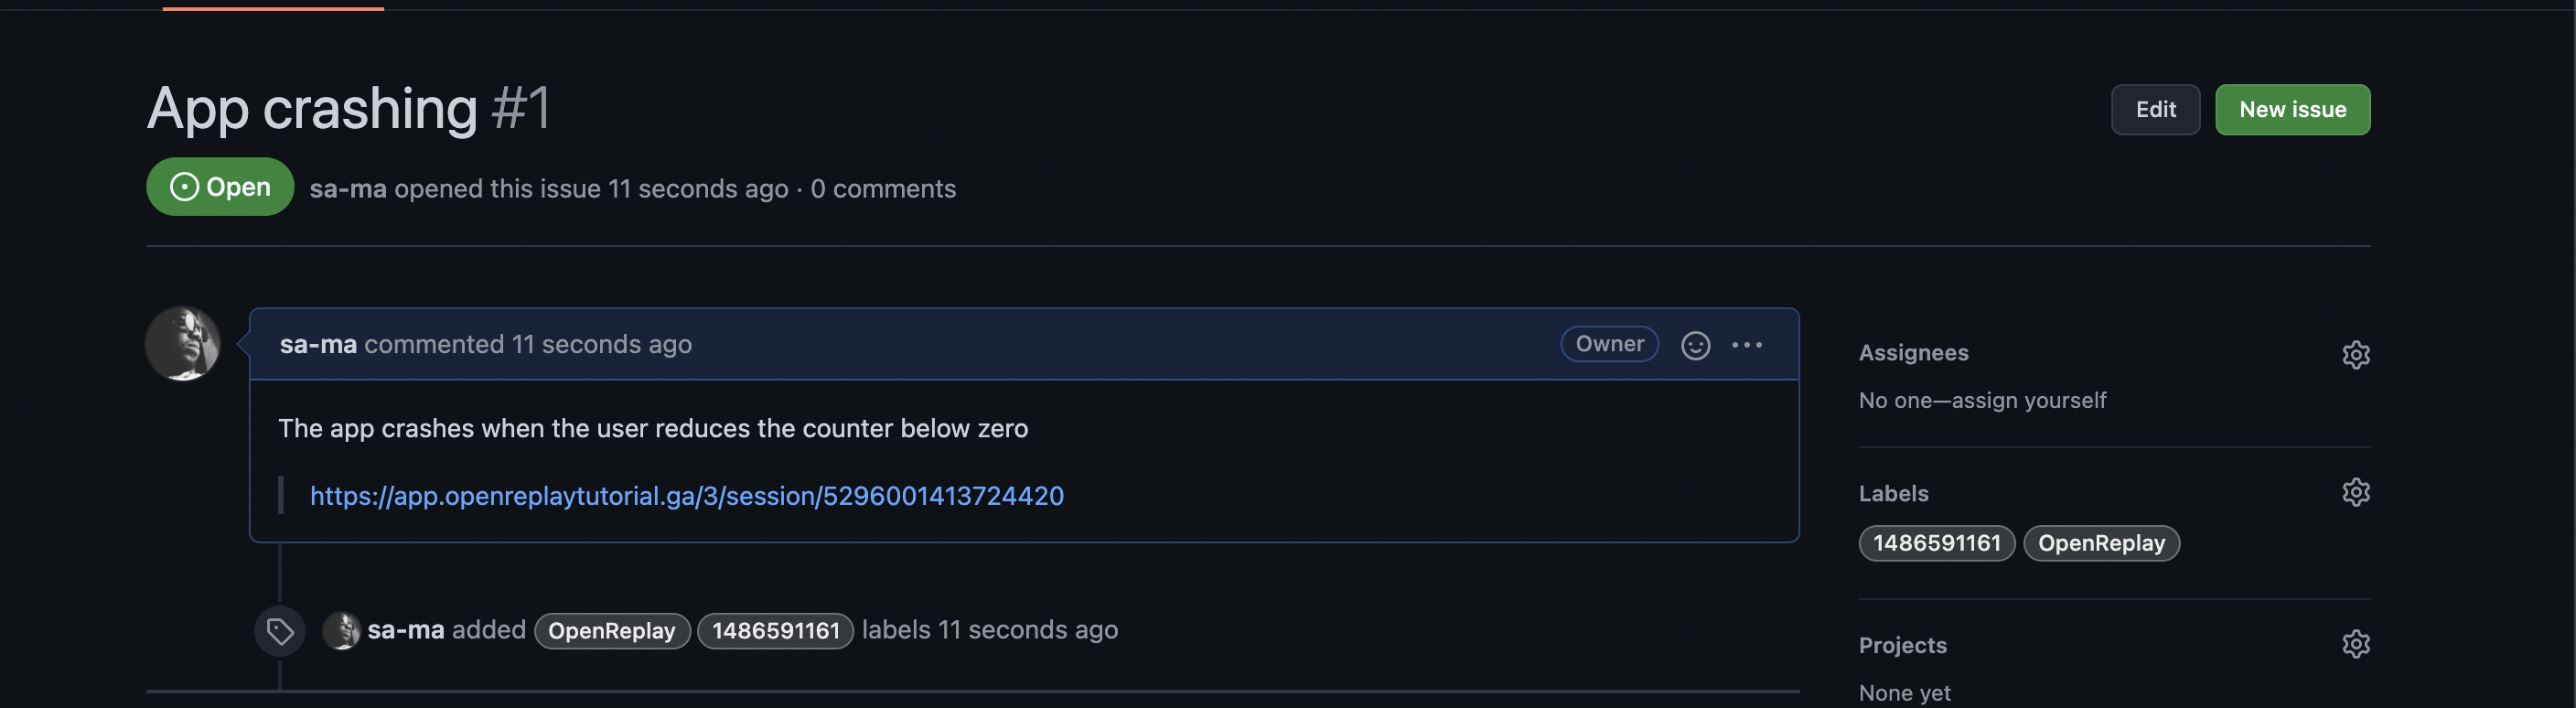
After reporting the issue, go to the Issues page of your repository on Github and you’ll see a new issue with the details you provided and a link to OpenReplay like the screenshot below.
Conclusion
In this article, we’ve learned how to Integrate OpenReplay in an application so a developer can replay the actions a user took that resulted in an error. We’ve also looked at creating Github issues from OpenReplay sessions to foster collaboration and resolve errors with your team members.
As earlier stated, the ability to recreate the steps a user took that resulted in an error goes a long way in debugging issues, making OpenReplay an excellent tool to have in your arsenal as a developer. OpenReplay also has a supportive community on Slack to help you with issues you come across.